Make your own sports-themed decor by creating this DIY football pillow craft. It's quick and easy, and you can customize it to make that perfect piece of decor!
Throw pillows are often underappreciated and overlooked, but I think they're an essential piece of decor. They take a space from functional to comfortable, and they can be so fun!
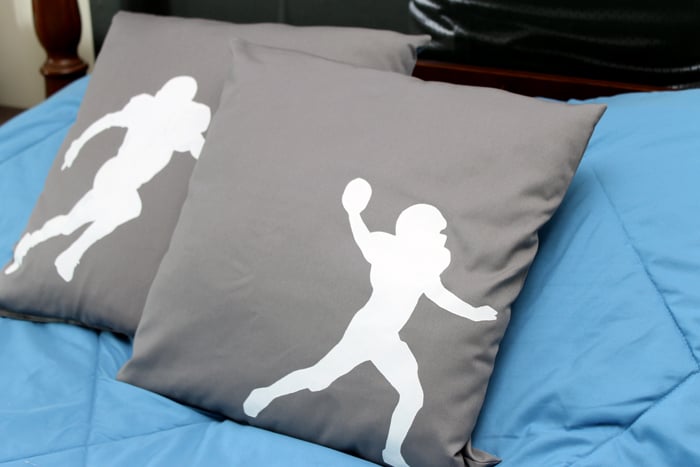
My son and I recently turned his room into a sports-themed room, and I made these pillows to add that final touch and tie everything together.
DIY football pillow silhouette designs can be a great addition to a boy's room, a man cave, or anywhere you want to highlight sports.
These football throw pillows help to complete the look of the bedroom and can be used on the couch to put a few details on a football-themed party! If you're getting ready for a celebration, don't forget the Football Cake!
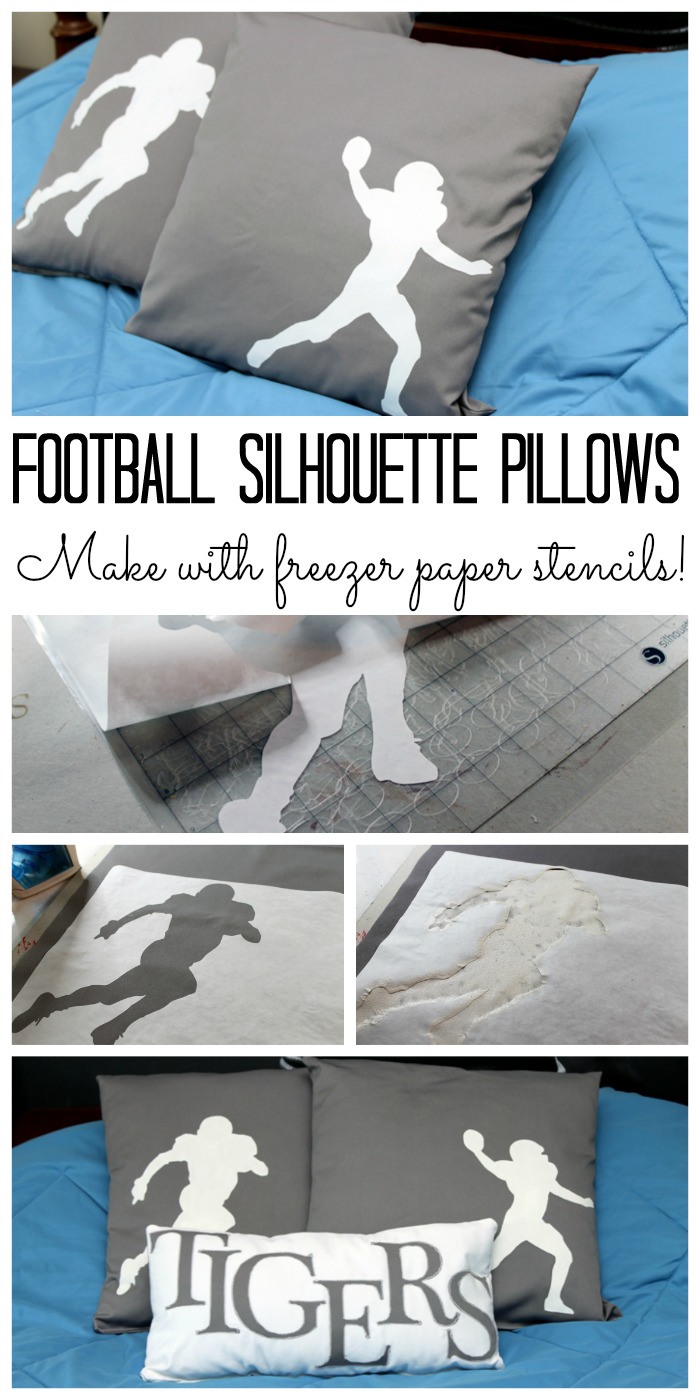
How To Make This Football Pillow Project
For those that love football, these simple football pillows are a quick and easy DIY project. Using a freezer paper stencil will create this look in minutes easily. Also, this technique allows you to add any shape to a surface, so you can create custom decor for any occasion!
Supplies Needed
Here's everything you'll need to make this project! I've included some handy links to make finding certain items a little easier and faster.
- Freezer paper
- Silhouette of any shape printed (or downloaded from the internet)
- Electronic craft cutter or craft knife (I will show you how to use a Silhouette below)
- Fabric
- Pillow form
- Scissors
- Sewing machine
- Fabric paint
- Paintbrush
- Iron
Instructions
Here’s the process I used to make this project. Just follow the step-by-step instructions to see for yourself how easy it is to make a football pillow.
Step 1
The way to make these football pillows is to create stencils out of freezer paper.
Start by finding the silhouette you want to use online. Either print it onto regular paper or save it and put it in your craft cutter software.
Note: If you do not have a craft cutter, use a craft knife and cut the shape from freezer paper carefully (be sure to protect your work surface).
Step 2
I will show you how I cut my shape with my Silhouette below. First, bring in your shape, then click the trace button.
Step 3
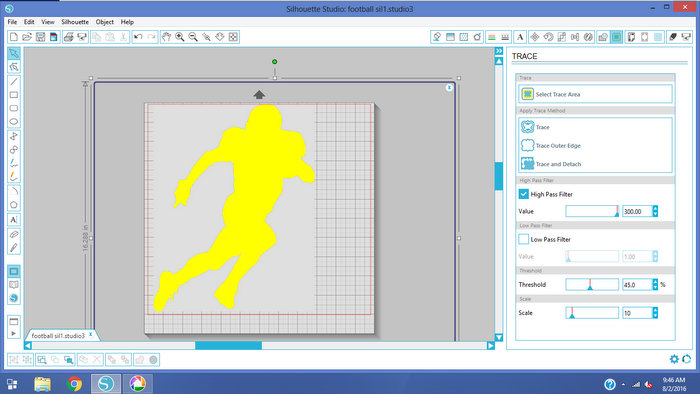
Next, click “select trace area” and pick your entire shape. Move your high pass filter all the way to the right to get something that looks like the image below.
Step 4
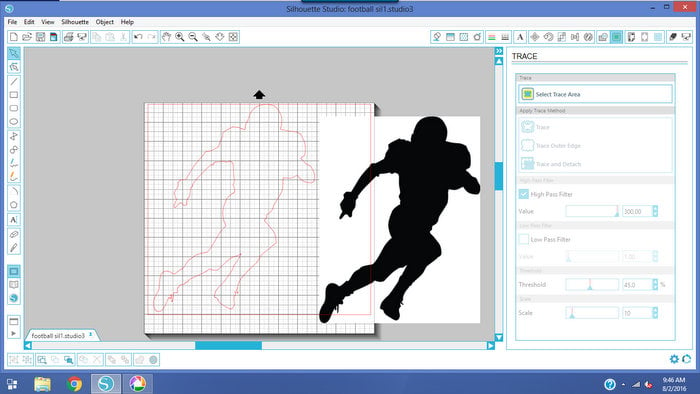
Click “trace,” and you will have an outline of the original image.
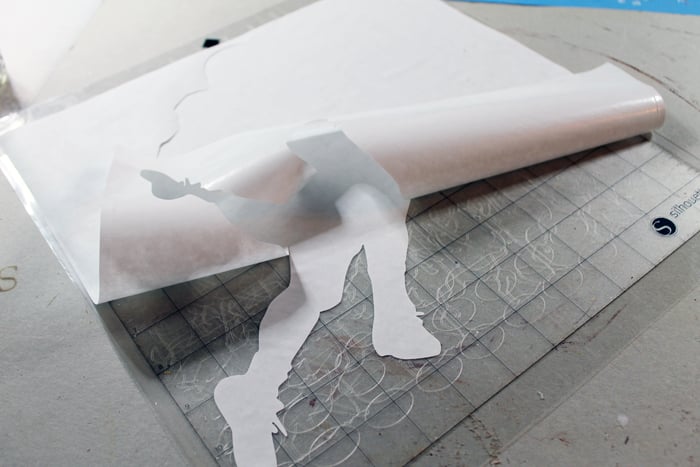
You can now delete the original image from the cutting mat. Size it to fit your pillow and cut it from freezer paper.
I am not going to give you a full tutorial on actually making the pillow in this post, but you can click here for a great one.
Step 5
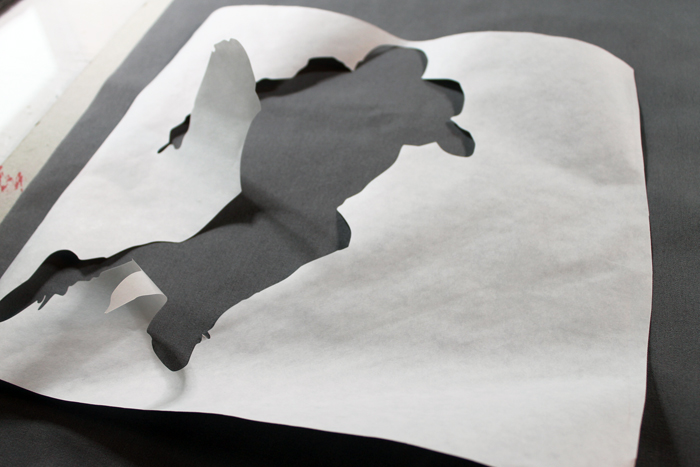
Once your fabric is cut to size (but not sewn into a pillow yet), place your freezer paper stencil onto the fabric, shiny side down.
Step 6
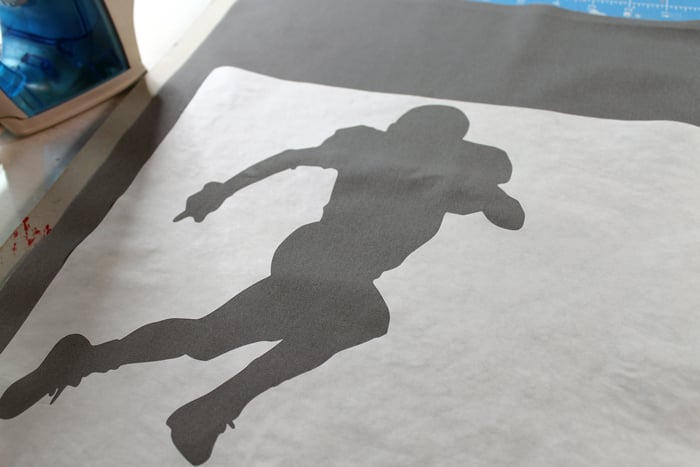
Use a hot iron on top of the stencil for a few seconds. This will make the stencil adhere to your fabric.
Step 7
Next, use white paint to fill in the silhouette. It took me THREE coats to get the look I wanted with this white over dark grey.
You might get by with fewer coats, but apply as many coats as you need to get the look you want.
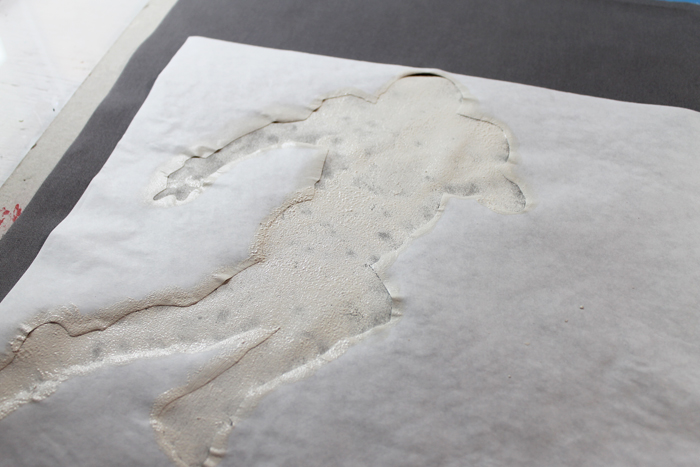
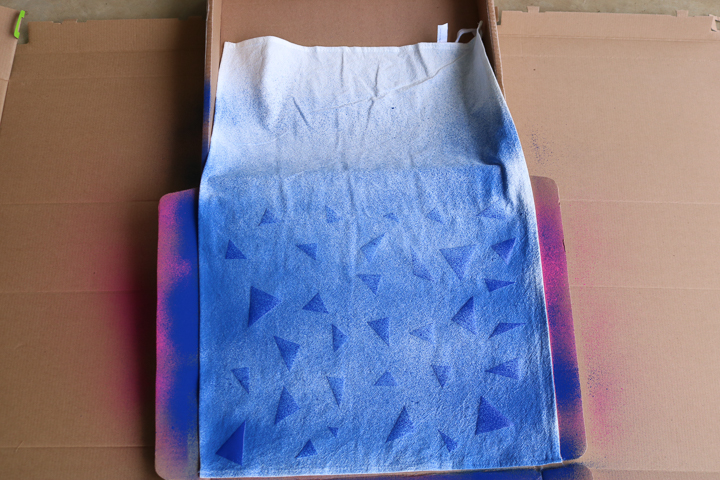
Another option is to use the silhouette instead of the cutout stencil. This is a fun way to create a different look. Iron the silhouette onto the fabric, and then use a spray version of fabric paint to spray around your shape. You can find out more about this method in my post about making freezer paper stencils.
Step 8
Allow the paint to dry in between coats.
Step 9
Once your painting is complete, just pull to remove your freezer paper stencil from the fabric.
I actually removed mine after the first coat and just used a brush to apply the second and third coats. You can use either technique you prefer.
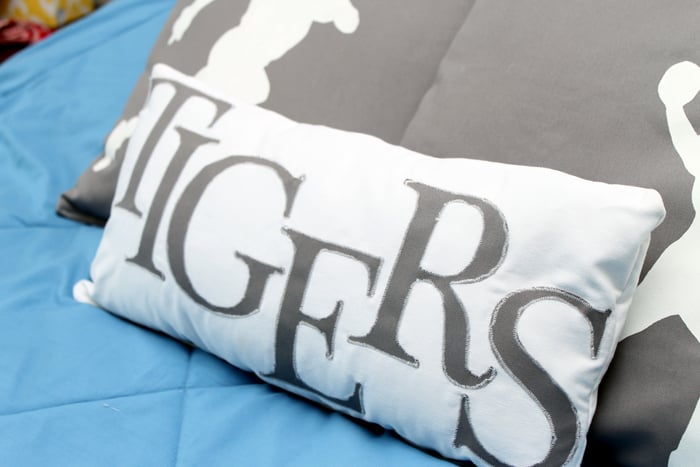
I also made a fun applique pillow to add to my son's bed! You can use this same method for making the front of this pillow.
Project Tips
Here are a few tips and tricks that should help make the project successful.
- I set my blade on two, and it worked perfectly.
- Remember to cut with the shiny side of the freezer paper down!
- Remove the outer portion of your shape. We are making football pillows, but these same steps apply to any shape you want to paint onto the fabric.
- Sew the painted pillow fronts into football pillows using this tutorial for making pillows.
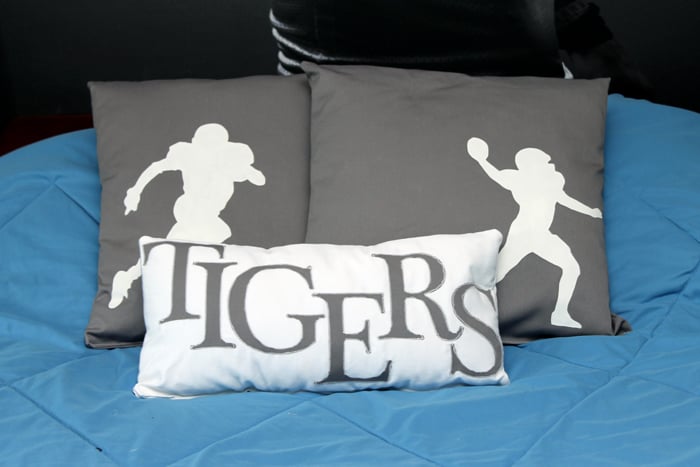
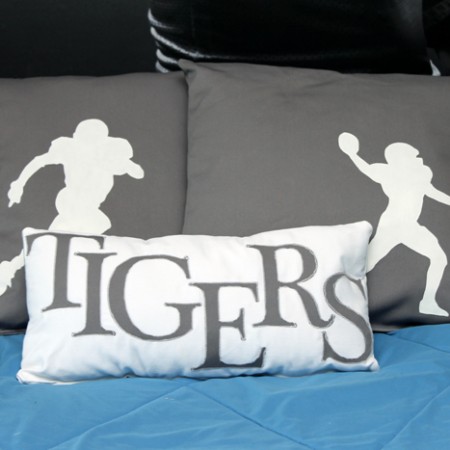
That pillow joined the DIY football silhouette pillows on his bed.
FAQs
Here are a couple of questions that I see readers ask about making this football throw pillow. If you have a question, please check to see if I’ve already answered it below. Don’t see your question? Leave it for me in the comments!
Why do you use freezer paper for the stencil?
Freezer paper works amazingly well as a stencil on fabric. In fact, due to its flexibility and ability to mold to fabric, it's the best material choice.
In addition, since we can iron it directly onto the fabric, it will prevent paint from bleeding so that you get good clean, crisp paint lines.
To learn even more about using freezer paper as a stencil, check out my Ultimate Freezer Paper Stenciling Guide.
Can I cut freezer paper with Cricut?
Yes! Although I used a Silhouette machine for this project, if you have a Cricut, it would work well too. Either machine can make this project go faster and give you a clean-looking stencil.
More Stencil Crafting Inspiration
If you love creating stencils to make custom crafts, check out these ideas for all your craft ideas!
- How To Make A Stencil With A Cricut
- DIY Stenciled Flour Sack Towel
- Burlap Pillows with Stenciled Designs
- DIY Doormat with a Cricut Machine
Supplies
- Freezer paper
- Silhouette of any shape
- Electronic craft cutter like a Silhouette
- Fabric
- Pillow Form
- Scissors
- Sewing machine
- Fabric paint
- Paintbrush
- Iron
Instructions
- Start by finding the silhouette you want to use online. Either print it onto regular paper or save it and put it in your craft cutter software.
- To use the Silhouette to cut out your stencil, first, bring your shape into the dashboard. Then click the "trace" button.
- Next, click “select trace area” and select the entire shape.
- Click “trace,” and you will have an outline of the original image.Delete the original image from the cutting mat, size the image to fit your pillow, and cut it out of the freezer paper.
- After your fabric is cut to the right size (but before you sew it onto the pillow), place your freezer paper stencil shiny side down onto the fabric.
- Adhere the stencil to the fabric with the tip of a hot iron.
- Paint inside the silhouette with white paint. It may take multiple coats to achieve the look you want.
- Let the paint fully dry in between coats.
- After you finish painting, pull the freezer paper stencil off the pillow.


