Go back in time and make these DIY glitter deer Shrinky Dink ornaments. Remember Shrinky Dinks from when you were a kid? You can use it to make elegant Christmas ornaments as well. This is a quick and easy ornament tutorial plus it is great to make with the kids. Grab one sheet and make my DIY glitter deer shrink plastic ornaments today.
This post was originally published on December 7, 2013. It has been updated to include instructions for making these Shrinky Dink ornaments with a cutting machine.
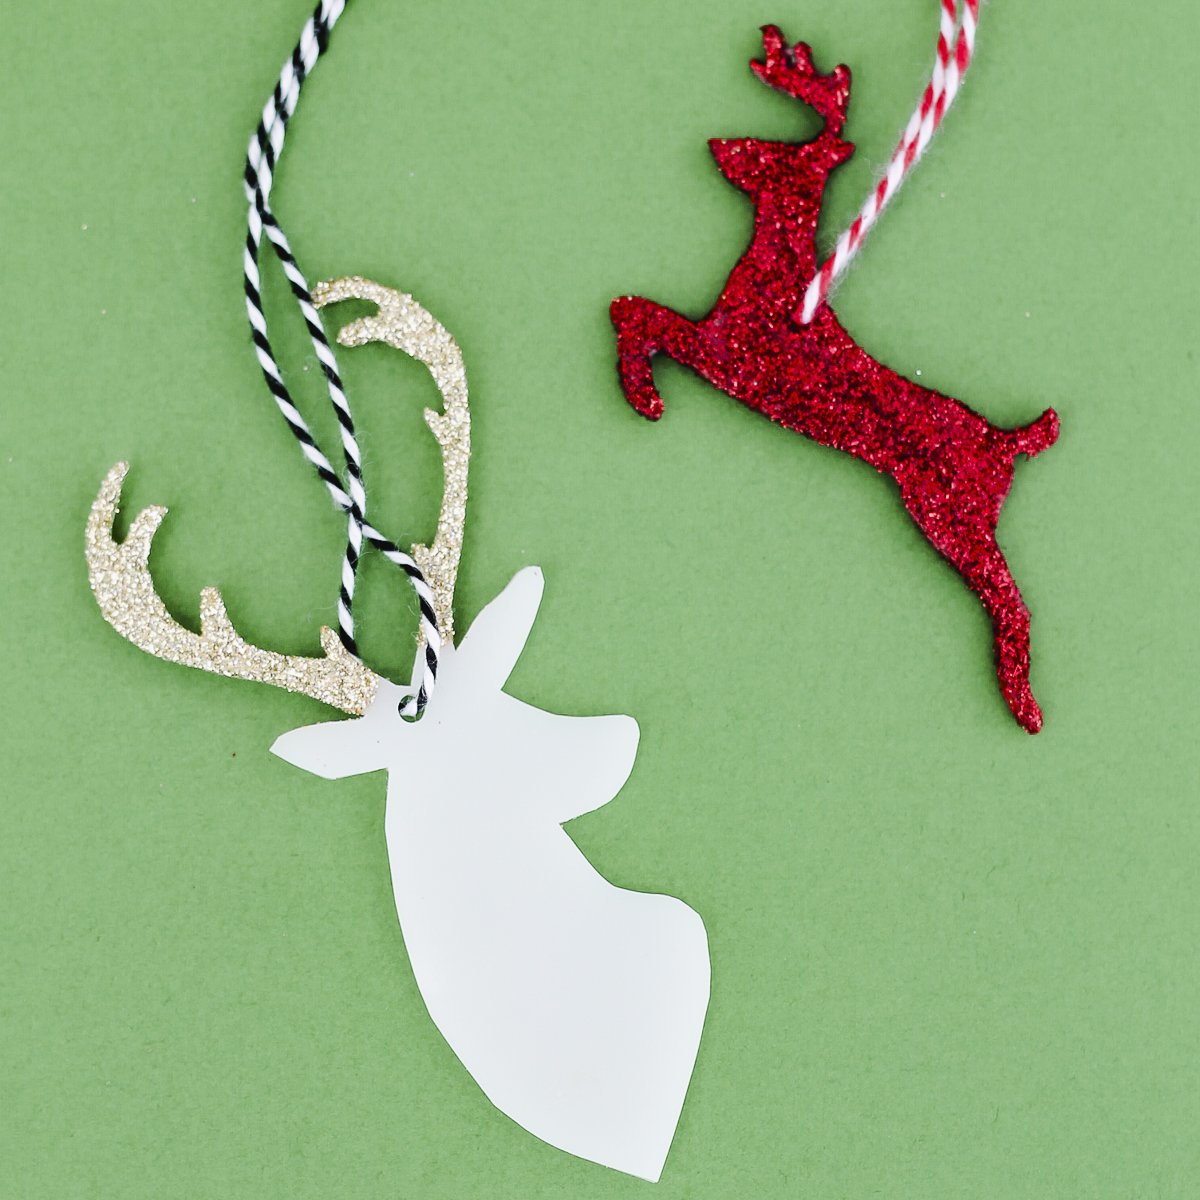
How to Make Shrinky Dink Ornaments
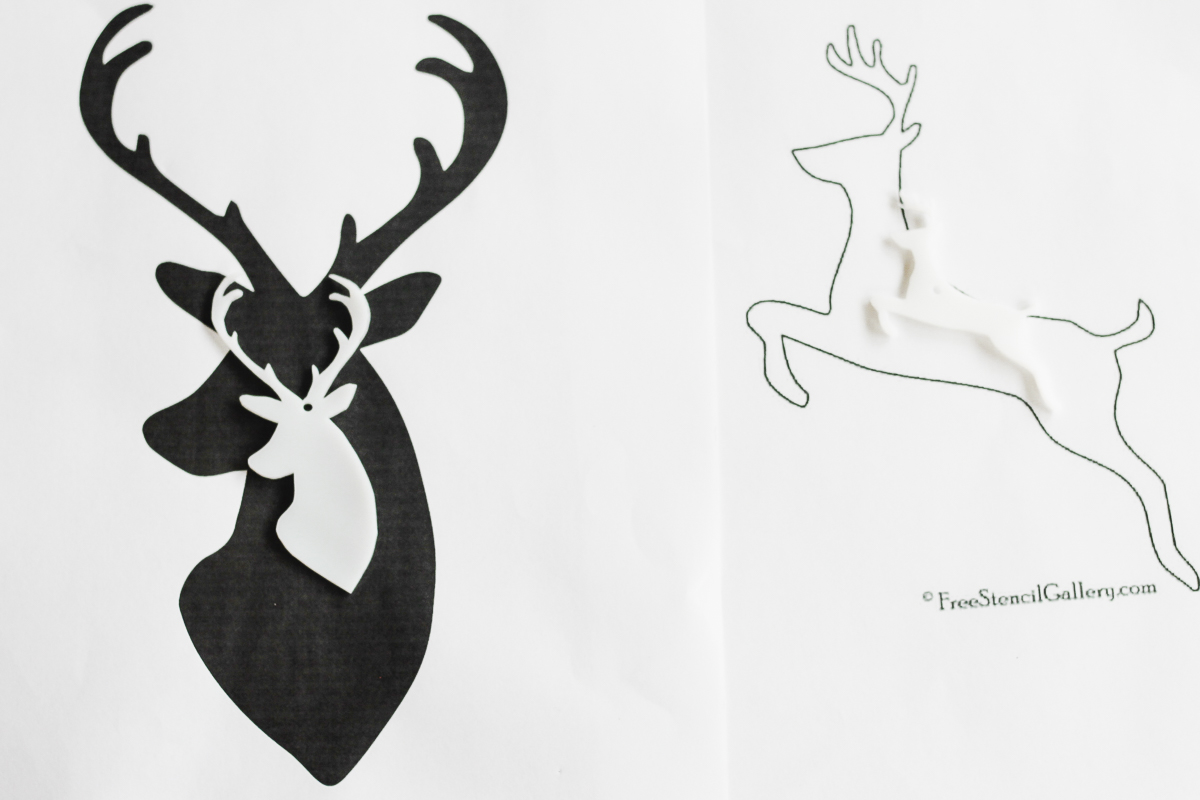
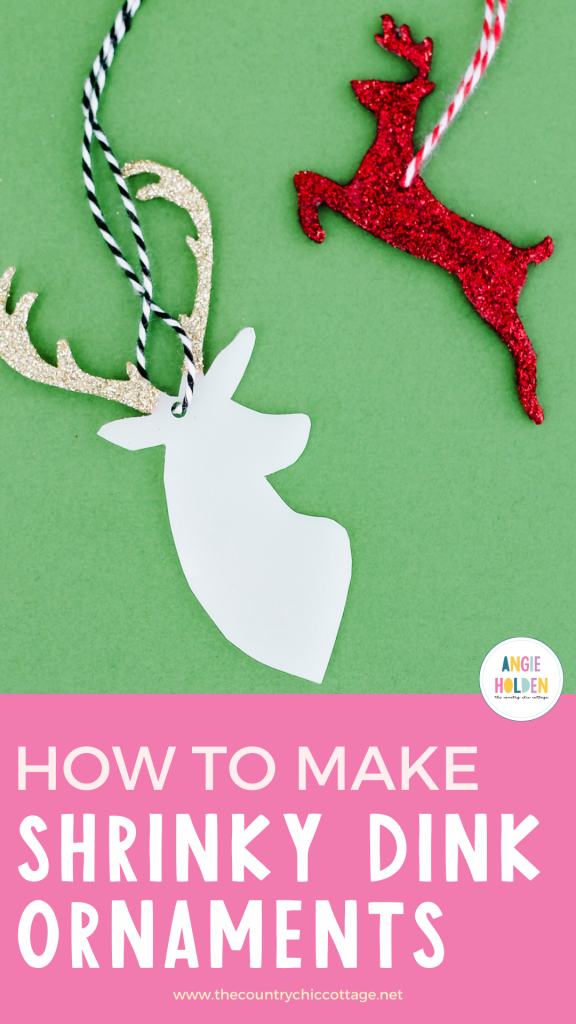
Start with one piece of white shrink plastic film and a few deer silhouettes that can be printed from the internet. Don’t like deer? Then absolutely choose another shape. This tutorial will work with any shape you love. Choose BIG shapes as the plastic will shrink up when baked (there is a picture a few steps ahead of how much shrink to expect).
You’ll be impressed how easy and fun this project is. Follow along for everything you need to know about making this unique ornaments.
Supplies needed
- Shrink plastic (there are several brands available)
- Cricut machine (check out the differences between Cricut machines)
- Craft paint
- Mod Podge
- Glitter
- String or twine
Step 1 – Trace or design the deer shapes
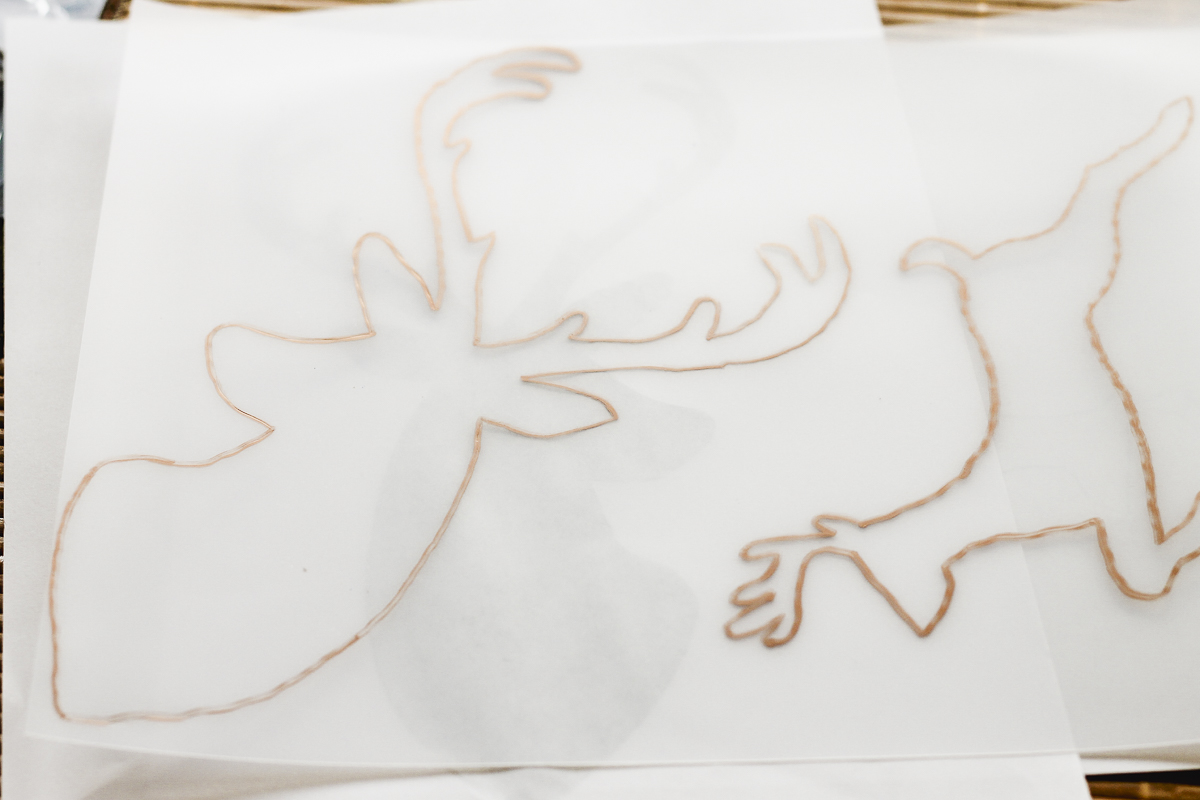
If making these by hand, start by tracing your shapes onto the shrink plastic using a pencil. I actually used a gold sharpie so y’all could see this better but that is not needed. Keep in mind that the images will shrink to 1/3 of the original size. My two deer took up almost an entire sheet of shrink plastic.
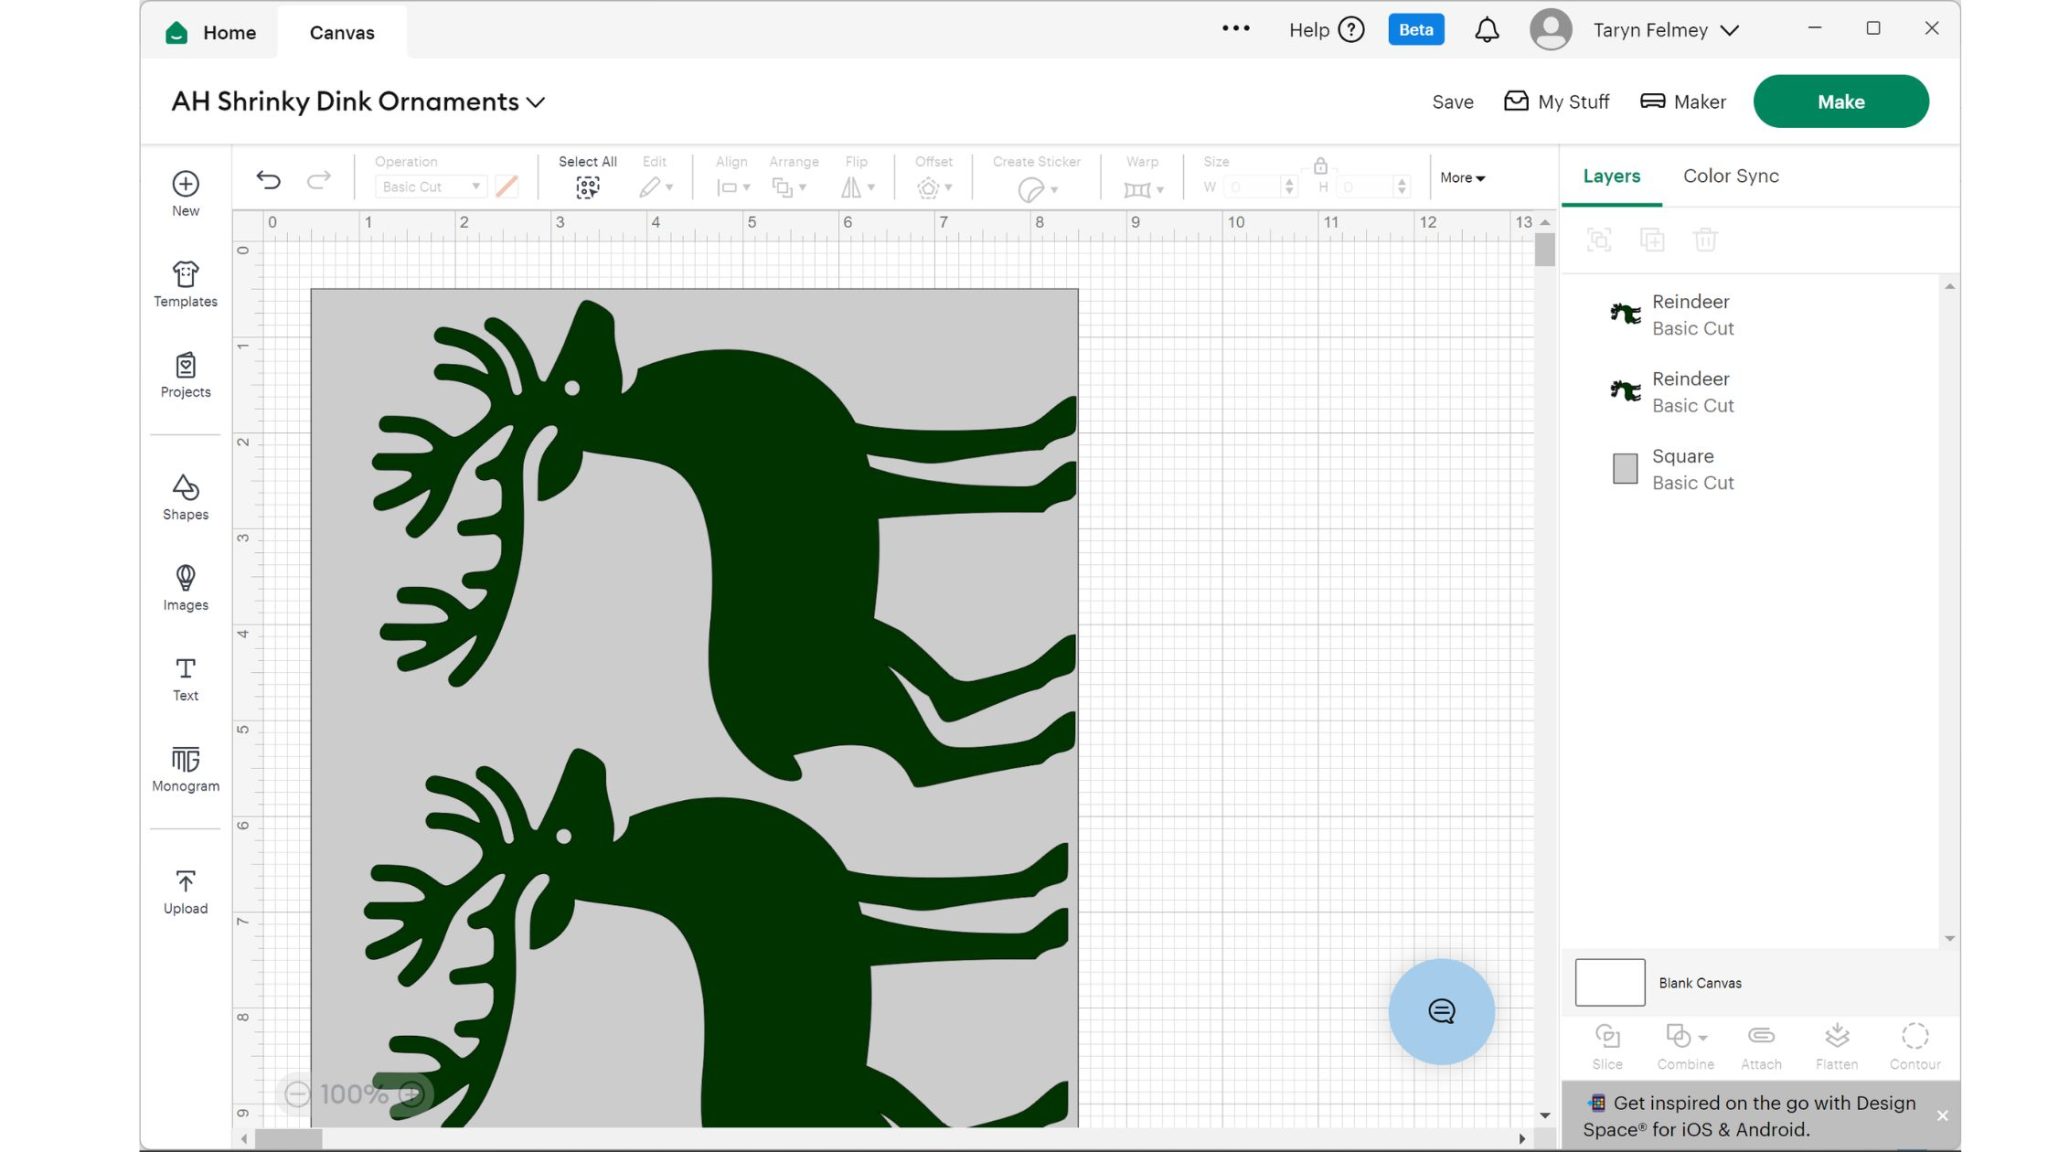
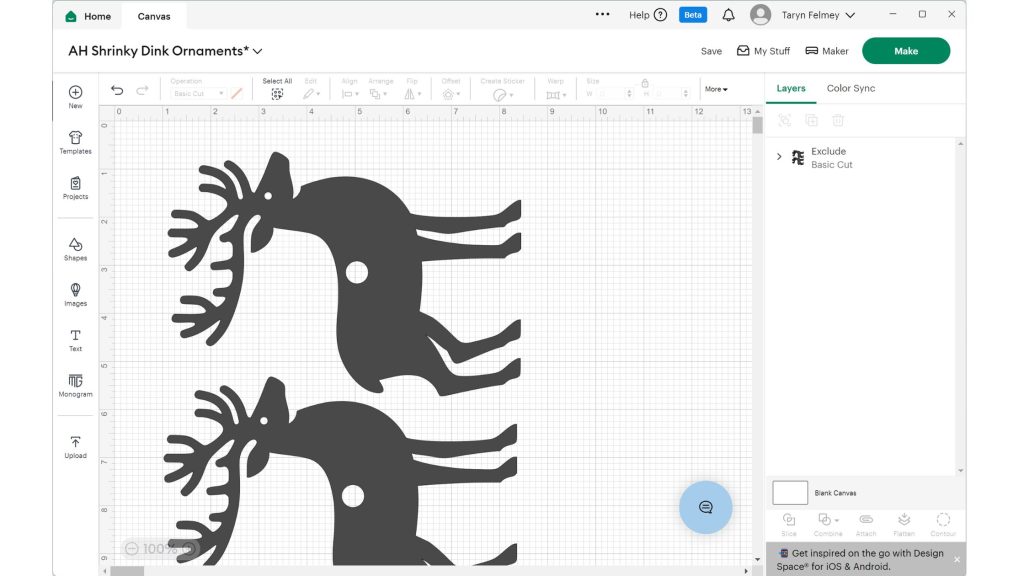
If you are using a Cricut to cut your plastic sheets, open Cricut Design Space and search for “Deer Shape”. You could also upload any image you like to use. If you need a refresher on uploading to Cricut Design Space, check out this video.
The plastic sheets I’m using are 8×10, so I added a square to my canvas and unlocked it to size it to 8×10. Then I placed my deer images onto the rectangle so I could maximize my images without wasting materials. Then I removed the rectangle, selected both deer and clicked Attach.
Step 2 – Cut the plastic sheets
Use just regular scissors to trim your shrink plastic around your lines. It is really as easy as cutting paper. The kids will love helping you make these shrink plastic ornaments.
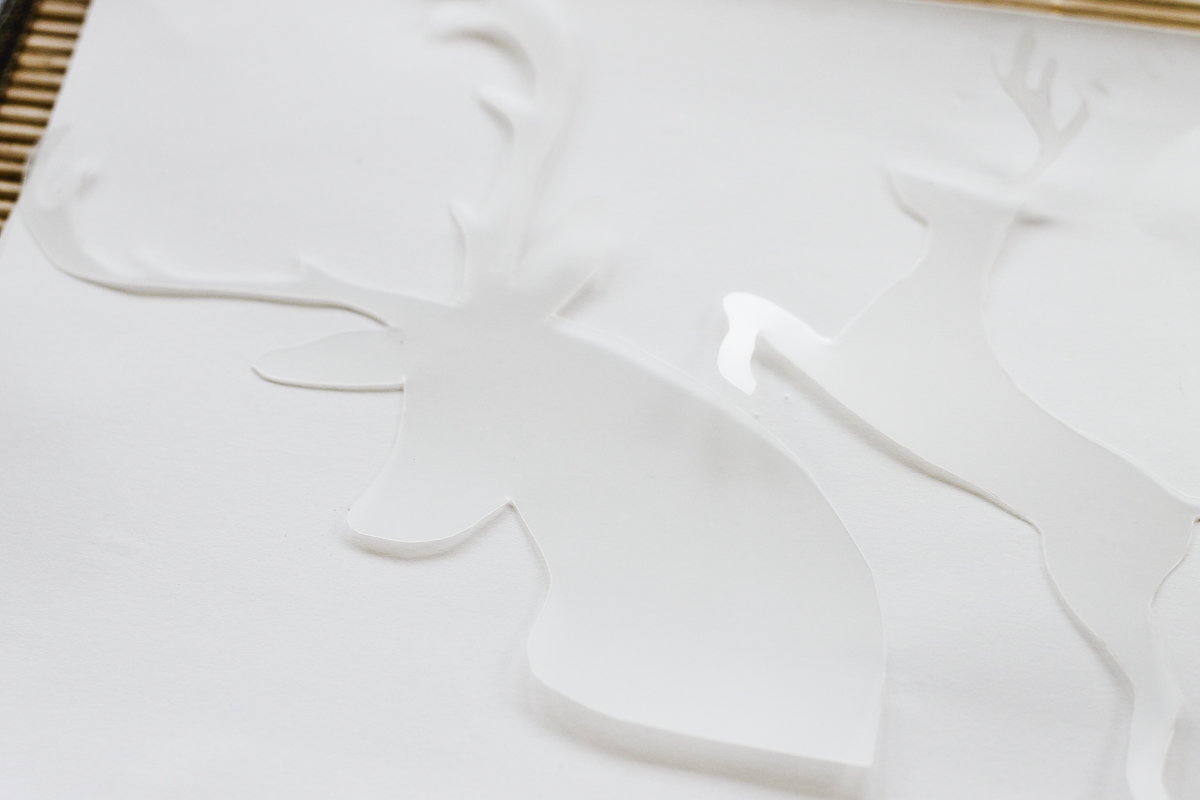
Be sure to punch a hole with a standard size paper hole punch BEFORE baking your shrink plastic. You won’t be able to add the hole afterwards.
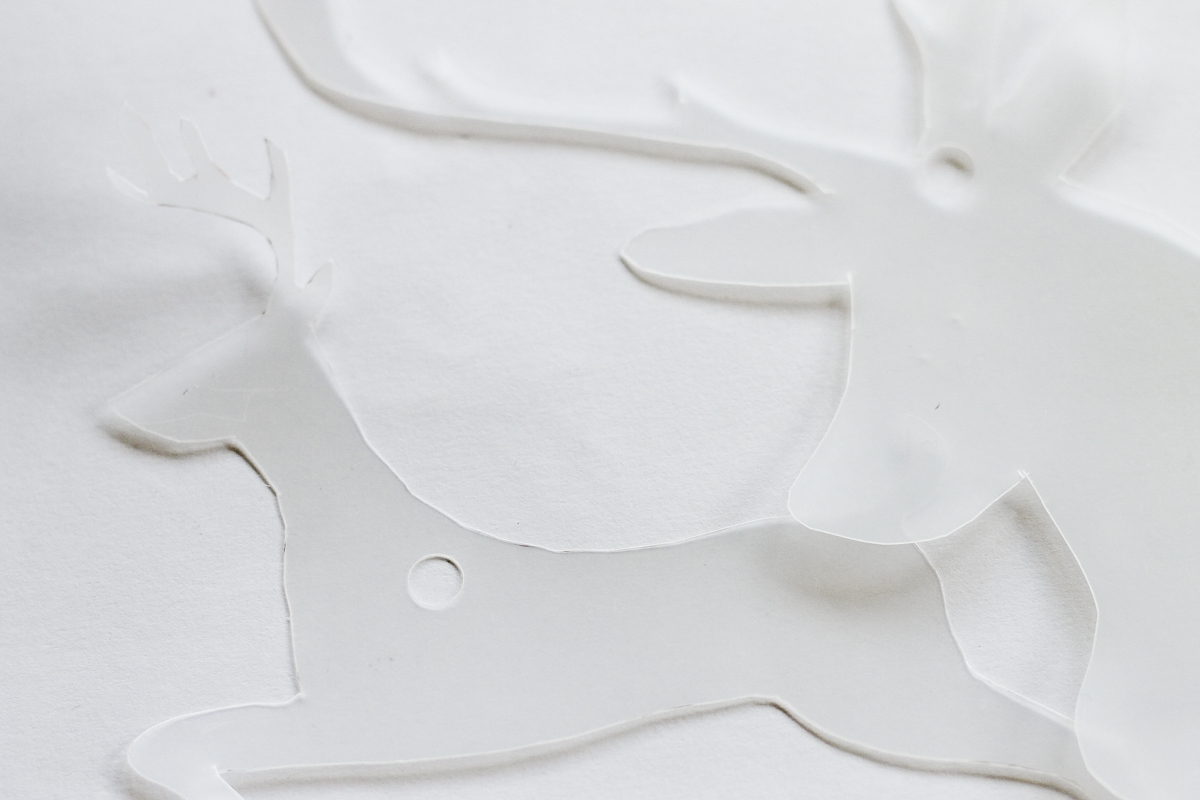
To cut these with a Cricut, first, add a hole to your image before cutting them. Or, if you’d like, you can punch a hole by hand after cutting.
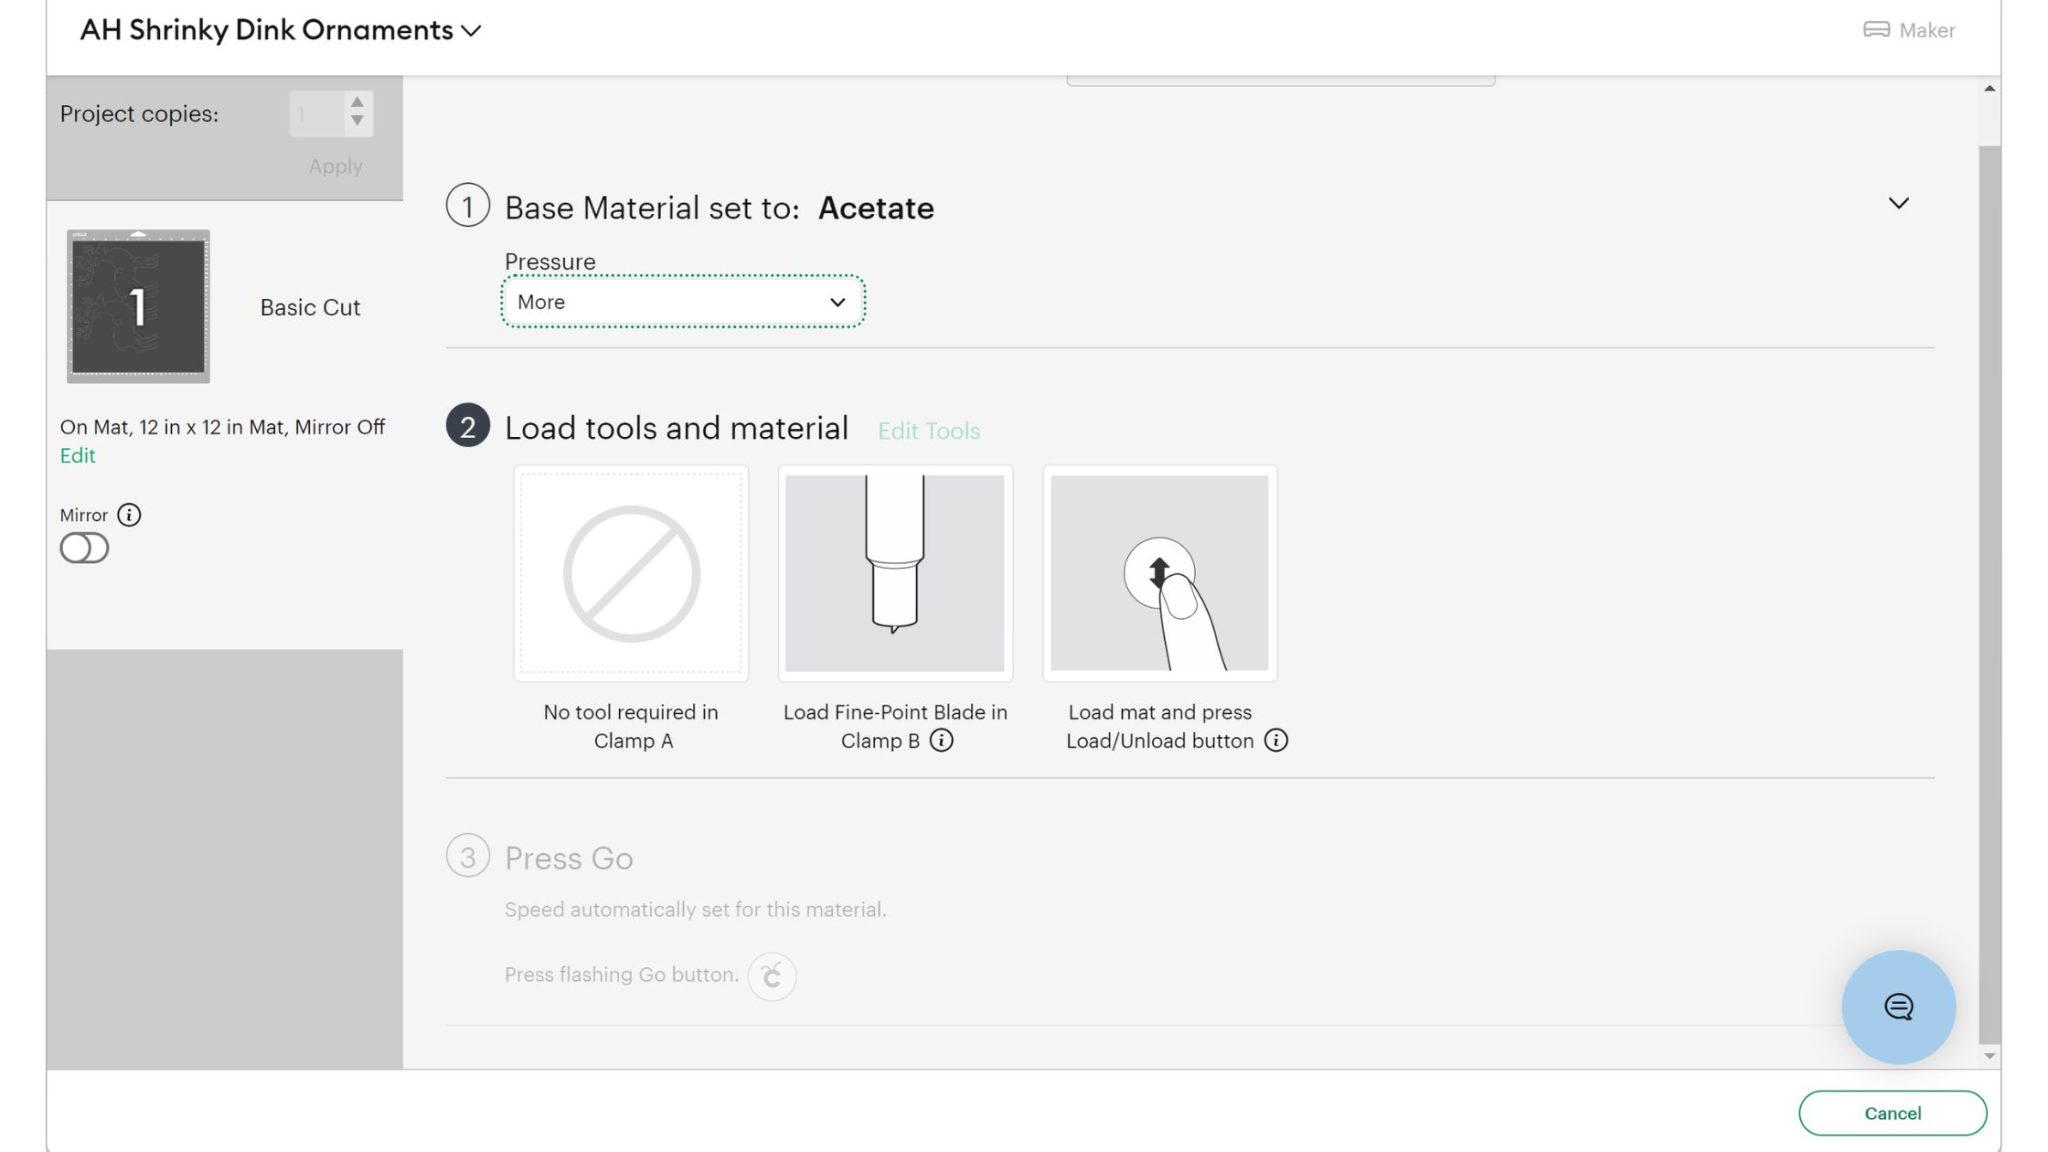
Now, cutting plastic sheets may take some trial and error, as there isn’t a setting for Shrinky Dinks. You can choose a similar material, such as acetate, or even posterboard. Whatever you choose, check your cuts before unloading your mat. You can always press the Cricut button to have it cut it again. Here I’ve chosen Acetate with more pressure, and I’ll probably have to make more than one pass.
You can see more here about cutting shrink plastic with a Cricut machine.
Step 3 – Bake the Shrinky Dink ornaments
Bake your shrink plastic according to the package directions (3 – 5 minutes usually). The plastic will shrink up and thicken. It is really AMAZING! You can see in the photo below just how much it shrinks. Your kids will love this part.
TIP: Add a piece of parchment paper on top of your shrink plastic in the oven. This will help with the excessive curling of the plastic as it shrinks.
Step 4 – Paint and add glitter
Allow your ornaments to cool completely then give them a quick coat of paint on the areas you are going to apply glitter.
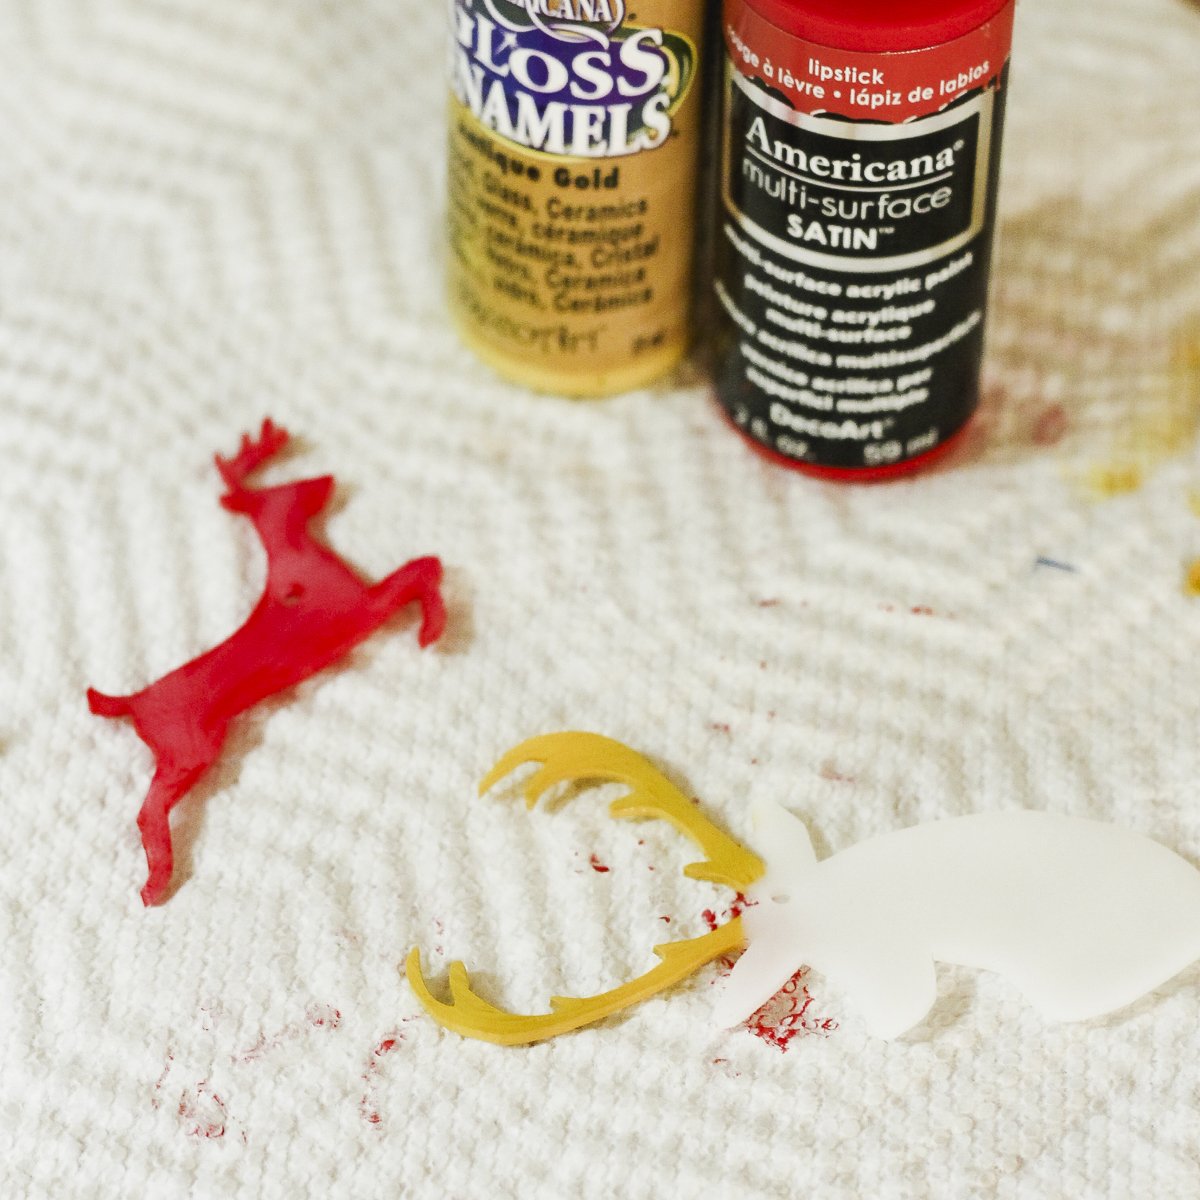
Allow your paint to dry then add Mod Podge and glitter. Allow that to dry and add on another layer of decoupage to make sure your glitter stays put. Paint both sides of the ornament, as depending on where your hang these, you’ll probably see both sides.
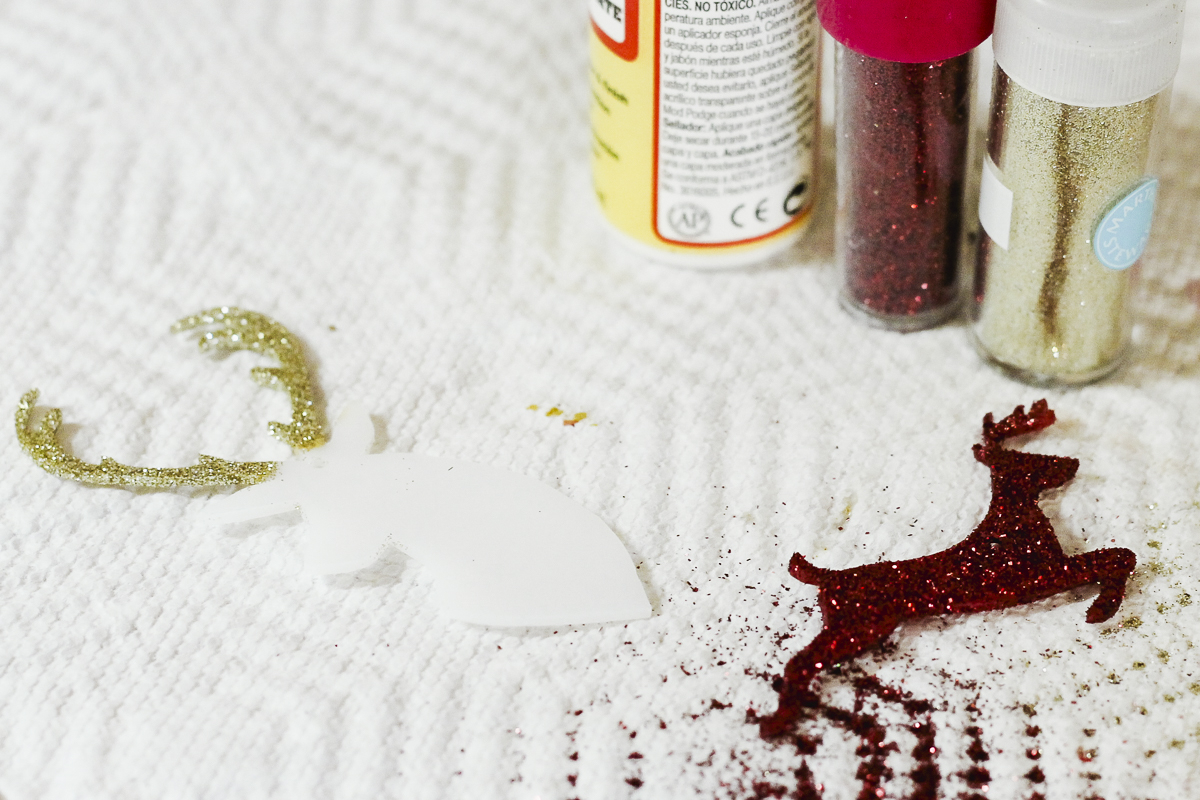
Step 5 – Hang and enjoy
Once your ornaments are dry completely, add a string to hang on the tree.
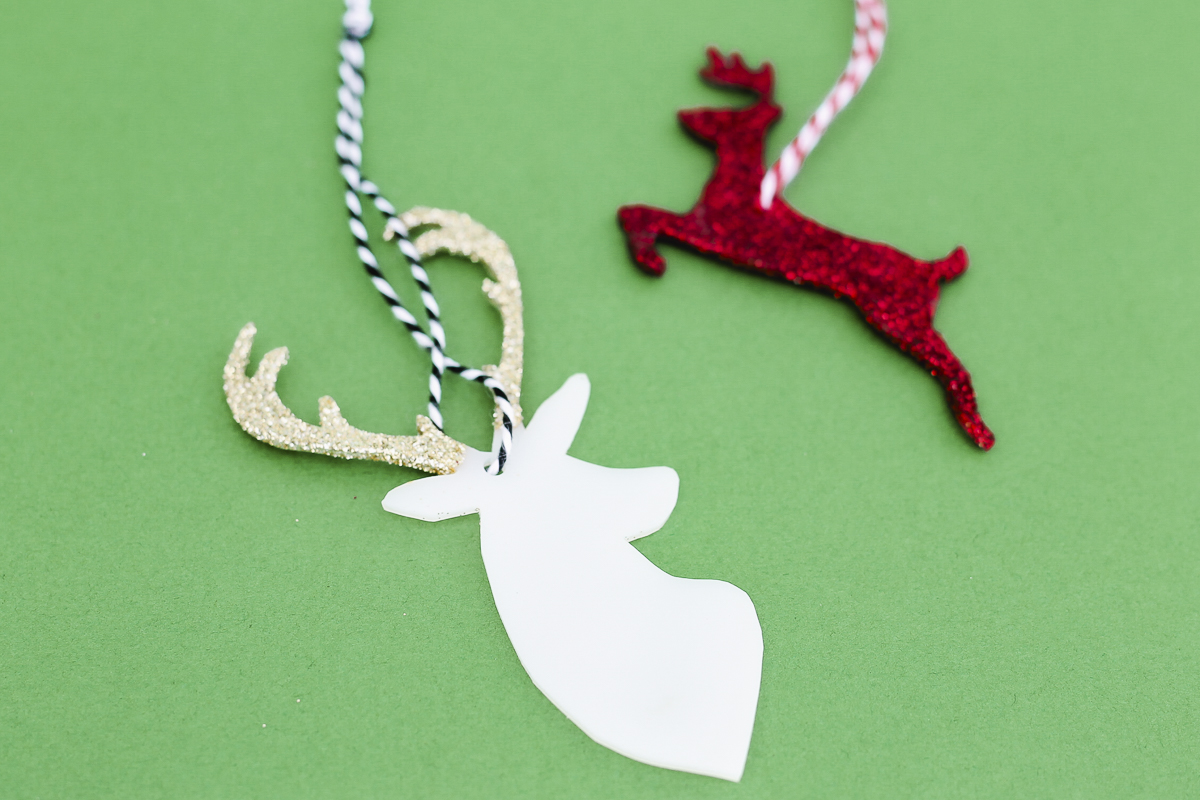
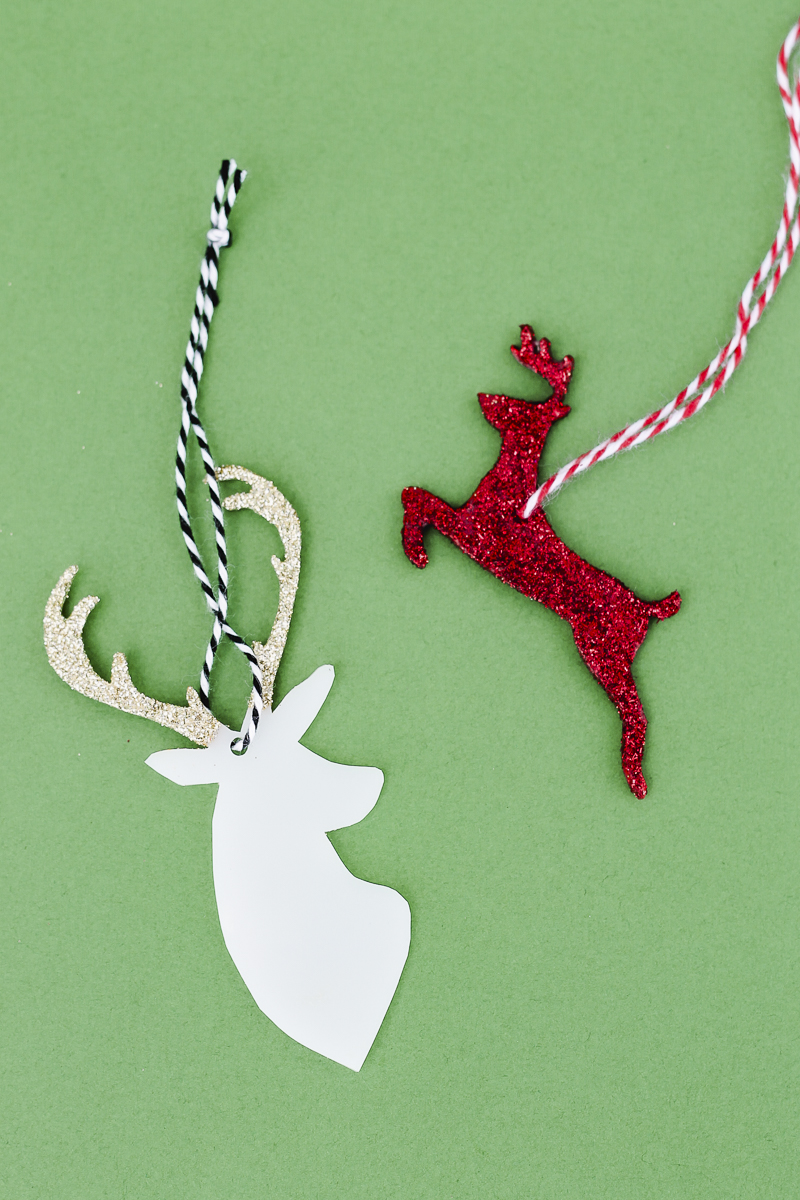
Your DIY glitter Shrinky Dink ornaments are ready for your tree. Enjoy making these with your kids this holiday season.
What shapes will you make for your tree? You kids will love the “magic” that happens in the oven as these shrink and become rigid plastic ornaments.
For anyone that does not love the idea of using shrink plastic, my friends over at Lolly Jane made some similar ornaments out of clay. Now you have two ways to make these fabulous deer ornaments. My shrink plastic version will be adorning my tree this holiday season.
More Easy Ornaments
If you enjoyed this project, here are some additional ornament ideas:


Pretty cool
I love these! I think the Cricut will cut shrink plastic. Can’t wait to try it!
It will! I ended up figuring it out later!
These are darling!! I can’t wait to make some!! Thank you very much for your tutorial and all the tips!!
I’m so glad you like them! I can’t wait to see yours 🙂