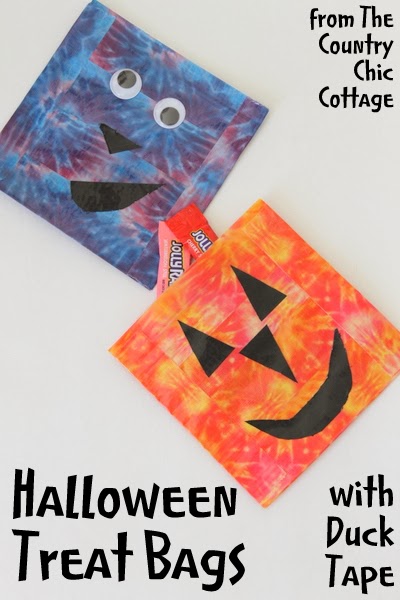
Are you looking for a quick and easy way to create Halloween treat bags to hand out in a flash to the hoards of trick-or-treaters? Check out this method for creating cute Halloween baggies in just minutes!
I don’t know about you, but we get a lot of trick-or-treaters at my house. And, they usually come in waves where we’ll get groups of 8 or 10 and then a break before another group arrives.
I personally love to give a few treats to every child, so for several years now, I’ve made DIY Halloween treat bags. This allows me to put a few treats into each bag and also quickly hand out the bags to those larger groups of kids.
But, who wants to hand out (or receive) boring clear plastic resealable bags filled with treats? Halloween is all about going big and having fun with the holiday. In a way that doesn’t eat up all your time, of course!
That’s why I’ve come up with this quick and easy way to decorate resealable plastic bags to make adorable DIY Halloween treat bags. The entire process takes only a few minutes, so you can get a large group done pretty quickly.
And, if you enlist the kids to help make them, this project goes even faster!
Note: If you love festive Halloween crafts that take hardly any time to make, check out my Halloween Candy Bucket That Glows in the Dark, Halloween Slime Recipe in a Jar, and Frankenstein Halloween Bags!
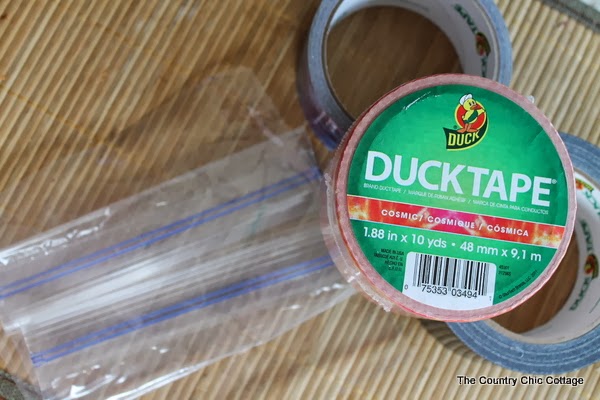
How To Decorate Halloween Treat Bags: Supplies Needed
This project is simple and straightforward, and you only need a few basic supplies to do it! Gather together:
- Duck Tape
- Resealable plastic bags (similar to Ziploc or other brands)
- Scissors
- Google eyes (optional)
How To Make Cute Halloween Treat Bags
Are you ready to transform some clear plastic bags into Halloween works of art? Just follow these simple steps.
Step 1
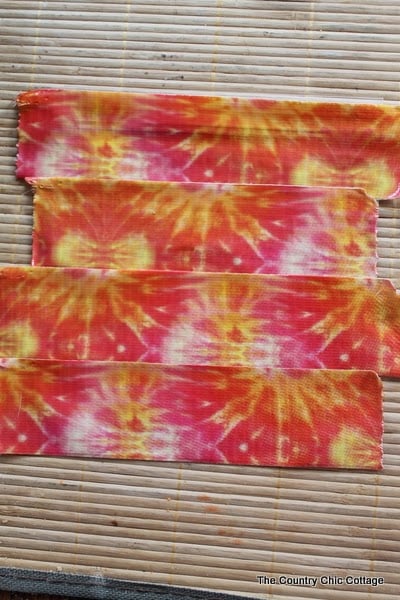
Start by applying your Duct Tape in rows across one side of the bag. I recommend starting at the “zippered” end instead of the bottom of the bag.
TIP: Make sure that you do NOT tape the open end (the zippered end) closed or your bags will be useless!
Step 2
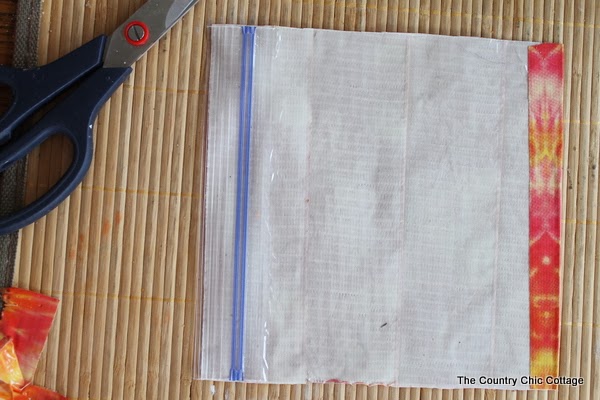
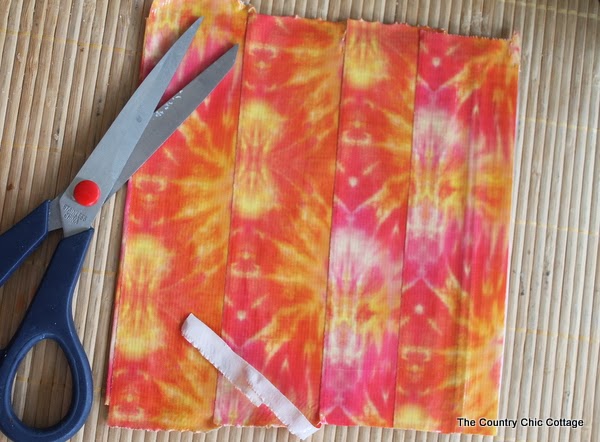
When you get to the bottom of the bag, fold the very bottom row over the bottom of the bag as shown in the picture below. This will create a seamless and more complete look for your bag.
Use your scissors to trim the tape on the sides to the size of the bag.
TIP: Take care not to cut the bag!
Step 3
Next, apply your Duck Tape in rows on the other side of your bag. Starting at the top again where the zipper is, make sure you do not tape that end of the bag closed. 😉
I ended by overlapping the last row (at the bottom of the bag) that was folded over in the picture above.
Trim those strips to the size of your bag with scissors. Please be careful not to cut the bag or your treats will fall out!
Step 4
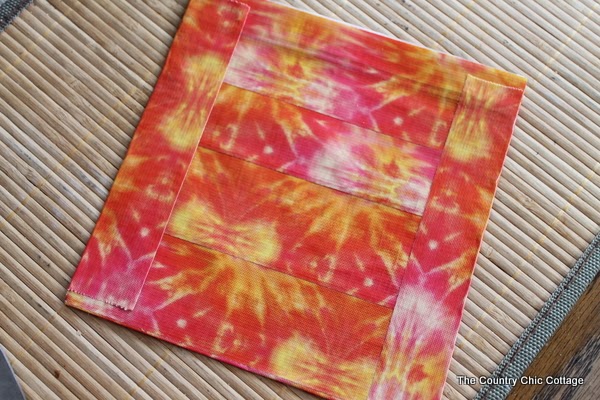
To finish off your bag, use a strip of Duck Tape down each side edge of your bag (folding over the edge) to give it a clean, finished look.
Step 5
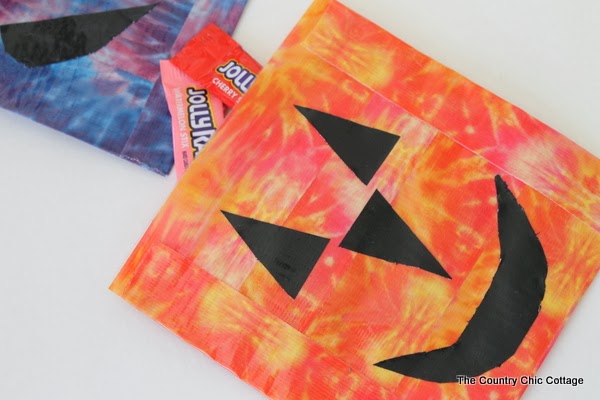
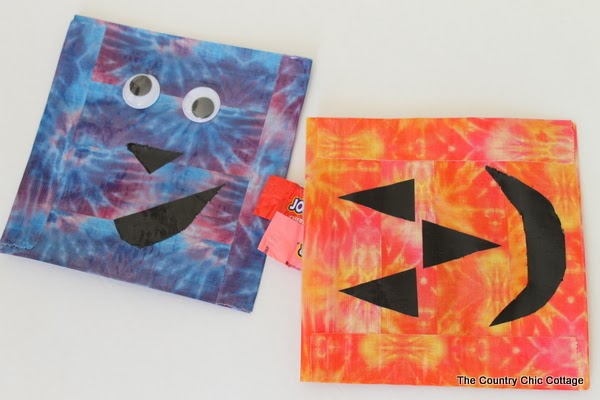
That was just the background! Now it’s time to add Halloween faces to your Halloween treat bags.
Take some black Duck Tape and cut out various shapes for mouths, eyes, and noses. Let your kids apply them to the bags in any way or combination that they choose.
For my blue monster, I also used google eyes to make him a little bit goofy. This is optional…but fun!
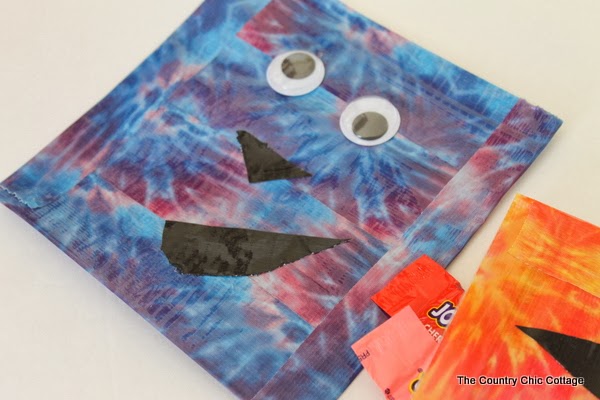
Your bag will still open and close just like any resealable plastic sandwich bag, and you can stuff them with candy, presents, or any other “treat”.
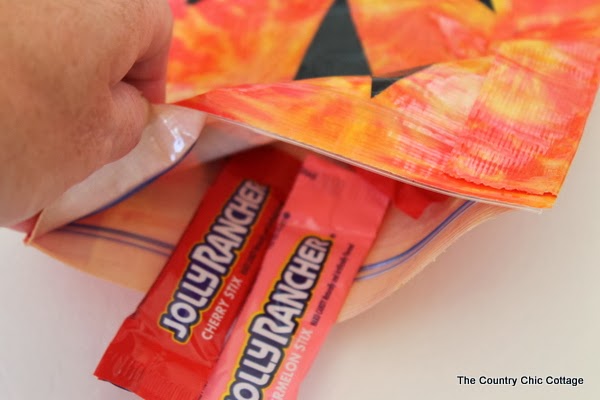
Have fun giving these to the little ghosts and goblins this Halloween. These would also make a really fun special gift for your own kids. Or, a fun project for you to work on with them for their friends.
Whoever you choose to give them to…be sure to make my DIY Halloween treat bags this year!
FAQs
Here are a couple of common questions I get about this project from readers. If you have a question but don’t see it down below, please leave it in the comments so I can answer it for you.
What can I use Halloween treat bags for?
There are plenty of ways you can use these adorable bags! I use them the most to and out candy to trick-or-treaters so that I can quickly give out 3 or 4 pieces of candy to each child.
However, you could also use them as:
- party favor bags for your Halloween party
- goody bags at the school Halloween party
- treat bags for your kids to give to their friends
- and more!
What should I put in Halloween treat bags?
I love this part! I’ve done many different things over the years. If I’m using these bags to hand to trick-or-treaters, I only put sealed candy items in there. But, I’ll do it in a combination so I mix fruity candy with chocolate candy, etc.
However, if I’m giving these as party favors or to friends, I may include some homemade goodies such as my Easy Monster Halloween Marshmallows or Witch Finger Pretzels Halloween Treats.
More Halloween Inspiration
Are you ready for my super quick way to make DIY Halloween treat bags with Duck Tape? These are a fun way to give your kids a special treat bag this year. Or, let the kids make a collection of these to give to their friends.
Here are some more Halloween crafts to try this year:
- Quick Halloween Crafts In Under 15 minutes!
- Free Printable Halloween Labels
- Monster Cookie Kit + 18 Halloween Printables
- DIY Halloween Bags Personalized with Names
- Trick or Treat Game Perfect for Halloween

Supplies
- Duck tape
- Resealable plastic sandwich bags
- Scissors
- Googly eyes optional
Instructions
- Starting at the top (open) end of the bag and working from side to side, apply strips of Duck tape in an overlapping method.
- When you get to the bottom of the bag, place a strip across the bag so that it folds from the front over to the back of the bag.
- Next, add your Duck tape to the other side of the bag. Start again at the top (open) end of the bag and move down toward the bottom. If you need to, you can overlap the bottom strip over the strip that covers the bottom of the bag.
- Use scissors to carefully trim the tape on the sides to the size of the bag. Be careful not to cut the bag!
- Cut two more strips and apply them around the side edges of your bag to create a clean, finished look.
Notes
- Take care not to apply Duck tape at the top of your bag so that it’s taped closed. If that happens, your bag is useless!
- When you trim the tape on the sides of your bag to the same size as your bag, be careful to avoid cutting the bag itself.


How cute!
I love these little bags – so cute and they look easy to make!