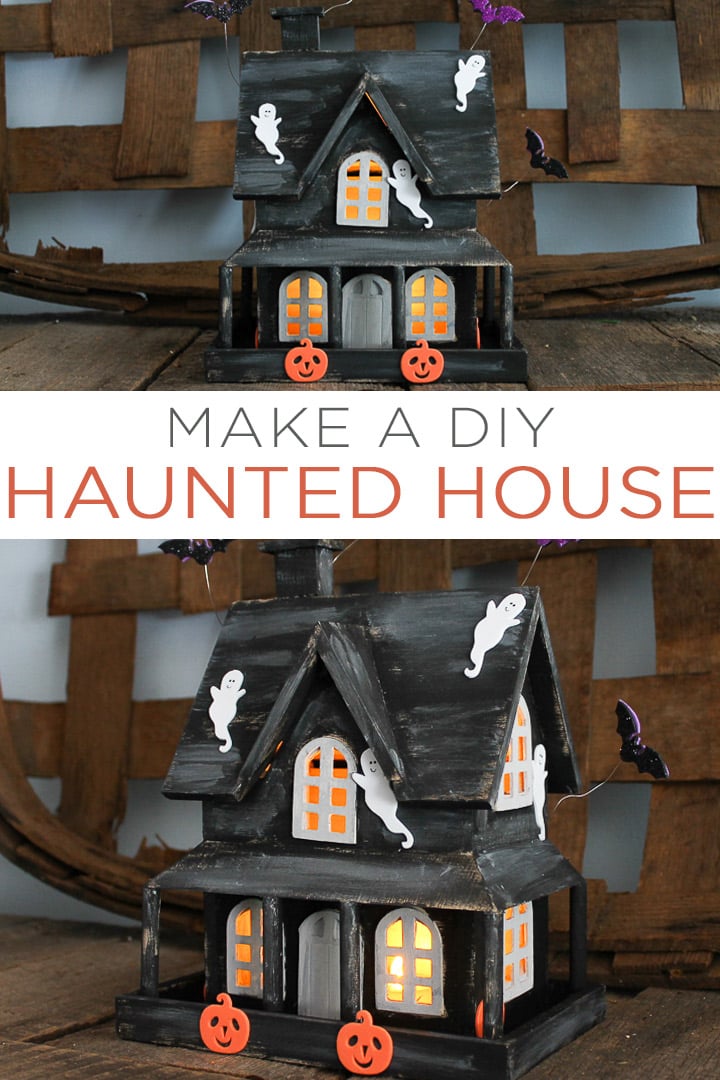
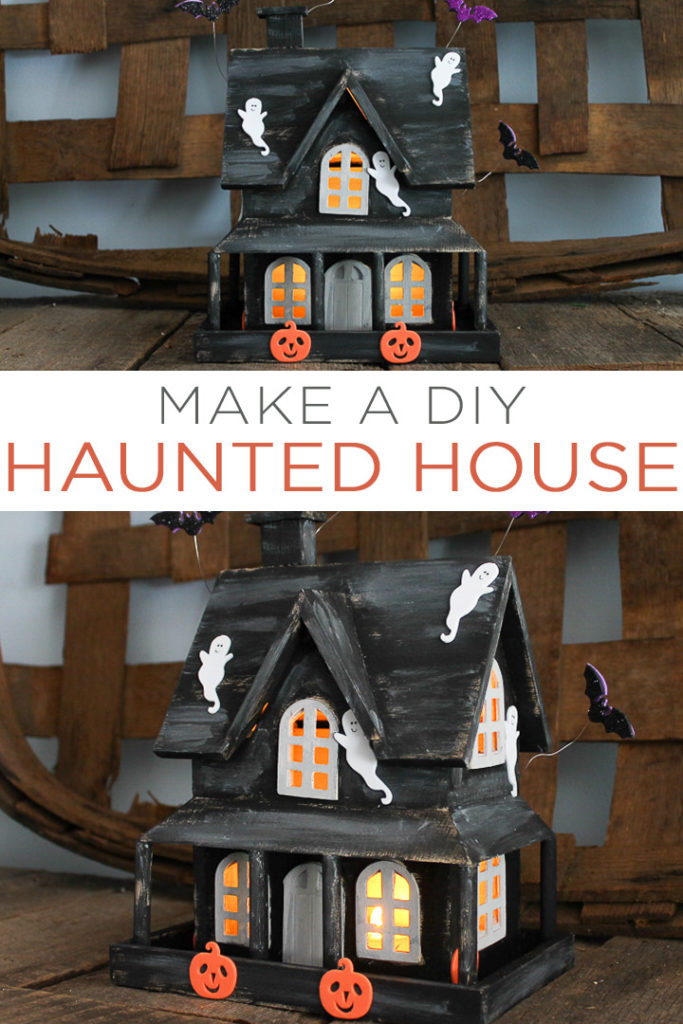
You can make a DIY haunted house to light up your mantel or even your porch with this quick and easy craft idea. This one is even easy enough for the kids to help! So, break out those craft supplies and make this cute Halloween decoration for your home. Everyone will love this little distressed house and its friendly ghosts. I am adding it to my mantel beside my Halloween wood sign!
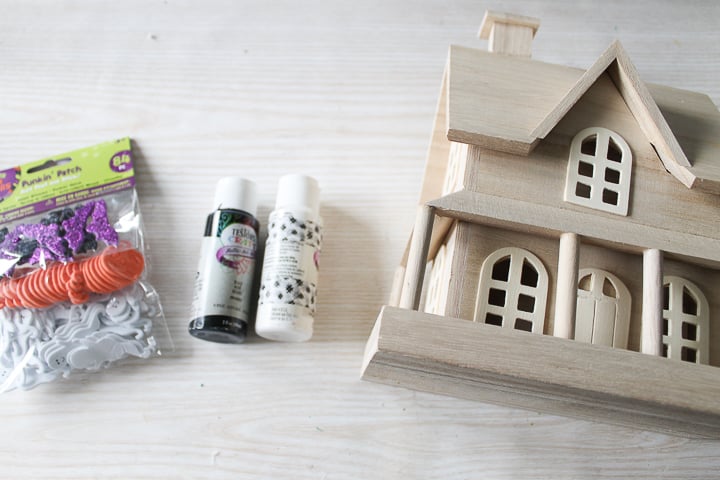
Supplies to make a haunted house kids craft:
Some links below may be affiliate links which means that you do not pay anymore, however, a small commission will go to this site.
- Wood House (the exact one I used is no longer available but this one is similar)
- Black and White Craft Paint
- Foamies Halloween Stickers
- Paintbrush
- Craft Wire
- Hot Glue and a Glue Gun
- Battery Operated Tea Light
- Drill with a Hole Bit
How to Make a DIY Haunted House:
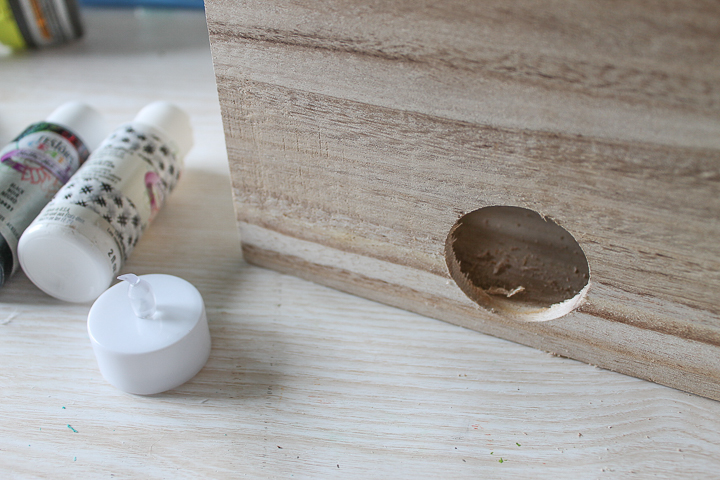
First, you need to add a hole for the tea light to the bottom of your wood house. Use a drill with a hole bit a little larger than the diameter of the tea light.
Then you can start painting the wood house. I am using a distressed paint technique on this house. Dip your brush into a little black paint and remove most of it on a piece of paper. Then quickly move the brush across the house to create a rustic look.
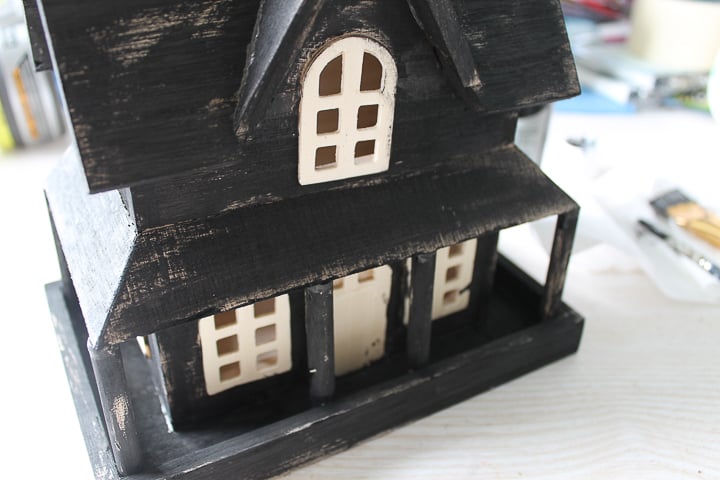
Then mix white paint with a little black for a soft grey and paint around the windows and doors. You can also whitewash your house with this mixture by adding a little on top of the black and immediately wiping most of it away with a rag. The picture below has this effect on the right and not on the left. You can see what a difference this can make.
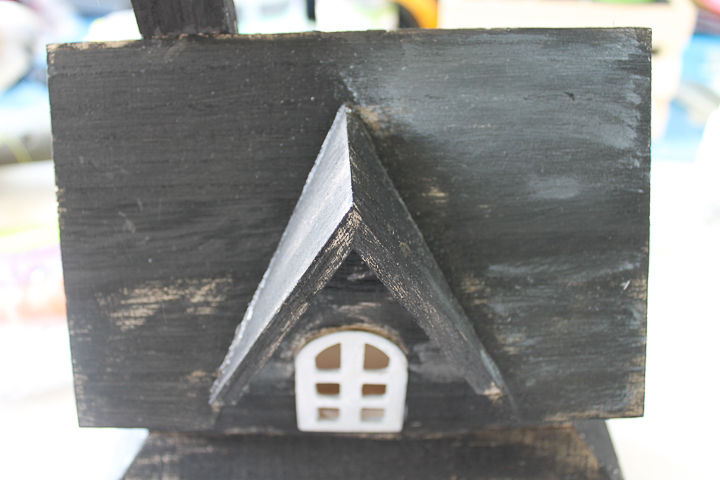
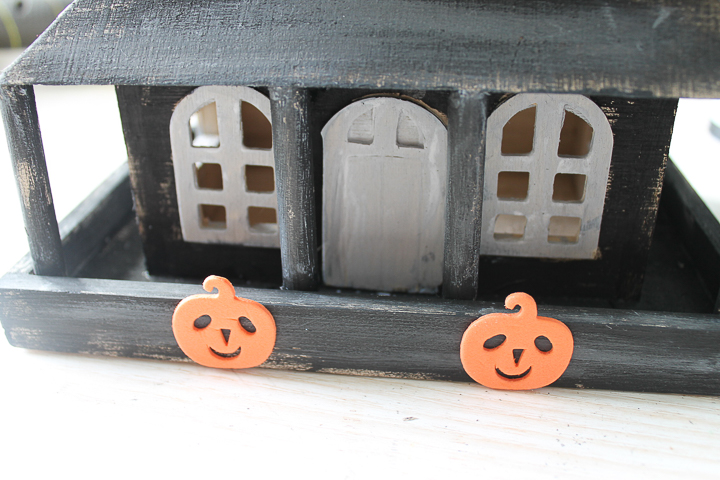
Allow the paint on your house to dry completely. Remember that the kids can help with this project. This paint is totally imperfect and that is part of what makes it spooky! The kids can also grab a brush and help with this part as well. Once the paint is dry, then you can start adding the stickers to the front as well as the roof.
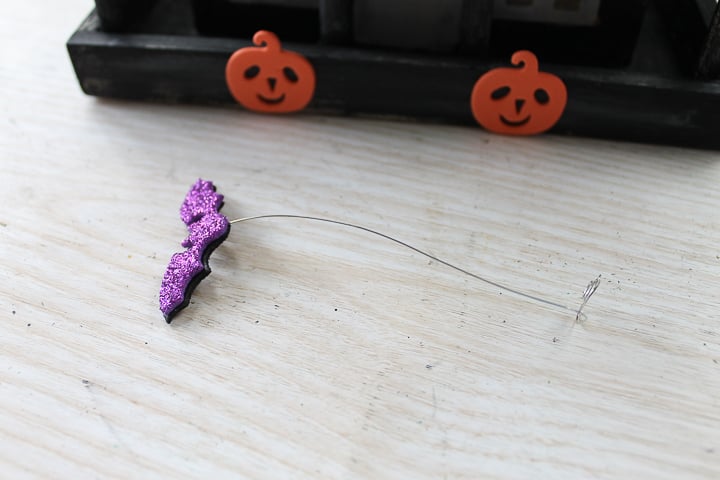
Want some spooky bats flying around your DIY haunted house? Just add two stickers back to back onto some craft wire. Then curl the opposite end of your wire.
Then use a little hot glue on the curled end to put your bats on the roof of your house.
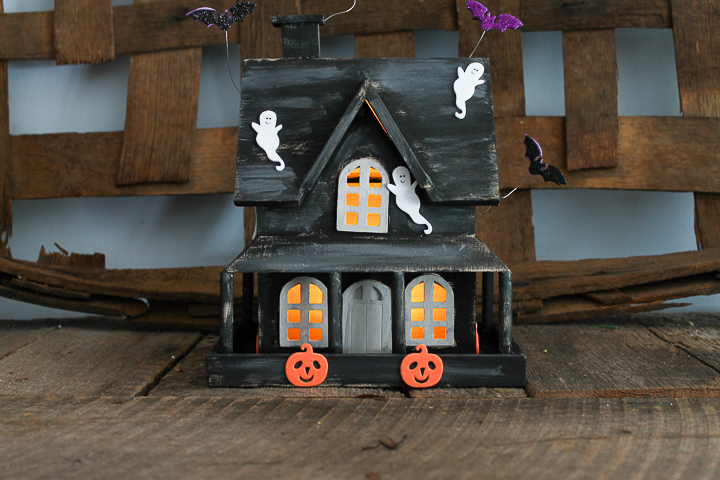
Pop the battery-operated tea light in the hole that you added to the bottom and your DIY haunted house is ready for any room in your home.
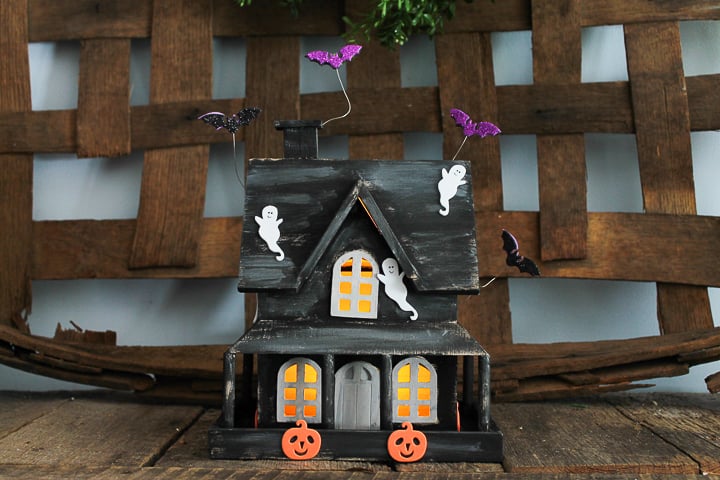
This cute project will look great lighting up a room or even on the porch on Halloween night. I love an easy project that looks great as well!
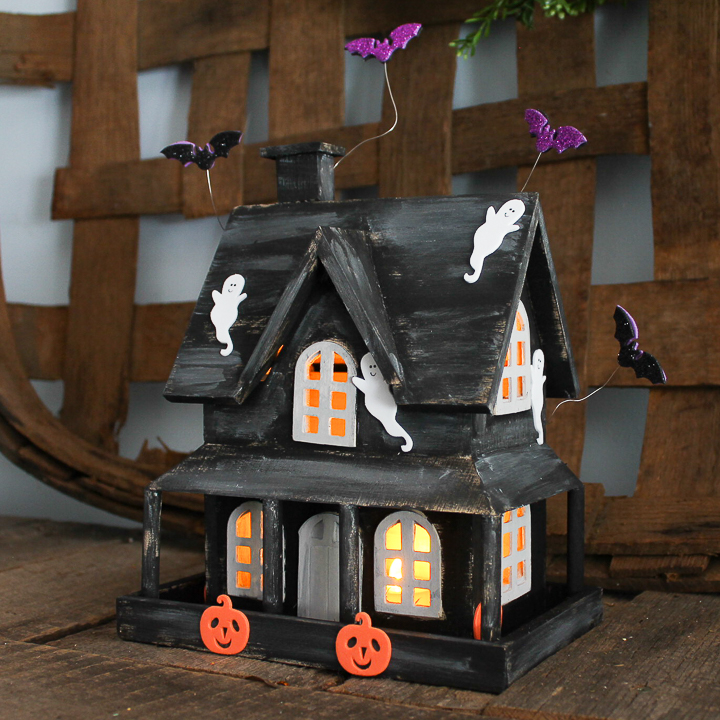
Will you and the kids make your own version of this cute Halloween craft? They are going to love the results! This DIY haunted house was originally posted over on the Darice blog but I am posting it here in case you missed it.
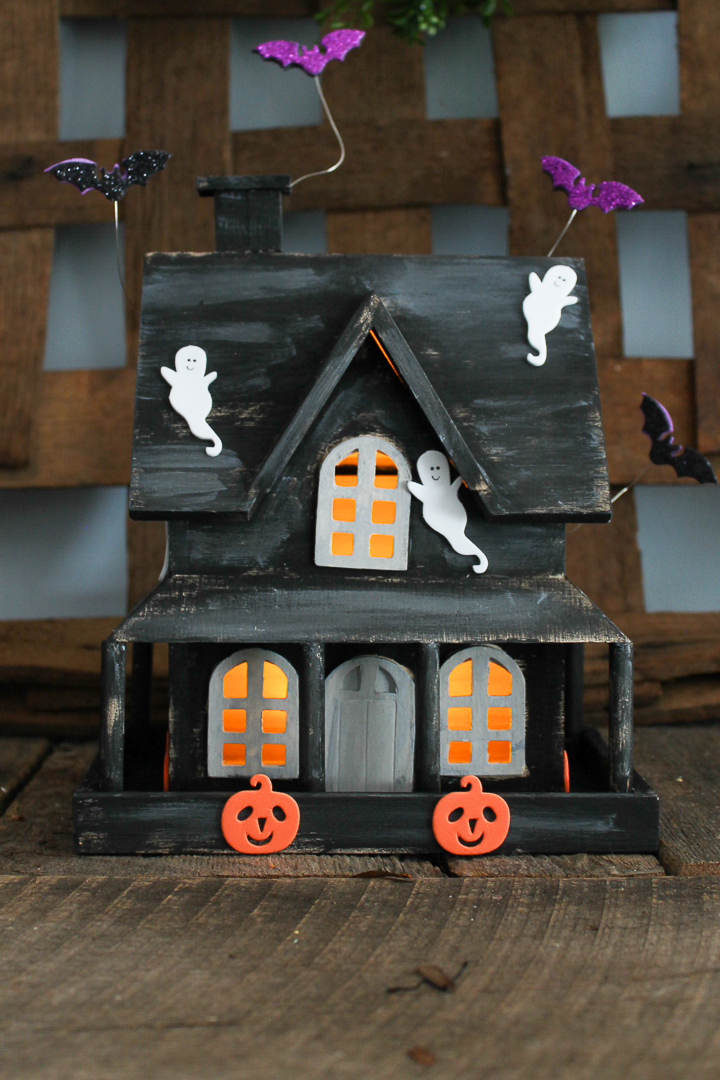
So, do you love this Halloween craft idea and want more? Try the links below!
- Black Cat Cupcakes Perfect for Halloween
- DIY Halloween Pillow with a Spider
- Free Ghost SVG Plus 14 More Halloween SVG Files
- Halloween Brownies Decorated Like Ghosts
- Halloween Bean Bags
Need to print this Halloween kids craft? Then use the card below!
Equipment
- Hot Glue and a Glue Gun
- Drill with a Hole Bit
Supplies
- Unfinished Wood House
- Black and White Craft Paint
- Foamies Halloween Stickers
- Craft Wire
- Battery Operated Tea Light
Instructions
- First, you need to add a hole for the tea light to the bottom of your wood house. Use a drill with a hole bit a little larger than the diameter of the tea light.
- Then you can start painting the wood house. I am using a distressed paint technique on this house. Dip your brush into a little black paint and remove most of it on a piece of paper. Then quickly move the brush across the house to create a rustic look.
- Then mix white paint with a little black for a soft grey and paint around the windows and doors. You can also whitewash your house with this mixture by adding a little on top of the black and immediately wiping most of it away with a rag. The picture below has this effect on the right and not on the left. You can see what a difference this can make.
- Allow the paint on your house to dry completely. Remember that the kids can help with this project. This paint is totally imperfect and that is part of what makes it spooky! The kids can also grab a brush and help with this part as well. Once the paint is dry, then you can start adding the stickers to the front as well as the roof.
- Want some spooky bats flying around your DIY haunted house? Just add two stickers back to back onto some craft wire. Then curl the opposite end of your wire.
- Then use a little hot glue on the curled end to put your bats on the roof of your house.
- Pop the battery-operated tea light in the hole that you added to the bottom and your DIY haunted house is ready for any room in your home.



I tried to click the link for the wood house and also on another project and both said the links were not currently active?
Yes, the company went out of business.
Links don’t work for the wooden house
Thanks for letting me know. I’ve updated the links in the post.