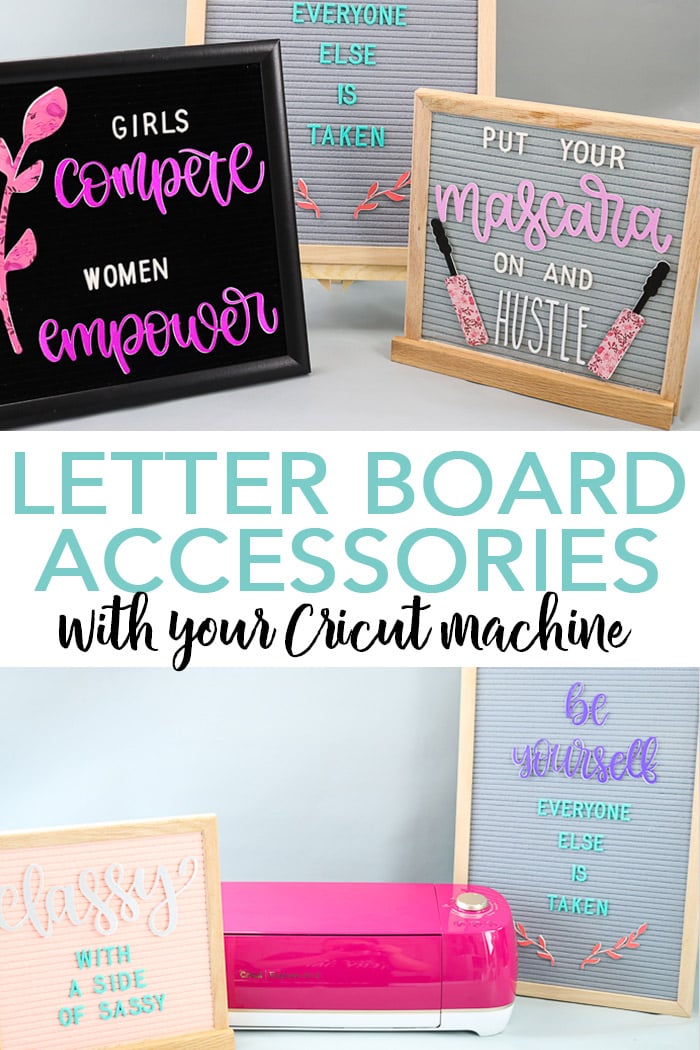
Did you know that you can make your own DIY letter board accessories? There’s no need to purchase pre-made ones from Etsy, as they are actually super easy to make with your Cricut machine. I am going to share a bit about the Cricut® Explore Air™ 2 and then jump into a project that you don’t want to miss! This is also Craft Lightning week where we are sharing decoupage crafts every day this week. So, be sure to scroll to the bottom of this post for today’s craft ideas. You might also want to check out the ideas from day 1 and day 2.
This is a sponsored conversation written by me on behalf of Cricut. The opinions and text are all mine.
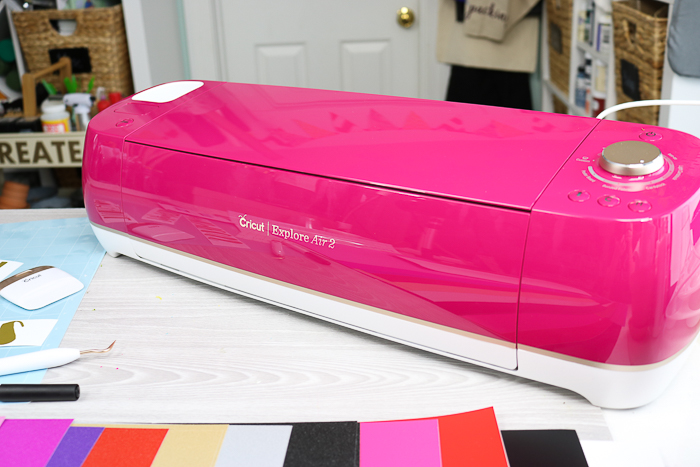
Cricut Wild Rose Explore Air 2 Bundle
The Cricut Wild Rose bundle is no longer available, and the Cricut Explore Air 2 has since been replaced by the Explore 3 which you can read all about here. You can also purchase most of the supplies separately through Cricut.com, Michael’s, or Amazon.
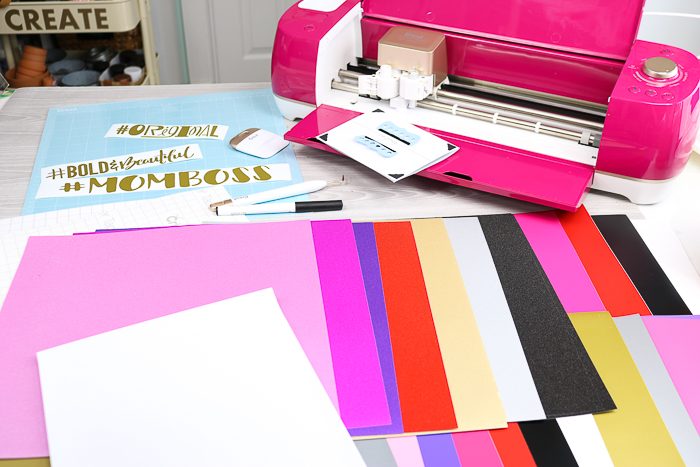
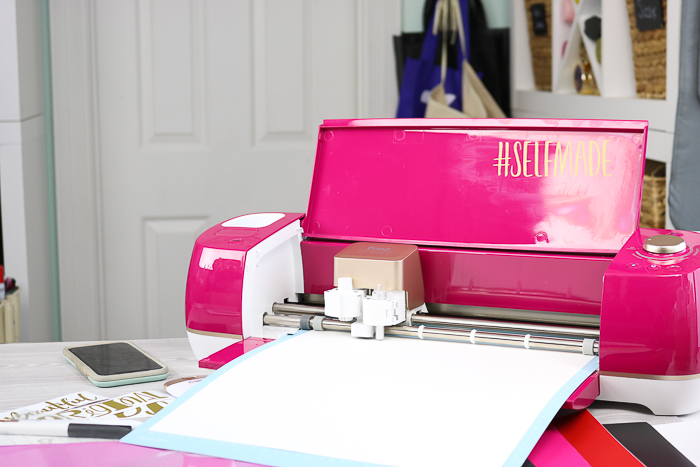
This machine represents female empowerment and entrepreneurship and comes with a fearless design that is there to empower you so you can create anything. It also comes with 5 fun gold vinyl hashtags that you can use to personalize your machine. Simply choose which hashtag best represents you as a creator, add it to your machine or whatever else you feel like personalizing, snap a pic, and post to the whole world what type of creator you are and why!
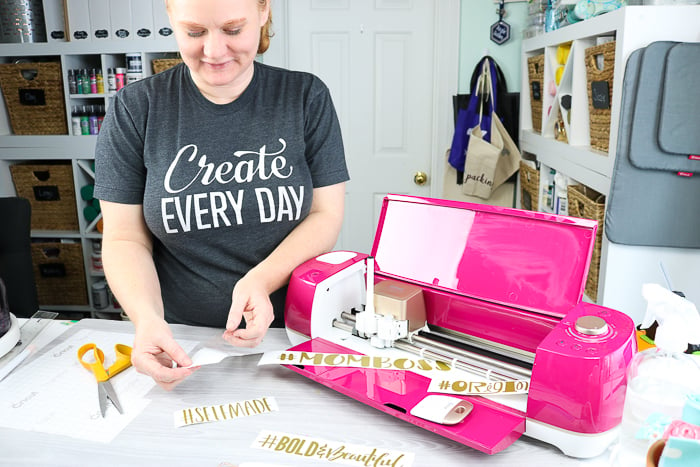
I added #selfmade to the top of my machine. If you don’t know, I started this blog 9 years ago on a whim. That whim morphed into a full-time job about 3 years ago that I love! I get to live my dream of staying home and creating great content for this site. Y’all get to visit every day to see my projects and (hopefully) use the instructions to create crafts of your very own. This dream come true came from a ton of hard work so #selfmade really spoke to me!
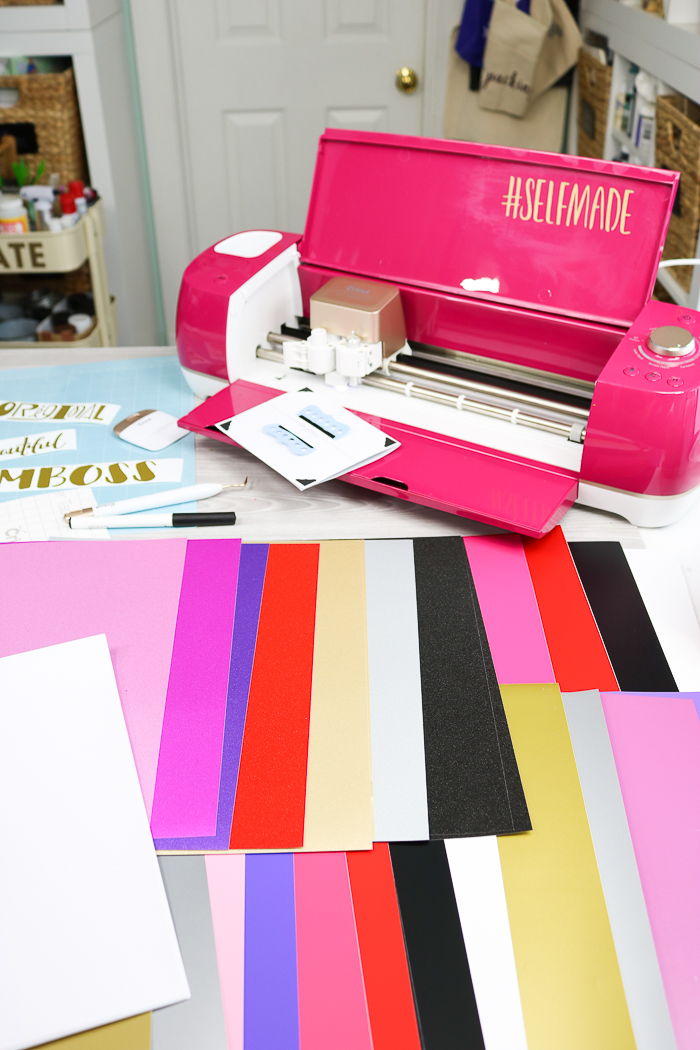
This gorgeous machine comes with all of the products that you see in the image above. I mean, how great will this gorgeous machine look in your crafting space?
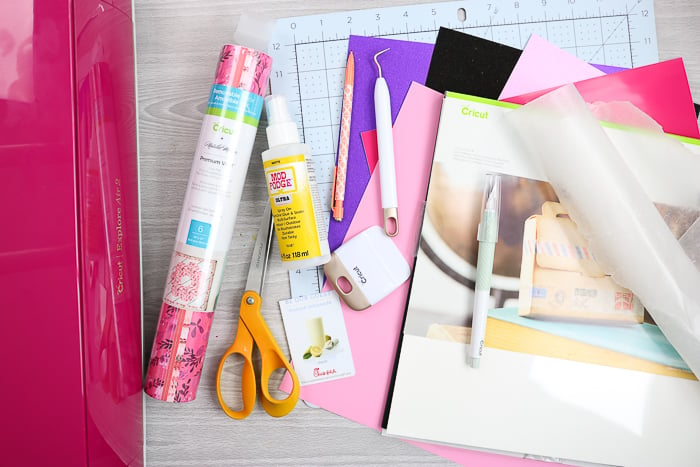
Supplies needed to make DIY felt letter board accessories:
- Cricut® Explore
- Cricut Vinyl
- Cricut Kraft Board
- Mod Podge Ultra
- Cut file for pieces
- Scissors
- Old gift card
- Wax Paper
- Self-healing mat or another heavy flat object
- Weeding tool and scraper
- Pack of hot glue sticks and a glue gun
- Pencil
- Letter Board
- Letter Board Letters
Video Tutorial
Want a video on how to make these DIY letterboard accessories? Just watch below!
Can’t watch the video or missed some of the steps? Just follow along below!
How to make DIY letter board accessories
Start by cutting your pieces with your Cricut® Explore Air™ 2, Wild Rose Edition. You can find the cut file for the pieces here. The black pieces are all cut from the kraft board then you can cut the colored pieces from whatever vinyl colors you would like.
To make each piece, gather up the two matching pieces of kraft board plus the matching vinyl.
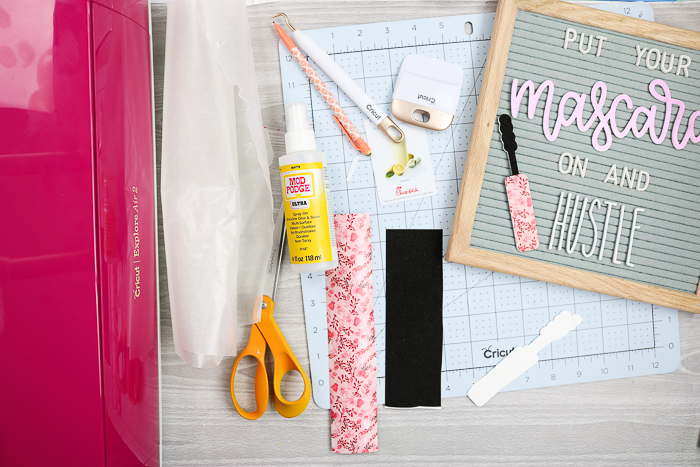
Use the Mod Podge Ultra to layer the kraft board pieces. Spray one piece while it is on wax paper. NOTE: You will need to clean the spray pump of this product after each use with water.
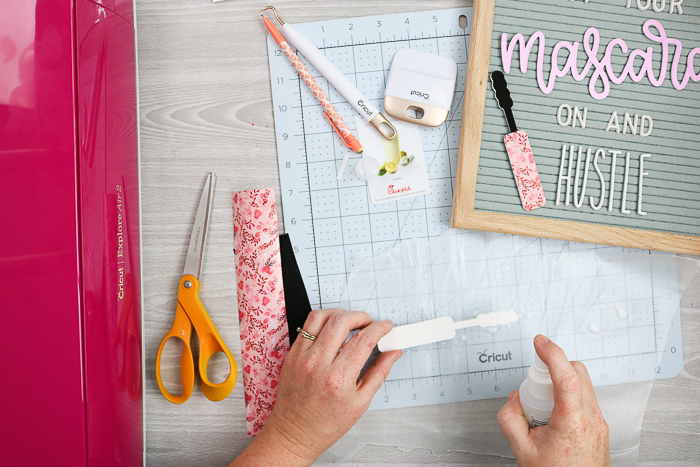
Then add the second piece on top.
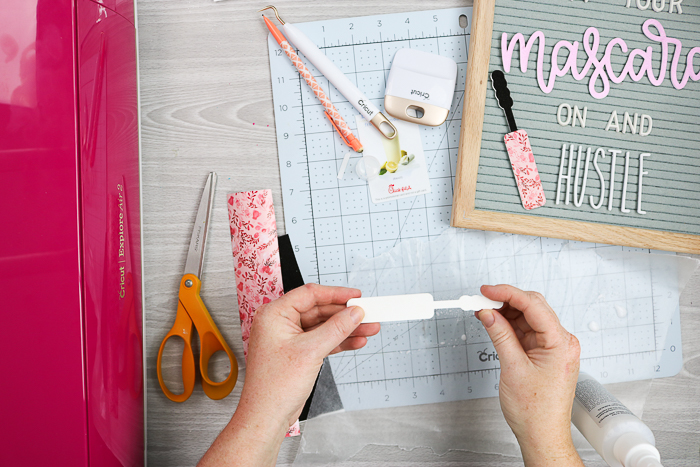
Sandwich this in between two clean pieces of wax paper.
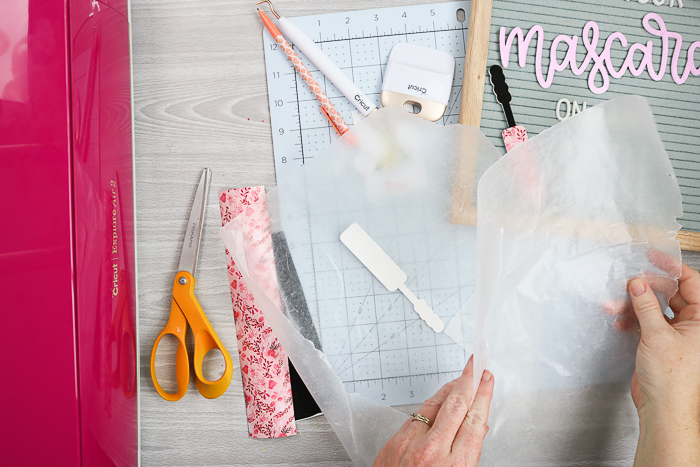
Put under something heavy or the self-healing mat to dry.
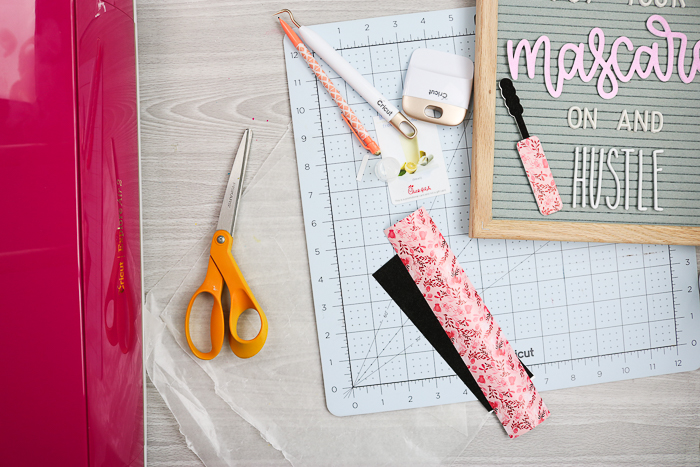
While this is drying for a few minutes, you can weed your vinyl pieces. Most of these only have one layer of vinyl but the mascara wands have two separate pieces. I weeded both of these and layered them one on top of another.
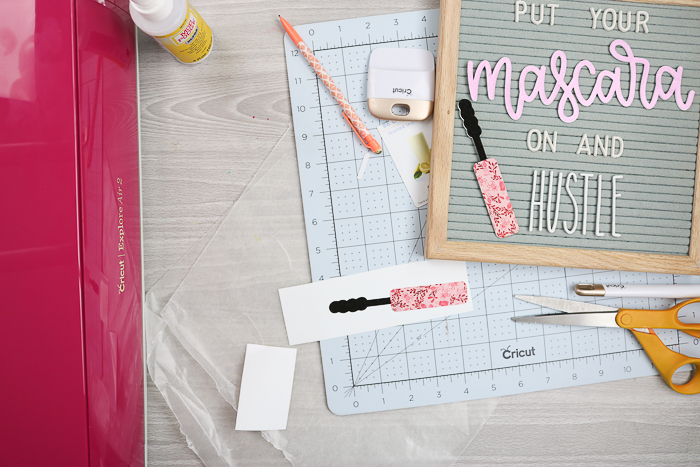
Then peel and add to the top of your kraft board piece that you decoupaged together in a previous step. The decoupage piece will take several hours to dry completely but it should be able to be handled within a few minutes.
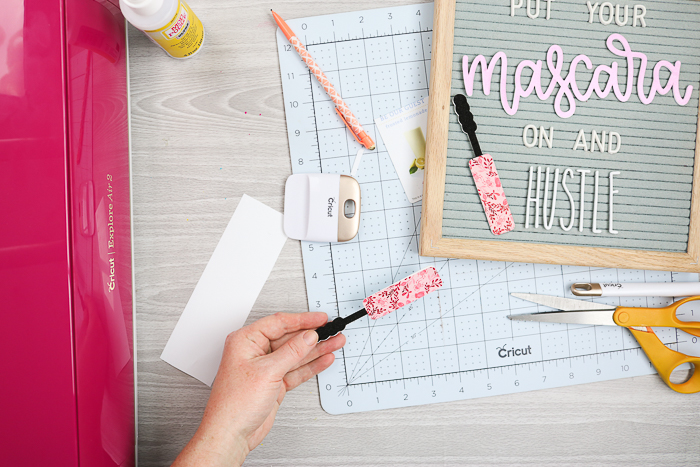
Then we need to add something for the piece to work in the letter board. First, turn the piece upside down on the letter board and mark at least two areas with a pencil where there is a gap in your felt.
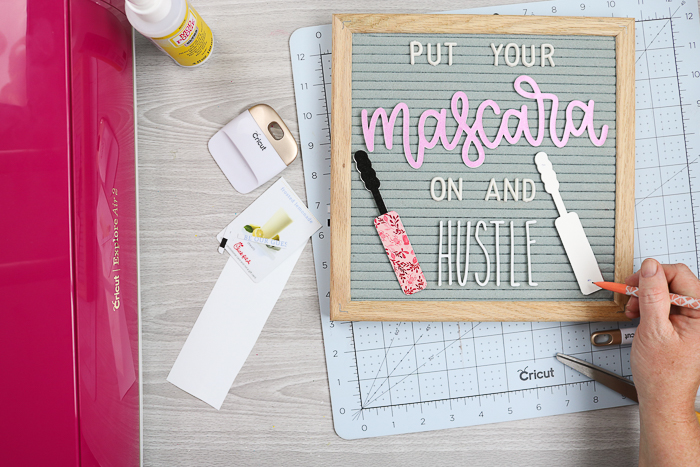
Then cut an old gift card into small squares. These should be about 1/8 inch by 1/8 inch. Use the tabs on your letters as a guide for size. Then use hot glue to secure the tabs into place. The easiest way to do that is to put out a small dollop of hot glue on a non-stick mat and dip the pieces in carefully. Hold the pieces until they cool enough to stand on their own. Be very careful not to burn yourself when doing this step.
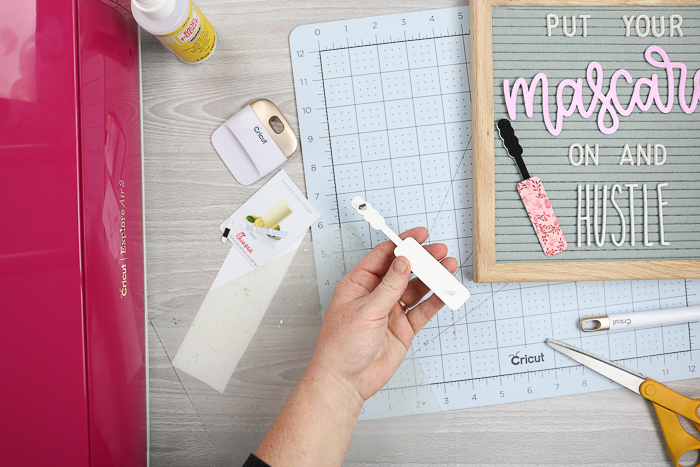
Then just add your DIY letter board accessories to your board!
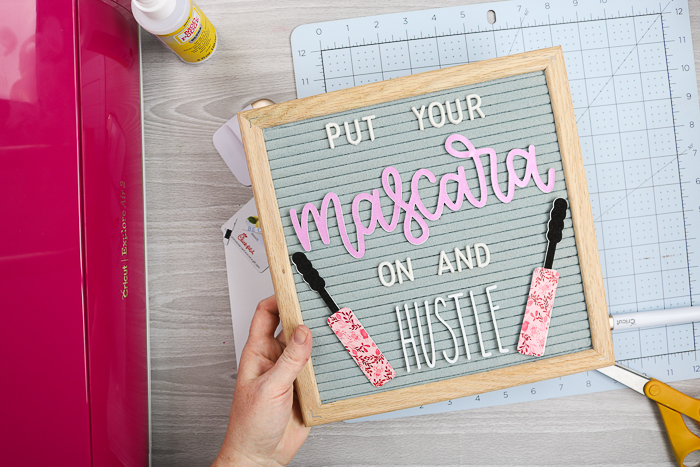
I have four different quotes in the cut file but you can use this same method to make DIY felt letter board accessories with any word or shape you would like!
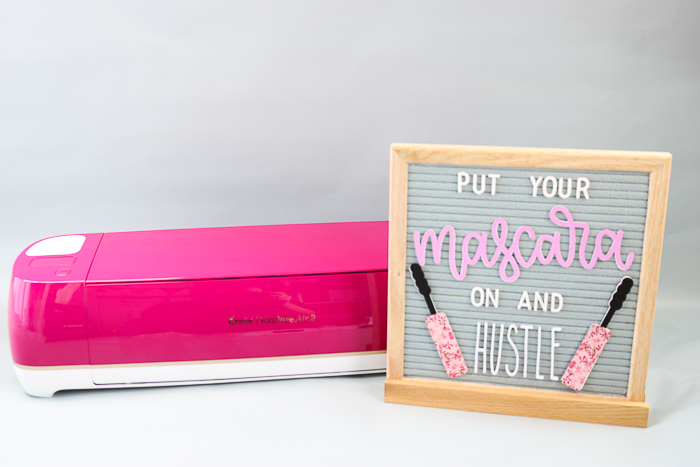
I would use caution if using something like an “I” in your word as the dot above the I will be a separate piece and will need a tab as well.
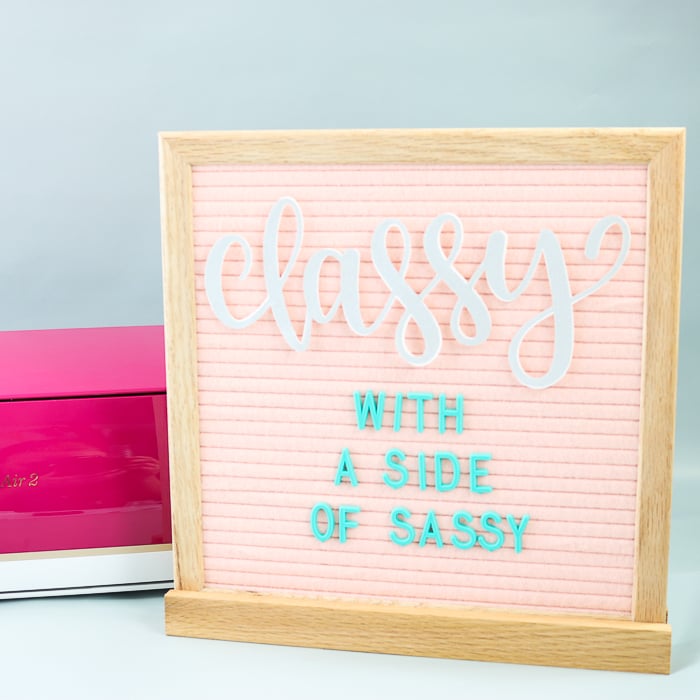
Otherwise, go crazy making DIY letter board letters for any design you like!
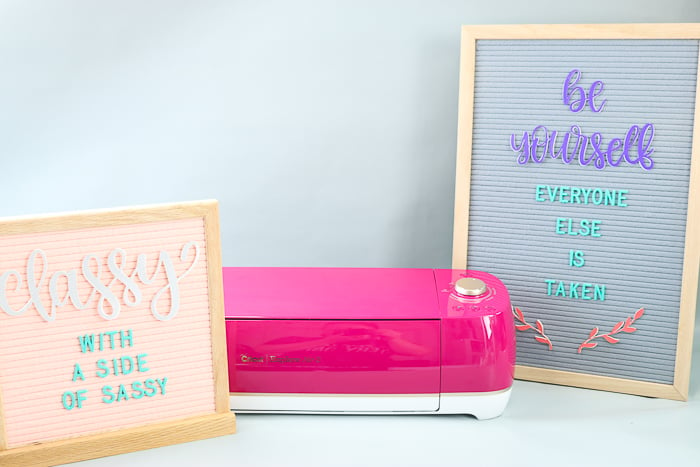
I also did a few leaf accents for a few of my boards. Each custom piece is made exactly the same as the tutorial above.
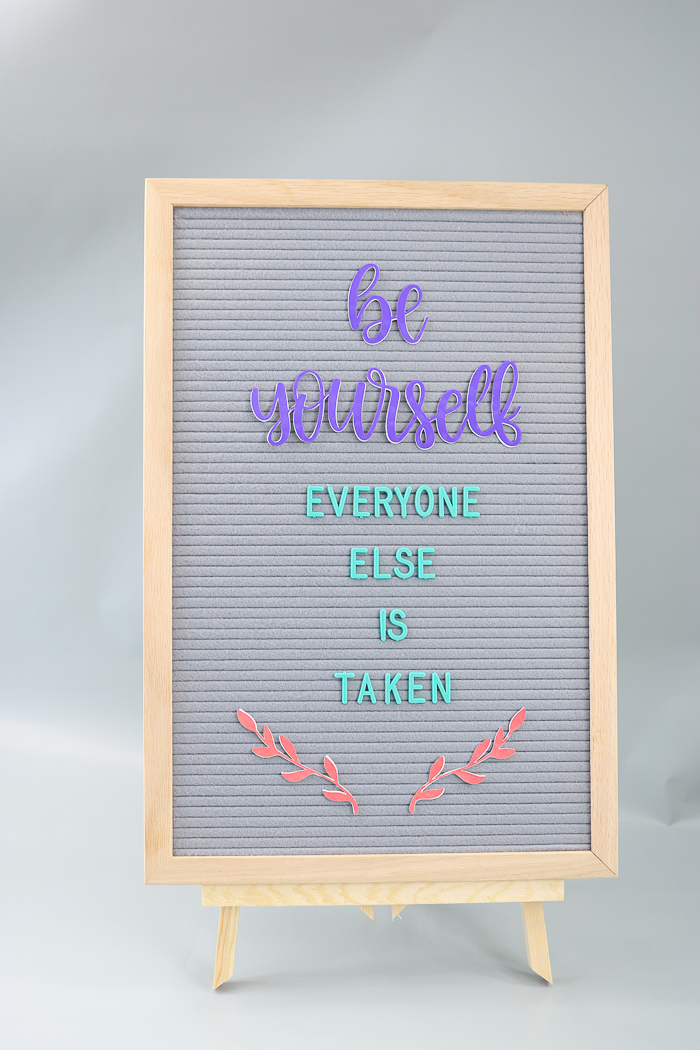
The individual letters that are shown are purchased or came with the board.
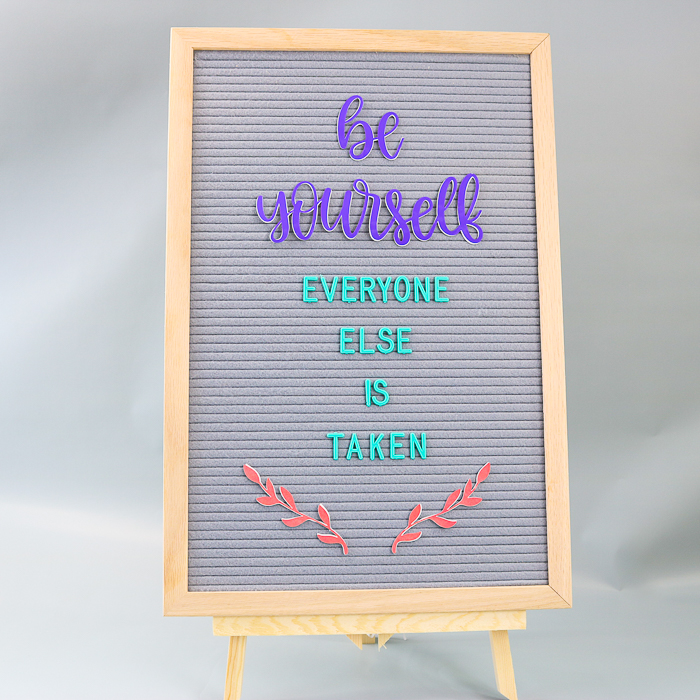
Adding your own DIY letter board accessories can take your quote game to a whole other level!
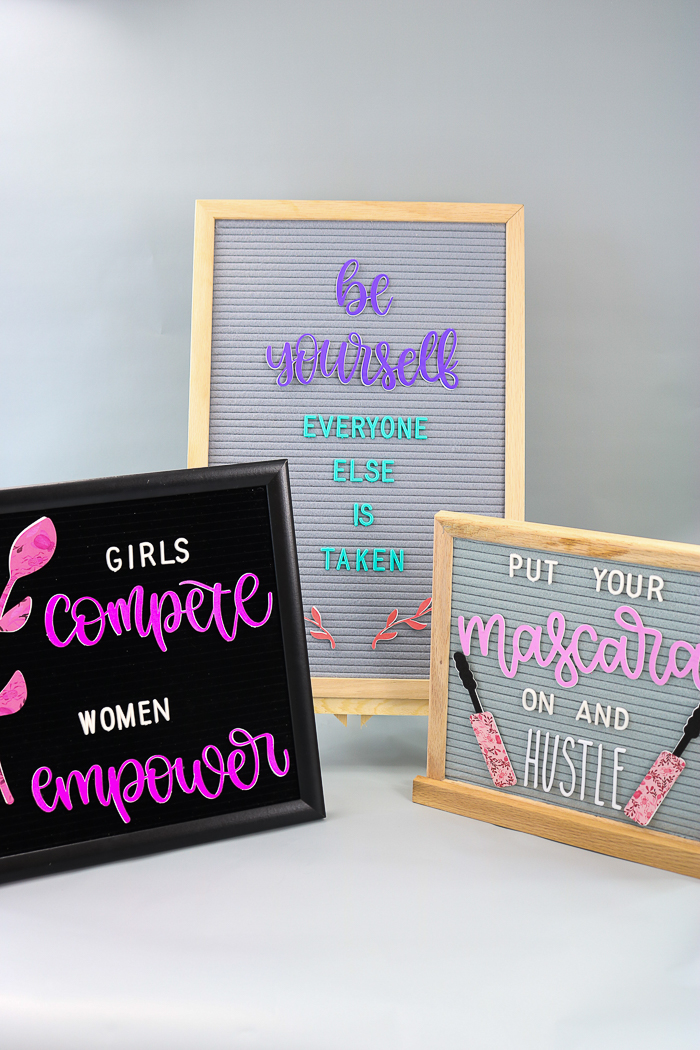
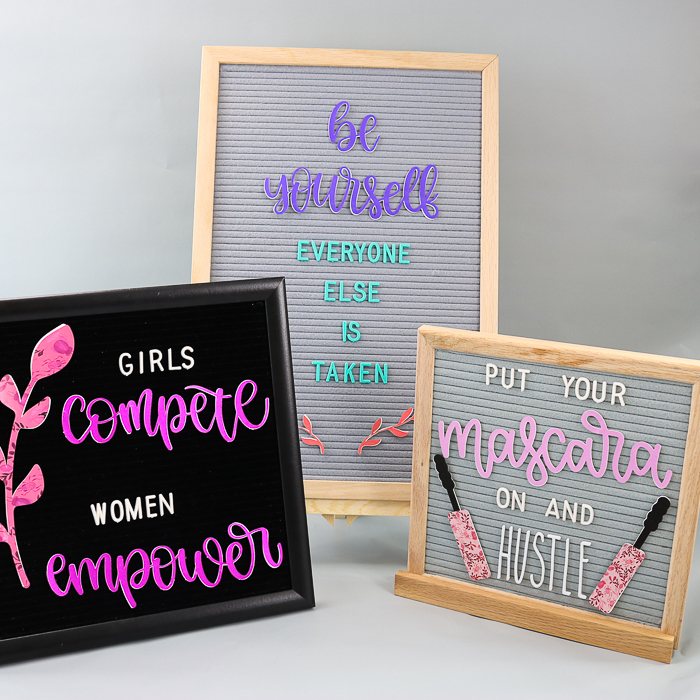
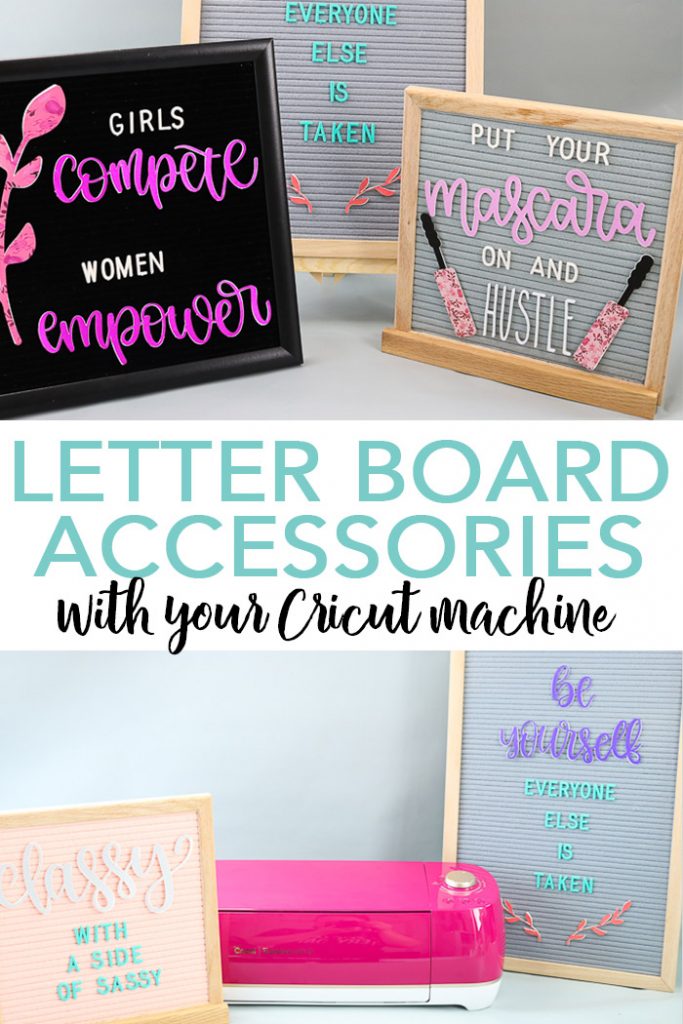
I did the following quotes for these boards:
- be yourself everyone else is taken
- girls compete women empower
- put your mascara on and hustle
- classy with a side of sassy
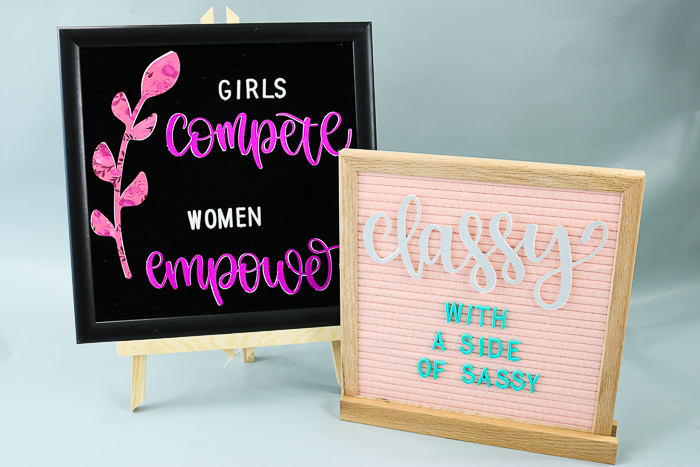
I was inspired by the movement of female empowerment behind the machine. And yes I might just have an obsession with felt letter boards y’all!
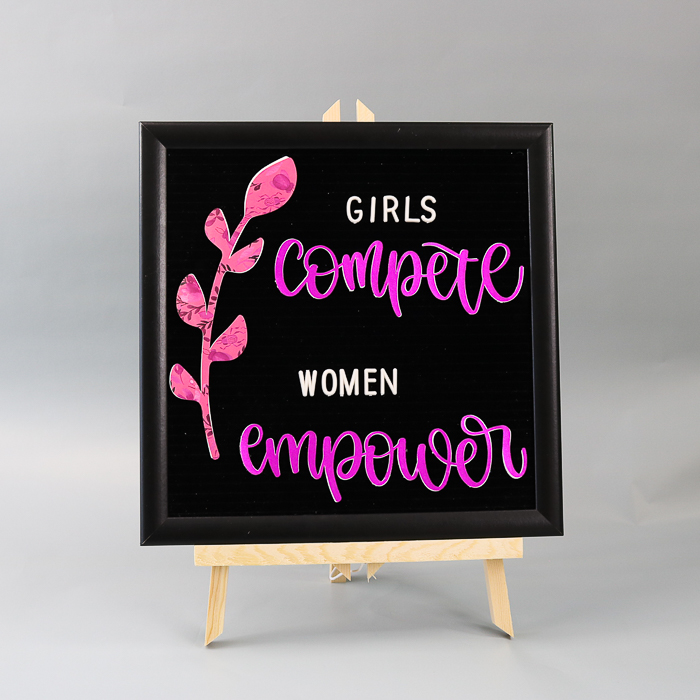
I also think the use of patterned or even shimmer vinyl really adds something to this project!
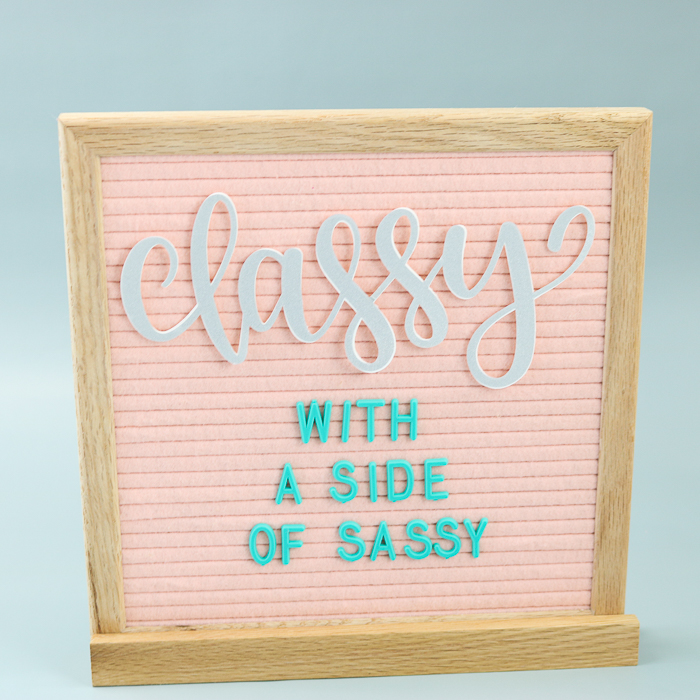
So, pick a quote and make some DIY letter board words to make quotes of your very own.
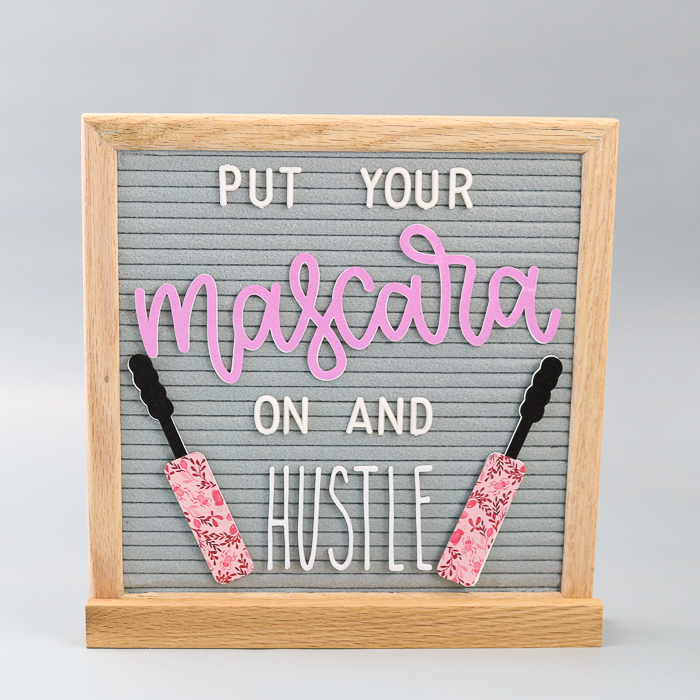
I know that you are going to love the results! Grab your Cricut and make some accessories or board icons for your own felt letter board today!
More crafting ideas
Love these DIY felt letter board accessories and want more ideas? Try the decoupage crafts below!
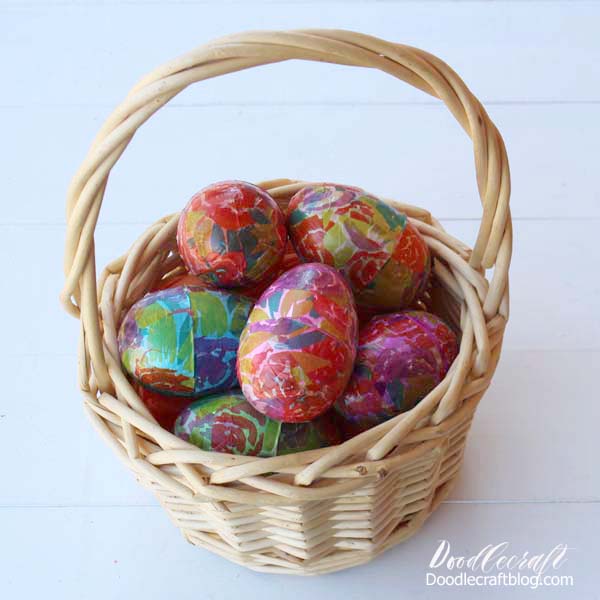
Decopauge tissue paper onto eggs like these from Doodle Craft.
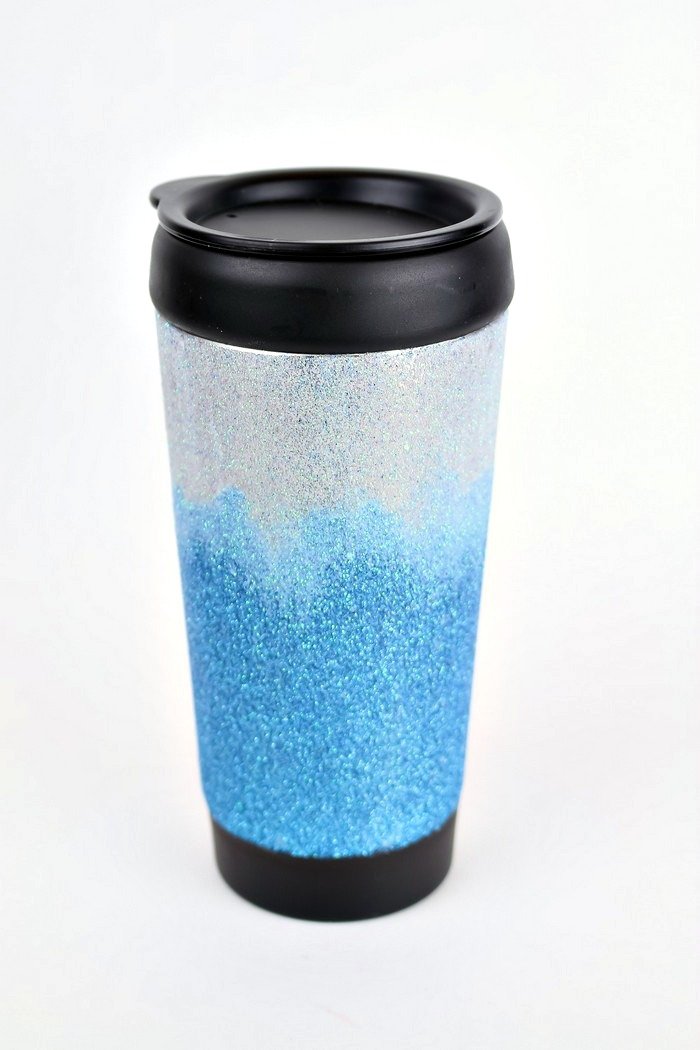
You can also make a dishwasher-safe glitter tumbler with Mod Podge like this one from Mad in Crafts.
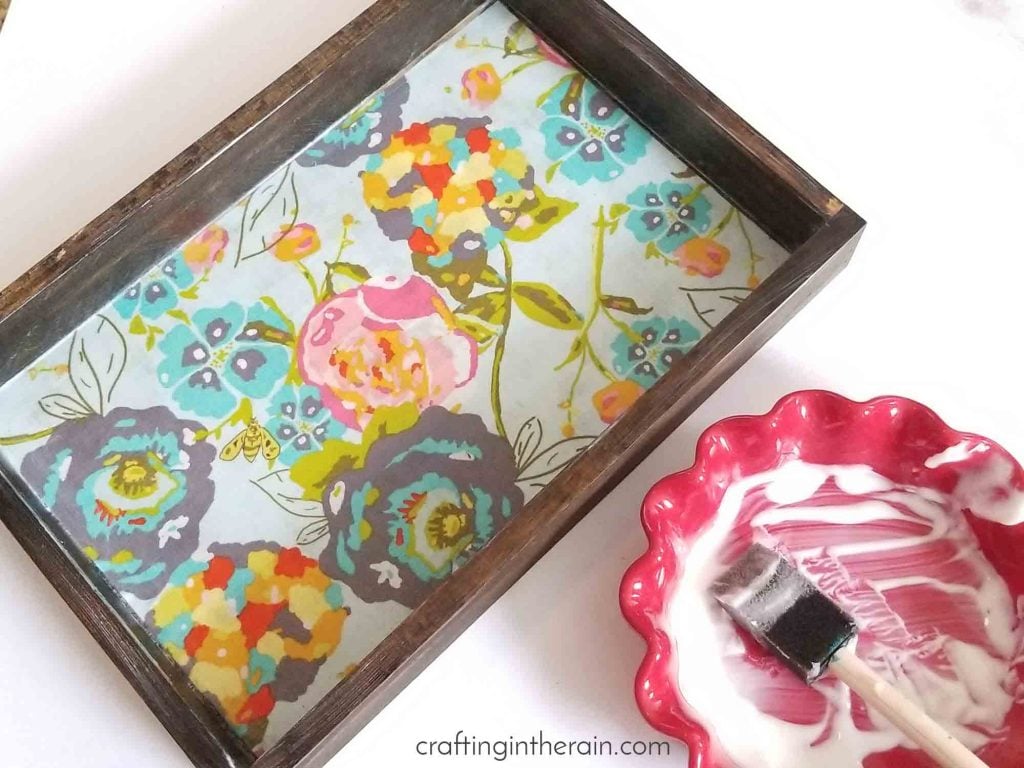
Our guest co-hostess is Crafting in the Rain and she is adding fabric to the bottom of a wood tray with decoupage.
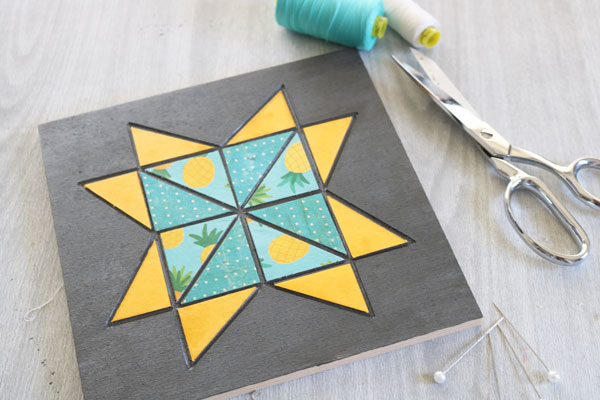
Make a quilt sign in minutes like this one from my long time co-hostess 30 Minute Crafts.
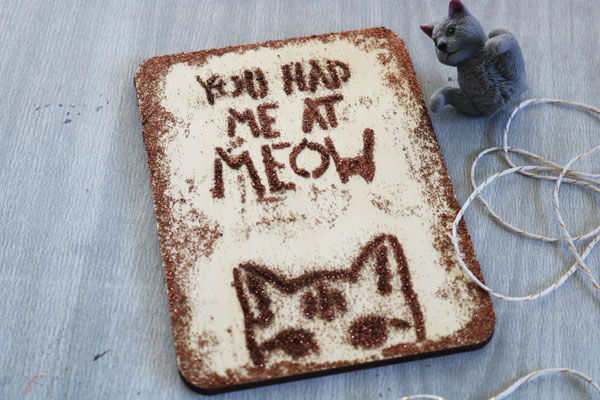
She is also adding glitter to this cute distressed sign.
So, whether you make these DIY letter board accessories or one of these other decoupage crafts, be sure to take some time to get creative! You could even make some super cute letterboard icons to celebrate the holidays like Christmas and the new year to add to your holiday home decor.
New to Cricut?

Sign up for our email list to download the Beginner's Guide to Cricut Design Space for FREE today!
Sign up to get the guide emailed to you!



i don’t have the cricut air..i only have the cricut explore…can i still make these letter board accessories
Of course! It should work with that machine as well!
What font did you use for the cursive words? It’s beautiful!
I think they were all images in Cricut Design Space.