These DIY map coasters are super easy to make, so break out your Mod Podge and follow along! You might even make a few sets as these make great gifts as well. Once you know how to make your own coasters, you will be making them for gifts and so much more!
Want more coaster ideas? We have all of our coaster crafts here!
DIY Map Coasters Video Tutorial
Want to see a quick video of these DIY map coasters? Just click play on the video below to watch the entire process from start to finish.
Can’t watch the video or miss some of the steps? You can also follow along below.
How To Make DIY Map Coasters
I love maps y’all! Love, love, love!
I decided to put some maps on coasters for my living room. I’ve used maps many times before in our home. There are so many different ways you can use them and display them. I love to frame them or display vintage maps as art, repurpose them as placecards, or use them to elevate a tray.
This project doesn’t require pouring epoxy or anything complicated. Just coasters (you can even use old ones), Mod Podge, and a few maps!
Supplies Needed To Make DIY Map Coasters
- Mod Podge
- Maps
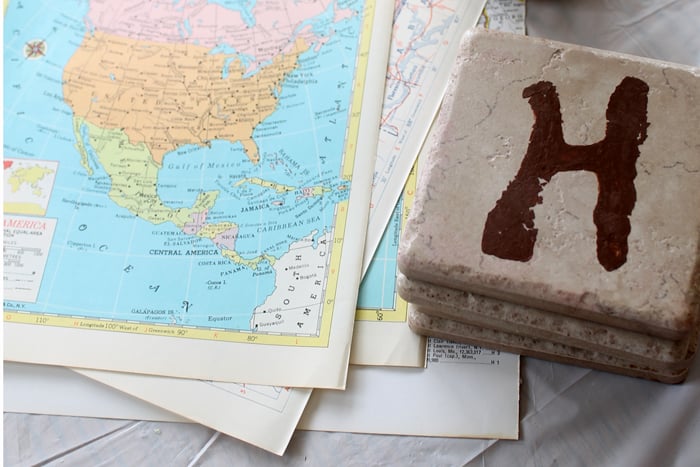
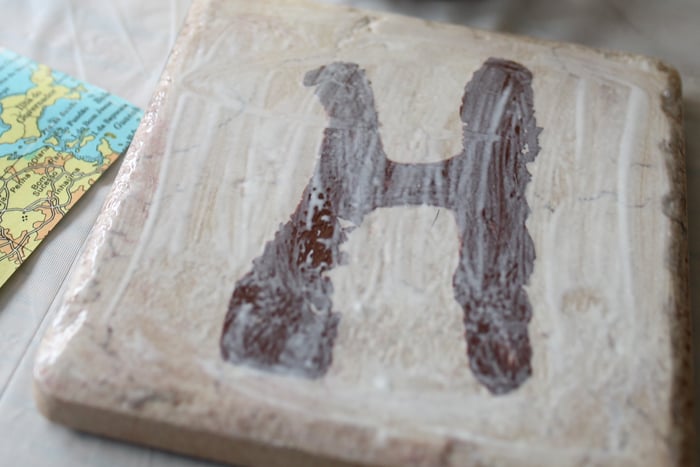
- Tiles (I actually had painted some tiles with a monogram many years ago and they had seen better days, so I revamped those instead of buying new tiles. The tiles were originally from the flooring section at Lowe’s.)
- Self-adhesive felt
- Scissors
- Pencil
- Paintbrush
Step 1: Trace & Cut Out Map For Coaster
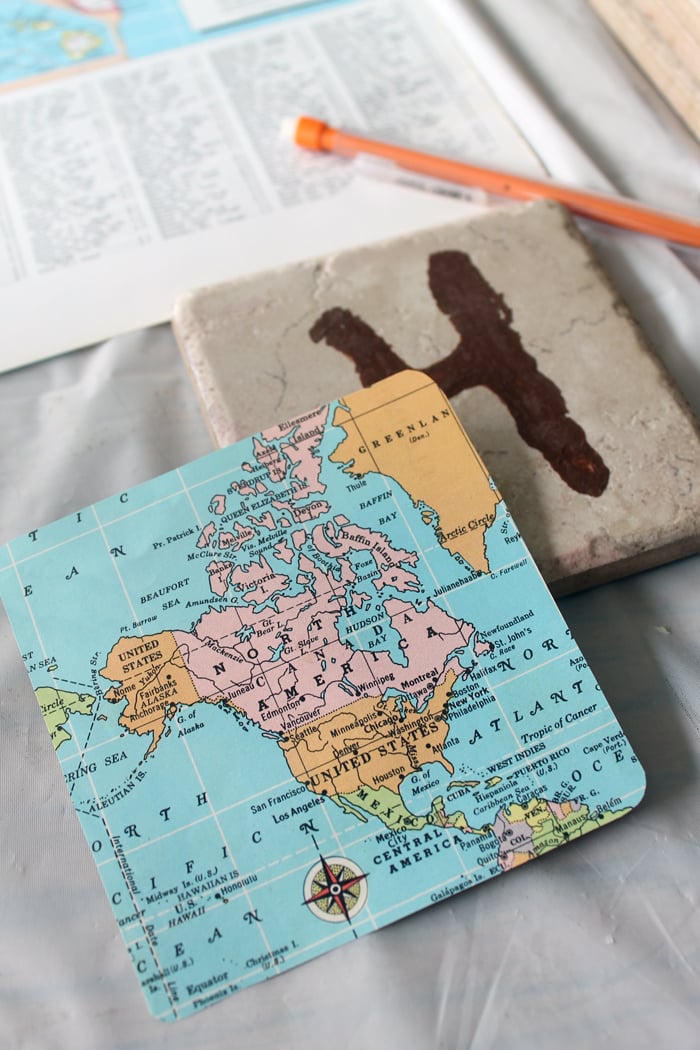
Decide which part of the map you want to use for each coaster. Then, place the coaster over the center of that area and trace around your coasters onto the maps. Once traced cut your maps to size with scissors.
Step 2: Add A Thin Layer Of Mod Podge To The Back Of Map
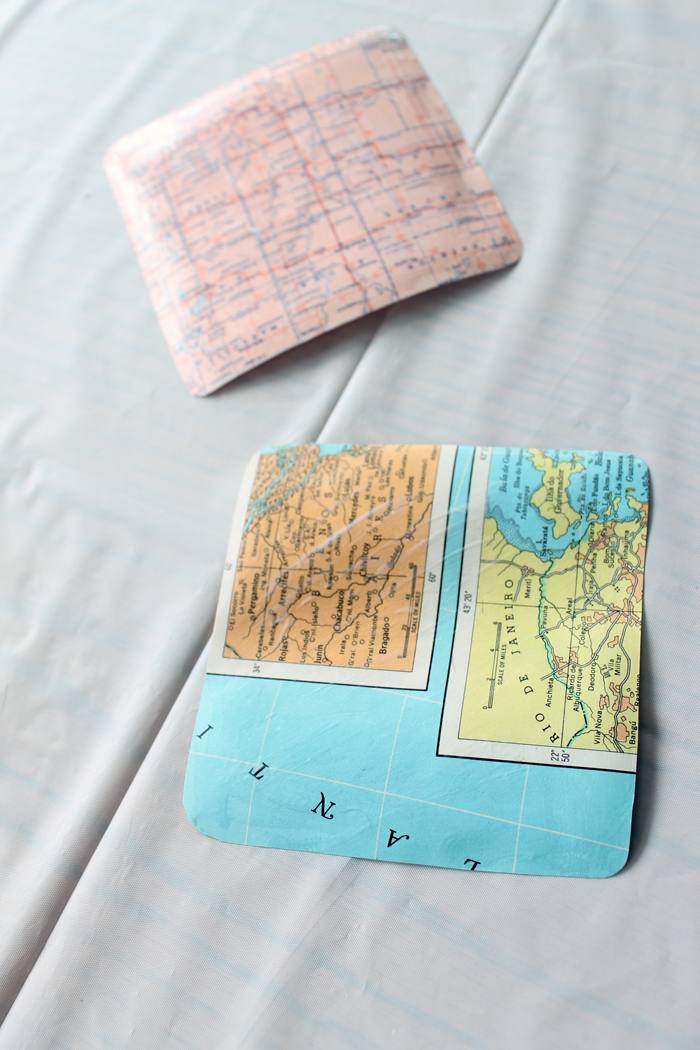
Something I just recently learned that has ROCKED my Mod Podge world is before you begin your Mod Podge project, apply a layer of Mod Podge to the BACK of your paper and allow it to dry. This has basically solved all the wrinkling issues that I have had in the past with projects.
Once you do this, allow your maps to dry.
Step 3: Glue Map To Tile
When your maps are dried, add a layer of Mod Podge to the tile itself and adhere your map to it.
Step 4: Add 3 More Layers Of Mod Podge To Map Coasters
After that dries, apply about 3 layers of Mod Podge to the top of your coasters allowing them to fully dry between each coat. The Outdoor Mod Podge is best for this as it will hold up better. I then allowed my coasters to cure for 48-72 hours before using them.
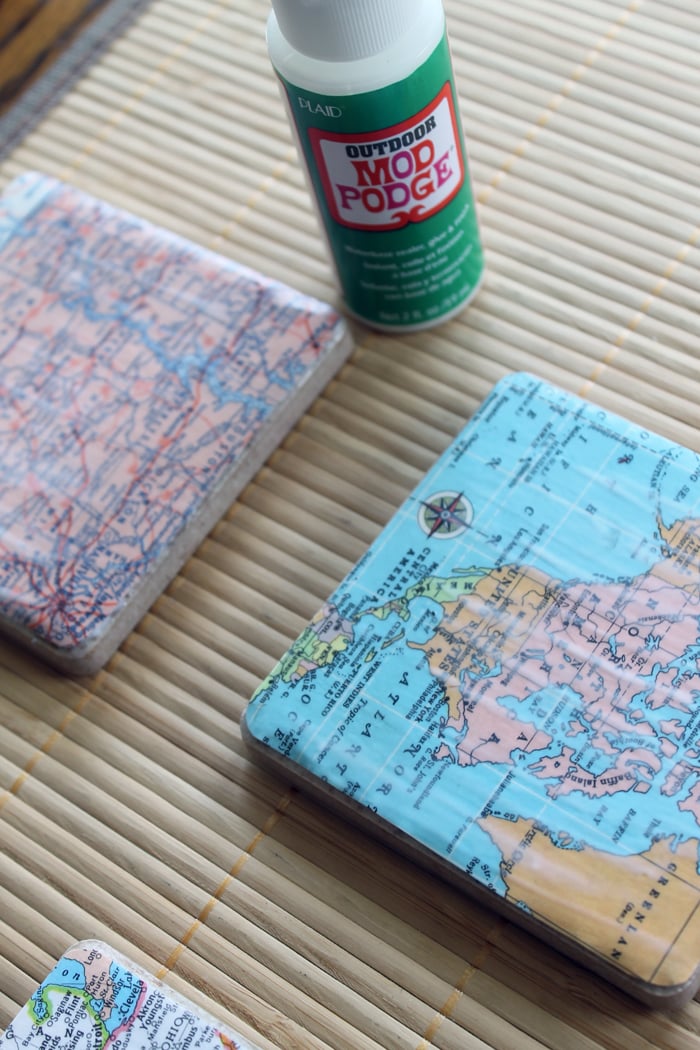
NOTE: I have had several questions about how long these will last. We used them daily for about 2 years before changing to other coasters. This stuff holds up so well!
Step 5: Add Felt To The Bottom Of Tile (Optional)
When your tiles have dried, trace around them onto your self-adhesive felt, cut out the felt, and apply it to the bottom of your coasters.
NOTE: Self-adhesive felt held fine for me, but you can add regular felt with some glue if you prefer.
Once your felt has been added to your coasters, you are ready to use them!

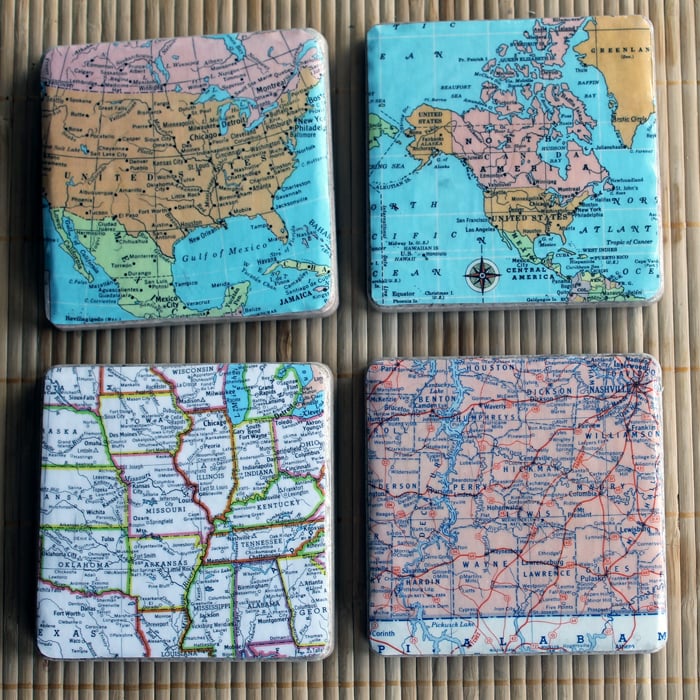
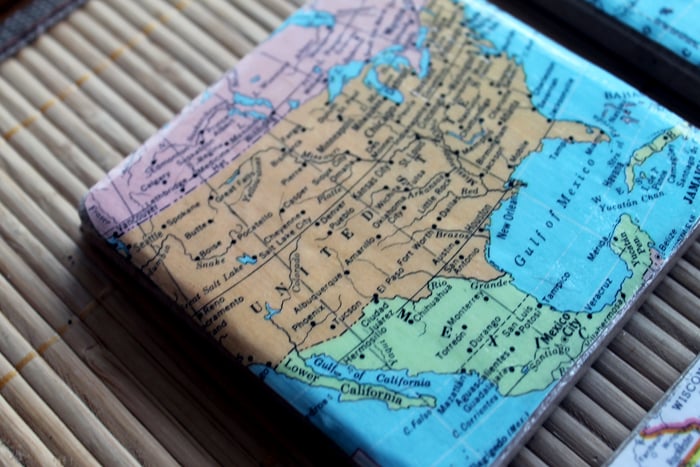
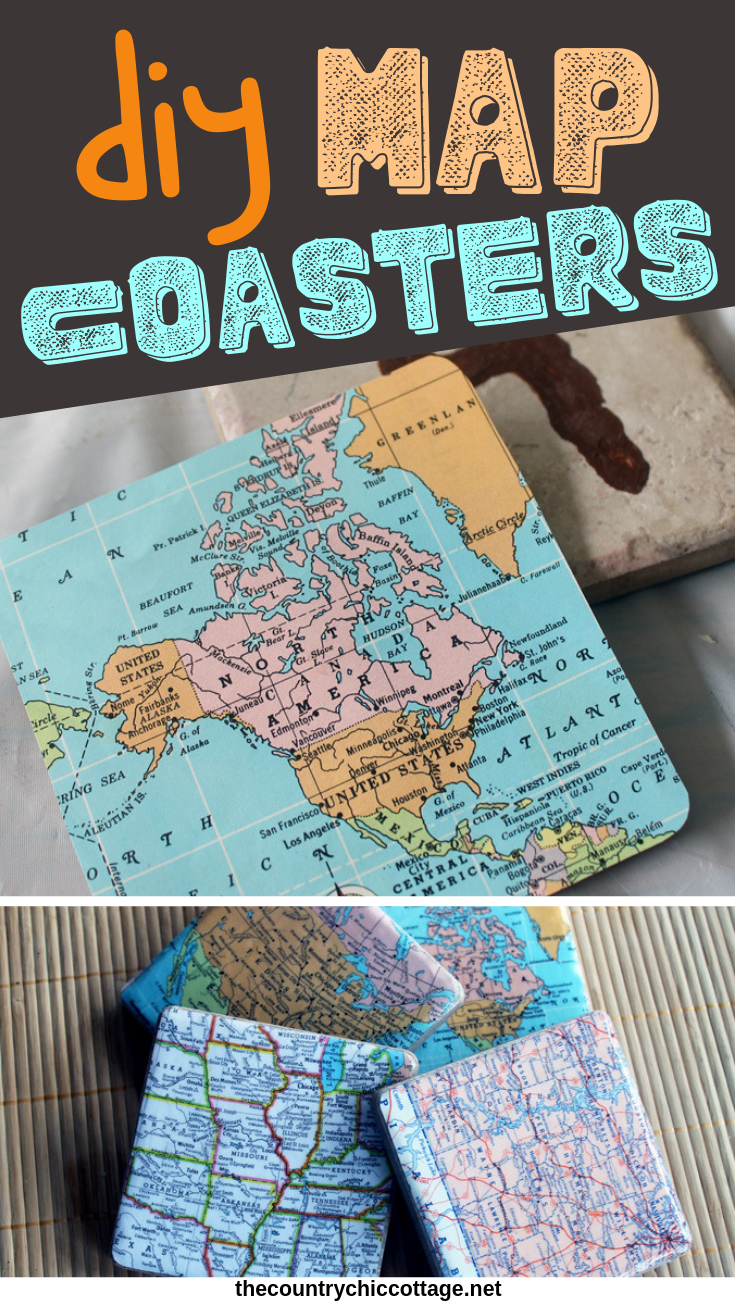
You can use any maps that you wish on your coasters! I basically started with a map of North America.
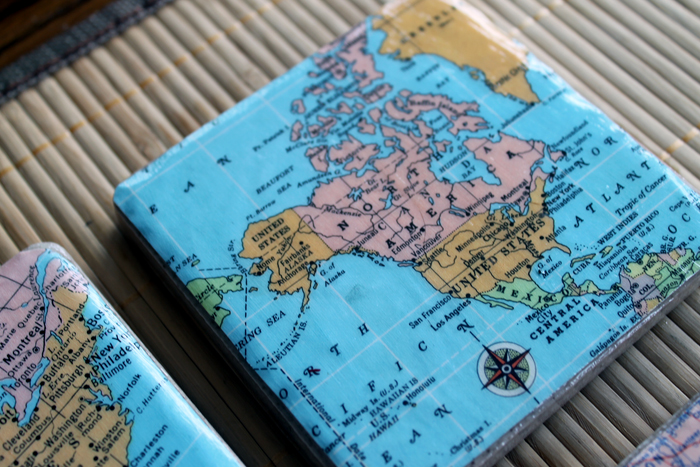
Then I “zoomed in” a little more to the United States.
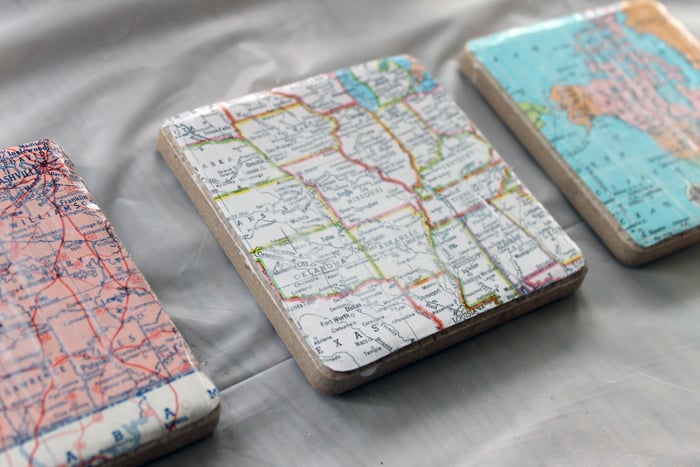
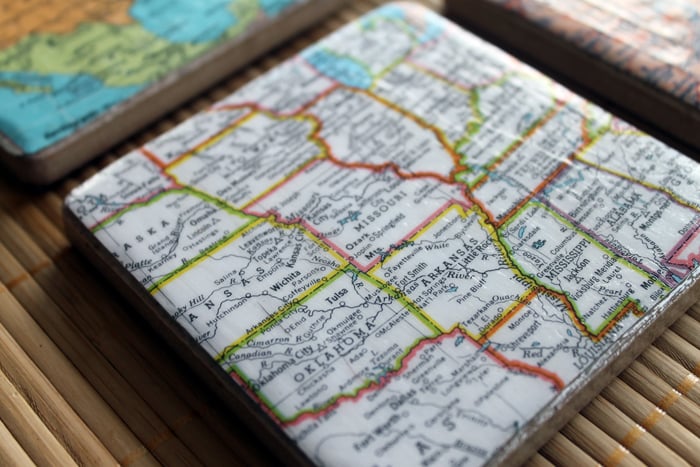
I then “zoomed in” a little more to the state level.
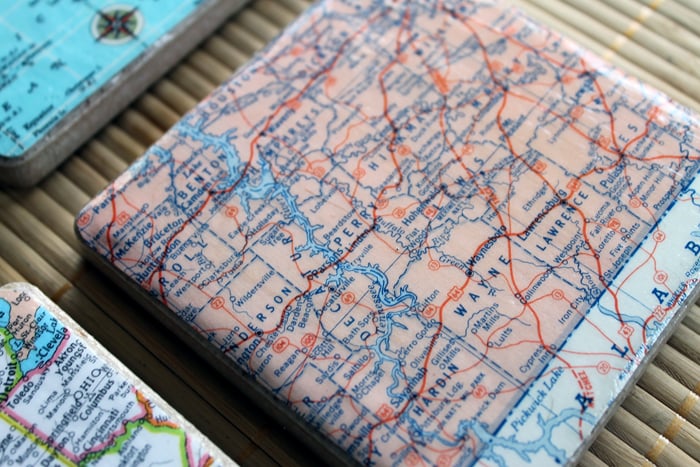
Then I “zoomed in” to the county level. A little geography lesson while you are enjoying your drinks in the living room!
These fun DIY map coasters will be perfect for your home. You can even make these as a gift!
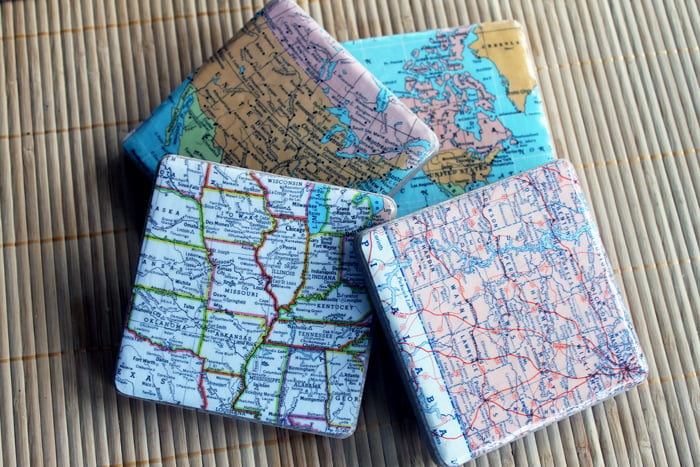
I know that we loved our DIY map coasters for years and you will too! Y’all enjoy!
FAQs About DIY Map Coasters
Here are questions I frequently see readers ask about these DIY map coasters. If you have a question but don’t see it answered down below, please leave it in the comments so I can answer it for you.
Where Did You Get The Maps From?
They all came from thrift stores. Try Etsy or eBay if you can’t find any!
Can You Use Printed Maps From The Internet Or Do They Have To Be An Actual Store Bought Maps?
You can use both. However, if you use a printed map from the internet, the ink (if it’s an inkjet printer) has the tendency to run when you add Mod Podge on top.
Due to that, I would make sure to let your printed map dry completely and that you spray the printed map with aerosol hair spray to set the ink. Then use Mod Podge on top.
My Coasters Feel Tacky, How Can I Fix This?
If your coasters feel tacky due to the Mod Podge, I recommend checking out this blog post from Mod Podge Rocks for solutions on how to fix it.
Could I Add Cork To The Bottom Of The Coasters Instead Of Felt?
Yes, you can! Cork would be a great option for these coasters.
Is It Possible To Do This With A Picture, Not Just A Map?
Absolutely! If you print your pictures at home, be sure to seal the images on the paper before applying Mod Podge. However, if you rather skip this additional step, I would have your pictures printed on photo paper at a store.
Also, if you want to see a coaster project that uses photos, check out our DIY Photo Coasters blog post!
5 More Coaster Crafts
Did you love these DIY map coasters and are looking for more coaster crafts? Then check out the projects below!
- How to Make Resin Coasters
- Infusible Ink Watercolor Coasters
- DIY Wood Coasters with the Cricut Maker
- Recycled CD Coasters
- Wood Burning Ideas: How to Make Coasters



Hi!
I know you’ve probably answered this before.. but how do you get the maps to fit on your coaster size? Do you scan them and shrink them down on the computer so that you could get all of North America on one coaster? Also.. any suggestions on where to get maps..
I just found these at various thrift stores. Try etsy and eBay!
Where did you get the maps from?
They all came from thrift stores. Try etsy or ebay if you can’t find any!
Get free maps from State or local visitor center.
You can go to any AAA insurance office and get the state/country you want for free and not be a member. Or you didn’t have to be a member. Things may have changed, but they can’t be that much.
Great tip!
This is seriously such a good idea! I’ll see if I can get a few vintage maps at the Goodwill to make this project extra fun.
Kindness is the best accessory,
Rebecca Kelsey Sampson
RebeccaKelsey.com
hey there, just wondering, ive read posts from other people and they say that having just mod podge as the final layer will lead to tackiness.. is that the case with your coasters? also would this work with painting tiles and coating it with the outdoor mod podge after the paint dries? did you also use one layer of mod podge for the sealing? or did you do multiple layers?
thank you for your time!
I made these just like the tutorial said and they lasted for over 2 years of daily use. I would say they were a success! I did do multiple layers of Mod Podge. I would guess it would work with paint but I have never tried it! Good luck!
Hi there, I don’t really see an answer to the question about the tackiness. I just made them, and they are still very tacky. They dried for days before I used them, but cups stick to them and they stick to each other while stacked. Any suggestions on how to fix that? They look great otherwise! I loved the idea. Thanks.
Try this tip: http://modpodgerocksblog.com/2009/05/wordle-and-solution-for-mod-podge.html
That should take care of it!
I had this problem also. After 3 coats of modge podge on top of coasters I do 2 coats of triple coat spray ( at Walmart) then I do 2 coats of clear engine sealer ( from auto zone). I let it sit overnight then bake them at 200* for 1 hour. No more tackiness and they are heat resistant. If you don’t want to bake them you have to let them sit 21 days to cure.
these are not waterproof, you need epoxy or resin to seal. mod podge is not waterproof.
Epoxy would work great. I will tell you that I used these for over 2 years before the Mod Podge started to fail. That is good enough for me. Epoxy is more difficult to work with. I have another coaster tutorial that uses it.
Love it! I was searching online to purchase some map coasters, but I couldn’t find exactly what I wanted. So, I figured someone had to have figured out and posted how to make your own. It’s perfect! Except for city maps, I plan on using hiking trail maps. I may do the same for friends, but will use cities that are important to them as a gift. Thanks again for the wonderful post!
Thank you for the tutorial! Is it possible to do this with a picture, not just a map? I want to make sure before I try it. Thanks!
Yes! If you print it at home however, be sure to seal the image on the paper before applying Mod Podge. If you have it printed at a store on photo paper, it should be fine!
Does it matter what kind of paper this is done on? Like can the map location be printed out on normal computer paper then adhered to the tile? Thanks!
When you print something, you need to set the ink before using Mod Podge. One trick to do this is to spray with aerosol hair spray and allow to dry. Good luck!
I have a commercial photocopier that I would use to photocopy a map location so I can make 4 of the same location. Would I need to set the ink before applying the Mod Podge? The photocopier uses toner ink rather than wet ink; if that makes sense.
You would need to set it. I find that aerosol hair spray does great for this!
Thanks for this! I’m thinking of using these to highlight the “important places” of my husband and my relationship. After 16 years, there’s plenty of places! Ha!
Hi thank you for the tutorial. How do these hold up against a cup of hot coffee? I’m having trouble finding a surface that will be water and heat proof.
We don’t drink coffee so I couldn’t tell you how they would work on a regular basis. Sorry!
You don’t go into detail about adding the felt. I know it seems self explanatory but it is very important. Will the self stick hold really well? If The back of tiles is very scratchy. If you cannot get the self stick what would you attach regular felt with so that it still looks nice and holds and doesn’t tear? Is there something else that can be used on bottom of tiles? Any tips and ideas are appreciated please. Thanks so much for sharing.
It held fine for me. You can do regular felt cut to size with some glue. I didn’t notice any tearing. You can definitely do cork instead!
Great project! I almost threw out some cork restaurant coasters but will repurpose them with this method. I’ll also use tiles. The cork coasters will be more toddler proof. I have assortment of decorative papers I would love to experiment with. Thanks for sharing!
I made these, but I’m not posting or pinning a picture as mine look totally homemade, and not in a ‘good way. I followed all of the tips and tricks from the post as well as from the comments, but they don’t look good enough to gift them. Darn. Yours look so cute! I have followed many of your tutorials and always had good results, till this one. No idea where I went wrong.
OH no! Maybe practice makes perfect and your next set will look great!
thanks for sharing, this is great full idea
You’re so welcome. I’m glad you enjoyed it!
Ya
I lovee this
May be a silly questions but I accidentally bought sublimation coasters to do this with – should this be ok or will I have to get different ones?
I can’t think of any reason those wouldn’t work 🙂
Yay glad to hear it. Thank you for the reply!