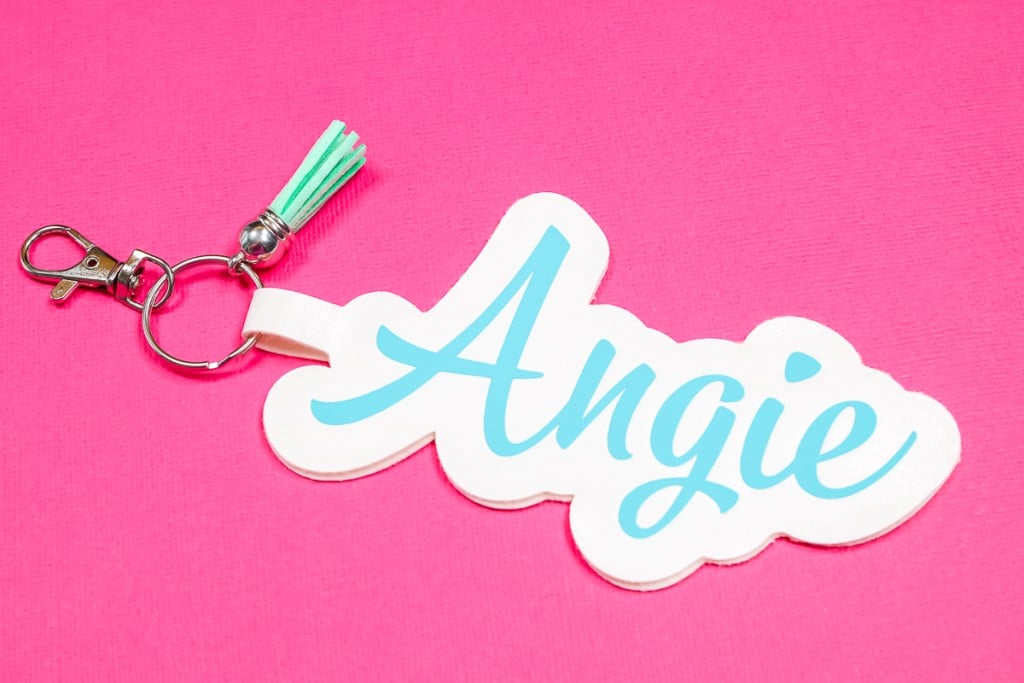
If you’ve ever wanted to create customized name keychains with a Cricut machine, you’re going to love today’s tutorial. I’m going to teach you how to use faux leather, HTV, and the offset feature to create a personalized keychain perfect for gifting, selling, or keeping for yourself!
Have you tried out the offset tool in Design Space yet? Learn all about it and how to use it in my full Design Space Offset Tutorial.
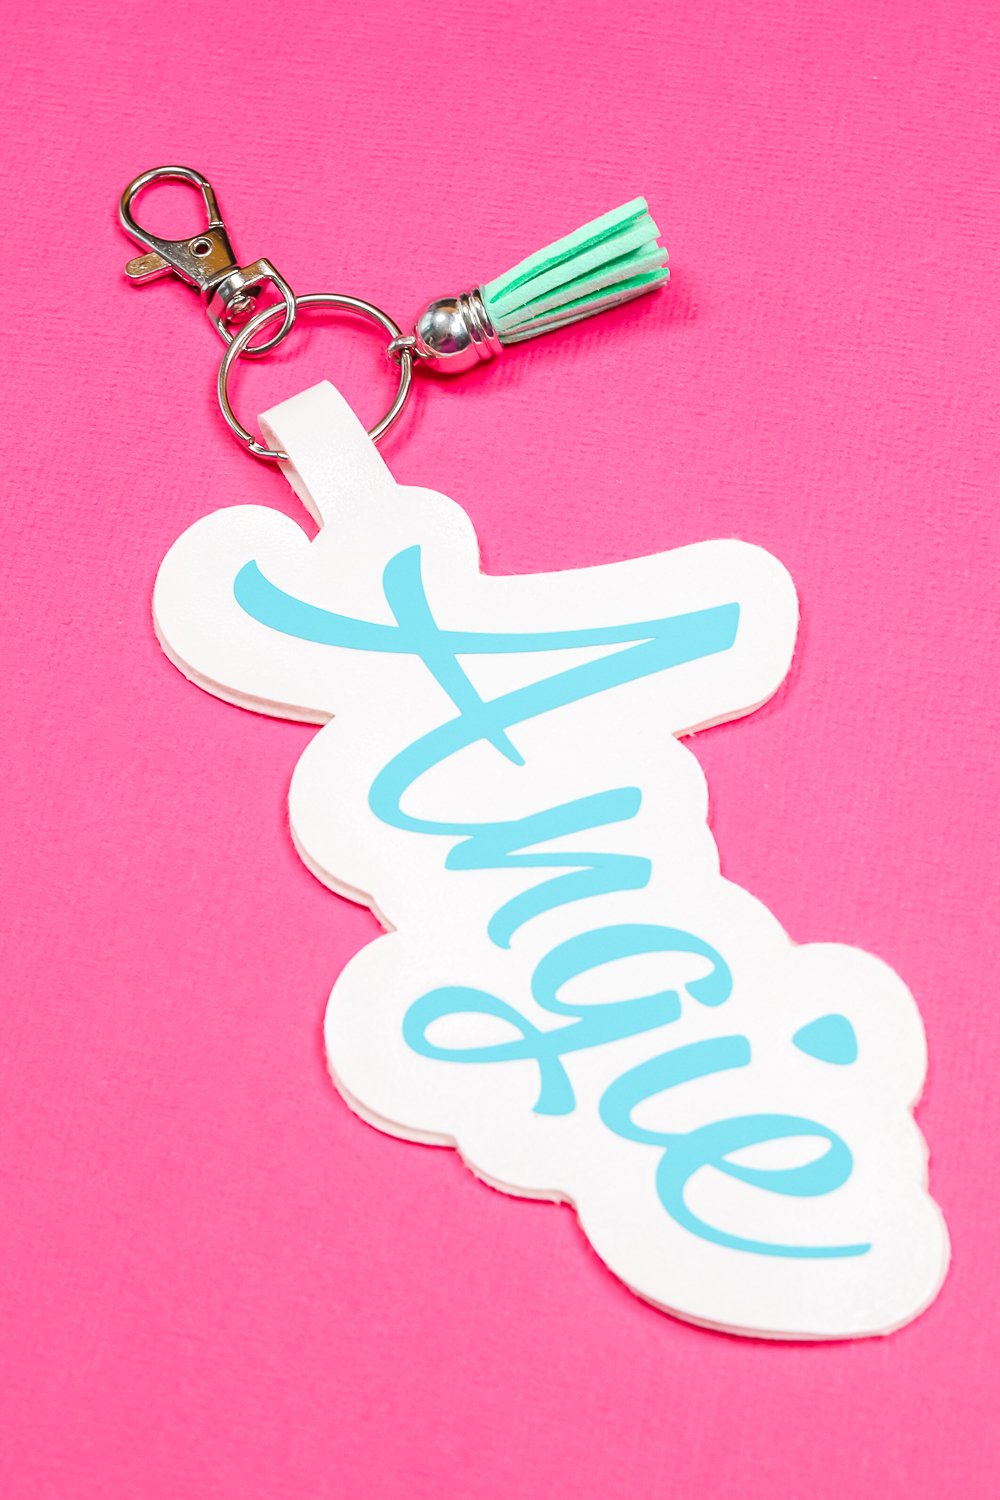
DIY Name Keychains with Cricut
You can watch me create a name keychain with your Cricut from start to finish by pressing play on the video below. This project uses the fine point blade which means you can make faux leather keychains using any Cricut machine including the Cricut Joy.
I’ve been seeing personalized keychains popping up all over the place. People are using them as keychains and bag tags, things like that. I thought it would be really fun to put my own spin on the project.
Keychains made with faux leather are really easy to make and the ease of customizing the text and font in Design Space means you can create your own in no time.
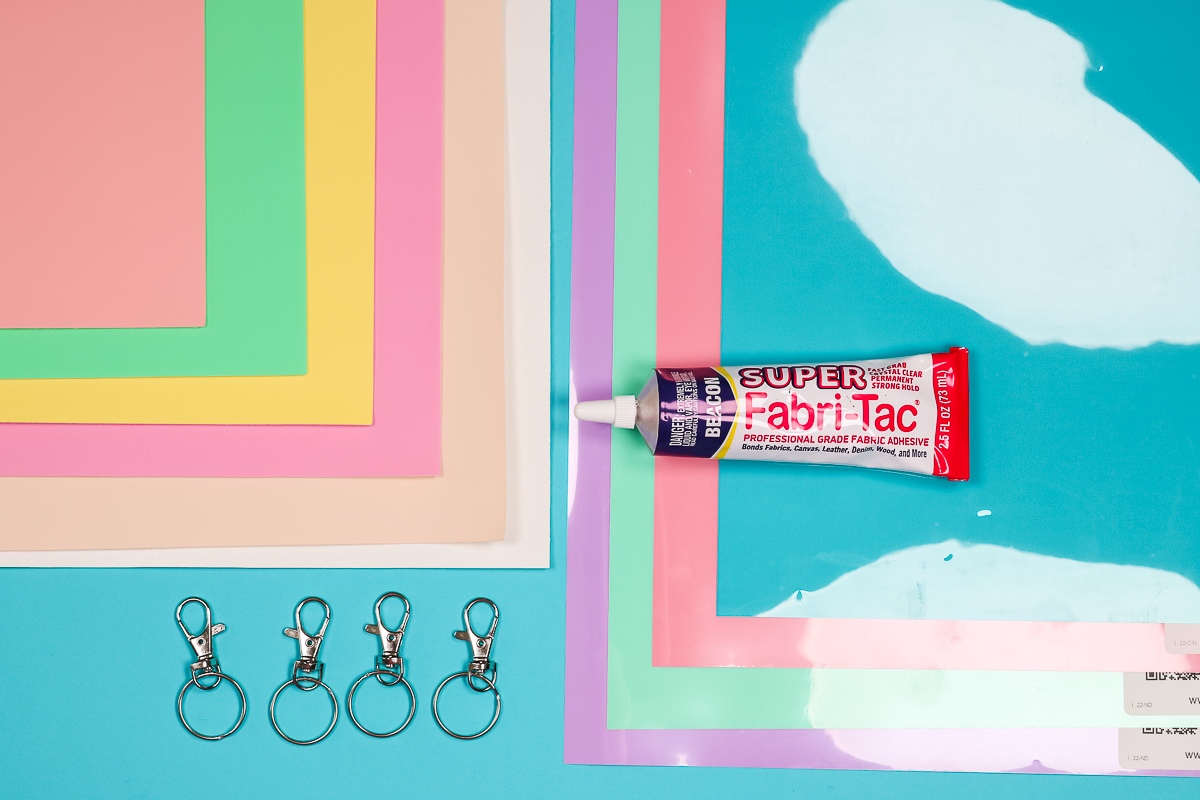
Supplies Used
NOTE: Faux leather comes in a wide variety of colors. Choose the color you want and then choose the HTV. You can use any brand of HTV and of course, the color is totally up to you. This is a great opportunity to use scrap materials since the keychains aren’t very large.
How to Make DIY Name Keychains with a Cricut Machine
To make personalized name keychains, we’ll begin in Design Space. Begin by adding your name on the canvas. You can choose any font you want to use but I recommend using a script font so the letters can be connected.
Using a script font makes having a solid offset a little easier. Depending on your letters you may need to use the contour tool to remove any holes in the faux leather so it’s one solid piece.
How to Add an Offset to Text
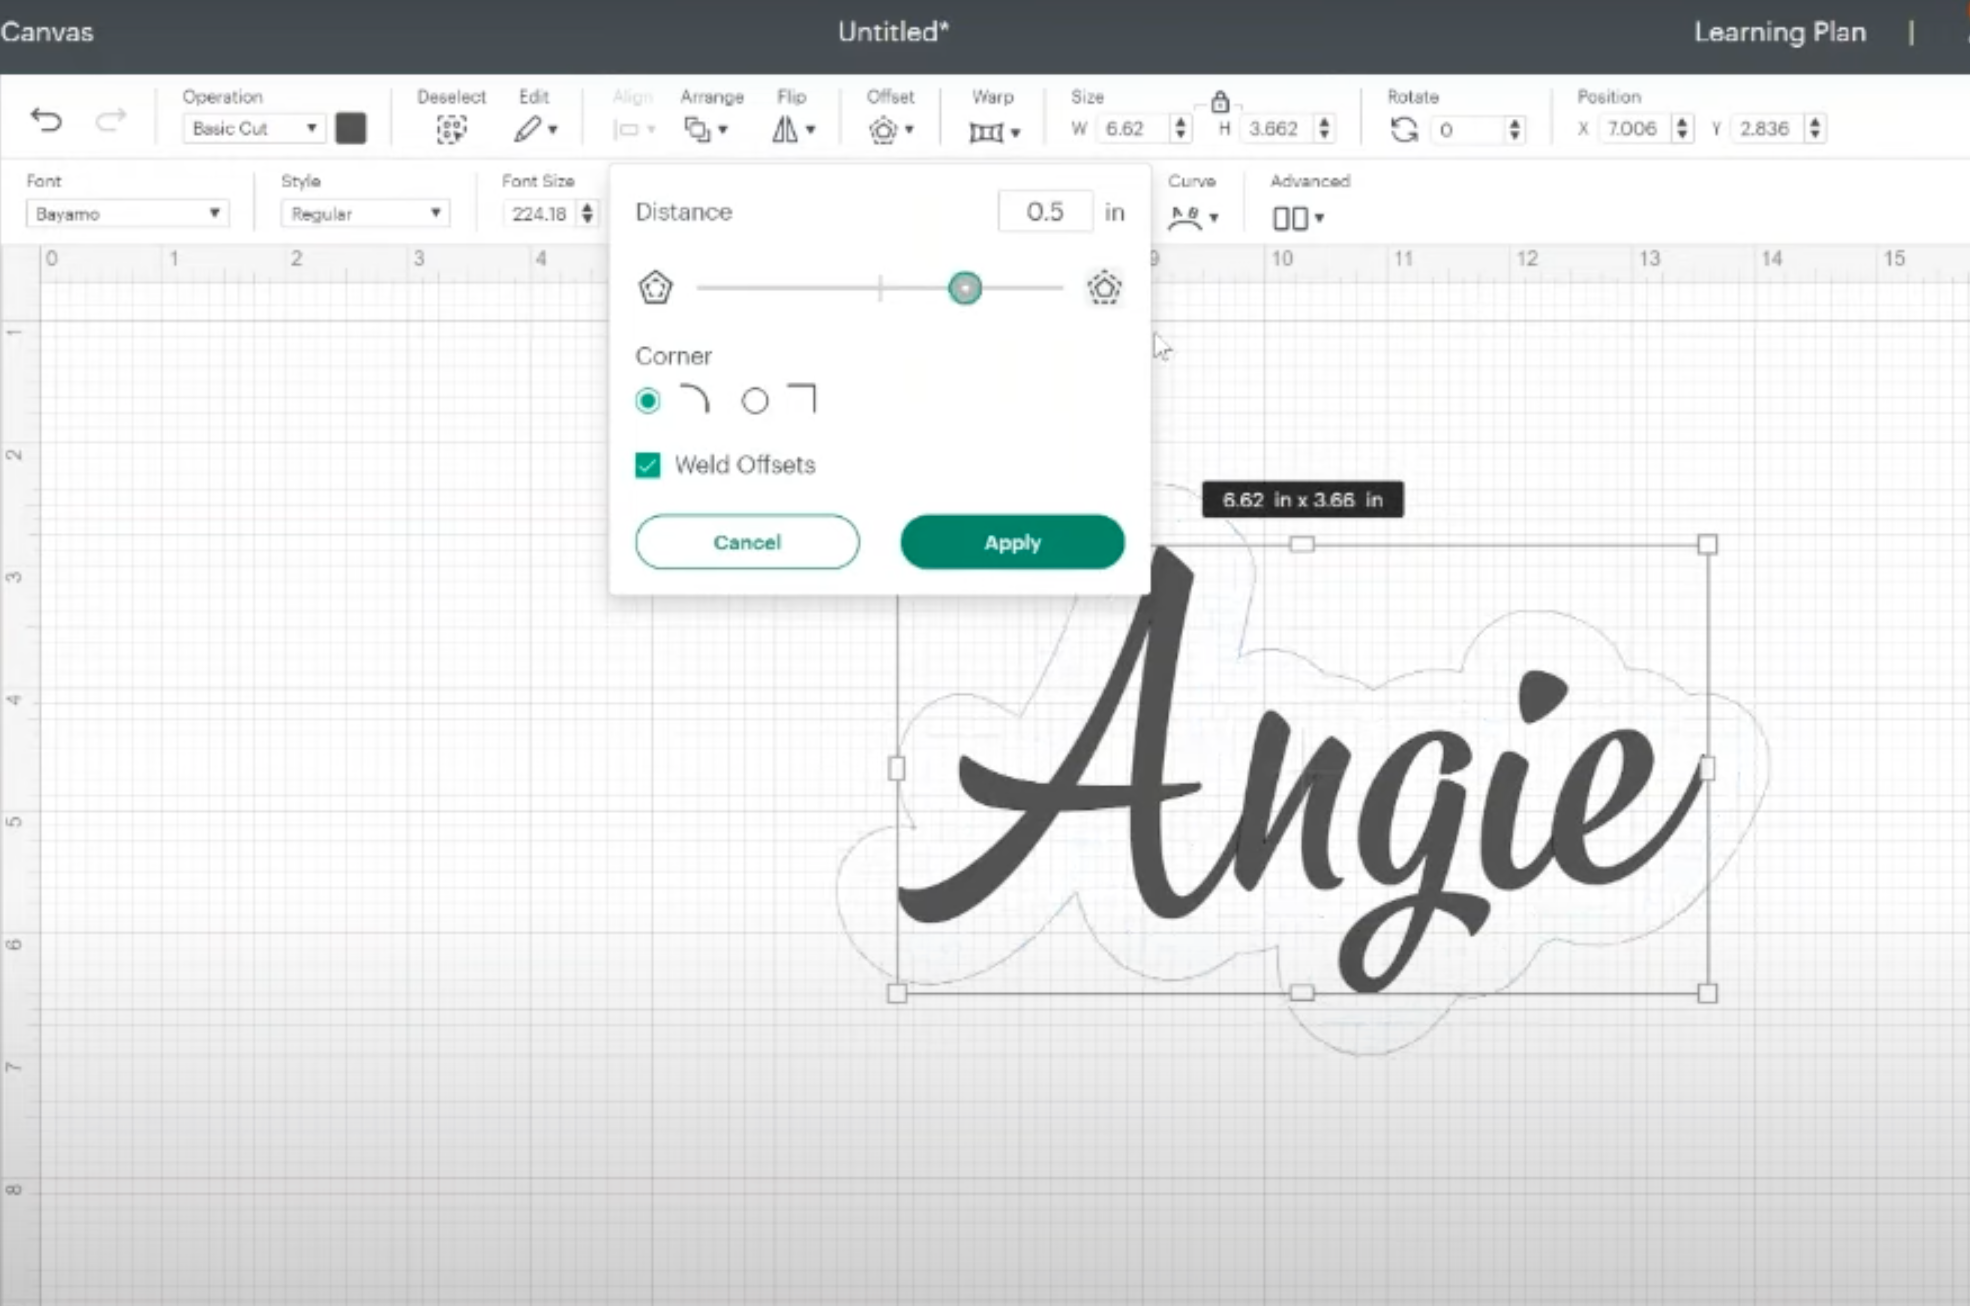
To create the name keychains, I am using the Offset tool in Design Space. Choose the font you want to use and type out your name.
With the text selected, click Offset in the top toolbar. I am using a rounded corner offset at 0.5″ and have weld offsets selected. Click Apply and you can see the offset around the text.
How to Create the Name Keychain Base
Next, we need to duplicate the offset. Because I want the name keychain to be finished on both the front and the back I need to duplicate the offset. After duplicating the offset, select one and then flip it horizontally.
Now we need to select both layers and then align them. Click Align then Align Bottom and Align Top. We want these to be lined up perfectly.
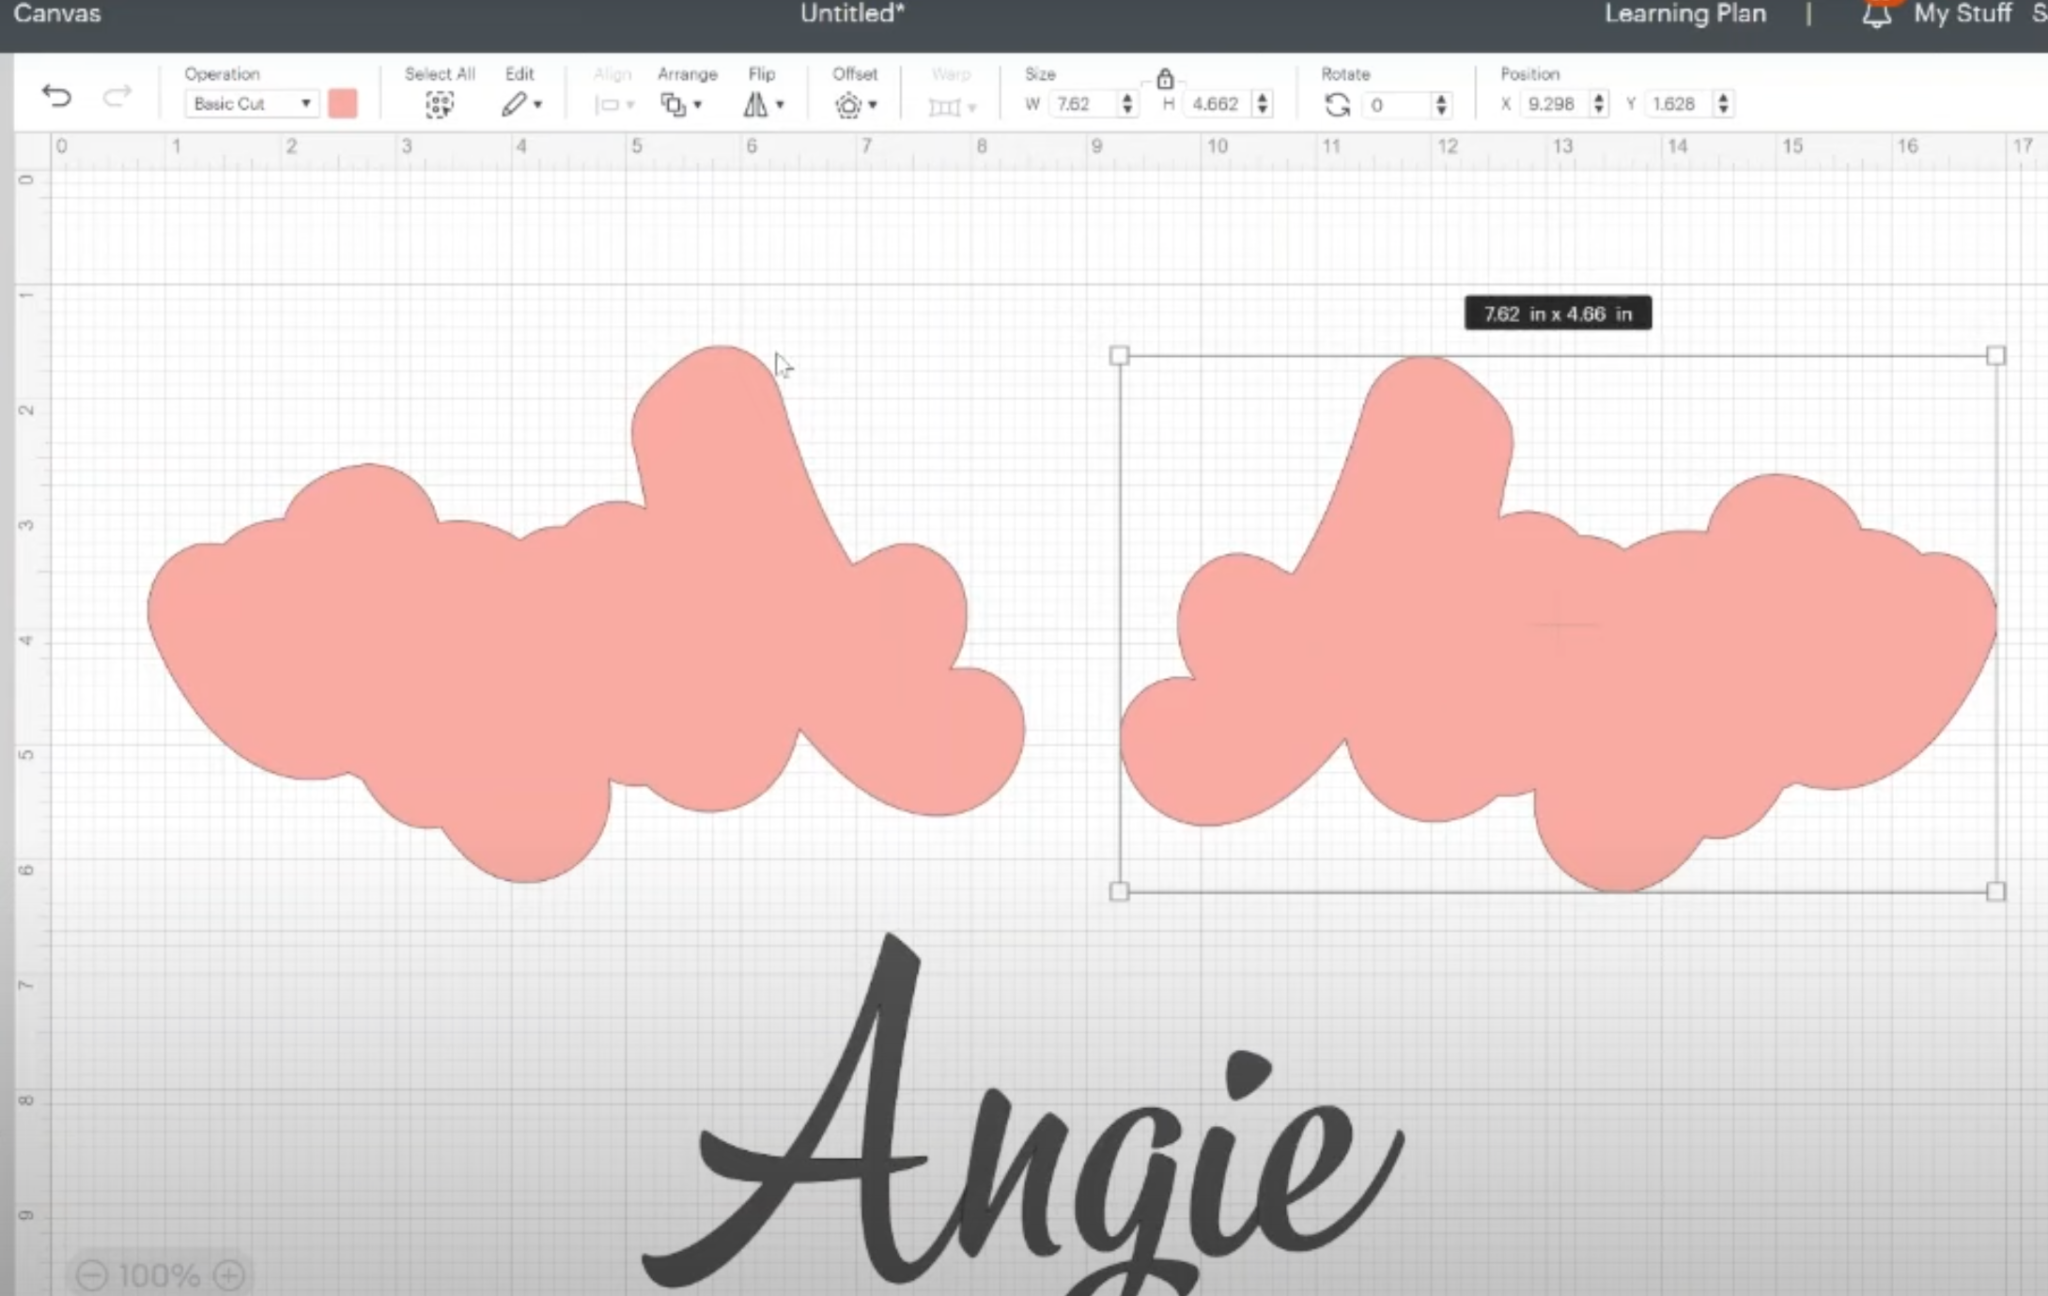
With the offsets lined up, we need to connect them. I am adding a thin rectangle so that it overlaps with each of the offset pieces. This is the portion that will be folded over the keychain piece.
Your offset shape will dictate where you put the connecting piece but you will need a connecting piece.
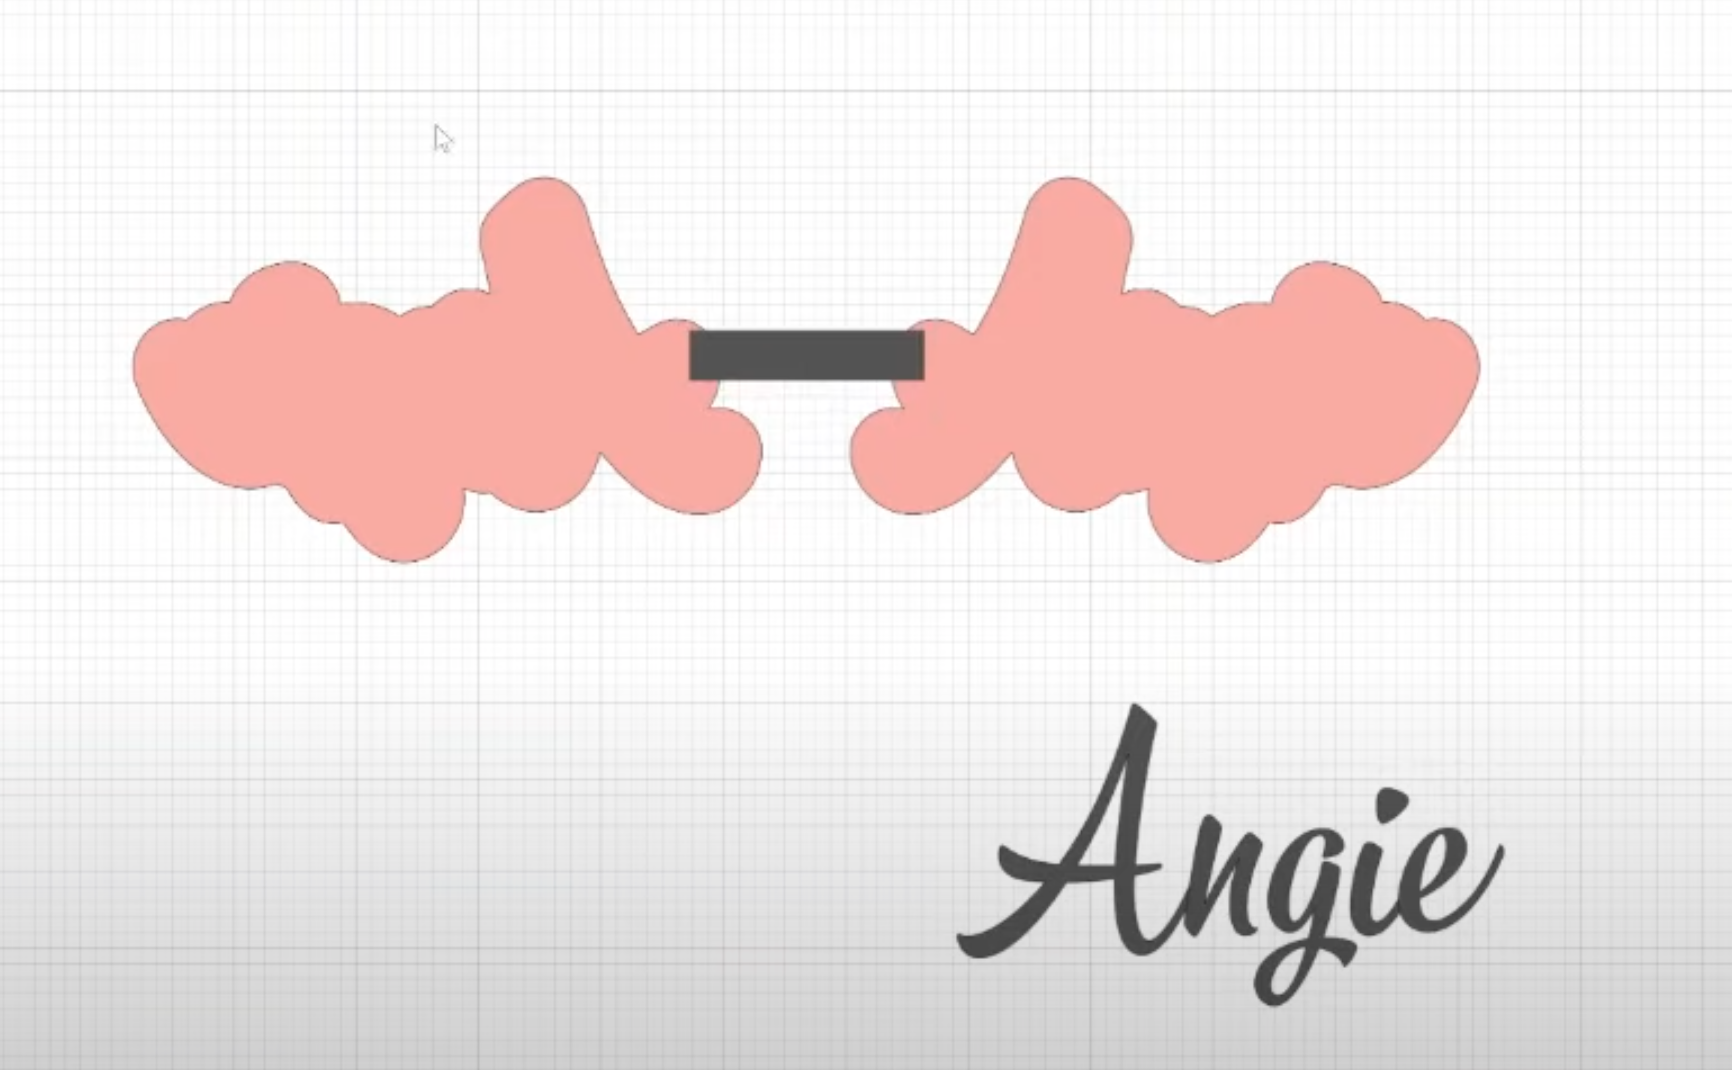
Now that we have everything set up we want to make sure everything is still aligned and then select all the offset layers and weld them. Do not include the actual text or it will disappear.
Resize Design to Fit Material Size
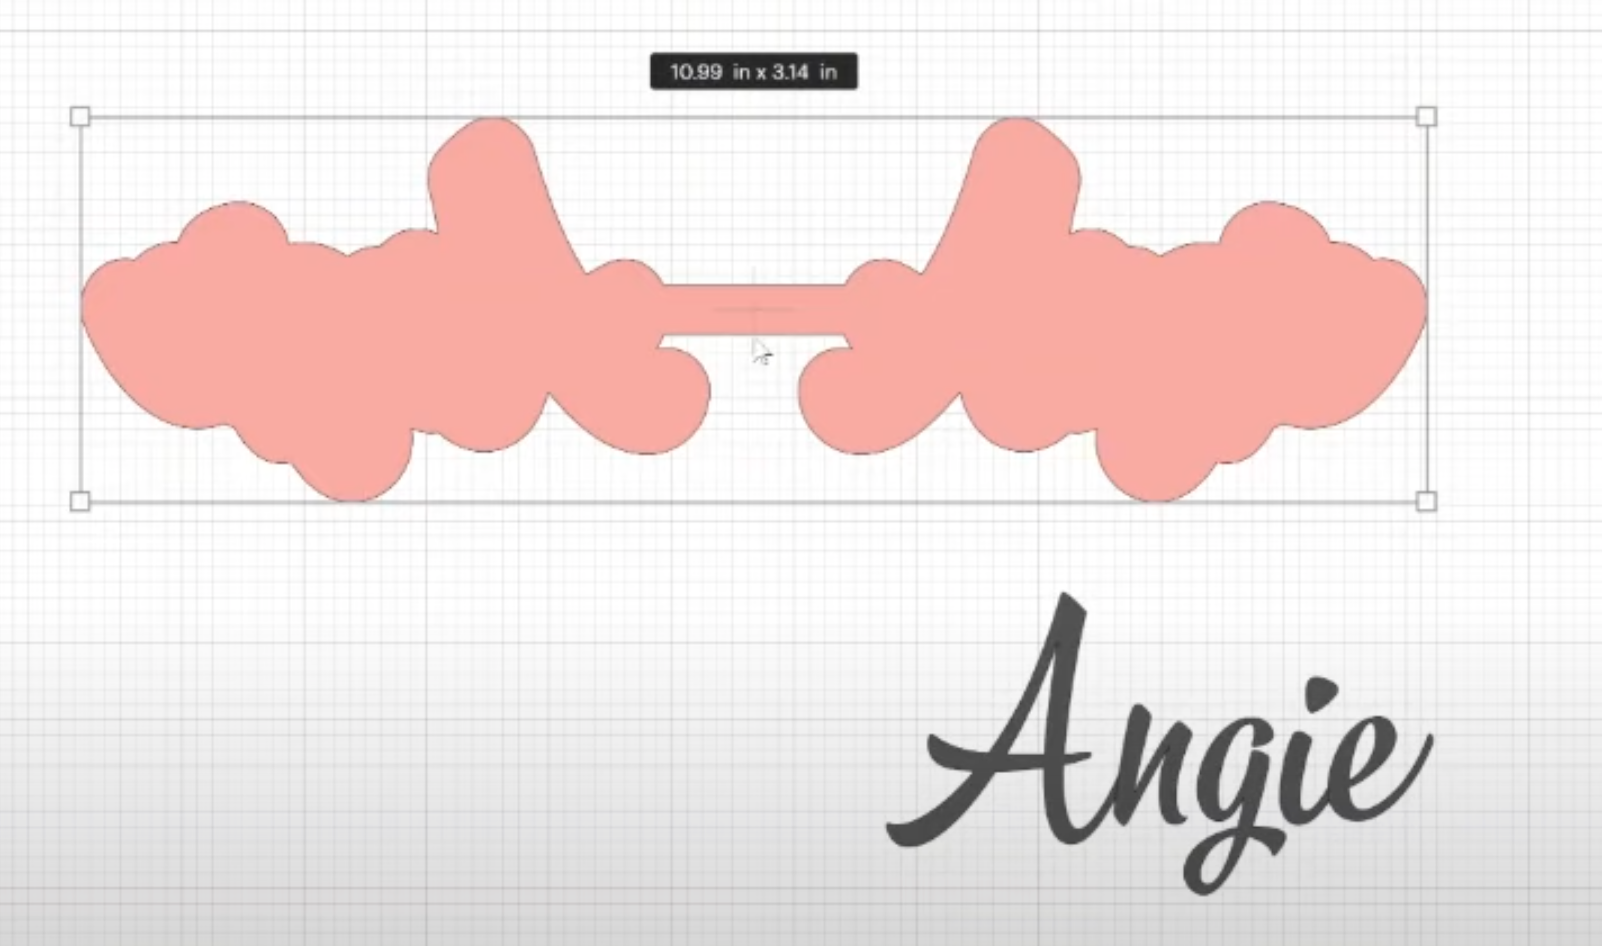
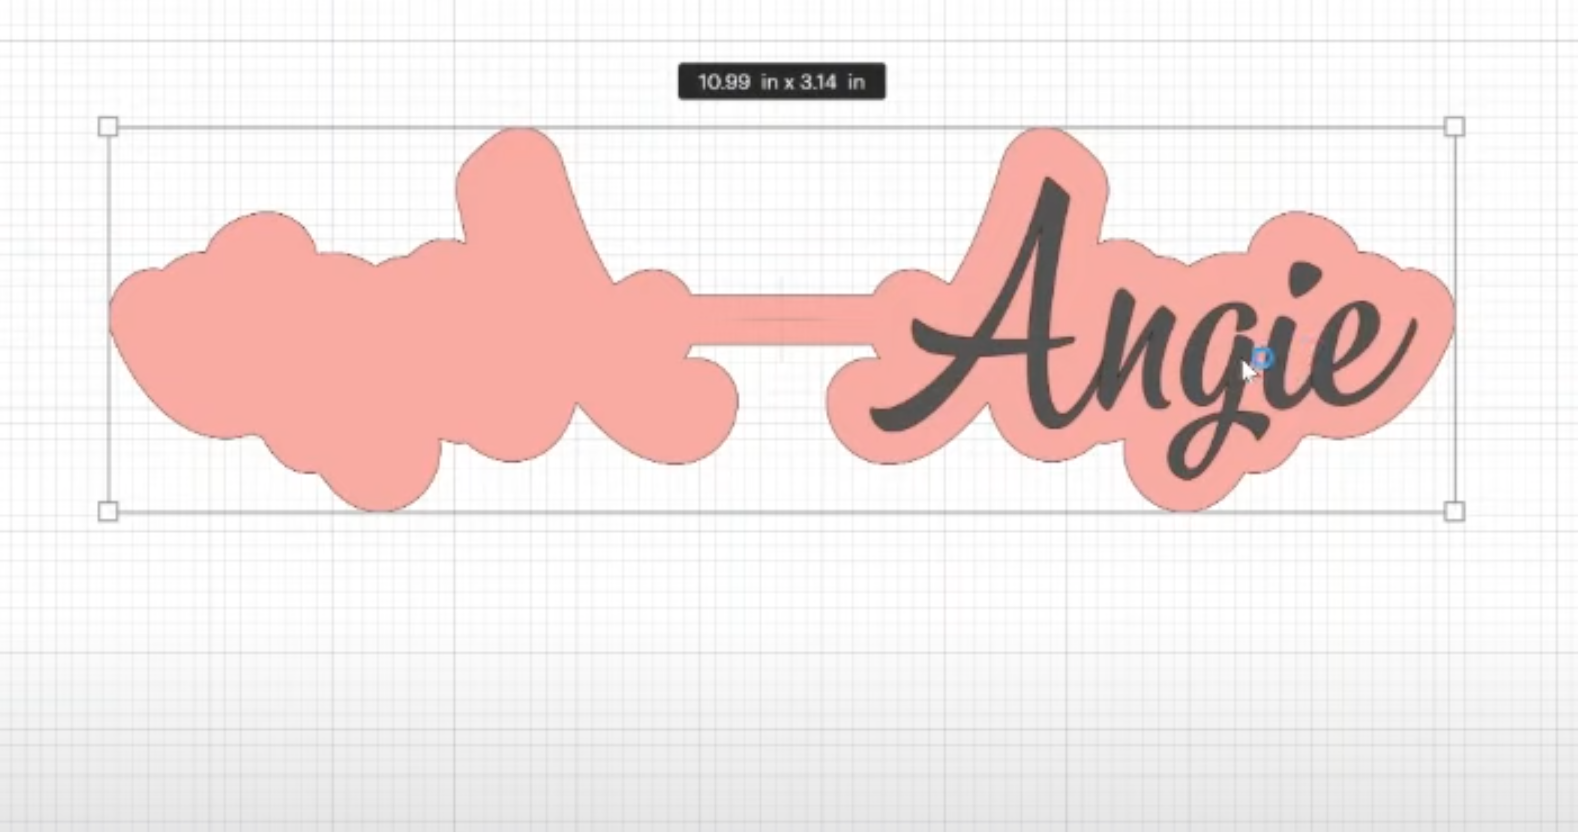
Now we need to resize the entire design so it fits the material we have or so it is the size we want. In order to make sure everything is resized correctly, align the text over the offset and then select all the layers to resize.
I want my design to be about 11-inches. I kept the size locked so the height would resize appropriately with the width.
Cutting Out Name Keychains with a Cricut
To cut out the materials, we need to add them to a Cricut mat.
How to Cut Faux Leather
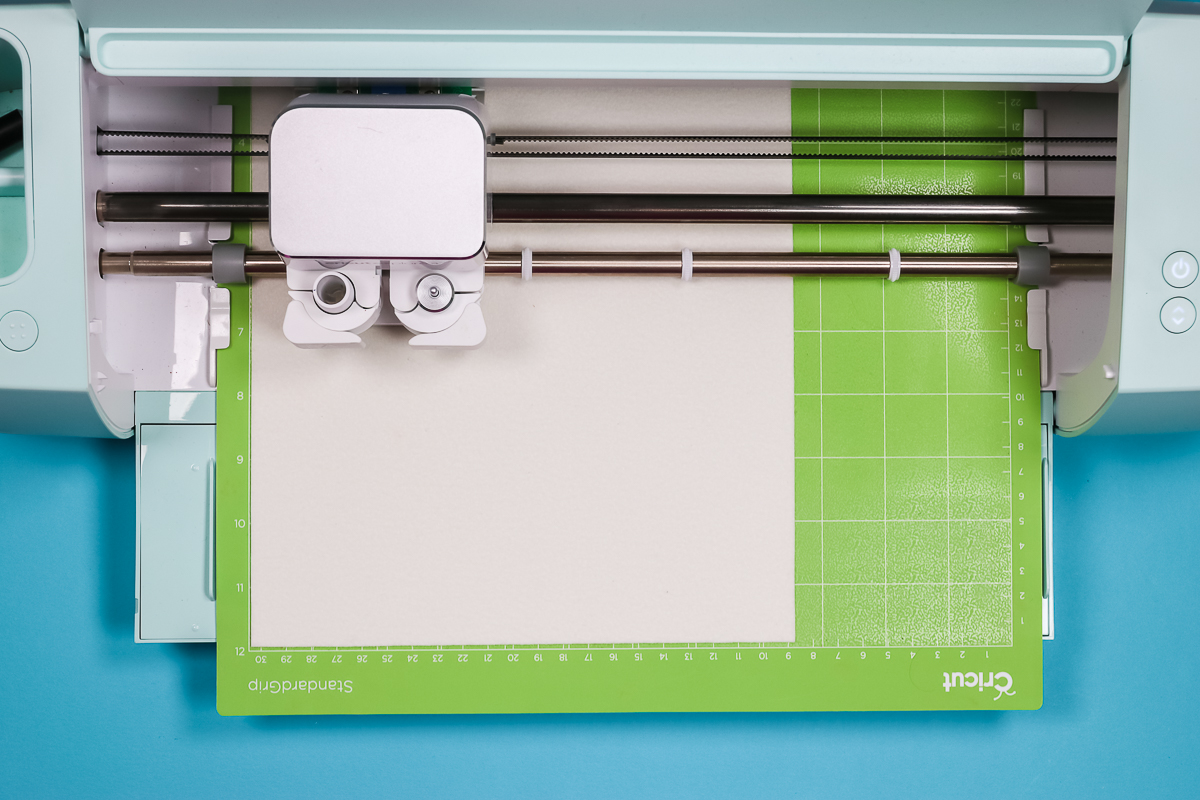
I’m using a green StandardGrip mat and placing the faux leather finished side down. Faux leather cuts better when the top is stuck down onto the mat. Use a brayer to make sure the material is adhered to the mat everywhere so it cuts cleanly.
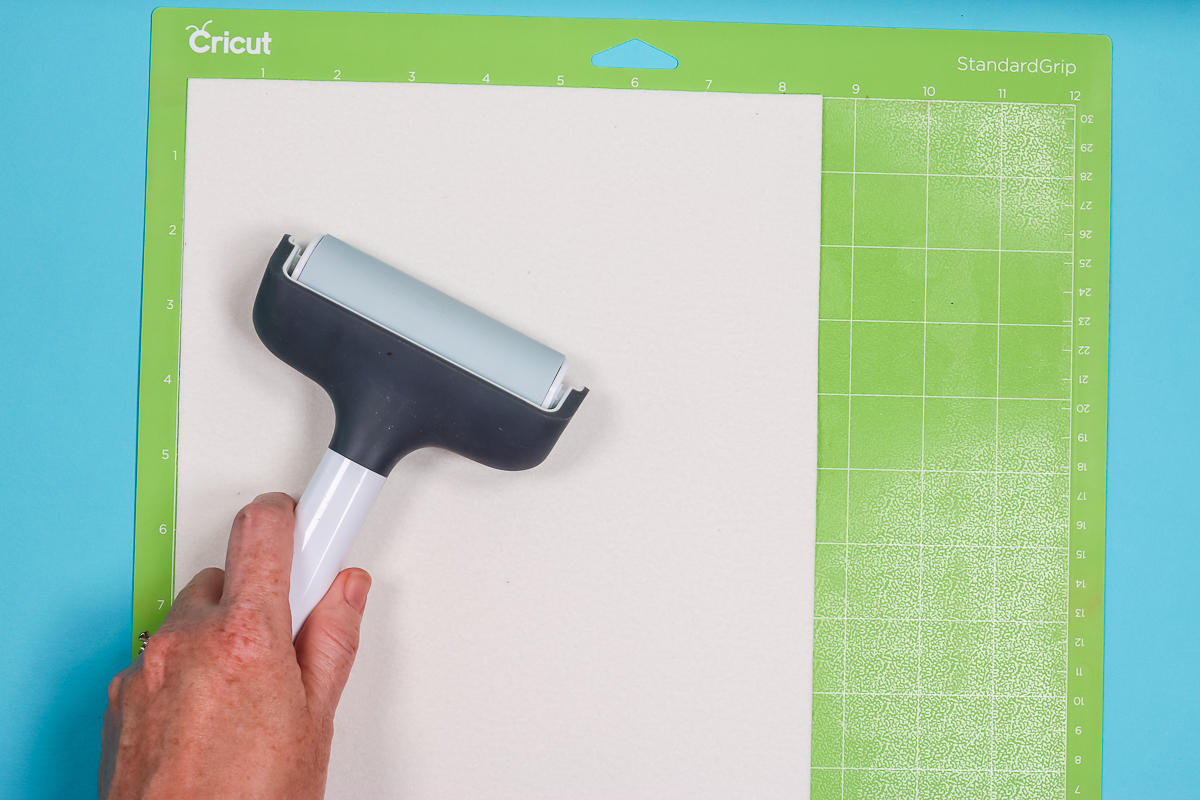
Because I am placing the faux leather right side down on the mat, I need to mirror the image. I am using the Faux Leather setting but because I feel they all cut differently I do recommend checking the cut before unloading the mat.
My faux leather cut through cleanly on the faux leather setting so I unloaded the mat.
How to Cut HTV
When cutting HTV, you need to mirror your design. HTV is placed on the mat shiny side down. I like to use the blue LightGrip mat with HTV.
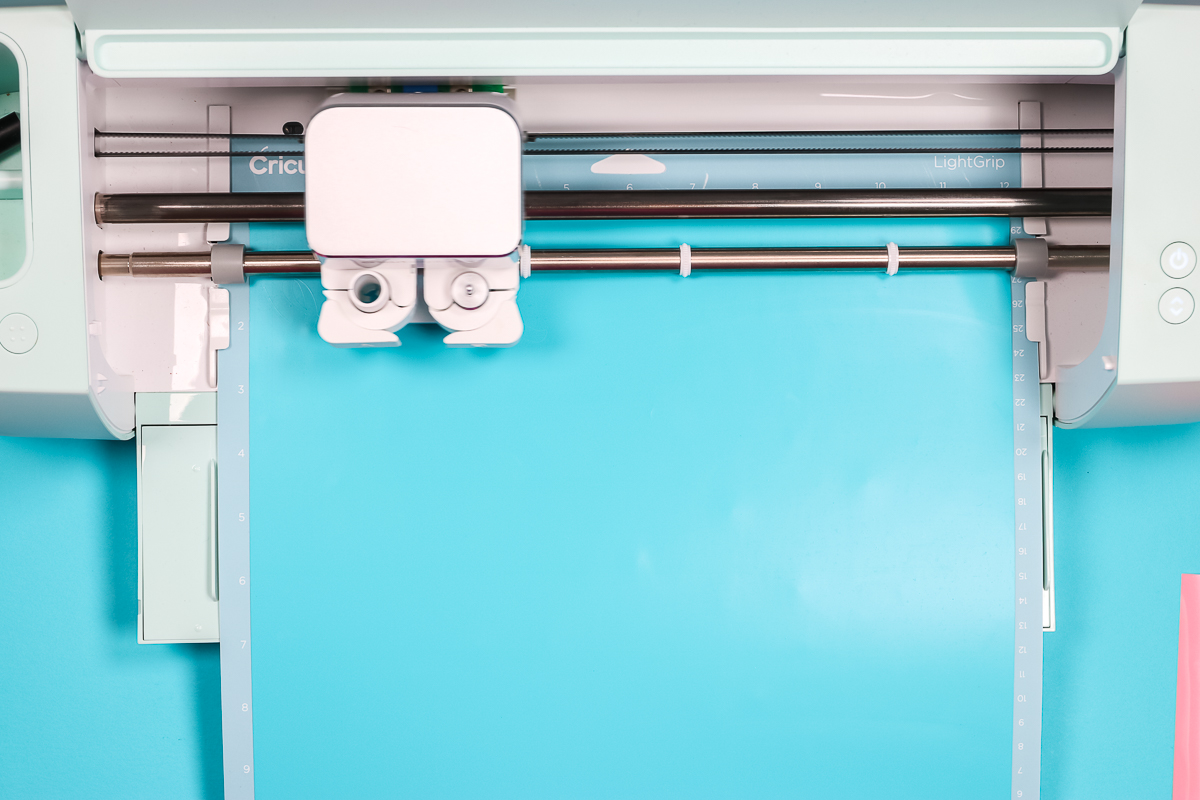
Choose the correct setting for the material you’re using. I am using regular HTV so I chose that setting and it cut perfectly.
Weeding HTV
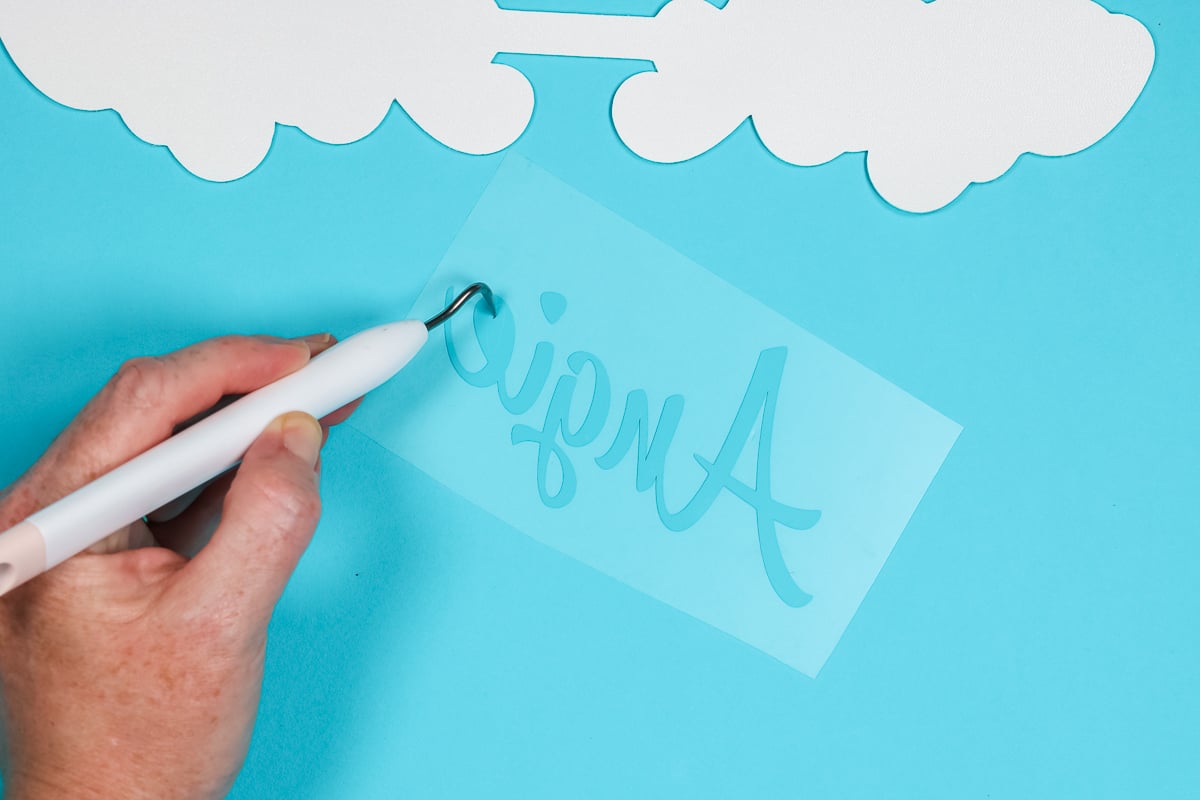
Grab your weeding tool and weed out all of the excess HTV material. The only thing you want left on the carrier sheet is the name you’re adding to the keychain.

Don’t forget to weed out the inside of all the letters. Anything left on the carrier sheet will transfer onto the faux leather.
How to Add HTV to Faux Leather
To apply the HTV to faux leather, locate the HTV on top of the faux leather. I am using my EasyPress Mat under the material.
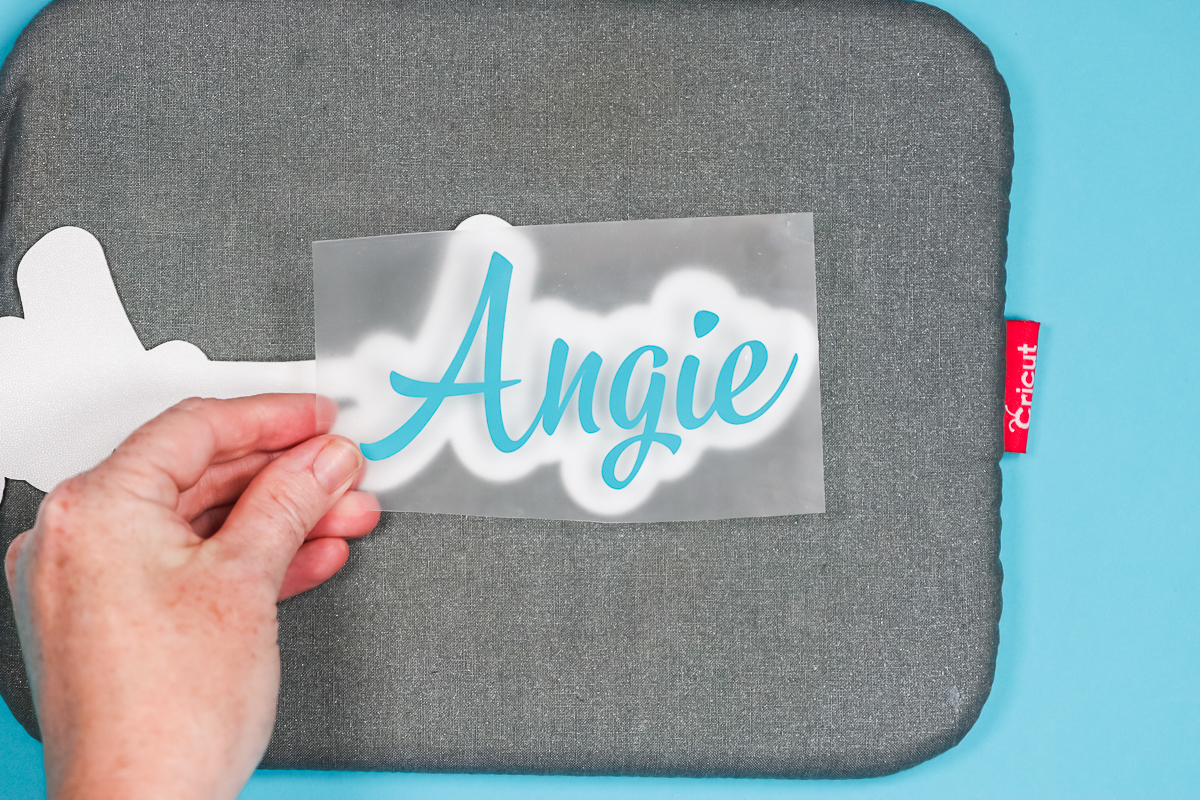
Because the carrier sheet of my HTV doesn’t cover all of my faux leather I am using a Teflon sheet to protect the faux leather from the heat source.
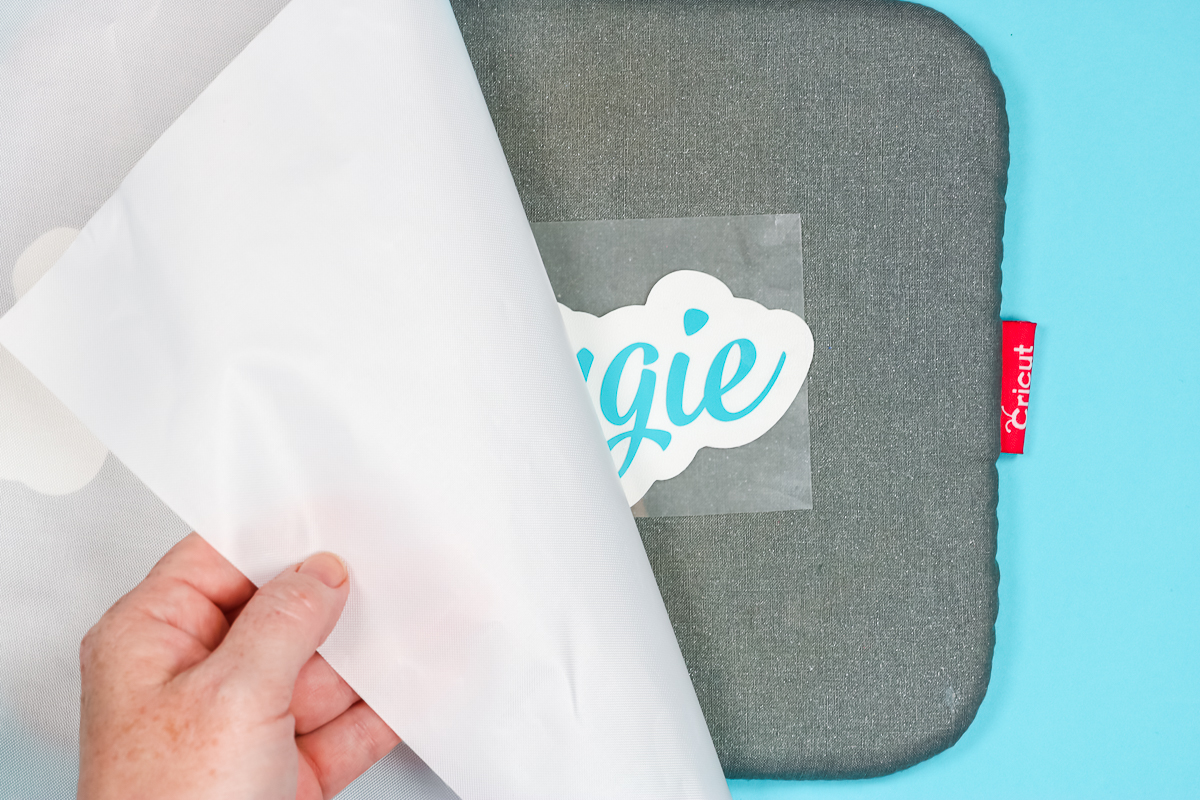
I am using my EasyPress to apply the heat. Follow the heat and time settings for the HTV material you’re using. Mine calls for a temperature of 330 degrees for 15 seconds and medium pressure so I am pressing down the whole time.
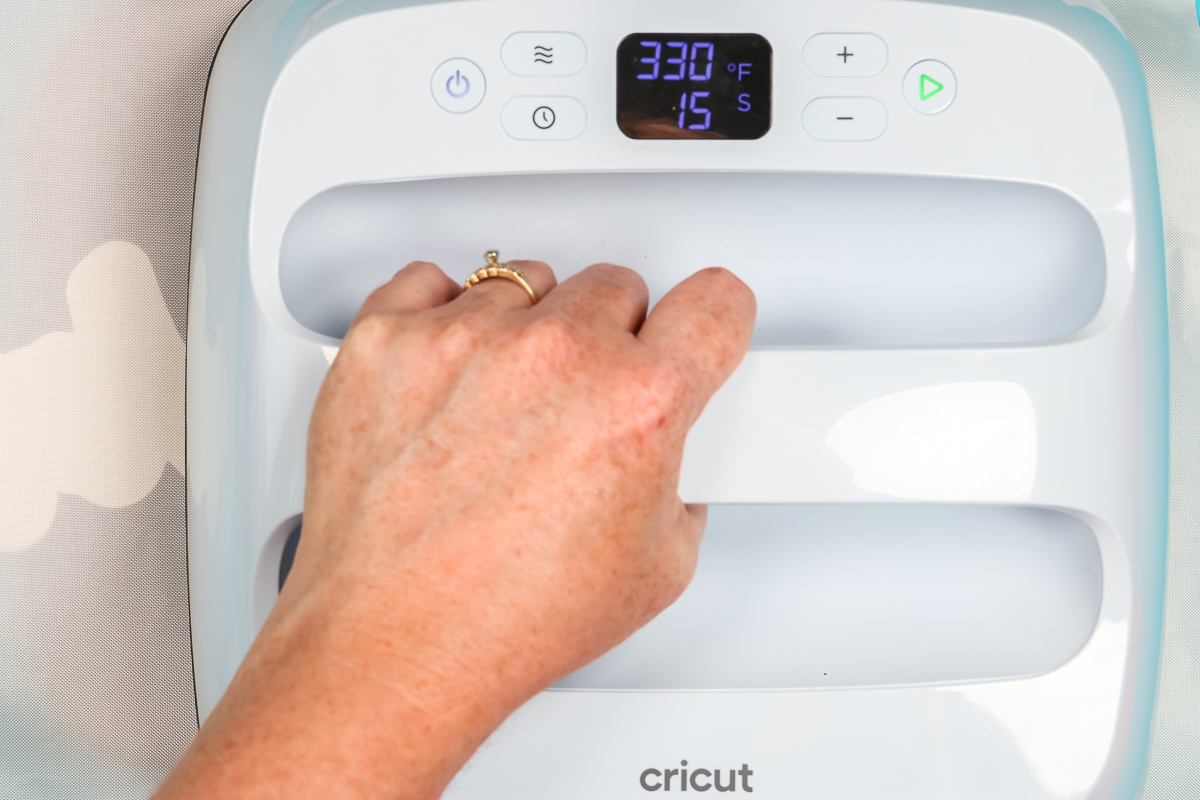
The HTV I’m using has a warm or cool peel so I’m going to allow it to cool for a few seconds and then peel back the carrier sheet.
Make sure the HTV is stuck down as you peel back the carrier sheet. If it’s not, lay the carrier sheet back down and press for a few more seconds.
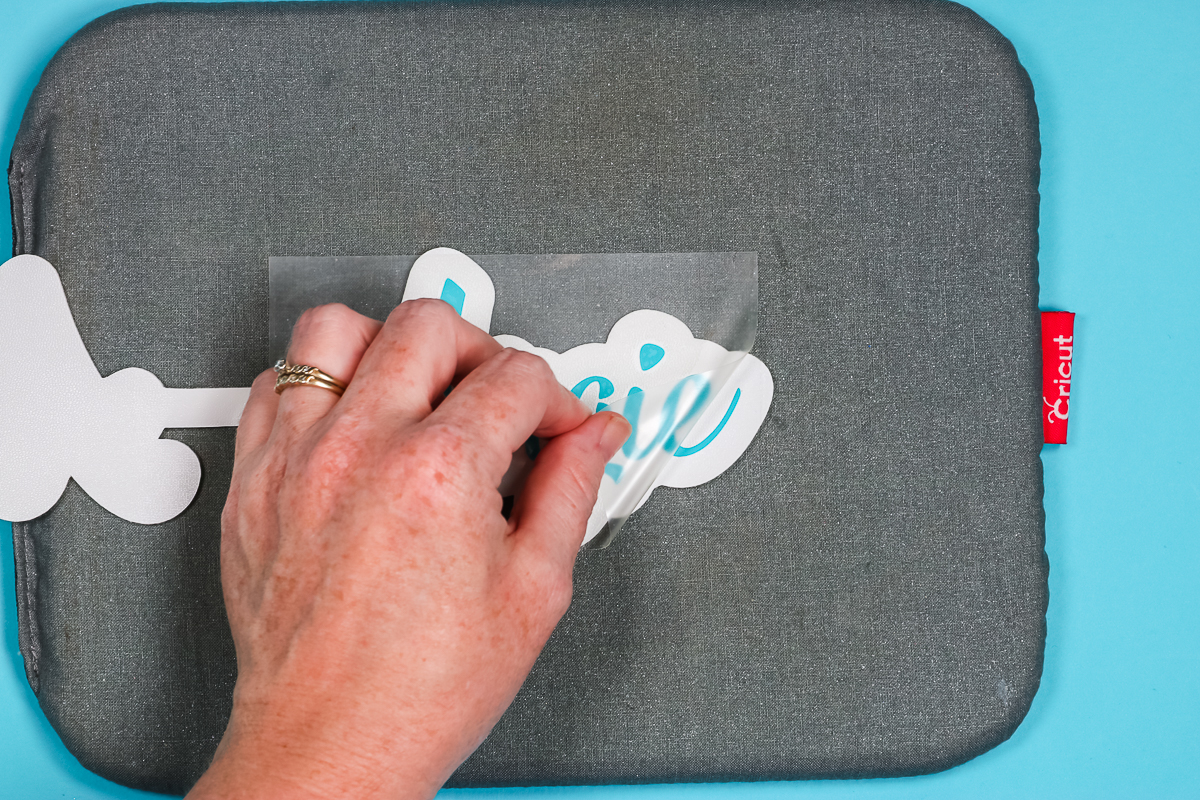
There is one problem you may run into when adding HTV to faux leather. Sometimes if the carrier sheet isn’t larger than the faux leather, it can leave a line on it. If that happens, after removing the carrier sheet replace the Teflon sheet and then press for about half the time and then remove the Teflon sheet and that should take care of the mark.
How to Assemble Faux Leather Name Keychains
Now that the HTV is applied to the faux leather it’s time to assemble the keychain. I am using Beacon Super Fabri-Tac as my adhesive today. You can use any fabric glue as long as it is a permanent adhesive.
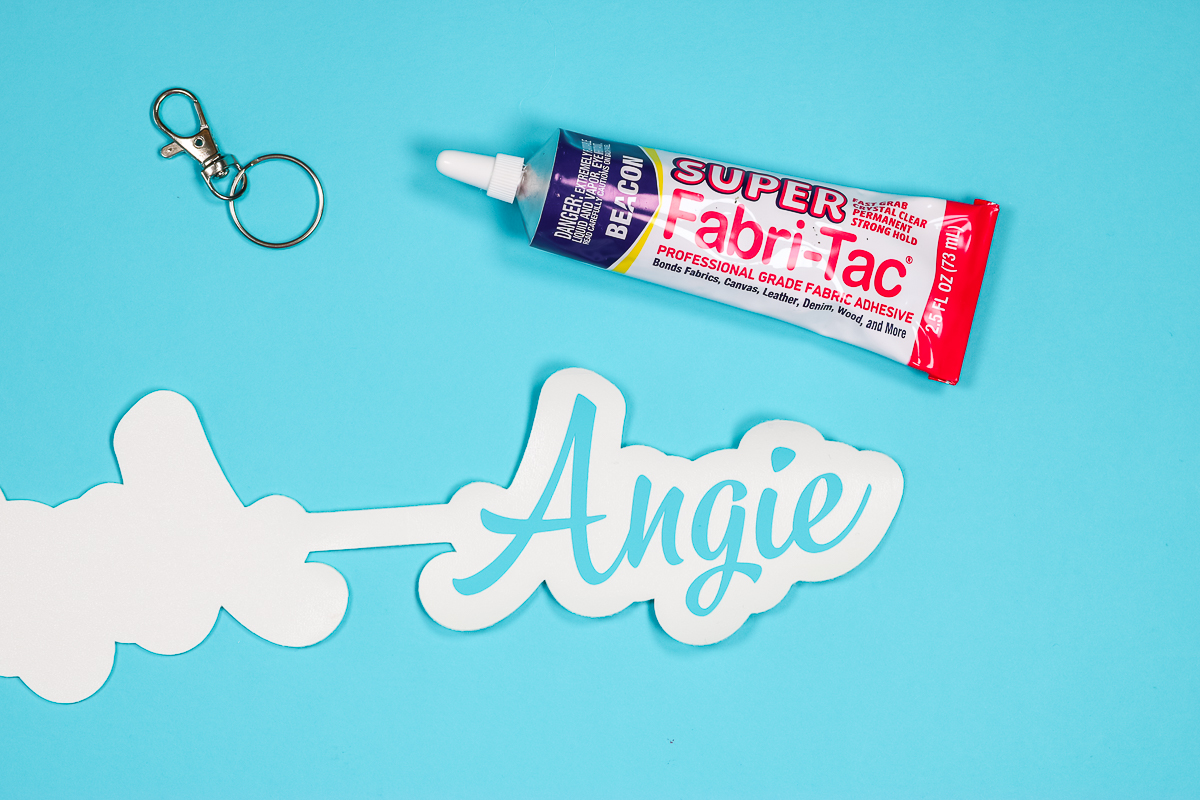
First, you need to feed one end of the offset through the key ring piece. The faux leather is flexible so you can roll it a little and it’ll go through the ring. I do recommend rolling it and not folding it, you don’t want to crease the leather.
Pull the leather through so the key ring sits in the middle of the rectangle middle section.
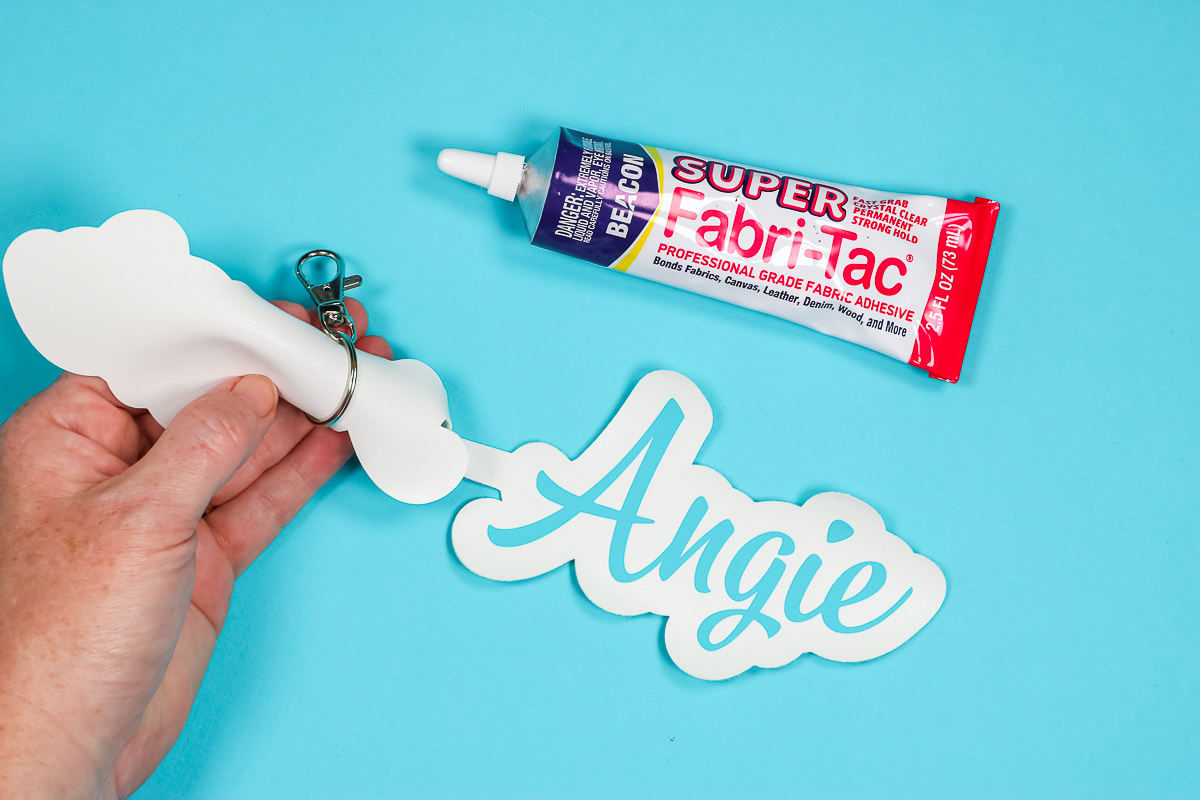
Now we’re going to apply the glue. I’ve found that faux leather absorbs adhesive so you’ll probably want to add more than you think you need. Spread the adhesive from edge to edge and then fold the two parts together exactly.
Take time to make sure your edges are all lined up perfectly. Smooth the two parts together and wipe away any adhesive excess.
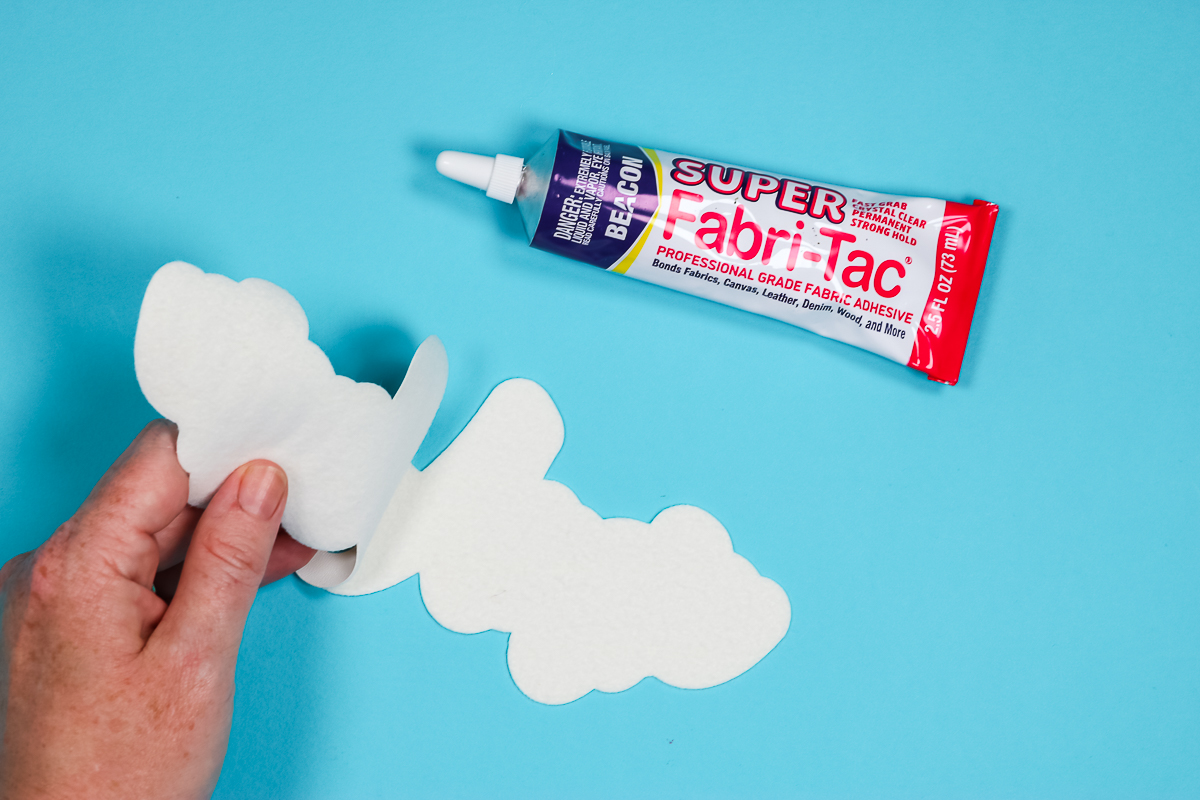
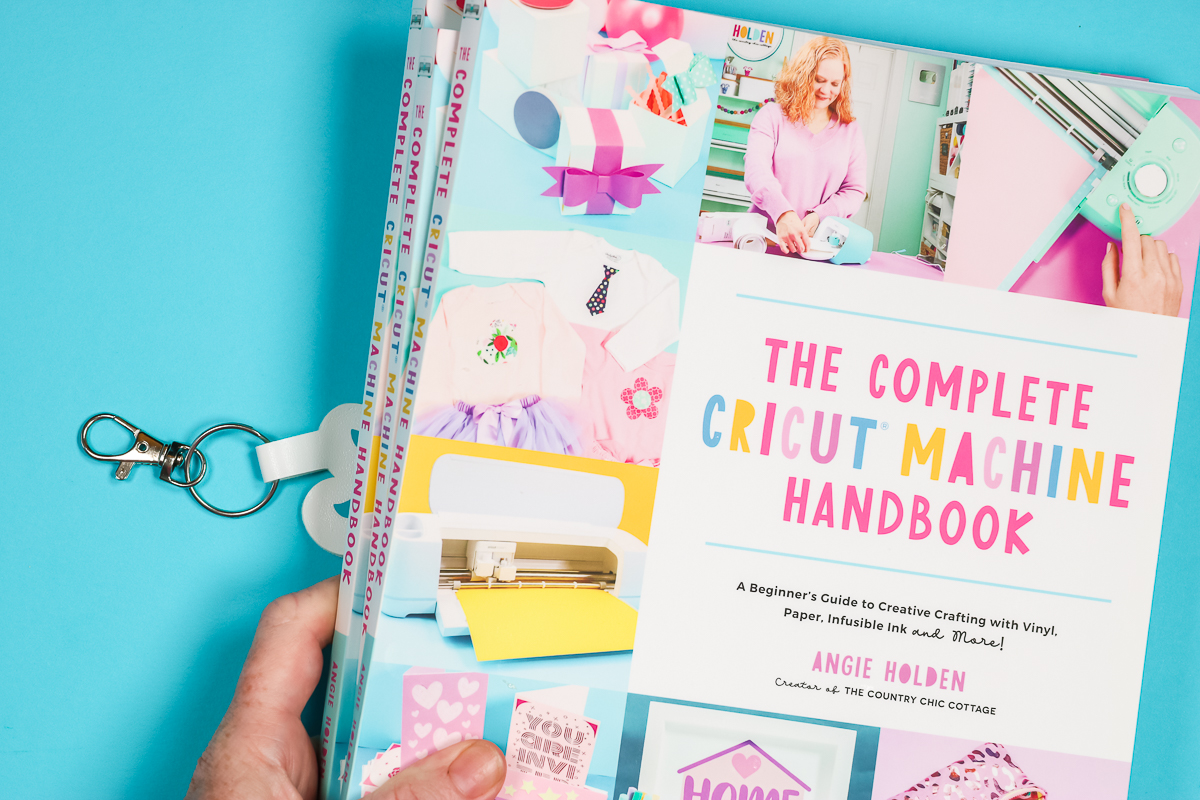
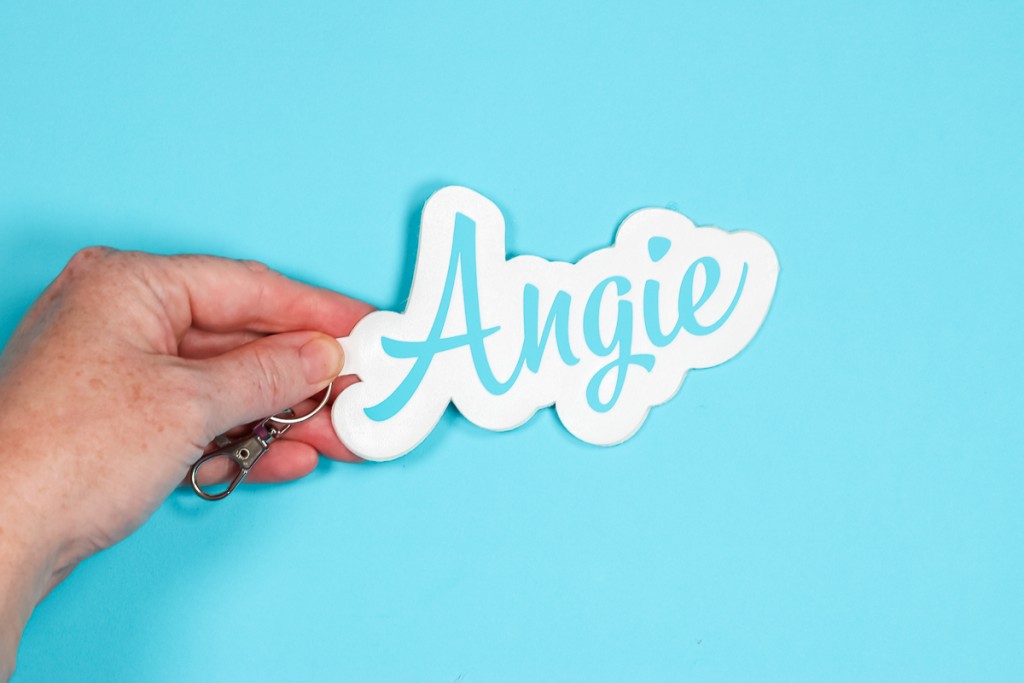
While the adhesive dries, place the keychain under something heavy like a few books. Once it’s completely dry, remove the books and you have a finished name keychain.
If you notice any lifting or areas that aren’t stuck together, you can add more adhesive and then allow it to dry again.
Final Thoughts on Making Name Keychains with a Cricut Machine
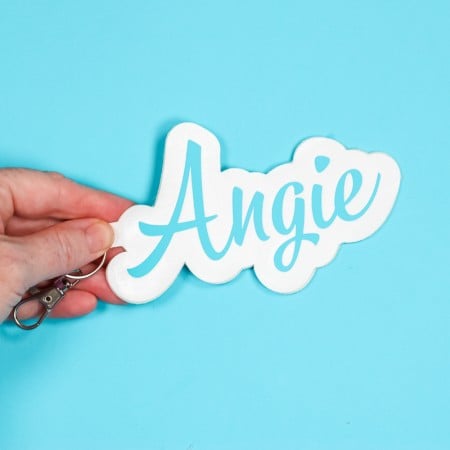
Name keychains are such a fun and easy project to make. You can use any Cricut machine, any faux leather, and any HTV to create a personalized keychain perfect for yourself or as a gift. If you keep scrap supplies, this is a perfect project to use some of them up.
Because these are so easy to make you’ll want to make them in a variety of colors. Imagine how perfect they’d be as party favors.
I hope I’ve answered any questions you may have about making your own name keychains with a Cricut machine. If you have any additional questions, leave them in the comments and I’ll be happy to answer them for you.
Want to print these instructions? Use the card below!
Equipment
- Cricut EasyPress
Supplies
- Faux Leather
- Keychains
- Glue
Instructions
How to Make DIY Name Keychains with a Cricut Machine
- To make personalized name keychains we’ll begin in Design Space. Begin by adding your name on the canvas. You can choose any font you want to use but I recommend using a script font so the letters can be connected.
- Using a script font makes having a solid offset a little easier. Depending on your letters you may need to use the contour tool to remove any holes in the faux leather so it’s one solid piece.
How to Add an Offset to Text
- To create the name keychains I am using the Offset tool in Design Space. Choose the font you want to use and type out your name.
- With the text selected click Offset in the top toolbar. I am using a rounded corner offset at 0.5″ and have weld offsets selected.
- Click Apply and you can see the offset around the text.
How to Create the Name Keychain Base
- Next, we need to duplicate the offset. Because I want the name keychain to be finished on both the front and the back I need to duplicate the offset.
- After duplicating the offset select one and then flip it horizontally.
- Now we need to select both layers and then align them. Click Align then Align Bottom and Align Top. We want these to be lined up perfectly.
- With the offsets lined up we need to connect them. I am adding a thin rectangle so that it overlaps onto each of the offset pieces. This is the portion that will be folded over the keychain piece.
- Your offset shape will dictate where you put the connecting piece but you will need a connecting piece.
- Now that we have everything set up we want to make sure everything is still aligned and then select all the offset layers and weld them. Do not include the actual text or it will disappear.
Resize Design to Fit Material Size
- Now we need to resize the entire design so it fits the material we have or so it is the size we want.
- In order to make sure everything is resized correctly align the text over the offset and then select all the layers to resize.
- I want my design to be about 11-inches. I kept the size locked so the height would resize appropriately with the width.
How to Cut Faux Leather
- I’m using a green StandardGrip mat and placing the faux leather finished side down.
- Use a brayer to make sure the material is adhered to the mat everywhere so it cuts cleanly.
- Because I am placing the faux leather right side down on the mat I need to mirror the image.
- I am using the Faux Leather setting but because I feel they all cut differently I do recommend checking the cut before unloading the mat.
- My faux leather cut through cleanly on the faux leather setting so I unloaded the mat.
How to Cut HTV
- When cutting HTV you need to mirror your design. HTV is placed on the mat shiny side down.
- I like to use the blue LightGrip mat with HTV.
- Choose the correct setting for the material you’re using. I am using regular HTV so I chose that setting and it cut perfectly.
Weeding HTV
- Grab your weeding tool and weed out all of the excess HTV material. The only thing you want left on the carrier sheet is the name you’re adding to the keychain.
- Don’t forget to weed out the inside of all the letters. Anything left on the carrier sheet will transfer onto the faux leather.
How to Add HTV to Faux Leather
- To apply the HTV to faux leather begin by locating the HTV on top of the faux leather. I am using my EasyPress Mat under the material.
- Because the carrier sheet of my HTV doesn’t cover all of my faux leather I am using a Teflon sheet to protect the faux leather from the heat source.
- I am using my EasyPress to apply the heat. Follow the heat and time settings for the HTV material you’re using.
- Mine calls for a temperature of 330 degrees for 15 seconds and medium pressure so I am pressing down the whole time.
- The HTV I’m using has a warm or cool peel so I’m going to allow it to cool for a few seconds and then peel back the carrier sheet.
- Make sure the HTV is stuck down as you peel back the carrier sheet. If it’s not, lay the carrier sheet back down and press for a few more seconds.
- The one problem you may run into when adding HTV to faux leather is that sometimes, if the carrier sheet isn’t larger than the faux leather it can leave a line on it.
- If that happens, after removing the carrier sheet replace the teflon sheet and then press for about half the time and then remove the teflon sheet and that should take care of the mark.
How to Assemble Faux Leather Name Keychains
- First you need to feed one end of the offset through the key ring piece. The faux leather is flexible so you can roll it a little and it’ll go through the ring.
- Pull the leather through so the key ring sits in the middle of the rectangle middle section.
- Now we’re going to apply the glue. I’ve found that faux leather absorbs adhesive so you’ll probably want to add more than you think you need.
- Spread the adhesive from edge to edge and then fold the two parts together exactly.
- Take time to make sure your edges are all lined up perfectly. Smooth the two parts together and wipe away any adhesive excess.
- While the adhesive dries place the keychain under something heavy like a few books. Once it’s completely dry remove the books and you have a finished name keychain.


oh that look so easy ,how thick is your leather and where can i find the leather?
It’s a fun project for sure 🙂 I link to the faux leather I used right in the post under the supplies list 🙂