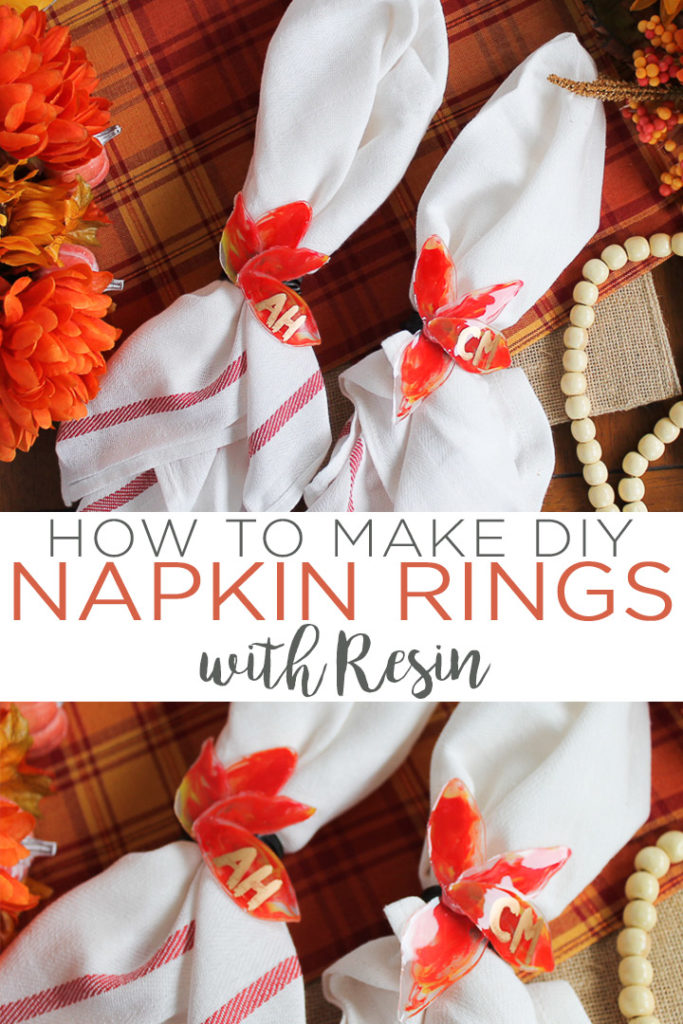
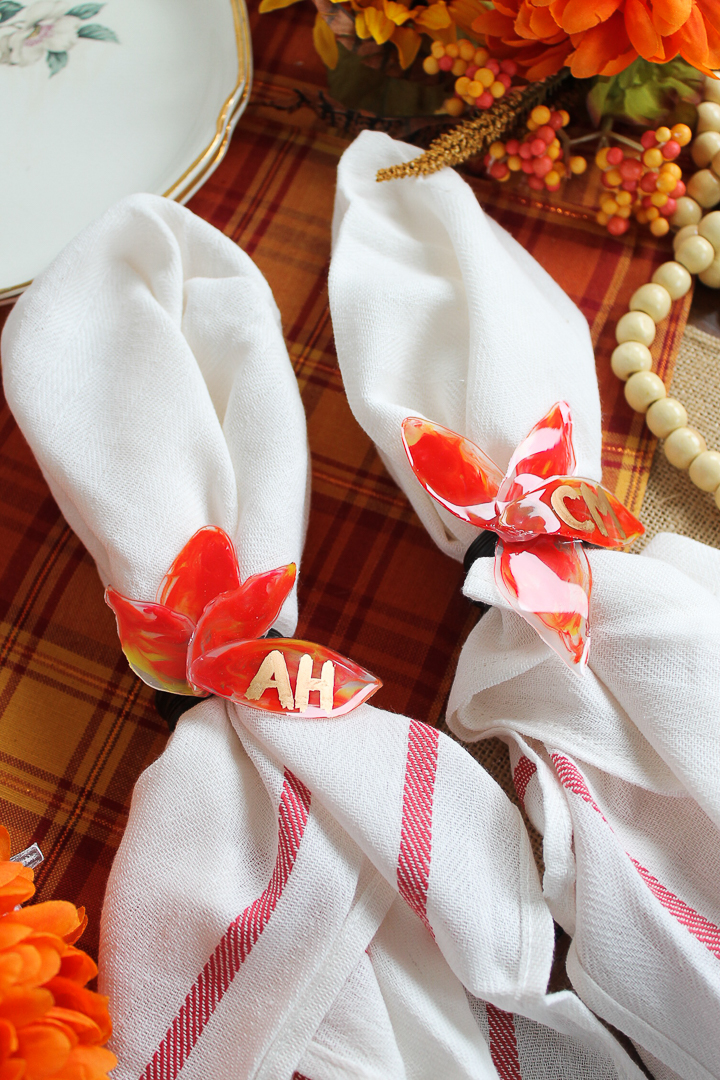
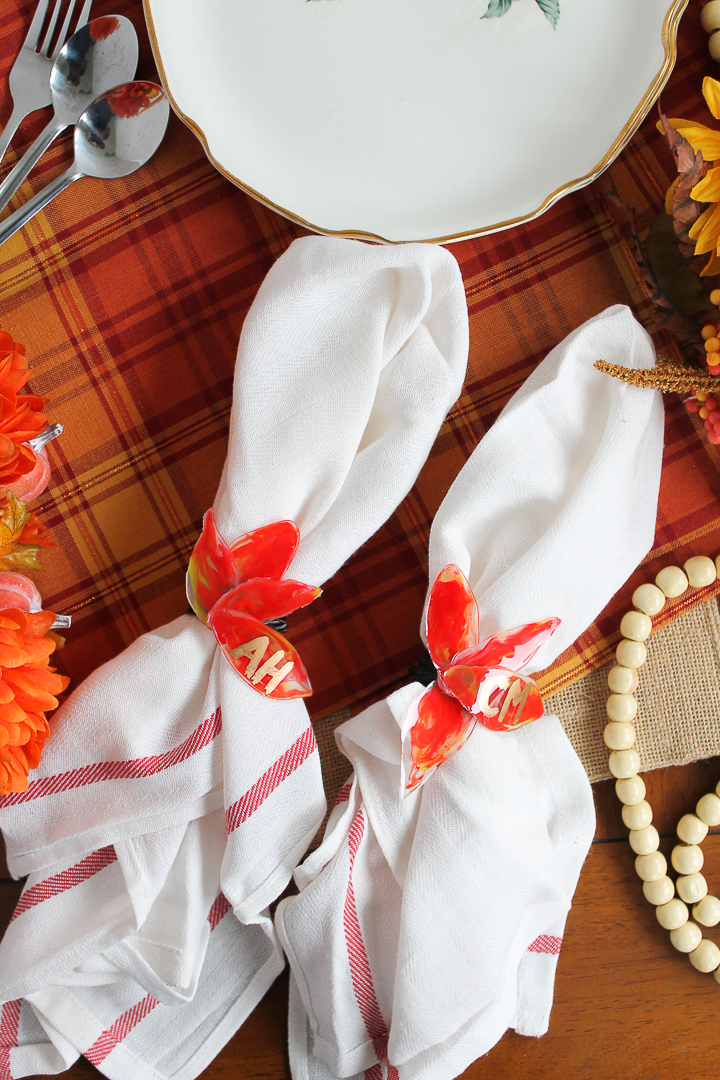
Making DIY napkin rings is actually much easier than you think. With the method we are going to show you, you can make glossy fall leaves for this project and so many more. The secret? Resin! I have a technique for using a resin that you are going to love and it makes the gorgeous leaves on these napkin rings and so much more. So, are you ready to see how I make them? Keep reading!
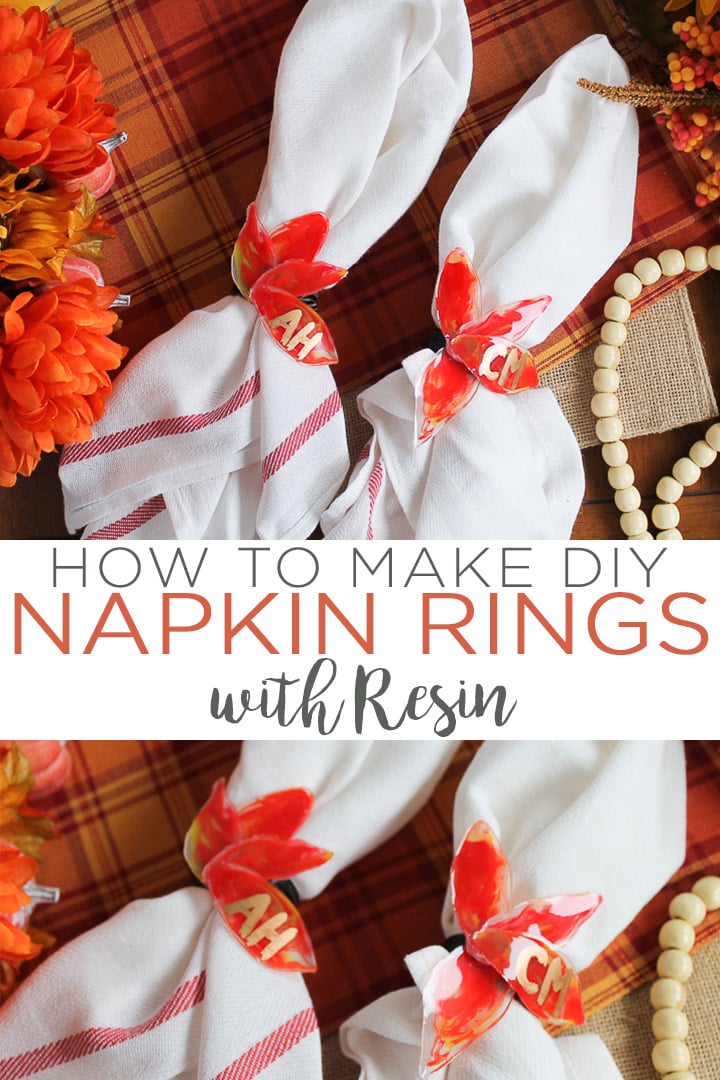
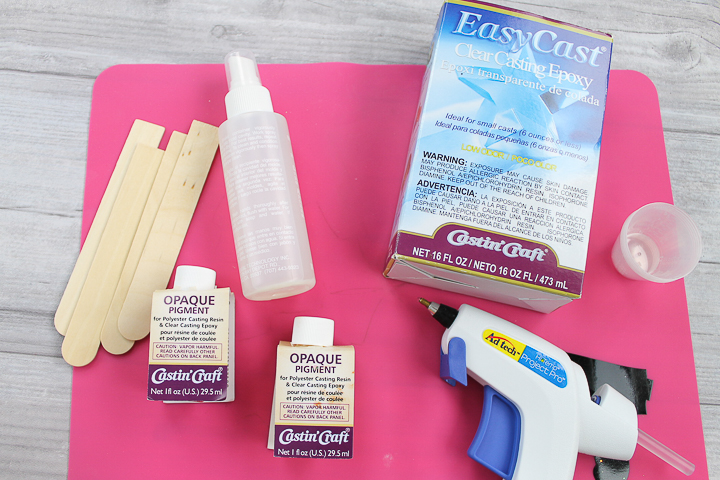
Supplies needed to make DIY napkin rings:
Some links below may be affiliate links which means that you do not pay anymore, however, a small commission will go to this site.
- EasyCast Clear Casting Epoxy
- Disposable mixing and measuring cups
- Disposable stir sticks
- Universal Opaque Pigments (in red and yellow)
- Hot glue gun and glue sticks
- Silicone craft mat
- Metallic paint pen
- Napkin rings
- Mold Release & Conditioner (this is optional as I will explain in a minute)
How to Make Napkin Rings:
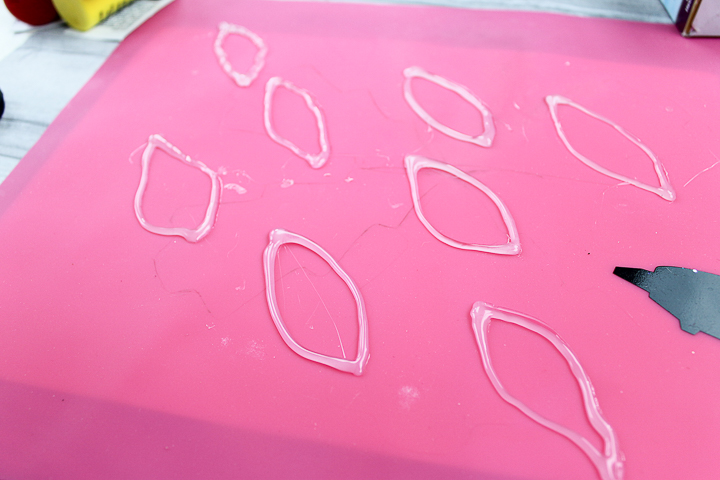
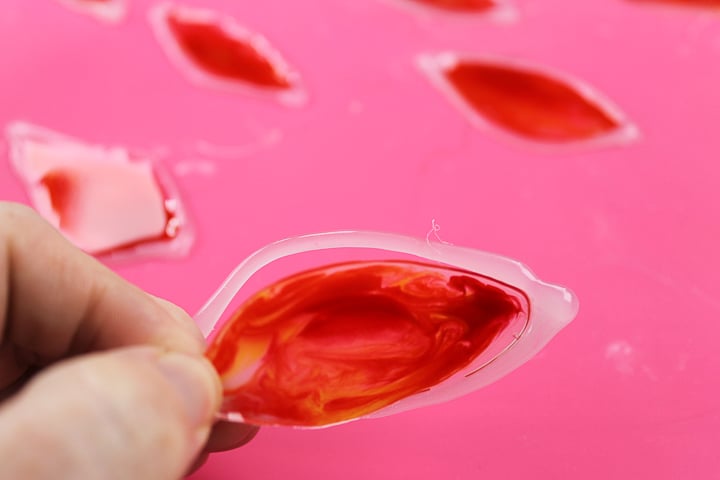
I will totally blame the Hot Glue Gun book I wrote for the inspiration for this one. I figured out the method for making these leaves as a direct result of doing so many hot glue projects for that book. It turns out that hot glue on a silicone mat makes a great mold for resin. You can actually do this method with any shape you can draw but we are doing to do it with leaves. So, take your hot glue gun and draw leaf shapes all over the silicone mat.
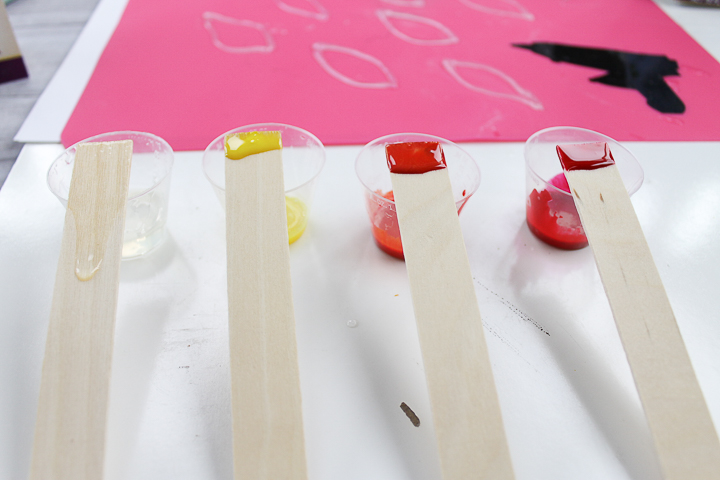
Allow those to cool while you mix your resin. Be sure to follow all package directions when measuring and mixing resin as the steps are critical. Then divide your mixture among four small cups. One I left clear then I tinted the others yellow, orange, and red with the opaque pigments.
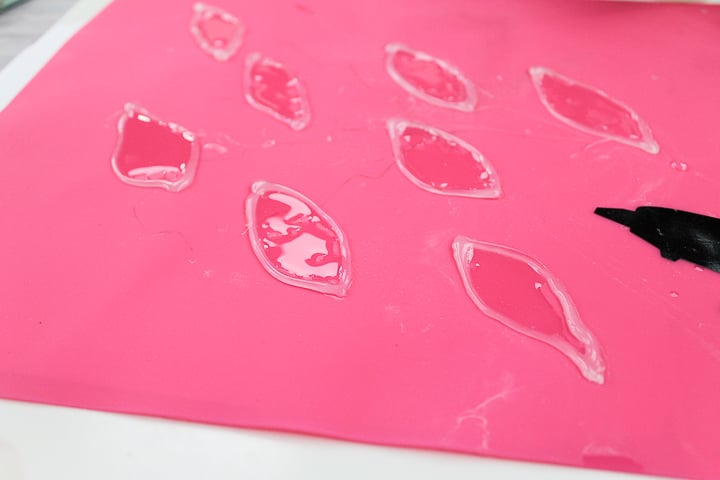
Now, you can spray your leaves with the mold release and conditioner but I found it really doesn’t make a difference. So, I would do mine without it. Pour your clear resin into each leaf shape but leave room in the leaf for more resin.
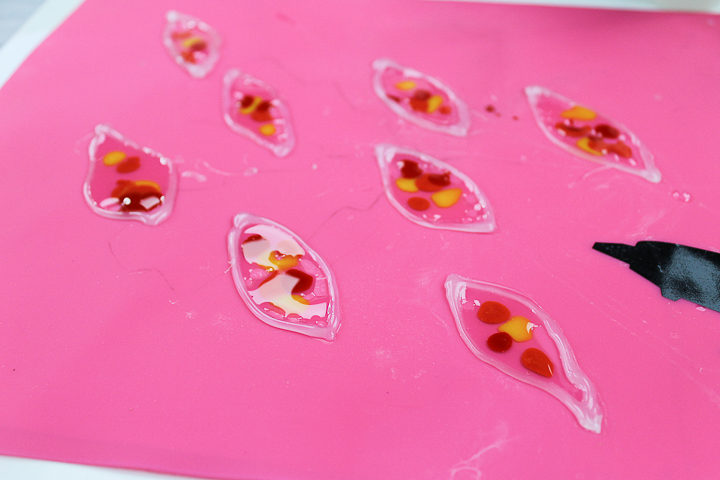
Add drops of each of the three colors to each leaf.
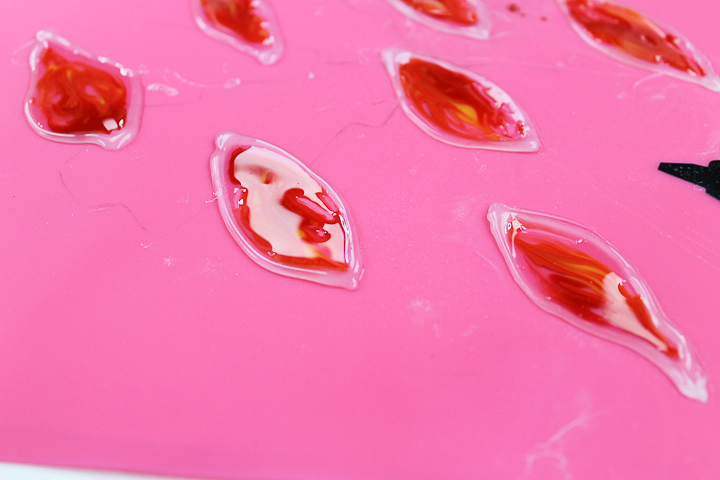
Use a stir stick to push those around until they are marbled.
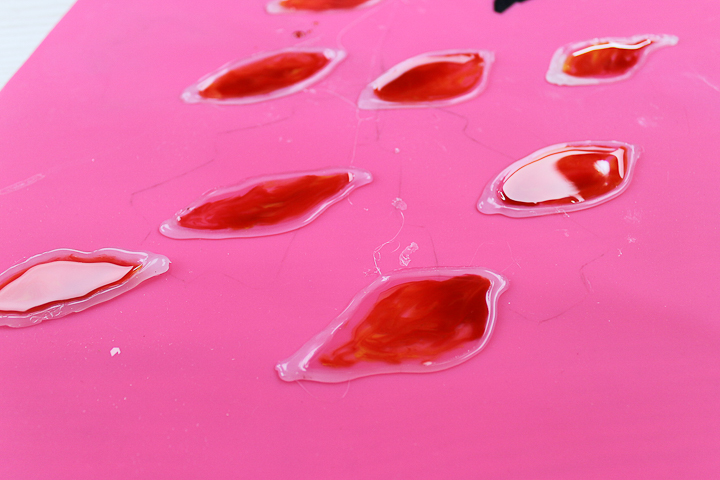
Add more resin if needed to fill up your leaf shapes. Then allow this to cure overnight on a flat, level surface.
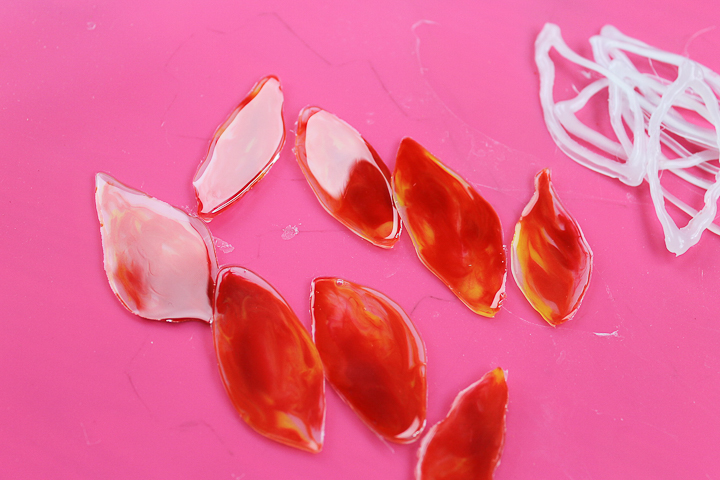
Remove the entire thing from the silicone mat by peeling up.
The hot glue will peel away from the sides and you are left with perfect, glossy fall leaves for your craft projects.
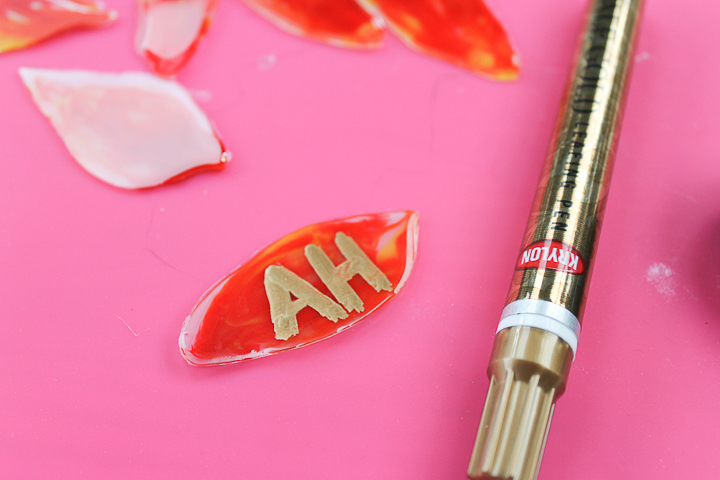
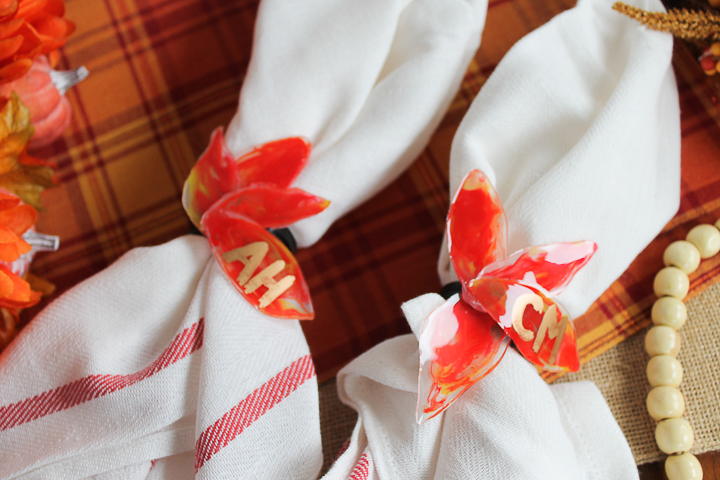
I wanted to make these napkin rings double as place cards as well. So, I used a metallic paint pen to mark the initials of each guest on one of the leaves.
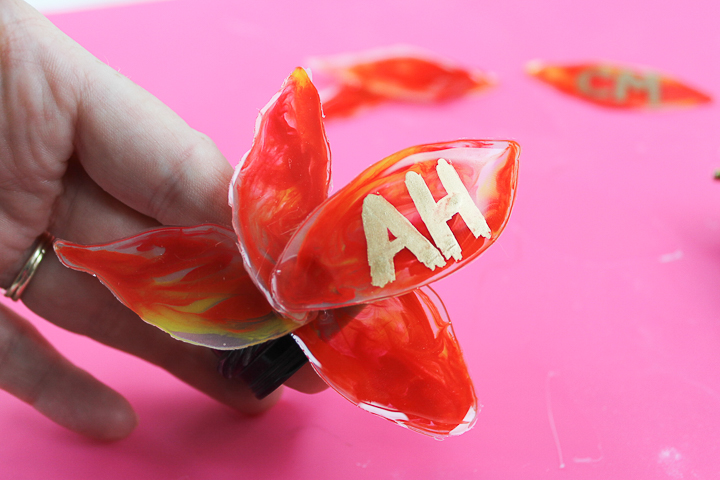
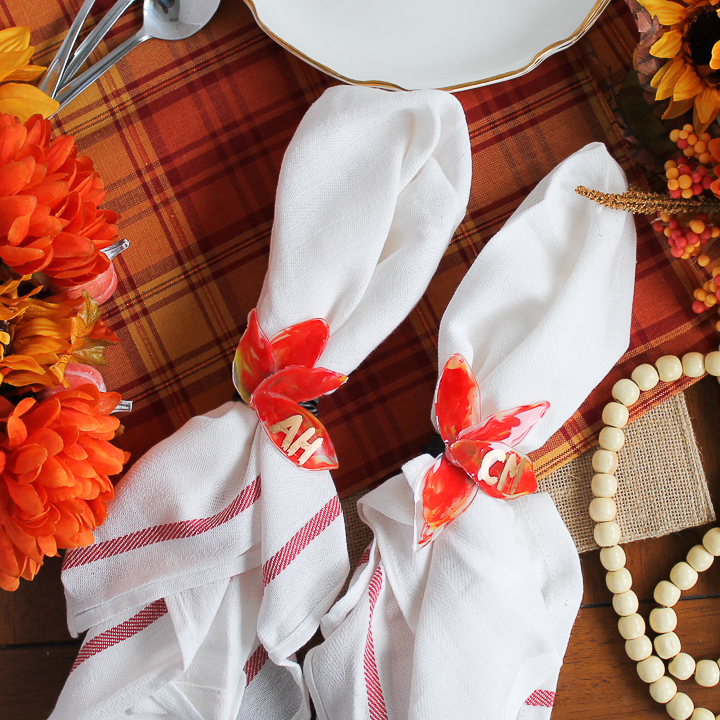
I then used hot glue to adhere a cluster of these on a wood napkin ring with the monogrammed version on top.
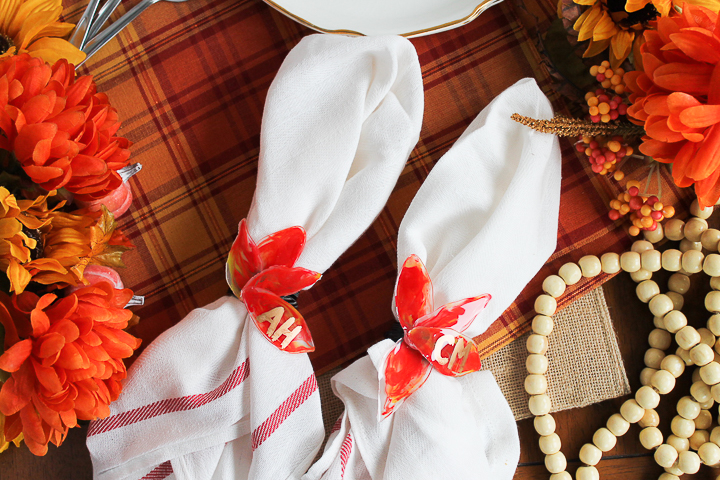
Then you can just add your DIY napkin rings to your fall table.
This quick and easy project is perfect for all of your fall dinner parties.
You might want to make a bunch of these leaves while you have the resin out and mixed. After all, there are so many things you can make with them!
I do want to say that you do not need to be afraid of resin projects. As long as you follow the directions, you will have success each and every time!
And there are so many things that you can make with resin! It will open up a whole new world of crafting possibilities. Like DIY napkin rings, of course!
Love these fall napkin rings and want more ideas? Try the links below!
- Table Decoration Ideas for Thanksgiving
- Thanksgiving Decorating Ideas for Your Holiday Table
- Tray Decoration Ideas for Thanksgiving
- DIY Thanksgiving Decorations for Your Table
- Non-Traditional Thanksgiving Decor Ideas for Your Table
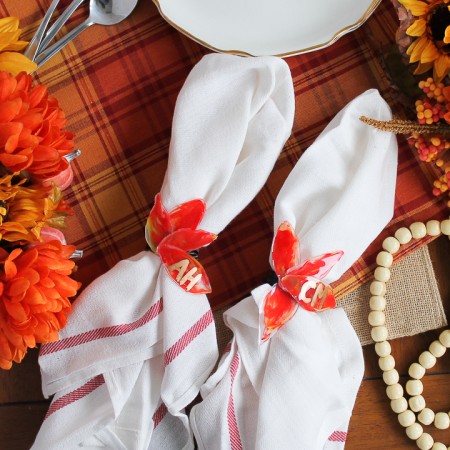
Want to print this napkin ring tutorial? Use the card below!
Supplies
- EasyCast Clear Casting Epoxy
- Disposable mixing and measuring cups
- Disposable stir sticks
- Universal Opaque Pigments in red and yellow
- Hot glue gun and glue sticks
- Silicone craft mat
- Metallic paint pen
- Napkin rings
- Mold Release & Conditioner this is optional as I will explain in a minute
Instructions
- I will totally blame the Hot Glue Gun book I wrote for the inspiration for this one. I figured out the method for making these leaves as a direct result of doing so many hot glue projects for that book. It turns out that hot glue on a silicone mat makes a great mold for resin. You can actually do this method with any shape you can draw but we are doing to do it with leaves. So, take your hot glue gun and draw leaf shapes all over the silicone mat.
- Allow those to cool while you mix your resin. Be sure to follow all package directions when measuring and mixing resin as the steps are critical. Then divide your mixture among four small cups. One I left clear then I tinted the others yellow, orange, and red with the opaque pigments.
- Now, you can spray your leaves with the mold release and conditioner but I found it really doesn't make a difference. So, I would do mine without it. Pour your clear resin into each leaf shape but leave room in the leaf for more resin.
- Add drops of each of the three colors to each leaf.
- Use a stir stick to push those around until they are marbled.
- Add more resin if needed to fill up your leaf shapes. Then allow this to cure overnight on a flat, level surface.
- Remove the entire thing from the silicone mat by peeling up.
- The hot glue will peel away from the sides and you are left with perfect, glossy fall leaves for your craft projects.
- I wanted to make these napkin rings double as place cards as well. So, I used a metallic paint pen to mark the initials of each guest on one of the leaves.
- I then used hot glue to adhere a cluster of these on a wood napkin ring with the monogrammed version on top.
- Then you can just add your DIY napkin rings to your fall table.
Struggling with resin and need help?
I know that a ton of you are intimidated by resin. Don’t be! You just need to know the basics and gain some experience with the medium. I have a course that will help you master epoxy resin and give you the confidence you need to tackle this project and so much more.
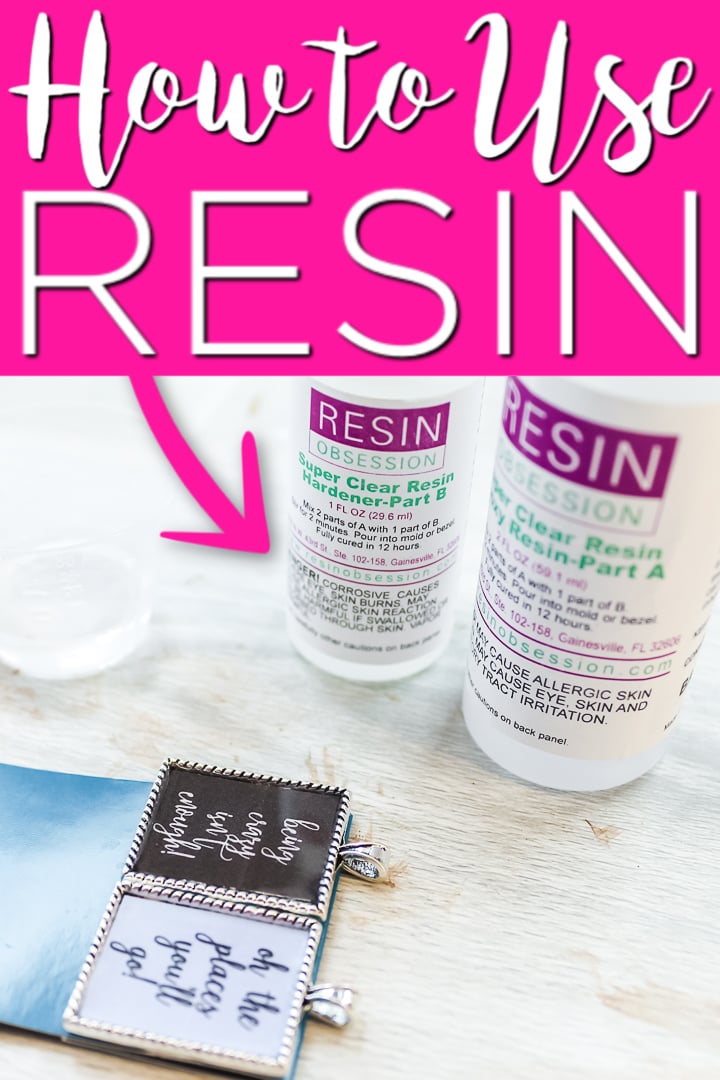
With unique insights drawn from more than a decade of creating and selling resin jewelry worldwide, this course is from an Amazon best-selling author on the topic. This class goes beyond making a few projects. You get thirty video lessons to give you clear directions on how to make resin jewelry you can confidently share and sell. Want to see more?

