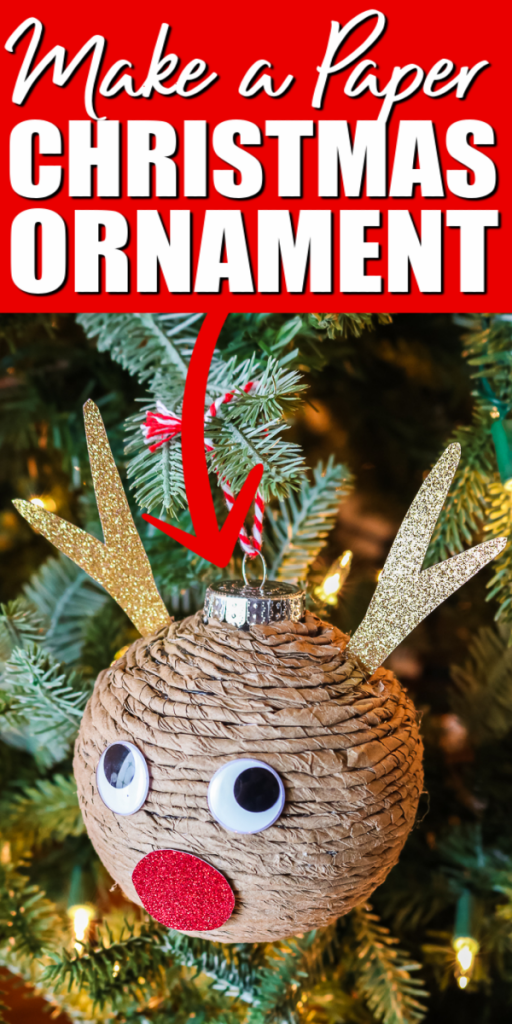
This post is sponsored by BabbleBoxx on behalf of JoAnn. You can easily make a DIY paper ornament with this tutorial. Twisted paper is an easy way to cover an ornament surface then you can add accents to really set the craft project off. In this case, I am making mine look like Rudolph the red-nosed reindeer but you can add any paper accent that you love. Let your imagination run wild with this simple technique.
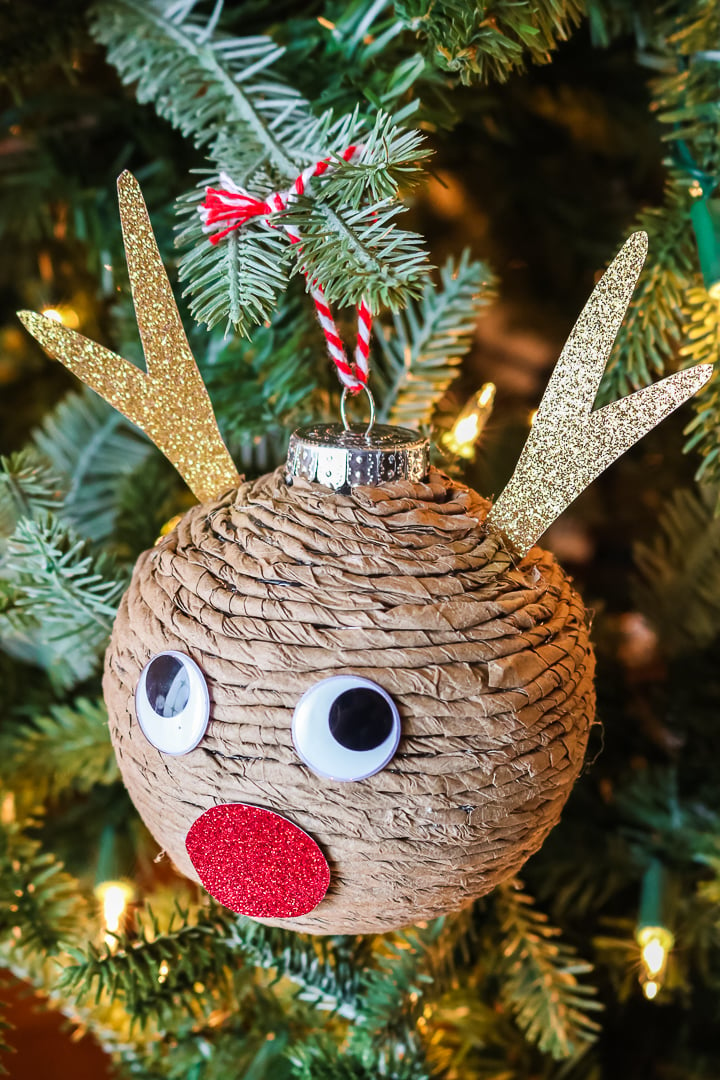
DIY Paper Ornament
In this case, I am using kraft paper but you can definitely experiment with different types and colors of paper and this same technique. I would recommend a fairly thin paper as the thicker papers are hard to twist.
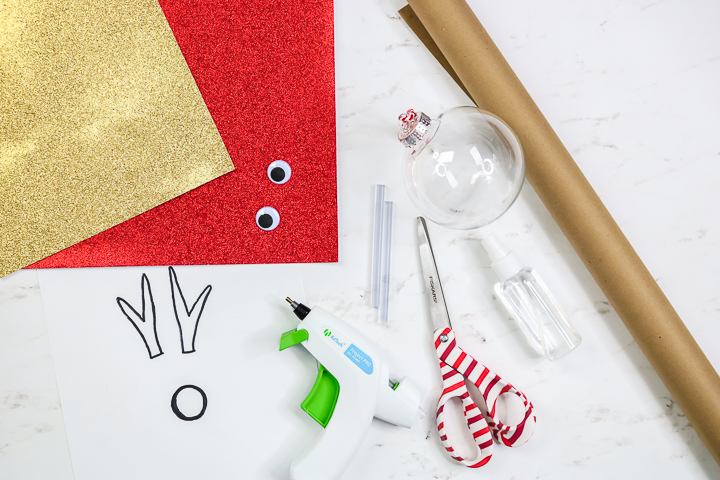
Supplies needed:
- Plastic ball ornament
- Kraft paper
- Glitter paper in red and gold (Use code COUNTRY10 for 10% off paper – excludes adhesives + embellishments)
- Antler and nose template (click here to print your own)
- Marker
- Spray bottle with water
- Scissors
- Hot glue and a glue gun
- Google eyes
How to Make an Ornament from Paper
One of my favorite holiday traditions is to make new ornaments every year to add to my tree. Then decorating my tree each year is like a walk down memory lane. I love all things rustic around the holidays so I thought why not make this cute ornament with kraft paper for that farmhouse feel.
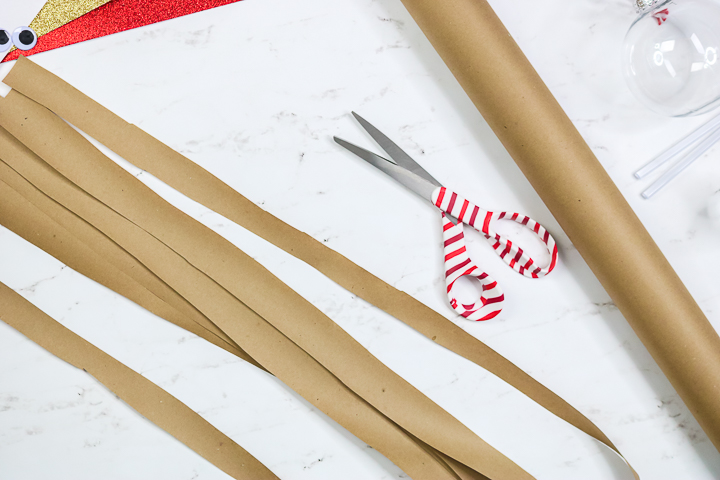
Step 1: Cut the paper into strips
Cut your paper into approximately 1 inch strips with scissors. I worked with the entire length from the kraft paper roll but you can definitely cut your paper into smaller sections.
Step 2: Twist the paper
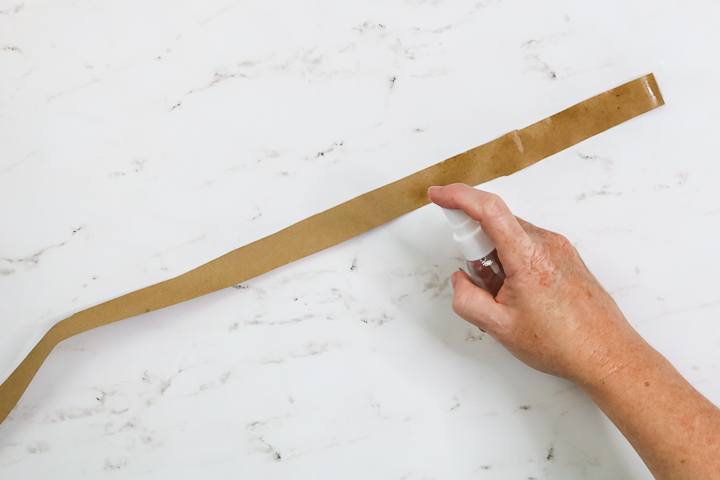
In order to make the paper easier to twist, wet with water from a spray bottle just slightly.
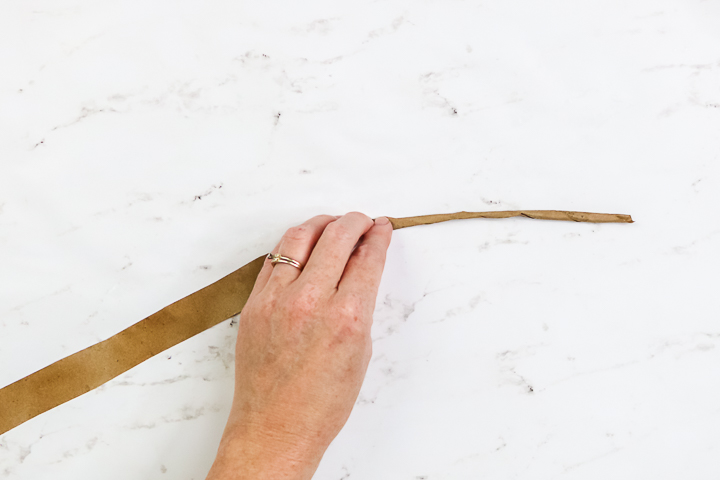
Then twist once down the entire length. The paper may not stay twisted but this will aid you in twisting later when adding to the ornament.
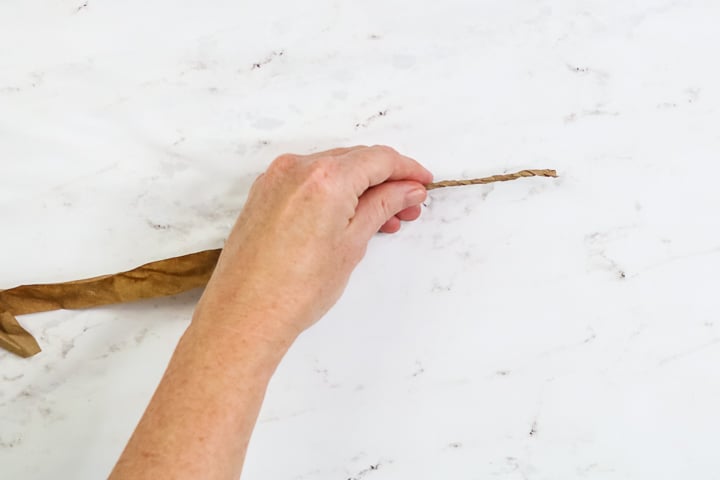
Then go back and twist a second time getting it even tighter. You will want to make sure the first 5 to 6 inches of length is twisted well before starting on your ornament. You can twist the rest of your strand as you glue.
Step 3: Hot glue to ornament
Start on the bottom and glue your strips into place covering the entire ornament. Hot glue works best here but you will want to be cautious not to burn yourself.
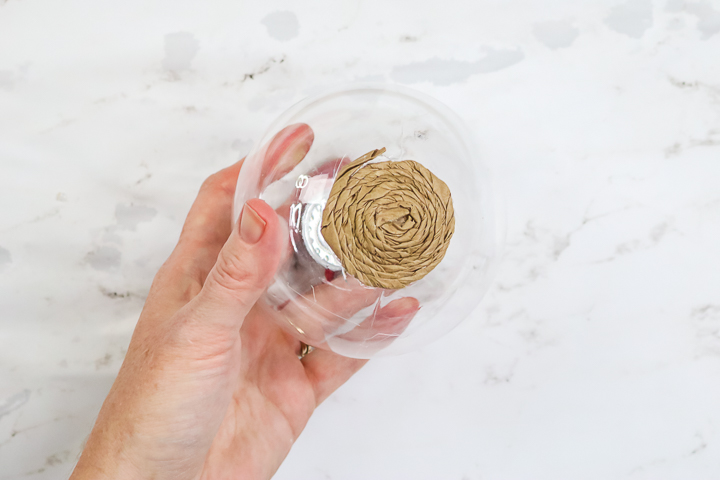
Continue twisting paper strips and adding them to your ornament. I recommend wetting and twisting the paper strips as you go as they dry out quickly. The strips are much easier to work with when they are damp.
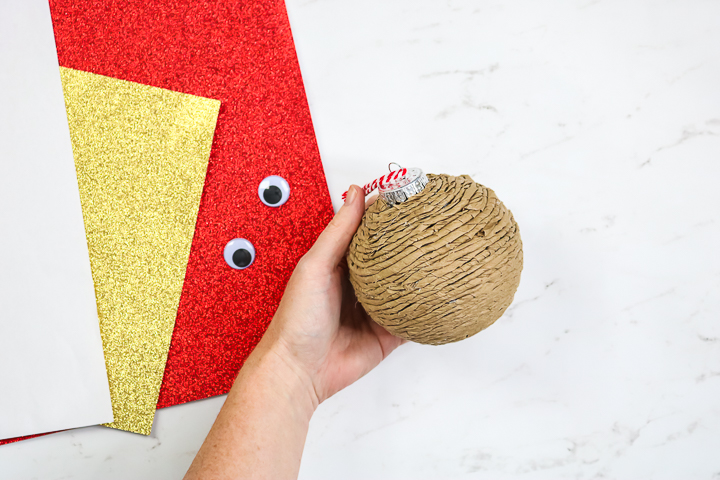
Step 4: Add embellishments
Once your ornament is wrapped, you can add your reindeer embellishments or any other paper accent you like. I cut antlers from gold glitter paper and a nose from red glitter paper. Just trace your template pieces onto the back of the paper.
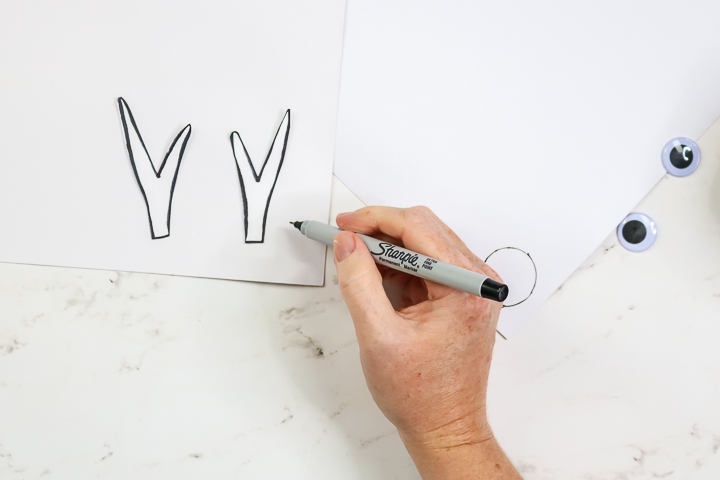
Then cut around the pieces with a pair of scissors.

Hot glue the paper nose as well as the google eyes into place.
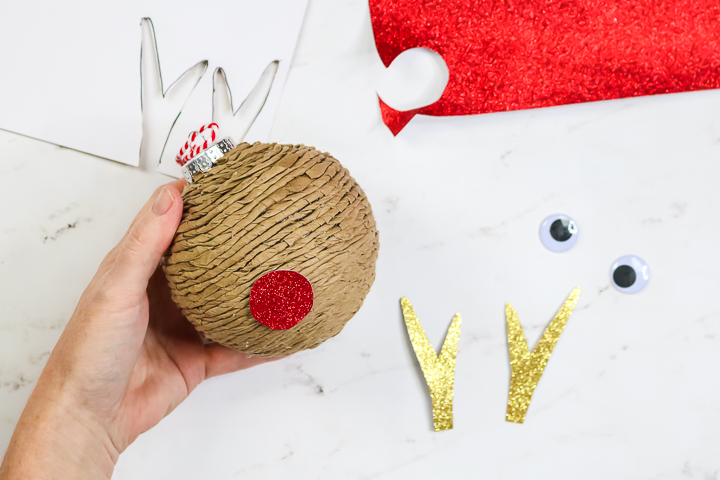
I found it easiest to bend the bottom of the antlers to have a surface for the hot glue.

Once your antlers are in place on both sides, this one is ready to hang on your tree!

A DIY paper ornament may just be what your tree needs this year. I could also see adding other paper cut outs to the front of this one. Maybe some mistletoe or holly or even a gingerbread cutout!

I am definitely partial to the reindeer myself. I love the way this ornament looks on my tree and I can’t wait to pull it out year after year.

If you love a handmade holiday, be sure to add this DIY paper ornament to your must-make list this year. You will be so glad you did!
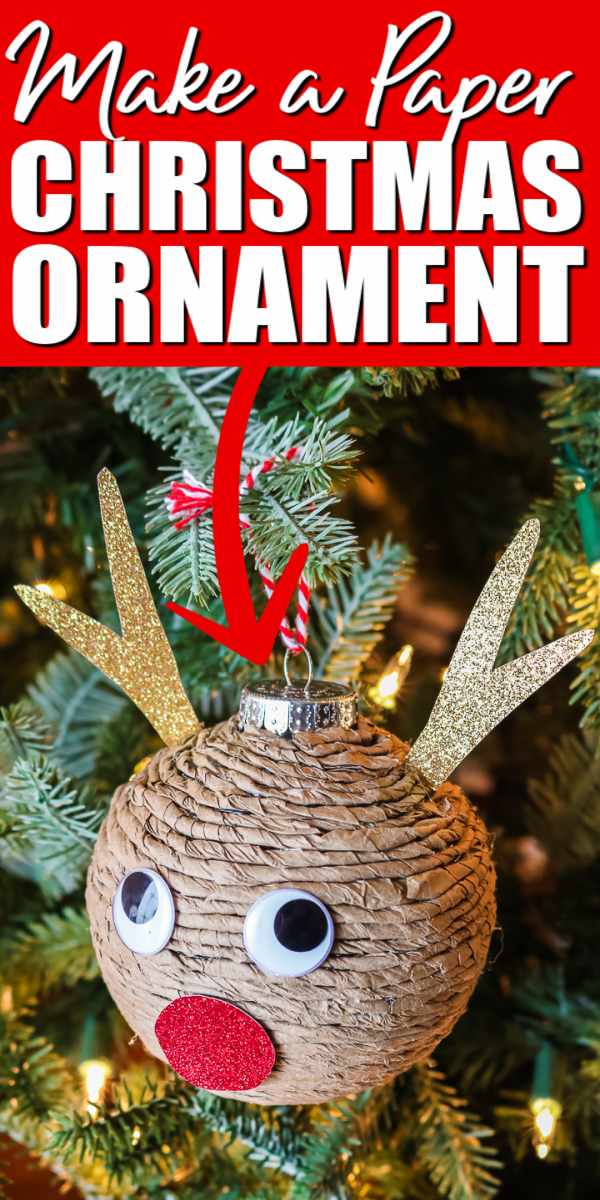
Want to print the instructions for making paper ornaments? Just use the card below!

Supplies
- Plastic ball ornament
- Kraft paper
- Glitter paper in red and gold
- Antler and nose template
- Marker
- Spray bottle with water
- Scissors
- Hot glue and a glue gun
- Google eyes
Instructions
Step 1: Cut the paper into strips
- Cut your paper into approximately 1 inch strips with scissors. I worked with the entire length from the kraft paper roll but you can definitely cut your paper into smaller sections.
Step 2: Twist the paper
- In order to make the paper easier to twist, wet with water from a spray bottle just slightly.
- Then twist once down the entire length. The paper may not stay twisted but this will aid you in twisting later when adding to the ornament.
- Then go back and twist a second time getting it even tighter. You will want to make sure the first 5 to 6 inches of length is twisted well before starting on your ornament. You can twist the rest of your strand as you glue.
Step 3: Hot glue to ornament
- Start on the bottom and glue your strips into place covering the entire ornament. Hot glue works best here but you will want to be cautious not to burn yourself.
- Continue twisting paper strips and adding them to your ornament. I recommend wetting and twisting the paper strips as you go as they dry out quickly. The strips are much easier to work with when they are damp.
Step 4: Add embellishments
- Once your ornament is wrapped, you can add your reindeer embellishments or any other paper accent you like. I cut antlers from gold glitter paper and a nose from red glitter paper. Just trace your template pieces onto the back of the paper.
- Then cut around the pieces with a pair of scissors.
- Hot glue the paper nose as well as the google eyes into place.
- I found it easiest to bend the bottom of the antlers to have a surface for the hot glue.
- Once your antlers are in place on both sides, this one is ready to hang on your tree!

