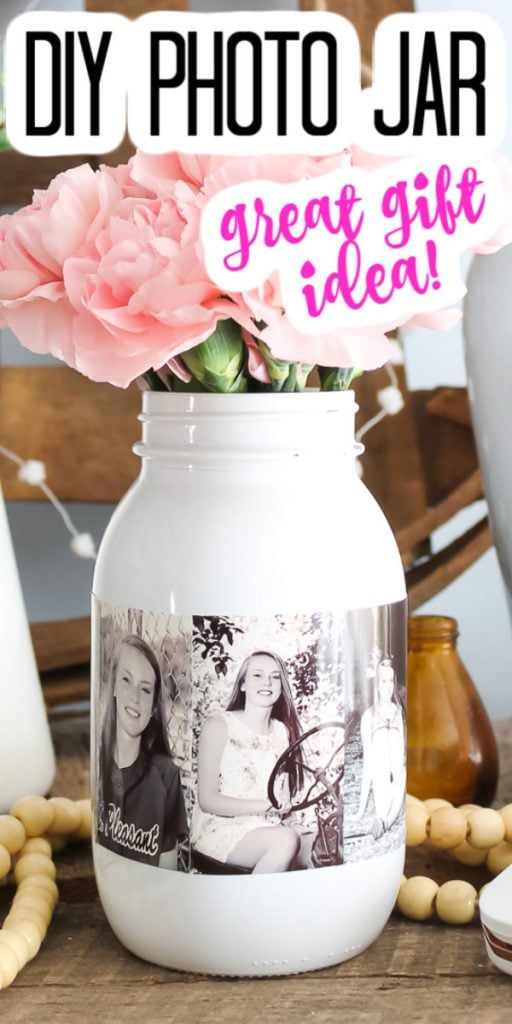
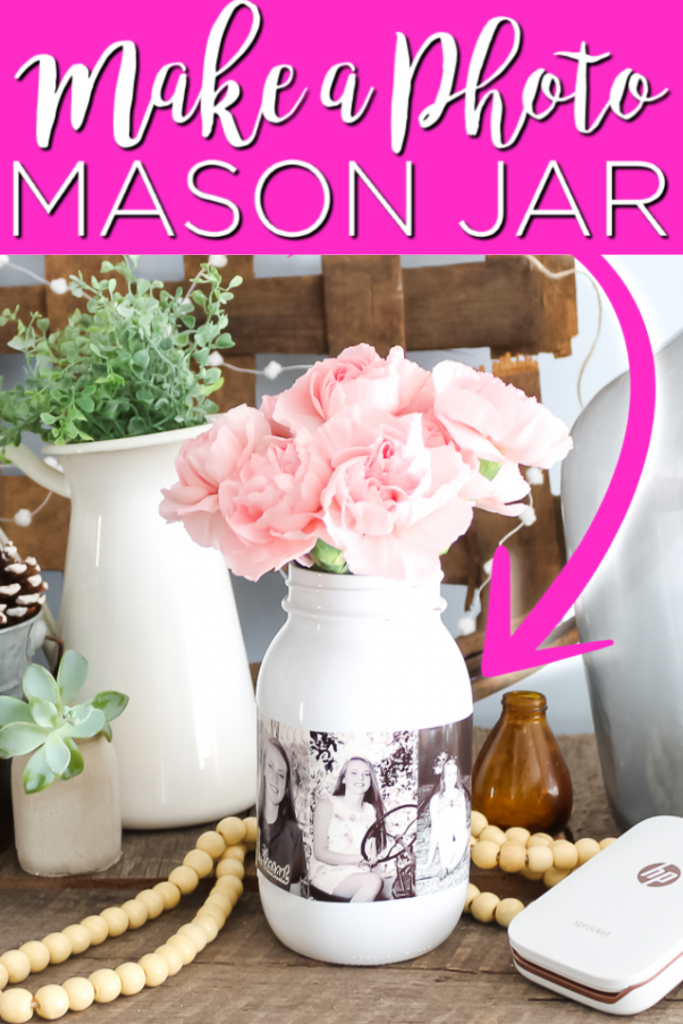
I have had some requests to do a tutorial on the photo mason jar I used at my daughter’s graduation party. It is actually so easy to make that you might use this same idea for gifts or as a centerpiece for your kitchen table. Grab those pictures and make this mason jar for parties, gifts, or your home’s decor.
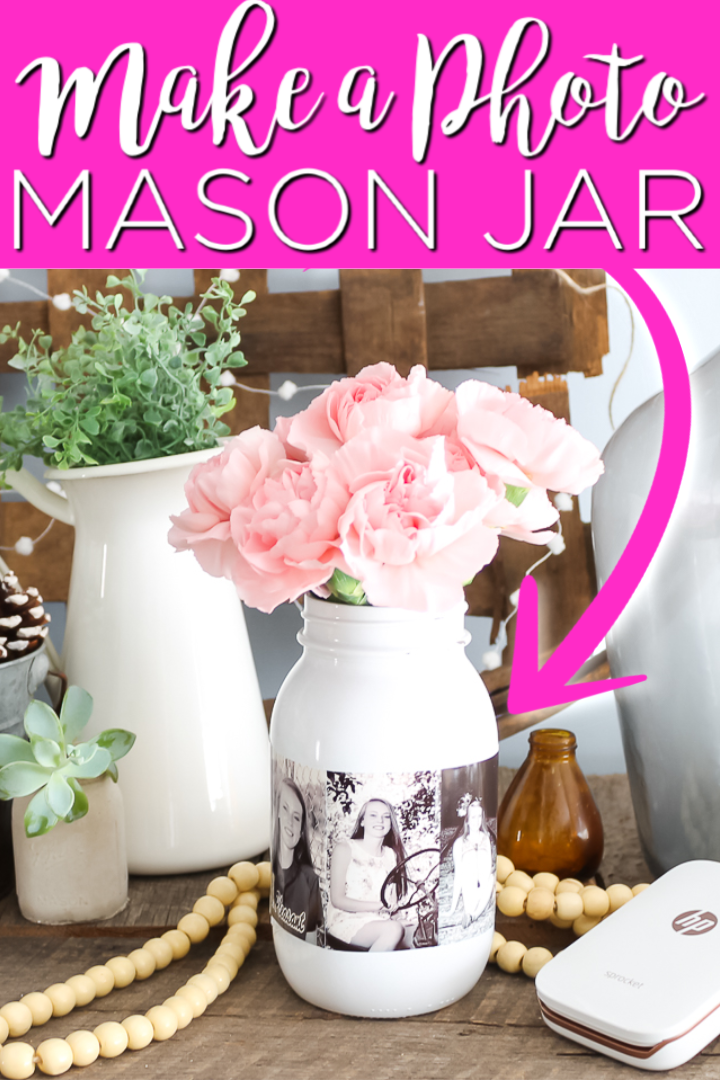
Supplies needed:
- Mason jar (you will need one with smooth sides like these) (you can also remove a label from an old jar and upcycle it)
- Spray paint (I used white)
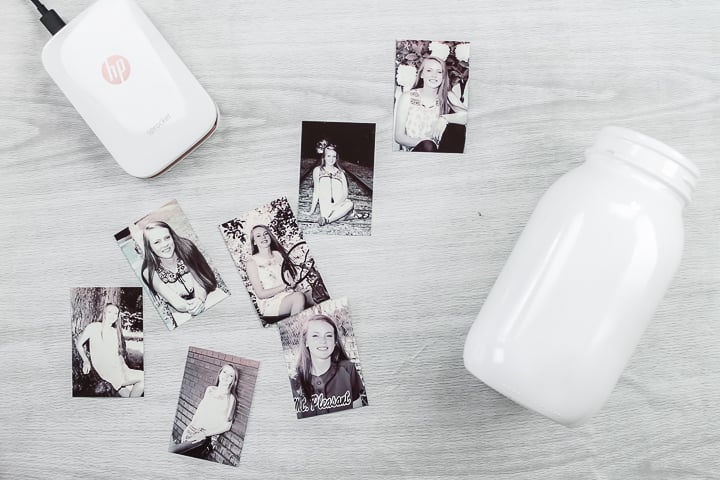
- Printed photos (I am using an HP Sprocket to print self-adhesive prints but I will give you some options with regular prints and glue below)
How to Make a Photo Mason Jar
I am using a white mason jar as well as black and white photos. You can change up the color of the jar as well as use colored photos. Make this project your own to match your home or your party theme. You can actually see me make this mason jar in the video below.
Can’t watch the video or missed some of the steps? You can follow along with the instructions below as well.
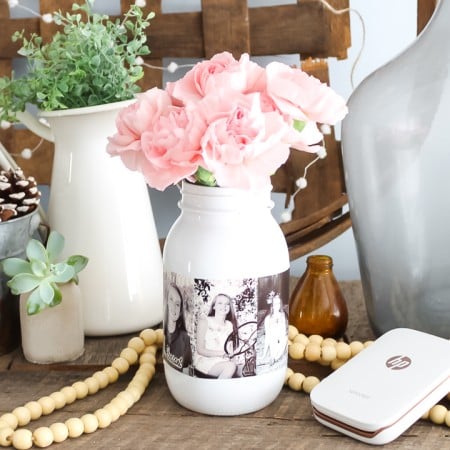
Supplies
- Mason jar you will need one with smooth sides
- Spray paint I used white
- Printed photos I am using an HP Sprocket to print self-adhesive prints but I will give you some options with regular prints and glue below
Instructions
- You will need to print enough pictures to go around the outside of your mason jar. I am using small prints from my HP Sprocket. You can also use 2×3 prints or even 4×6 prints that you cut down. It is really up to you which size you use. You will want to print enough to go all the way around the outside of your mason jar.
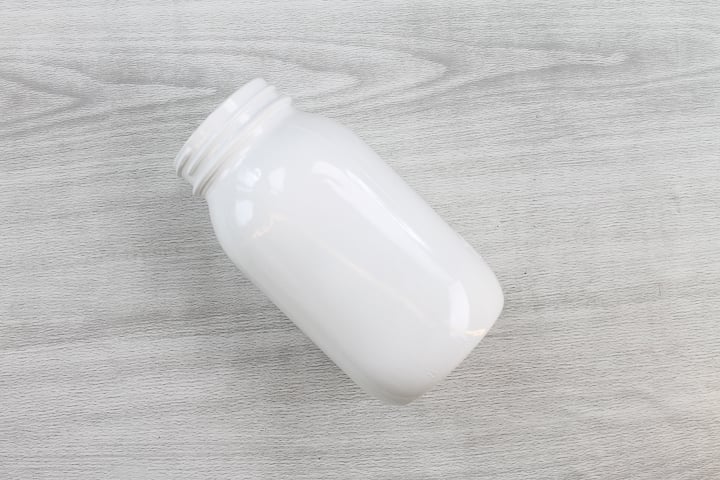
- You will also want to paint the mason jar. Be sure it is really clean then paint all sides well. Allow to cure completely before continuing with this project. I like to allow mine to dry for 72 hours so the paint does not lift off.
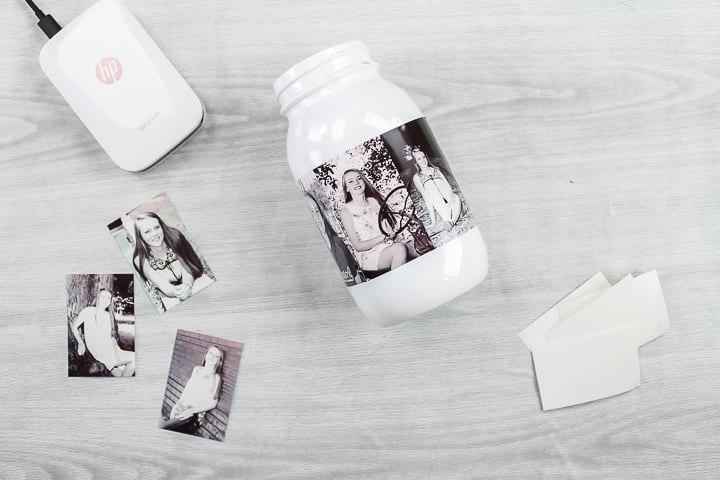
- Then you can start applying the pictures to the mason jar. The HP Sprocket prints are self-adhesive. So I just peeled back the liner and stuck mine right to the jar. Overlap each print slightly until you go all the way around the jar then overlap the last on the first. That is it! Your jar is complete once all of your pictures are in place. No Sprocket? Keep reading to see how to make this jar with regular prints.
Alternative Photo and Adhesive Methods
If you do not have the HP Sprocket, how can you make this same jar? Here are a few ideas to try:
- Use regular 4×6 prints and trim them down. Add an adhesive like Beacon Power-Tac to add the prints directly to the jar.
- You might also try adhering the prints to a strip of paper first then wrapping the entire thing around the jar and securing into place. Again, I would use a powerful adhesive. Getting the prints to bend around the jar will be critical.
- There is this adhesive photo paper that you can run through your regular printer. I have used it and really like it as well. You can trim them after you print or do a collage print with multiple pictures on one.
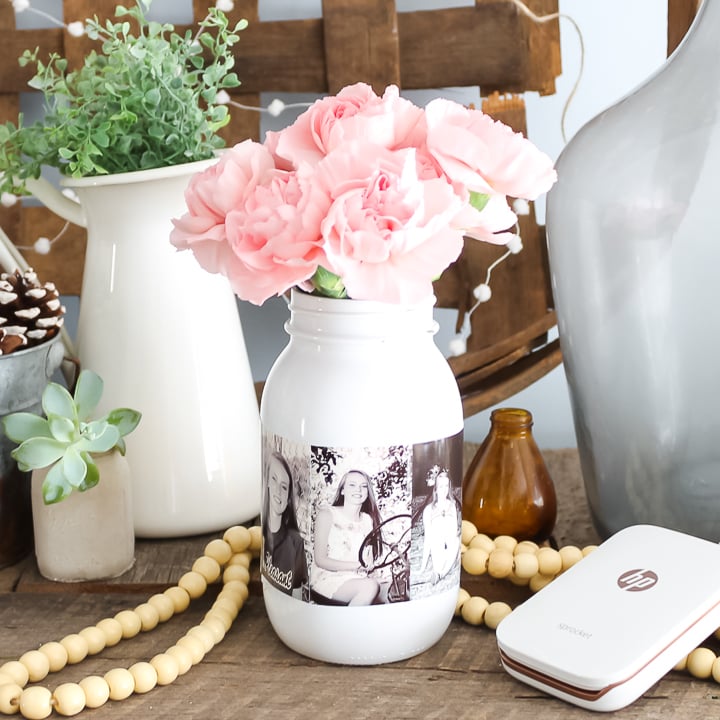
So, however you choose to make these, you are sure to love the way they turn out! You might just need a photo mason jar for your own home.
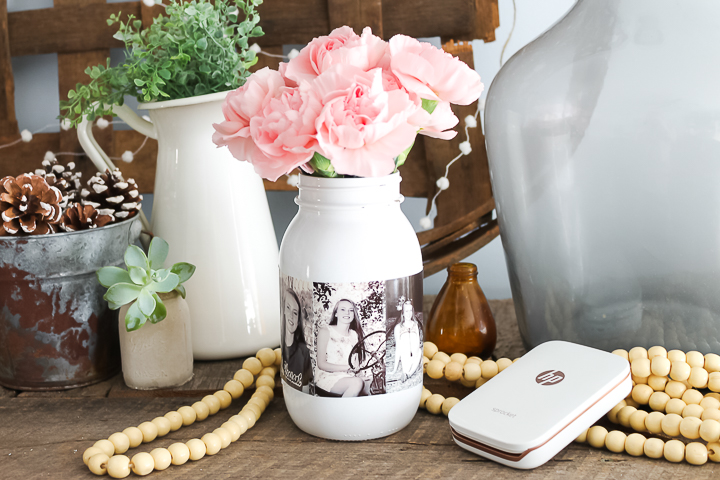
I have used this same photo idea for several parties and weddings. The jars are so easy to make plus they make a big impact once you put them together.
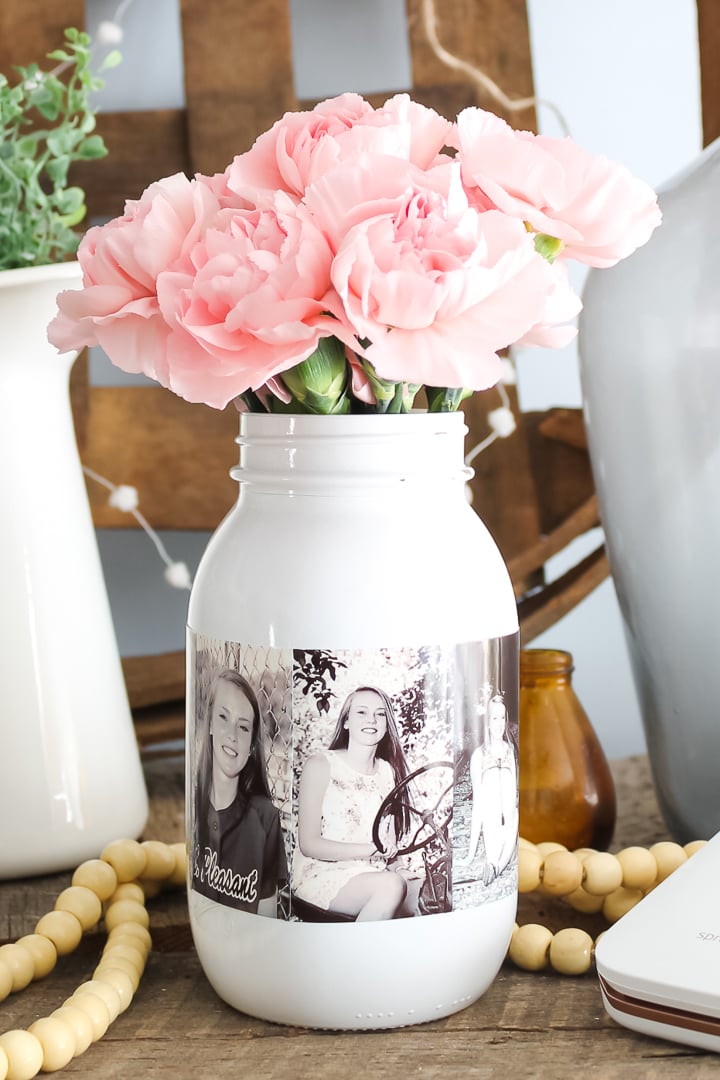
So, be sure to pick a method from our ideas above and get started on your own version of this craft. I know you will love the results!
Love this mason jar with photos and want more ideas? Try the links below as well!
A Year of Jar Crafts

Sign up for our email list to get a FREE book with an entire year of jar crafts! 12 months, 12 crafts, tons of fun!



Excelente todo ,muy buenos proyectos ,gracias por compartirlos !
Hello, it’s amazing the way you put the photos on the jar. Well done. God bless you and your work 🙏
What size mason jar did you use?
This is a quart sized jar.
Hi sorry me again! Any tips on painting the jars? I’ve painted jars before and have come out great but for some reason this time they look horrible! You can see dripping even after it’s dried and I put another coat on! The additional coats doesn’t fix it. The only difference this time is I’m doing it in my garage where it’s cold and the last time I did it outside when it was warm. Could that affect it?
Temperature has a major effect on spray paint! Try having the jars warm in your home and the spray paint as well. Put the jars on something sturdy and move them to the garage to paint. Then move them back indoors to dry. This should keep you safe and keep everything at the right temperature.
Hello. This looks really cute. I want to make this for a gift for a friend. But will the paint and the picture and stuff stay on if they wash the jar or is there a way so that it stays after being washed?
I would add decoupage over the top.
I want to make these for my high school friends. After painting, then adhering the photos, what kind of sealer should be used?
I did not seal my photos. If you’re wanting to create this project and seal the prints I would begin with a print that is done in like draft mode so there isn’t a lot of ink on the paper. You could use a Mod Podge sealer or try a spray sealer. I would definitely test the sealer on a print ahead of time in case the ink smears.