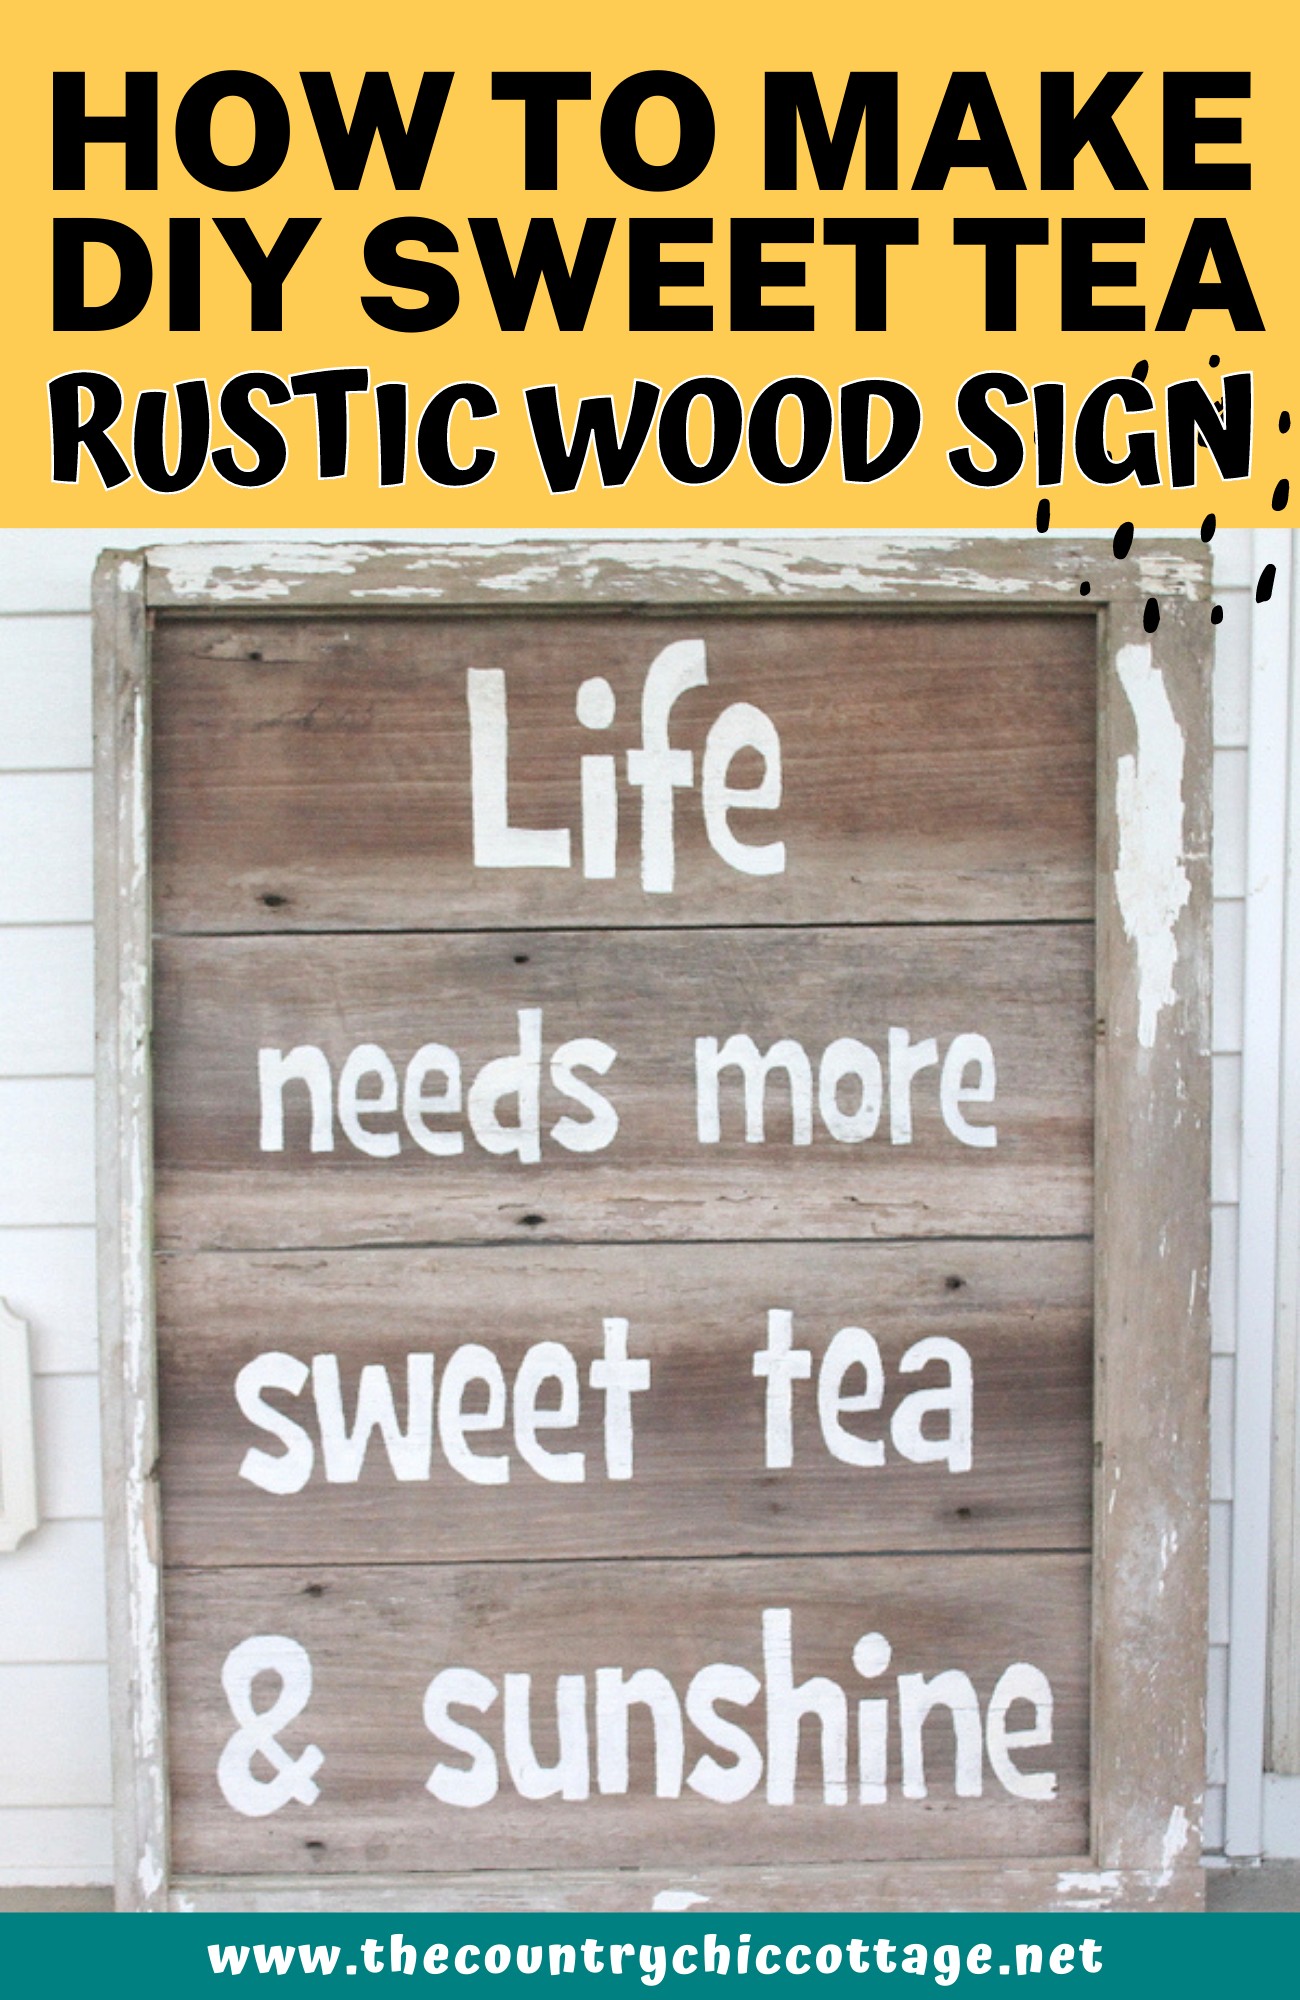
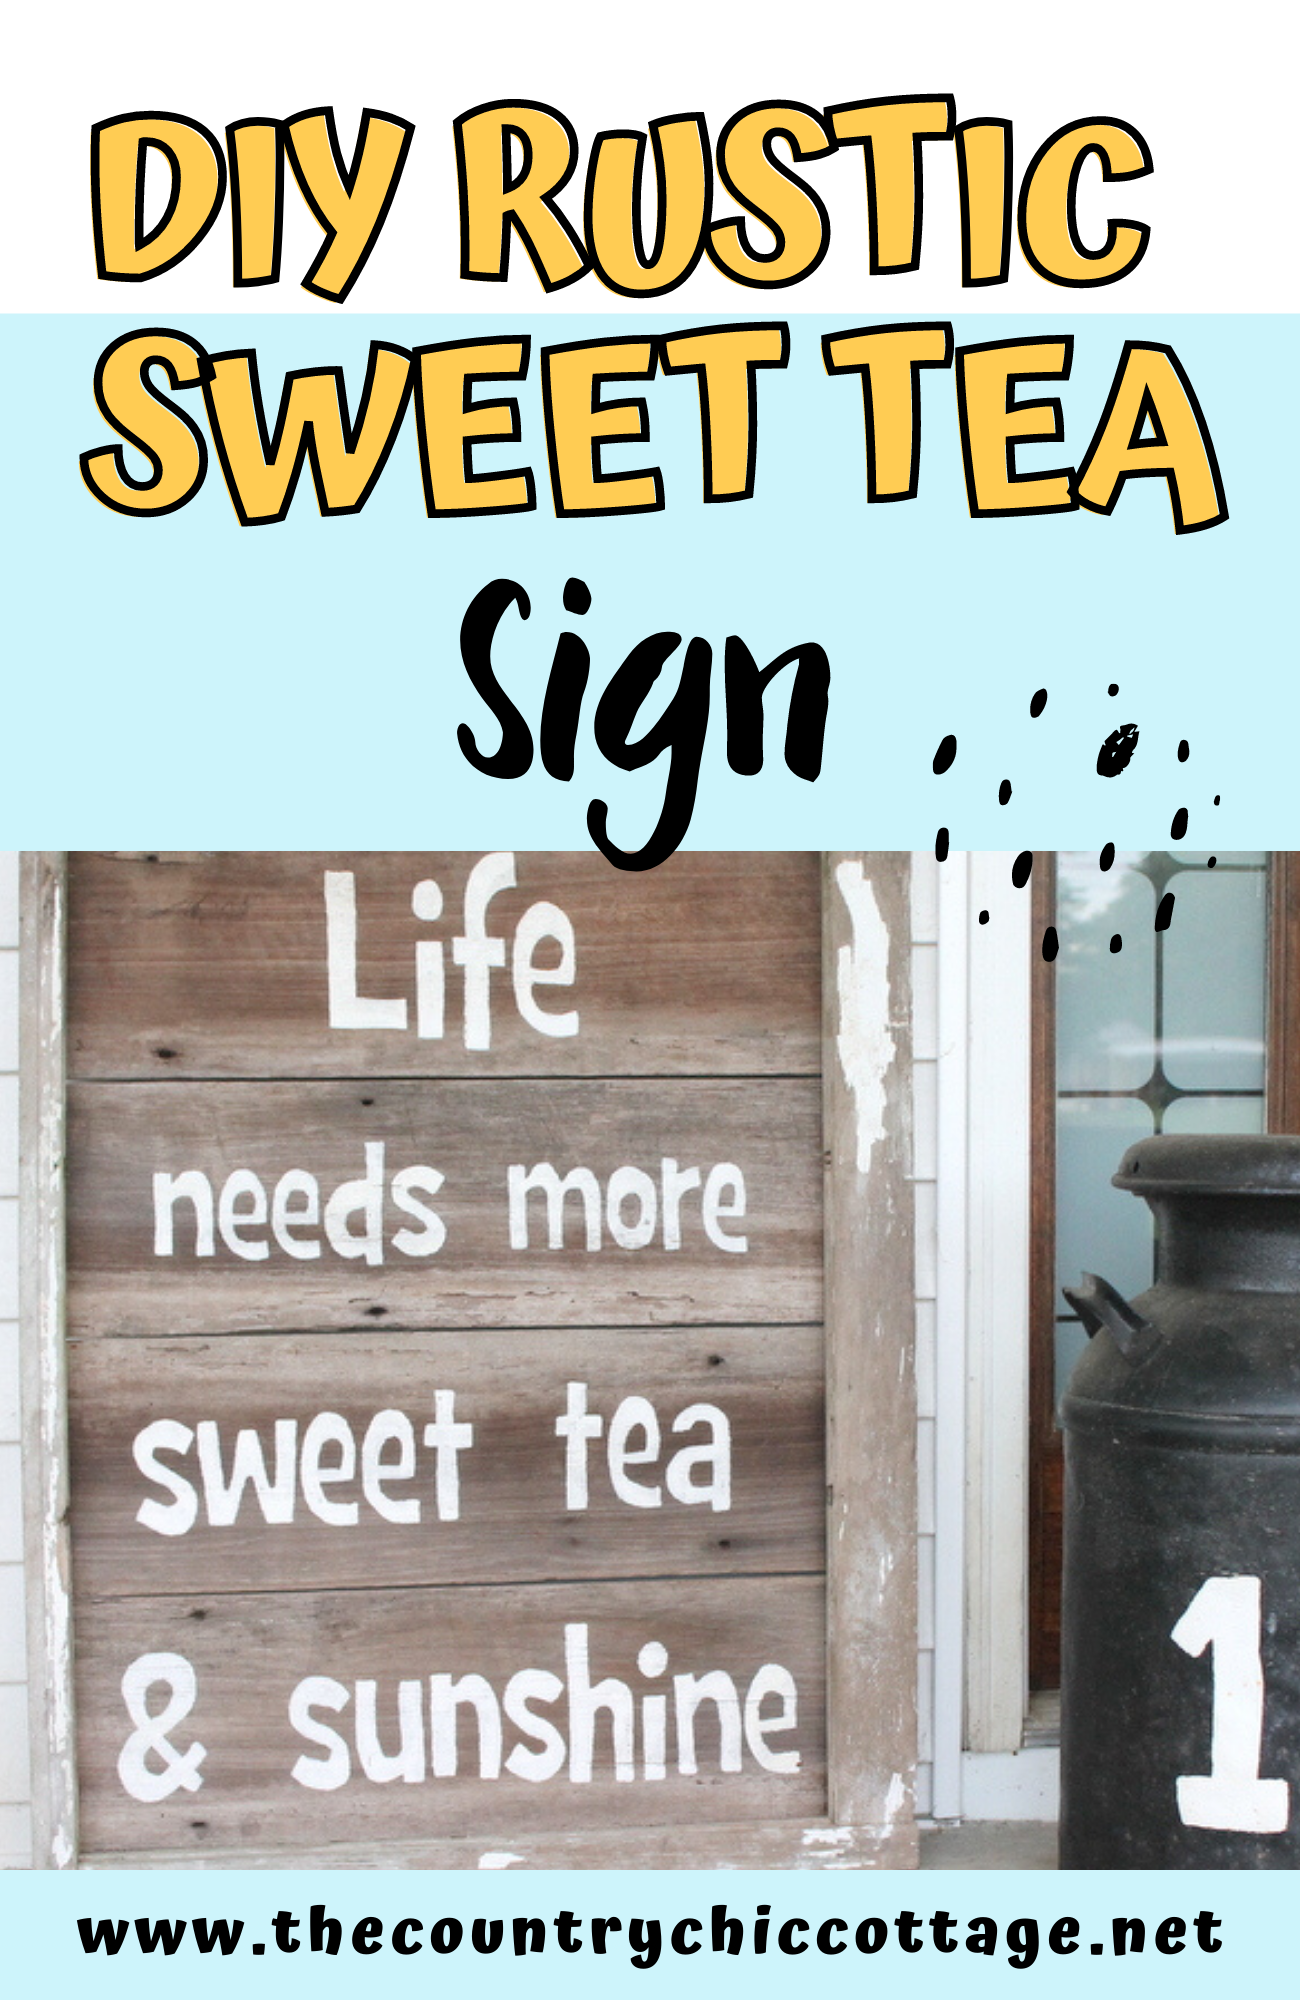
I have a big treat for y’all today. This DIY rustic wood sign is the perfect addition to any outdoor area and also a fun addition to any space in your home!
Did you know that you can make your own sign? It’s very simple to make and have your sign say anything you would like it to, just grab the supplies and give it your own personal touch. You may already have everything you need right in your home! Happy fixin’!
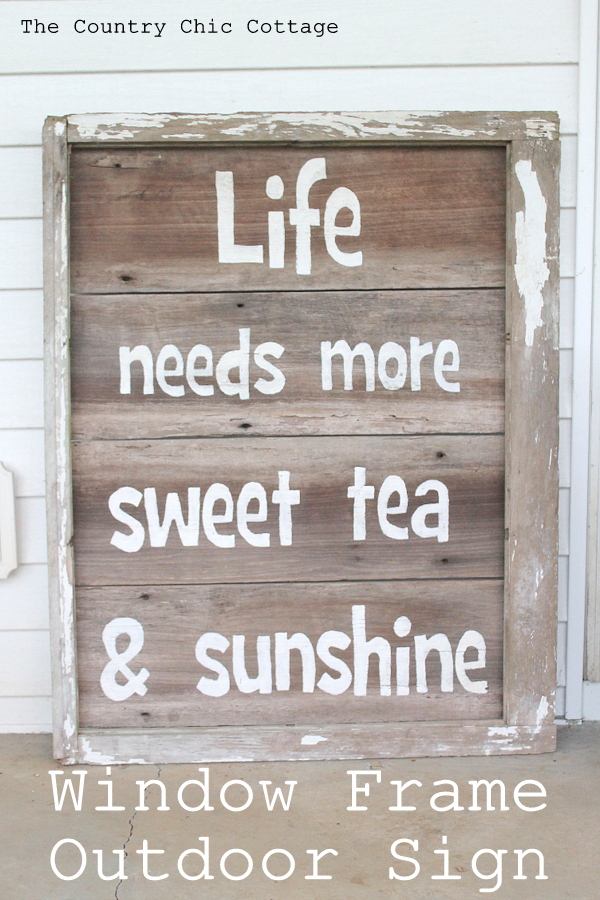
DIY Rustic Wood Sign
Just grab your supplies and make your own. You might even have everything you need in the junk pile out back y’all… I know I did! So, go ahead and check for the items used.
What You Will Need for this Easy DIY:
- wooden planks (5 of them at 17.5×3.5 each)
- Nails
- Hammer or Drill
- Pen or pencil
- Paint (any kind/color will do!)
- Thin paintbrush
- Small hand sander
- Transfer paper
- Words printed on multiple sheets of plain copy paper
Let us get into it, Step by Step Guide for DIY Rustic Wood Sign:
I used an old window frame for the base of my sign. It actually washed up years ago on our creek bank. I just added in barn wood and nailed it in the back. A perfect blank slate for a gorgeous rustic sign. But you can make your own just follow the steps.
Step 1:
Cut the wood to the size desired- I recommend 5 boards at 17.5×3.5 each.
Step 2:
Nail the back of the sign to hold in place with Long paint stir sticks.
Step 3:
Sand with a sander to make it smooth. You have your frame
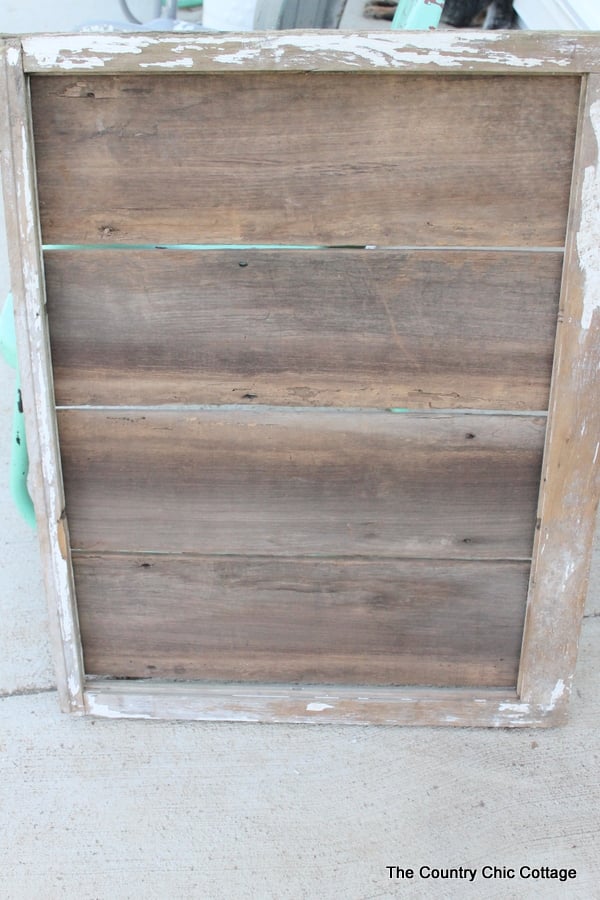
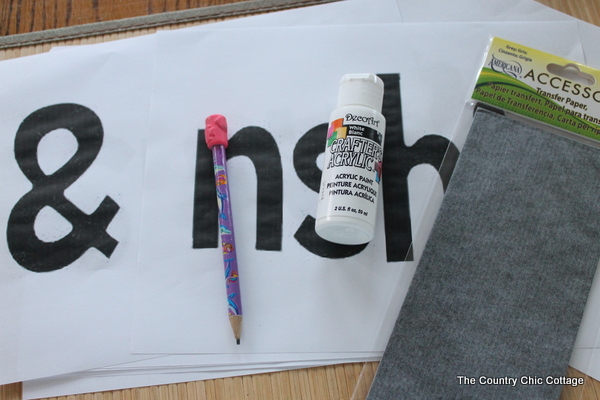
For the remainder of the project you will need:
- White craft paint
- Transfer paper
- Words printed on multiple sheets of plain copy paper
- Pencil
Step 4:
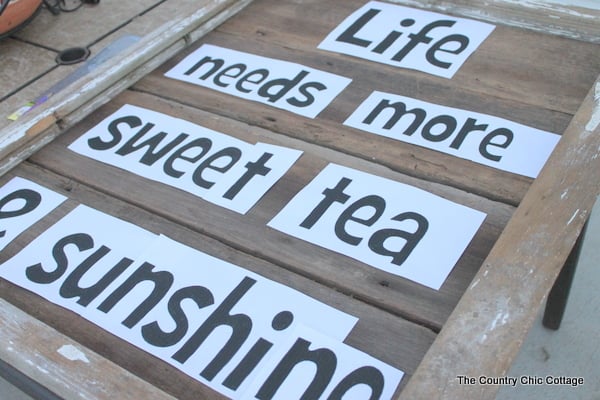
Start by arranging the words onto the sign the way you would like them to look.
Step 5:
Then put strips of transfer paper under each sheet.
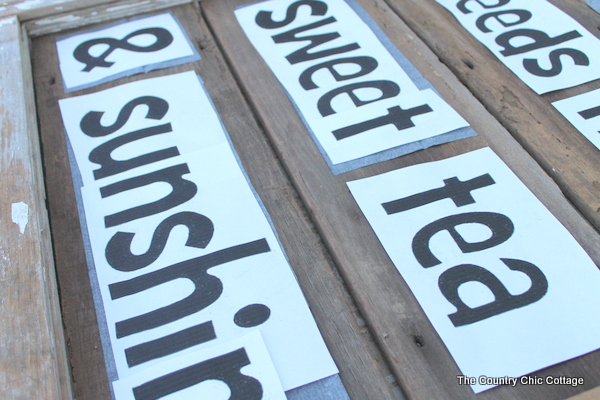
Step 6:
Trace on top of the copy paper with your pencil. The transfer paper will make a mark on your wood as shown below.
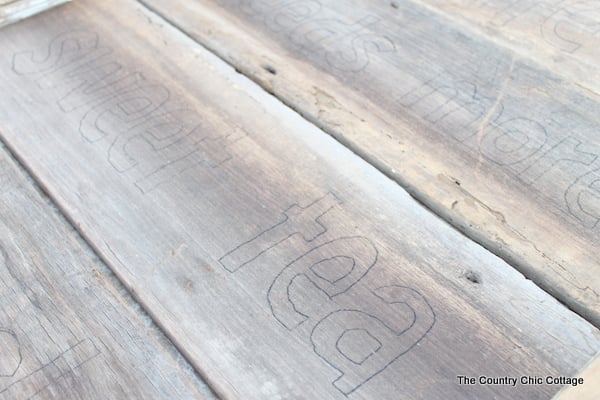
Step 7: Use the white craft paint to fill in the lines. You can make the painting as rustic as you like. Leave gaps and unpainted areas to make it look slightly worn.

Step 8: You can use a matte sealer to spray on and protect your work if desired.
I love that rustic worn look myself so I just left mine out plus it will be on a covered porch. I am in love with my newest creation and the message it sends! Be sure to make yourself a rustic sweet tea sign!
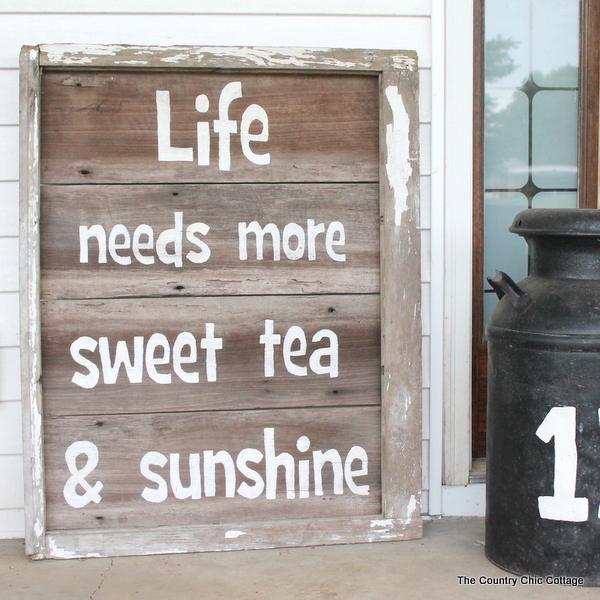
You can check HERE for ideas
Also check other post here that you may like.
- Best Screened-In Porch Ideas
- Spring Mantel Decorating Ideas
- Teen Room Home Decor Ideas
- DIY Cabinet Organizer from Wood Crates
- Cricut Labels: 3 Ways to Make Them
Supplies
- Wooden Planks (5 at 17.5 x 3.5 each)
- Nails
- Hammer or Drill
- Pen or Pencil
- Paint any kind or color
- Thin paintbrush
- Small hand sander
- Transfer paper
- Words printed on multiple sheet of plain copy paper
- White craft paper
Instructions
For The Wood:
- Cut the planks to desired size
- Nail the back of the sign to hold in place with Long pain stir sticks
- Sand with the sander to smoothen
For The Sign
- Arrange the words onto the sign however you like them
- Put strips of transfer paper under each sheet
- Trace on top of the copy paper with your pencil
- Use the white craft paint to fill in the lines.
- Use a matte sealer spray to spray on and protect your work (optional)
Notes
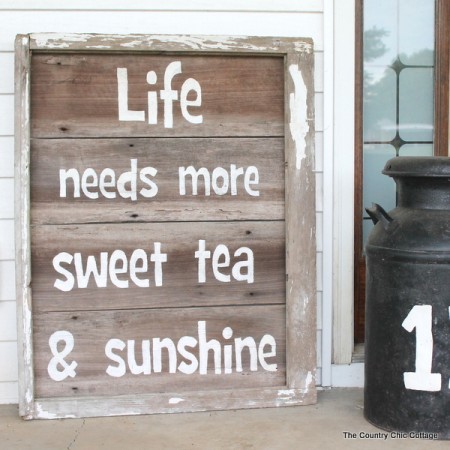
- I used an old window frame as the base for my sign, you can use whatever wood you have lying around your home.
- Make the painting as rustic as you’d like.
- Leave gaps and unpainted areas to make it look slightly worn.
Loved this post? Pin it!


What font is used on your sweet tea and sunshine sign
Not sure Glenn! Sorry!