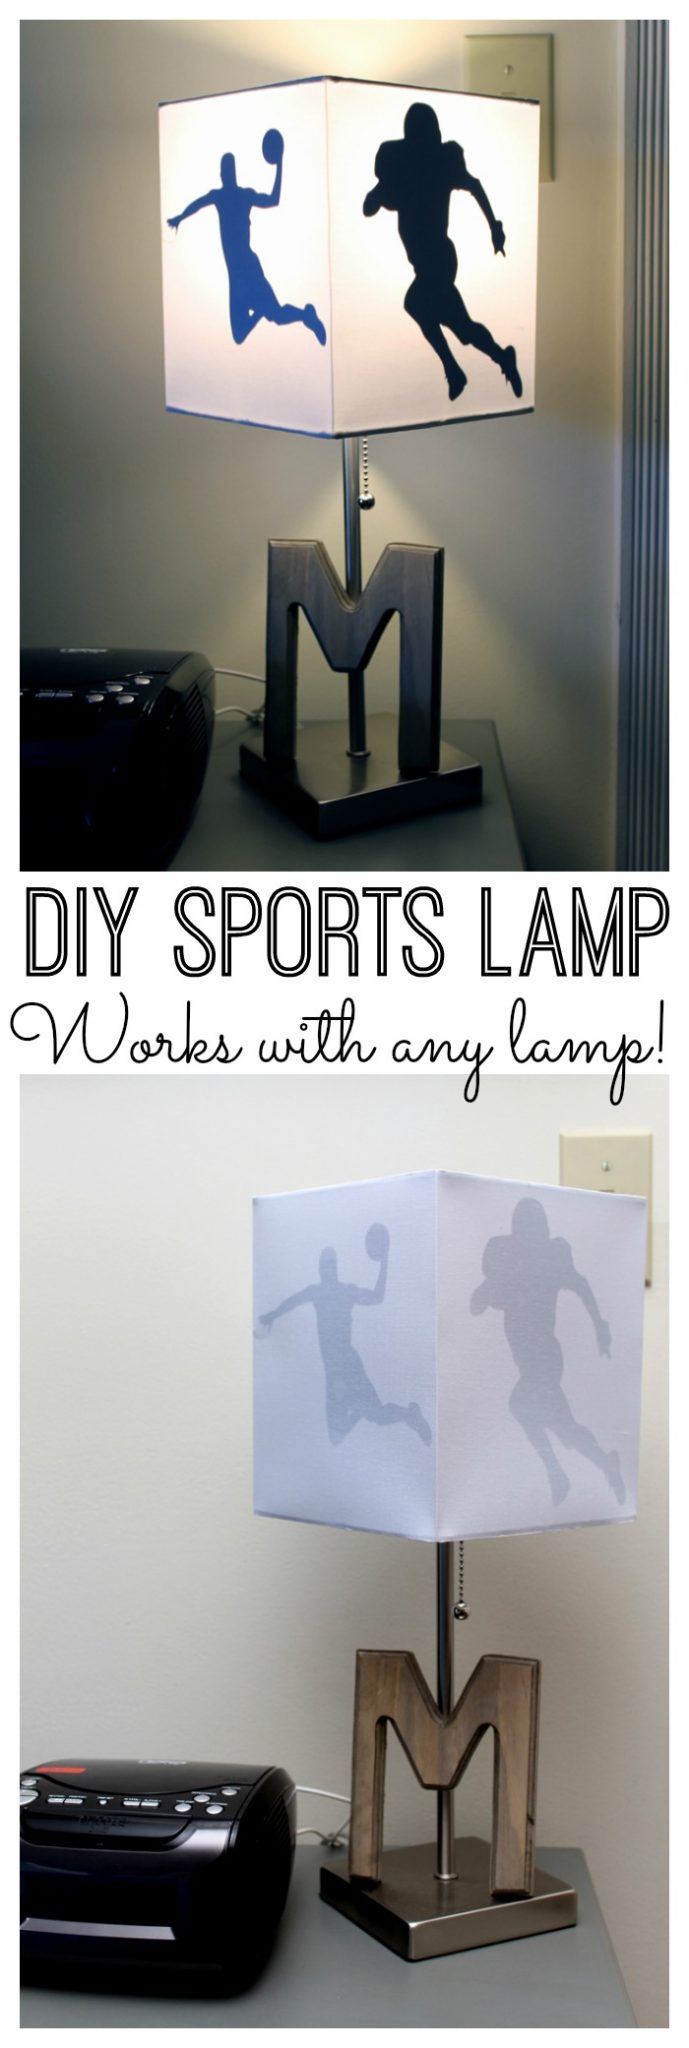
Delight any sports lover with this DIY sports lamp project. Creating sports-themed decor has never been so easy or looked so good!
We have a sports lover in our house, and I’m sure we aren’t the only ones!
Not long ago, redecorated his bedroom and turned it into a sports-themed bedroom. He has a basic lamp, but as we were doing the big conversion project, inspiration struck me to turn his basic lamp into a sports lamp!
This DIY sports lamp is easy to make and perfect for any sports-themed room (bedroom, trophy room, man cave, etc.).
If you don’t love sports, this project is easy to customize for any theme you want. You can actually use this tutorial to create any shape that you would like!
Note: If you love sports, you can use the theme for decor, parties, and more! Check out our Sports Pillows For Free, Sports-Themed Birthday Party, and Sports Party Flags for more inspiration.
How To Make A DIY Sports Lamp
You can turn any lamp into something special with this easy technique. Grab your supplies and a lamp you love, and get started!
Supplies Needed
Here’s what you’ll need to gather for this project. I’ve included a few helpful links to find some items a little faster and easier.
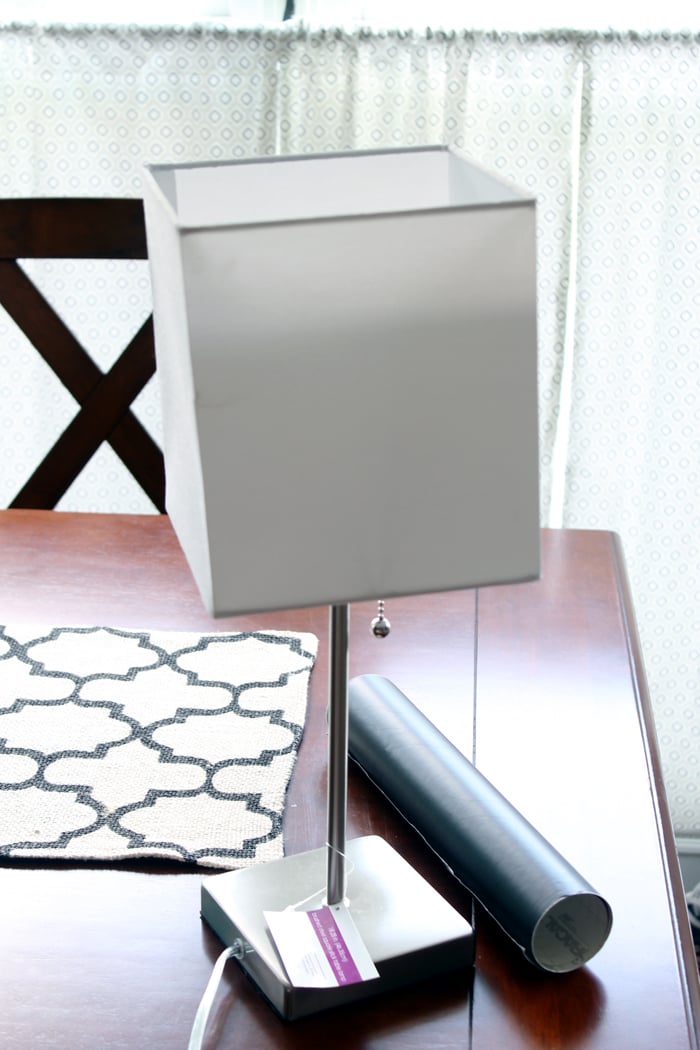
- Lamp (one with a square-shaped shade is easiest) – or buy a square-shaped shade to replace the shade on your current lamp.
- Craft cutter (Silhouette or Cricut) or use your scissors or craft knife
- Black vinyl
- Sports silhouette images
Instructions
Just follow these instructions, and in minutes you’ll have a brand “new” DIY sports lamp!
Step 1
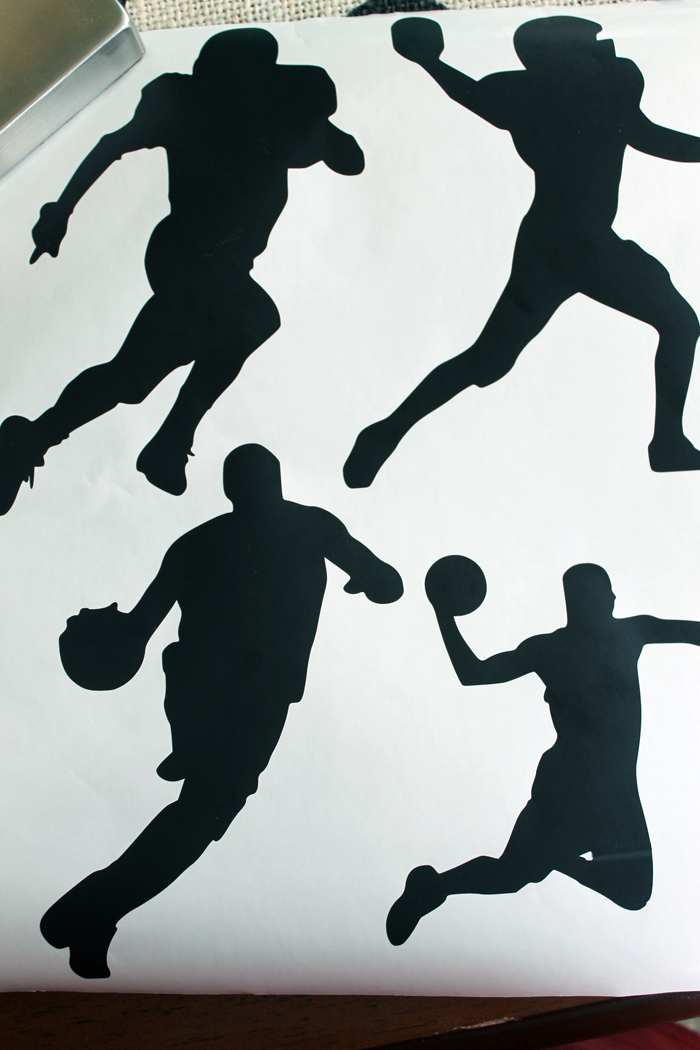
Start by cutting some shapes from the black vinyl. Measure your shade for the size of your images. A craft cutter makes quick work of this task.
Step 2
Weed out any excess vinyl to end up with something similar to the images.
Step 2
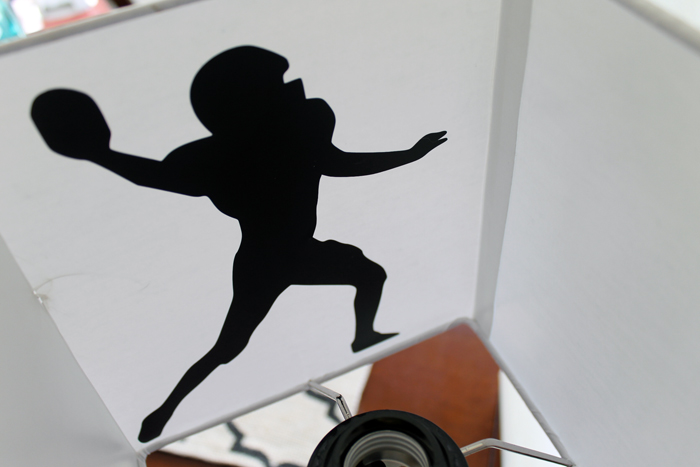
Next, peel the vinyl from the backing paper and apply it to the INSIDE of the lamp shade.
Applying it to the inside makes your DIY sports lamp a little subdued with the lights off during the day, but it will really look AMAZING with the lights on!
That’s it! This project is super simple with a big payoff – the perfect kind of project, in my book.
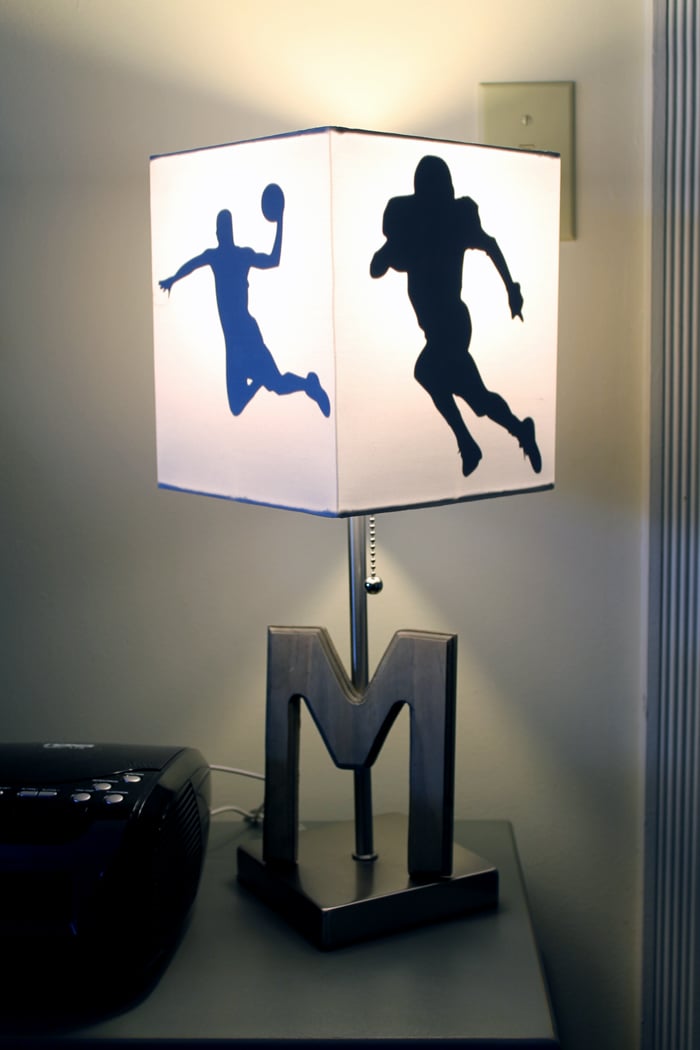
I decided to put a different silhouette on all four sides. I then put the lamp in my son’s room. With the lamp off, there is a faint hint of what is underneath but it is really understated.
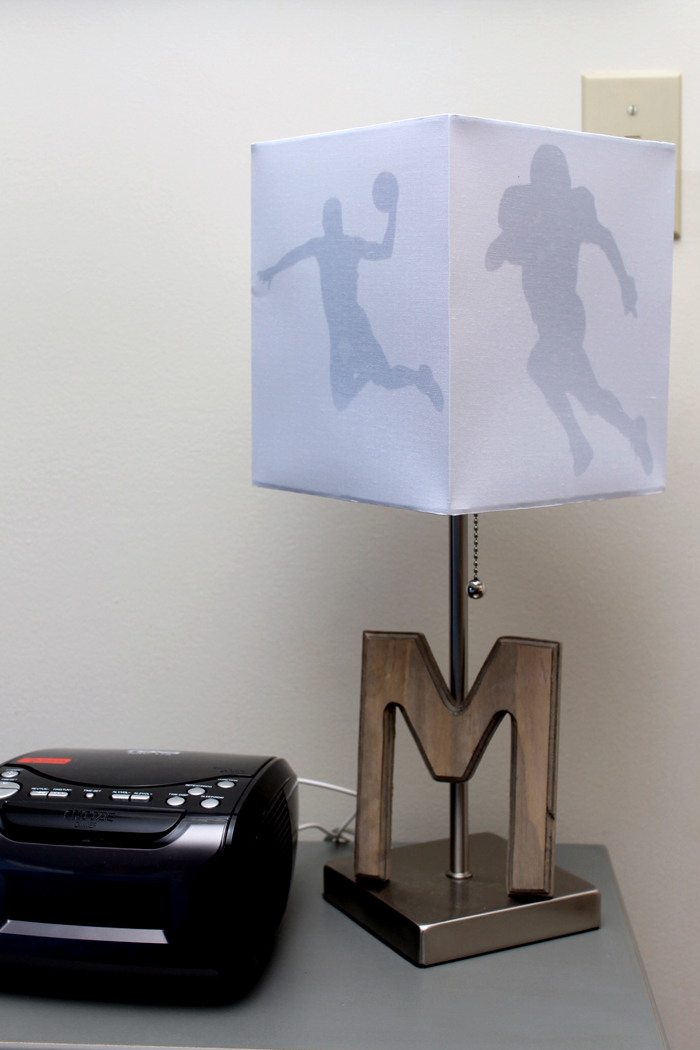
Once you turn the lamp on, however, the silhouettes really pop, and this DIY sports lamp looks amazing! I love this project, and I know you will as well!
Project Tips
This entire process is much easier on a lamp that has straight sides, but you can attempt it with any lamp. I don’t recommend using a lamp with a narrow curve, but a lamp with a wide curve might work well.
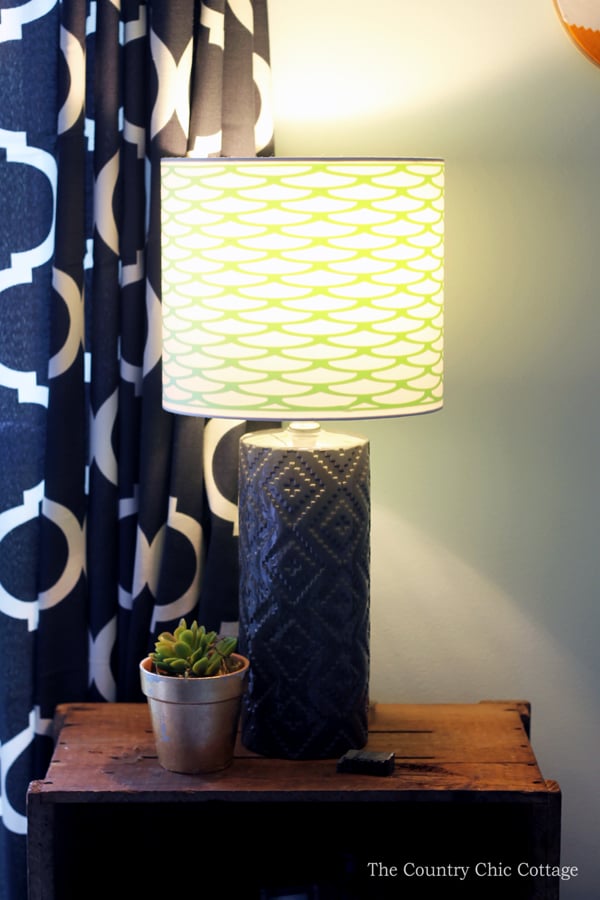
Remember I told you that you could add other shapes? See how I added this pattern using the same technique.
FAQs
Here are a couple of questions that I see readers ask about making this DIY sports lamp. If you have a question, please check to see if I’ve already answered it below. Don’t see your question? Leave it for me in the comments!
Can I make this project if I don’t have vinyl?
Yes, you can! Instead of using vinyl, you can also trace the images using white transfer paper and use your scissors or craft knife to cut out the shapes.
Can I customize this project for different sports teams?
Yes, that would be so fun! Use the process to create logos or mascots for your favorite teams, and watch your lamp light up and cheer your team on!
Another option could be to focus on the equipment associated with the sport of your choice. Wouldn’t soccer balls look great? Also, footballs or a bat and baseball.
More Customized Decor Inspiration
So, are you looking for more vinyl crafts ideas? Try these projects for all your celebrations!
- Adding Heat Transfer Vinyl on Wood
- How To Use Mosaic Vinyl
- How To Use Printable Heat Transfer Vinyl
- Making Vinyl Christmas Ornaments
- How To Use Color-Changing Vinyl
Supplies
- Lamp
- Craft cutter Silhouette or Cricut
- Black vinyl
- Sports silhouette images
Instructions
- Cut out your preferred shapes from the black vinyl. Measure your shade to accurately size your images. Use a craft cutter to make this task quick and easy.
- Weed out any excess vinyl.
- Finally, peel the backing paper off the vinyl and apply the vinyl to the inside of the lamp shade.


Very nice tutorial, love idea of putting pattern inside lamp shade. Yours turned out very well. Loved how the design in lamp shade turned out besides lamp shade for your son’s room. You are very digitally savvy.
Wish I had you around to help me get my Cricut installed on my computer. Got stuck on installation as it asked me to so something had no idea what to do.
As have noted previously, am digitally challenged.
Have had my Cricut for several months but kept putting off installing or trying to do anything with it for fear of messing it up, duh. Want to finally be able to use it with holidays and Fall coming up. Have seen somany incredible projects can make with it.
I have a Cricut Explorer Air, that’s all I know about it. Ah well maybe can get daughter over here to help me altho she gets quite annoyed with my lack of computer ability.
Wanted to tell you how much I enjoyed your lamp shade project. That I can do.
Enjoy rest of week.
You should definitely get it set up! They are amazing!!