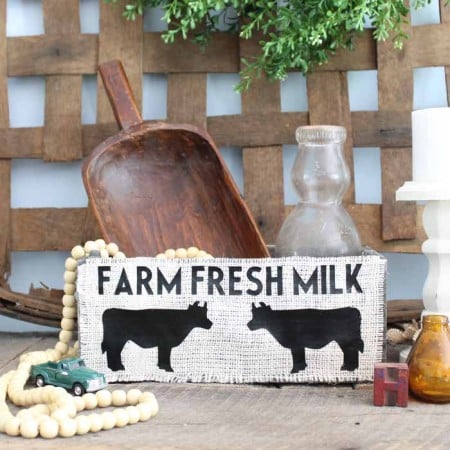
Need a DIY storage box with a bit of farmhouse flair? Look no further! I am going to show you how to add an iron-on design to burlap and add it to the front of a wood box for a quick and easy storage project. Make any box into something that is perfect for your farmhouse with this technique. This is a part of burlap Craft Lightning week where we are sharing 15 minute burlap crafts all week. You can catch up with day 1, day 2, or day 3 and you will also want to scroll to the bottom of this post for today’s ideas.
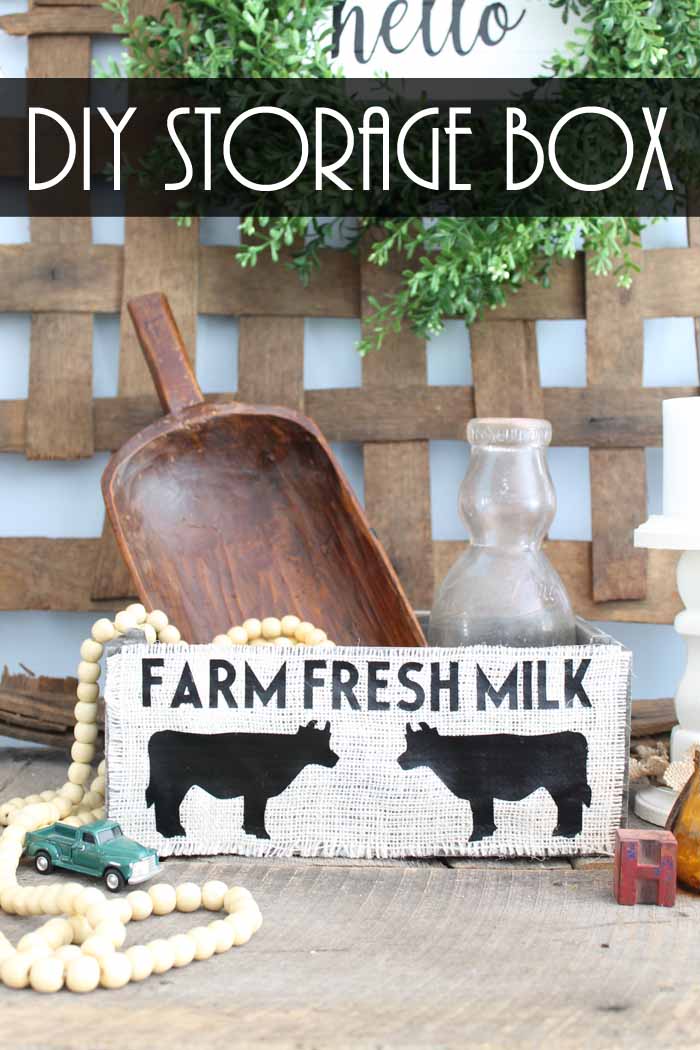
This farmhouse style storage box is the perfect pick-me-up for your kitchen!
Storage boxes are like the unsung heroes of organization, bringing order and charm to any space they grace. And let’s talk about farmhouse style for a moment – it’s like a warm hug for your home, cozy and inviting with a touch of country chic.
This would look adorable nestled in a farmhouse kitchen, sitting pretty on a countertop or shelf. Not only does it serve its practical purpose, corralling odds and ends, but it also adds a little character to the room. It’s the kind of piece that makes you smile every time you see it!
If you need more farmhouse kitchen ideas, check out this adorable “fresh eggs” kitchen sign, this menu board, or this kitchen wall storage box.
How to Make this DIY Storage Box
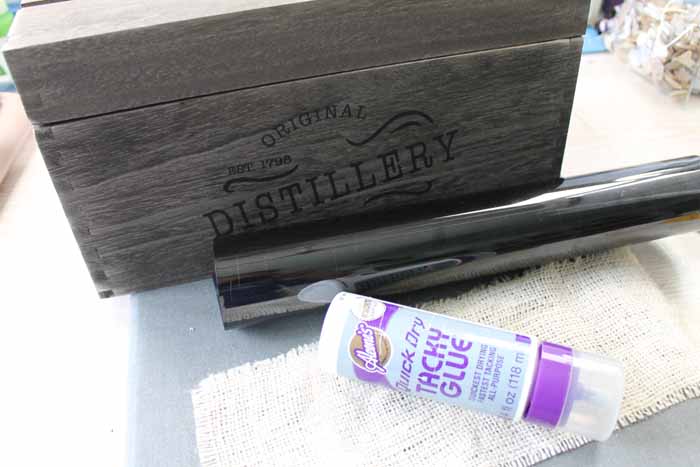
Supplies needed to make this DIY storage box:
Some links below may be affiliate links which means that you do not pay anymore, however, a small commission will go to this site.
- Wood box (any will work)
- Burlap piece large enough to cover the front
- Iron-on in the color of your choice
- Cricut machine (click here to see which I use)
- Cricut cut file
- Weeding tools (optional)
- Cricut EasyPress or Iron (click here to see why I like the EasyPress)
- EasyPress Mat (optional)
- Tacky glue
Instructions:
Open the cut file in Cricut Design Space here and cut from iron-on. Be sure to size for your box and mirror the design before cutting. You also want to cut with the shiny side down on the mat. Weed any excess vinyl from around your image as well as the centers of all letters. Weeding tools make this a bit easier but are not required.
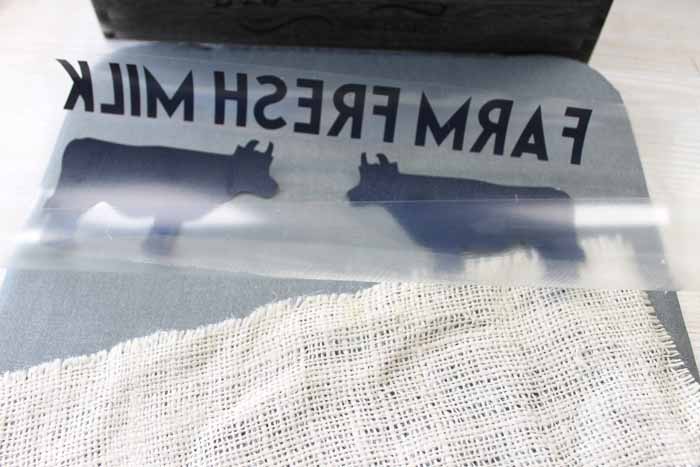
Measure and cut your burlap to size. Then place your iron-on design directly on the burlap. Press according to the instructions for either the EasyPress or for your iron. Be sure to look up the Cricut recommended settings for each. Peel back the carrier sheet to reveal your finished design.
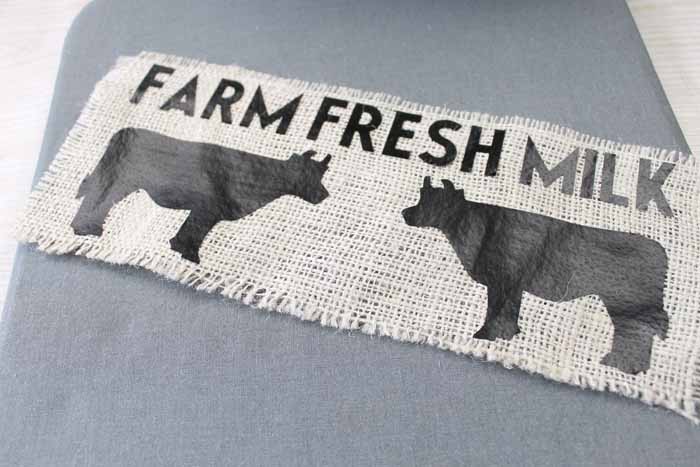
Add the burlap piece to the front of your DIY storage box with a little tacky glue. Allow to dry completely then display anywhere in your home.
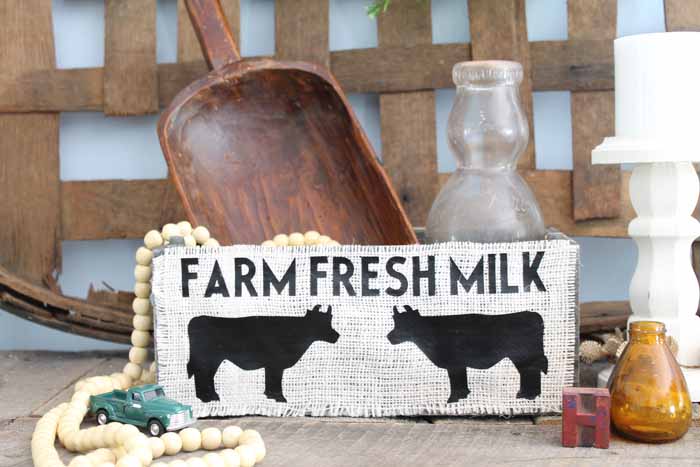
You can add storage items to this decorative box or just use it as a display for some farmhouse finds.
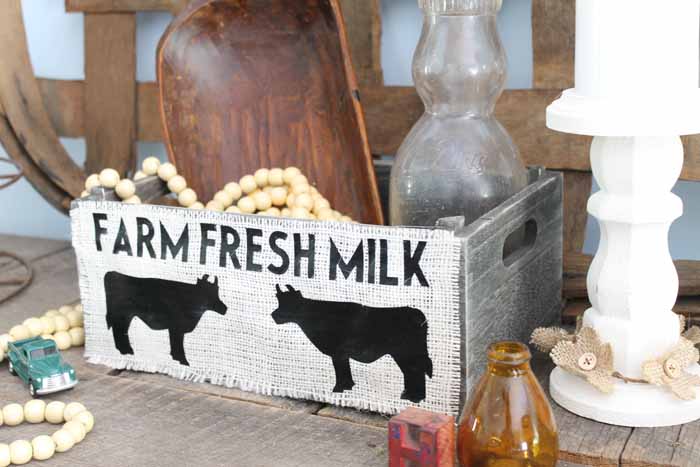
Either way, you will love this cow decor and how it looks in your farmhouse style home!
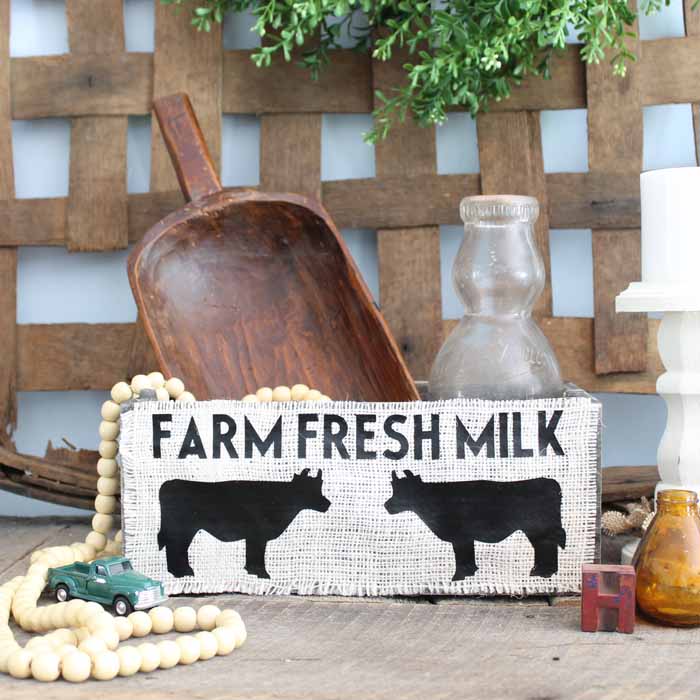
Love this DIY storage box and want more ideas? Try the links below!
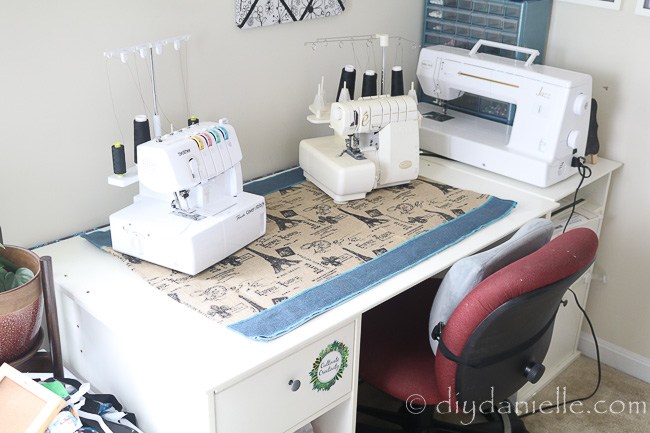
Need a mat for your sewing area? Try this DIY serger mat from DIY Danielle.
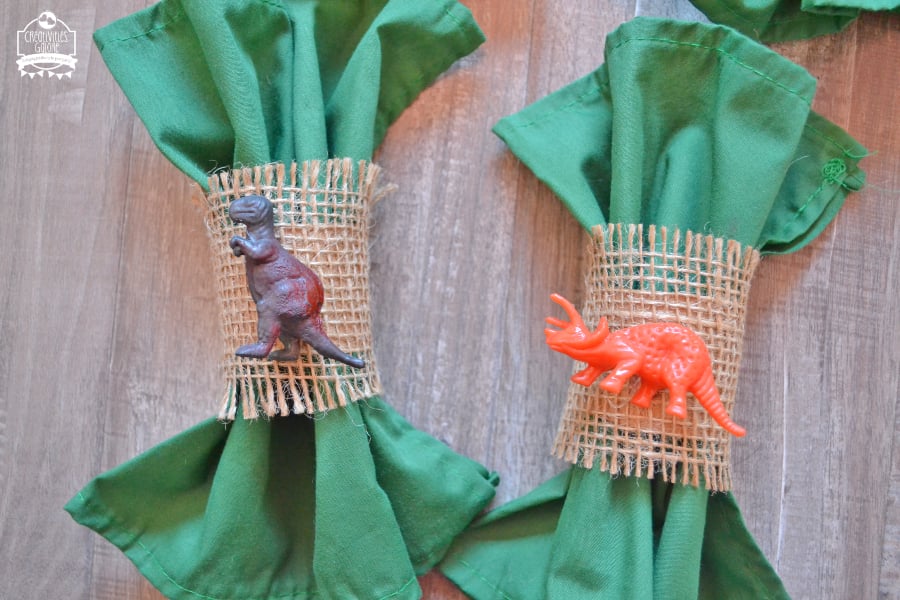
Got a little one that loves dinosaurs? Make these dinosaur napkin rings from Creativities Galore.
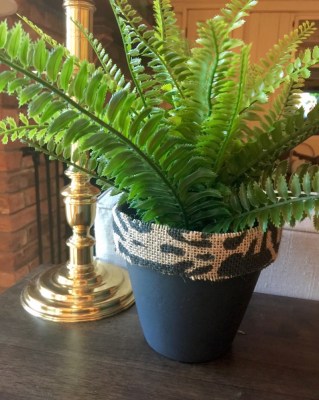
Add a touch of something special to your planter with burlap and this tutorial from 365 Days of Crafts.
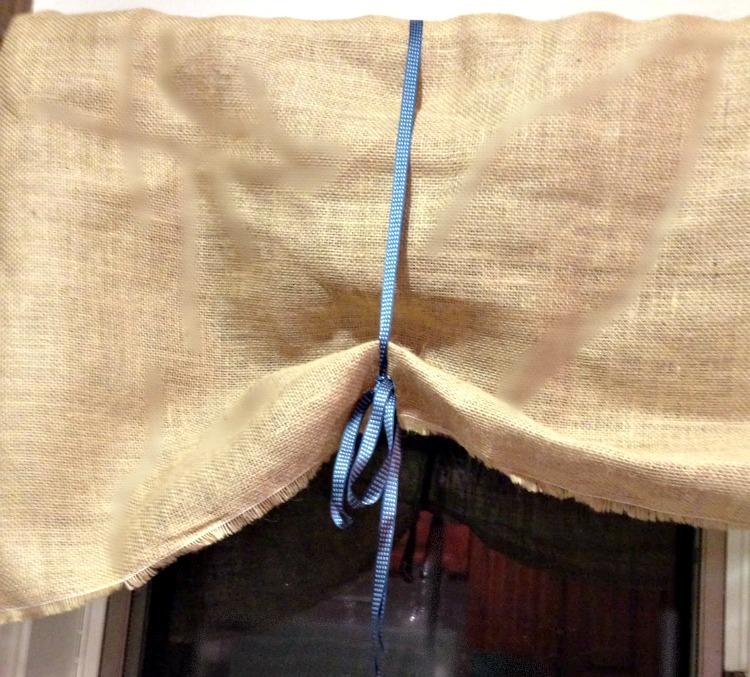
Perhaps you need some new curtains? Our Crafty Mom has you covered with a tutorial on how to make a burlap valance.
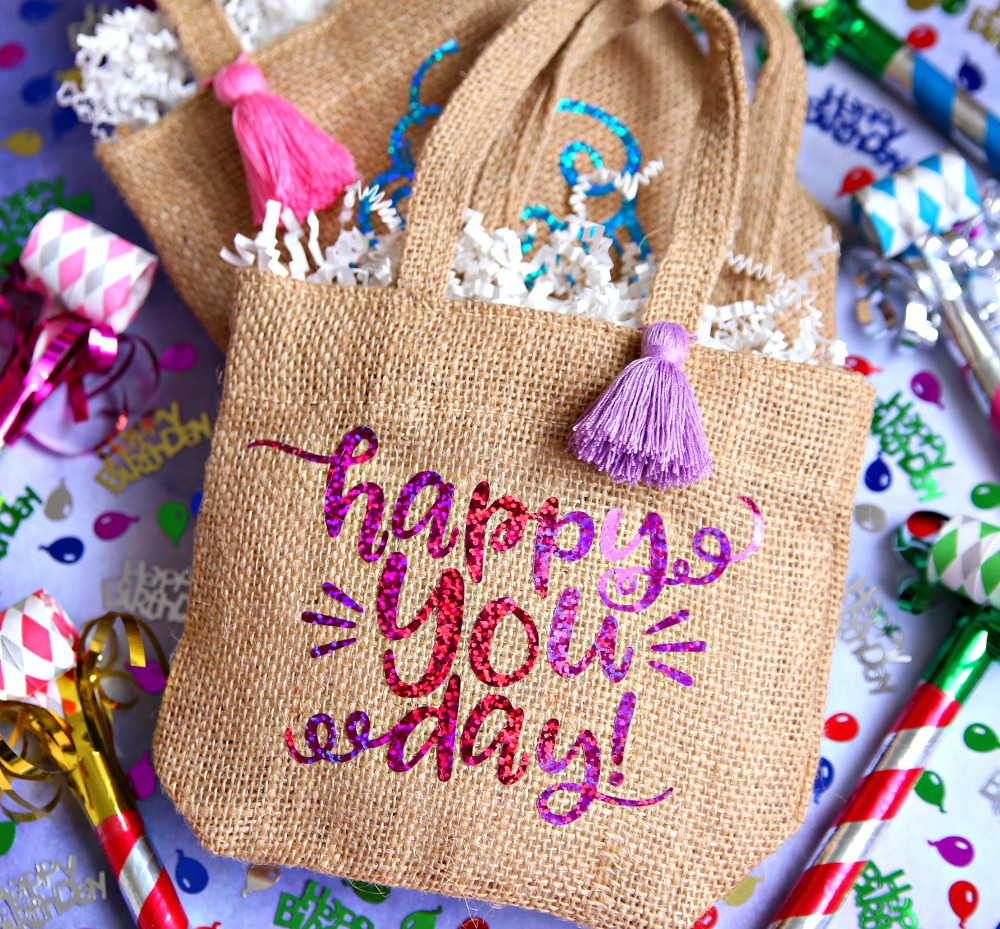
Anyone will feel special when you give them these cute customized burlap gift bags from Happy Go Lucky.
Can you believe it is time for back to school? Make this cute welcome school banner from Tried and True for a teacher in your life!

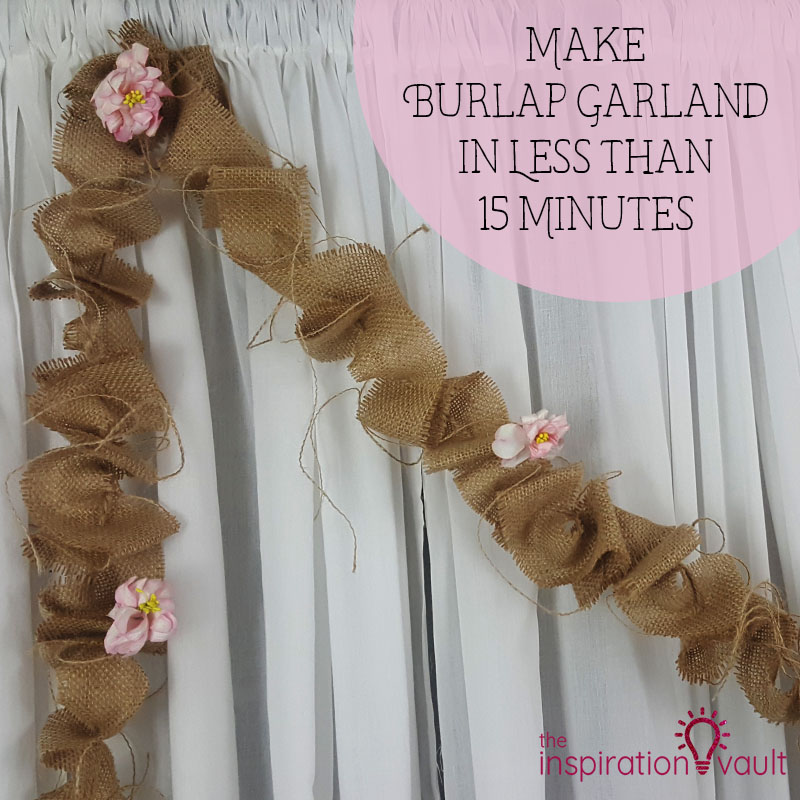
Want to add a little burlap to your home? Make a burlap garland like this one from The Inspiration Vault in just minutes.
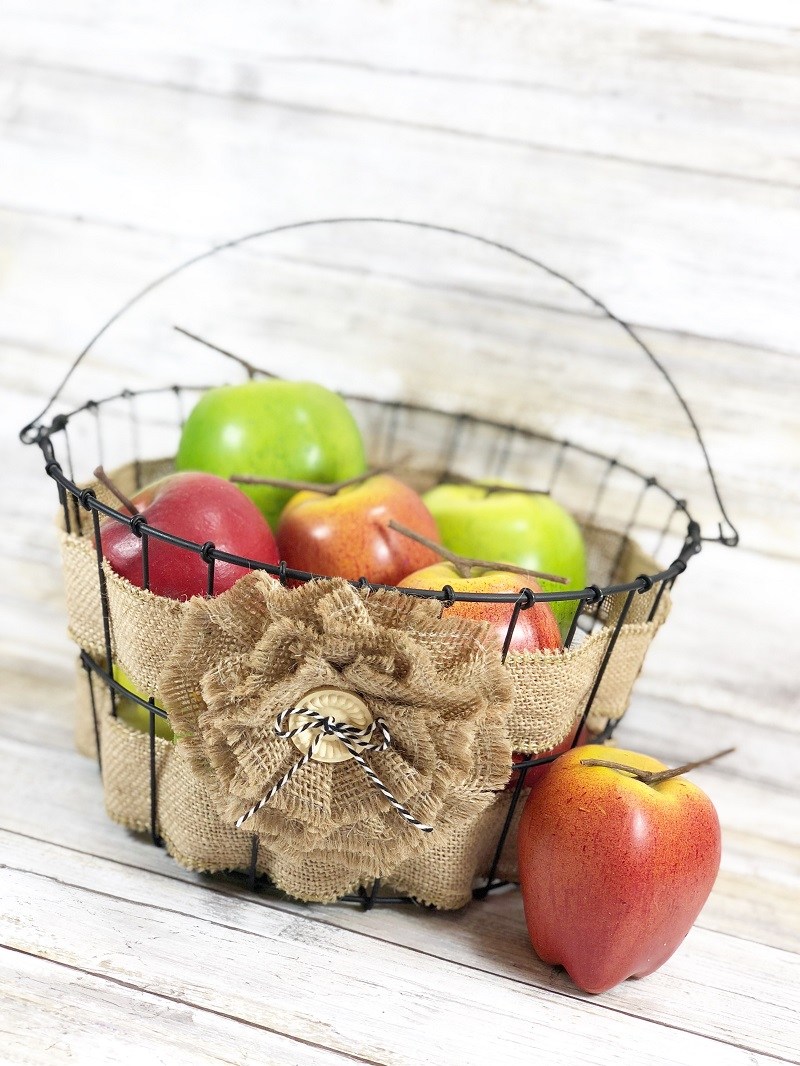
Our guest co-hostess is Creatively Beth and she is sharing how to make this cute farmhouse basket for your home.
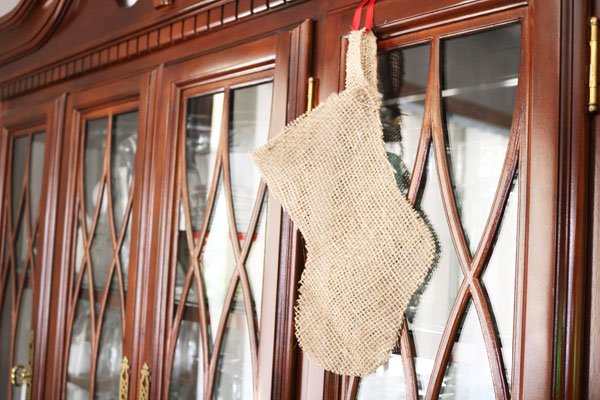
And my long time co-hostess is 30 Minute Crafts and she has a burlap stocking for Christmas in July!
So grab your burlap and make this DIY storage box or any of these other creative crafts.
Equipment
- Wood box (any will work)
- Burlap piece large enough to cover the front
- Iron-on in the color of your choice
- Weeding tools (optional)
- Cricut EasyPress or Iron
- EasyPress Mat (optional)
- Tacky glue
Supplies
- Cricut cut file
Instructions
- Open the cut file in Cricut Design Space and cut from iron-on. Be sure to size for your box and mirror the design before cutting. You also want to cut with the shiny side down on the mat. Weed any excess vinyl from around your image as well as the centers of all letters. Weeding tools make this a bit easier but are not required.
- Measure and cut your burlap to size. Then place your iron-on design directly on the burlap. Press according to the instructions for either the EasyPress or for your iron. Be sure to look up the Cricut recommended settings for each. Peel back the carrier sheet to reveal your finished design.
- Add the burlap piece to the front of your DIY storage box with a little tacky glue. Allow to dry completely then display anywhere in your home.
- You can add storage items to this decorative box or just use it as a display for some farmhouse finds.
New to Cricut?

Sign up for our email list to download the Beginner's Guide to Cricut Design Space for FREE today!
Sign up to get the guide emailed to you!


Super cute! I love how iron on applies to burlap honestly… it’s just so NICE.
This is so pretty and I can think of lots of things I can add this too!
I love your crafting style! Your feature post is just my style too. Happy Weekend, Kippi