What’s the Best Dye to Use for Tie Dye Curtains?
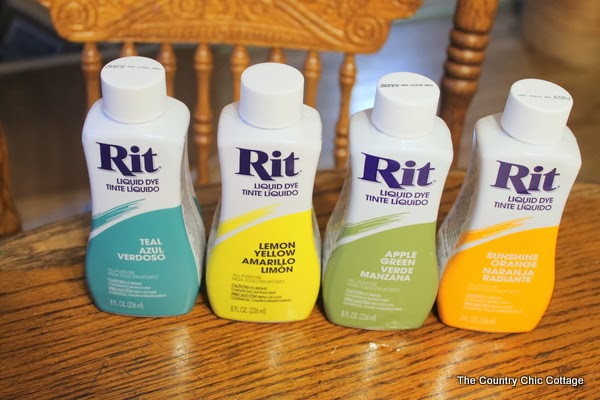
How to Make DIY Tie Dye Curtains
I then dyed the areas one at a time. First I did some research on the RIT website and came up with the following recipe for the dye (WEAR GLOVES WHEN WORKING WITH DYE!!):
- Add 1/2 cup salt to the bucket.
- Pour in 1 gallon plus 2 cups of VERY hot water and stir to dissolve salt.
- Add one drop of liquid dish detergent and stir.
- Add 1/4 cup dye and stir.
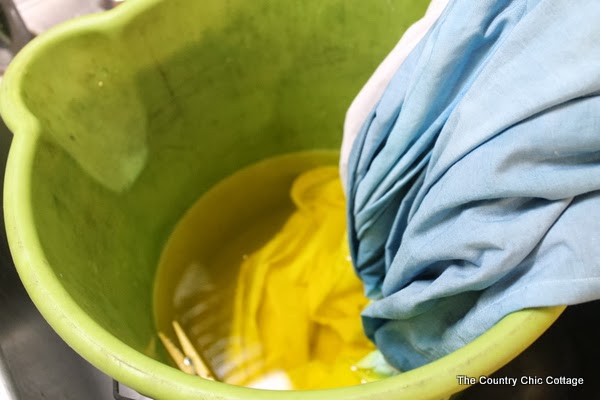
- Put in your item for 15 minutes. (In this case, put the item in until you are almost touching the rubber bands and stop. Make sure the entire dipped area stays under the water. ONLY put in the area from one rubber band to another. The remainder of the curtain should stay out of the dye.)
- Remove after 15 minutes and rinse under cold water until the water runs clear.
- Allow to dry before moving onto the next color.
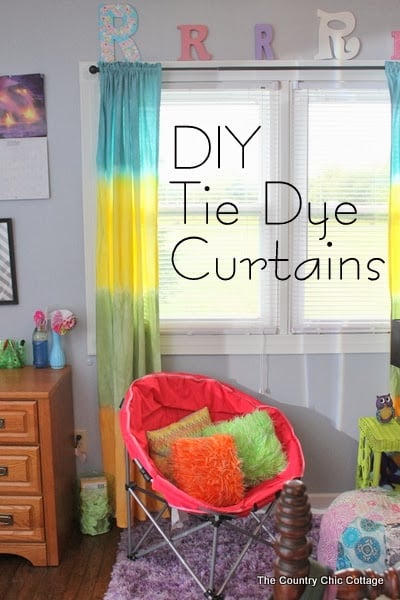
Once all four sections were dyed and dried, I removed my rubber bands and allowed the entire piece to fully dry. The areas between colors are the coolest part in my opinion as some is left white while there are areas where the colors blended as well. Overall these are the perfect curtains for a teen room.
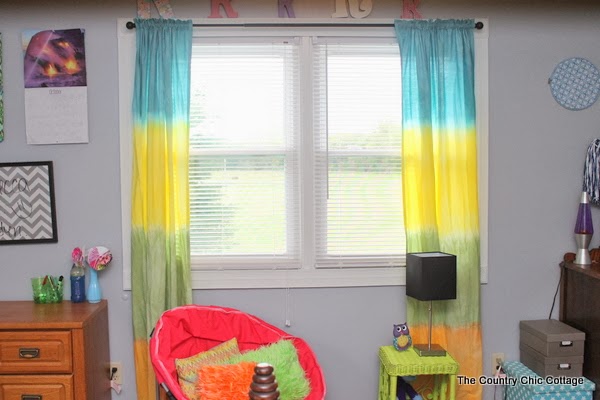
I then used the curtains to determine the height of the curtain rod. I wanted them to barely grace the floor. We did not go all the way to the ceiling on purpose as we wanted to include the “R” collection above the window. Y’all stay tuned for the teen room reveal next week. You don’t want to miss the rest of this room. In the meantime, enjoy my DIY tie dye curtain tutorial.
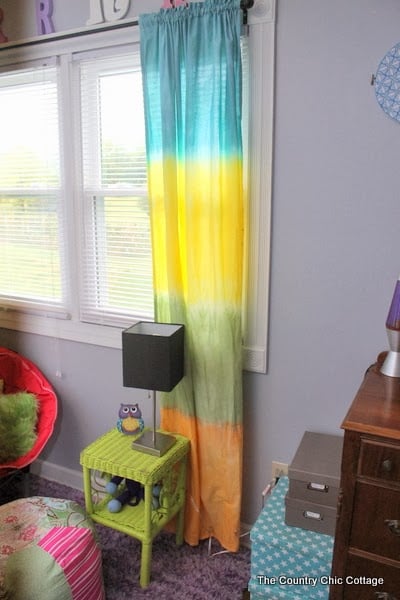

Supplies
- one queen sized sheet
- RIT liquid dye however many colors you want
To mix the tie dye:
- 1/2 cup salt
- 1 gallon plus 2 cups of VERY hot water
Instructions
Measure and Cut Sheet to Make Curtains
- I cut the sheet in half lengthwise to get two curtains.
- I then held it up on the window and approximated a length.
- I cut both halves to the same length.
- I then sewed around the two raw edges I had just created by making cuts including making a rod pocket.
- Just fold over about 5 inches at the top using that same method and use a portion of my tutorial to see how to sew a rod pocket.
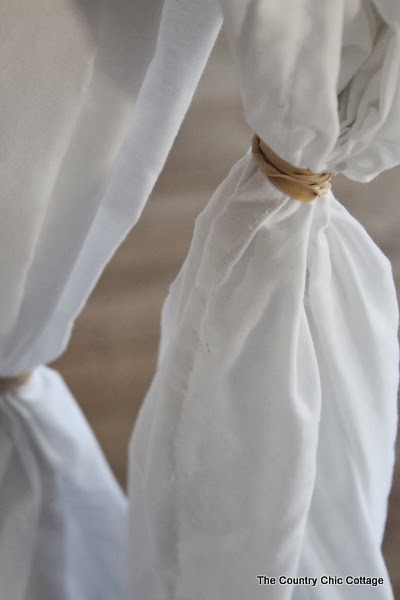
- Now once the sewing was complete and since I had four dye colors, I divided my curtains into four equal areas and put a rubber band around them to separate the areas.
Dye Your Curtains
- I then dyed the areas one at a time.
- Add 1/2 cup salt to the bucket.
- Pour in 1 gallon plus 2 cups of VERY hot water and stir to dissolve salt.
- Add one drop of liquid dish detergent and stir.
- Add 1/4 cup dye and stir.
- Put in your item for 15 minutes. (In this case, put the item in until you are almost touching the rubber bands and stop. Make sure the entire dipped area stays under the water. ONLY put in the area from one rubber band to another. The remainder of the curtain should stay out of the dye.)
- Remove after 15 minutes and rinse under cold water until the water runs clear.
- Allow to dry before moving onto the next color.
- Once all four sections were dyed and dried, I removed my rubber bands and allowed the entire piece to fully dry.


Adorable and Awesome! I love them. 🙂
So cute!
These look great!
Very cool! I’ve got a Craft Gossip post scheduled for tomorrow morning that links to your tutorial:
http://sewing.craftgossip.com/tutorial-make-tie-dye-curtains-from-queen-size-sheets/2014/05/23/
–Anne
I would love to learn more about diy tie dipping. I would also like to know if I could do animal print and if so show me how