Make DIY grain sack pillows with your Cricut machine! Flour sack pillows add an extra touch to your farmhouse style home! I have a few real grain and flour sacks that I have used to cover some of the pillows in my home, but I found a way to make my own.
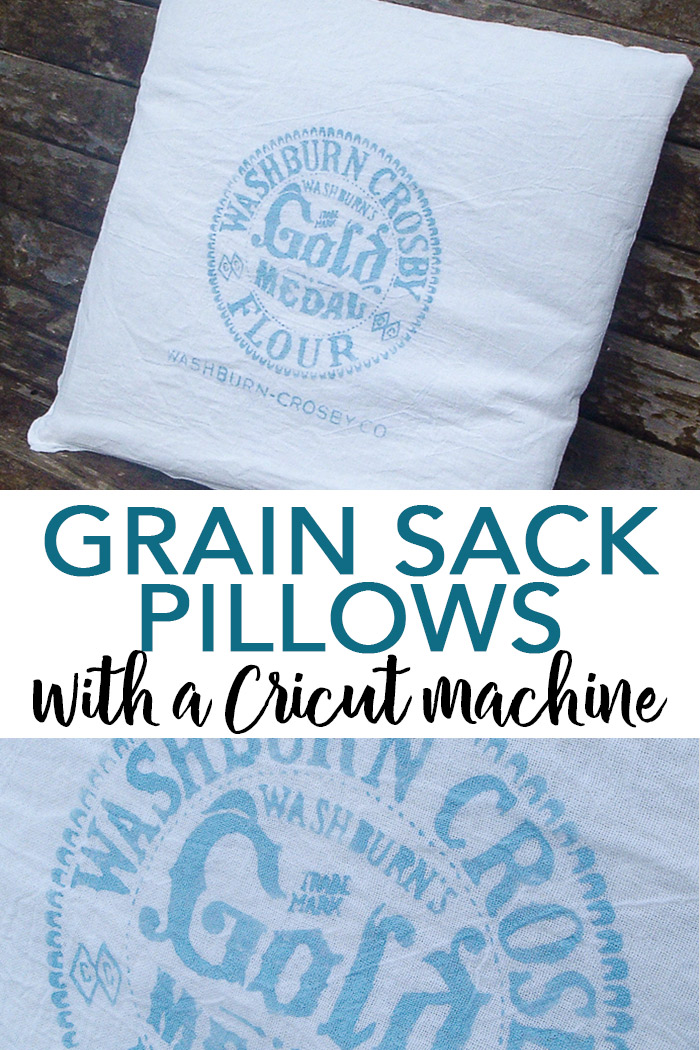
I love grain sack pillows! Like really love them! They are perfect for a farmhouse style home. This super soft material is like butter on so many applications. I’ve used it on upholstery for a vanity stool and a footstool and always love the way it turns out.
I’ve heard that this material can be difficult to find, so I wanted to try my hand at making faux grain sack pillows. It was a success thanks to my Cricut!
If you can’t find a real grain sack at flea markets or thrift stores, you can follow this tutorial to make your own! Break out your Cricut machine and make a stencil. You are going to love the results.
How to make a DIY grain sack pillow:
Supplies needed to make grain sack pillow covers:
- White fabric
- Pillow insert
- Cricut machine (click here to see which one I like best)
- Card stock
- Tape
- Fabric paint
- Sewing machine and thread
- Vintage logo (see below for source)
- Paintbrushes
Instructions
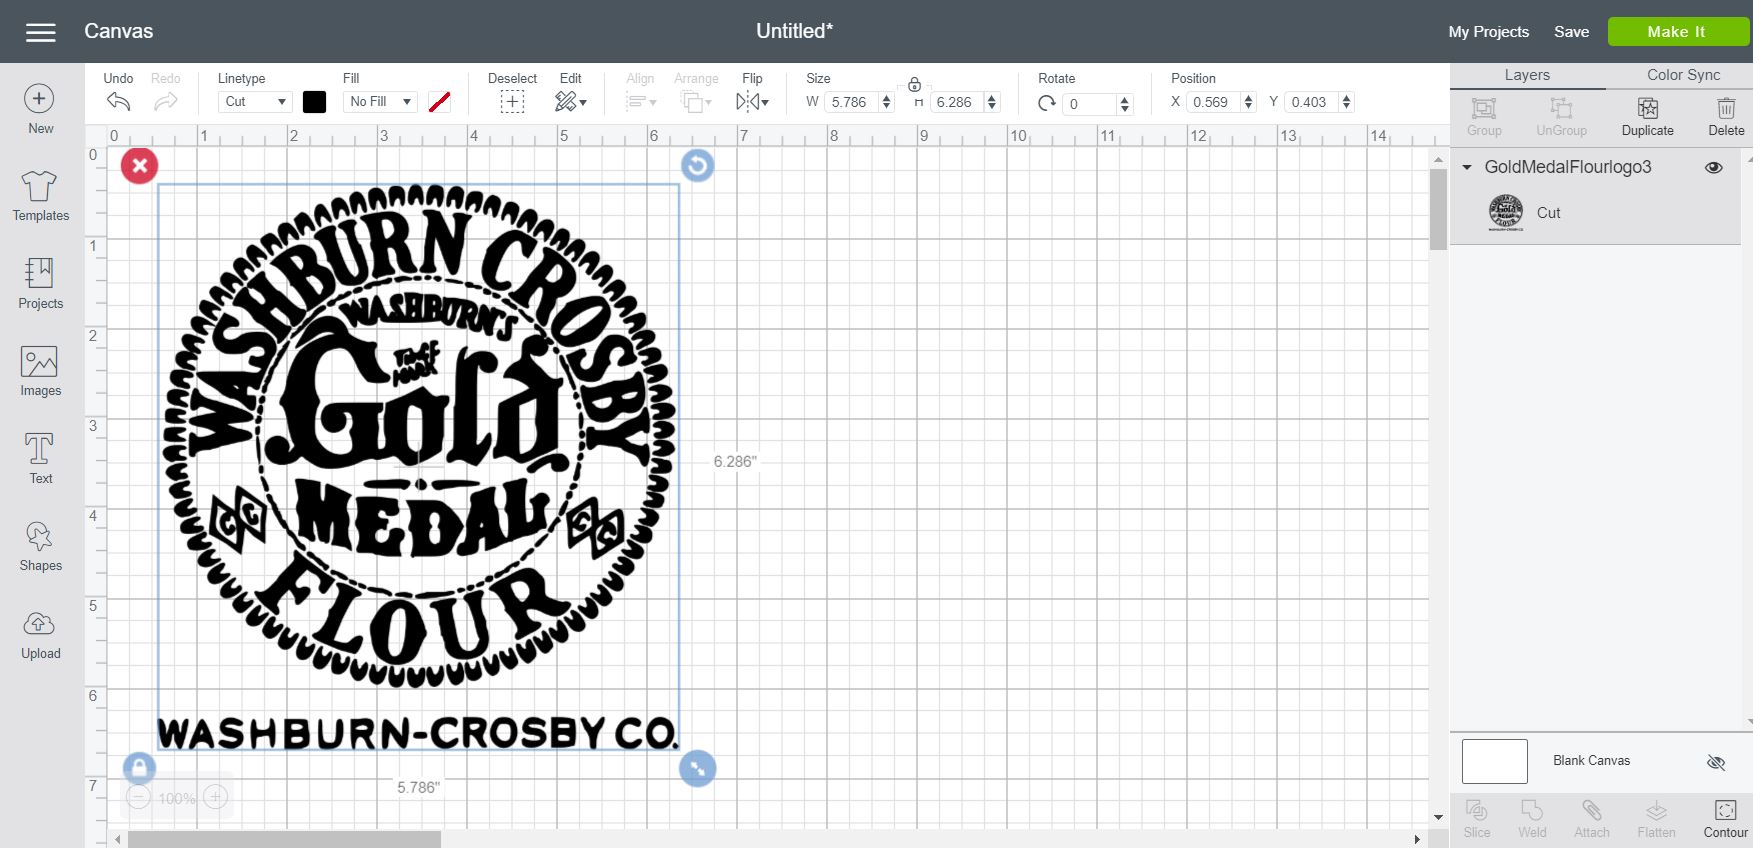
First, you will need a vintage logo for your pillow. I am using the Washburn Crosby logo below. I found it here. There are, however, plenty of vintage logos perfect for grain sack pillows all over the place! So, find the one you want to use and save it to your computer. Then use this tutorial to upload it to your Cricut machine.

You can see the completed logo in Cricut Design Space below. You may have to clean up the “trademark” area and a few other areas before cutting. Otherwise, you can cut the logo from card stock or stencil material using your Cricut.
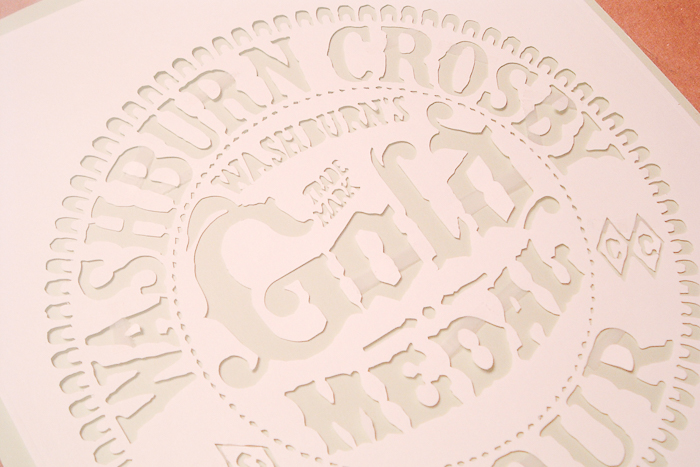
Once cut, remove all of the pieces you do not need from the stencil. You will want to save the middles of all of those letters.
I used little bitty pieces of tape to put the middles back in. That way they will still be there when I use paint to add the logo to my pillow.
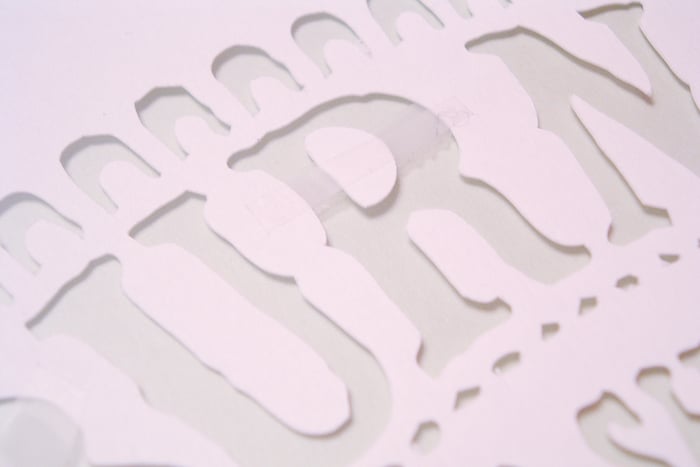
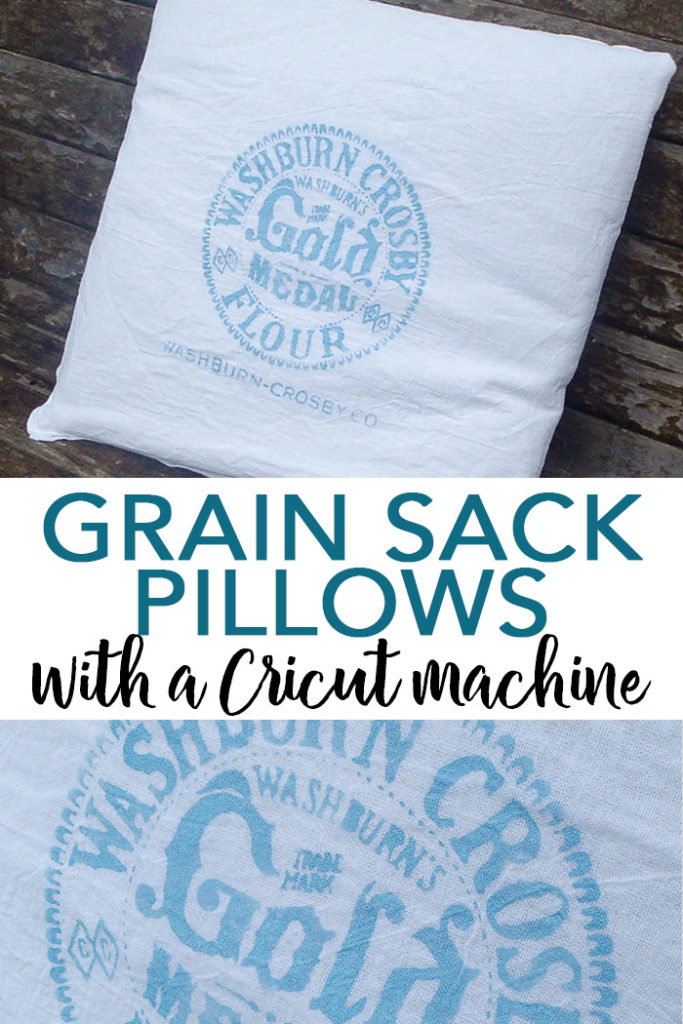
Cut the fabric to the size of your pillow leaving a bit of seam allowance. I then used blue fabric paint and stenciled the logo right on my flour sack towel. You can choose any paint color that will work with your home’s decor. Remove the stencil once you have completed painting. You then have to paint by hand anywhere the tape blocked the paint. You can see the difference between the R and O below.
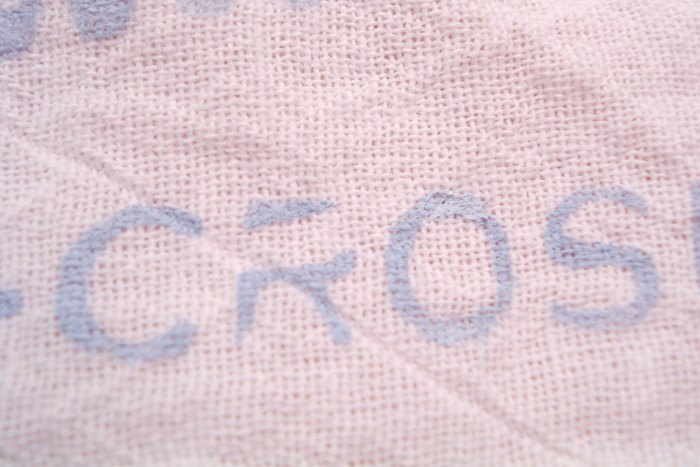
I absolutely LOVE how the logo turned out.
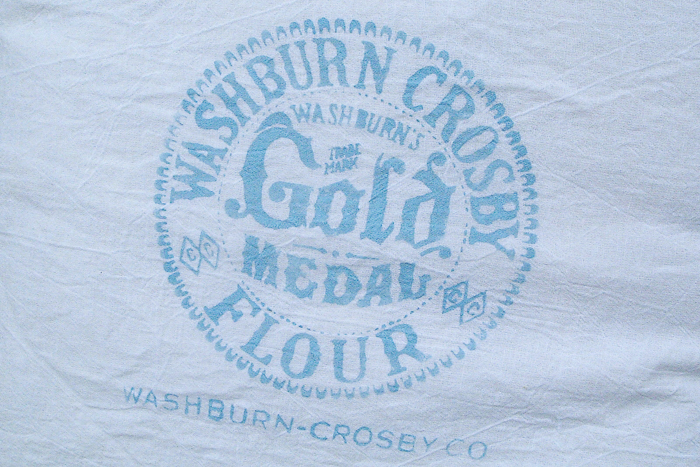
Perfect but not too perfect…ya know?
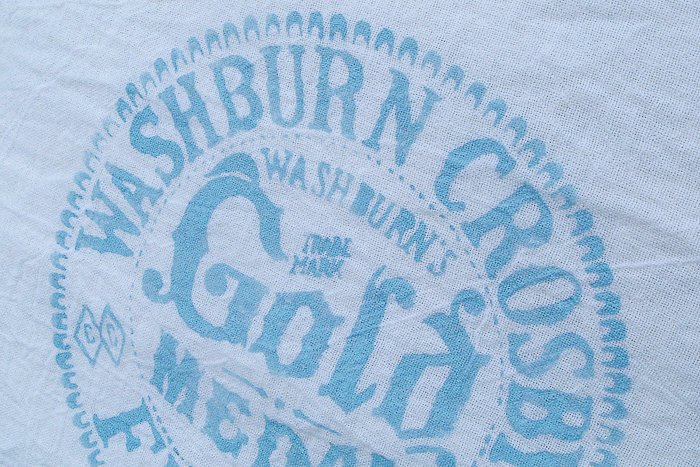
I then used my pieces to make a pillow cover with my sewing machine. Then just drop in your pillow form to make the grain sack pillows of your dreams!
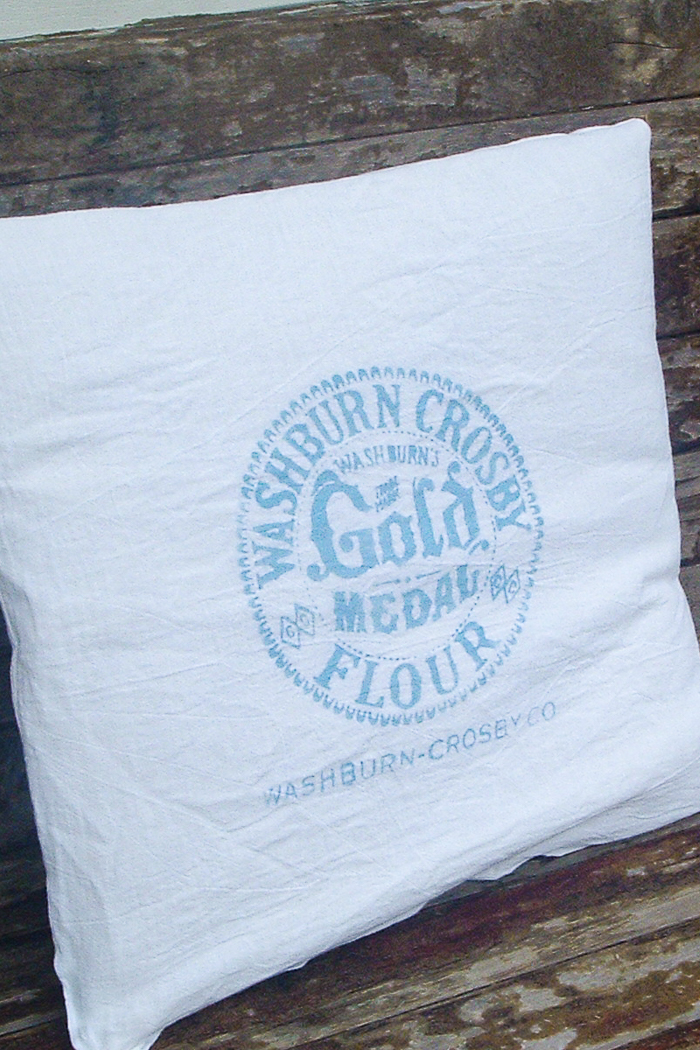
It is absolutely everything I dreamed it would be!
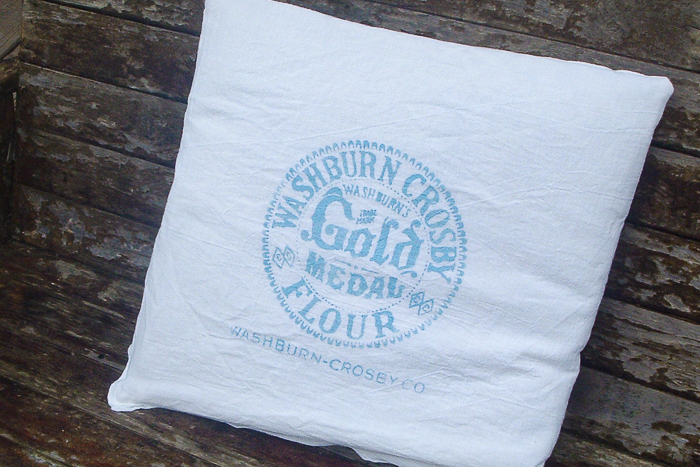
It looks vintage but it is actually brand new. Flour sack pillows are seriously the perfect addition to any farmhouse style home.
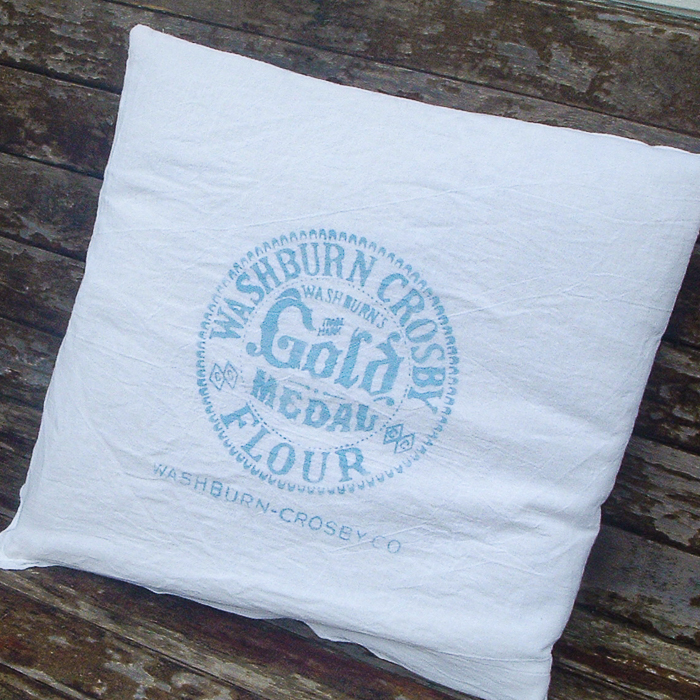
I am now on the hunt for even more vintage logos to make all the things! What about you? Do you love grain sack pillows? Will you be making one of your very own?
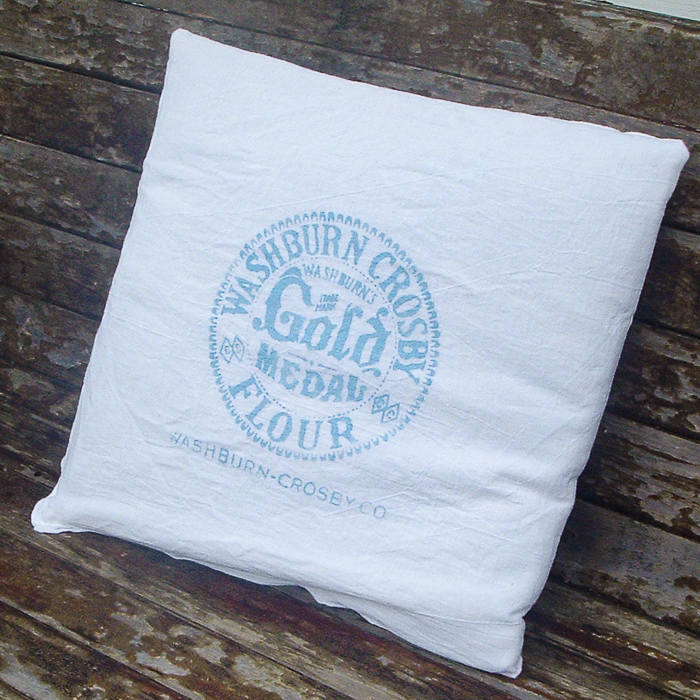
Love flour sack pillows and want more ideas? Try the links below!
- Mason Jar Lighting Fixtures for Your Rustic Home
- How to Make a Silhouette with Your Cricut
- Farmhouse Pillows: My Favorites for Your Home
- Make a Farmhouse Wreath with Iron-on
- Farmhouse Kitchen Ideas: Inspiration for Your Home
Equipment
- Card stock
- Tape
- Fabric paint
- Sewing machine and thread
Supplies
- White fabric
- Pillow insert
- Vintage logo see post for source
- Cricut machine
Instructions
- First, you will need a vintage logo for your pillow. There are plenty of vintage logos perfect for grain sack pillows all over the place! So, find the one you want to use and save it to your computer. Then, upload it to your Cricut machine and Cricut Design Space.
- Cut the logo from card stock or stencil material using your Cricut.
- Once cut, remove all of the pieces you do not need from the stencil. Save the middles of any letters and secure with tape, so they will still be there when painting.
- Cut the fabric to the size of your pillow leaving a bit of seam allowance. Then, use fabric paint in the color of your choice and stencil the logo on the flour sack towel.
- Remove the stencil once you have completed painting. Then, freehand paint anywhere the tape blocked the paint.
- Sew the pillow seams together with a sewing machine. Then, drop in your pillow form to make the grain sack pillows of your dreams!



That looks awesome. Just perfect (but not too perfect). Hope you’re having a great weekend.
Gorgeous! And you must have a ton of patience! I know with the Cricut, it’s the same – patiently popping out the letters and then taping everything down. This was so worth it!
Jeanine
Love this! I would have the patience to do one, but no more than that! It looks fabulous.
That looks wonderful! Miss Mustard Seed inspires a lot of us!
Sherry
Very good job, love it !
Kammy
I love it! I don’t know if I would have the patience for all of those little pieces, but the result is definitely worth it! Great job!
Awesome pillow. Love the logo. Would love to have the pattern for my new Silhouette if you don’t mind. Thanks. carawilliamson@windstream.net
This is when I wish I had a silhouette. I love this pillow and love the design. Imagine if one had to cut this out by hand!
Great idea! It looks AWESOME! 🙂
That is gorgeous. Love the colors you used — so pretty!
It’s SEW pretty. =) Very cool machine you have to do that cutting. I’m jealous!
That is really pretty. Thinking about soft flour and how that would be nice and fluffy and I could just rest my head…….*snore*
What a fabulous process. Your silhoutte makes such professional looking images. (I’m thinking money right away, lol). Great pillow project! Hope you’ll stop by and see our fabrics. Jane
Ok, I have totally been trying to figure out how to stencil with my Silhouette! It’s the middle pieces of all the letters that got me! Thanks for the idea, and I LOVE the pillow!!
Is there a way to change images into Silhouette files so you can cut them? I’ve barely had mine a month!
Glad I hopped over here from A Beach Cottage because last time I was here, I meant to follow you, then forogt to add you to my reader and lost you!
Great job – it looks fabulous. I’m a new follower from A Beach Cottage – Good life Wednesdays.
Would love for you to visit our coastal lifestyle blog at http://SallyLeeByTheSea.com
Just the cutting of the stencil alone is impressive! I like how it turned out!
HI Angie! I have wanted to do this for about a month now….even downloaded the same graphic! I just couldn’t figure out how to make it work! I never occurred to me to use my Silhouette! Wow! That is an awesome project! I’d love a copy of your silhouette file to make one! I’ll be on the look out of your sugar version! I found your project at the CSI Project. If you have a minute please stop by and have a look at mine! http://keeninspirations.blogspot.com/2011/01/valentines-printable-love-word-arti.html
I am your newest follower…I don’t want to miss anything! 🙂
I love it, looks so vintage!
Thanks for sharing,
Debbie
Can’t beat that! It looks wonderful. Ive been dreaming of getting a Silhouette!
VERY impressive…LOTS of work, but looks super