Make DIY grain sack pillows with your Cricut machine! Flour sack pillows add an extra touch to your farmhouse style home! I have a few real grain and flour sacks that I have used to cover some of the pillows in my home, but I found a way to make my own.
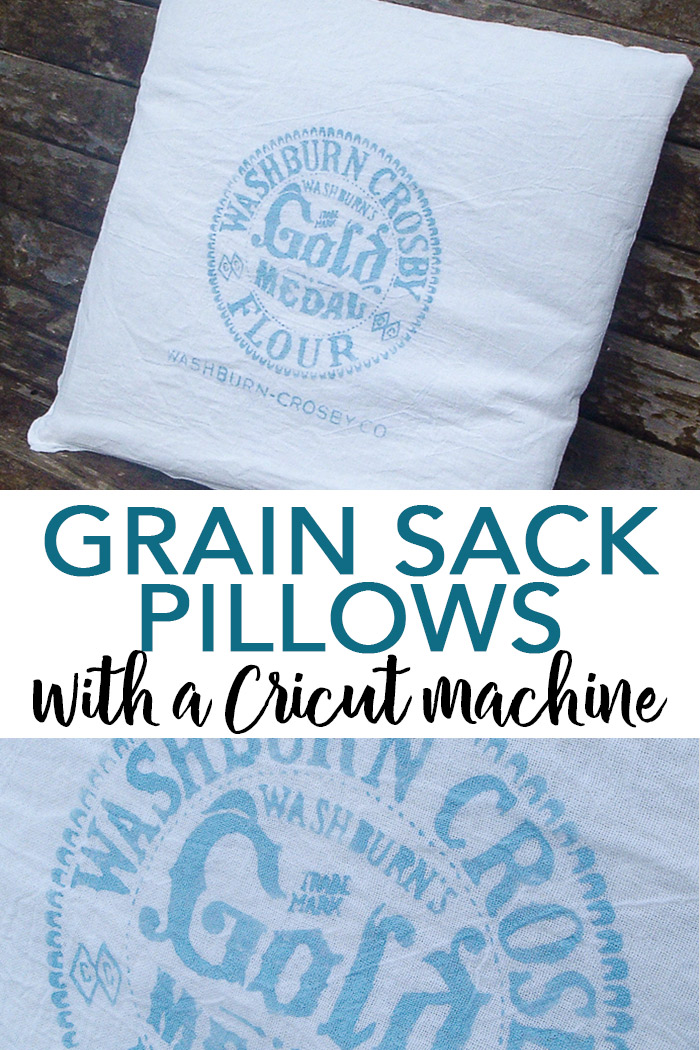
I love grain sack pillows! Like really love them! They are perfect for a farmhouse style home. This super soft material is like butter on so many applications. I’ve used it on upholstery for a vanity stool and a footstool and always love the way it turns out.
I’ve heard that this material can be difficult to find, so I wanted to try my hand at making faux grain sack pillows. It was a success thanks to my Cricut!
If you can’t find a real grain sack at flea markets or thrift stores, you can follow this tutorial to make your own! Break out your Cricut machine and make a stencil. You are going to love the results.
How to make a DIY grain sack pillow:
Supplies needed to make grain sack pillow covers:
- White fabric
- Pillow insert
- Cricut machine (click here to see which one I like best)
- Card stock
- Tape
- Fabric paint
- Sewing machine and thread
- Vintage logo (see below for source)
- Paintbrushes
Instructions
First, you will need a vintage logo for your pillow. I am using the Washburn Crosby logo below. I found it here. There are, however, plenty of vintage logos perfect for grain sack pillows all over the place! So, find the one you want to use and save it to your computer. Then use this tutorial to upload it to your Cricut machine.

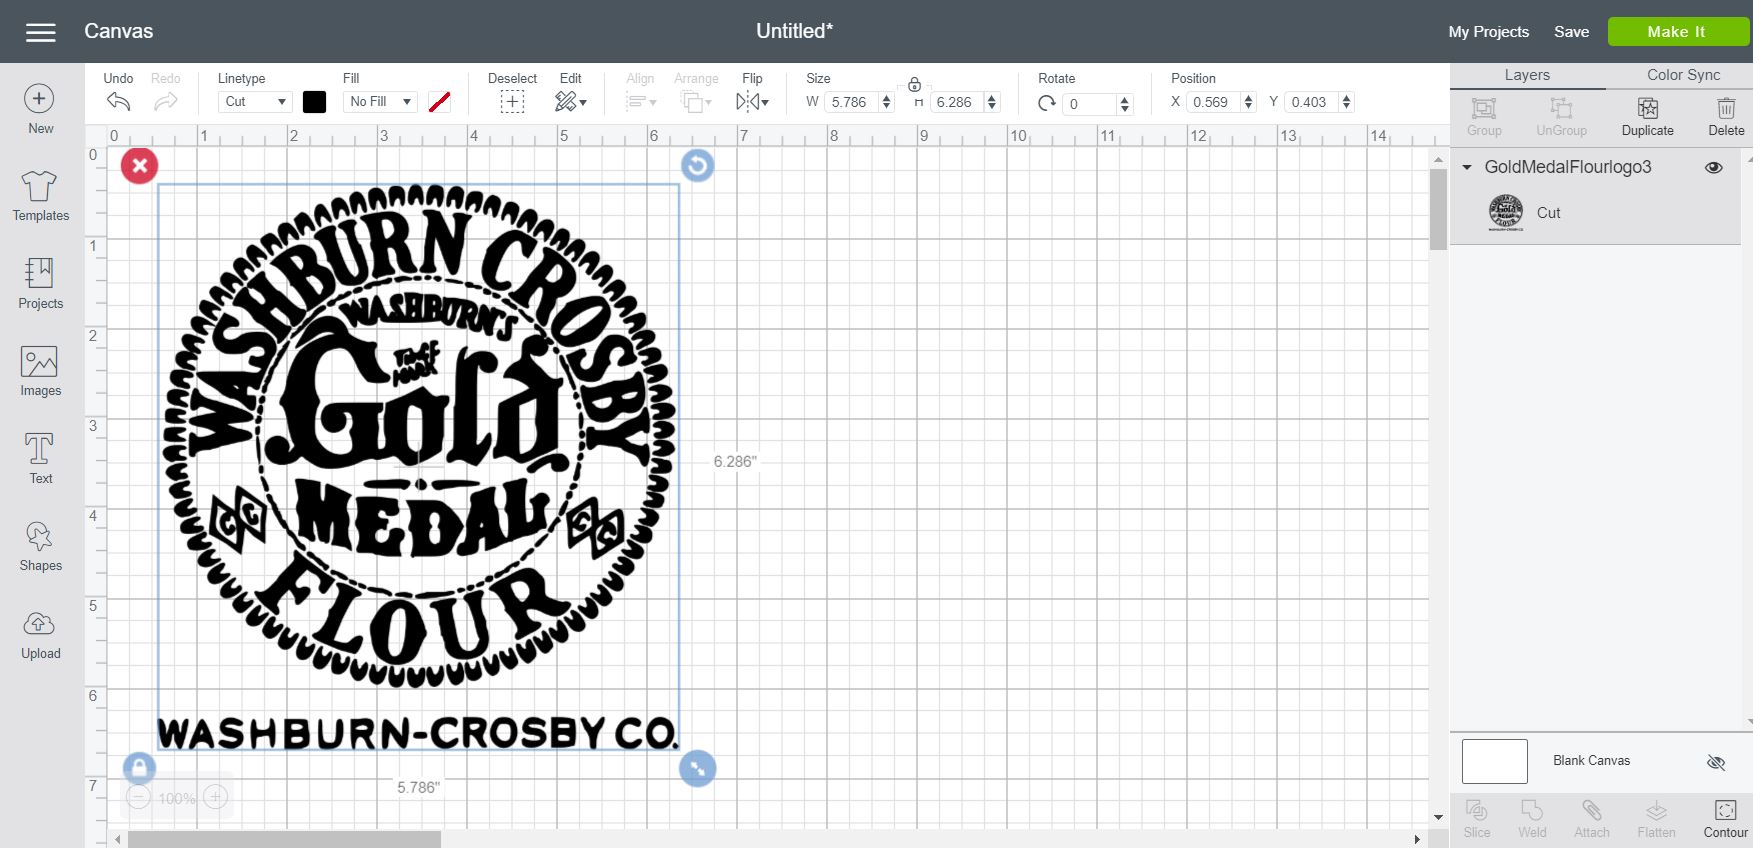
You can see the completed logo in Cricut Design Space below. You may have to clean up the “trademark” area and a few other areas before cutting. Otherwise, you can cut the logo from card stock or stencil material using your Cricut.
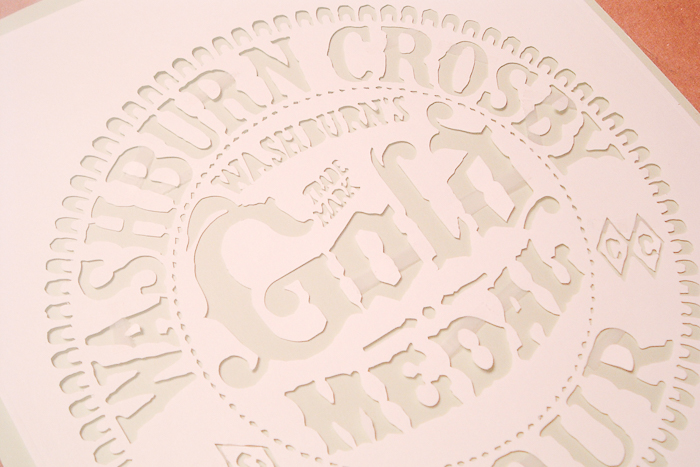
Once cut, remove all of the pieces you do not need from the stencil. You will want to save the middles of all of those letters.
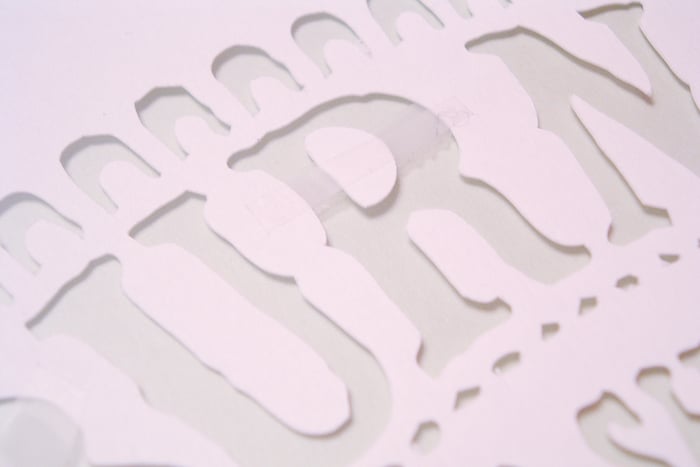
I used little bitty pieces of tape to put the middles back in. That way they will still be there when I use paint to add the logo to my pillow.
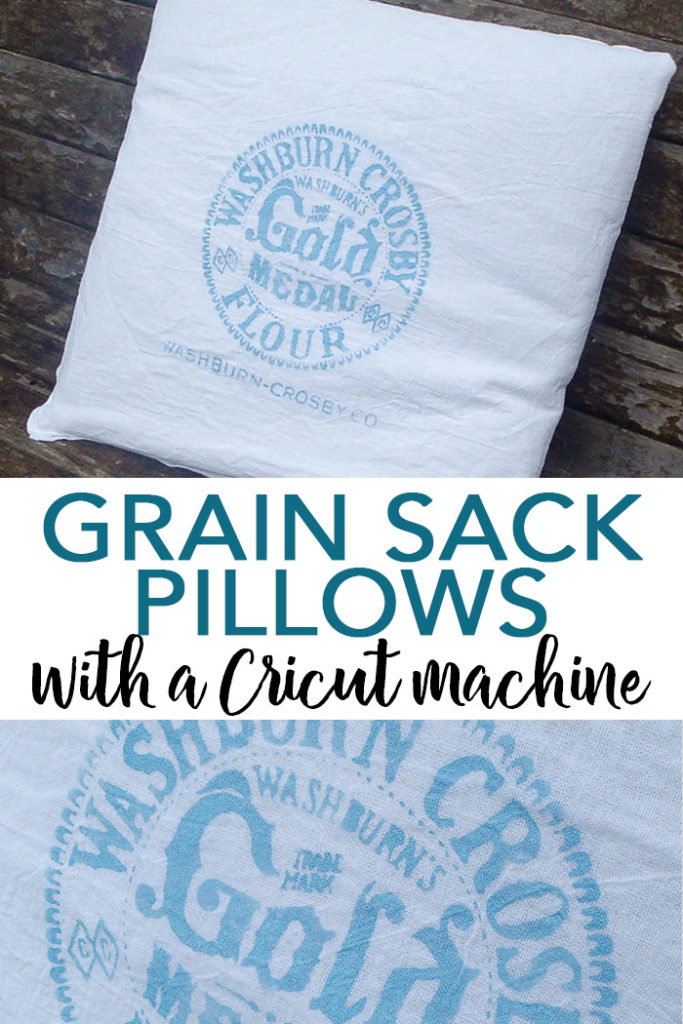
Cut the fabric to the size of your pillow leaving a bit of seam allowance. I then used blue fabric paint and stenciled the logo right on my flour sack towel. You can choose any paint color that will work with your home’s decor. Remove the stencil once you have completed painting. You then have to paint by hand anywhere the tape blocked the paint. You can see the difference between the R and O below.
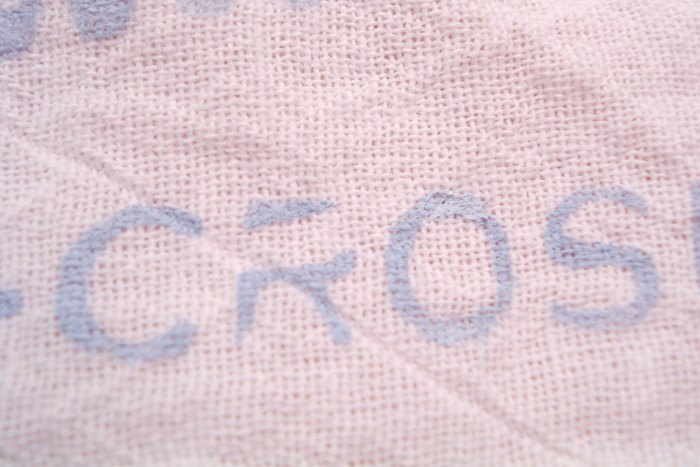
I absolutely LOVE how the logo turned out.
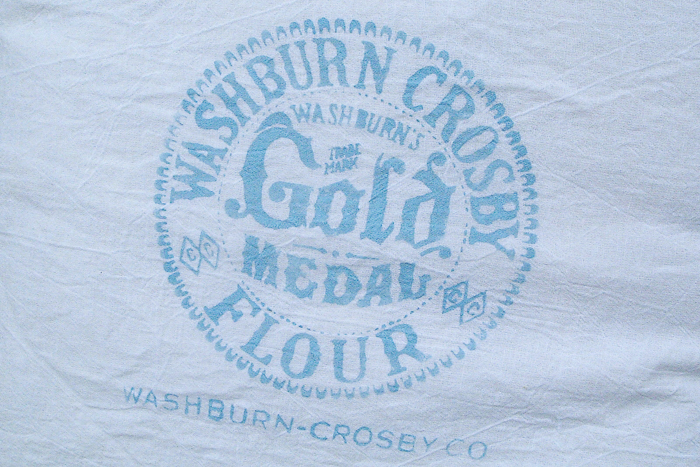
Perfect but not too perfect…ya know?
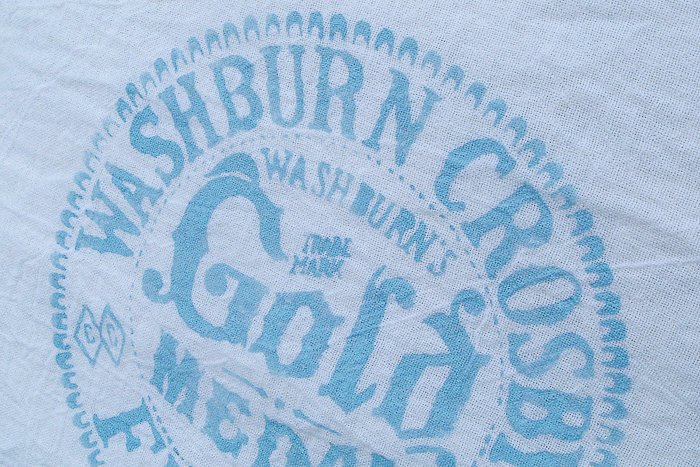
I then used my pieces to make a pillow cover with my sewing machine. Then just drop in your pillow form to make the grain sack pillows of your dreams!
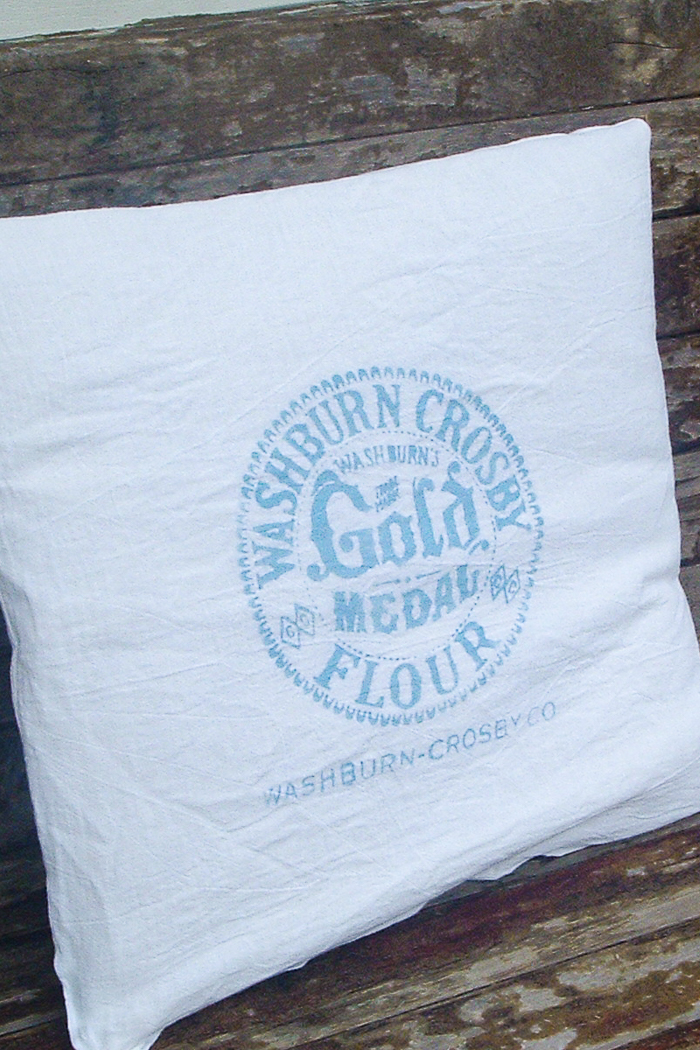
It is absolutely everything I dreamed it would be!
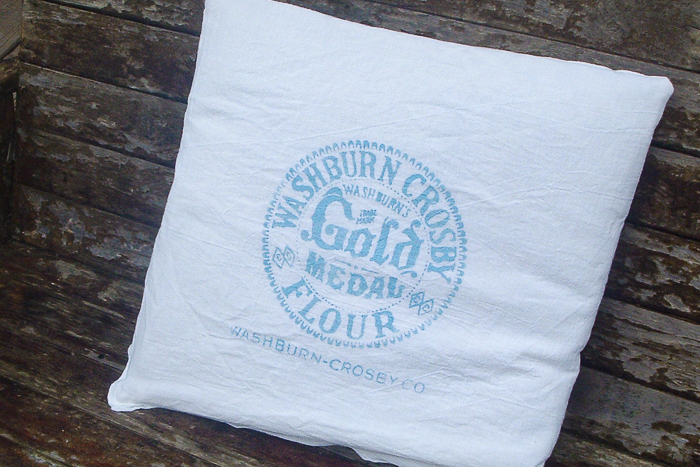
It looks vintage but it is actually brand new. Flour sack pillows are seriously the perfect addition to any farmhouse style home.
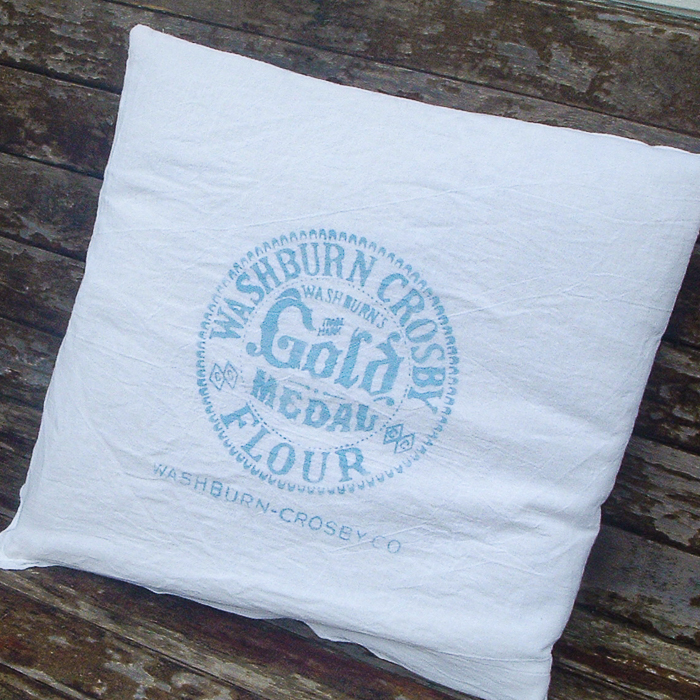
I am now on the hunt for even more vintage logos to make all the things! What about you? Do you love grain sack pillows? Will you be making one of your very own?
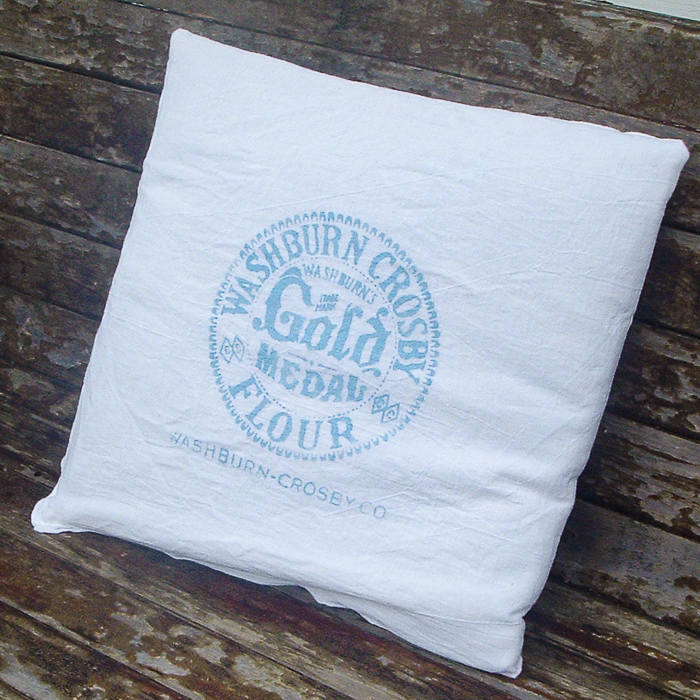
Love flour sack pillows and want more ideas? Try the links below!
- Mason Jar Lighting Fixtures for Your Rustic Home
- How to Make a Silhouette with Your Cricut
- Farmhouse Pillows: My Favorites for Your Home
- Make a Farmhouse Wreath with Iron-on
- Farmhouse Kitchen Ideas: Inspiration for Your Home
Equipment
- Card stock
- Tape
- Fabric paint
- Sewing machine and thread
Supplies
- White fabric
- Pillow insert
- Vintage logo see post for source
- Cricut machine
Instructions
- First, you will need a vintage logo for your pillow. There are plenty of vintage logos perfect for grain sack pillows all over the place! So, find the one you want to use and save it to your computer. Then, upload it to your Cricut machine and Cricut Design Space.
- Cut the logo from card stock or stencil material using your Cricut.
- Once cut, remove all of the pieces you do not need from the stencil. Save the middles of any letters and secure with tape, so they will still be there when painting.
- Cut the fabric to the size of your pillow leaving a bit of seam allowance. Then, use fabric paint in the color of your choice and stencil the logo on the flour sack towel.
- Remove the stencil once you have completed painting. Then, freehand paint anywhere the tape blocked the paint.
- Sew the pillow seams together with a sewing machine. Then, drop in your pillow form to make the grain sack pillows of your dreams!



Looks great…I think I need a Silhouette…I have been holding out. But no more 🙂 Laurel@chippingwith charm
This looks amazing! Thanks for sharing
WOW! I am convinced I am the last woman in the blogisphere without a Silhouette. Sigh. I must correct this. I love how you used yours.
This is great! My mom was poor growing up and wore flour sack dresses… anyways that just reminded me of that!
Please share this over here: http://www.bubblynaturecreations.com/2011/02/project-party-weekend-flavored-lip.html
We would love to have you join us!
So chic!
-Becky
http://www.liberatecreativity.blogspot.com
Really impressive work! Now, if I only had a Silhouette….
VERY cool, I love it! I have GOT to get myself one of those silhouettes!!!
Tania
This is awesome! Would you consider printing out the stencil and selling me one? I don’t have a Silhouette. Also, have you considered giving your material a ‘tea’ bath to make them look more vintage?
Thanks for the inspiration!
I would love to try and print this out on fabric, too. Please send me the file! Thanks!
This looks great. Wish I had a silhouette cutter 🙂
This is really cute, how do you put this into your silhouette?
Melissa
If you have the “old” silhouette software:
Open up your silhouette software. And hit new in the upper left hand corner of your toolbar. Then there should be an option under insert for file. Pick the general mills file. It should pop it onto your screen. You then need to resize it to the shape you want. You then choose get outline in the upper right hand corner of your toolbar. Once that opens up just hit the button that says paste and exit. It will have traced each and every bit of the logo and you are ready to cut!
I adore flour sack fabric and this pillow. Wish the stencil came ready made, however, feel the final product was worth the time!
Great job! I, too, would like the Silhouette file. Thanks! (I came over here from Under The Table and Dreaming.)
wow what a great job you’ve done with this. fab job on the stencil
I would love the file! Great pillow. Abreitenstein@att.net
Angie,
I wonder if the Silhouette file would work in Design Studios and/or SCAL (Sure-Cuts-A-Lot)? Has anyone tried that?
I can’t wait to use the stencil…project coming soon!
Thanks!
Angie, you always make such cute stuff! I ADORE this! So cute! One question though, since I just got my Cricut last month, do you use the Cricut Design Studio to do this? I don’t have it yet, but am thinking of buying it. Is it worth it? Thanks! Again, LOVE your project!
You little smarty pants!! I had forgotten that you can upload “pics” and have Silhouette cut them. Maybe I’ll learn how to do that tonight at my class?? Your flour sack turned out great!! I love that you used one color for the logo!
Thanks for sharing, Angie! I REALLY appreciate you taking the time, not only to link up, but also to link back. 🙂
Great Job!! I love it, I have a Silouhette, could you be a sweetie and send me the file please? my email is: warmcrump04@yahoo.com Thank you so much! I really appreciate it!
~Andi