An old bottle with a great old vintage label….is there anything better? Want to turn your cast-off bottles and jars into treasures? Today, I’m sharing these beautiful DIY labels for jars! And showing you how to create your own DIY vintage labels in a few minutes with scrapbook papers and stamps. If you love vintage labels or anything vintage, this DIY project is definitely for you.
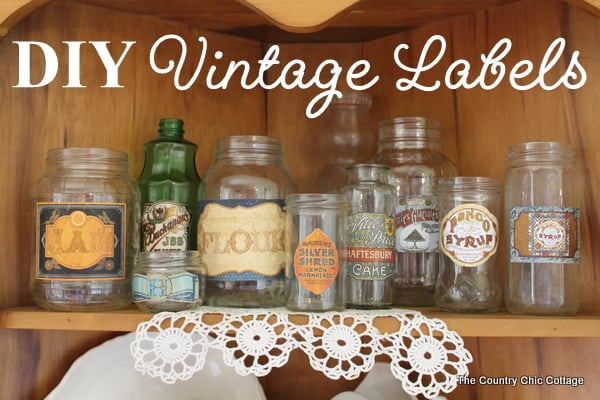
DIY Labels For Jars
Today, I’m sharing these beautiful DIY vintage jar labels and showing you how to create your own in a few minutes with scrapbook papers and stamps. If you love vintage labels or anything vintage or farmhouse, this DIY project is definitely for you.
Vintage Scrapbook Paper Labels
Before discussing DIY labels for jars, let’s first talk about paper!
I got my vintage scrapbook paper from the Weekend Market Collection by Bo Bunny, but you could use any type of labels that you want for this project.
For example, you can get labels in other scrapbook collections, you can buy printable labels on Etsy, or you can even Google ”vintage labels” for free! The choice is up to you!
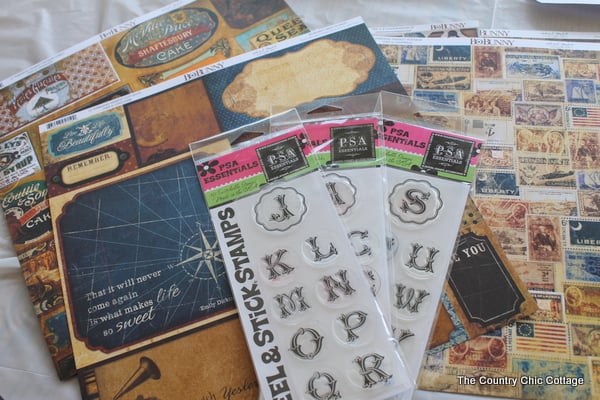
The labels that I used for this DIY came out in sheets like the following one. It is absolutely swoon-worthy.
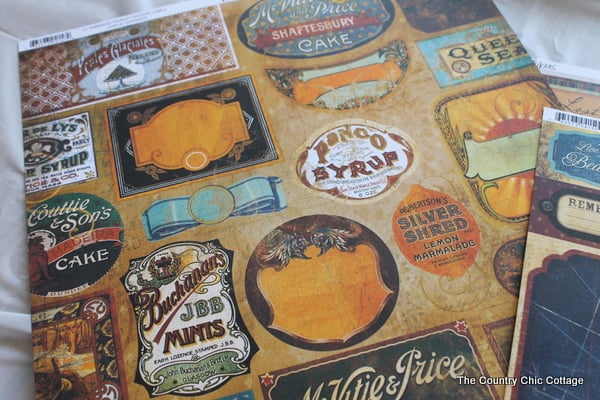
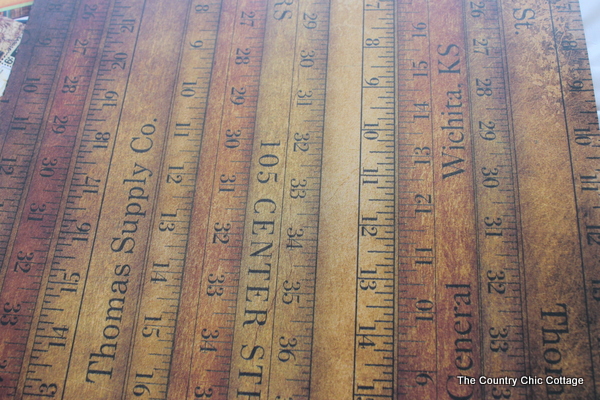
But before we make our DIY labels for jars, let’s look at a few more sheets of paper in the collection. They can be used for crafts, scrapbooking, tags, or anything you imagine and come up with!
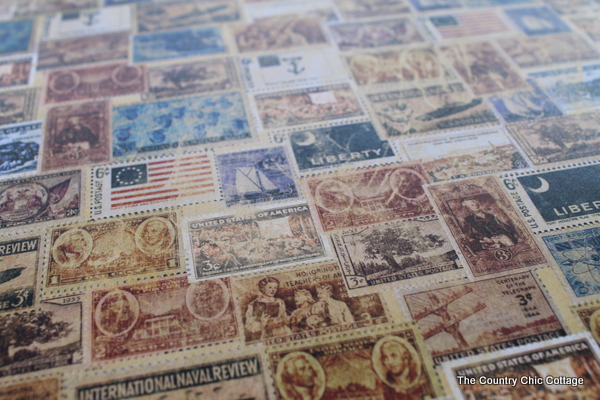
This one with the rulers had my heart racing! Gorgeous! I can see an entire tabletop with these sheets of paper Mod Podge to it.
Supplies Needed:
Note: The Bo Bunny paper that I used in this DIY has been discontinued. However, you can use this Ephemera Collection for this project instead!
How To Make DIY Labels For Jars
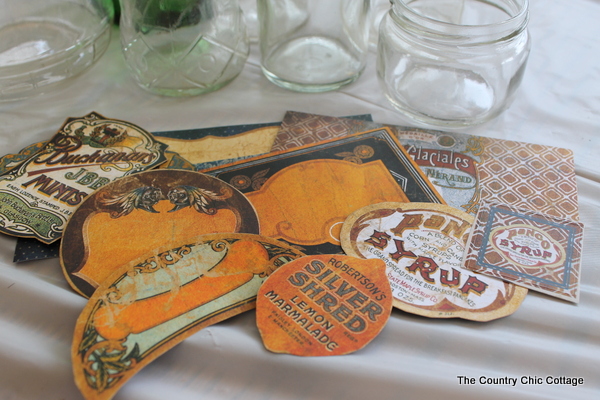
Step 1: Cut Out Various Labels
Cut out various labels from the Bo Bunny papers.
For this tutorial, I will be using scrapbook paper with vintage labels. However, you can buy, download, and print any vintage labels available online.
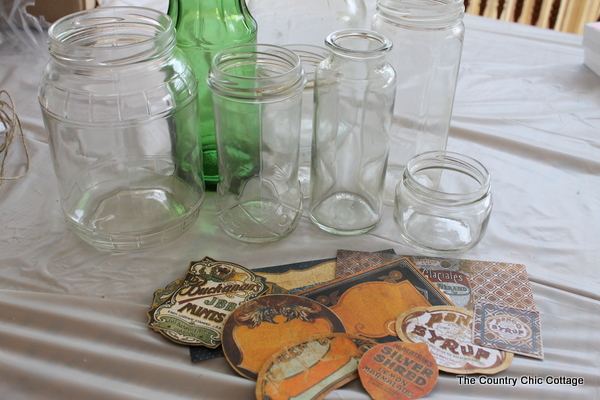
Step 2: Gather Up Jars And Bottles
Gather your jars and bottles, and wash them inside and out. Some of mine were vintage, but others were from pickles, pimentos, or anything else we were eating out of glass containers.
Step 3: Add A Distressed Look To Labels (Optional)
Add a distressed look. To create an authentic aged look, you can distress the edges of the label by cutting around the edges of the labels. Or you can try tearing the edges off the label for a natural torn and realistic look. Also, although the labels already have a vintage look, you can make them look even more worn with a little Distress Ink.
Step 4: Add Labels To Jars
Apply Mod Podge to the back of your DIY label and adhere it to the jar.
Once the glue is dry, you are ready to display them!
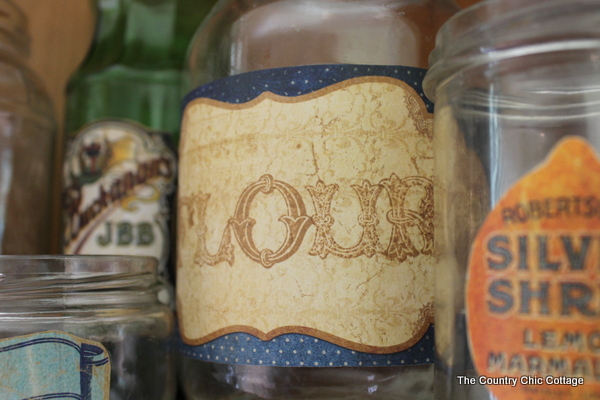
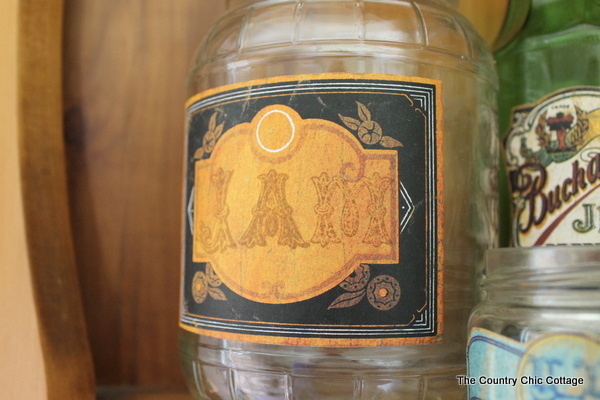
Some of the labels were blank, so I added words with my letter stamps.
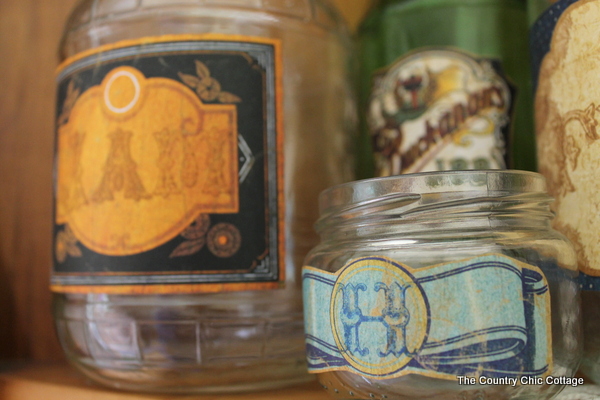
Or just my initial on a mini label.
Other ones just needed to be put on the jars as is.
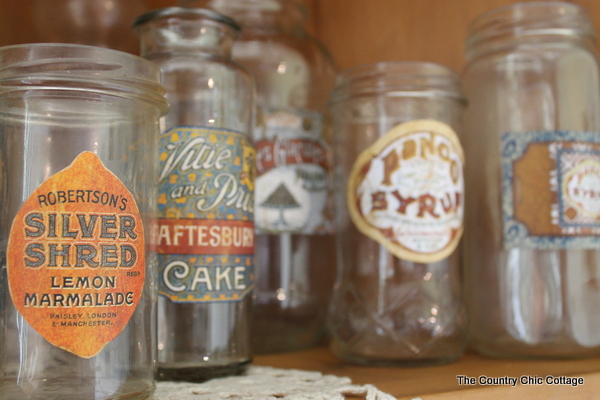
There is such a wide variety of labels on the papers that it was easy to fill an entire shelf with goodies.
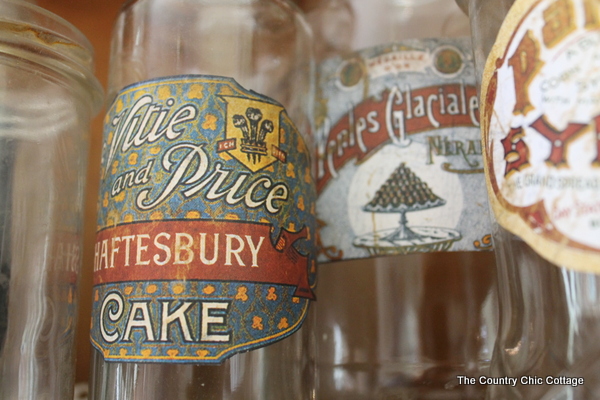
This project is truly trash to treasure and super easy!
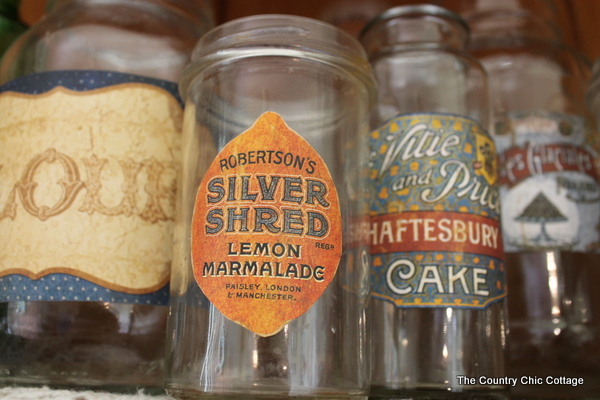
All of the jars found a home on the top shelf of this vintage cabinet. Of course, they do not all have to be grouped together, but they do make a nice statement in my foyer.
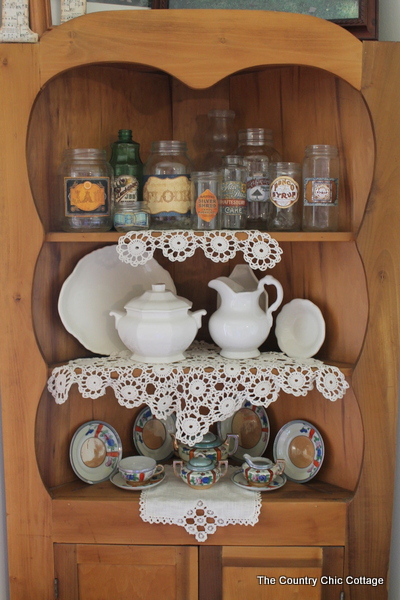
With the vintage labels, you can easily give cast-off bottles a new look and purpose. Also, you can fool just about anyone into believing these bottles are older than your grandmother!
Plus, they look great and can be used for a wide variety of things like storage jars, decor in a boutique store, props for photoshoots, event decorations, and so much more!
FAQs About DIY Labels For Jars
Here are the answers to some common questions I often get about this project.
Where Did You Find Your Vintage Bottles?
I found my vintage bottles at my local thrift store! However, if you are on the hunt for vintage bottles, you can also look at your local rehab or antique store.
How Did You Get The Original Labels Off Your Jars?
Good question! If you are using updated jars from your kitchen (like pickle jars, jam jars, etc.) there are several ways that you can remove the original label.
For my jars, I let them soak in warm, soapy water, then used a scraper to remove the label. This worked for me, but if you are dealing with a stubborn label, below are a few more things you can do.
- Pour hot water into the jar, let it sit, and it will loosen up the label on the outside.
- Create a mixture of dish soap and vinegar.
- Apply heat to the label using a hair dryer.
How Did You Get Sticky Residue Off Your Jars?
To remove any sticky residue from the jars, I used Goo Gone, along with soap and water. However, if you don’t like the smell of Goo Gone or need other options, below are a few ideas.
- Adhesive Removers (like 3M Adhesive Remover, Un-Du, etc.)
- White vinegar
- Nail Polish Remover
Can I Paint My Jars Before Adding Labels?
Yes, you can! For those up-to-date bottles that look too ”clean and modern”, you can paint them before adding your labels. However, make sure the paint is completely dry before adding your label.
If you want to learn how to paint glass to look vintage, check out my Painting Glass Jars to Look Vintage blog post!
Do You Have More Vintage Label Ideas?
Yes, I do! If you are wanting more labels for your jars and bottles, check out the projects below!
- Make Your Own Vintage Labels
- Free Printable Vintage Labels for Jars
- Pantry Organization Labels Free Printable – This label project was originally designed to organize your dry ingredients, but I think they would look so cute on vintage jars and bottles!
- Free Printable Halloween Labels
- Halloween Potion Labels for Jars
5 More Farmhouse Themed Projects
So, will you make some of these DIY labels for jars for your home? I can’t wait to see what you come up with!
Also, if you loved these DIY labels for jars and are looking for more farmhouse-theme projects, check out the ideas below!
- DIY Wooden Dough Bowl with Paint
- DIY Canvas Art with Farmhouse Style
- Farmhouse Pillows: My Favorites for Your Home
- Farmhouse Canisters for Your Country Home
- The Fastest Way to Make Farmhouse Signs



Love the jars!
Mary Ellen
The Working Home Keeper
Love this idea! Thanks for sharing!
These papers are so gorgeous! I love them. And your stamping is fabulous.
I love these; they’re beautiful! In trying to get a more vintage look in our kitchen, these would be perfect, coupled with the old jars. Awesome idea!
A great idea and they look lovely on your shelf. Thanks for sharing!
Your newest follower,
Terrie
Ok is it just me. I do not see the link to print?
These are NOT printable. It is scrapbook paper that you have to purchase.
These are NOT printable. It is scrapbook paper that you have to purchase.
No problem! These are a different style but I have a few printable versions:
https://www.thecountrychiccottage.net/2014/04/make-vintage-labels.html
https://www.thecountrychiccottage.net/2011/06/pottery-barn-imitation-apothecary-jars.html
Love the vintage look. Just a share. In the past I have used a paper towel dipped in whole milk, wipe on back of a plain paper print out like these, laid it on various glass canning jars. When I get tired of the look or it no longer serves my purpose, the label cleans off easily under running warm water, or in the dishwasher, My labels, printed on inkjet, copy paper, adhere to glass and aluminum tea canisters perfectly, no ink smear. Just easier to change labels out for me.
Thank you for the vintage labels, love them.