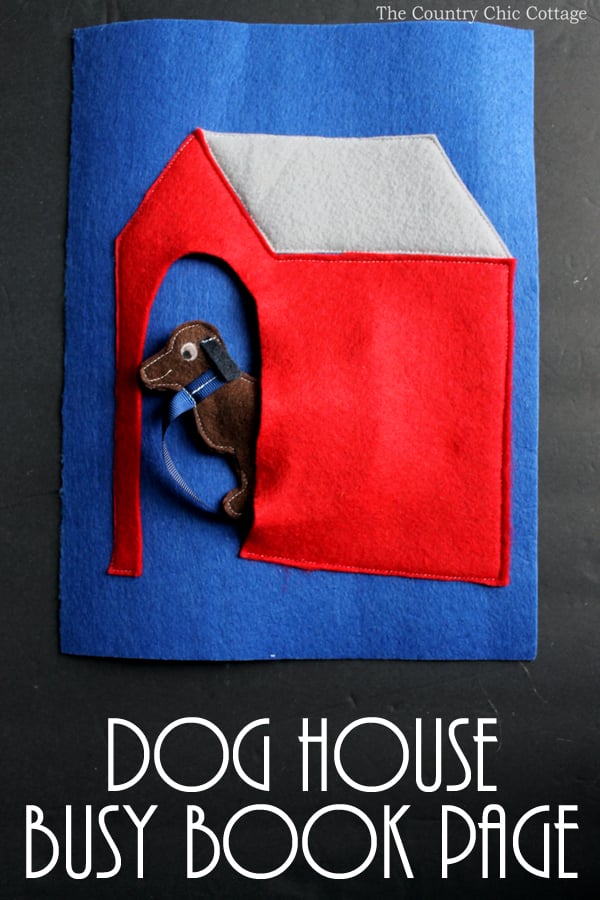
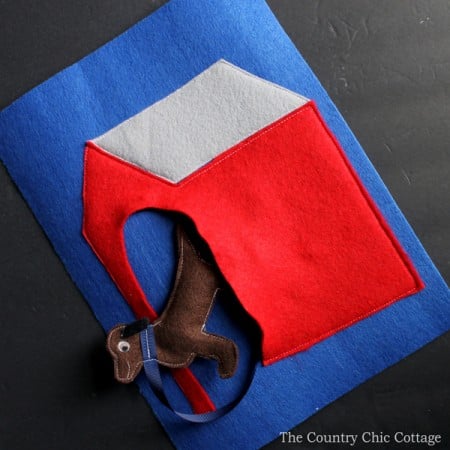
Here’s a whole new busy book page featuring a cute puppy and a felt dog house! This would be a great addition to any toddler busy book, and it’s sure to keep little ones entertained for hours on end. This page is sure to become a fast favorite!
Here is the next craft idea in my busy book series!
This one is a toddler busy book page with a felt dog house. I love how this turned out and I think your kids will too! This page is great for fine motor skills, as well as imaginative play. It would make a great addition to any toddler’s busy book.
When it comes to toddler busy books, I think it’s important to have a mix of activities.
If you have missed any of the pages, be sure to check out the lion busy book page, shapes busy book page, and football busy book page.
How To Make How To Make A Dog House Busy Book Page
Make this toddler busy book in just a few minutes using things you have around the house. It’s perfect for a rainy day activity or to keep toddlers entertained while you’re cooking dinner!
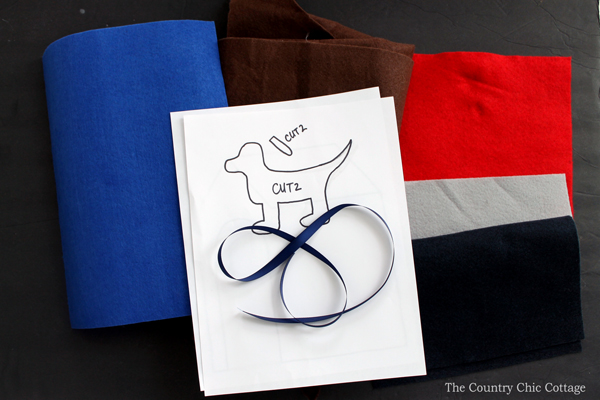
Here’s a list of everything you’ll need…
Supplies Needed
- Stiff felt sheet (I used these large sheets cut in half)
- Felt scraps (I bought this bag of felt scraps to make all of my busy books)
- Dog house pattern page (print by clicking here)
- Dog pattern page (print by clicking here)
- Paint marker (one white and one black)
- Ribbon
- Sewing machine
- Thread
- Scissors
- Stuffing
Instructions
Here’s how to make this DIY busy book page…
Step 1
Start by printing out both pattern pages for the dog and the dog house. Then, cut all of your pieces from the felt.
Step 2
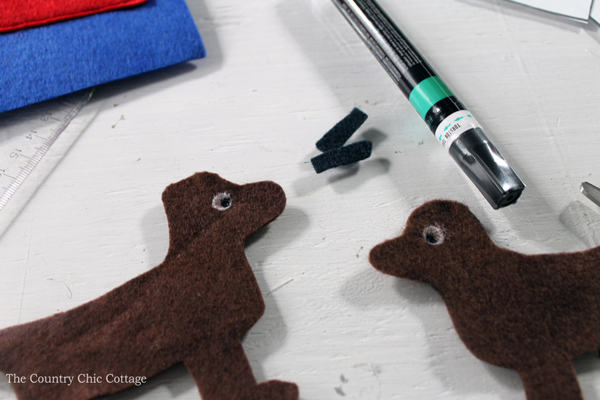
The eyes on the dog pieces will need to be painted on! Start by using the white paint pen on the eye. It may take several coats to make it look right.
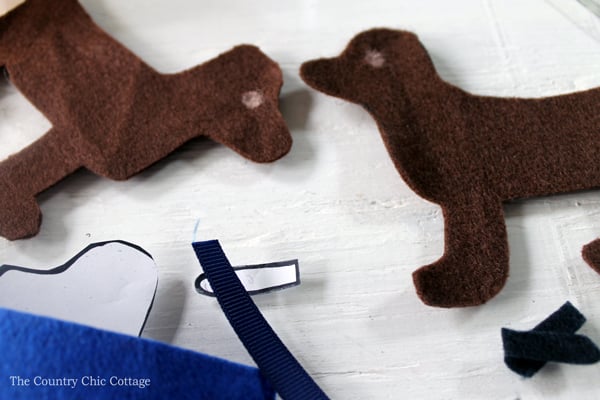
Once the white portion is dry, add a small black dot with a black paint pen.
Step 3
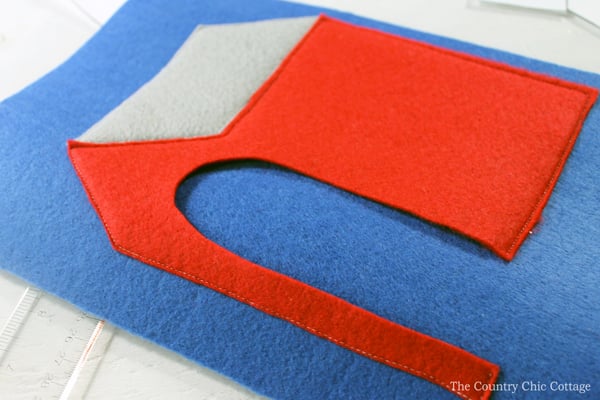
While your eyes are drying, you can place the dog house onto the stiff felt and sew around the house and roof.
Tip: Be sure to leave the door open so your dog has a place to go!
Step 4
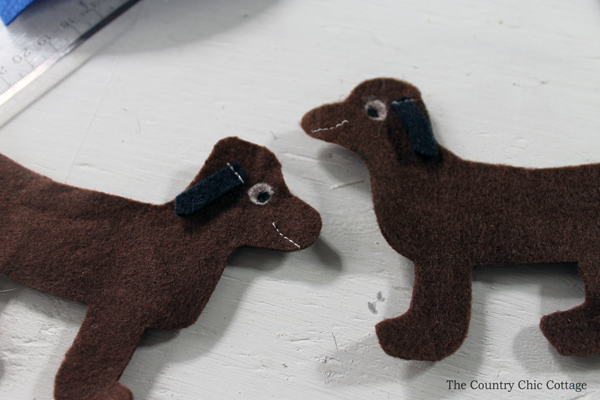
Once the eye has dried, start on your dog by sewing an ear to both halves. I also used thread to add a mouth.
Step 5
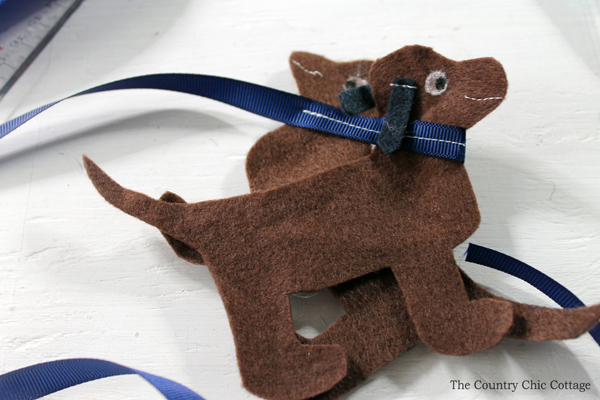
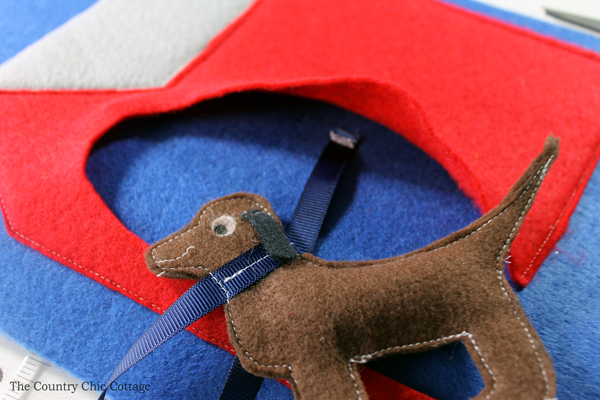
Sew the ribbon to the dog’s neck like a collar. I sewed it to both halves at the same time as shown below.
Step 6
I then flipped the dog where the wrong sides were together and sewed around, leaving the belly open.
I added just a very small amount of stuffing to the dog and closed up this seam.
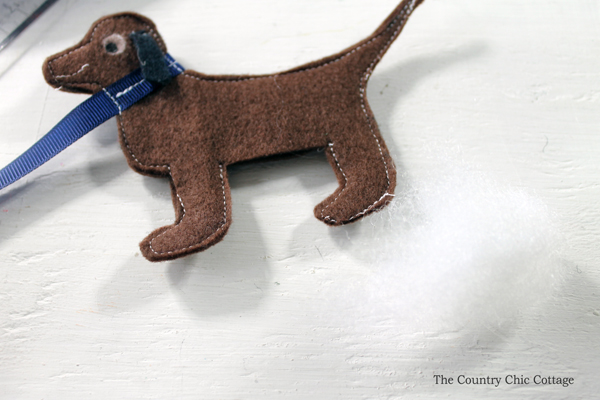
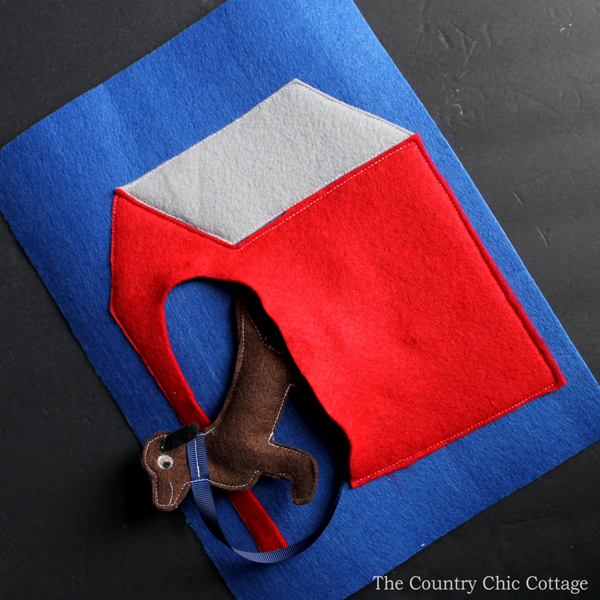
Then, just attach the other end of the ribbon to the inside of the dog house.
This dog house busy book page is complete and ready for your book! Babies and toddlers will love playing with the dog and putting him back in his house.
FAQs
Here are a couple of questions that I see readers ask about learning how to make a toddler busy book page. If you have a question, please check to see if I’ve already answered it below. Don’t see it? Leave it for me in the comments!
Do I have to use a sewing machine?
If you don’t have access to a sewing machine or don’t know how to use one, you can always hot glue the pieces together. Just be warned that hot glue doesn’t always hold up as well as sewing and your toddler’s busy book page may not last as long.
Can I make this without a printer?
Yup! You can easily draw and cut out your own dog house and dog pieces. Make sure to make them the same size as the pattern so everything fits together correctly.
Do I have to use stiff felt?
If you don’t have stiff felt on hand, you can use regular felt for this toddler busy book page. Fair warning- it may not last as long as the stiff felt since it’s not as sturdy.
Can I make this toddler busy book page without painting the eyes?
If you’re not comfortable painting the eyes, you can always use googly eyes or even buttons for the dog’s eyes. Just be sure that whatever you use is securely attached so it doesn’t fall off and become a choking hazard.
Can I make this busy book page without stuffing the dog?
If you don’t want to stuff the dog, you can always just leave him flat. He’ll still be cute and your toddler will still have fun playing with him!
More Fun Activities For Kids!
Now it is time for even more quick and easy kids’ activities from our blog partners.
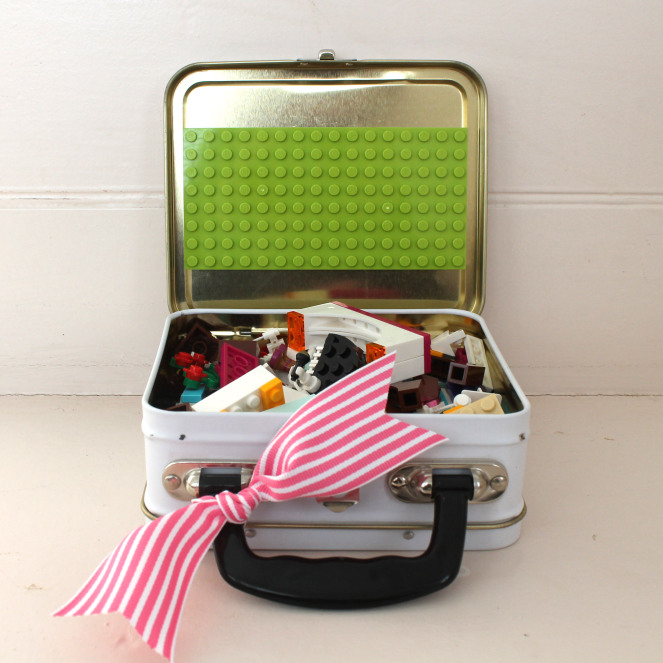
First up is Scrappy Chick with this DIY travel lego tin that is perfect for those kids that love legos!
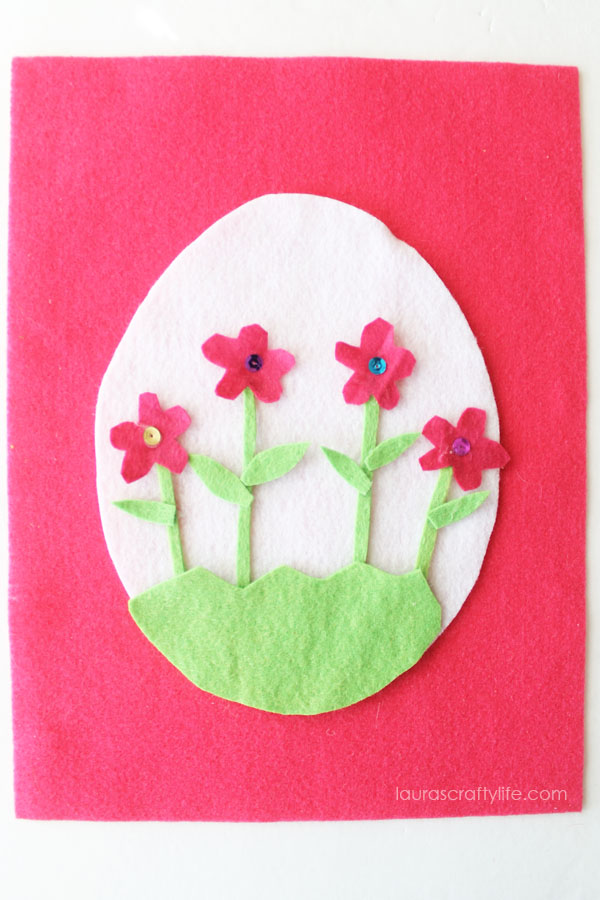
Next is a felt Easter egg idea that can be made over and over again! Your kids will love this idea from Laura’s Crafty Life.
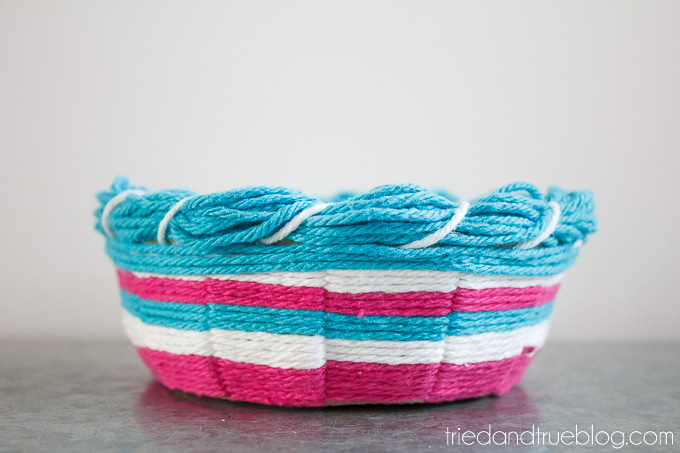
Tried and True has a great idea for using cardboard and yarn to weave a fun basket.
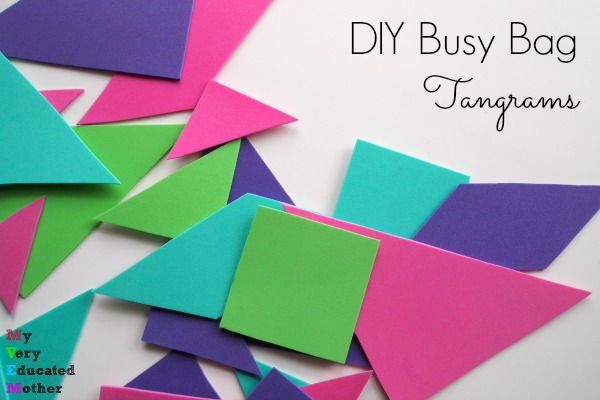
My Very Educated Mother is sharing how to entertain your kids with these DIY tangrams.
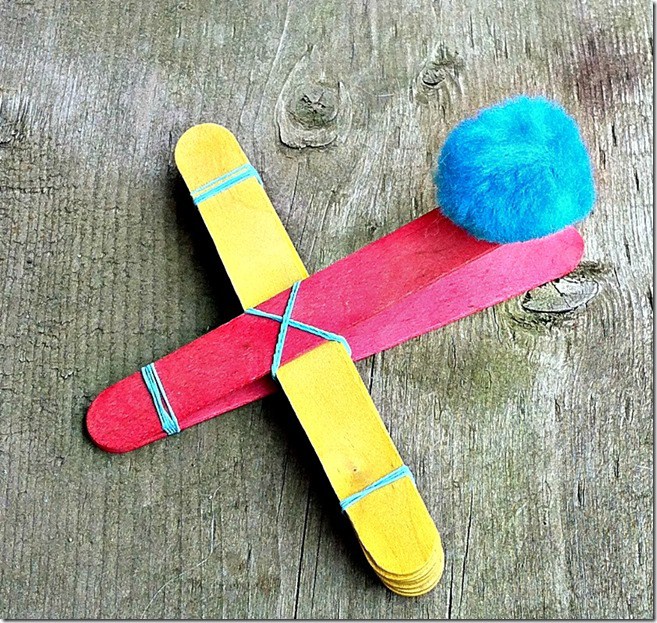
You can make a DIY catapult with simple supplies and instructions from Creative Cynchronicity.
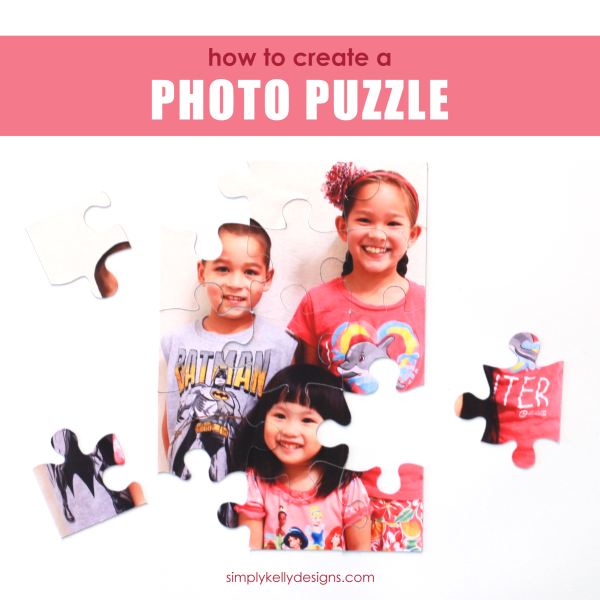
Another great puzzle idea comes to us from Simply Kelly Designs. She used her Silhouette to make this great magnetic photo puzzle.
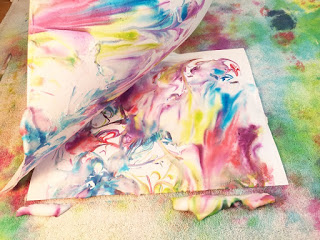
Use shaving cream to create marbled paper with your kids. The instructions are over at Beth Watson Design Studio.
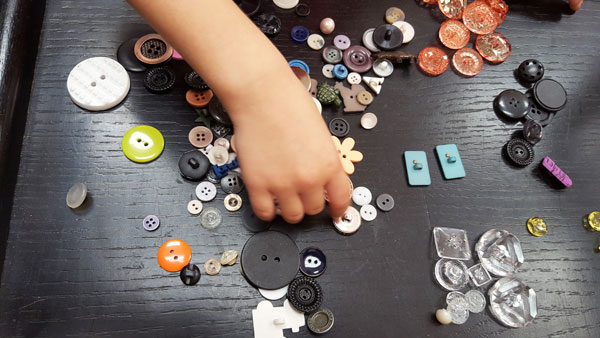
My co-host for this series is always 30 Minute Crafts. She is sharing how to keep a fun button-sorting activity on hand at all times.
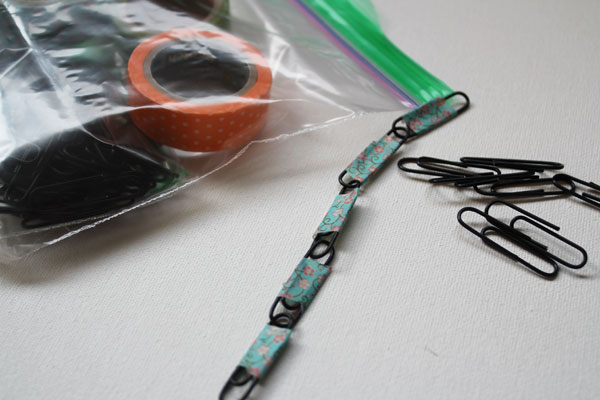
You can also keep the supplies for this paper clip chain on hand. Again 30 Minute Crafts is full of great ideas!
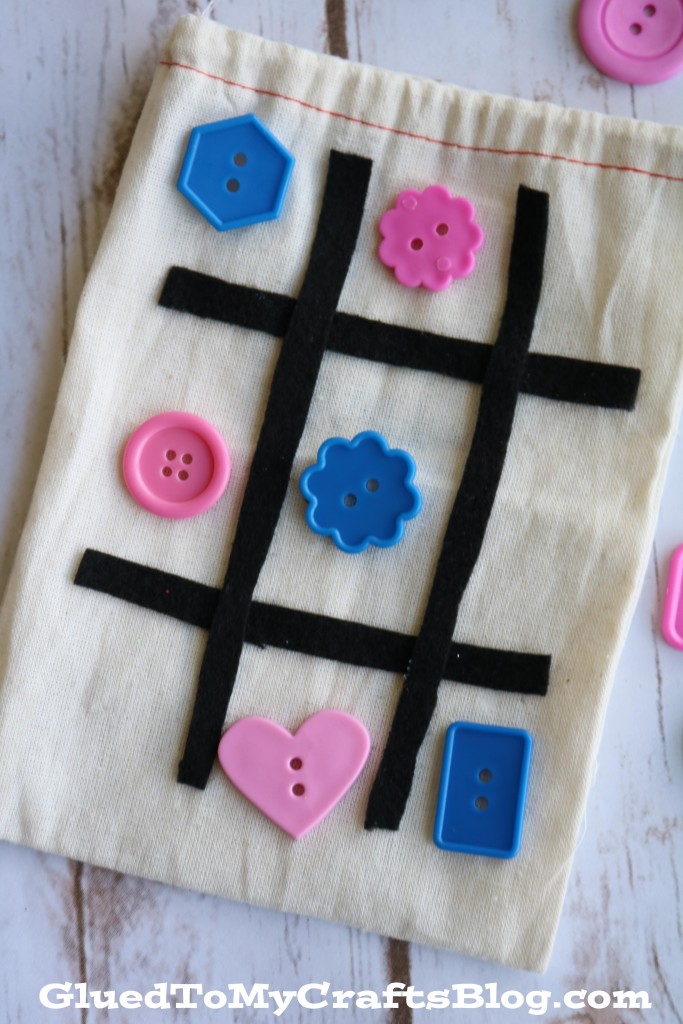
Our guest host, Glued to My Crafts, is sharing how to make this on-the-go tic tac toe bag.
I hope y’all have enjoyed my dog house busy book page as well as those kids’ activities from our partner blogs for this series. Stay tuned because there is more to come!
Supplies
- Stiff felt sheet (I used these large sheets cut in half)
- Felt scraps
- Dog house pattern page
- Dog pattern page
- Paint marker (one white and one black)
- Ribbon
- Sewing machine
- Thread
- Scissors
- Stuffing
Instructions
- Start by printing out both pattern pages for the dog and the dog house. Then, cut all of your pieces from the felt.
- The eyes on the dog pieces will need to be painted on! Start by using the white paint pen on the eye. It may take several coats to make it look right.Once the white portion is dry, add a small black dot with a black paint pen.
- While your eyes are drying, you can place the dog house onto the stiff felt and sew around the house and roof.
- Once the eye has dried, start on your dog by sewing an ear to both halves. Use thread to add a mouth.
- Sew the ribbon to the dog's neck like a collar. Sew it to both halves at the same time. Flip the dog where the wrong sides were together and sew around, leaving the belly open.
- Add just a very small amount of stuffing to the dog and closed up this seam.Then, just attach the other end of the ribbon to the inside of the dog house.
Notes
- Be sure to leave the door open so your dog has a place to go!


I always love the craft lightning projects. Thank you for hosting!
This doggie is just too cute!