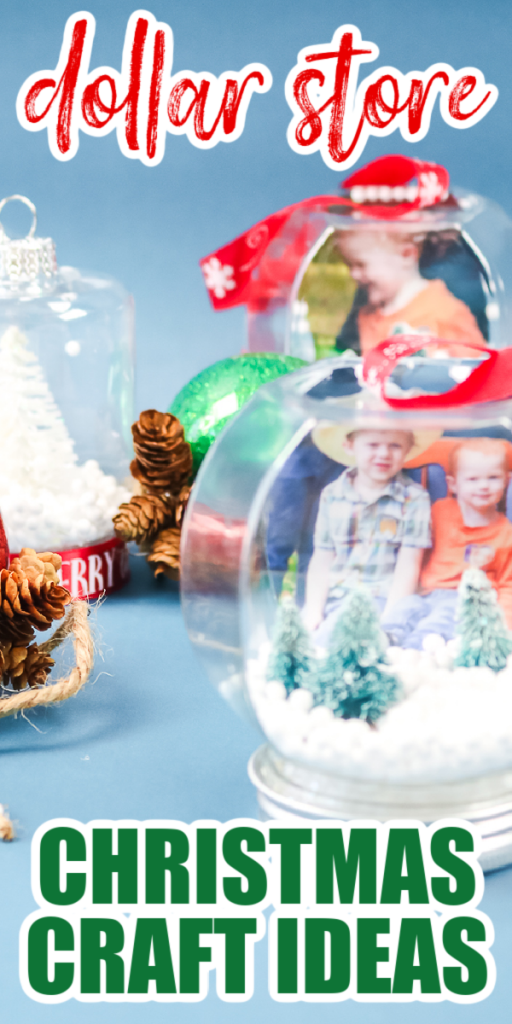
There has never been a more perfect year for dollar store Christmas crafts. Craft your way to a gorgeous tree on a budget with our ideas below. Crafting is a stress reliever and will make you feel happy! Definitely a plus for 2020, don’t you think? So head to the dollar store for your supplies and get started on these cute ornaments today.
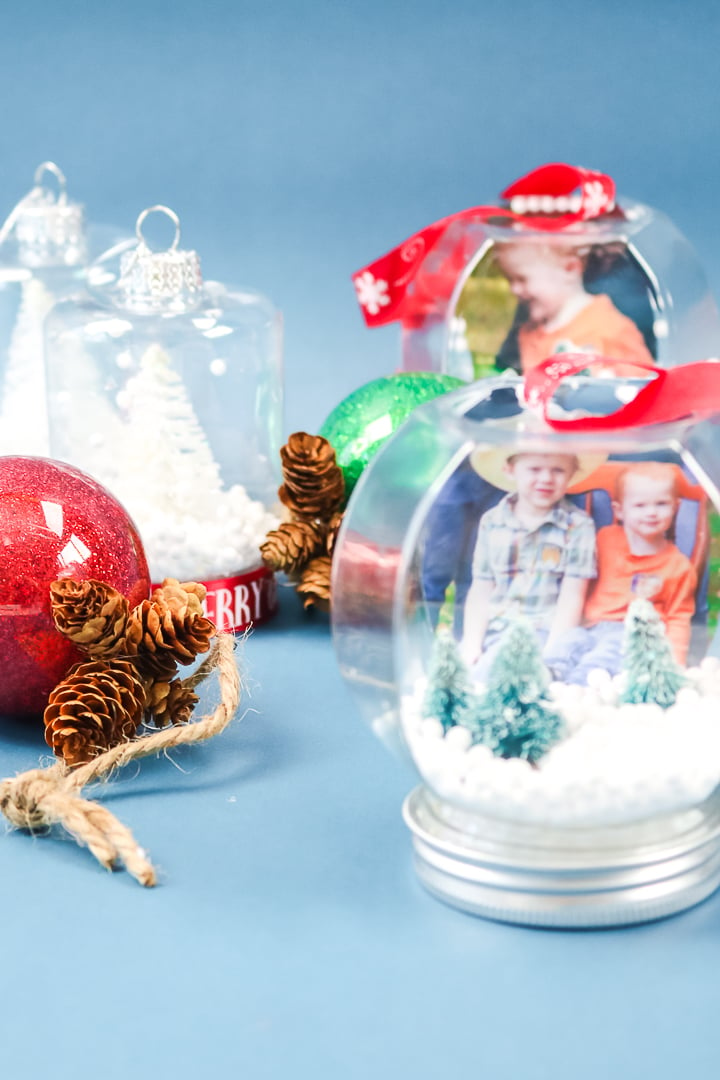
Dollar Store Christmas Crafts
I headed to the dollar store and came home with bags of goodies for crafting. I then used those to come up with three cute ornament ideas just for you!
Supplies needed:
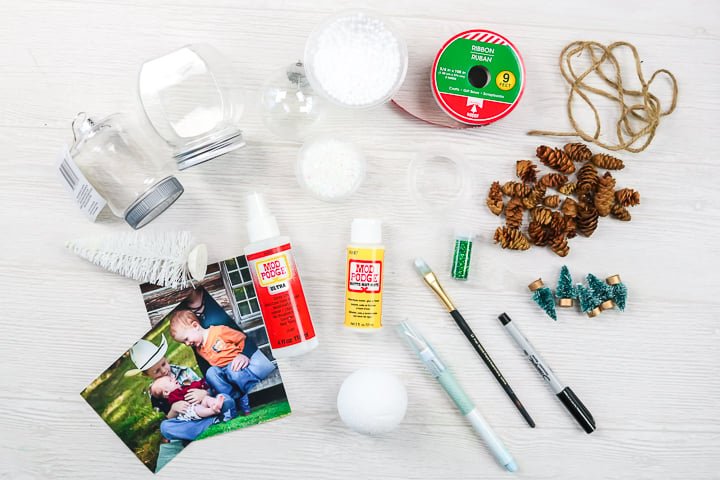
I picked up almost everything I needed for all of my ornaments at my local Dollar Tree. I did use decoupage, a craft knife, and printed pictures from home. Otherwise, follow along below to see which of these items I used for each of the projects.
Dollar Store Holiday Crafts Video
Want to see all three of my craft ideas in one easy video? You can watch that below!
Can’t watch the video or missed some of the steps? You can follow along with our instructions below as well!
Glitter Ball Ornament
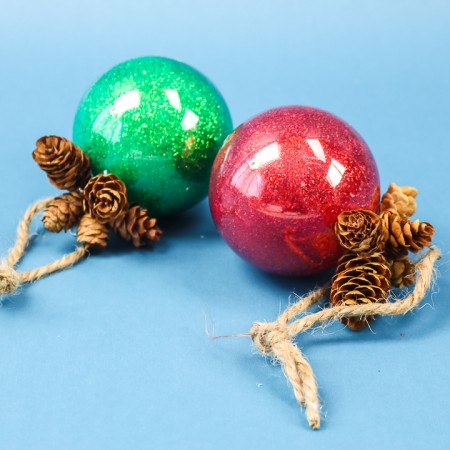
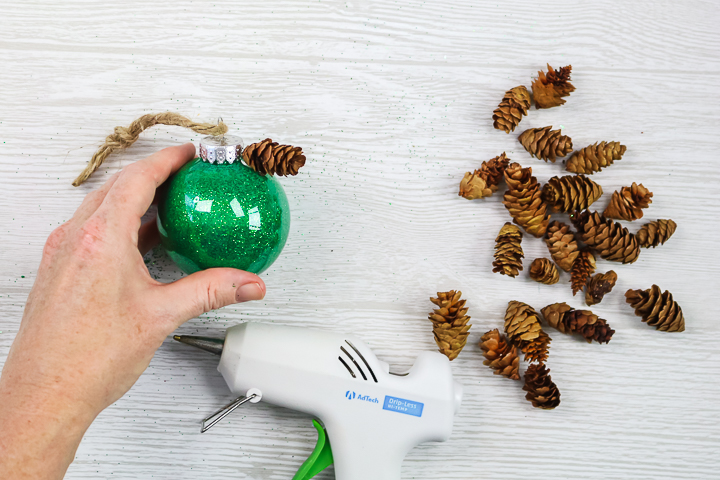
The idea of adding glitter inside of a plastic ball ornament is not a new one. I did put a slight rustic spin on my version that I thought you may enjoy.
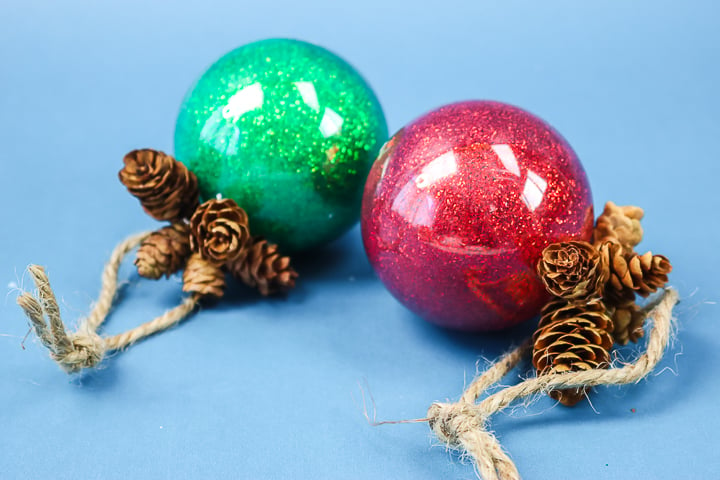
Also, I like using Mod Podge Ultra as the adhesive inside of these but you can use a variety of other adhesives as well. This includes Polycrylic, Pledge floor polish, Glitter-It adhesive, and more! Otherwise, pick up those plastic ornaments from the dollar store and make something special.
Instructions
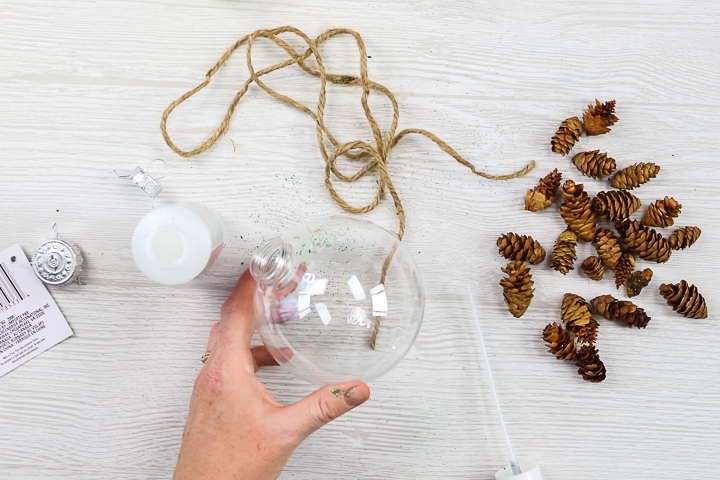
- Remove the top from your ornament. Pour Mod Podge Ultra inside and swirl around to cover the entire inside. Put any excess back in the bottle. I love this adhesive for making these ornaments but you can try other types as well.
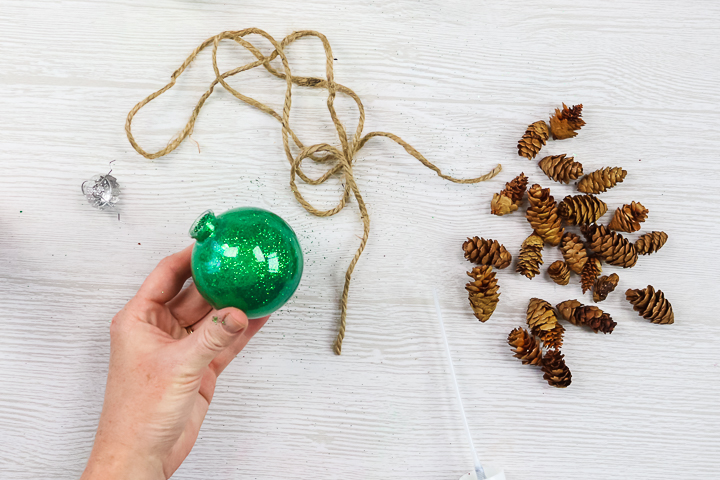
- Add in an entire vial of glitter. This will take just about the entire small vial from the dollar store. Shake and move it around until the entire inside is covered. Dump out any excess glitter. Allow this to dry overnight with the top off.
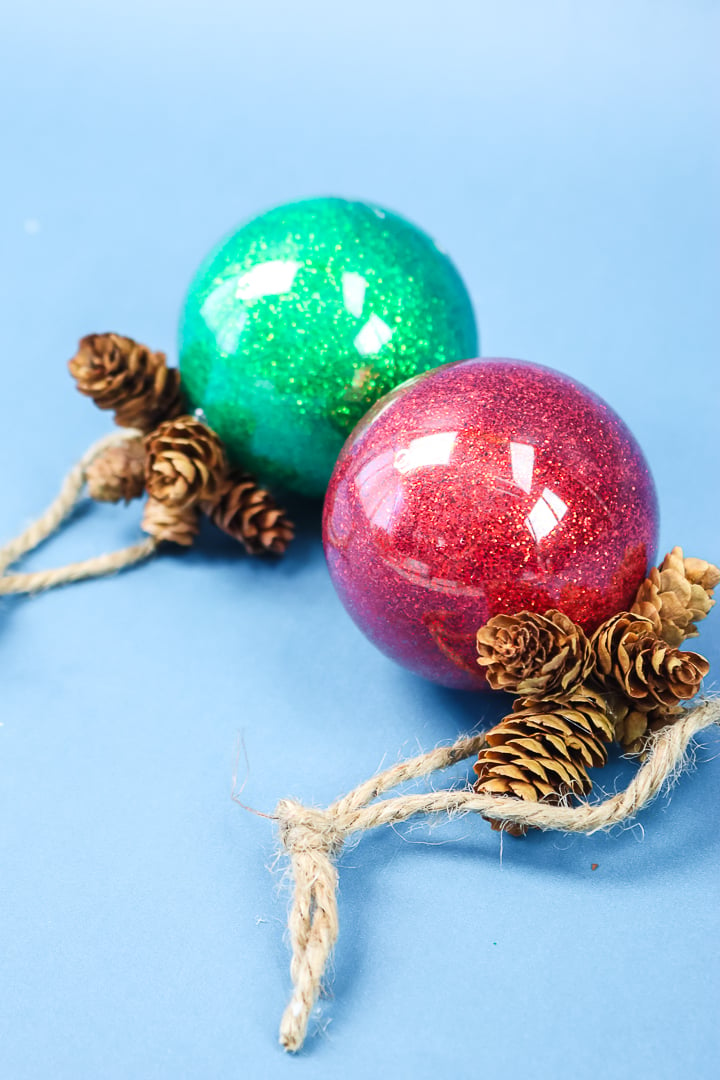
- Add the top back to the ornament and twine for hanging. Use hot glue to secure pine cones at the top if you would like. Then your cute ornaments are ready for your tree!
These will look perfect on my farmhouse tree. Don’t love the rustic touch? Add some ribbon to hang them and maybe cut some vinyl on your Cricut to add to the front. There are so many things you can do with this same technique.
Snow Globe Ornament
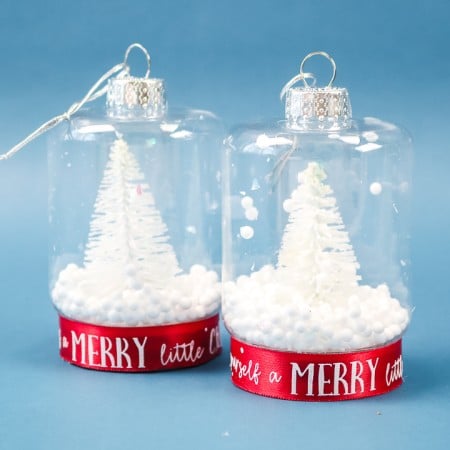
The dollar store also has cute mini mason jar ornament blanks. If you have been around here any time at all, you will know that I love mason jars. I just had to have these. But what to do with them? Why make a snow globe of course!
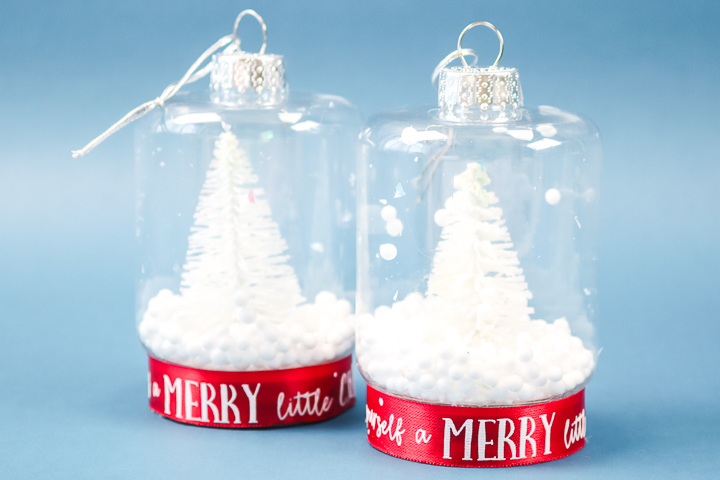
These are so easy to make and because the mason jar ornaments are plastic, you don’t have to worry about your little ones shaking them! Now that is some really great news!
Supplies
- Plastic mason jar ornament
- Styrofoam ball
- Craft knife
- Mod Podge
- Fake snow
- Ribbon
- Christmas tree
- Scissors
- Hot glue and a glue gun
- Small foam balls
Instructions
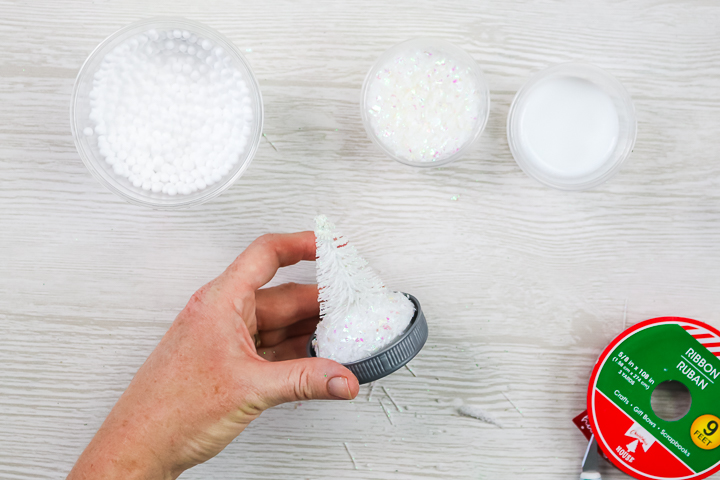
- Remove the lid from the mason jar and cut a piece from the styrofoam ball to fit inside. Cover with decoupage and fake snow. Hot glue to the inside of the mason jar lid. Cut the top off of the Christmas tree and hot glue to the top. Allow this to dry completely.
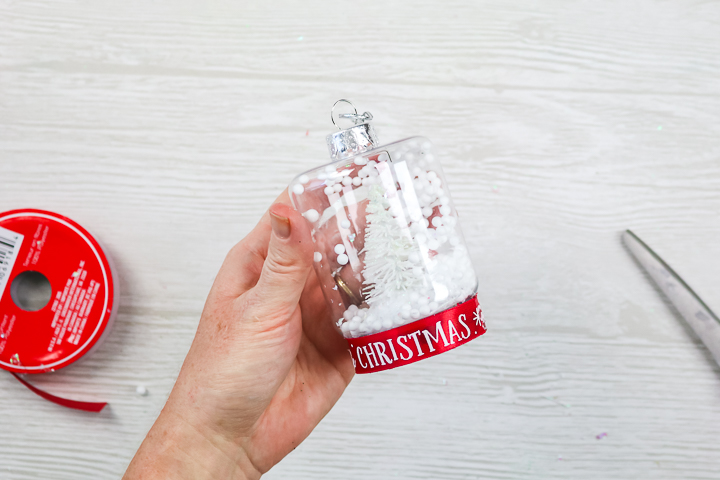
- Add some of the small foam balls to the inside of your jar and replace the lid. Then use hot glue to add a ribbon accent around the lid before your hang on your tree.
Those small foam balls are perfect for the inside of these but it does make a mess! Keep your vacuum handy and have fun making your own version of these cute dollar store Christmas crafts.
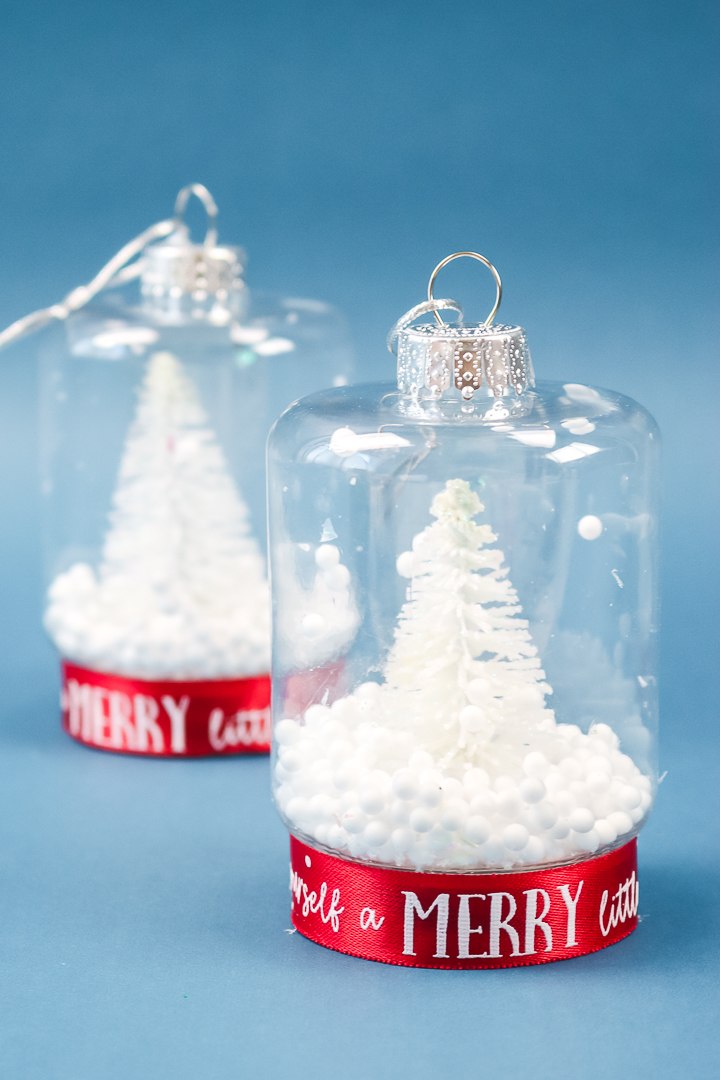
Photo Globe Ornaments
I also wanted to make one of these ideas using photos. I love using photos to decorate my tree as it makes pulling the ornaments out each year that much more special. It is sort of like a walk down memory lane each year as you decorate your tree.
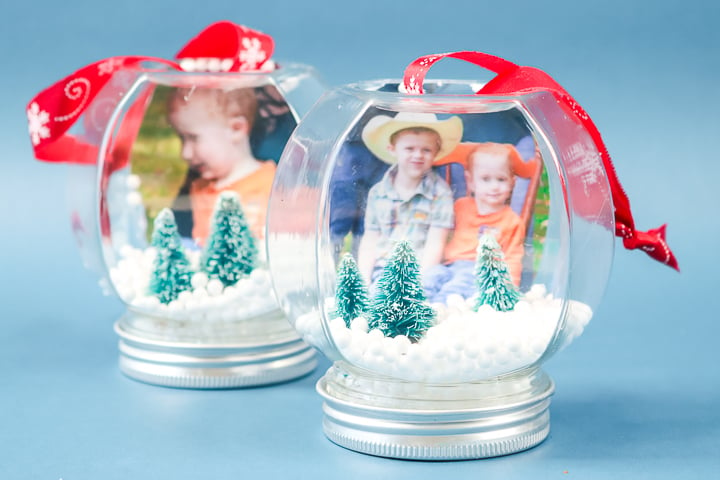
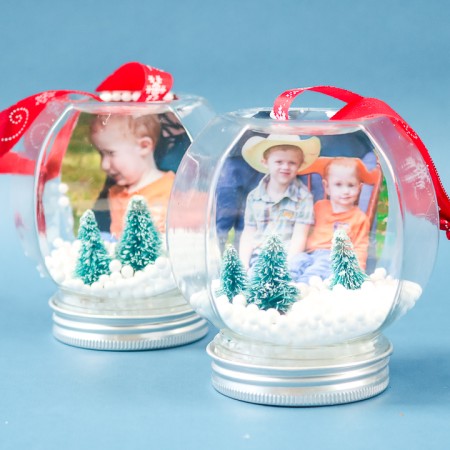
These plastic jars from the dollar store are perfect for this project as they are light enough for any tree. Make your own photo globe ornaments for your tree this year! These small jars are perfect for this and inexpensive as well.
Supplies
- Plastic jar
- Styrofoam ball
- Craft knife
- Mod Podge
- Fake snow
- Mini trees
- Printed photos
- Marker
- Scissors
- Hot glue and a glue gun
- Small foam balls
- Ribbon
Instructions
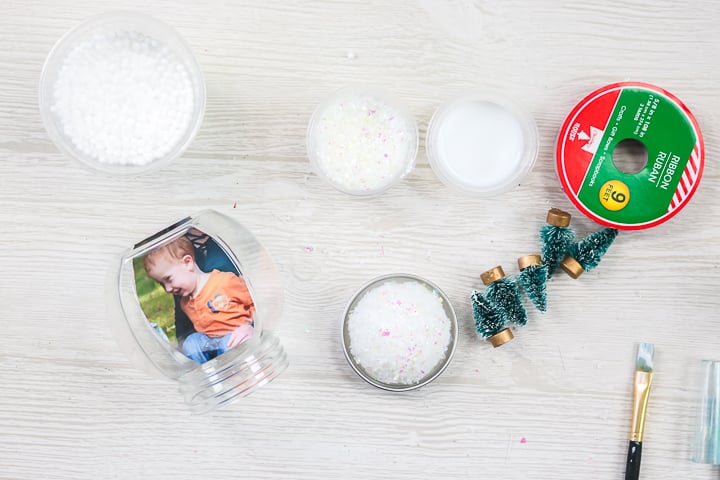
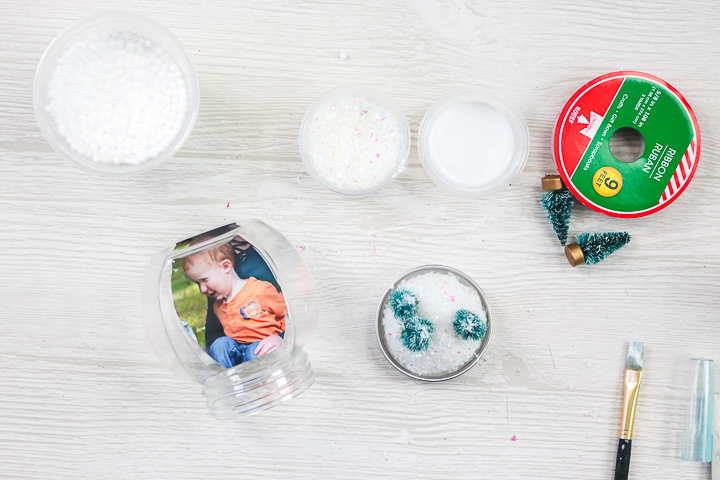
- Use one of the flatter sides of the jar as a guide and trace around it. Then cut your picture to fit. Use decoupage to adhere to the inside of the ornament and allow to dry completely.
- Cut a piece off of the styrofoam ball the size of the inside of the lid. Then cover with decoupage and fake snow. Use hot glue to add a few mini trees to the top. Allow this to dry completely as well.
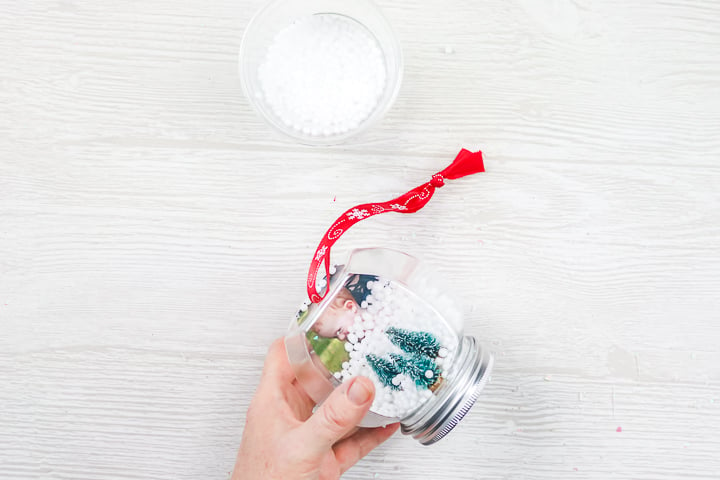
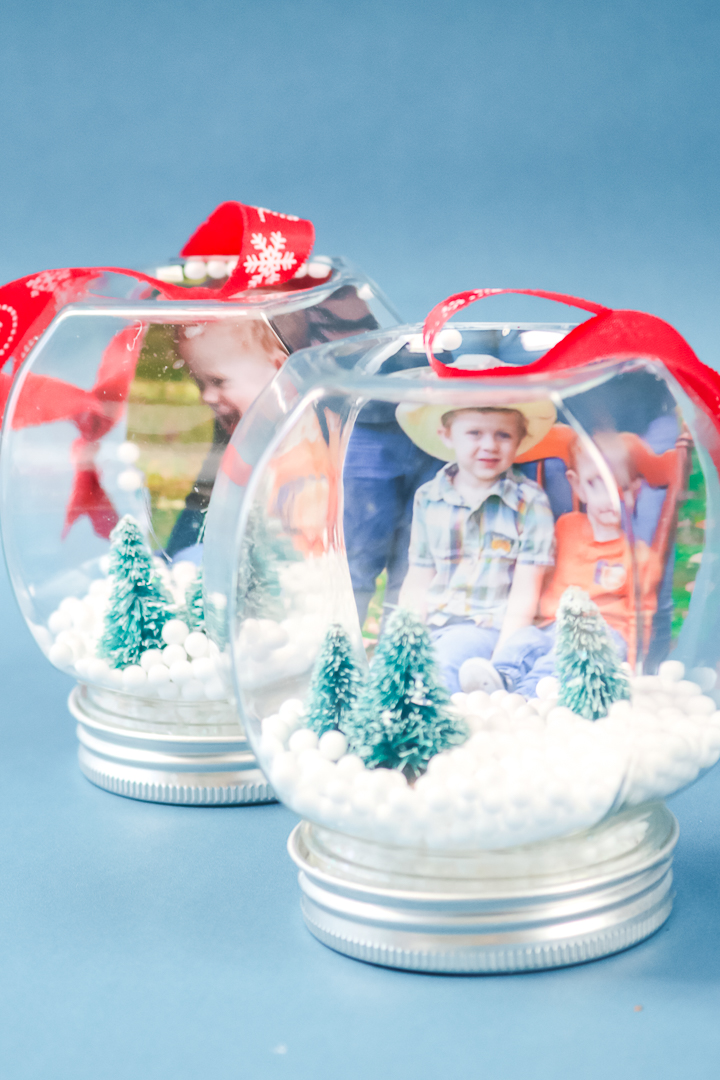
- Once dry, add some of the small foam balls to the inside of your jar and add the lid. Then hot glue a looped ribbon to the top. You are ready to add these cute photo snow globes to your tree.
I really did save the best for last this time as this is one of my favorite ornaments of all time. Add some pictures to your tree this year with these cute photo globes!
So, will you be making these dollar store Christmas crafts this year? I hope I have inspired you to head to your dollar store for some supplies. They have so much great stuff for you to make your projects with this year.
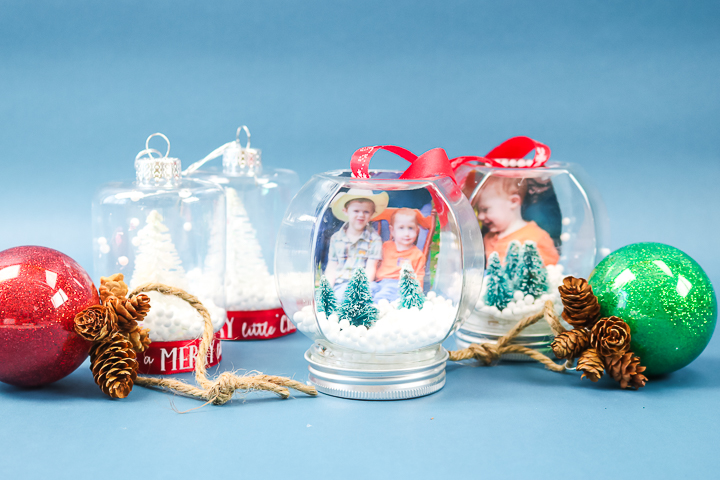
I have to admit that I haven’t actually put up my tree but these pictures make me want to start getting it out of the attic now. How about you? Are you an early decorator or not? I love to make all of my crafts and then decorate after Thanksgiving.
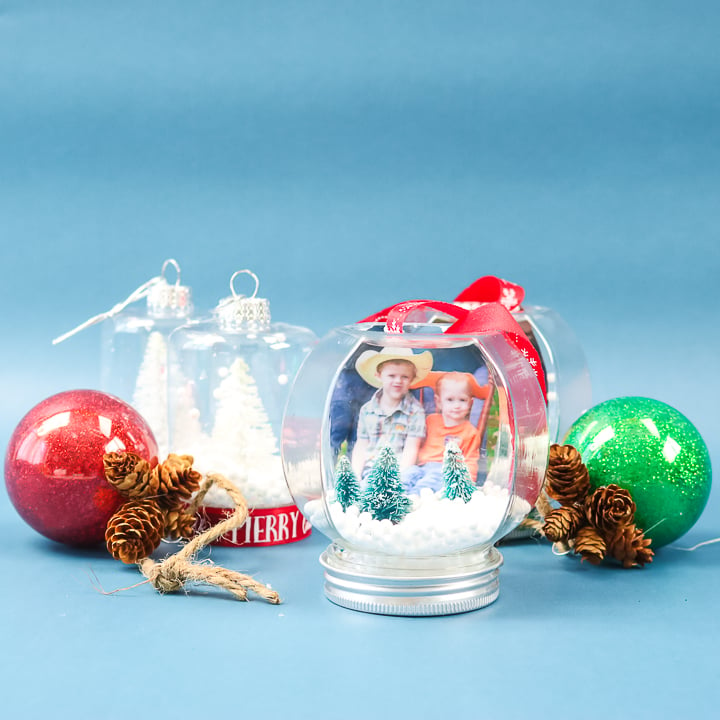
In my opinion, it is NEVER too early to start making crafts for the holidays. When those ideas are dollar store Christmas crafts, it is even better! Now you can make all of those gorgeous crafts for less.
Love these dollar store holiday crafts and want more ideas? Try the links below as well!
