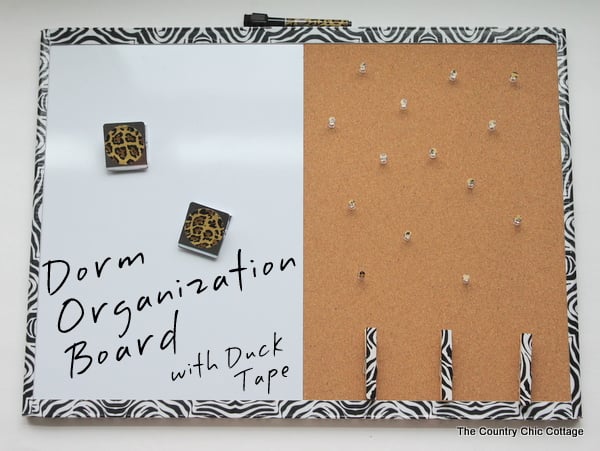
I was given the opportunity to pick up Duck Tape® to create a back to school project. I immediately thought of a project for my college-age daughter. My dorm organization board is perfect for any student really but those college-aged students will really appreciate it. Grab your Duck Tape® in sheets and rolls to make this quick, easy, and fun project for your child.
If you are sending one off to college like I am, definitely have a look at other dorm room crafts. Here’s a great college dorm room checklist so you don’t miss anything!
This simple cork board made with a Circuit would be a great addition to this craft. You could have one dry erase board and one bulletin board. It would go perfectly over their desk area!
If they are in need of a college survival kit or a back to college gift, I’ve got those too!
How to Make a Dorm Organization Board
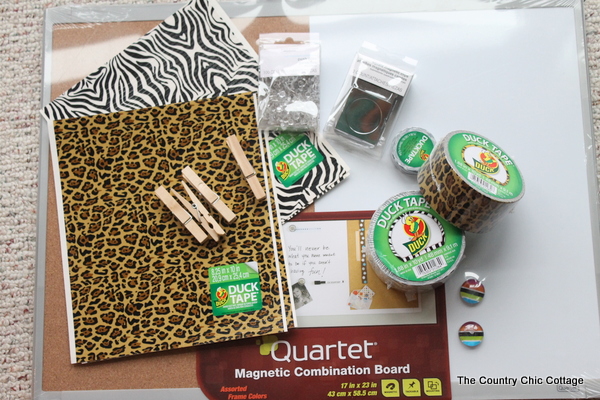
Dorm Organization Board Supplies:
- Duck Tape® in sheets, large, and small rolls
- Dry erase/cork board
- Magnetic clips
- Thumbtacks
- Clothespins
Instructions:
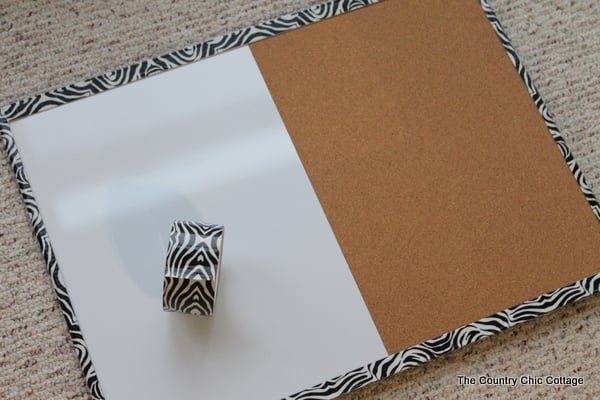
Start with your board and wide Duck Tape®. Wrap the frame of your board in the Duck Tape® pattern of your choice. The benefit of using Duck Tape® for this project is that you can get it in so many different styles now. Seriously be sure to check out the huge selection. Plus there is no dry time like with paint so this frame is covered in no time!
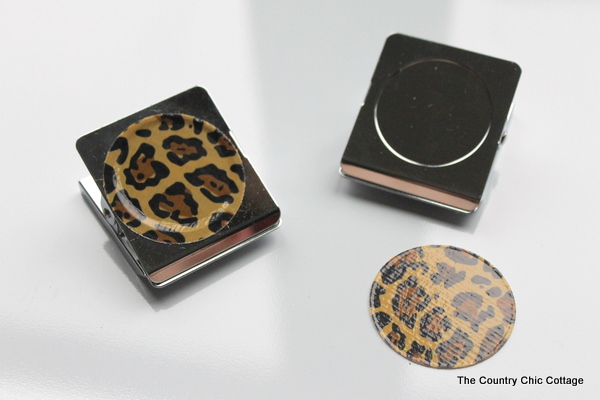
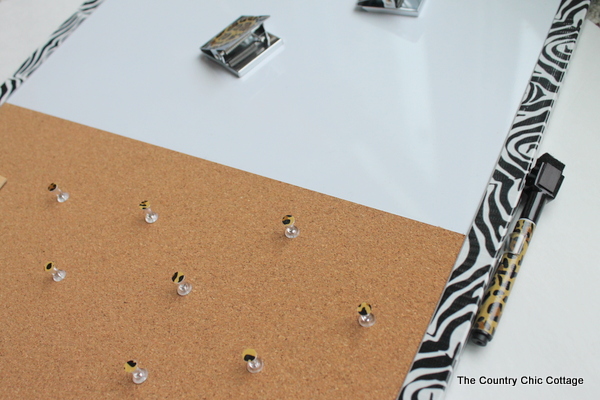
Next, let’s glam up those magnetic clips. I took the sheets of Duck Tape® and cut them into circles using my Sizzix. You could really use anything you have to cut these to size or go with a square. The sheets of Duck Tape® are super easy to cut then you just peel and stick to any surface.
Once I got started with the Duck Tape® and my board I could not stop. Nothing was safe. I even used a bit of the sheet to cover up the marker that came with the board. It is like once you see the ease of upcycling with Duck Tape® you will want to cover everything in sight.
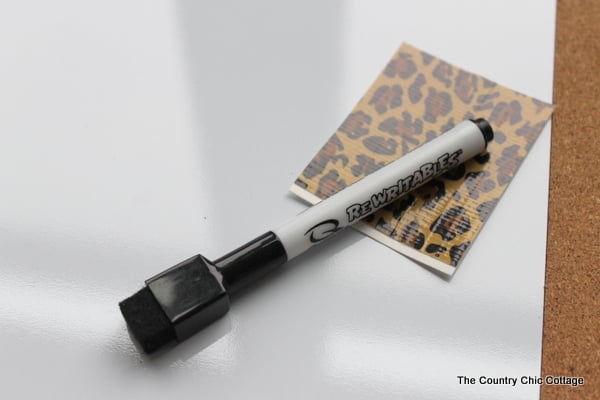
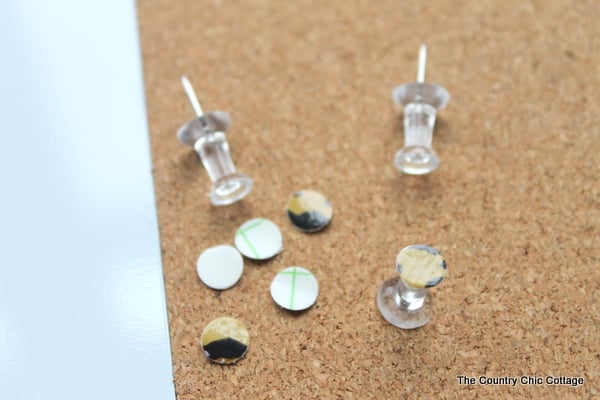
You can even glam up plain jane thumbtacks. Just use a standard hole punch and the Duck Tape® sheets to make a bunch of small circles. Then peel and stick them onto the ends of your thumbtacks. Just seconds and you have a fun addition to your dorm organization board.
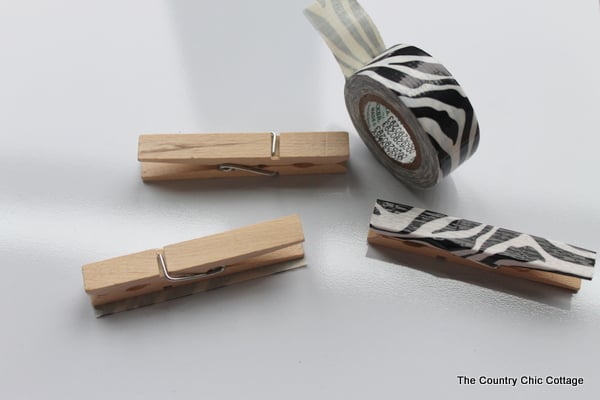
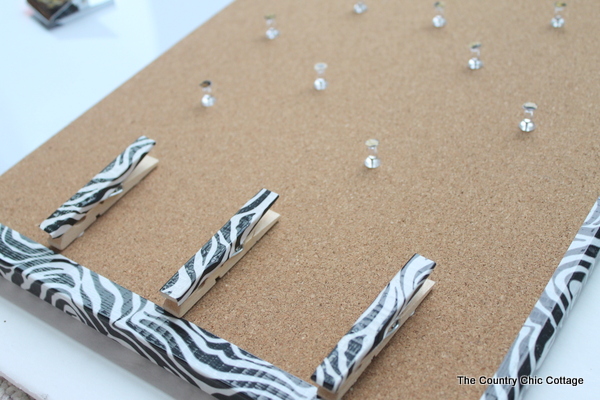
My final addition to my board was some clothespins. Wait. Give me a minute. You will see how great these are in a second. First let’s cover these up with some Duck Tape® (you knew I was going to say that right?). I used the small rolls for this as they were the perfect size. I find that the different varieties of Duck Tape® are each good for different projects around my home. Just trim the Duck Tape® to length and cover the front of your clothespins by folding over on the sides.
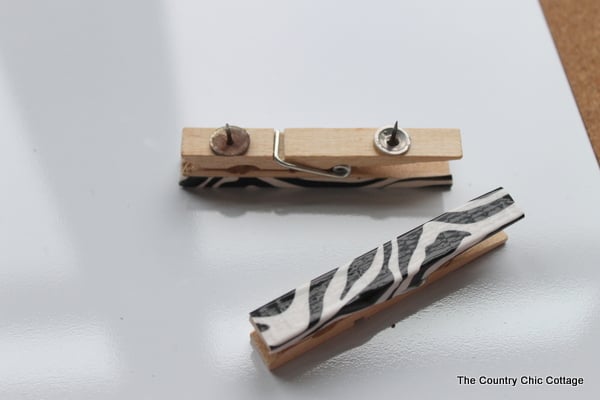
Then use E6000 or any other TOUGH glue and adhere a couple of flat thumbtacks to the back of each clothespin. Allow them to dry the recommended amount of time on the package.
Then you can take those clothespins and line them up on the bottom of your cork board. These are the perfect clip for holding various items on the bottom of your dorm organization board.
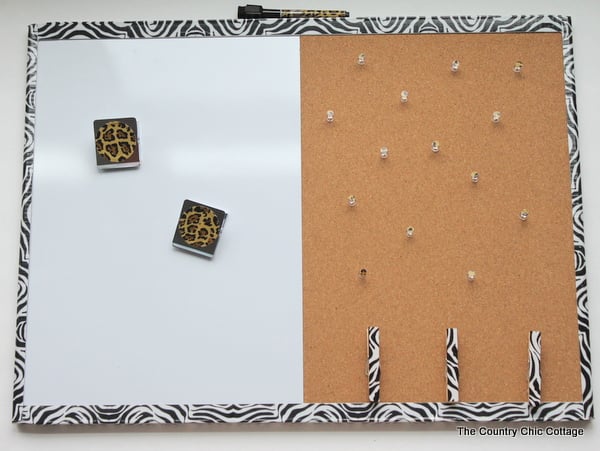
My board is completely glammed up and ready for college. My daughter is actually getting an apartment this year but this will serve her well there. Trust me y’all. They need organization.
Grab your Duck Tape® supplies to get started on your own back to school Duck Tape® project today. Don’t have a college aged student? Maybe use Duck Tape® to cover books, pencils, glam up lockers, plus oh so much more.
Equipment
- Dry erase/cork board
- Magnetic clips
- Thumbtacks
- clothespins
Supplies
- Duck Tape® in sheets large, and small rolls
Instructions
- Start with your board and wide Duck Tape®. Wrap the frame of your board in the Duck Tape® pattern of your choice.
- Next, let’s glam up those magnetic clips. I took the sheets of Duck Tape® and cut them into circles using my Sizzix. Then, peel and stick to any surface.
- You can even glam up plain jane thumbtacks. Just use a standard hole punch and the Duck Tape® sheets to make a bunch of small circles. Then peel and stick them onto the ends of your thumbtacks.
- My final addition to my board was some clothespins. Just trim the Duck Tape® to length and cover the front of your clothespins by folding over on the sides.
- Then use E6000 or any other TOUGH glue and adhere a couple of flat thumbtacks to the back of each clothespin. Allow them to dry the recommended amount of time on the package.
- Now, your board is completely glammed up and ready for college.


Love it! The way you attached the clothespins is genius!
My daughter looooves Duck tape and would be all over this project. Thanks Angie!
Awesome project Angie. Love the variety that can be used, so many incredible ideas to put to work. Great post and project. Hard to believe you have a college age daughter. She’ll sure appreciate your talents when she uses her wonderful bulletin board.
Can hardly wait to go to Walmart now to see what sizes and patterns of duck tape they have. I’ll want every pattern. Lucky you getting the supplies for free. You work hard for them tho. Happy days