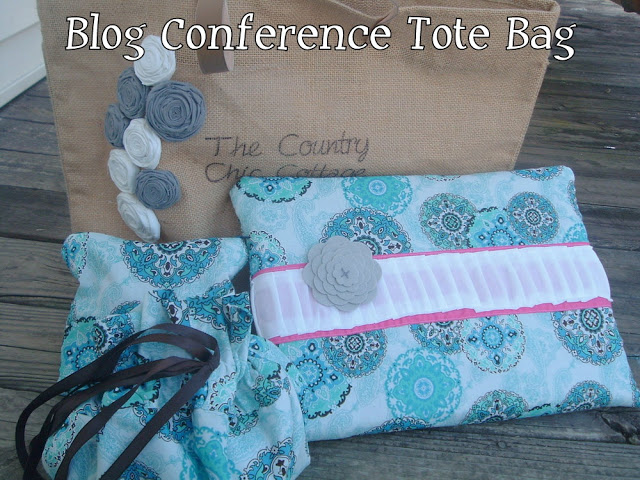
I started with a tote bag I owned from Nest of Posies — love her! On a side note, I received so many compliments on the bag at Blissdom. Everyone will notice your blog name if you are wearing it on your shoulder at a conference. This bag was with me at all times during the conference. My next step was to make a laptop sleeve. I used this tutorial over at Crap I’ve Made to make my laptop sleeve. I also added a Nest of Posies posy to the laptop sleeve. I made a smaller version of the laptop sleeve for all of the cords that come with the computer.
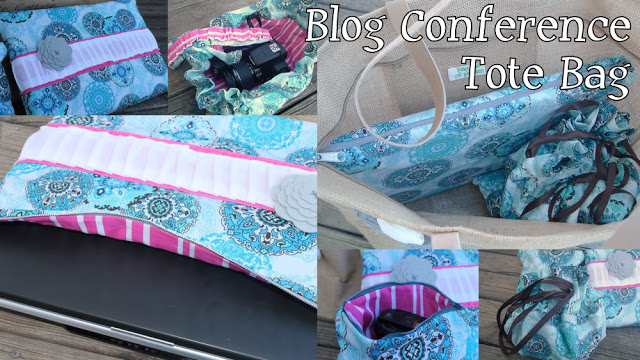
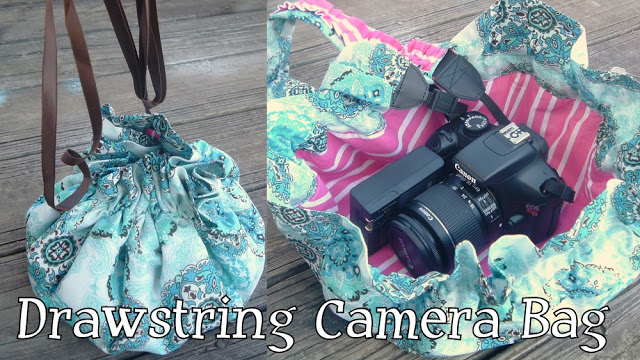
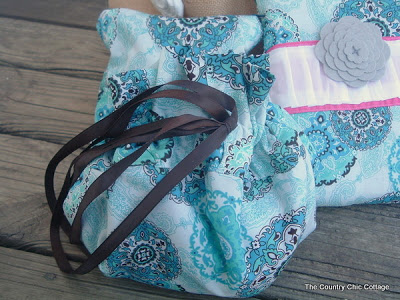
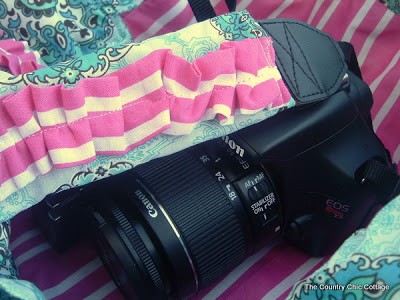
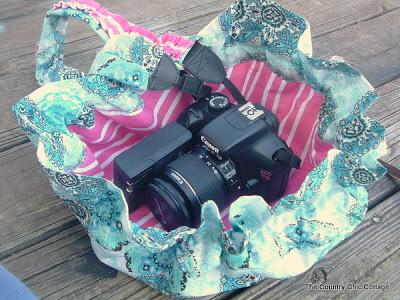
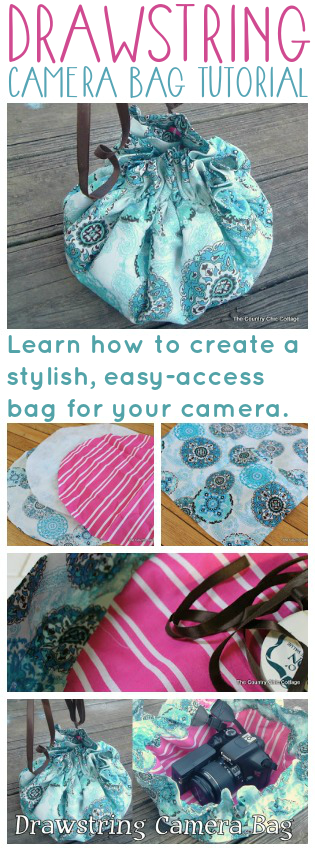
Now for my drawstring camera bag. I wanted something super simple for my new DSLR camera. Something that could be thrown into my purse for a softball game or I could carry on a trip to the zoo. This little bag is perfect.
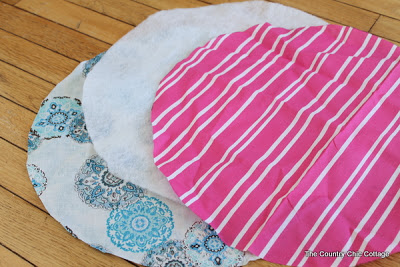
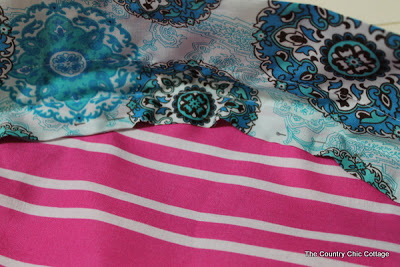
Next you will need a long strip of material. It needs to be 7 inches wide. For the length, take your circle diameter (measuring straight across the circle) and multiply by 3.14. Add 2 inches to the length for seams.
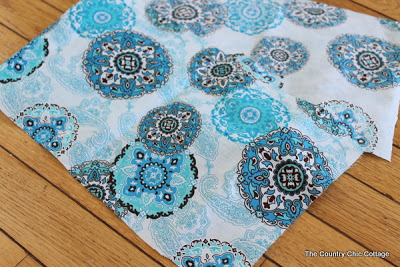
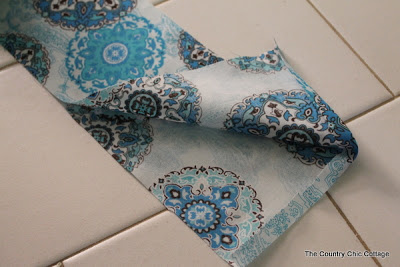
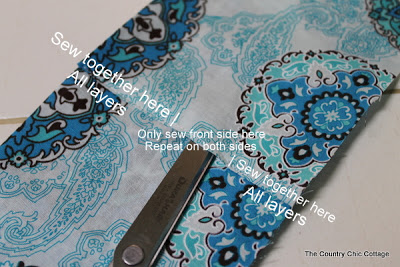
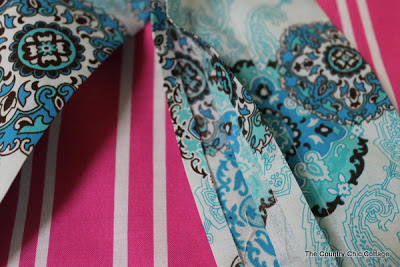
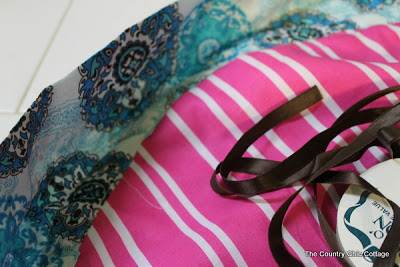
Press the entire long strip in half. Also, press over your ends about a 1/4 of an inch.
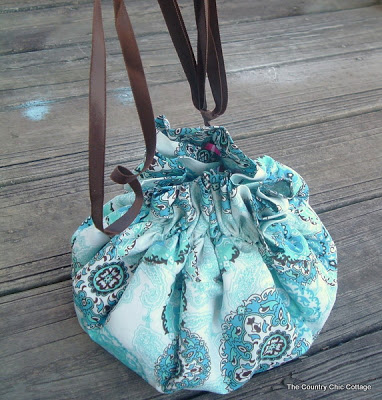


I think I need a bag with my blog name on it – so smart!