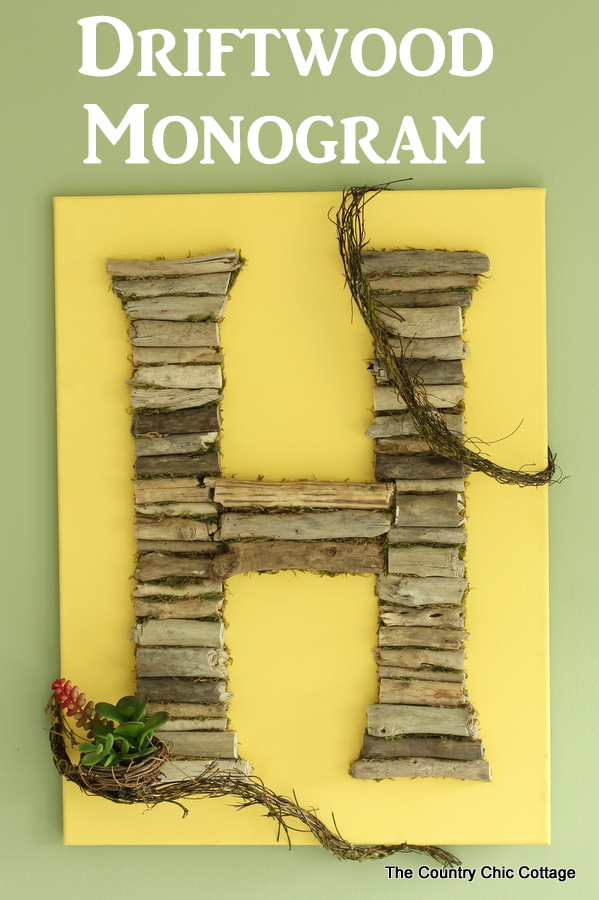
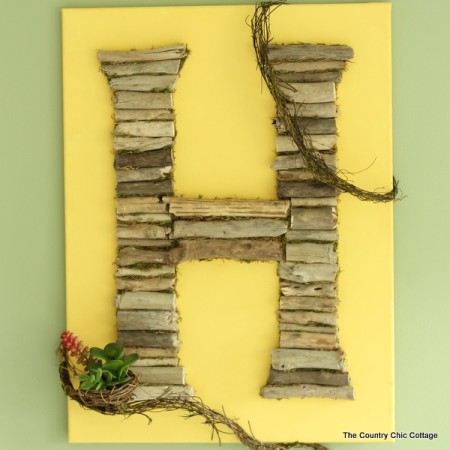
If you love monogram art, you’ll love this easy driftwood monogram art project. It’s eye-catching and ideal for any home!
People love monogram art. It’s a simple way to add personalization to your projects!
And while I’m a fan of monogram art, I love beach-themed art even more. I have so much fun using driftwood, like in my Fish-Shaped Driftwood Wall Art or Driftwood Sailboat projects!
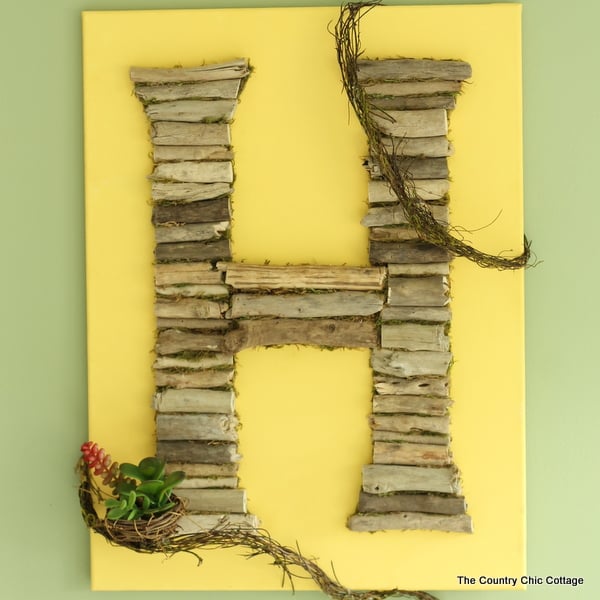
Today’s driftwood monogram art project combines the love of both art forms to create a piece that will look amazing in almost any style house, including (my favorite) farmhouse-style homes.
Y’all I am in love with this driftwood monogram art and am so excited to share it with you! You can buy driftwood for this project or hunt for it on your beach vacation this year. Either way, this is sure to be one project that is the star of your home!
Note: If you love monogram craft projects, check out my Easy DIY Sea Glass Art Monogram, Monogrammed Burlap Table Runner, and DIY Chipboard Monogram.
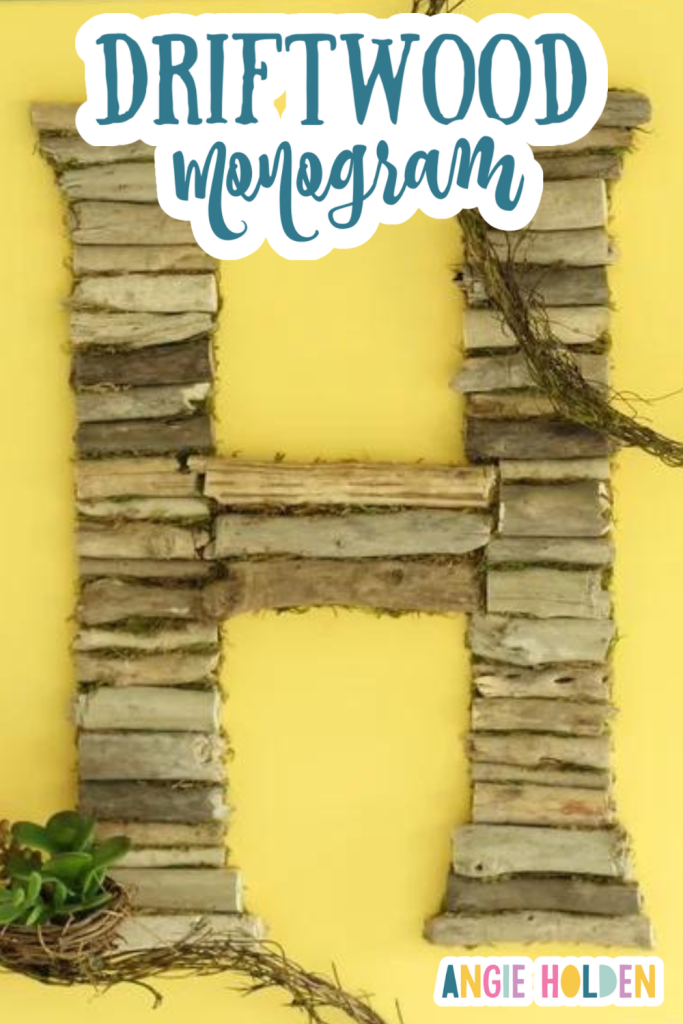
How To Make Driftwood Monogram Art
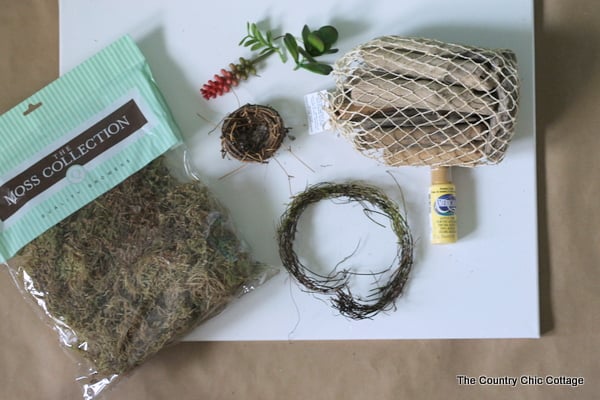
Here is everything you will need to have on hand for making this project. I have even included a few links to help you find what you need faster!
Supplies Needed
- Driftwood (mine came from the craft store but you can use any that you find)
- Art canvas (I used a large 18 x 24 size but you can pick any size you like)
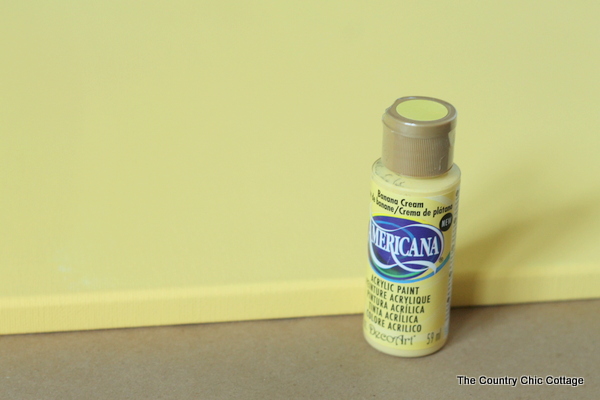
- Americana Banana Cream Paint
- Moss
- Hot glue and glue gun
- Saw (I used my Blade Runner by Rockwell
)
- Mossy Twig Vine
- Birds Nest, 4-Inch
- Artificial Succulents
Driftwood Monogram Art Instructions
Here’s a step-by-step process on how to make this fun art project!
Step 1
Start by painting the canvas with a few coats of paint – you may need 2 or 3 coats. Allow the canvas to dry completely between coats.
Step 2
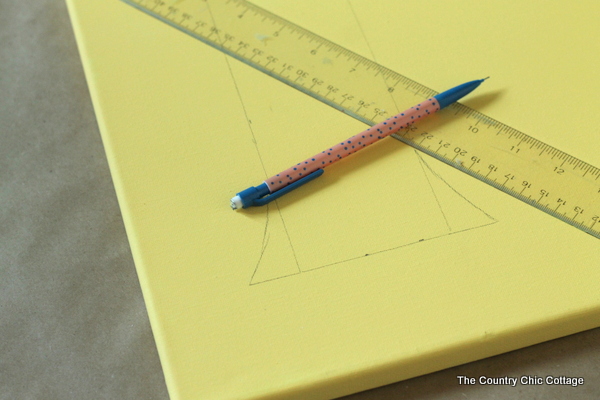
Use a ruler to draw a huge monogram in the letter of your choice. I made my monogram flare slightly at the ends as shown below.
Step 3
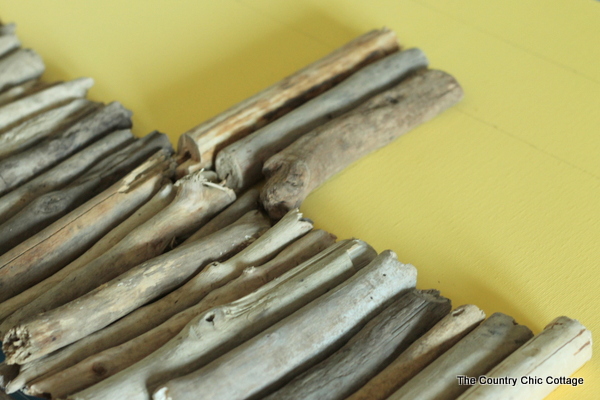
Start laying out the driftwood to see how it will fit together. It is sort of like a puzzle. We will be cutting off the pieces in another step. Right now, just try to fit everything together with as little of a gap as possible.
Step 4
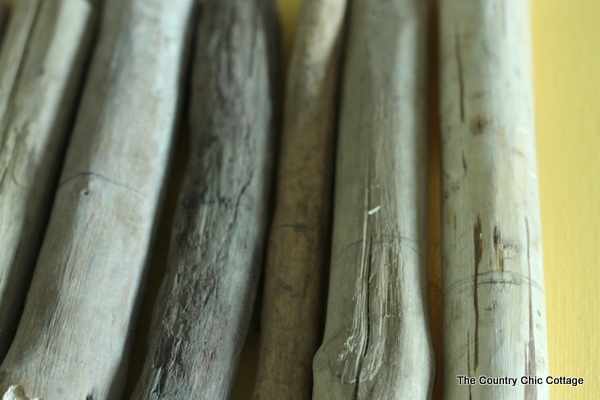
Draw a line on the driftwood pieces wherever the line on the canvas is for your monogram.
Step 5
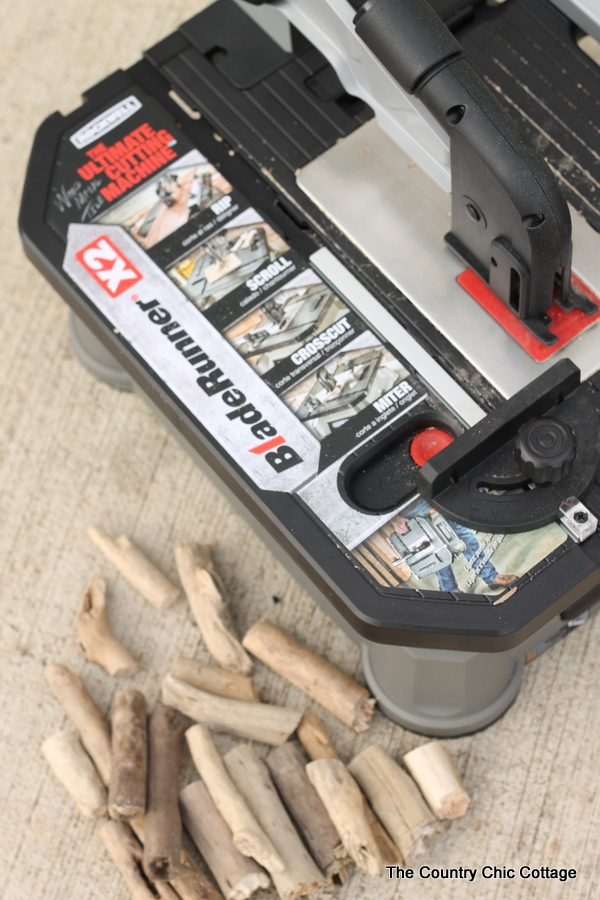
Use the Rockwell BladeRunner to trim the driftwood to size. Always follow all safety instructions when using power tools.
Step 6
Arrange the pieces back onto the canvas as you cut them.
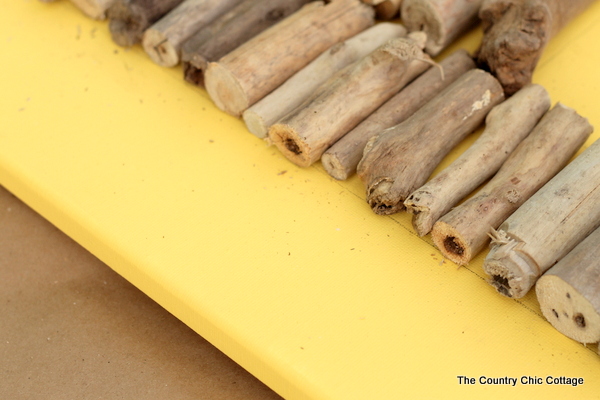
Step 7
I used industrial-strength hot glue to adhere the pieces to the canvas. It worked great and dried super fast.
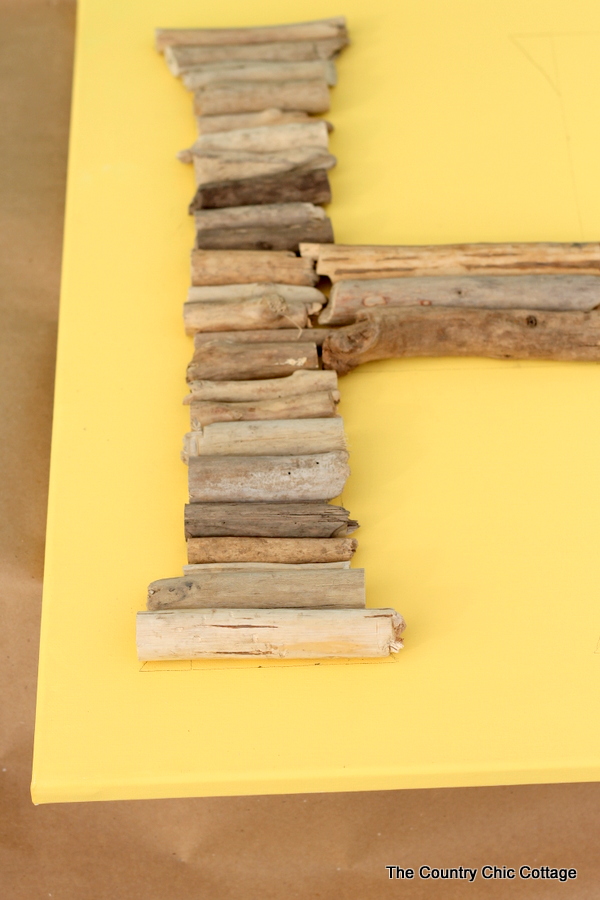
Step 8
Next, use the moss to cover all the cracks and crevices in the wood. Make sure the lines are covered on your canvas as well. Use the hot glue to secure the moss into place.
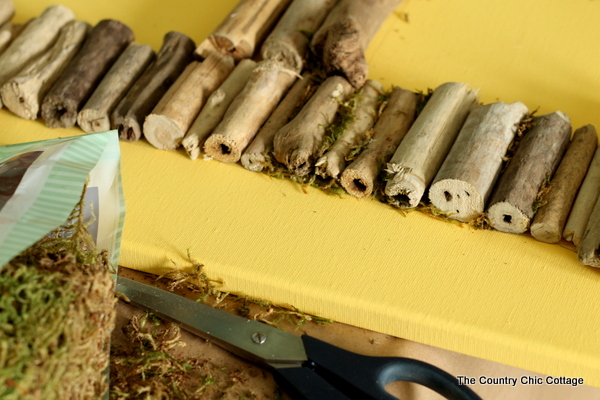
Step 9
Add on the mossy vine, nest, and succulents all with hot glue as well.
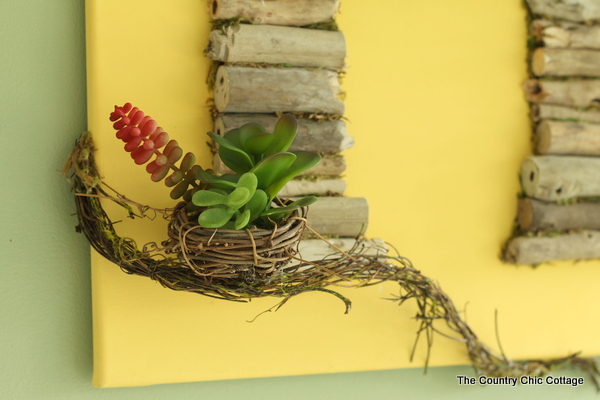
Your driftwood monogram is ready to hang in your home! I love this piece of art y’all. It is currently hanging in my bathroom and I love it! It is the perfect bright touch to any space.
FAQs
Here are a couple of questions that I see readers ask about making this driftwood monogram project. Please check to see if I’ve already answered it below if you have a question. Don’t see it? Leave it for me in the comments!
Can I use different types of driftwood?
I used store-bought driftwood, which gave me driftwood pieces that are fairly uniform in nature. They’ve been processed to remove major imperfections and knots.
You can adapt this project to use driftwood that looks a little more natural since that’s what you’ll need to use if you find driftwood on the beach. You can also buy less uniform driftwood pieces from the store.
Just remember that you may end up with more gaps in between pieces that you need to fill.
How do you prepare driftwood for craft projects?
This is the part where buying driftwood may be easier than using pieces you find on the beach. If you want to make driftwood art with pieces you combed on the beach; you’ll want to make sure to disinfect the wood and kill anything growing on it without damaging the wood.
First, gently brush it off to remove dirt or sand. Then, soak it in diluted bleach for a few days and let it dry out thoroughly. If you don’t want to soak it in a bleach solution, another option would be to boil the wood for several hours.
I hope you love this project as much as I do! Feel free to change out the canvas color or make other modifications to personalize it for your home!
More Crafting Inspiration
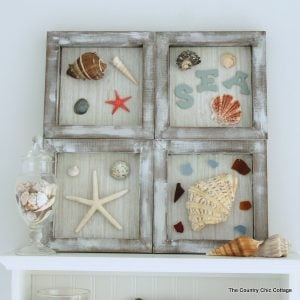
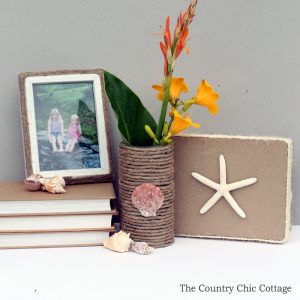
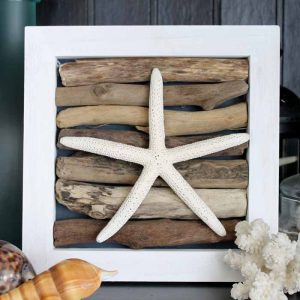
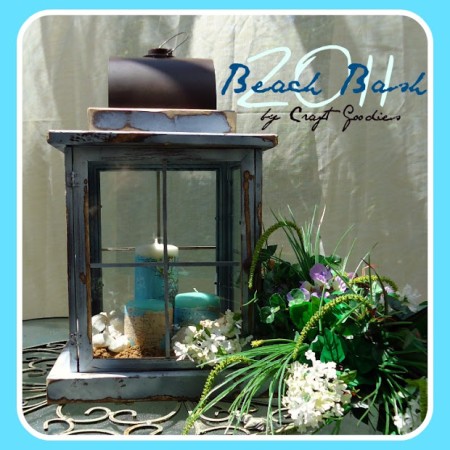
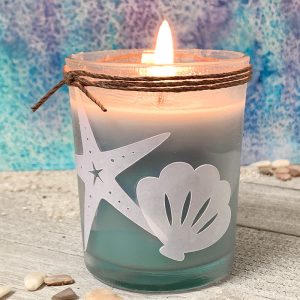
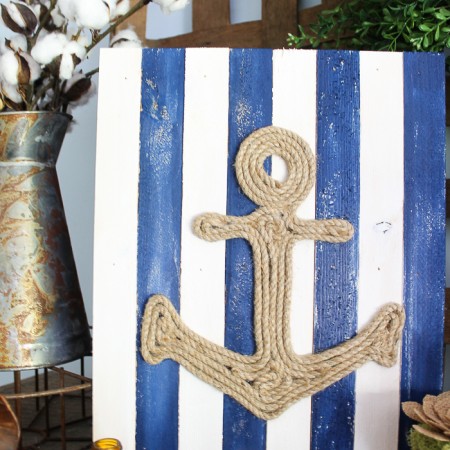
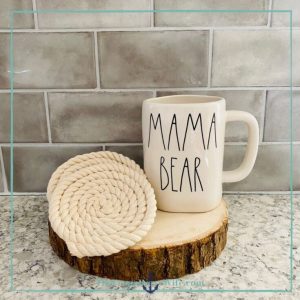
If you love this driftwood monogram art project, I know you’ll love these other beach-themed ideas too!
Supplies
- Driftwood
- Art Canvas
- Americana Paint in the color of your choice
- Moss
- Hot glue and a glue gun
- Saw
- Mossy Twig Vine
- Artificial Succulents
- Birds Nest, 4-Inch
Instructions
- Paint the canvas. You may need multiple coats of paint. Make sure to allow enough drying time in between coats.
- Use a ruler to help you draw on a large letter of your choice. Feel free to add a little flare (or not) to personalize it to your style.
- Start laying out the driftwood to see how it will fit together. Try to fit everything together with as few gaps as possible.
- Mark the line of your monogram on the driftwood pieces.
- Use the Rockwell BladeRunner to trim the driftwood to size. Make sure to follow all safety instructions when using power tools.
- Add the pieces back onto the canvas as you cut them.
- Adhere the pieces to the canvas with hot glue.
- Cover all the cracks, crevices, and lines drawn on the wood with moss. Use hot glue to secure the moss into place.
- Add on the mossy vine, nest, and succulents all with hot glue as well.
- Your driftwood monogram is ready to hang and display!

