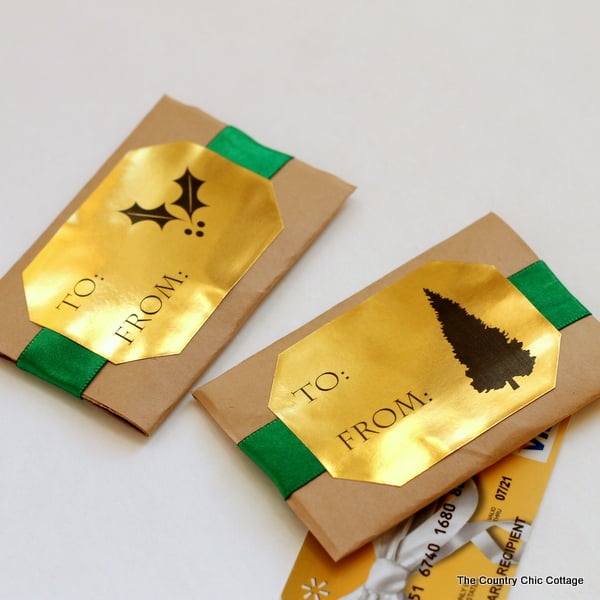
Make this gift card holder from a toilet paper roll in minutes! All you will need is a few supplies and a few minutes to make these for everyone on your holiday shopping list.
This post was originally published in 2014 and has been updated to include instructions on how to make the labels using a Cricut machine.
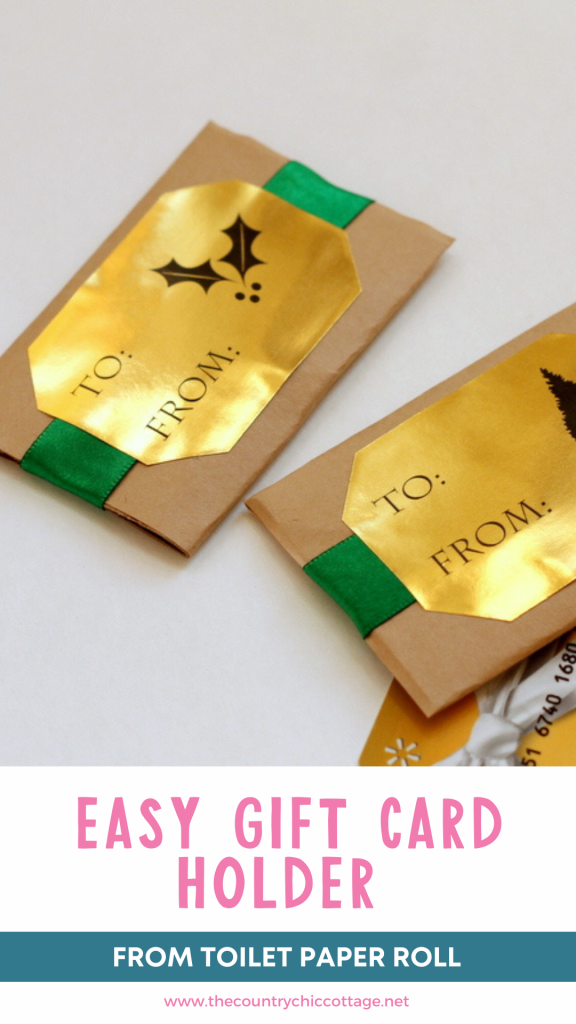
Are you giving a gift card to anyone this holiday season? I’ve got an idea to turn a simple toilet paper roll into an amazing DIY gift card holder.
I love to use recycled materials for crafting. Crafts from recycled materials will save you money on costly craft supplies! I’ve also used toilet paper rolls for a Christmas Advent calendar. It’s amazing what you can do with items you would otherwise throw away.
Plus, the gift card fits perfectly inside the smashed toilet paper roll. Brilliant right?
This simple gift wrap idea is so easy to make, and gift cards are fun to give! If you are looking for other gift card holders, try a painted take-out box, a handmade felt envelope, or a pouch made out of Duck Tape!
How to Make a Gift Card Holder
Supplies needed
- Toilet paper roll (one for each gift card)
- OL1186GI Gold Foil labels
- OL475BK Kraft Paper labels
- Printable file for gift labels
- Ribbon
- Tape (optional)
Optional Supplies (if using a Cricut)
- Cricut machine that can do Print Then Cut
- Full sheet Kraft Paper Labels
- Full sheet Gold Foil Labels
Instructions
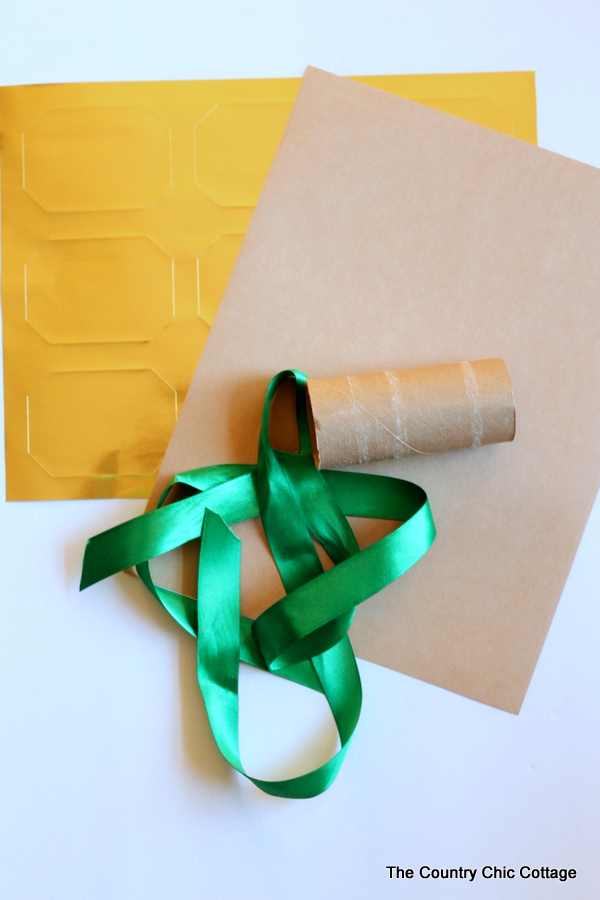
Step 1 – Make the Labels
Print the file found here onto your gold foil labels. Yes, you can run that gold foil right through a regular printer, and it will come out amazing! These labels can also be used on your wrapped packages, gift bags, and oh so much more! Don’t forget to print them!
If using a Cricut machine, take the file above and convert it to a .png file so you can create a Print Then Cut project. I have had success using pdf2png.com to do this.
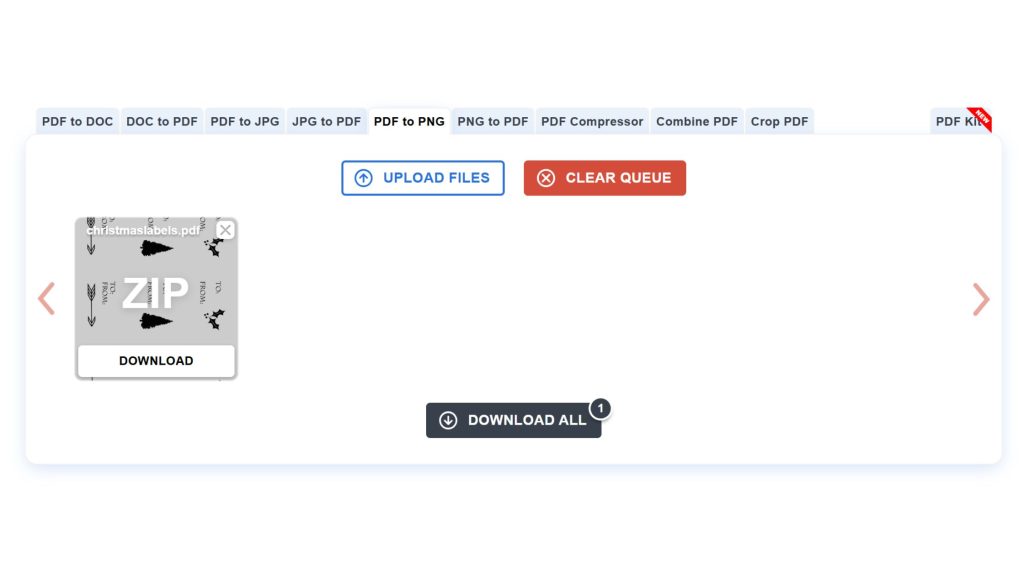
Then, upload the converted file into Cricut Design Space. This video walks you through the process if you need a refresher on uploading a file.
Once you have the file in Cricut Design Space, add shapes for your labels behind the text and images. You can print as many or as few labels as you need. Select the images and the shapes and click Flatten. This will make the image a Print Then Cut project.
Pro Tip: You can design your own labels in Cricut Design Space and use them for other occasions.

Run your labels through your printer and load them on a cutting mat. Then, let your Cricut do the rest of the work.
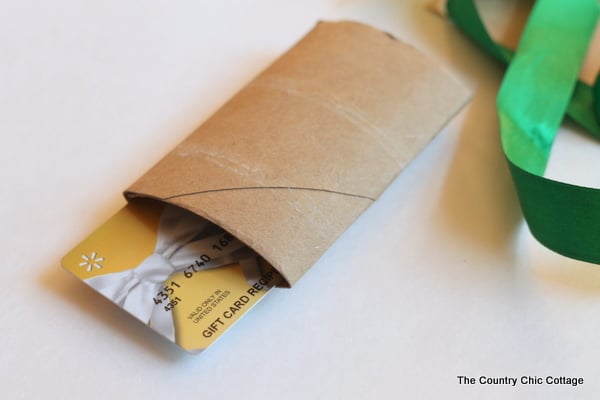
Step 2 – Cover the Rolls
Use the brown kraft labels or label sheets to wrap around and hide the toilet paper roll.
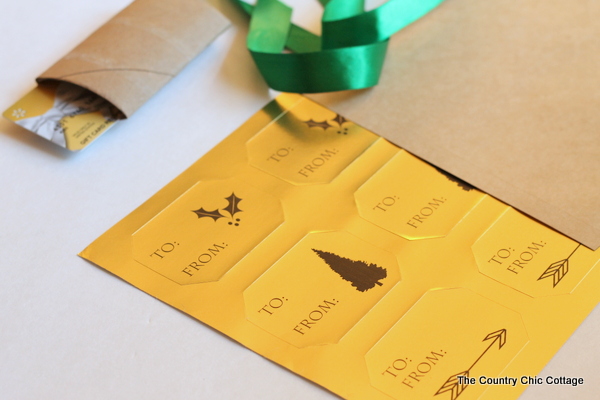
Allow any excess to hang off one end, as shown below. This will also close one end. You can see that those labels do not quite meet in the center. Don’t worry! We have that covered in the next step.
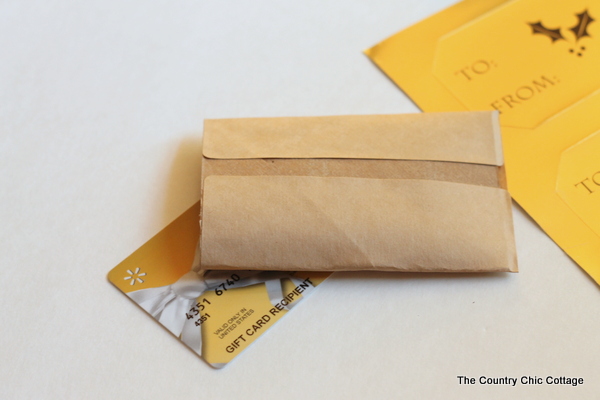
Step 3 – Close the Holder
NOTE: INSERT YOUR GIFT CARD AND ANY NOTE NOW! We are about to close up this package! Wrap a ribbon around the center, as shown below. I used a bit of tape to secure it tightly while I finished the project, which helped hold things while I worked.
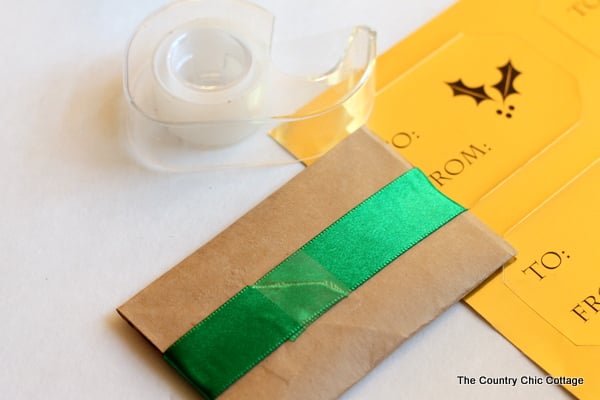
Step 4 – Finish the Gift Card Holder
Then just arrange your gold label in the center OVER where the tape joins. Now the package is closed and you can’t see that tape! Just in case you are wondering, you can also write with any pen on the shiny gold foil as well. (You can also plan ahead and add the names while you design the labels in Cricut Design Space and have your Cricut write them so you don’t have to hand write them.)
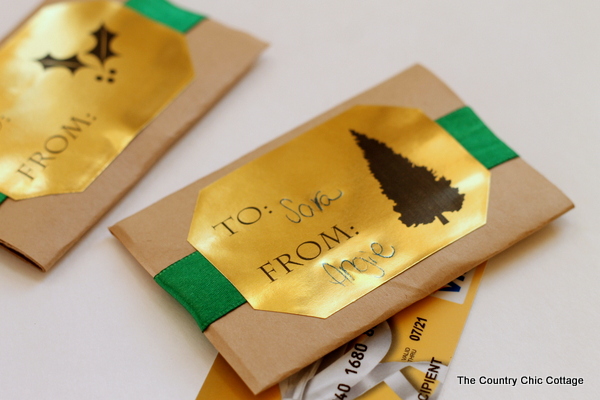
Be sure to grab blank labels and turn any toilet paper roll into something FABULOUS! These DIY gift card holders are inexpensive and perfect for holding gift cards for your loved ones.
Gift Giving Ideas
Looking for more gifting ideas? Check out these projects below:



Amazing!! Love this so much!