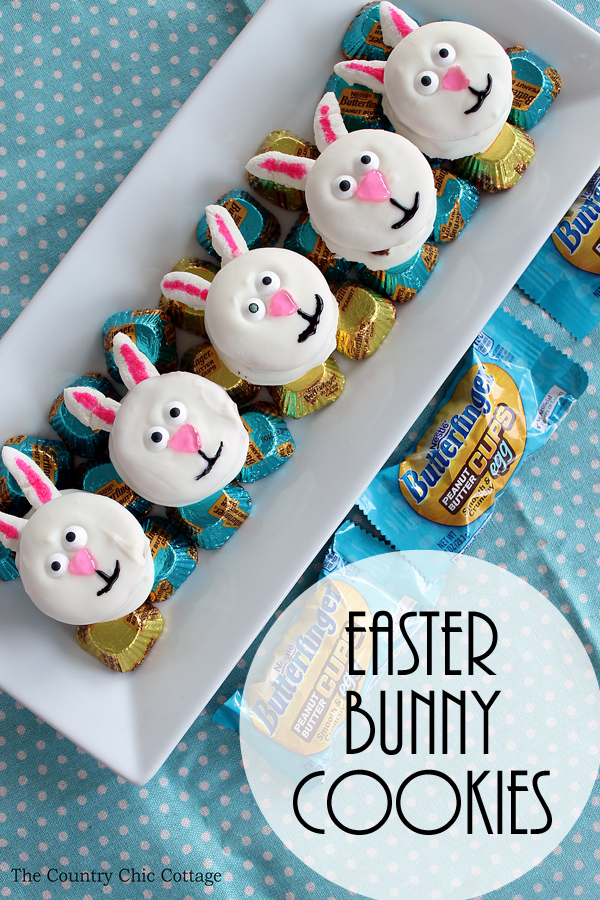
Easter bunny cookies are the perfect no-bake dessert for Easter! These are super easy to make and everyone will love the combination of sweet and salty.
When I was asked to use the all new Butterfinger Peanut Butter Cups Minis and/or Butterfinger Peanut Butter Cups Smooth & Crunchy Egg in a recipe, I couldn’t resist the opportunity!
The combination of creamy milk chocolate, smooth peanut butter and crunchy Butterfinger bits really satisfied my love for the peanut butter/chocolate combination, and they make the sweetest bunny face cookies!
Perfect for recipes, adding to an Easter basket, or a sweet snack, these festive soon-to-be favorites are perfect for the whole family. Plus, you can feel better about sharing with your loved ones as both items contain no artificial flavors or colors!
Want more ideas on how to use them? Click here to follow Butterfinger on Pinterest.
If you are looking for more Easter bunny treats, try the Easter version of Muddy Buddies or these pretzel bunnies.
Make a day of Easter-themed crafts with a handmade Easter basket, Easter decor, or make a quick mason jar gift for teachers or loved ones.
How to Make a No-Bake Butterfinger Dessert
This would be a really fun activity to do with kids. Let them get creative with the different faces they create. You could even use different color candy coating and icing.
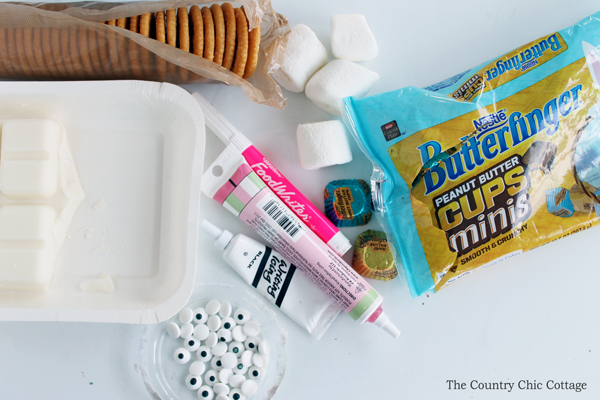
Easter Bunny Cookies Ingredients
- Butterfinger Peanut Butter Cups Minis (Contains no artificial colors and flavors. Added colors from natural sources)
- Round Butter Crackers
- Regular-sized Marshmallows for the bunny ears
- Vanilla candy coating to coat the cookie
- Candy eyes
- Pink food writing marker for creating the ears
- Pink icing in a writer for the bunny nose
- Black icing in a writer for the bunny mouth
I used round butter crackers for the shape and regular-sized marshmallows for the ears. You will need one Butterfinger candy and two crackers per bunny face cookie.
Instructions for Easter Bunny Cookies
Set out a parchment paper lined baking sheet and set aside.
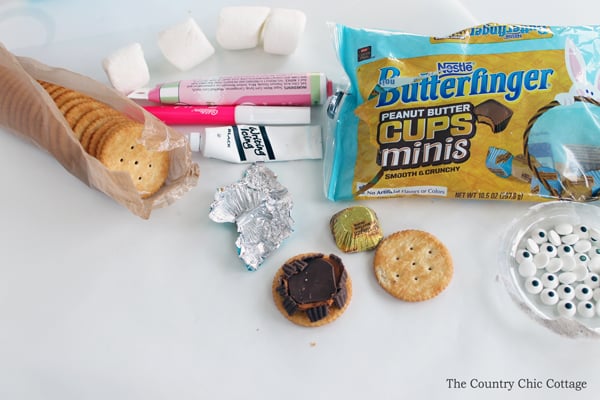
Create a “sandwich” by crushing one Butterfinger Peanut Butter Cups Minis and put it in between two crackers as shown below.
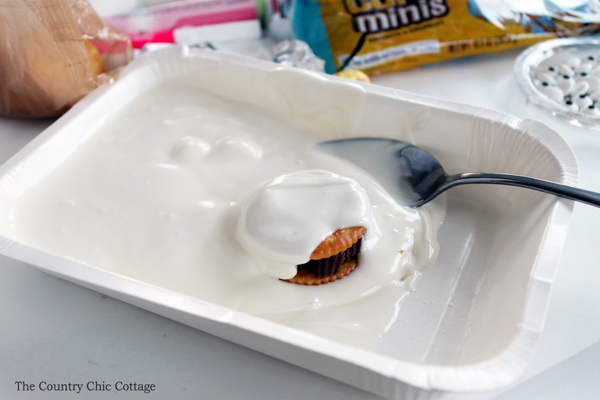
Melt white candy coating as per directions on the package. Cover the sandwiched Butterfinger Peanut Butter Cups Minis completely with the coating.
Be careful transferring the cookie sandwich between the coating and parchment paper to avoid breaking. After they dry, they will be much easier to handle.
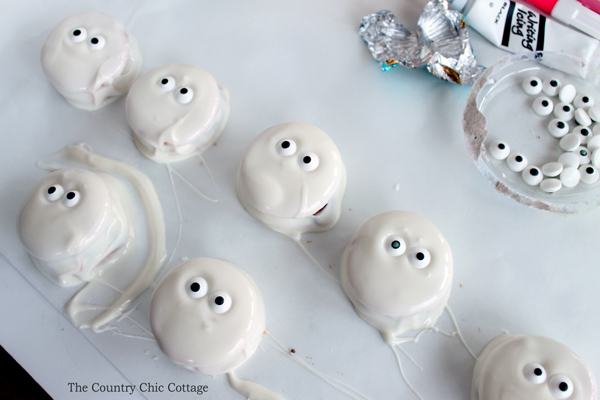
Set the cookies on the parchment paper to finish the rest of the head and face of the bunny cookie. It’s important that the coating doesn’t dry completely before adding the eyes and ears, so work quickly!
Add the candy eyes in the top third portion of the cookie.
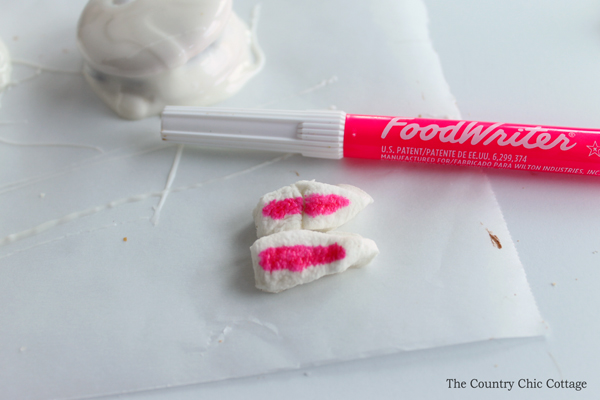
Use a sliver of a marshmallow for the ears, and draw on the pink of the inner ear with a food marker. I snipped off a small part from the side of the marshmallow with kitchen shears.
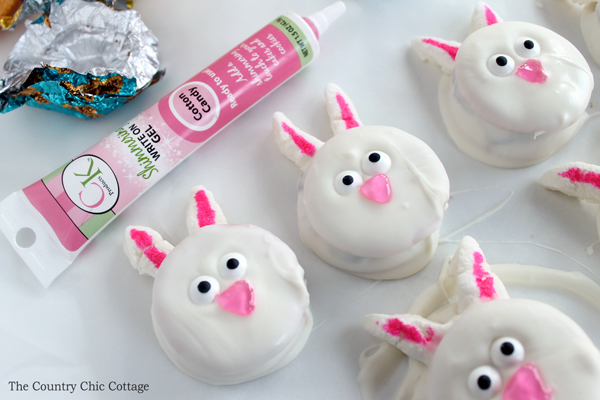
While the coating is still wet, attach the marshmallows to the top of the Easter bunny cookies. If the coating has dried,use a bit of additional melted candy coating to hold. Once the candy coating is dry to the touch, add on the noses with the pink icing writer.
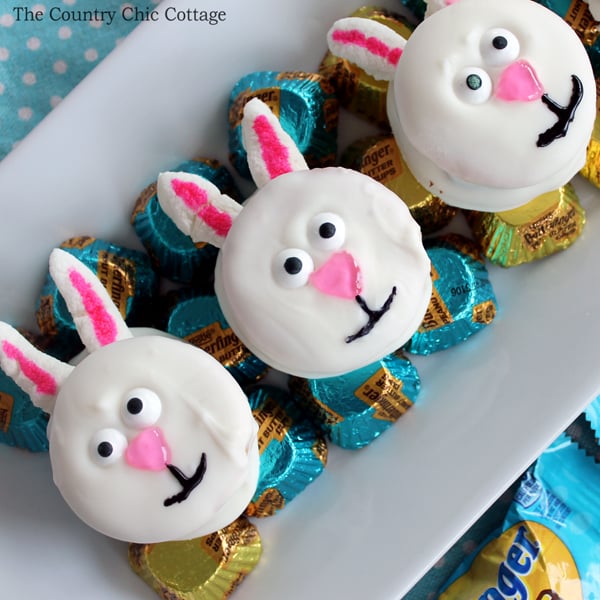
Use the black to draw on the mouths as shown below. Allow everything to dry completely before transferring.
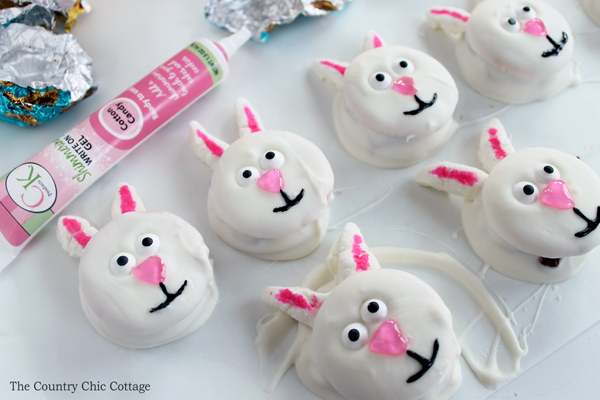
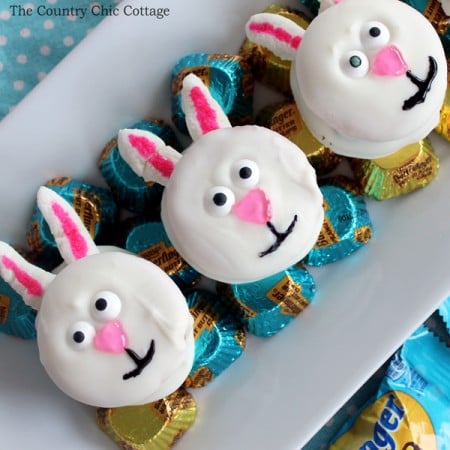
Add your Easter bunny cookies to a platter and serve at your Easter celebration!
Here we filled the platter with additional Butterfinger Peanut Butter Cups Minis so everyone could sample the cookies as well as the pastel blue and gold individually wrapped foil cups. I even set out a few Butterfinger Peanut Butter Cups Smooth & Crunchy Eggs on the table.
Here, the creamy milk chocolate, smooth peanut butter and crunchy Butterfinger bits are molded into a festive egg shape that will add a bold surprise to any Easter basket.
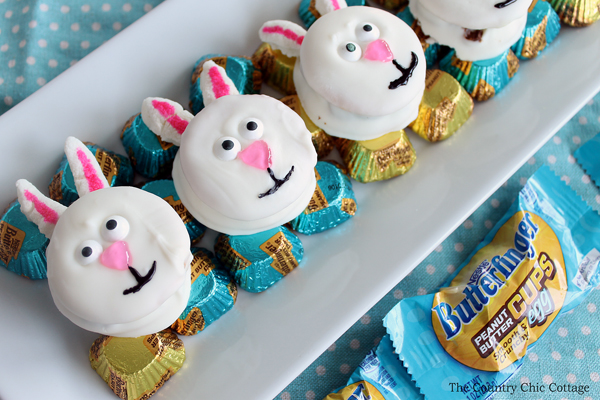
Be sure to click here to see more ideas for using Butterfinger candy.
Then click here to see my Pinterest board for tons of Easter ideas! Turn the Butterfinger Peanut Butter Cups Minis into these fun Easter bunny cookies in just minutes with our no bake dessert recipe!
This is a sponsored conversation written by me on behalf of Nestlé Butterfinger. The opinions and text are all mine.
Need to print this recipe? Try the recipe card below!
Ingredients
- 1 bag Butterfinger Peanut Butter Cups Minis one per cookie
- 1 sleeve Round Butter Crackers two per cookie
- Regular-sized Marshmallows cut into slivers
- Vanilla candy coating
- Candy eyes
- Pink food writing marker
- Pink icing in a writer
- Black icing in a writer
Instructions
- Line a baking sheet with parchment paper. Set aside.
Prepare the ingredients:
- Cut marshmallow into ear-shaped slivers for the bunny ears. Set aside.
- Melt white candy coating as per directions on the package.
Assemble the cookies:
- Crush one Butterfinger Peanut Butter Cups Minis and put it in between two crackers.
- Cover the sandwiched Butterfinger Peanut Butter Cups Minis completely with the coating.
- Set the cookies on the parchment paper to finish the rest of the head and face of the bunny cookie. Add candy eyes before coating has dried.
- Draw the inner ear with a pink food marker.
- While the coating is still wet, attach the marshmallows to the top of the Easter bunny cookies.
- Once the candy coating is dry to the touch, add on the noses with the pink icing writer.
- Use the black to draw on the mouths.
- Allow everything to dry completely before transferring to a serving platter or easter basket.


Super cute! Love the no baking part!! Visiting from Two Uses Tuesday.
I imagine it’s hard to make those without licking that icing!
How adorable are these Easter bunny cookies! Plus they are no bake, my kids will love to make these. Saw your link at Totally Terrific Tuesday link up party. Happy Easter!
Congratulations!
Your recipe is a Top Ten at Full Plate Thursday this week and is pinned to the Features Board for Full Plate Thursday. Hope you have a great weekend and enjoy your new Red Plate!
Miz Helen
These are so adorable, you did a great job decorating these bunnies! Thanks for sharing with Small Victories Sunday Linkup. Pinning to our linkup board and hope you found some great posts to visit this week!
Once cool, use a pencil to draw large hearts on the wax paper envelopes, and then cut out hearts. (I was surprised how easy it is to cut the wax paper with melted crayon inside.) Initially, I was going to trace prefect’s hearts, but I decided to freehand them and let my daughter cut them out.