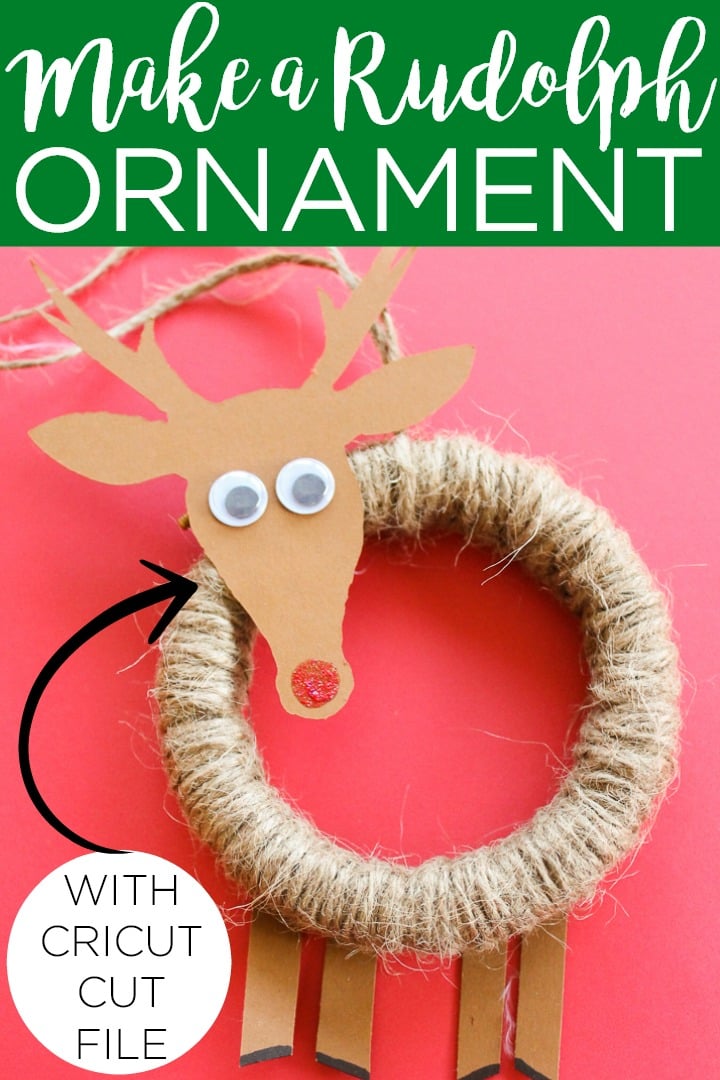
Sing along to Rudolph, The Red Nose Reindeer, and make an adorable Rudolph ornament this holiday season! Learn how to take an embroidery hoop and make this unique DIY Rudolph ornament you can display anywhere in your home. I promise- it’s cute!
Once I put the Halloween decorations away, I’m chomping at the bit to get the Christmas decorations up. Not only do I love displaying holiday decorations, but I also love making them! Today, I have an adorable Rudolph ornament that cleverly uses an embroidery hoop as its base.
I have to admit using the hoop makes this Rudolph ornament really easy to put together- perfect for kids! It’s a simple DIY project that utilizes your Cricut machine to make it even easier. However, if you don’t have a Cricut machine, this is one project you can definitely make without it.
If you love Cricut Christmas crafts, be sure to check out our Vinyl Christmas Ornaments, Felt Christmas Tree, and Christmas Mason Jar Candles. And, if you love making Christmas ornaments, try making our Bottle Cap Reindeer and Pom Pom Tree with the kids!
Note: This post was originally posted on December 18, 2012, but I am updating it with more information.
Supplies Needed To Make This DIY Rudolph Ornament
I’ve included a list of everything you’ll need for this Halloween banner project and even added links for some items to make finding them easier.
Note: Some of the links below are affiliate links, which means that you do not pay any extra but a portion of any purchase will go to this site.
Now, let’s get started on this embroidery hoop Rudolph ornament.
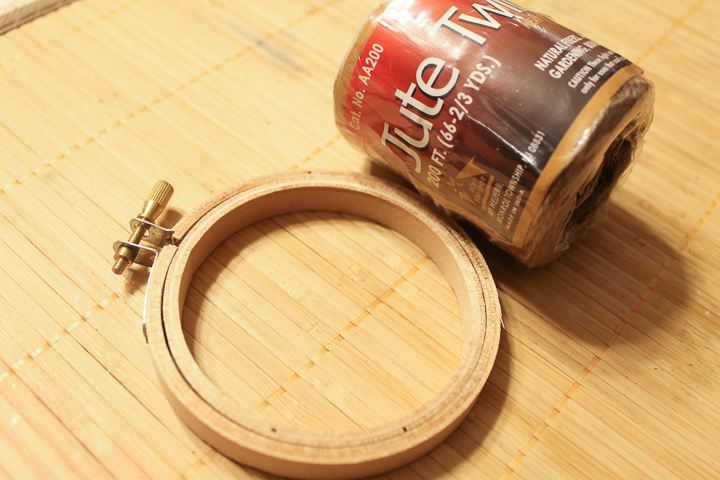
- 3-inch embroidery hoop
- Jute twine
- Scrapbook paper
- Googly eyes
- Red glitter paint
- Black marker
- Scissors
- Cricut machine (see which I like here)
- Cricut cut file #M8B36F7B (this one is similar #M2E686)
- Hot glue and a glue gun
- Paintbrush
How To Make A DIY Reindeer Ornament
Here’s your step-by-step guide to making this Rudolph ornament craft.
Step 1
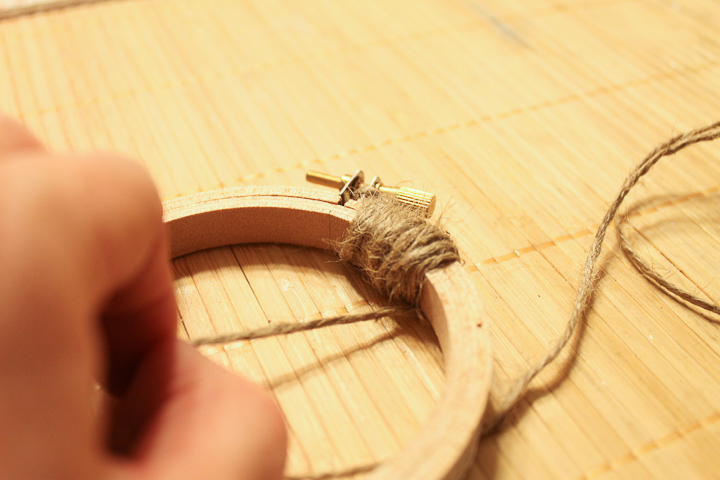
Start by wrapping the embroidery hoop tightly with the jute twine. I did a double layer of the twine on the entire hoop. Secure the ends with a bit of hot glue.
Step 2
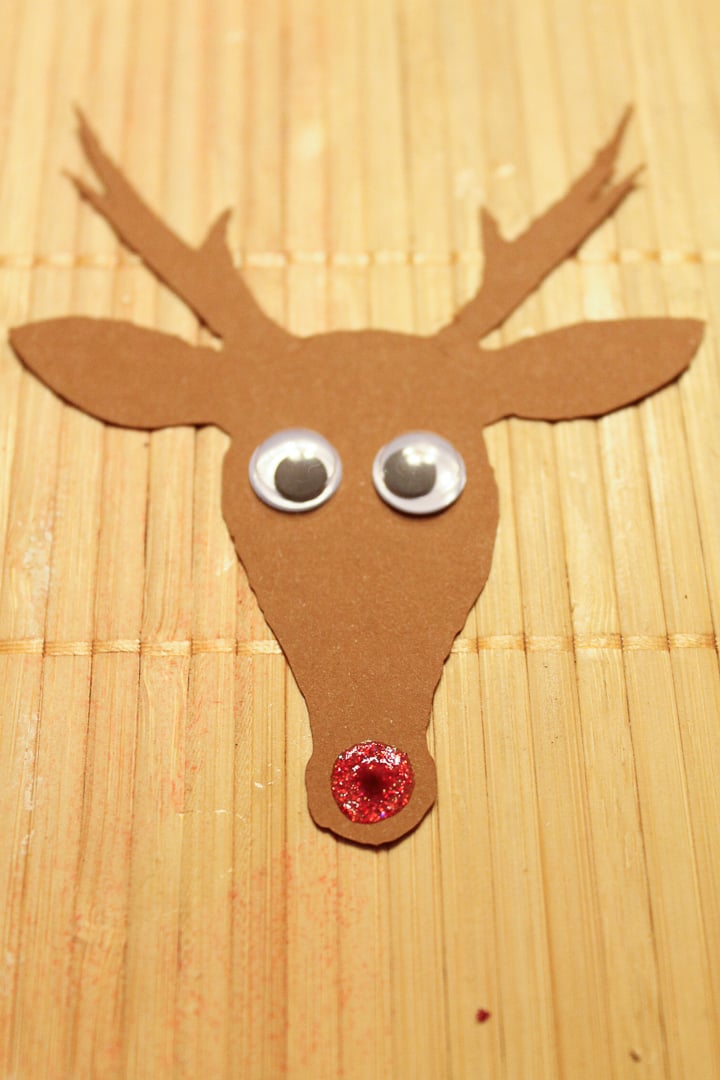
Now let’s make his head. I used my Cricut to cut out a deer silhouette I found from scrapbook paper. You could absolutely print one and use scissors to cut this out if you don’t have a Cricut machine.
I made a cut file for both the head and feet and you can find that here.
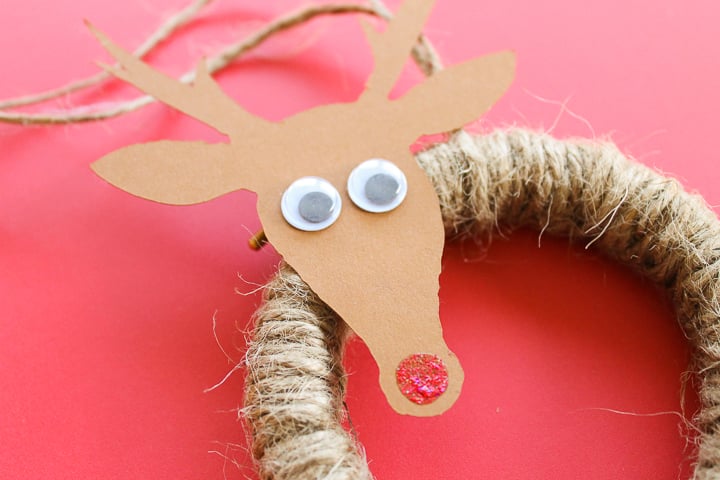
Then, add two googly eyes with hot glue. Use the tip of a paintbrush to make a red sparkly nose. Set this aside and allow it to dry.
Step 3
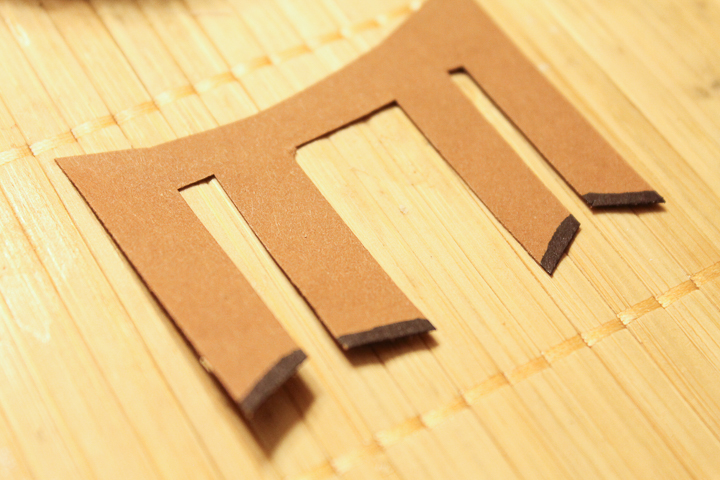
Now onto his feet! I cut the legs with my Cricut. I did, however, leave the top flat.
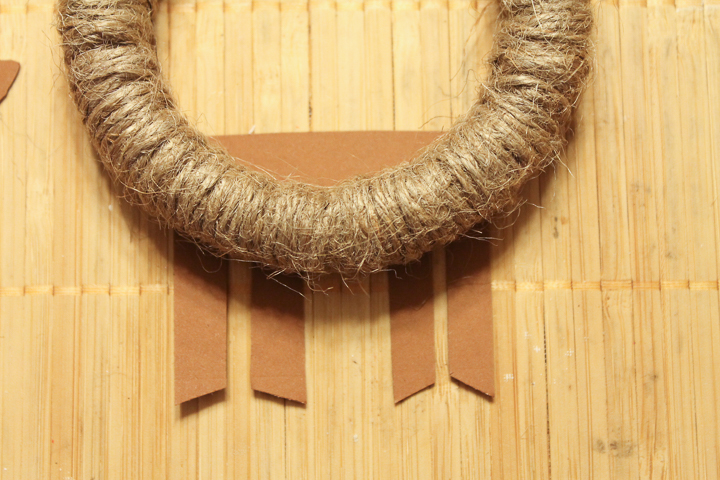
You may want to cut away the top portion so it will be hidden after you add it to the hoop. Then, use a Sharpie to add a few hooves.
Step 4
Next, glue your head onto the area where the screw is on the hoop. Use hot glue to add another piece of twine to use for hanging on the tree.
Step 5
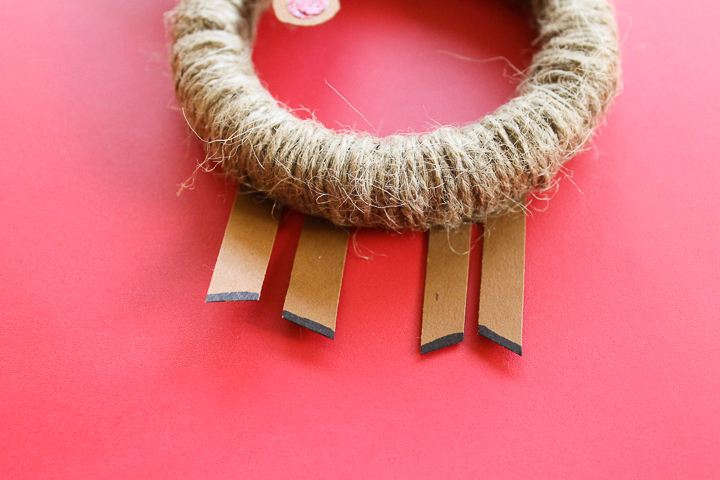
Then, just hot glue on those feet.
Step 6
He is ready to hang on the tree and enjoy!
This one is super simple and I am sure the kids would love to help by making their own. So, go ahead and break out your craft supplies and spend some time crafting with the kids this week.
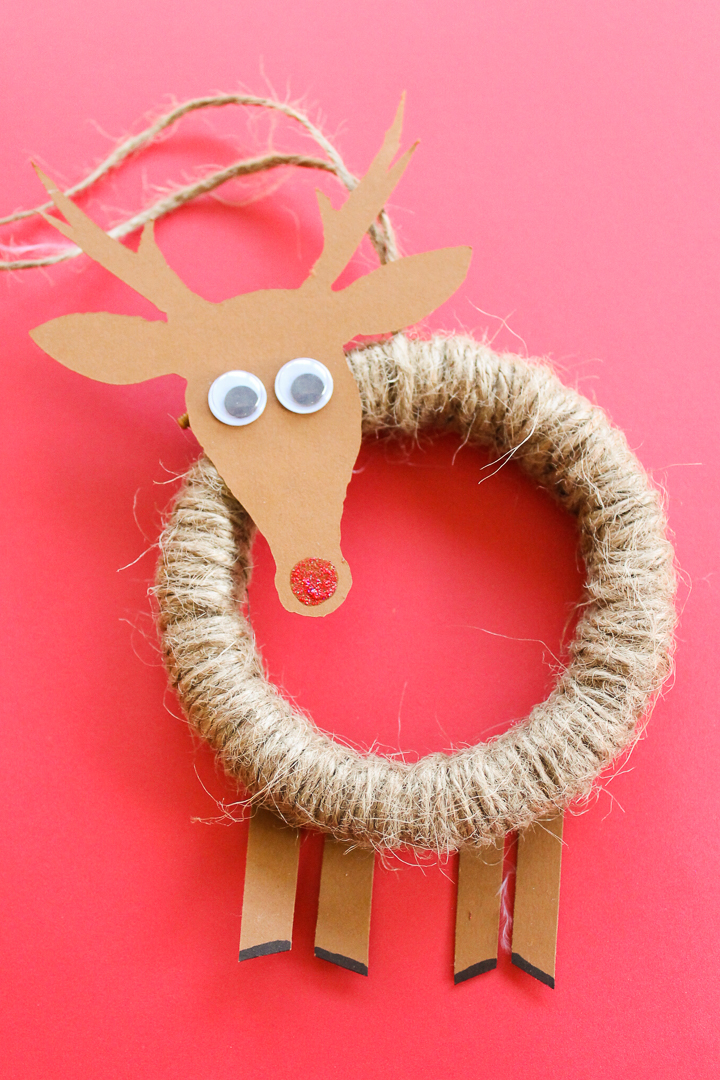
You will love how great this one looks on your tree – every tree can use a DIY Rudolph ornament!
Rudolph Ornament FAQs
Here are a couple of common questions I get about this Christmas ornament project from readers. If you have a question but don’t see it down below, please leave it in the comments so I can answer it for you.
Can I use the same pattern to make the other reindeer ornaments too?
Yes, of course! If you want to add Santa’s entire fleet of reindeer to the tree, just make the noses black instead of red. You could also label them if you wanted to.
How do you make homemade ornaments with paper?
I used scrapbooking paper for this project, but you could use construction paper too. Just keep in mind that anything made with paper can bend, so take care when storing your ornaments to use again next year!
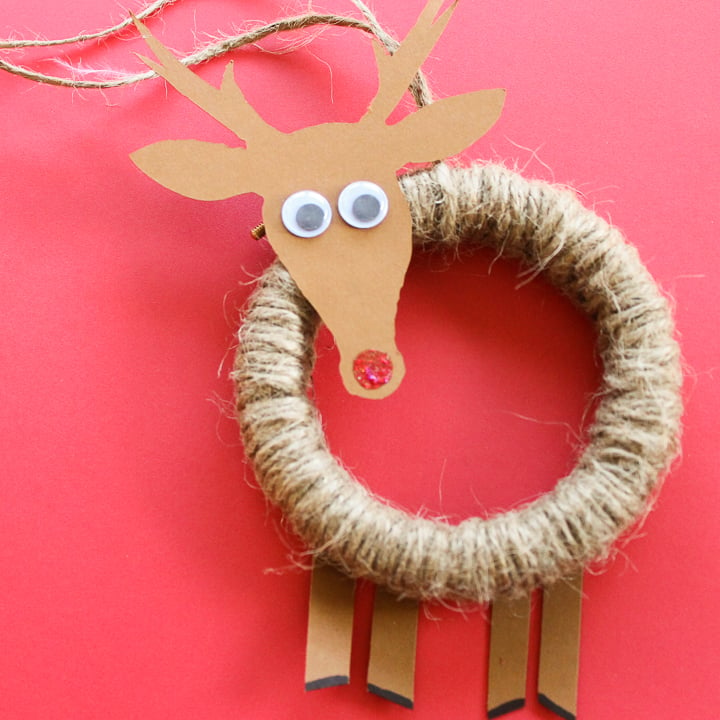
These reindeer ornaments will look incredible all over your tree. If you love anything reindeer or Rudolph-related, this is one craft you’ll want to make! Plus, it is so easy to make that there really is no reason NOT to make one.
Love This Kids Rudolph Ornament? More Christmas Crafting Inspiration
Holidays crafting is so much fun! If you love this DIY Rudolph ornament craft, be sure to check out the other ideas below.
- Christmas Bark With Reindeer
- Thumbprint Art For Your Christmas Tree
- Handprint Ornament: An Easy Craft With Kids
- Fingerprint Christmas Ornament: Reindeer
- Printable Christmas Bingo Cards
Supplies
- Embroidery Hoop 3 inches
- Jute twine
- Scrapbook paper
- Google eyes
- Glitter paint red
- Black Marker
- Scissors
- Cricut machine
- Cricut cut file
- Hot glue and a glue gun
- Paintbrush
Instructions
- First, wrap jute twine around the embroidery hoop. I double-layered the twine around the entire hoop. Secure the ends with hot glue.
- Use this cut file to make Rudolph's head and use your Cricut to cut out the shape.Then attach two googly eyes with hot glue. Use the tip of a paintbrush to make a red sparkly nose.
- Next, cut the legs with the Cricut and trim the flat top so that it's curved and hidden behind the hoop.Use a Sharpie to draw on hooves.
- Glue the head on top of the embroidery hoop screw and tie a piece of twine to hang the ornament.
- Glue on the feet.
- Hang and enjoy!



looking for something that is easy to make with children between 5-10 year olds
Am going to make the adorable Rudolph hoop ornament, will be such a cute gift to give. Might have our youngest grand daughter come over to help me. She might like to make some ornaments herself to give. She’s only one of 6 grandkids that’s interested in making crafts. These really are so cute, fairly quick, easy and inexpensive, all important features for making things. Happy weekend Angie. Pinning this ornament
Just adorable!