Have you ever wanted to start engraving leather but felt too intimidated to try it? The Cricut Maker makes the process so simple that you’ll kick yourself for not trying it sooner. Use this tutorial on how to engrave leather and master the process!
I love leather projects. The looks, the feel, the smell – everything about them just calls to me.
Except for how to create them beyond cutting leather with your Cricut (a little different from cutting Cricut faux leather). Engraving leather? No way!
I was intimidated by the idea for a while because there are so many things to consider. Should you use the engraving tool or the debossing tool? Should the leather be wet or dry?
Well, that all changes now! I decided to tackle it, so I have been experimenting to find the best way to engrave leather with the Cricut Maker.
After all, I have done Cricut metal engraving, acrylic engraving, and even wood engraving with my Cricut machines. How hard could it be?
I have to say, I’m loving everything about this leather engraving process. So, get ready to do all the leather projects with your Cricut machine (which makes it so easy)!
Looking for some inspiration for crafting with leather? Check out my DIY Leather Notebook!
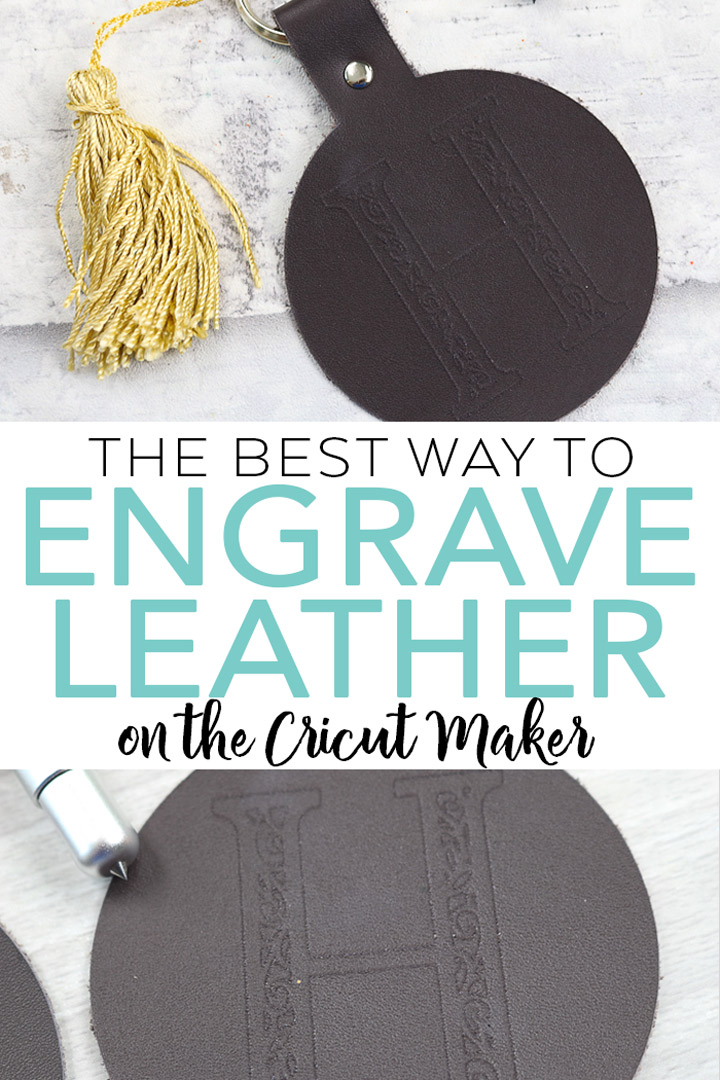
Debossing vs. Engraving Leather
What’s the difference between these two techniques? Engraving is carving an image or word into a material, while debossing is pressing a design into a material. Debossing works well for paper (think: stationary), but does it work for leather?
I wanted to compare these two tips against each other on dry leather. Here are a couple of helpful notes about working with leather:
- Remember to put your leather face up on a strong grip mat to do any engraving or debossing. This will shorten the life of your mat, so be aware of this and always check your mat before beginning any Cricut leather projects.
- Be sure to bray it down well to the mat and use masking tape around the outer edge to hold it into place while you work.
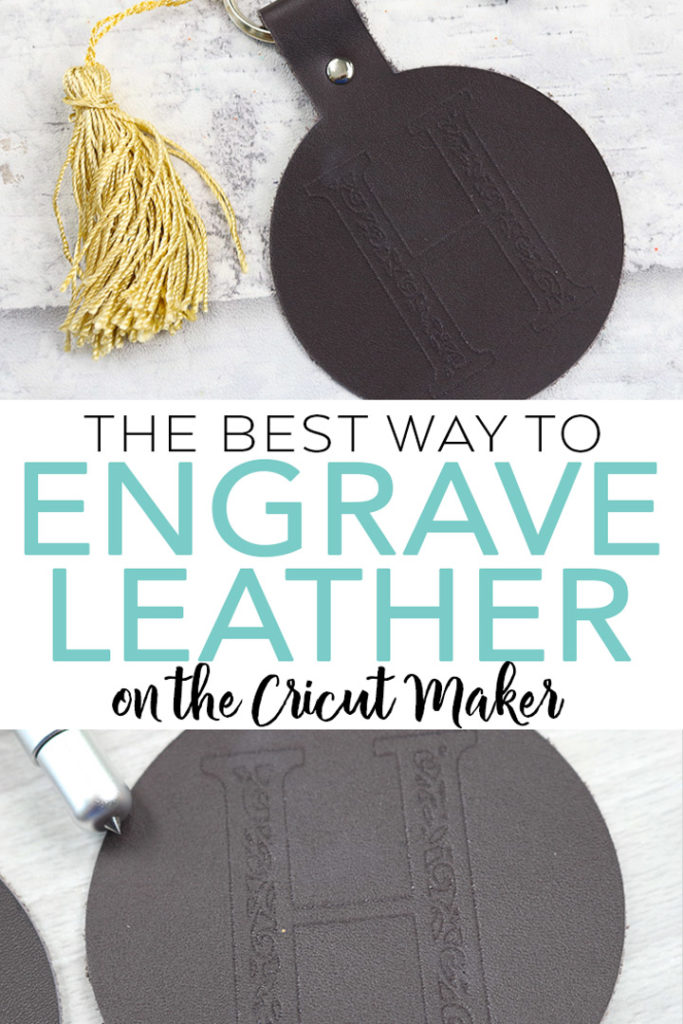
You can see my results of the tip comparison below. The one on the left is debossing, and the one on the right is engraving.
You can see right away that engraving leather is hands down the winner. The debossing is present on the surface, but you can really barely see the imprint.
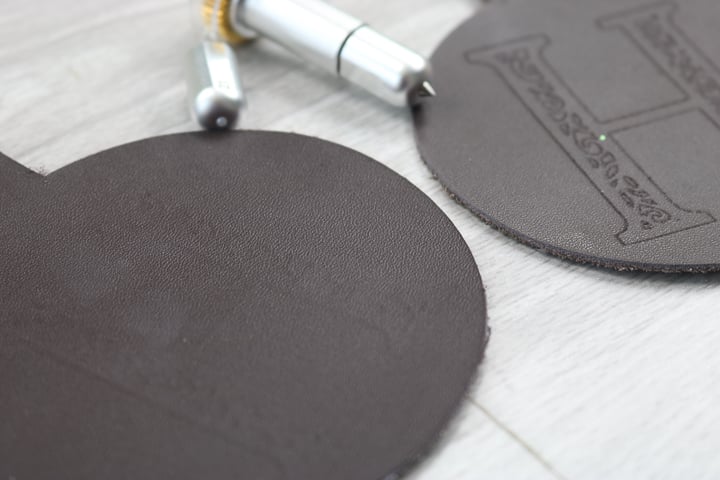
You can engrave leather with the Cricut Maker, however. The lines are really pronounced, and the project came out really well!
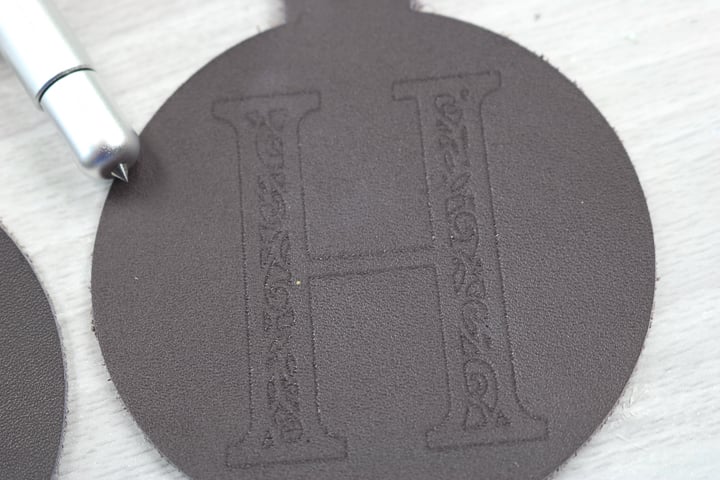
How To Engrave Leather With Your Cricut Maker
I’m sharing all of my tips and tricks that you need to cut this material on your Cricut Maker successfully.
Video Tutorial
Want to see all of this information in video form? Just watch below!
Note: You can also keep reading down below the video to learn more about how to engrave leather with your Cricut if you don’t want to watch the video.
Supplies Needed
- Leather – I am using Cricut leather for all tests. I do realize that different leathers will react differently, and I may do a follow-up post on that later.
- Cricut Maker (this is the only machine that will do this project)
- Engraving tip (learn more about it)
- Debossing tip (learn more about it)
- Cut file
- Cricut knife blade for cutting leather (learn more about it)
Wetting The Leather For Engraving
If you’ll remember, one of my key questions about engraving leather centered around whether it needed to be wet down or not.
So, what happens if you wet the leather? I did this a few different ways. The first was to wet the leather well from the back. This causes a BIG issue and did not work well at all.
The leather did not stick as well to the mat. I stuck it as well as possible and used tape around the outer edge. What’s more, the debossing was even less visible on the wet leather (piece on the right).
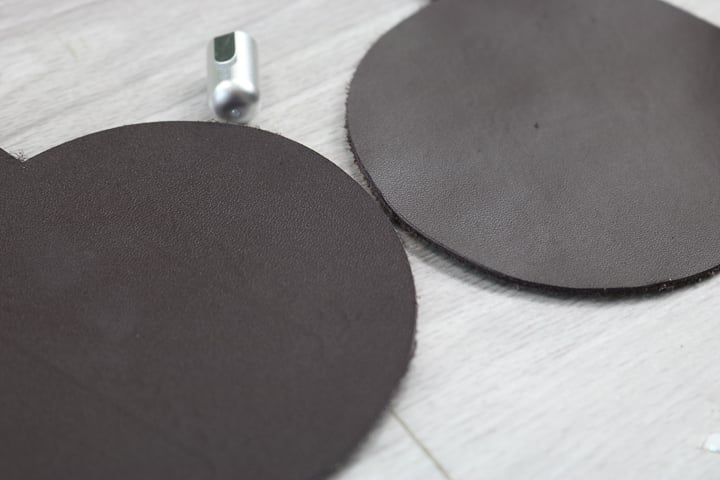
The deboss tip barely made a mark on the wet leather.
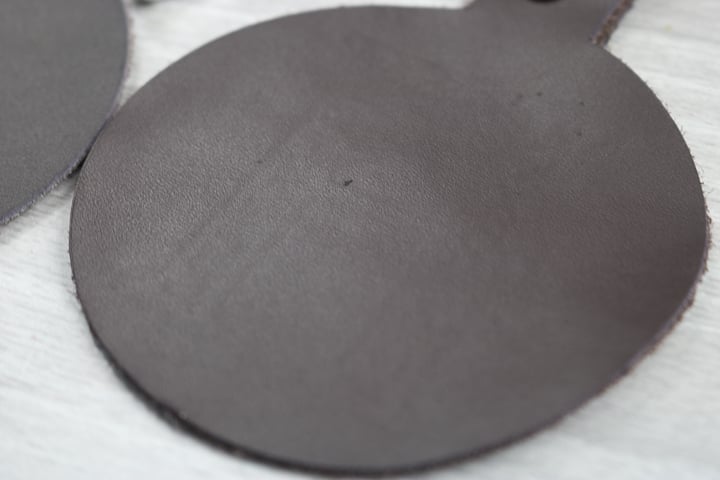
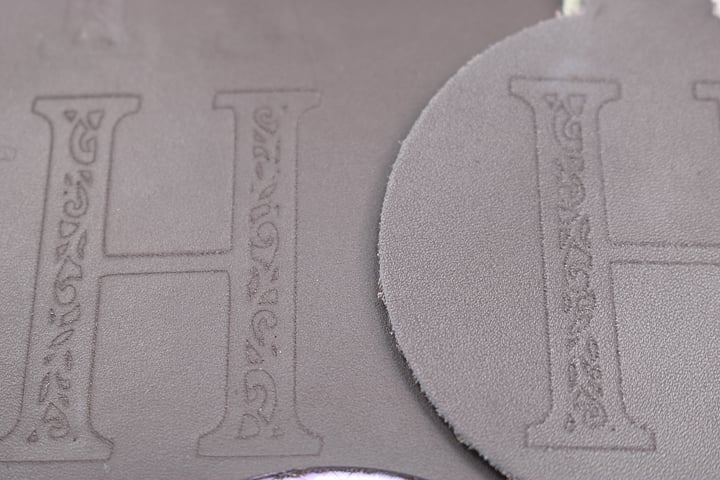
Engraving did make a deeper imprint on the leather, as you can see on the right piece in the image below. At first glance, it may even seem as though it turned out better than the dry sample.
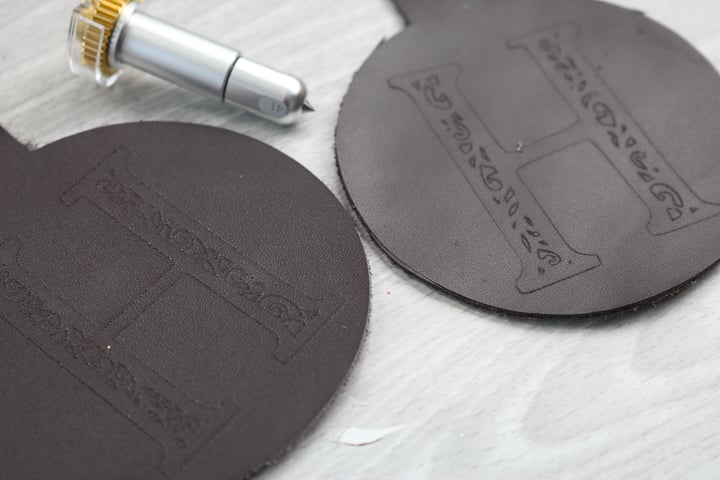
However, check out the differences between the two pieces closely.
The leather moves ever so slightly since it is not down well on the mat because it’s wet. These results are, therefore, not good at all because you cannot achieve the entire engraving.
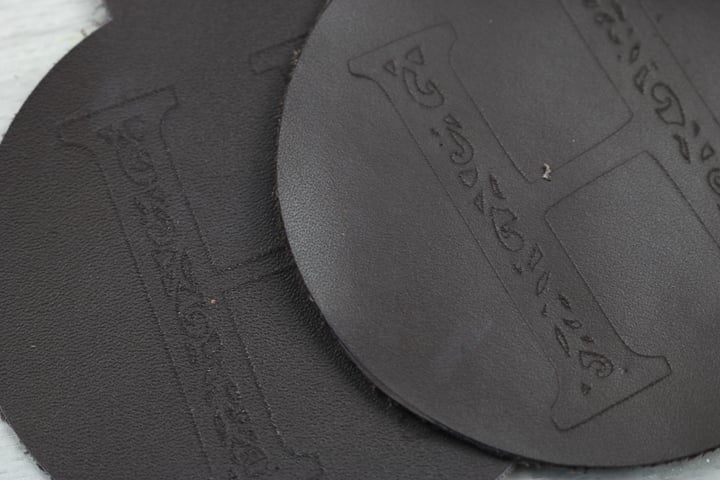
Engraving Damp Leather Results
But what happens if you barely wet the leather? I decided to try it.
I put dry leather down on the mat and secured it with tape. Then I took a sponge and barely dampened the top of the leather.
For the debossing tip, there wasn’t really much difference between dry and barely wet (on the left).
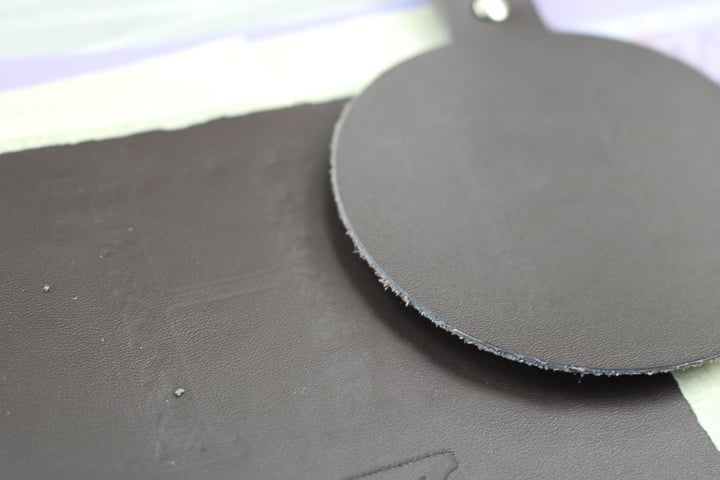
The engraving tip may have been a LITTLE cleaner with the barely wet (on the left).
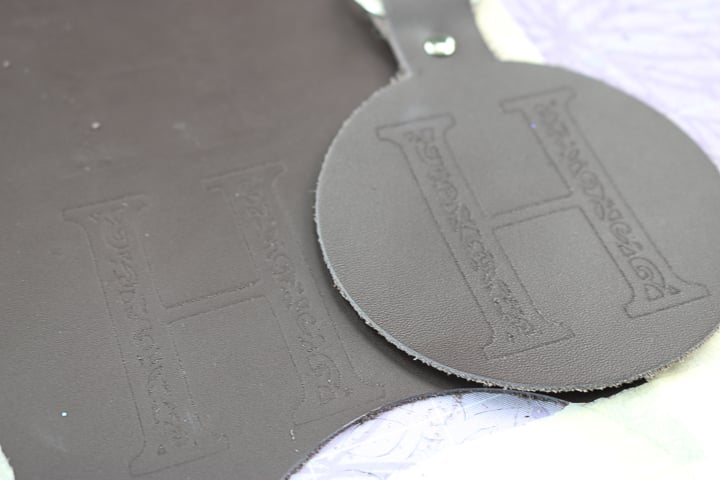
I wouldn’t really say there was much of a difference. But if I was feeling picky, then I would barely wet the leather before engraving leather.
Based on my results, it appears that the best way to engrave leather with the Cricut Maker is either dry or barely wet.
Now that we know the Cricut is good at engraving leather, what will we make with these pieces?
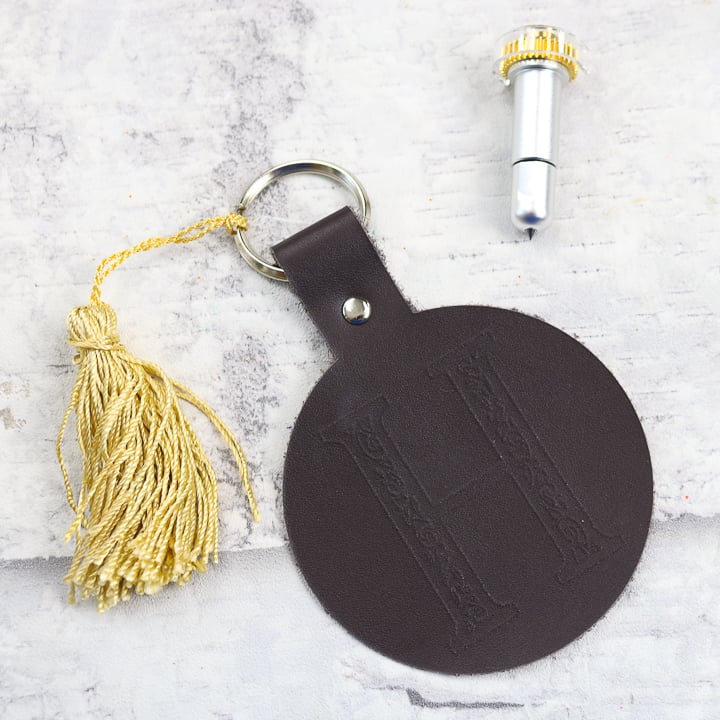
How To Make An Engraved Leather Keychain
Let’s pull this tutorial together and turn our engraved leather into a fun keychain! It only takes a few minutes, and you have a fun finished product to use or give as a gift.
Supplies Needed
Here’s what you’ll need to gather to complete this project. I’ve included a few handy links to make finding certain items faster or easier.
- Monogram leather cut from our leather engraving tutorial above
- Leather rivets
- Crop-a-dile or other hole punch
- Keyring
- Hammer
Assembling Your Keychain
Once you have your piece of engraved leather, transforming it into a keyring is as simple as 1…2…3…4!
Step 1
Fold over the top of the leather piece. Stick the doubled-over piece into crop-a-dile and punch a hole through both pieces.
Step 2
Thread the keyring through and fold it back over.
Step 3
Insert the rivet into the holes so that it goes through both pieces.
Step 4
Then, use the rivet tools in the kit with a hammer and fold over the rivet to secure it.
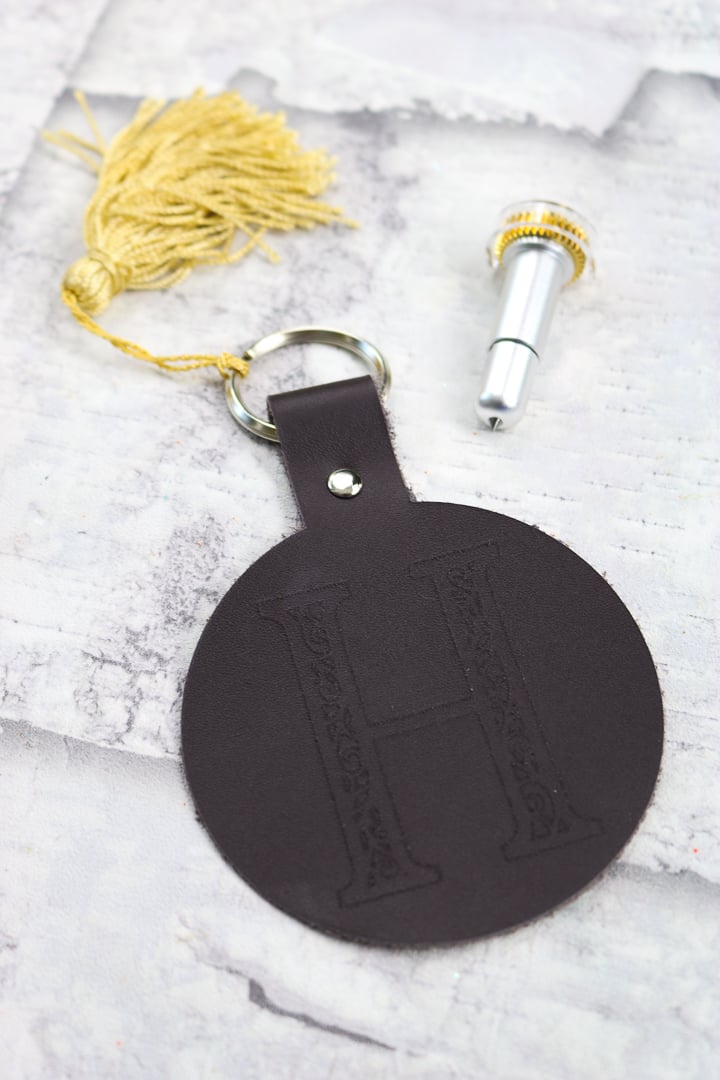
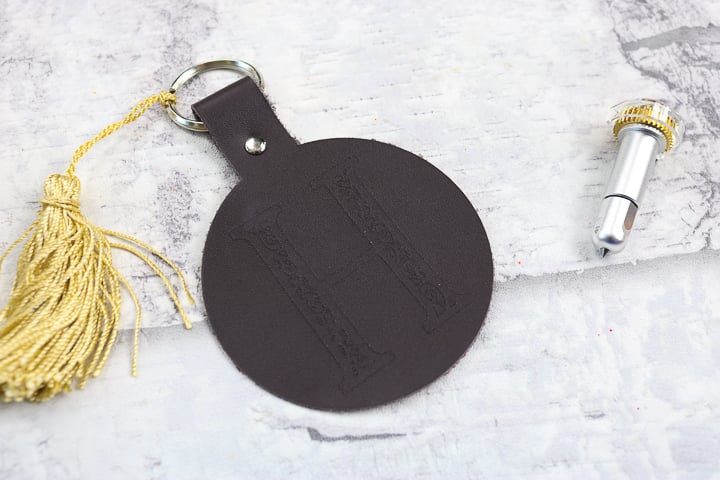
This quick and easy leather keychain is simple to make with your Cricut Maker. Now that you know how to engrave leather with the Cricut Maker, you can make all kinds of things!
FAQs
I’m sharing a couple of questions that I see readers frequently ask about how to engrave leather with their Cricut machines. If you have a question, please check to see if I’ve already answered it below. Don’t see it? Leave it for me in the comments!
How thick can leather be for the Cricut maker to work?
You can work with leather up to 7 oz thick when using your Cricut Maker. Leather thicker than that can get clogged in the machine.
What is the right Cricut setting for leather?
According to the Cricut website, turn the dial to “Custom.” Then, in Design Space, select “Browse All Materials” and choose “Genuine Leather.” From there, follow the prompts to complete the cut.
I hope our tips for engraving leather with the Cricut encourage you to try making an engraved leather project of your own!
More Inspiration For Projects With Your Cricut
If you love this tutorial and want more ideas, try the links below!



Supplies
- Monogram leather cut
- Leather rivets
- Crop-a-dile or other heavy duty hole punch
- Keyring
- Hammer
Instructions
- Fold the top part of the leather piece over to create a loop. Use a crop-a-dile at the bottom of the folded-over portion to punch a hole through both pieces.
- Unfold the leather strip, insert the keyring, and fold it back over.
- Insert the rivet into the holes and make sure that it goes through both pieces.
- Using the rivet tools and a hammer, fold over the rivet and secure it.
New to Cricut?

Sign up for our email list to download the Beginner's Guide to Cricut Design Space for FREE today!
Sign up to get the guide emailed to you!



I really appreciate your look at how to work with leather using both the debossing and engraving tools. You answered a lot of my questions.
One thing I’m curious about is if there is any way to apply metallic foil to leather using Cricut. Most professional applications of metallic foil involve heat stamping, which involves a lot of other expensive equipment and generally doesn’t allow for much more than basic lettering. The foil offered by Cricut is adhesive, but I have doubts it would work with leather.
Any chance the debossing or engraving tips might be useful in getting some sort of metallic foil applied to leather?
Do a foil iron on! It will work great with leather!
The best way to work with leather on your cricut Maker is to cover your mat with clear drawer liner first. This keeps your mat clean and actually keeps your leather from moving.
When you get your leather “wet” it is called “casing” your leather. I prefer to set my leather on my mat then slightly dampen in with a wet rag. Then you let it slightly dry before doing your design.
Thank you for the comparison of the two tools.
Hi I have bought faux leather also I have real leather I try to engrave with engraving tip but it barely shows the pattern on whatever material I have used and I don’t know what I’m doing wrong as it looks nothing like your has come out
I tape it down etc I have used my maker 3 lots so I’m confident in how to use it just leather I just can’t get the result I am hoping for any tips on what could be wrong?
Leather can be tricky and some did not work for me. Also it only scratches the surface so do not expect a very deep imprint.
Your explanation was clear and easy to follow.
Great tutorial.
Can you engrave the back side of leather
I am totally not sure. I have never tried that!
When I am cutting leather with my Cricut, I first use my easy press to iron the waxed side of butcher paper to the back of the leather – works at about 250 degrees I also use a repositionable spray glue on the mat and insure it all with masking tape to hold the paper/leather to the mat. My mat stays clean and my leather doesn’t move! I am looking for how to engrave then cut leather???
Thanks for sharing your tips! To engrave and then cut you need to make sure you change the operation type for the different layers and then attach the layers once you have them set up how you want 🙂