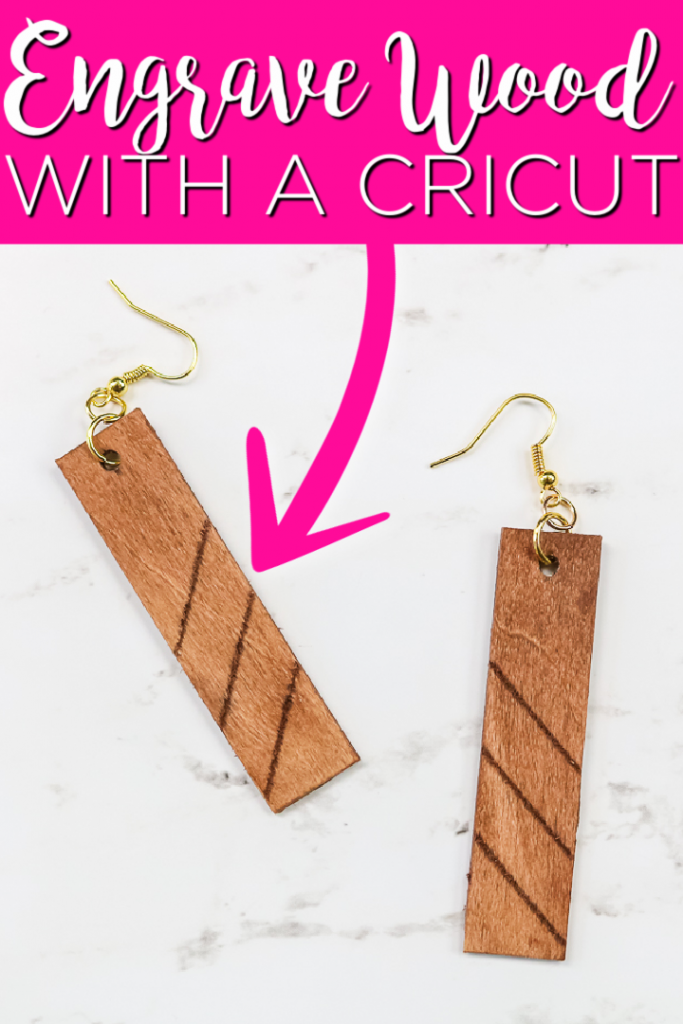
I get asked a ton if you can engrave wood with a Cricut Maker. I finally sat down and came up with a method for engraving wood on your Maker. You are going to love how easy this is to do and all of the projects you can create. Grab your engraving tip and knife blade and make your own version of this project today.
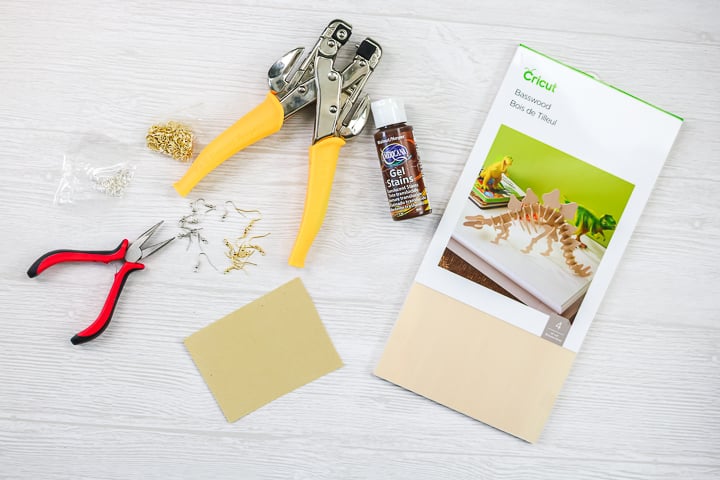
Supplies needed:
- Cricut Maker
- Knife Blade
- Engraving tip with QuickSwap Housing
- Basswood (I recommend this version from Cricut.)
- StrongGrip Mat
- Masking tape
- Brayer
- Wood stain
- Jewelry pliers
- Jewelry findings
- Sandpaper (light 150 grit)
- Hole punch (I love my Crop-a-dile.)
If you spend over $50 on the Cricut website, be sure to use our coupon code CCC2023 for 10% off and free shipping. Does not apply to machines, digital products, or Cricut Access.
How to Engrave Wood with the Cricut Maker
Now that you have your supplies, it is time to get busy with some wood engraving. I actually have a video that walks you through the entire process. You can watch it below.
Can’t watch the video or missed some of the steps? I am walking you through the process below as well!
What type of wood should you use?
The Cricut Maker can cut basswood, balsa wood, as well as wood veneer. I recommend the basswood for this project as it is a stronger wood and works best for engraving. I am using the Cricut basswood as it comes in the best sheet sizes. You can also look for 1/16″ basswood at your local craft and hobby store.
Setting Up Your Project in Design Space
I actually have the earring file I used in my Cricut Design Space profile but you can also design your own project. Here are a few tips and tricks for doing so:
- Add the shape or line that you want to engrave. Remember that simple shapes do the best with this method. A more complicated design may not look as good or give you issues when engraving.
- Make sure you have the Maker chosen as your machine. The engraving option will only appear for this machine type.
- You will also want to remember that the knife blade cannot be used on an iOS or mobile device. You can only use it on a computer.
- Pick the shape or line you want to engrave and change your line type to engrave. This will turn any shape into an outline.
- If you want to use a font, be sure to pick one that has a writing style for the best results.
- Add two of the engraved images and put them directly on top of one another. This will give you two passes for your engraving and make a slightly deeper indention in the wood. I find that the double engraving stands out a bit more.
- Use the contour function to turn off a portion of more complicated designs to make them simpler.
Be sure to watch the video above if you would like to see how to do all of this right in Cricut Design Space. You can follow along and master the technique I use for creating the engraving lines.
Cutting and Engraving Basswood
Now that you have everything setup and ready, it is time to actually do the engraving of you project. You can see how to do that in the card below.
Supplies
- Cricut Maker
- Knife Blade
- Engraving tip with QuickSwap Housing
- Basswood
- StrongGrip Mat
- Masking tape
- Brayer
- Wood stain
- Jewelry pliers
- Jewelry findings
- Sandpaper light 150 grit
- Hole punch I love my Crop-a-dile.
- Cut file for earrings
Instructions
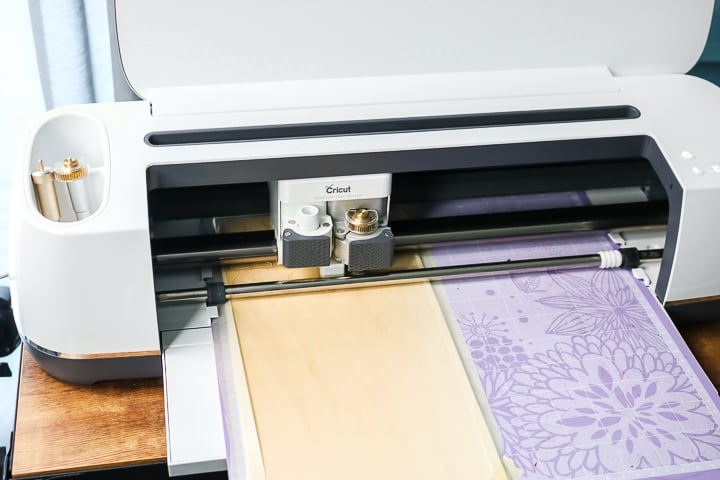
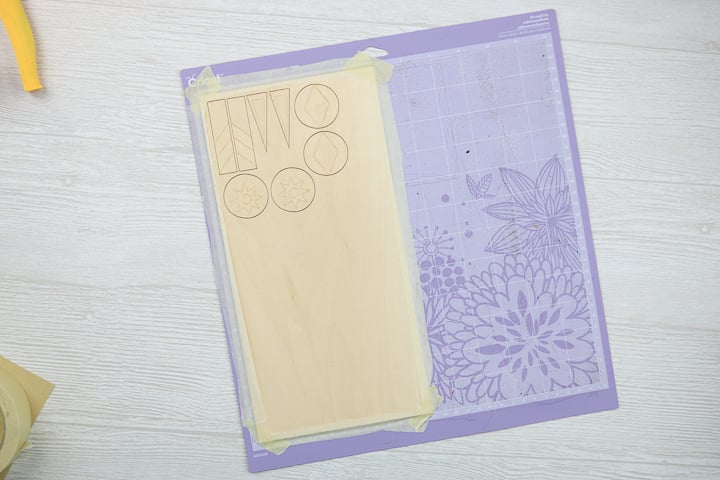
- Add your wood to a StrongGrip mat and then bray it down really, really well, make sure it's stuck. Tape it down along all of the edges. Click Make It in Cricut Design Space and move your shapes around to fit your material size if needed. Wood will NOT be in the materials list as it is not an engraving material. I choose Tooling Leather 6.7 ounce as that will work fine. Load and unload your tools as prompted by your computer to engrave and cut your design.
- Once the cut is complete, remove the shapes from the wood panel. You may have to finish off the corners with a craft knife and a cutting mat.
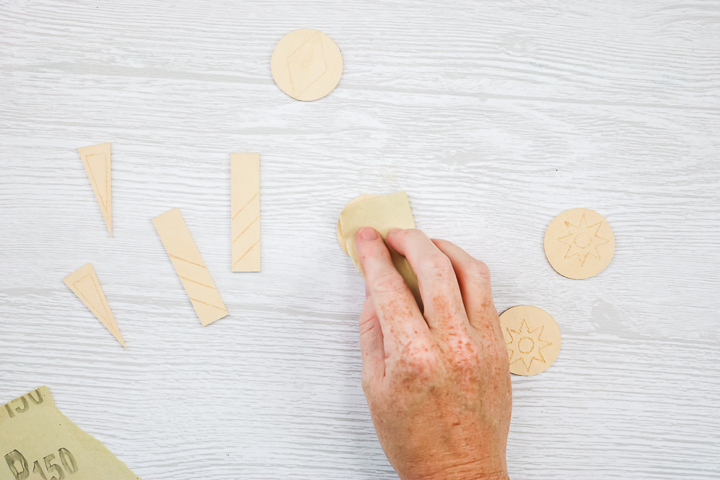
- The engraving right off of the machine will be really rough. Tear off a small piece of sandpaper and sand each one with the grain of the wood. You just want to remove that rough texture from the top of each one. The engraving will still be light but we are going to make it pop with some wood stain.
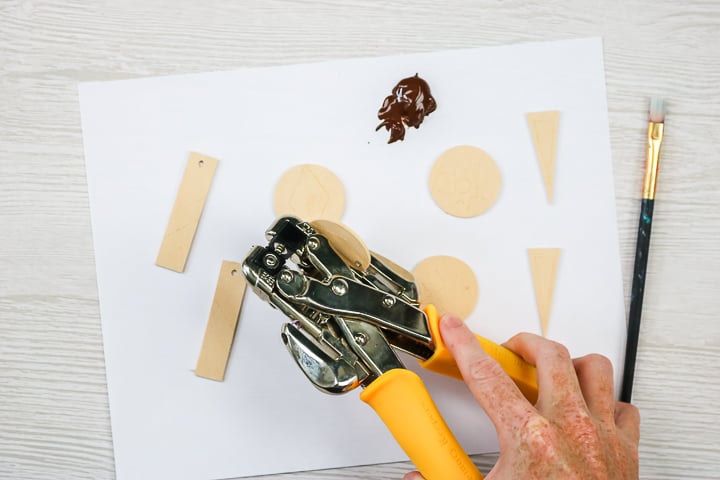
- Add holes to each one with an industrial hole punch. Just make sure they are in the top center of each of your earrings.
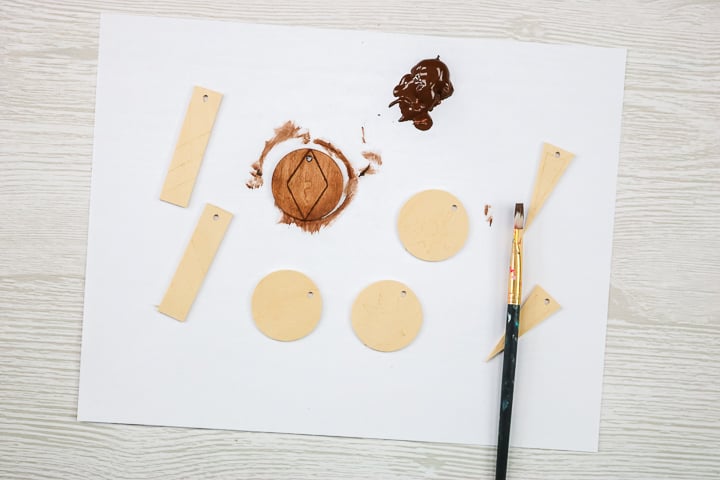
- All right, now that we have a hole in all of our blanks it is time to stain our wood. First, stain the front of each piece and allow that to dry. Be sure to get down into the engraving lines and stain the sides as well. Wipe on your stain, allow to sit a few seconds, and remove any excess with a rag.
- Once your first side is dry, turn over each piece and stain the back in the same manner. Allow that to dry as well then you are ready to assemble your earrings.
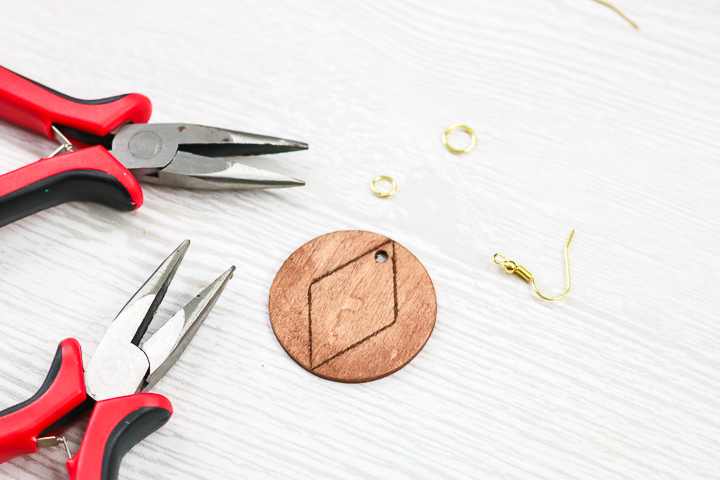
- For each earring, you'll need the hook itself, two jump rings (a large one and a small one), and two pairs of jewelry pliers. Open the larger of the two jump rings with the pliers and add to the earring itself. Close that back up then open the smaller jump ring. Put it through the larger one, add the hook, and close it back up.
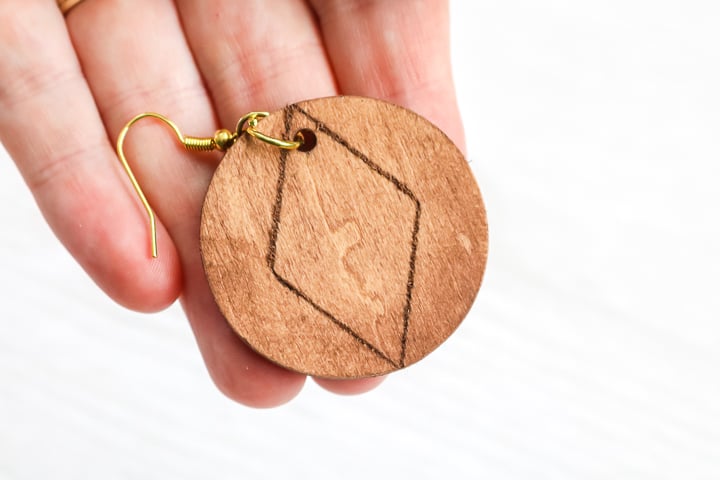
- You now have a cute engraved wood earring to wear! Repeat for the remaining cut earring pieces.
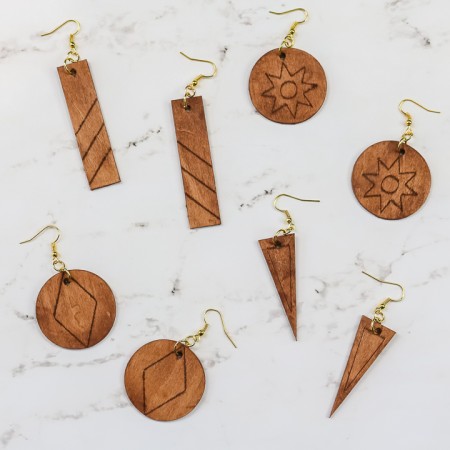
Now you have some super cute earrings to sport at any time of the year.
Cricut Maker Engraving Wood Comparison
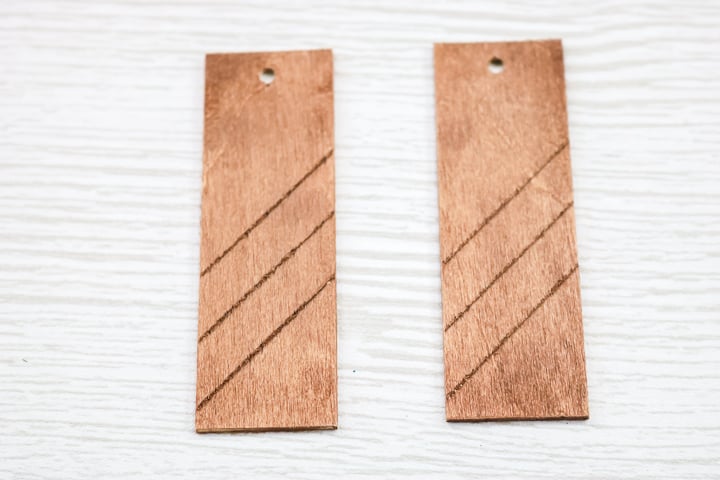
I did want to show you the difference between engraving over the lines just once versus twice. In the image below, the one on the left has been engraved over the lines twice while the one on the right has only been done once. You can see that the engraving lines get deeper and will be darker once stained if you go over them twice with the Cricut Maker.
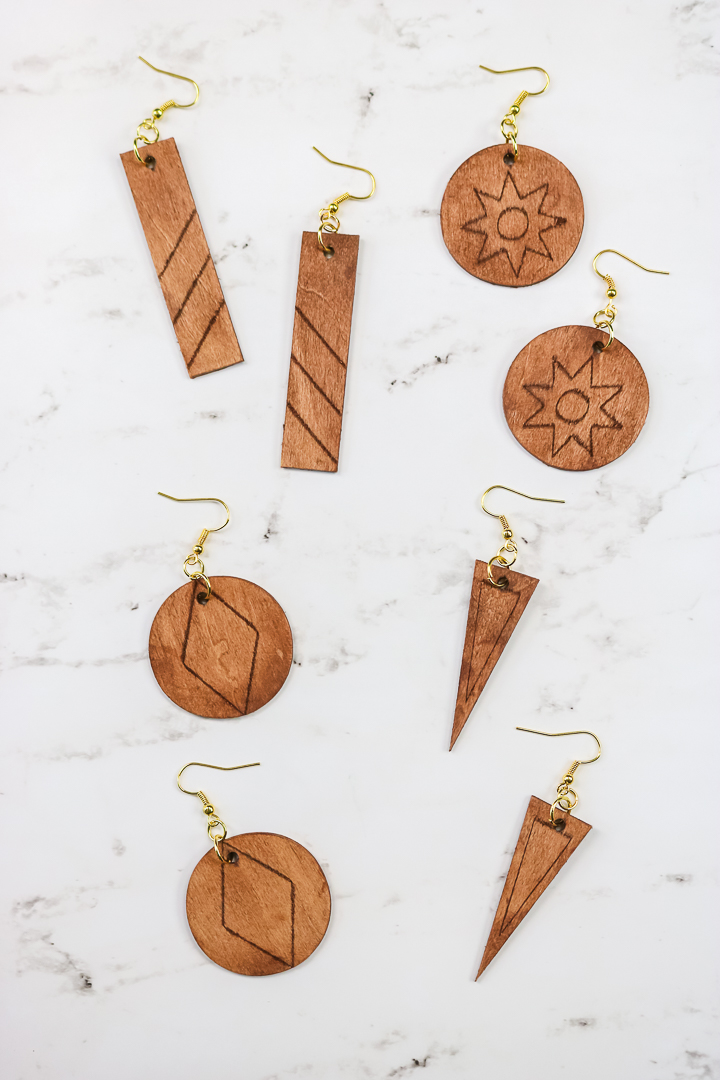
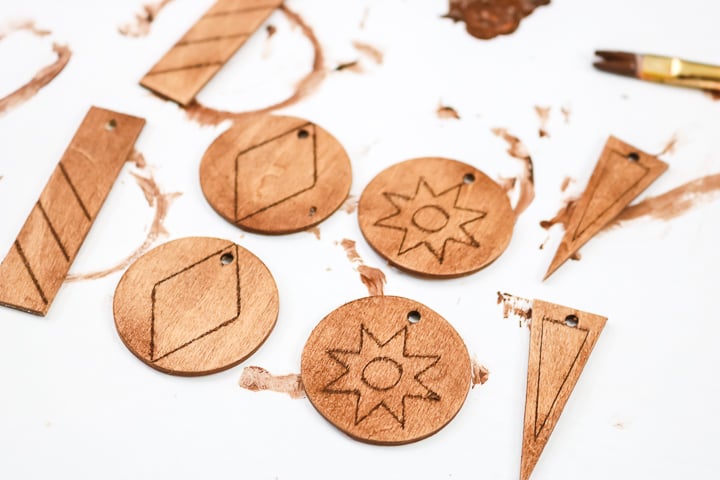
Check out some of the finished pieces up close. I’m kind of impressed at how great these actually look.
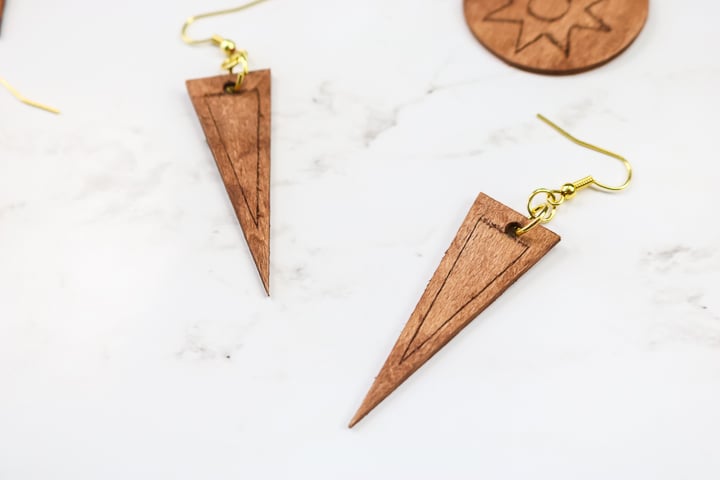
The more complicated designs are not as clean but they’re still pretty cute.
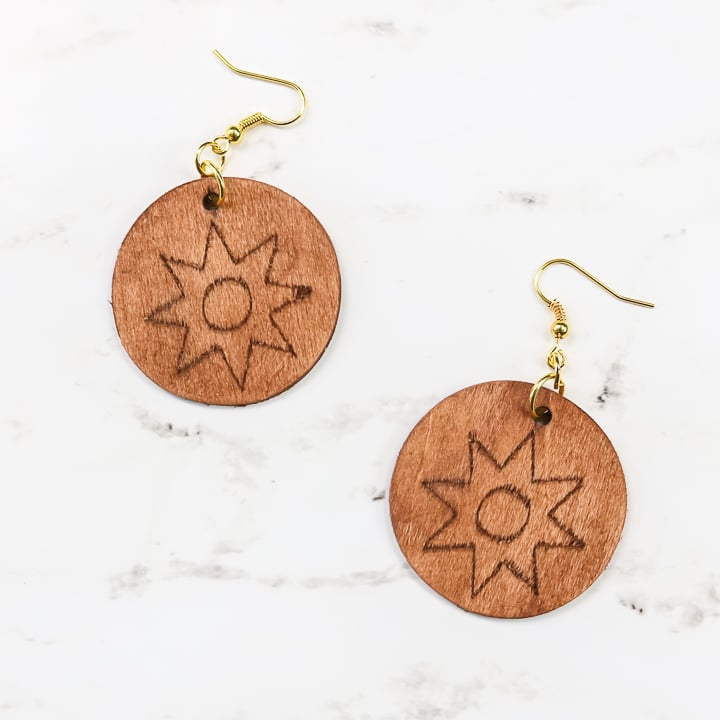
Overall I think the Maker does a really good job with engraving. You should definitely give engraving with wood a try on your Cricut Maker.
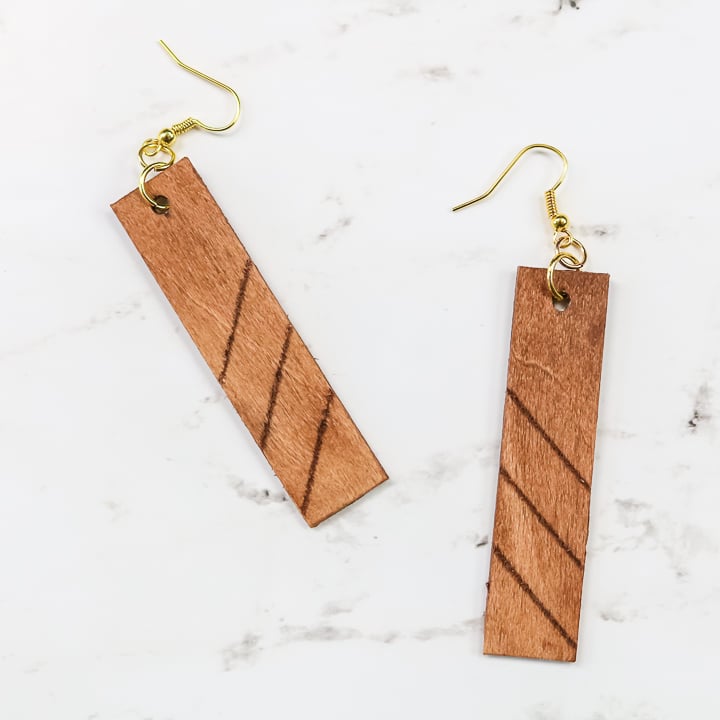
Will the Cricut Maker engrave wood? The answer is that it will engrave basswood and it does a fairly good job!
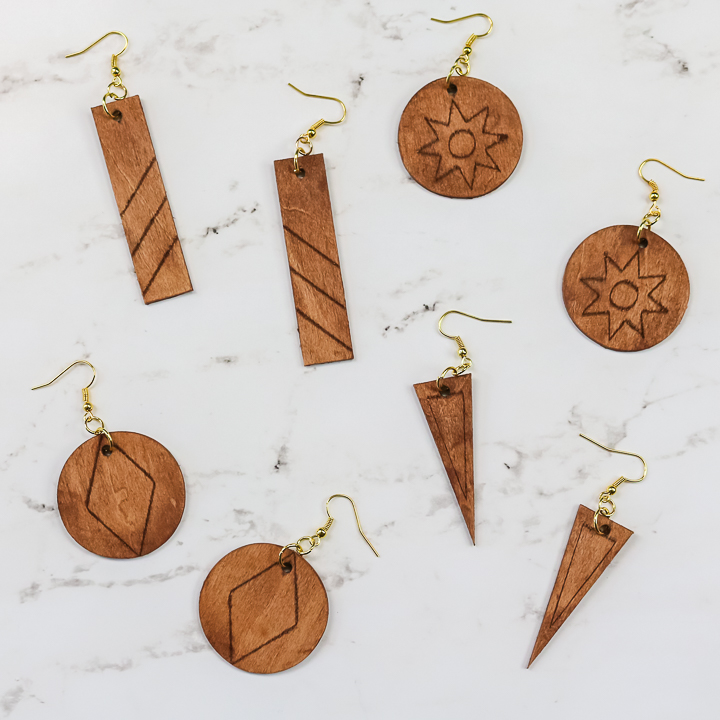
Don’t want to make earrings? Just think of some other wood project and an engraving you want on it. Then just go wild, have fun with it.
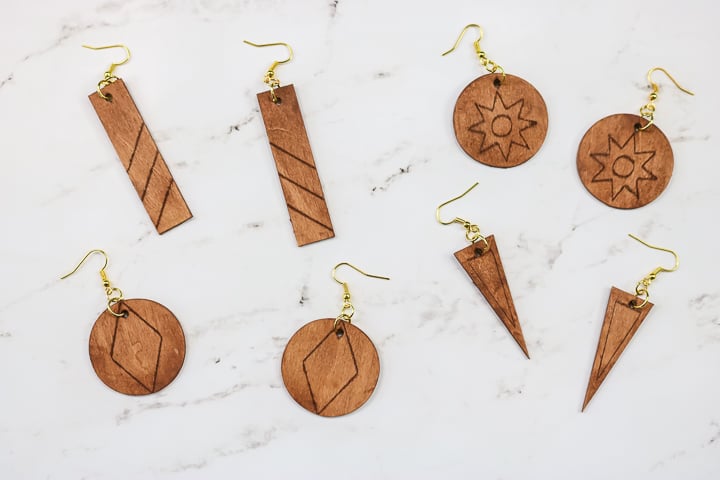
I will say that you might wanna start with something simple like these earrings just to kind of get a feel for the process. But after that, I would just jump in, pick a project, make it, and see what happens.
Love this and want more Cricut ideas? Try the links below!




Hi Angie, I ordered wood veneer for a project before deciding I wanted to try to engrave a design on top – would this work with the wood veneer and deep point blade plus the engraving tool or would it be too thin? Thanks!
I don’t think it will work with engraving. It is REALLY thin.
Hi Angie,
I am trying to decide if this is something that could work well for bamboo coasters. The designs are images with more details, some w/ Egyptian Hieroglyphics. Or would cutting out stencils and wood burning by hand (or chemical) probably be better than the engraving tool for this project?
Thanks!
The coasters are more than likely too thick to fit in the machine. I would probably do wood burning.
I have tried this and managed to engrave a piece of wood. I assume if the wheel on the bar is scoring the wood the material is too thick?
You can move the white star wheels over to one side to give yourself a little more room. You should always move the star wheels before working with wood materials 🙂
The coupon code doesn’t seem to be working.
It is probably expired.