You definitely read that title right! Today we’re engraving metal with Cricut Explore Air 2. This project can be made in any Explore machine, as well as any Maker machine. I finally found a tool I could recommend for the Explore series and engraving metal. I have been asked hundreds of times for this tutorial and finally, I have the solution for you! So, keep reading and then start creating!
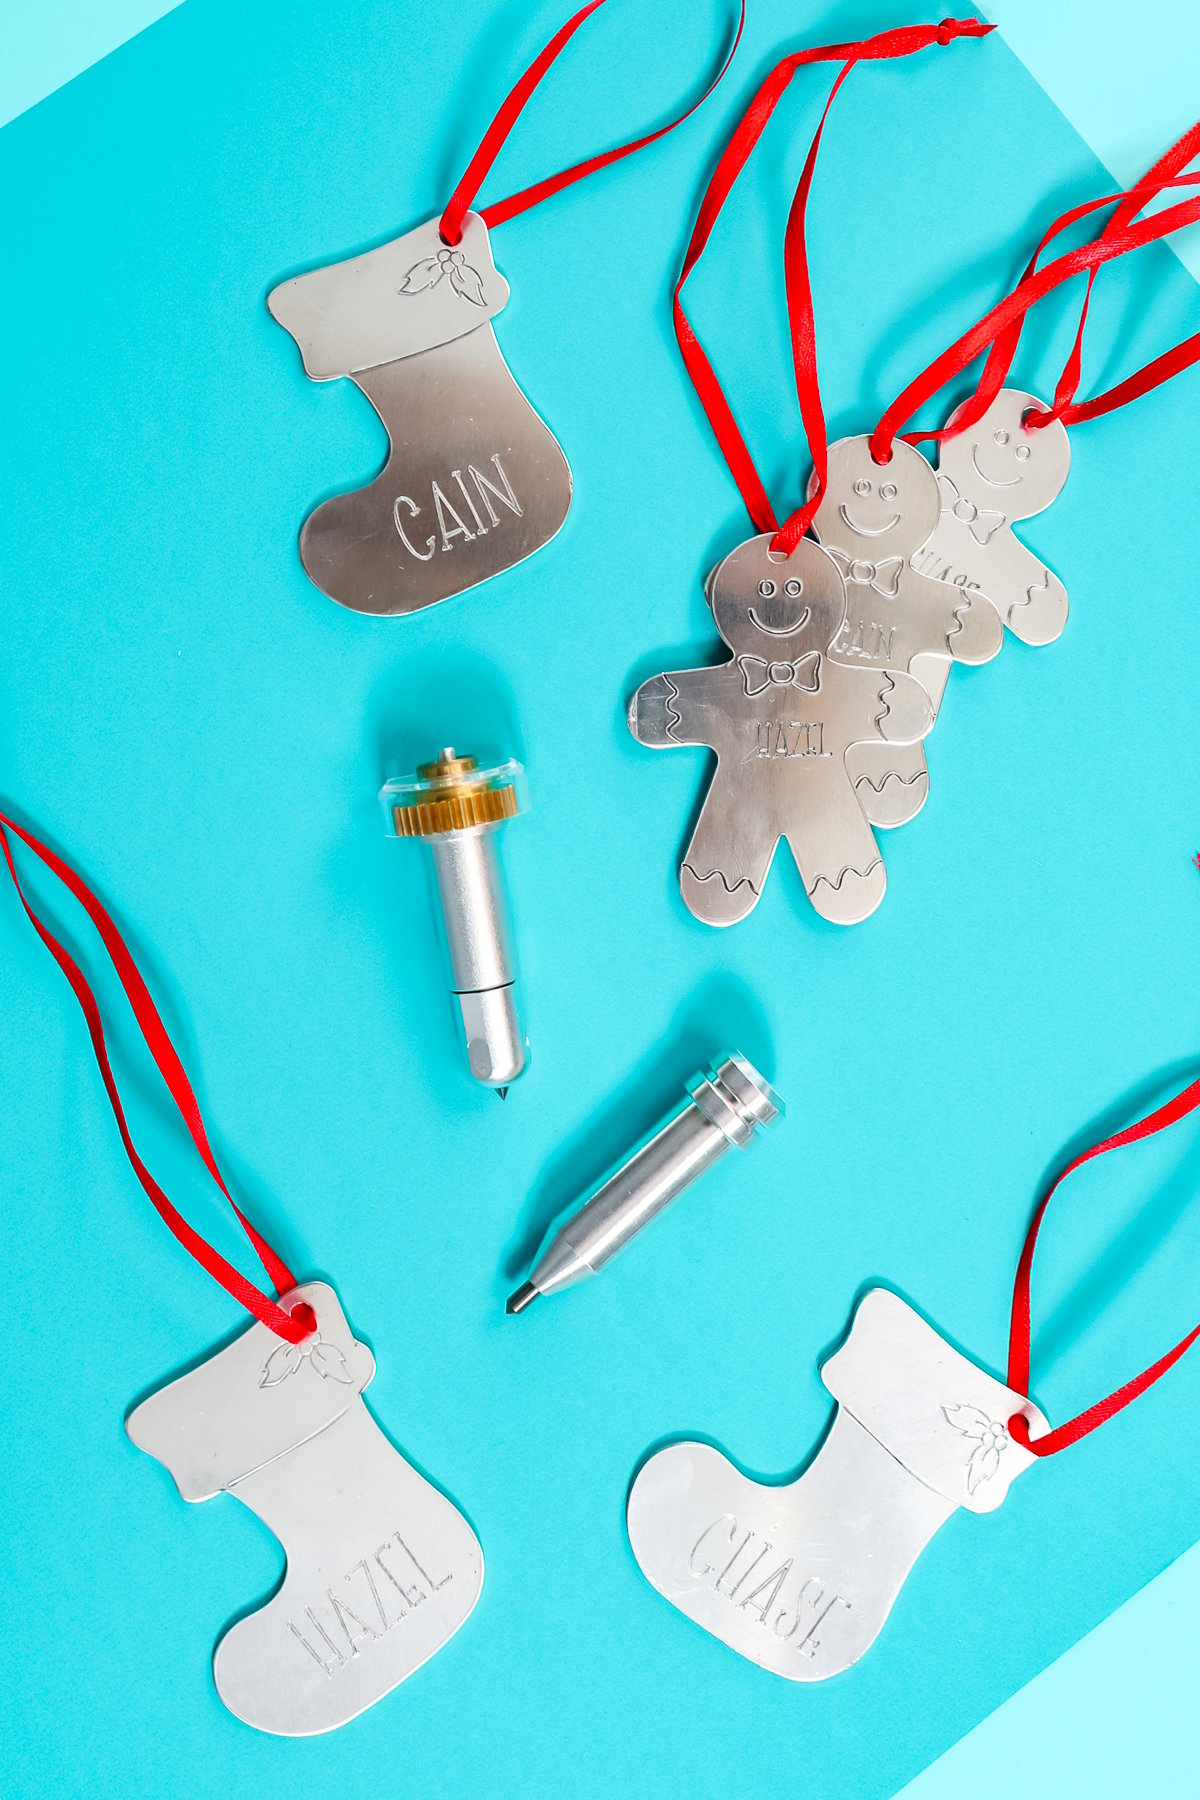
Engraving Metal with Cricut Explore
You can actually just click play on the video below and watch me use this tool. I think you will really be amazed at how well it engraves and how my Christmas ornaments turn out!
Can’t watch the video or miss some of the steps? Be sure to keep reading for more information!
Supplies Needed
- Cricut Explore Metal Engraving Tool
- Cricut Maker Engraving Tool (if you have a Maker instead)
- Metal Christmas ornaments
- Cricut machine
- Strong grip mat
- Strong grip transfer tape
- Stamp enamel marker
- Brayer
- Paper towels
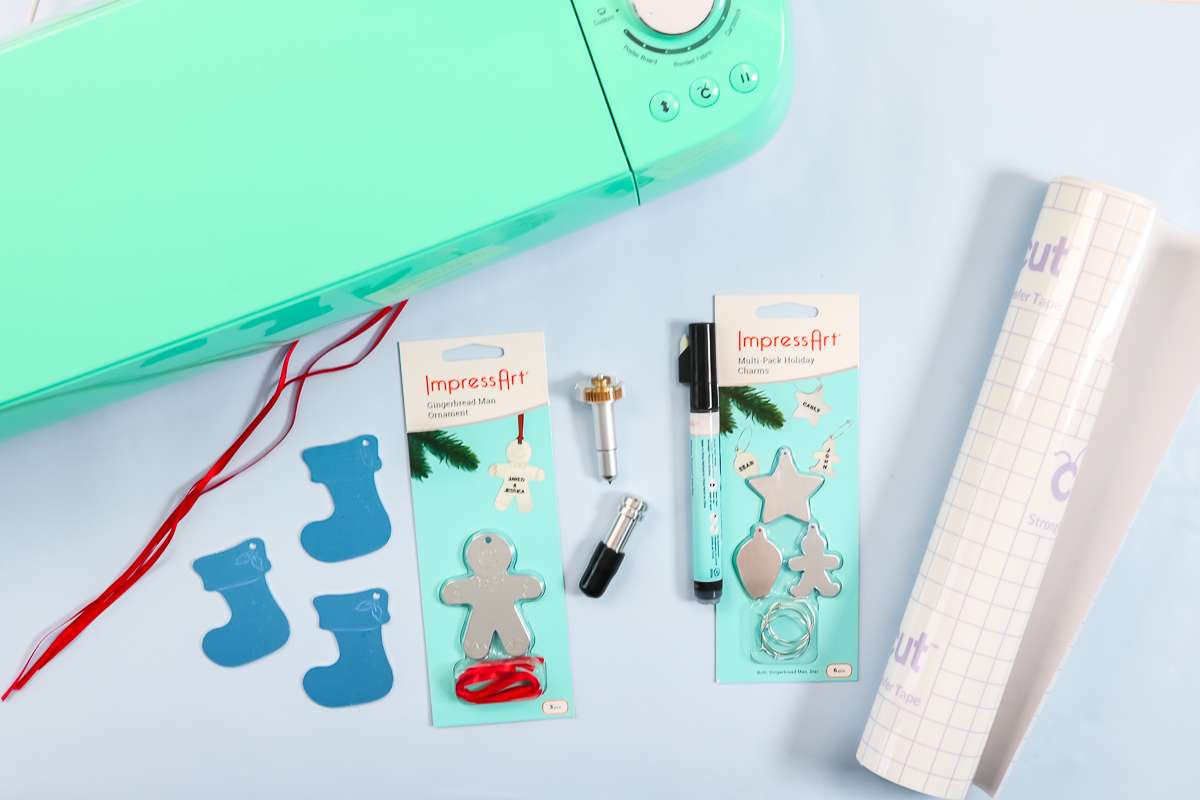
Cricut Explore Engraving Tool
Let’s talk a little bit about the tool. The tool is an engraving metal tool and it says it can be used in the Explore or the Maker. First of all, I’ve only used it in my Explore Air 2. Second of all, the tool is not made by Cricut, so you do run the risk of voiding your warranty on your machine if you use this tool. My machine is an older machine, so I’m really not worried about it.
Once again, I’m going to use my Explore Air 2. This tool does fit any of the Explore machines, and it comes with instructions for what your setting should be for any machine you’re using. It comes with the little cap that goes in the end. You will need to remove that to use it. Then it also comes with a brief instruction sheet on settings to use with your Cricut machine.
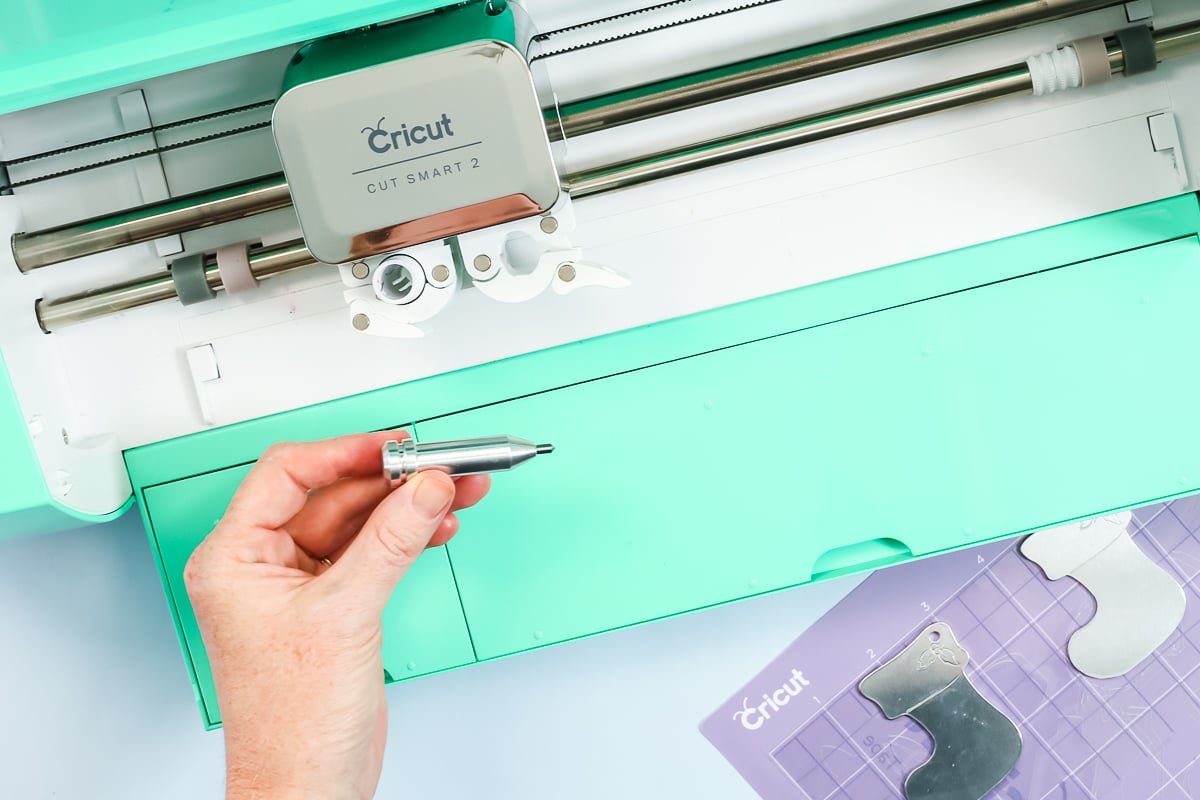
A few weeks ago, I was on the “Because We Make” podcast. As we were chatting, they mentioned a tool that could engrave and it said it could be used on the Explore. I’ve been looking for a good tool recommendation for the Explore just to try metal engraving for months now. I finally had a really good recommendation and I decided to try it. And guess what? It worked!
Using the Cricut Maker
If you have the engraving tip with the QuickSwap Housing for the Maker, you can do this same project with that tool and machine that you already have, so don’t think you have to go out and specifically get this tool and the Explore to do this project.
Designing your Project
We are going to be engraving metal Christmas ornaments today. If you want to make some cute metal ornaments engraved with the child’s name, this is the perfect way to do that. You could also engrave things like a baby’s first Christmas or a couples’ first Christmas together. You can engrave whatever you want on these ornaments, just as long as you can put the text into Design Space.
First, you’ll want to get your names into Cricut Design Space. If you’re using your Explore, I would suggest a skinny font. We have to use a cut operation because we are tricking the machine a bit. The Explore does not have an engrave operation so we will be using a cut instead. With the cut, your project will look better with a skinny font.
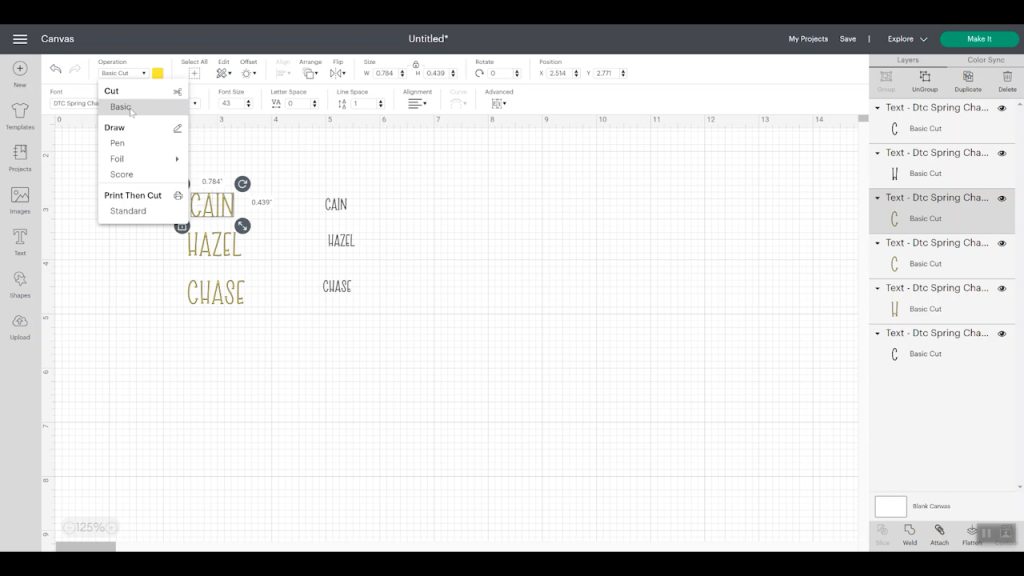
If you are doing this with a Maker machine, you can pick an engrave operation and you can actually pick a writing style for your font. To find a writing font, filter the fonts by writing and you get ones that are a single line.
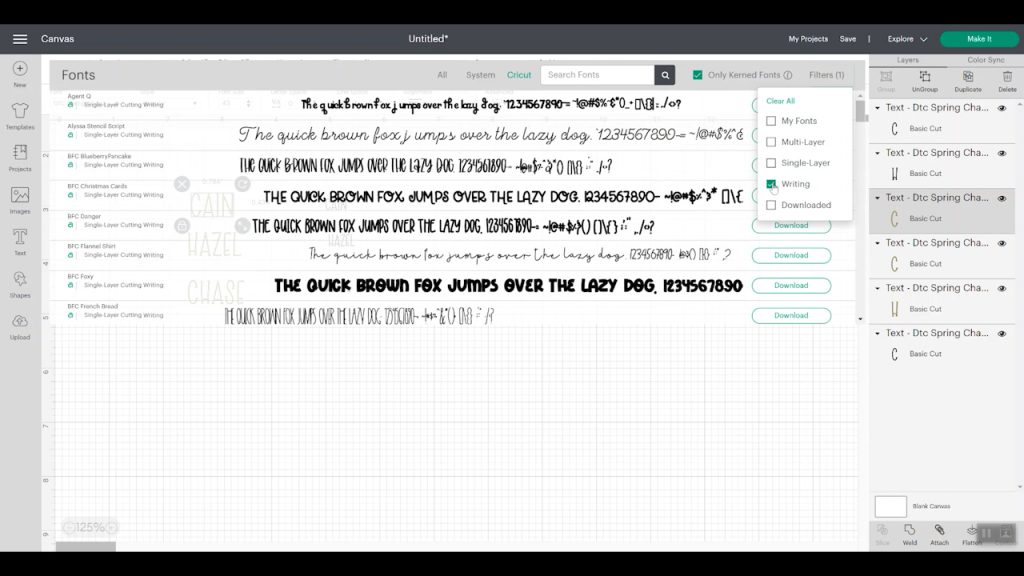
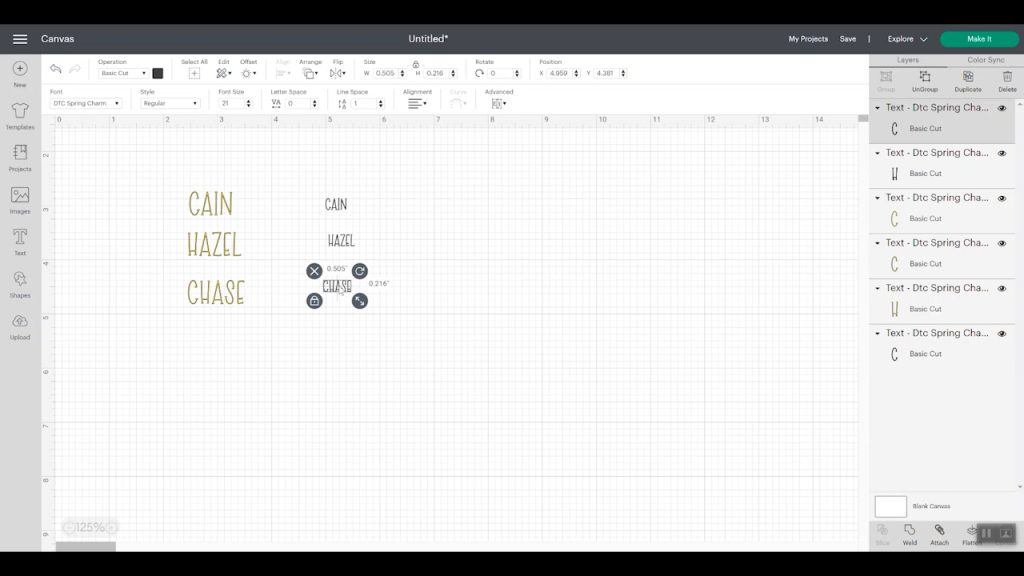
I’m going to use two different blanks for my ornaments. With the first, the word can be about one inch wide. With the other, it can only be about half an inch wide. I put the names I’m going to use into Design Space. I picked the one that was the longest and I made it a font size of 43 to get my length. Then I made all three of the names for engraving the same font size. This ensures that your names look similar when engraving and will look good as a set.
I am using the same font for both of my ornaments and that is DTC Spring Charm. Again, you can pick any font you would like, but remember that with the cut, it is going to go all the way around the outside edge, like an outline. This is why I like a skinnier font for this project. I also changed the words for my first project to one color and the words for my second to a different color.
Locating your Designs
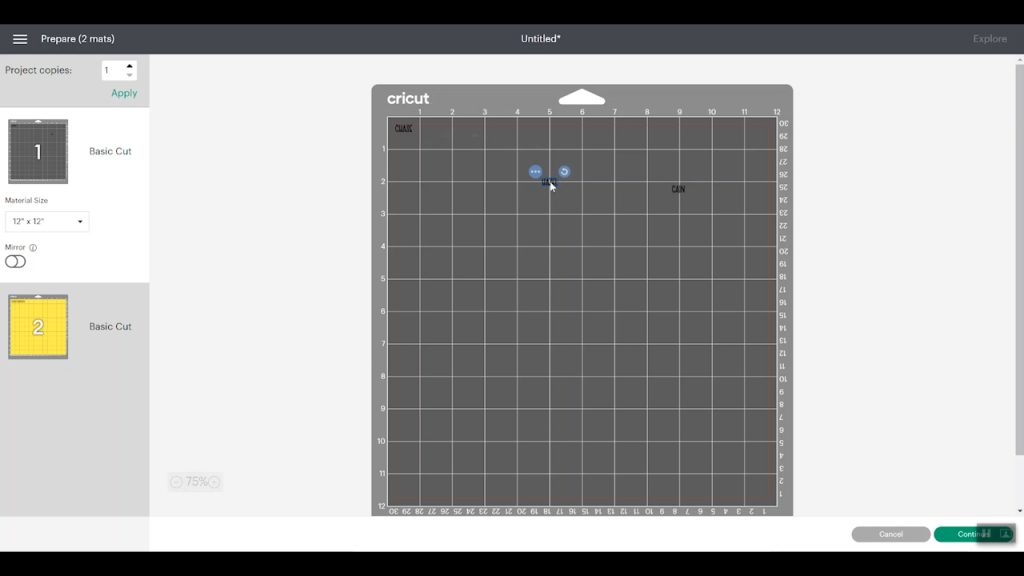
Then once I click “make it”, the yellow will be on one mat, the black will be on the other. Pick each of the names and move them around on the mat to where your blanks are located. You want the screen here to match the location where you put the actual blanks. You can see more about getting your location correct here. Once the cuts are located, click “continue” and use a cardstock setting, as that is what is recommended by the manufacturer of the tool.
Adding Metal Blanks to the Cricut Mat
Add StrongGrip transfer tape to the StrongGrip mat. Put the transfer tape grid-side down onto the mat. You want to make sure it’s down really, really well on the mat. I like to use something like my brayer to go over it and make sure it’s down really well.
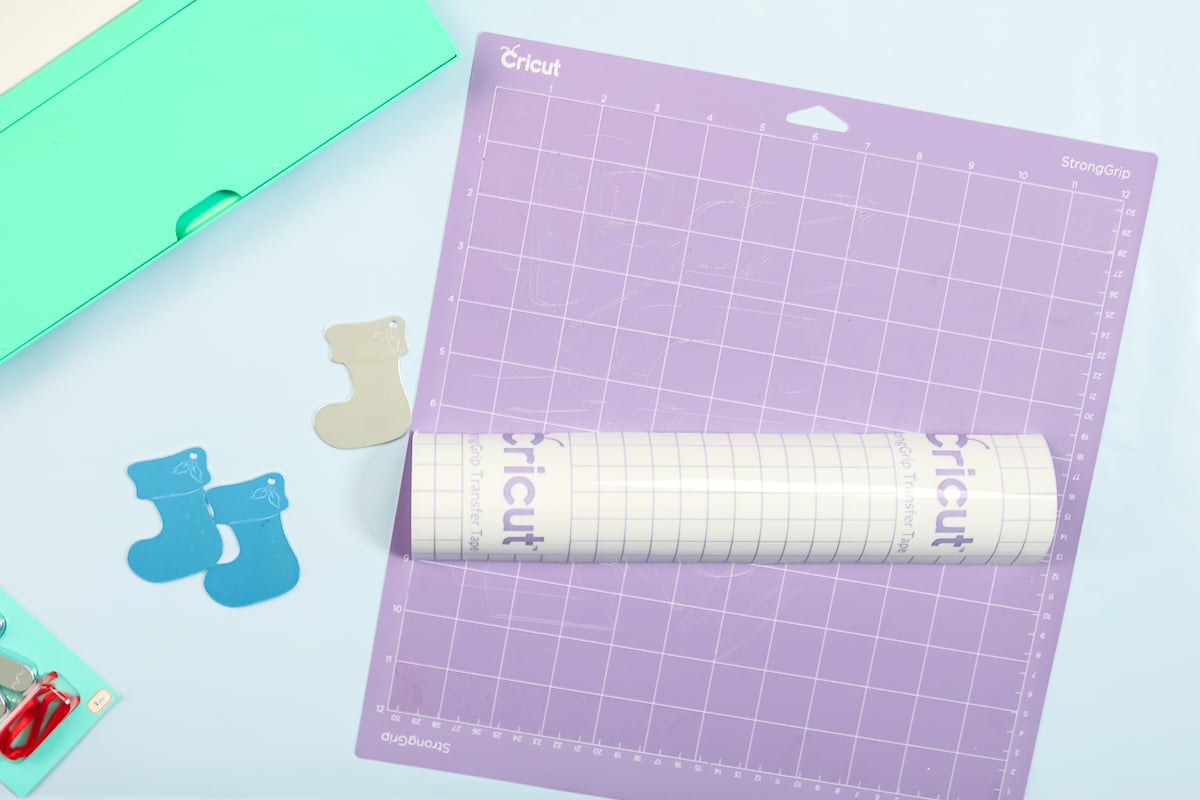
Then just peel up the backing sheet, leaving the tape itself right on your mat.
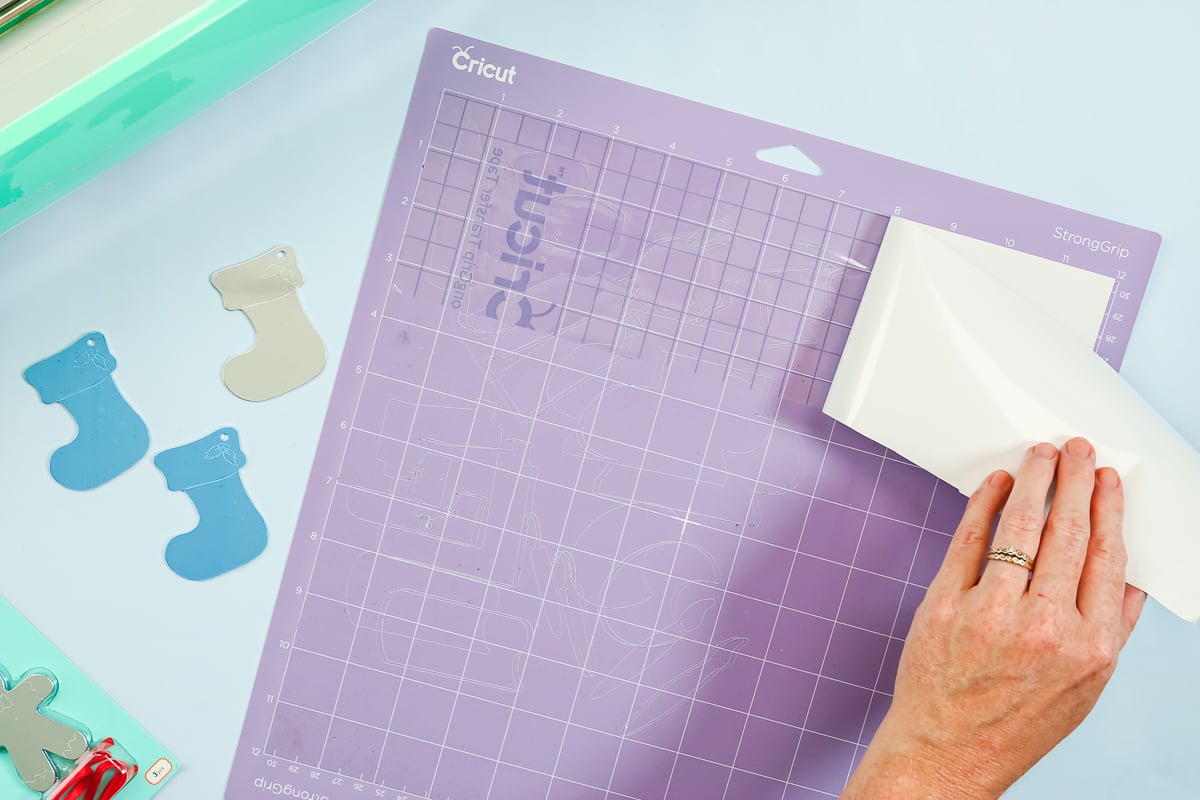
This particular blank had a protective sheet on both sides, and I just peeled that off on both sides. Decide where you want to engrave and add the blank onto the transfer tape that is on your mat. Just be sure the area where you want to engrave is over a gridline on your mat so that you know where to move your design in Cricut Design Space. Repeat the same process for the rest of the ornaments.
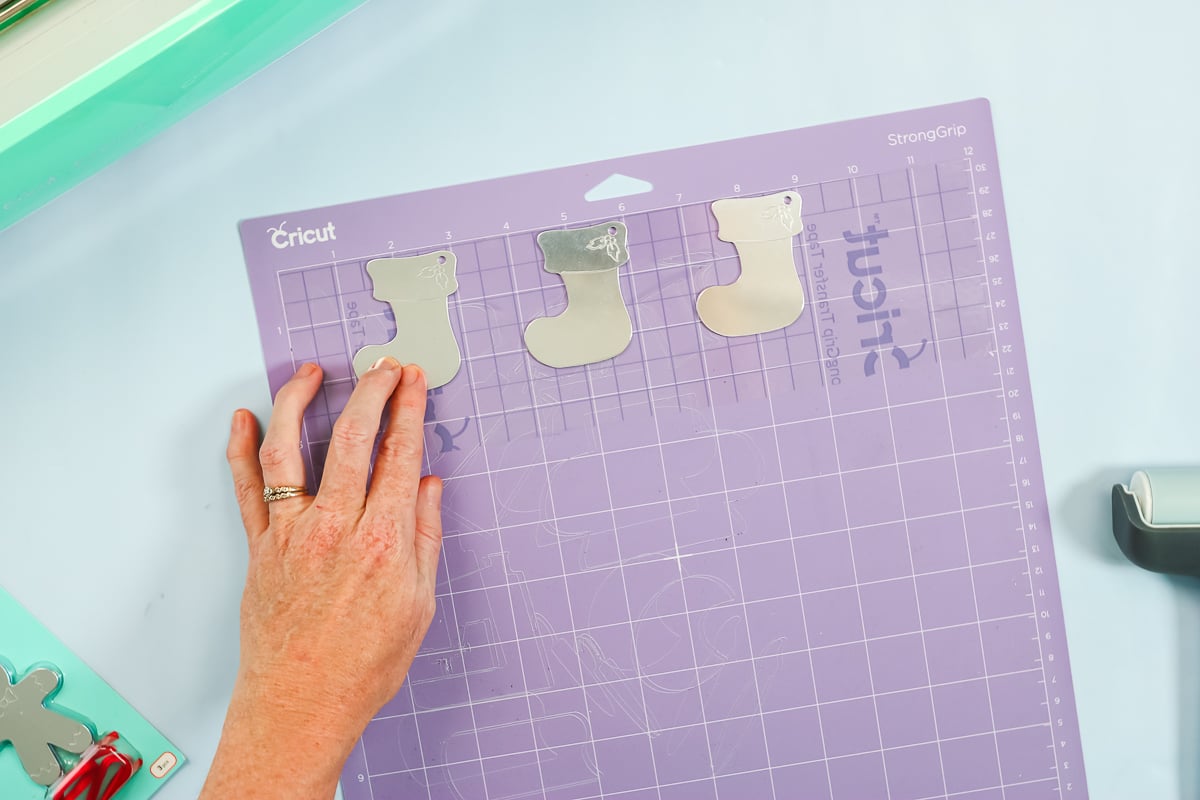
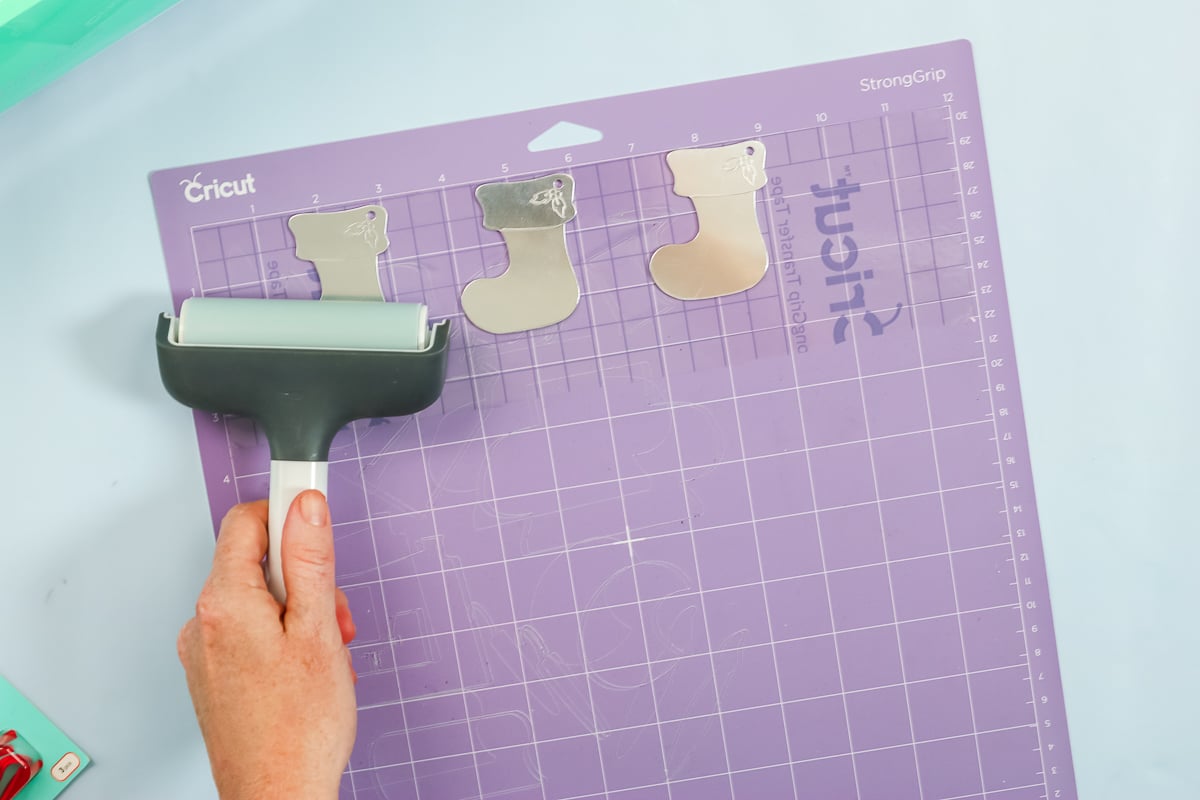
Again, I want these to be down really well on the mat, so I’m going to roll over them with the brayer and make sure they’re stuck well. Remember to move your designs in Design Space to the location of each of your blanks on the mat before continuing.
Preparing your Machine
NOTE: This engraving tool is not made by Cricut, so it may void the warranty on your machine,
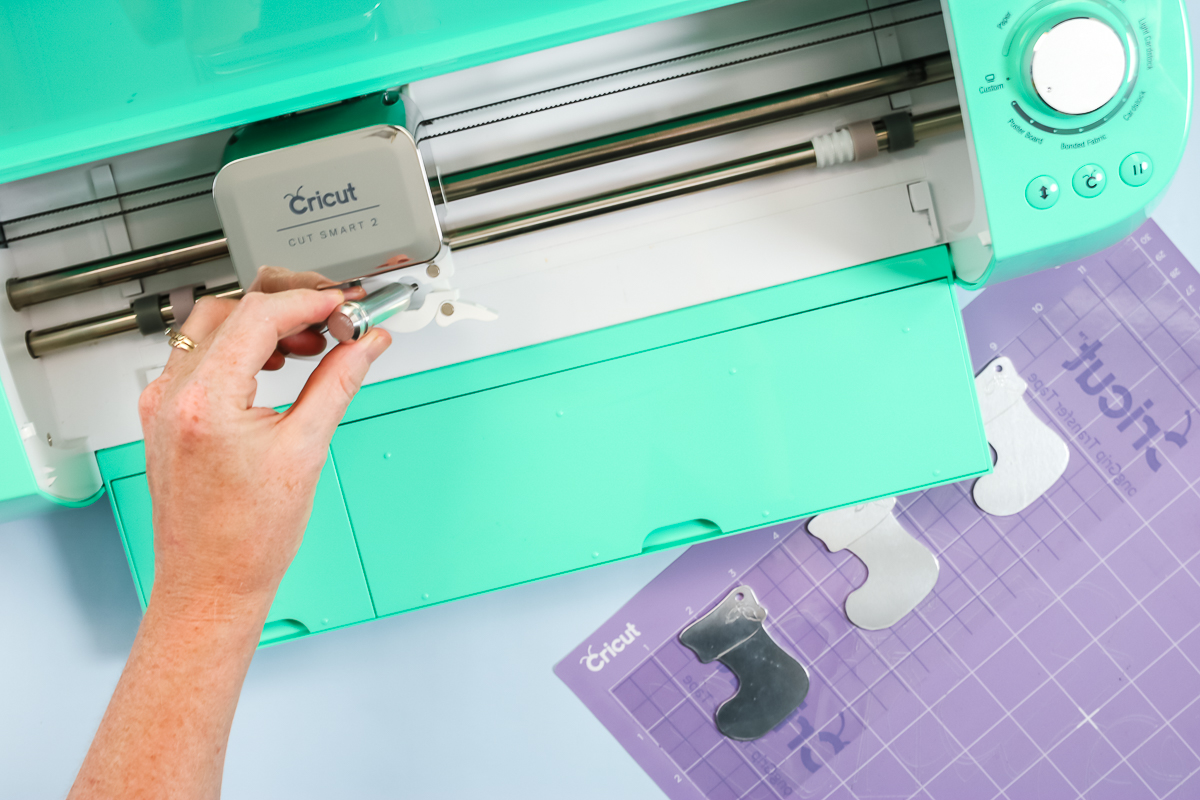
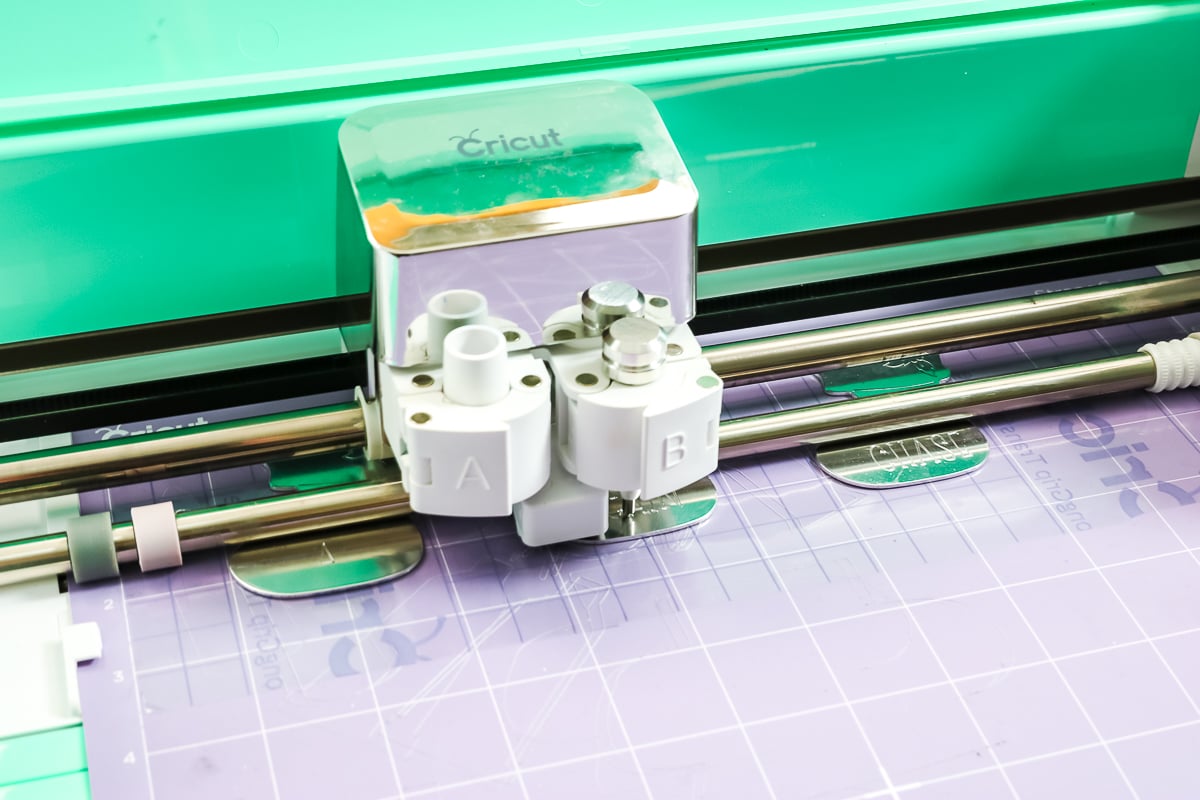
Move the white star wheels all the way over to the right. Remove the fine point blade from the clamp. I picked glitter cardstock as my setting, and Design Space says I need to load the fine point blade. This is what it should say as we’re going to trick it a little bit with this engraving tool. Drop the engraving tool into clamp B and close it.
Engraving Matal with Cricut Explore
Load your mat into your Cricut machine. Press the C to cut, or in this case, engrave.
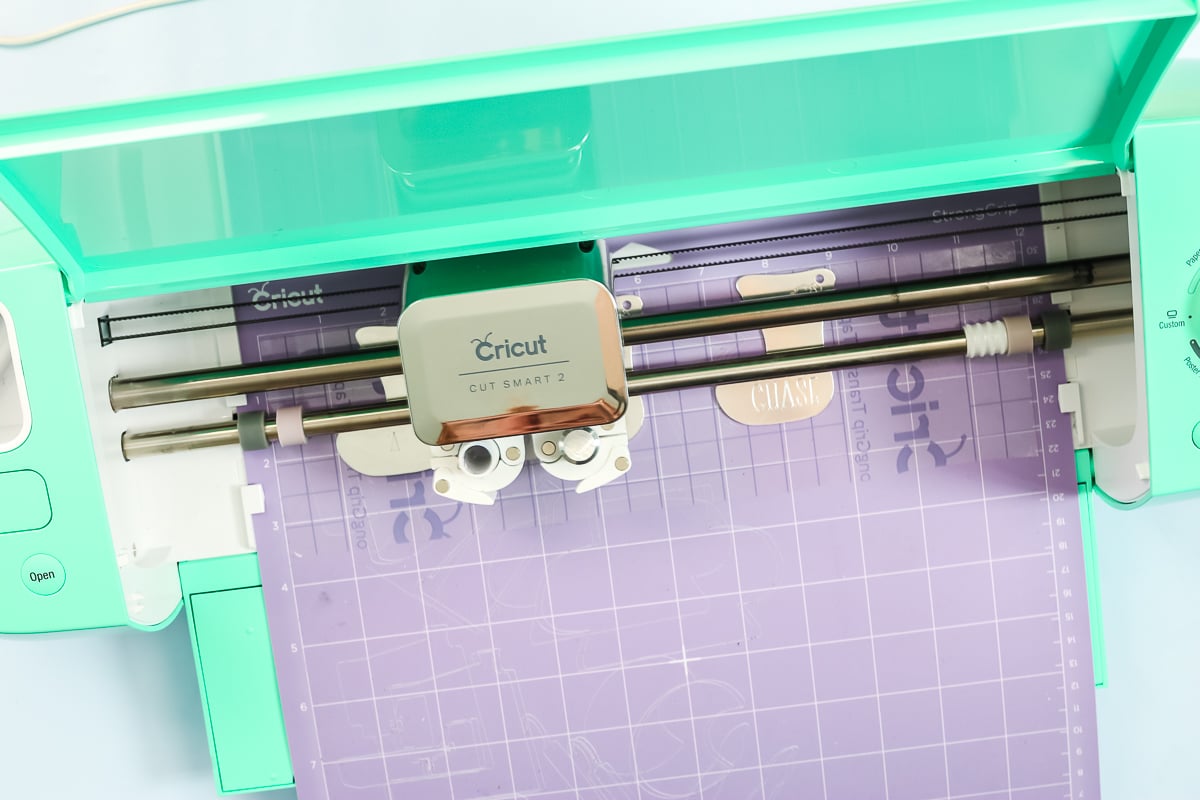
When it’s done, DO NOT eject it from the machine. You want to look and make sure you’re happy with this engraving. Does it need to be deeper? If so, you would press the C button again and let the machine go over the entire project again.
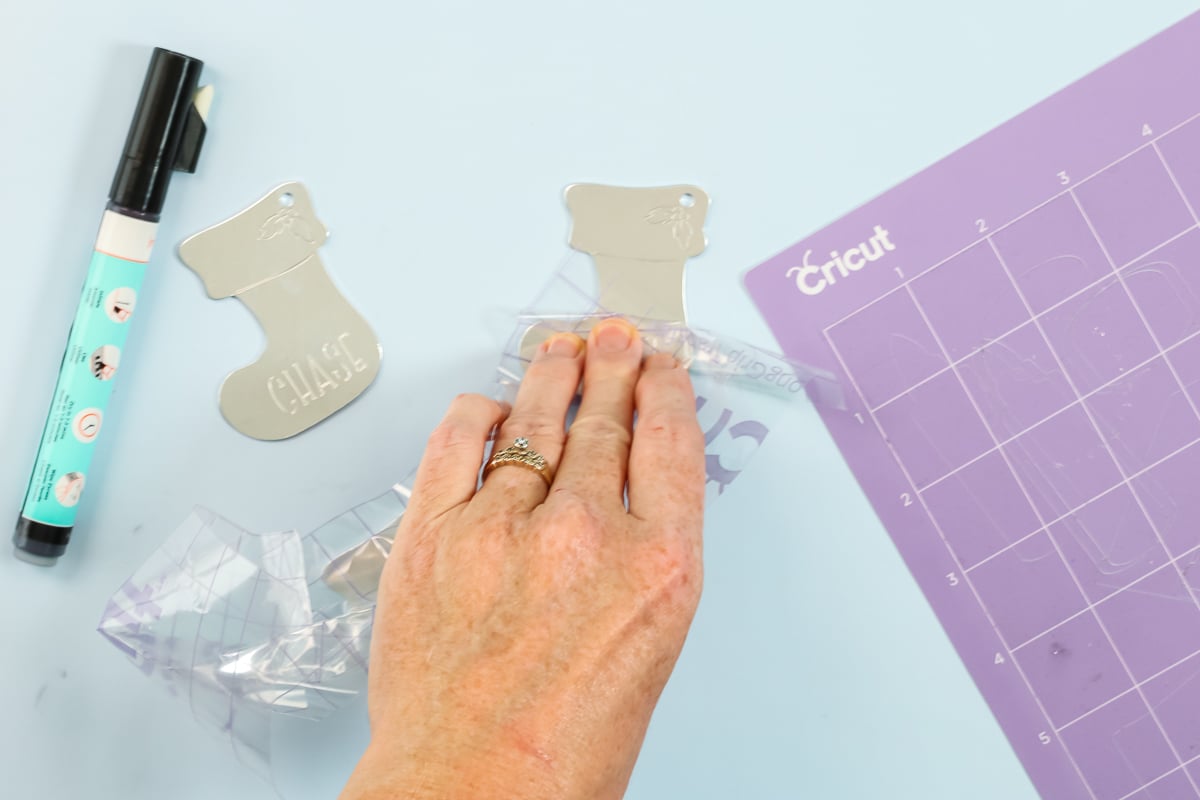
If you are happy with the way it looks, eject the mat. You might find that there is some debris on the surface. I like to just use this StrongGrip transfer tape and put it on top of the ornament and lift it up. I’ll just lift up all of those little bitty bits and pieces. Then just remove each of the ornaments from the transfer tape.
Finishing the Ornaments
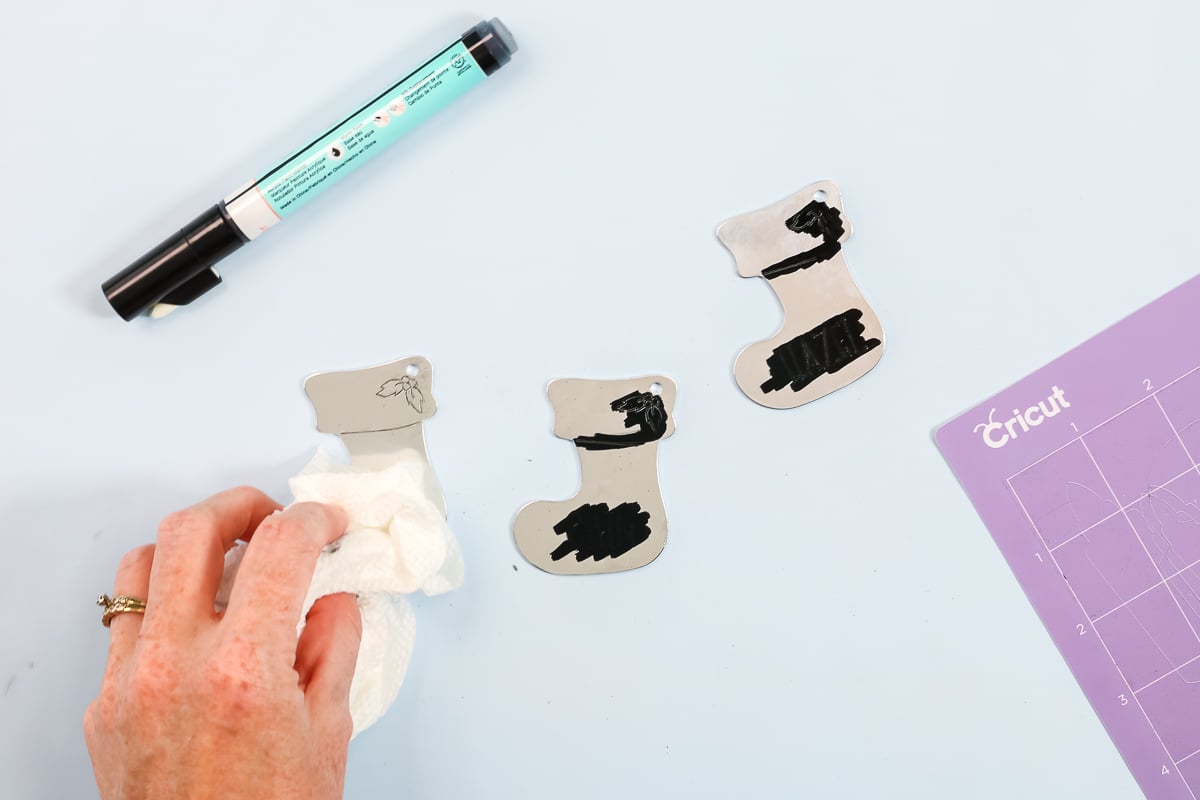
To finish these off, I like to add an enamel marker to my engraving. I’ve used this marker several times. If it’s your first time using it, you may need to prime it. I’m actually going to go over the engraving we just did, as well as what’s already on these ornaments. Just add some enamel over the entire area.
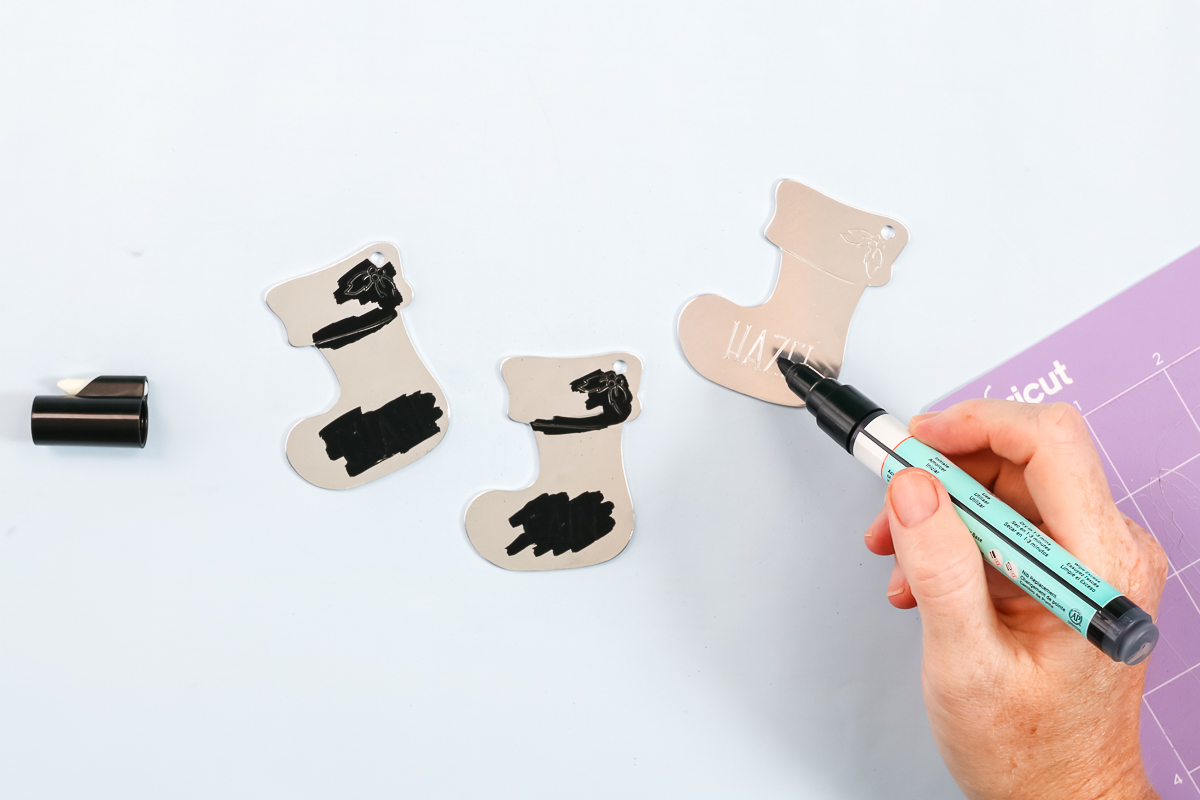
Allow that to dry for just a few minutes and wipe it off with a paper towel. You should see black, in this case, down inside all of your engravings. It just makes them pop a little bit more than before.
Add a ribbon and this one is ready for the tree!
Concerns with Locating Engraving on a Cricut
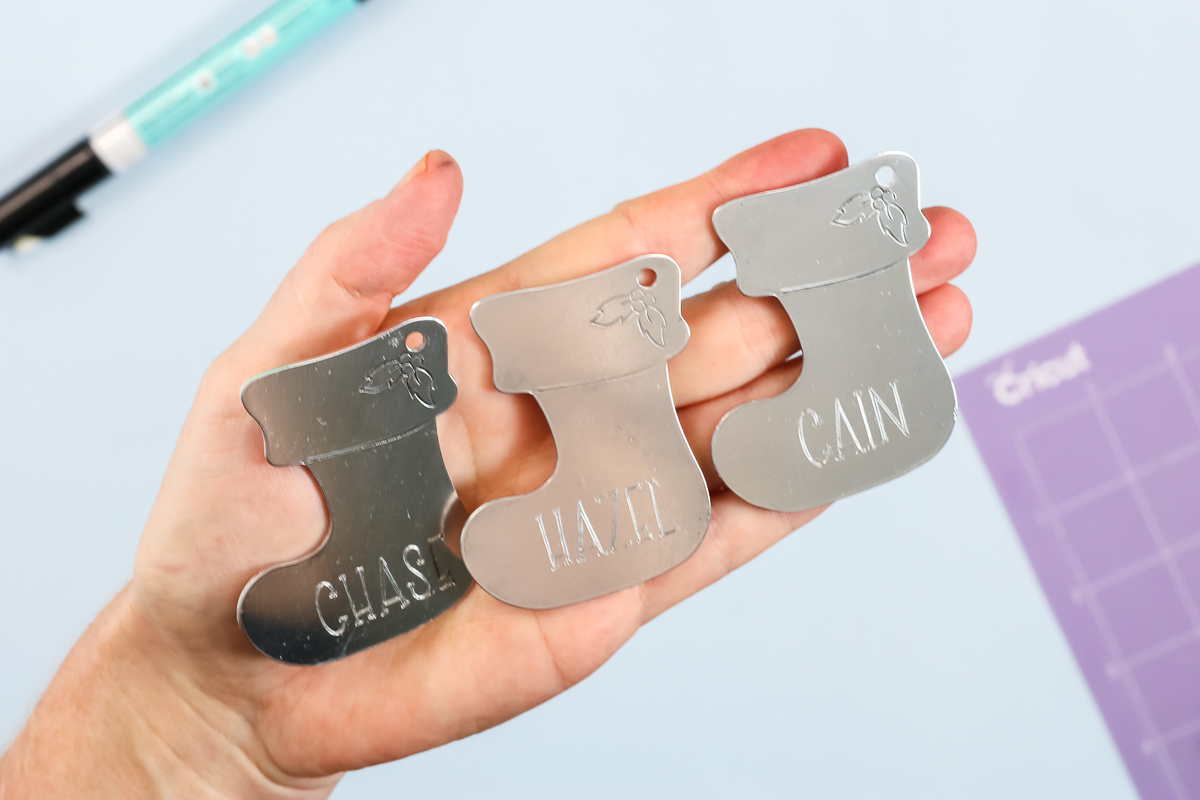
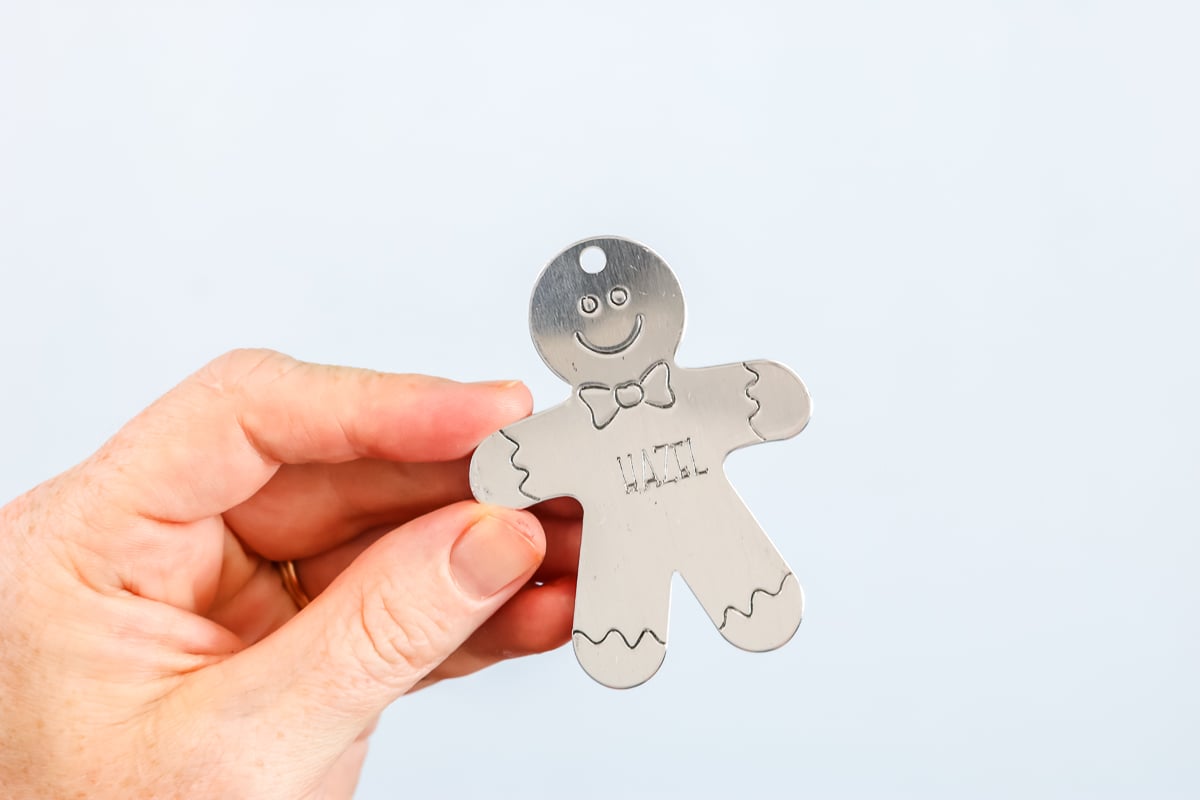
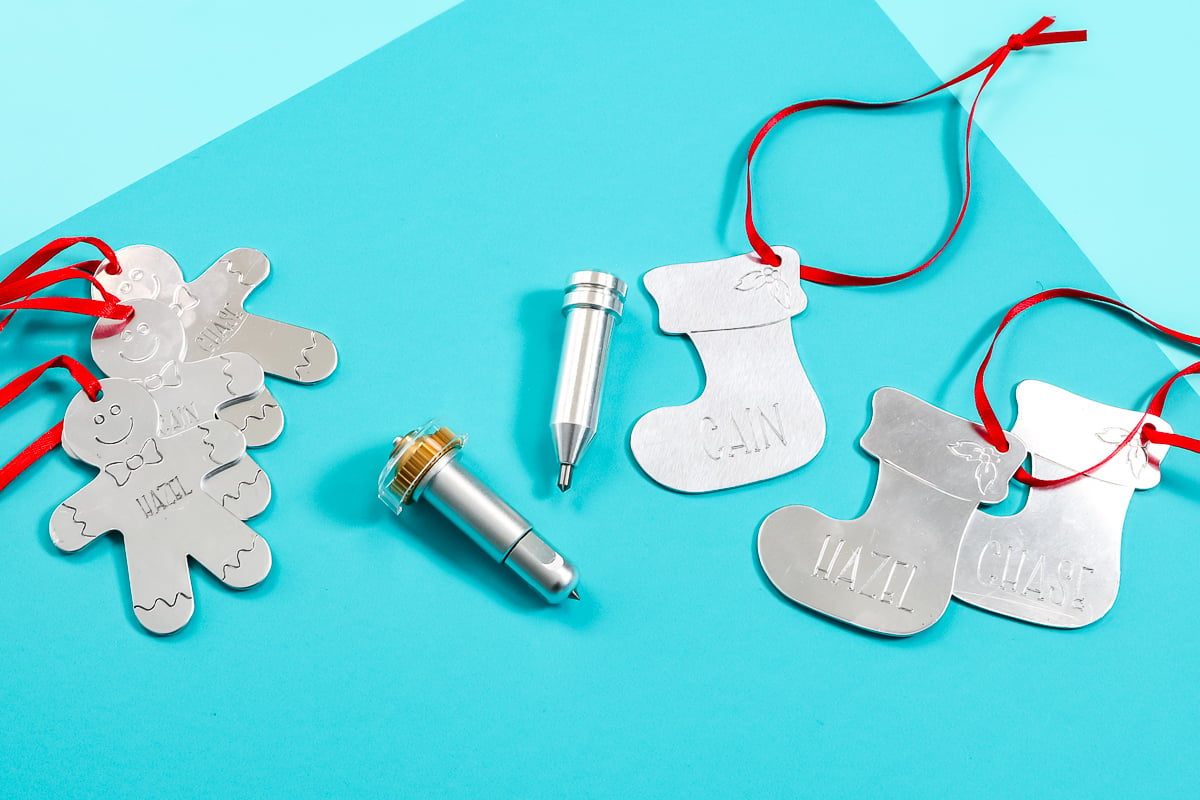
I love the way these cute, little ornaments turned out. I got the location a little off on the gingerbread men. The smaller size was harder for me to locate in Design Space. I would probably need to play with the location if I was going to make several of those for gifts.
The location of the larger one with the stocking was really great the first time I tried it, so I know that those would work.
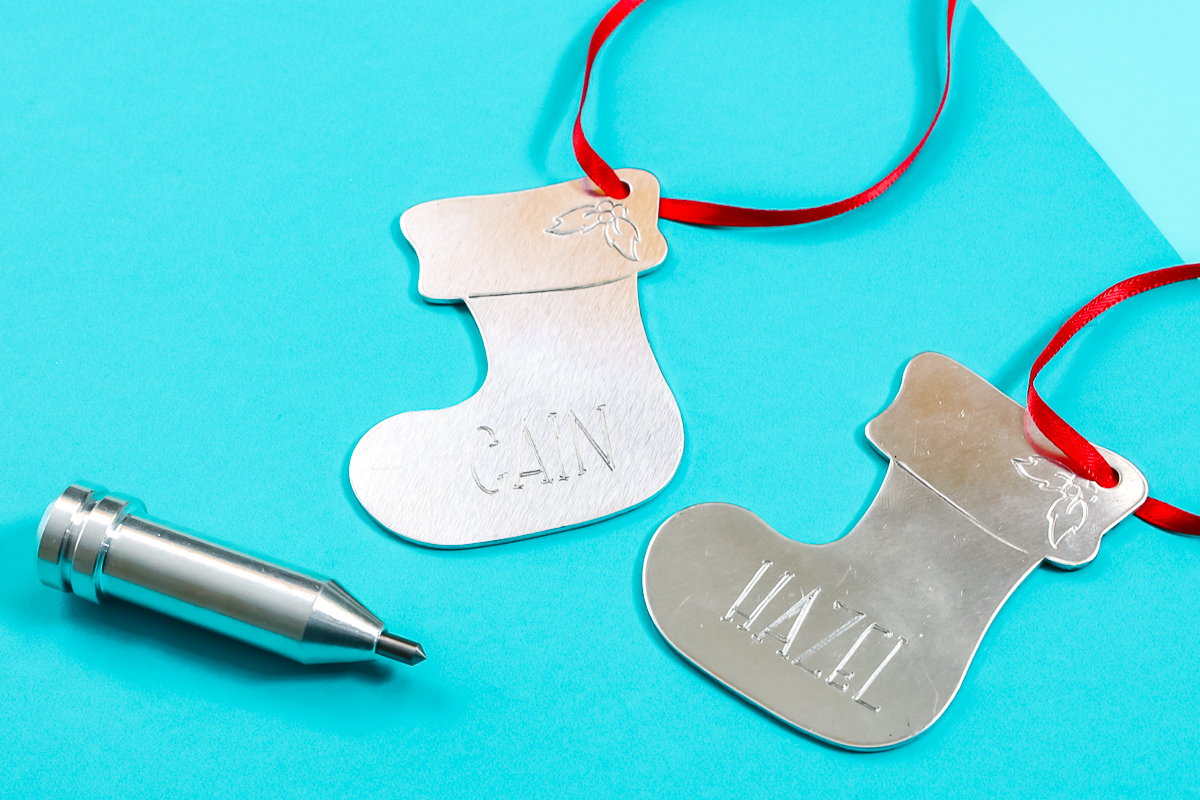
I would say that the smaller engraving that you’re going to do, the more of a chance you have to get it slightly off, which makes it look way off when you actually get your project done. For those smaller blanks and smaller names, you might need to tweak that location quite a bit by doing some test runs.
More Metal Engraving Projects
If you are going to get this engraving tip and you’re excited about engraving with your Cricut Explore, I would encourage you to look at our other metal engraving videos. We’ve done bracelets in the past as well as metal ring dishes, and now with this tool, you can make those as well. Engraving metal with Cricut Explore machines is totally possible and can open up a whole world of project ideas. If you have the Maker with the engraving tip and QuickSwap Housing, you can also make these Christmas ornaments and the projects linked above. So, now if you have an Explore or a Maker, you can engrave metal and make something amazing!
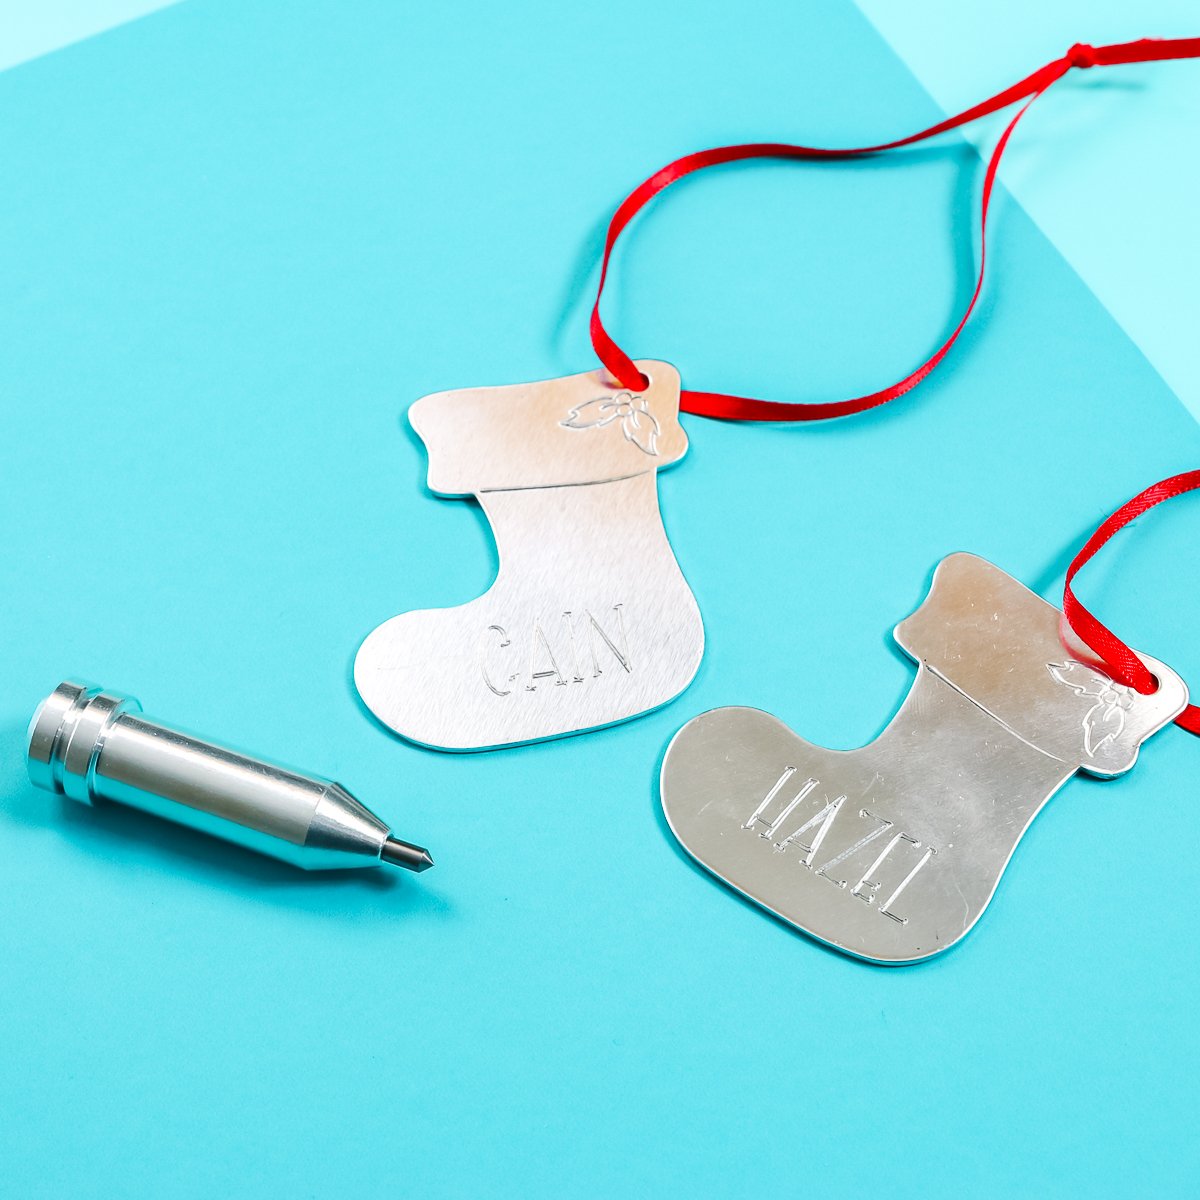
So, will you try engraving metal with Cricut Explore Air 2? Or maybe a Cricut Maker? Remember this will work in an Explore 3 or Maker 3 as well! If you have an Explore series or Maker series machine, you can engrave metal!


I have tried to use the 41 engraving tool in my Explore Air 2 but it does not fit it is just to loose. I believe its supposed to be in A not B, B is just to loose. Any suggestions?
I’m not sure what you mean by the 41 engraving tool, do you mean the Cricut Engraving tool? That is not the name of the tool I used for my example, the engraving tool that Cricut sells ONLY works in the Maker machines with the adaptive tool system, they cannot be used in the Explore machines.
Engraving tools should always be in the B clamp of your machine.