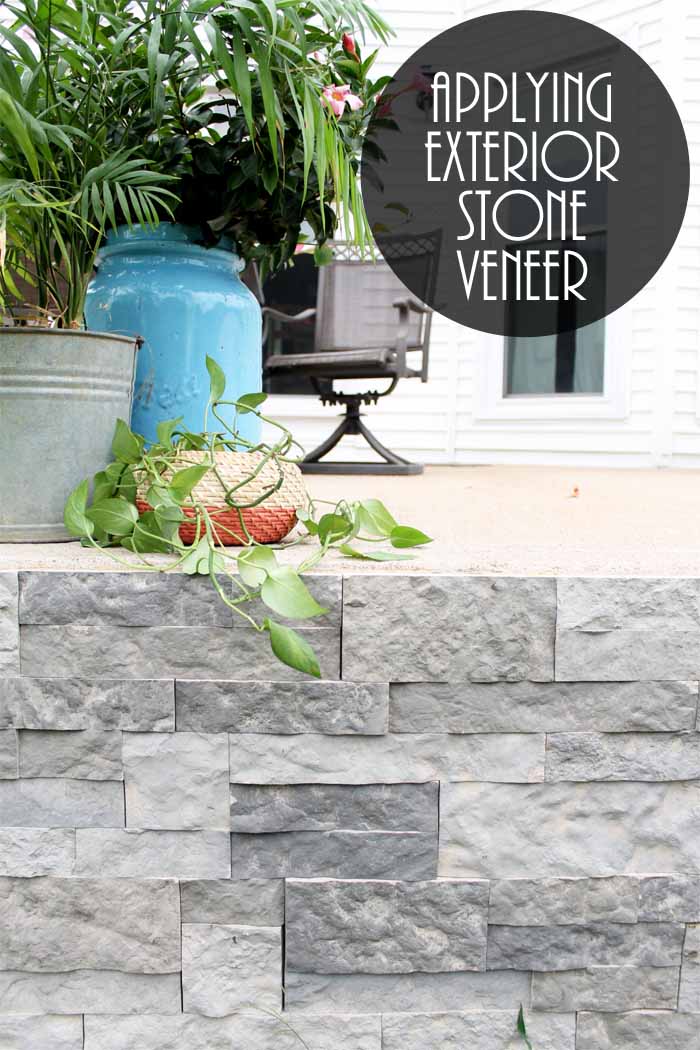
I recently jumped into adding some exterior stone veneer around the back porch on our home. I thought I would share some tips and tricks for installation with you here today. This product is actually super easy to use and perfect for do-it-yourselfers looking to improve their curb appeal. This post is sponsored by AirStone however all projects and opinions are my own.
The Before
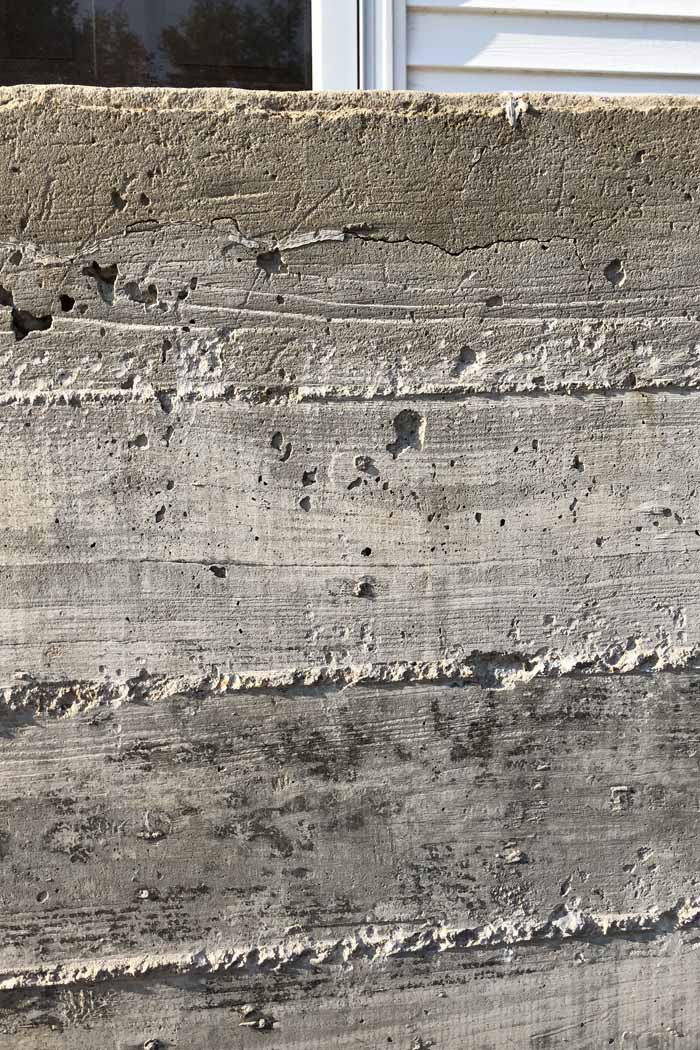
We had a very uneven surface that looked like the image below. I started this project by leveling out the surface some with a chipping hammer. This may not be required in all cases as you may be starting with a smoother surface then this one.
Exterior Stone Veneer
Now let’s dive into what we are using to cover up this surface and how it was applied. Then you can see some after shots and how much better everything looks now that this big project is complete!
The Product
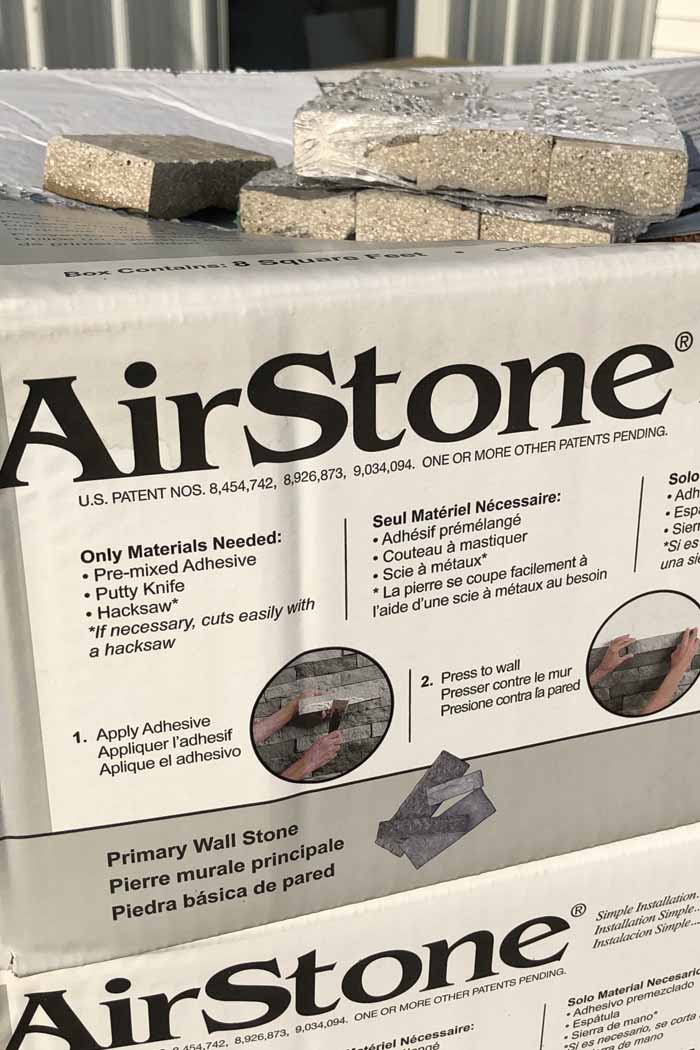
AirStone is an ultra-light recycled material that provides the beauty, texture, and durability of real stone without the need for professional installers or specialized tools. I am going to talk about the exterior applications but you can actually use this indoors as well. Start by choosing from three color options that match your exterior. I went with Spring Creek for my project. Each collection is made up of stones of varying sizes and color tones. All have the texture, feel, and durability of real stone — but weigh 75% less. Now that is a win-win!
You will need both primary wall stone and corner/finished stone if you have any corners or exposed edges. Individual stones are 2″ or 4″ in height, and vary in length from 4″ to 12″. Stones average 3/4″ in thickness, however since all stones are cast from real stone, the stones have peaks and valleys at various points. It can be installed directly onto most surfaces including drywall, concrete and brick.
Corner/Finished End Stones have two different applications. To create a corner, you can pair a rolled end piece with its mirror-imaged primary stone mate (the face contour will match). To create a finished-end, use the rolled end piece as the last stone of the row, and use its mate anywhere as a primary wall stone.
Application
I found that starting on one end and working in one direction worked best. On a small portion of my project, I started from both ends and found that getting it to match in the middle was not ideal.
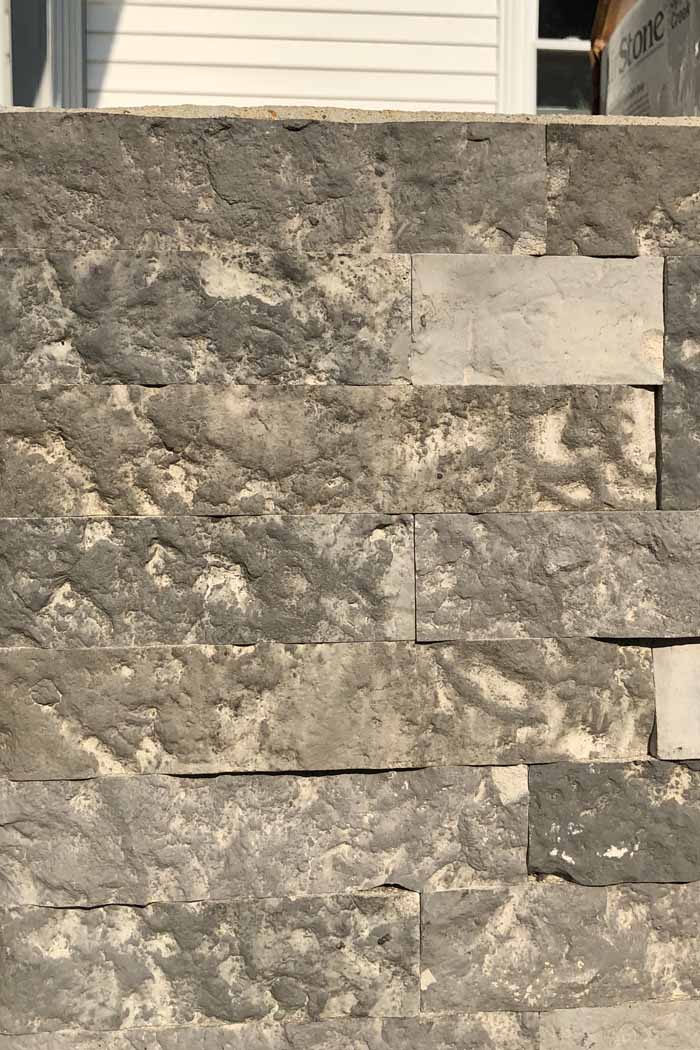
Since I am using Airstone for exterior stone veneer, the adhesive recommended is the Loctite® PL® Premium Polyurethane Construction Adhesive. TIP: The larger tubes and caulk gun made the project go a bit faster.
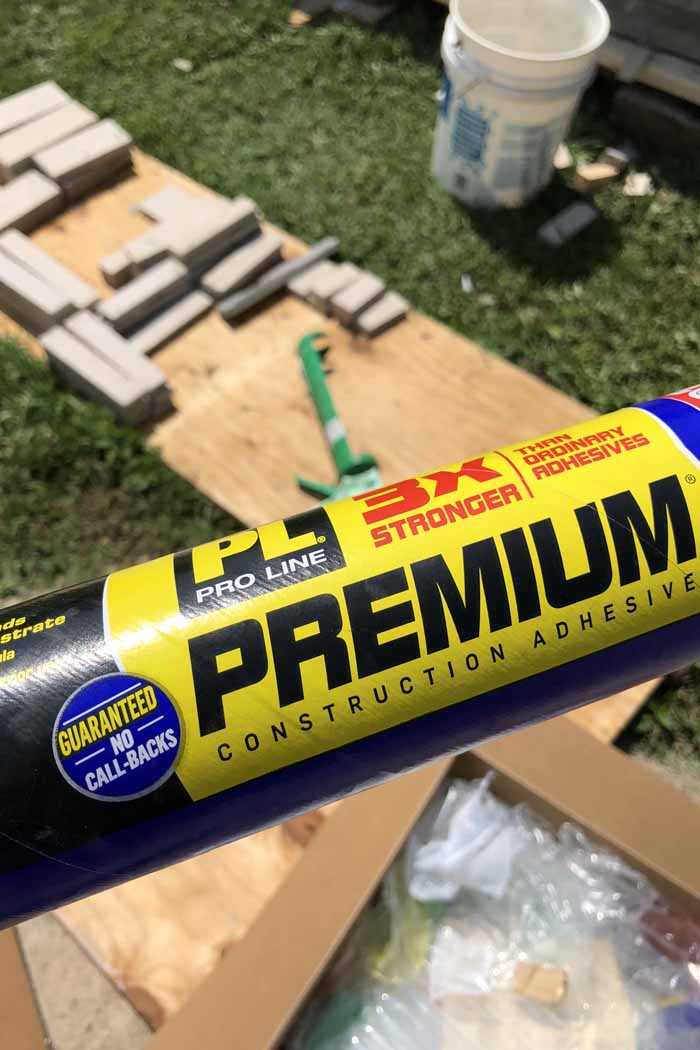
The adhesive offers some flexibility so you can move the stones after application for a while. This also means, however, that some sort of support is needed while the adhesive cures. The packing recommends mechanically supporting the stones for about 24 hours. As you can see below, we used a wide variety of methods for support. Think boards, shims, and even pieces of AirStone you have cut to go around obstacles.
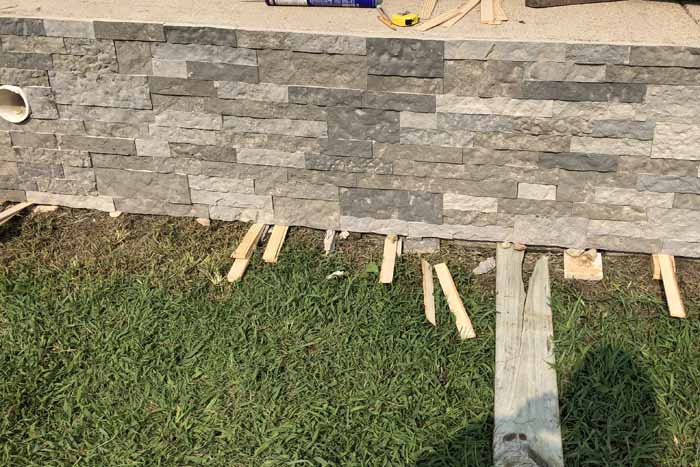
Depending on the time of day we were working, we also had to use some plywood to help hold the AirStone on while curing. Working in the evening was so much cooler but meant the adhesive took longer to grab.
We worked in small sections a little at a time as we had a ton of AirStone to put up! You will also need to find a time to work when it is not going to rain for 24 hours as any adhesive that is not cured should not get wet. That actually proved to be hard this summer! Cutting around obstacles was super easy, however. A hacksaw does work but we ended up using a grinder just for speed.
Finishing Up
Once cured, we were able to remove any mechanical supports. Then you just need to go through and cut stones for the bottom to fill in the gap. Alternatively, you could fill in with dirt around the bottom.
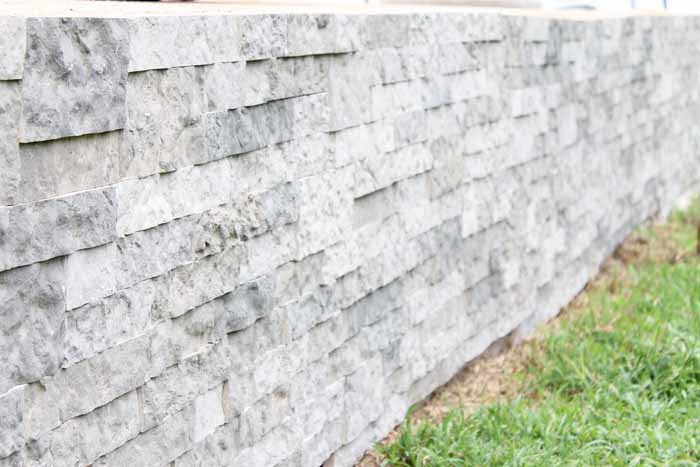
Then just sit back, relax, and enjoy your new exterior stone veneer! This gorgeous product is perfect for sprucing up your home without needing to hire contractors.
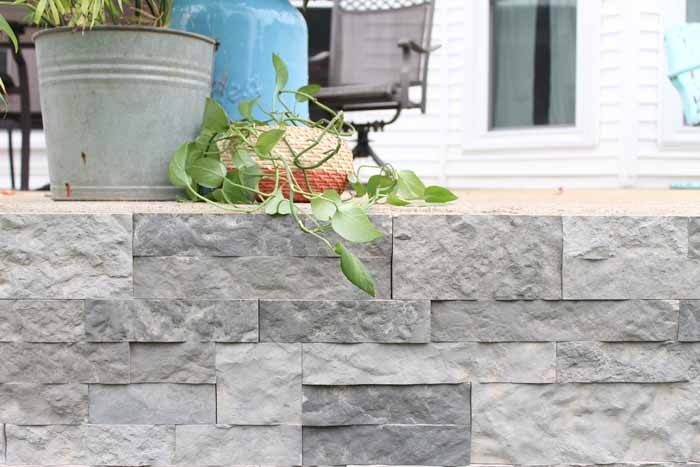
We were fastest when working assembly line style. One of our kids would work on smoothing the uneven surface, one would open up boxes of AirStone, and my husband would apply adhesive. Me? I laid every one of those blocks by hand!
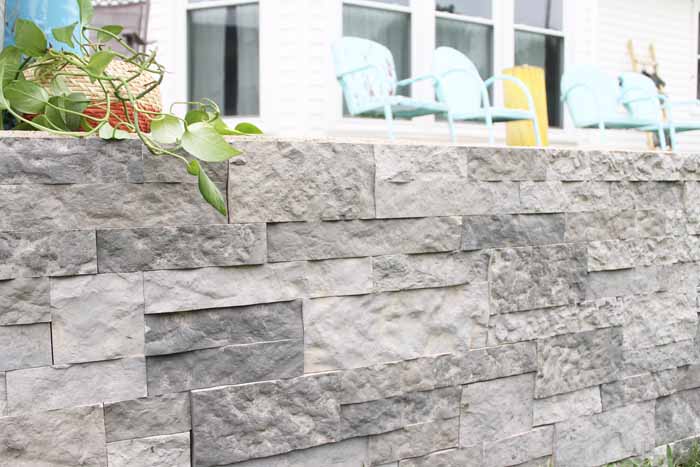
In the end, it was totally worth it! I would recommend this product anywhere that you are considering a stone veneer – inside or out.
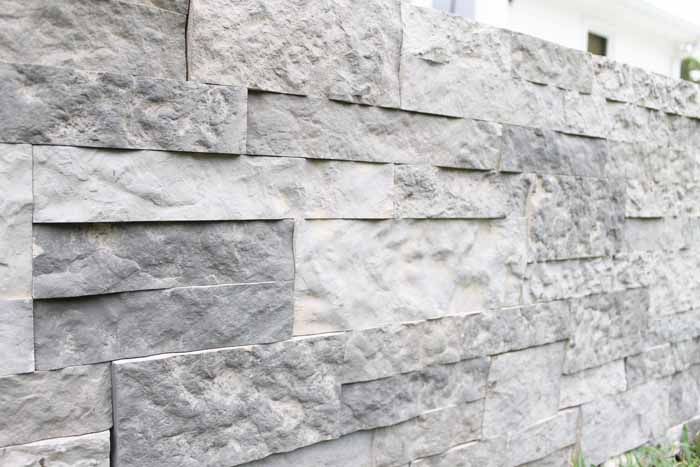
I am definitely impressed with how easy it went up and how great it looks now. So, shop for AirStone at a Lowe’s store near you. You are sure to love the results as well! We now have exterior stone veneer that looks gorgeous and adds to the value of our home!
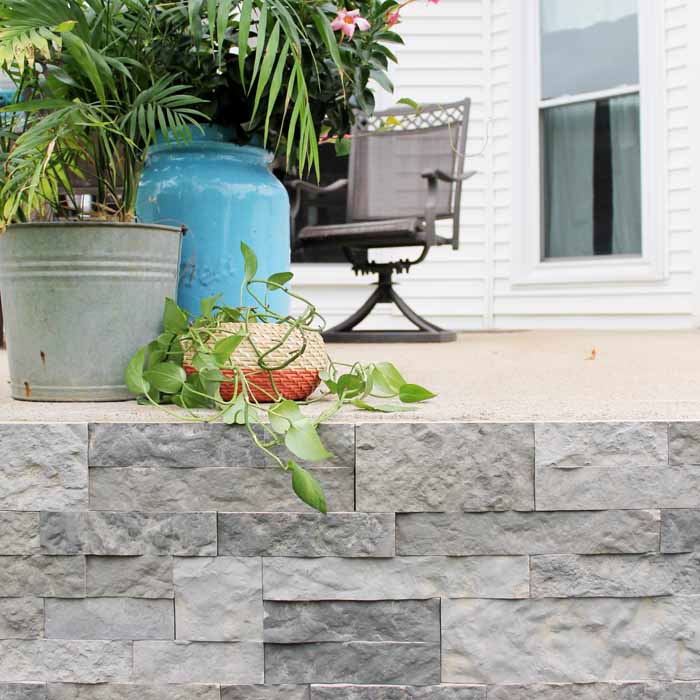
Love this and want more exterior ideas? Try the links below as well!


I live just south of Chicago, Il. Where can I purchase or see this product
Try Lowe’s Stephen!
It looks beautiful! I should try this! I wonder if it can be applied over stucco. Thank you for sharing!
I am thinking you would need to remove the stucco exterior to get down to a solid surface.
Hello Angie, I found you on a “linky” party and decided to take a look at this AirStone product. It looks great! I wonder if it would work on a cement step that I have. My dear departed husband did not want anything attached to our new vinyl siding so he made a step from our front door out of cement. It is in the shape of a rectangle and solid cement! It sits in front of the door and I hate the way it looks. If I could apply this product to it I wonder how it would look. I think I would need to do the top also. Since you worked with it do you think it would work? Oh, the cement block sits on a cement walkway in front of our house going from the garage man door, along the front to the front door. Like a mini patio or porch. Thanks! There is a photo on my blog where I redid a chair for my “porch” and you can see what I’m talking about.
So I do think you could put it around the sides but the top would not work. The product is definitely not intended for foot traffic and it is really uneven as it is made to look like real stone. I hope that helps!
Hi Thanks for sharing at Inspire Me Monday. I wanted to let you know that you are one of my features this week. Come check it out at https://www.farmhouse40.com/inspire-me-monday-193
Wow. What a transformation!! It turned out so beautiful. Now I’m trying to think about where I could put these amazing stone pieces. Thanks for the info and the inspiration! Linda @Crafts a la mode
I used this product around a stucco fireplace on our outside lanai and it worked great. I didn’t care for the tile around my fireplace so I decided to use the Airstone again and it worked great and stuck to the ceramic tile with no problems.
I’m so glad you had success with it and are enjoying how your projects turned out. Thanks for sharing!