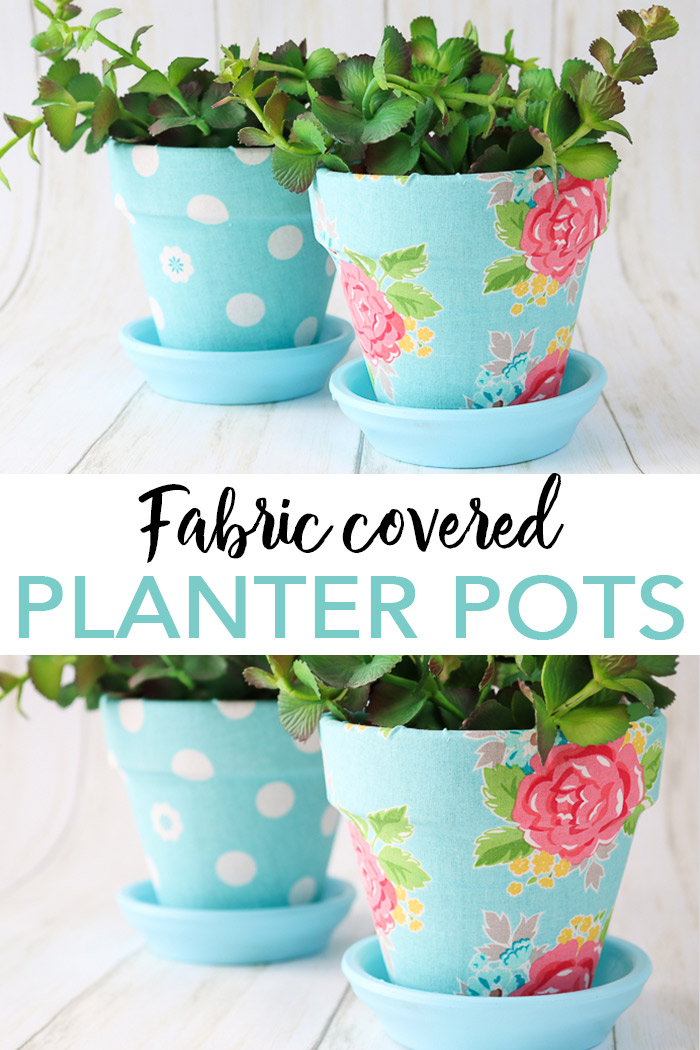
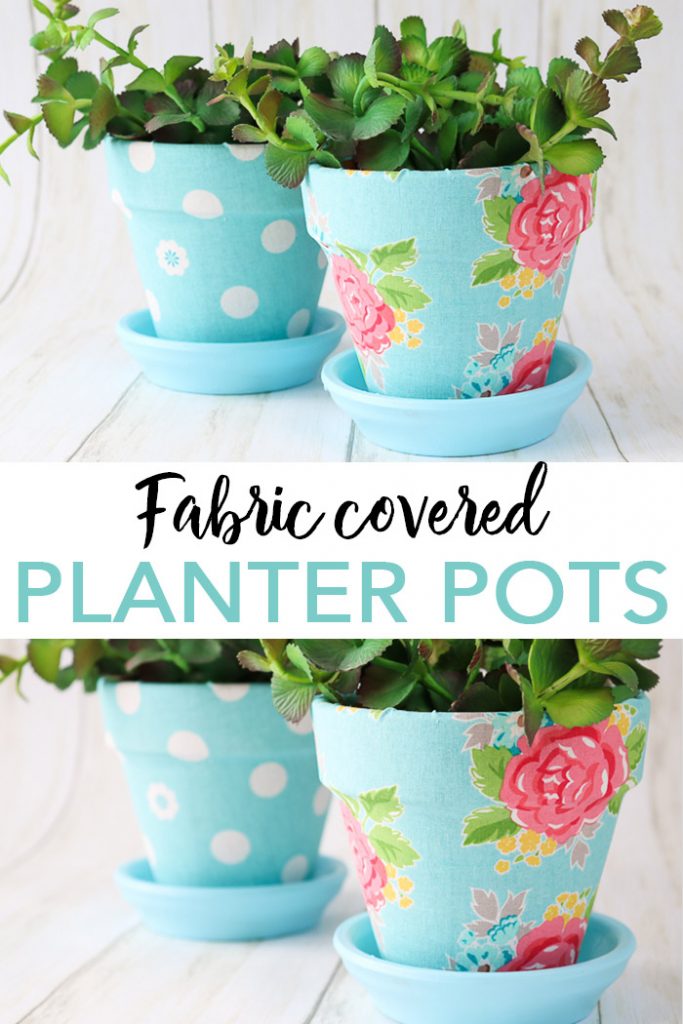
Today, we are using Mod Podge Ultra to make fabric plant pots! Covering plant pots with fabric is even easier when you use this product. Plus, you can use them indoors or out. So, make a bunch of these DIY fabric plant pots for your spring decor!
This is a continuation of Craft Lightning Decoupage. To see the projects for today from the other bloggers in this series, scroll to the bottom of the post. You will also want to be sure to see what I used Mod Podge Ultra on yesterday here!
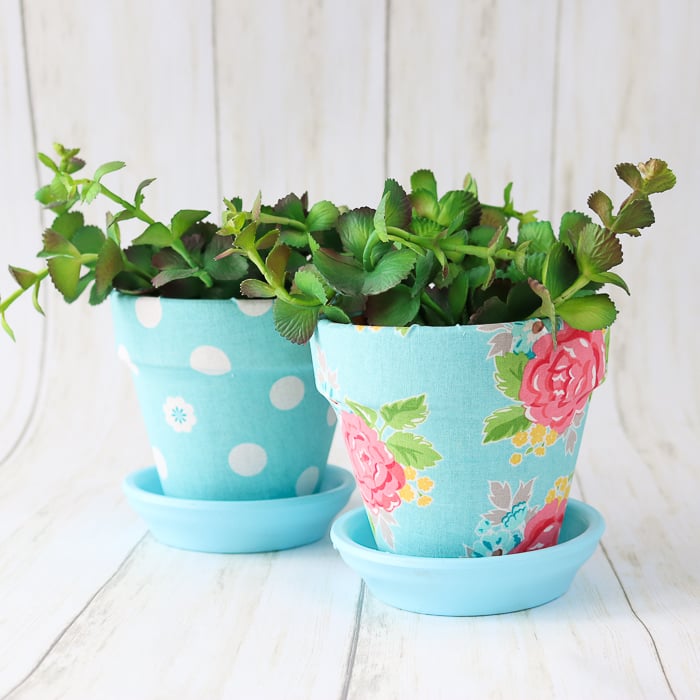
How To Make Fabric Plant Pots
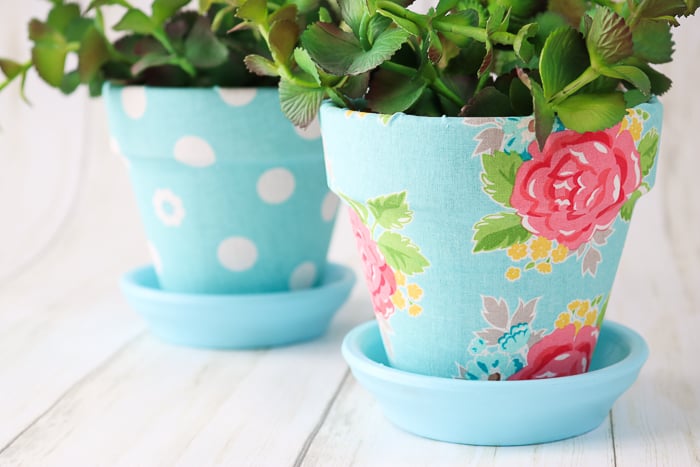
Fabric plant pots might sound complicated to make, but they are actually super easy! I chose to go with a floral and poka dot pattern, but you can choose any fabric that you like. Plus, how fun would these be for different seasons and holidays?! The possibilities are endless! So grab some fabric and Mod Podge Ultra and let’s get started!
Supplies Needed To Make Fabric Plant Pots
- Clay pots and saucers
- Fabric
- Marker
- Scissors
- Outdoor paint (in the color of your choice)
- Paintbrush
- Mod Podge Ultra
- Wax paper
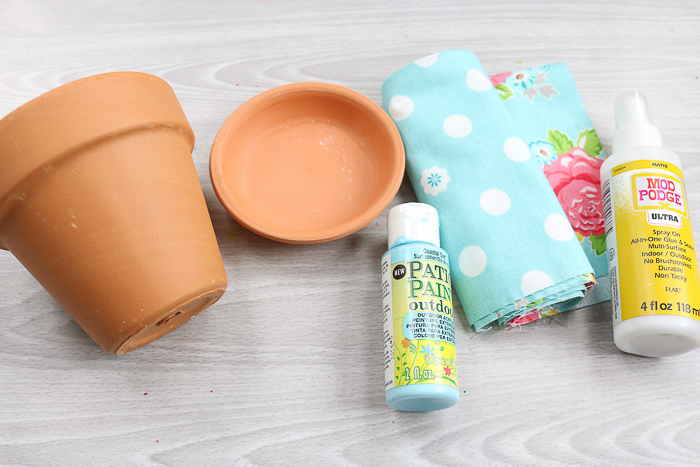
Step 1: Paint Saucers
Paint the saucers with a good quality outdoor paint in the color of your choice. Paint all sides, including the bottom. This may take more than one coat. Be sure to let each coat dry before you add another coat of paint.
Also, make sure that the saucer is completely dry before you use it with your fabric plant pot.
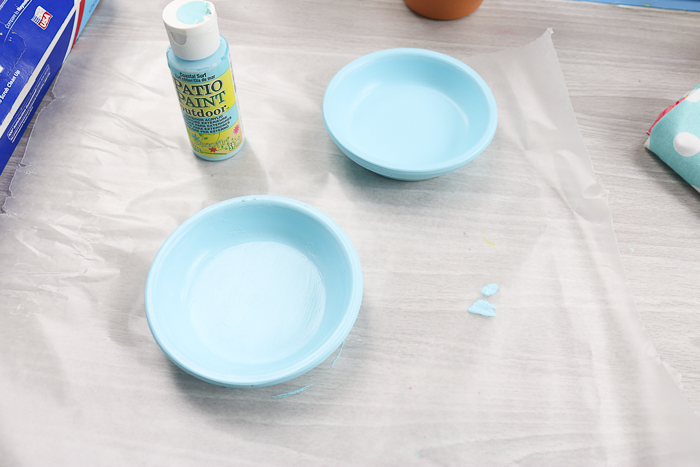
Step 2: Mark Fabric
While those are drying, you can start decorating plant pots with fabric!
Make a small mark on your pot and start on one end on the back of your fabric. Roll your pot as you trace a line on the top and bottom of the pot, leaving about 1 to 1 1/2 inches on both sides. Continue until the mark you made on your pot is all the way on the other side.
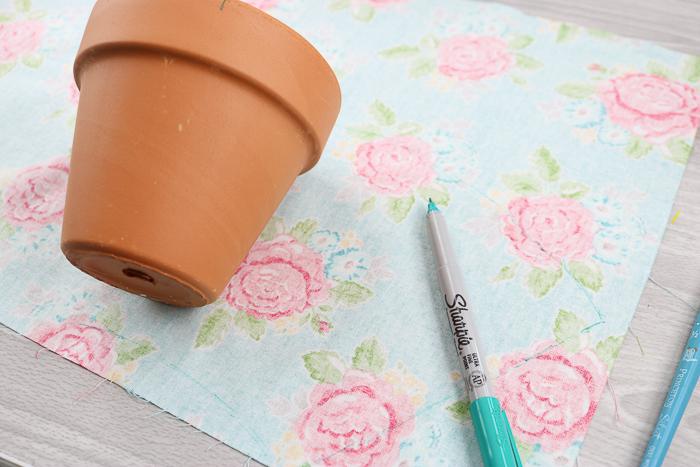
Step 3: Cut Out Fabric
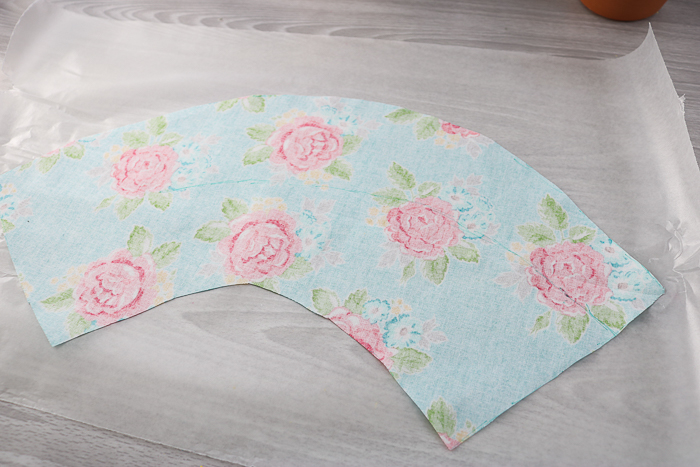
Then, use scissors to cut out your piece of fabric. It should look something like the image below. Place the fabric on wax paper.
Step 4: Spray Fabric With Mod Podge Ultra
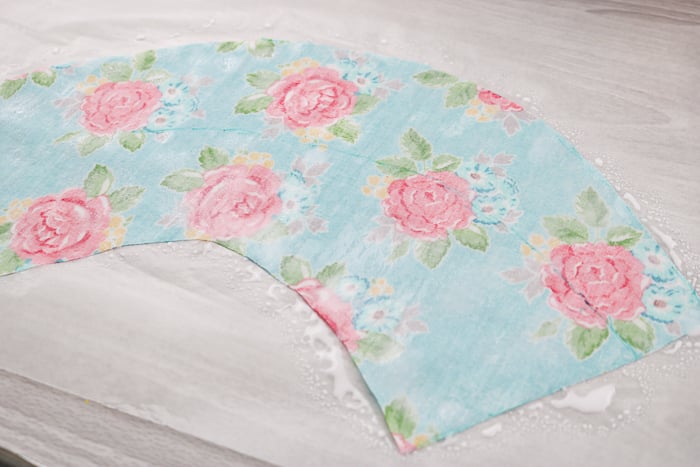
Shake your Mod Podge Ultra well (for around 10 to 15 seconds). Then, spray the piece of fabric completely.
Step 5: Wrap Fabric Around Pot
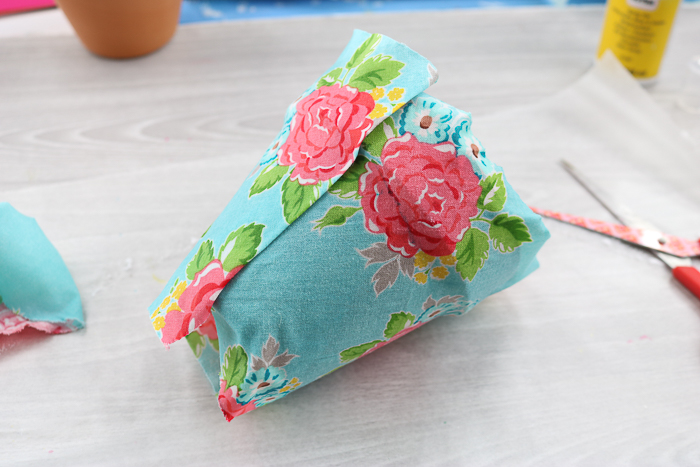
Wrap the fabric around your pot and trim any excess with scissors. Be sure to leave enough to fold over the exposed edge so you are left with a finished-looking seam.
Step 6: Wrap Excess Fabric Around Pot
Then wrap the excess around the bottom of the pot. Make sure any holes in the bottom of your fabric plant pots are left open for drainage.
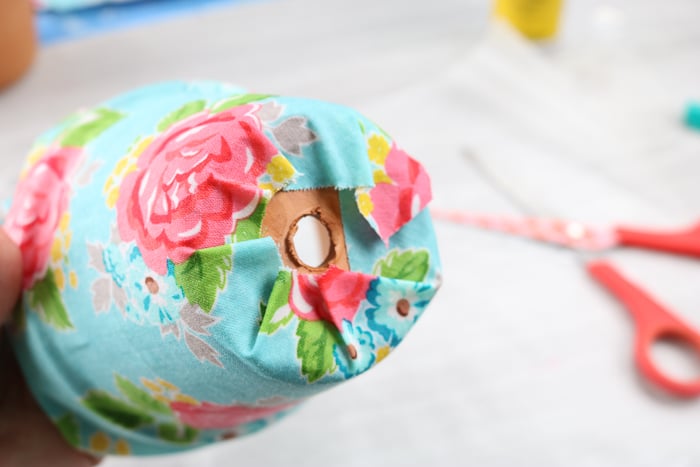
You can also wrap the excess around the top edge.
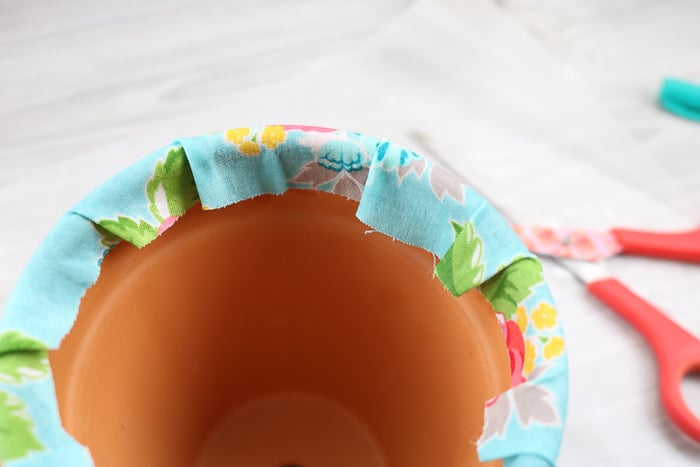
Step 7: Spray Pot With Mod Podge Ultra
Then, spray the entire thing with a coat of Mod Podge Ultra until the fabric has been completely covered. Continue to work your fabric until it is smooth. Set on some clean wax paper to dry. You will need to allow your fabric plant pots to dry overnight.
NOTE: You will need to clean out the pump on your Mod Podge Ultra once your project is complete. I unscrewed the pump from the bottle and ran some water through it to prevent clogs before storing it.
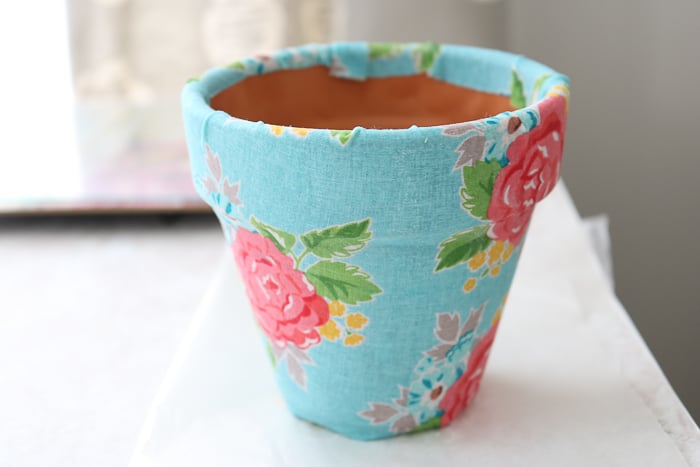
Covering plant pots with fabric has never been easier! You can repeat the steps above for as many planters as you need.

Once dry, just add in the dirt and a plant! The Mod Podge Ultra can be used indoors or out, so it really is the perfect supply to make these fabric plant pots.
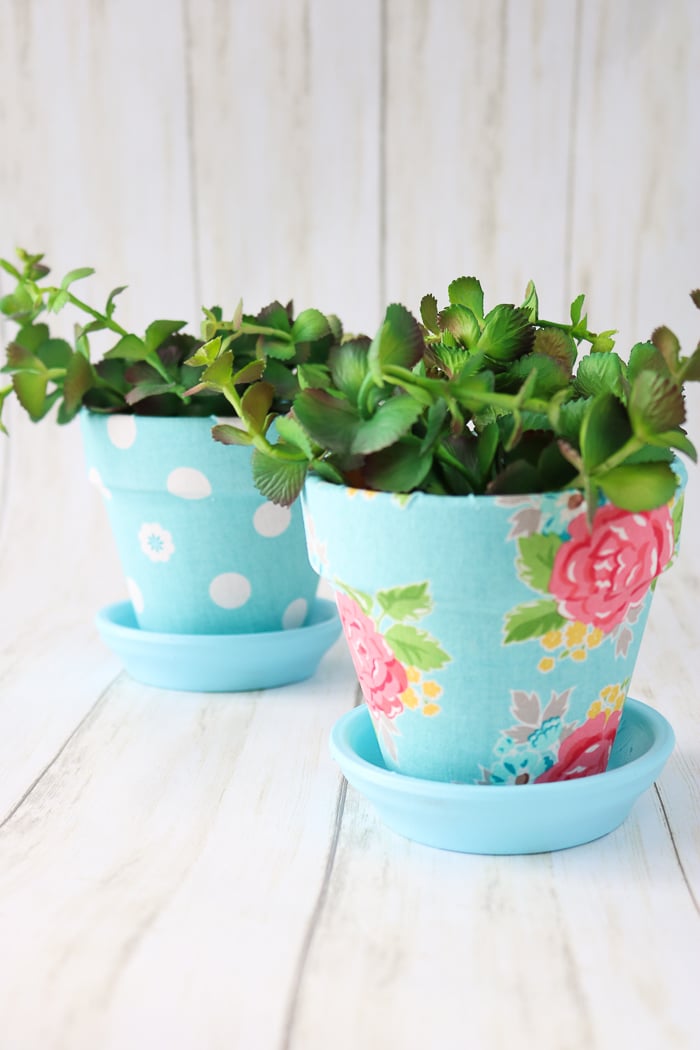
How many fabric pot plant holders will you make this year? They will look amazing in any room or out on your porch!
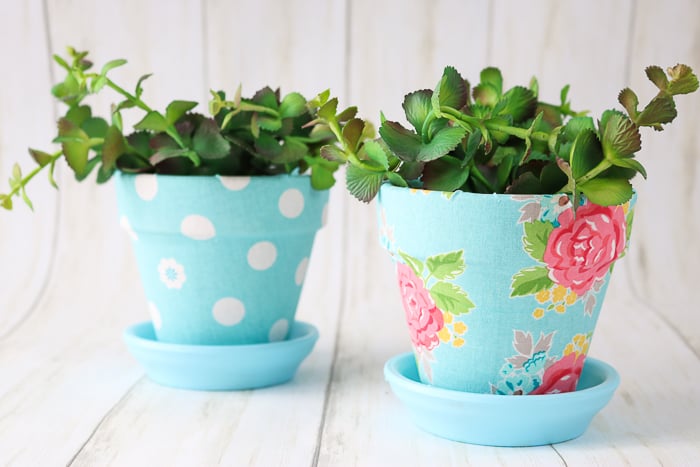
Just look at that gorgeous fabric and how great it looks on some pots for spring!
Craft Lightning Decoupage
As I mentioned before, today’s project is part of Craft Lightning Decoupage! To see the other decoupage crafts featured in this series, check out the projects below!
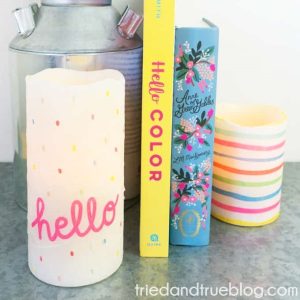
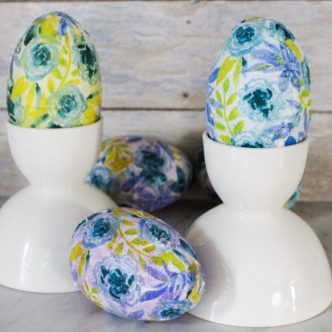
So, make these fabric plant pots or any of these other quick and easy decoupage crafts! Be sure to pin or bookmark the ones you want to create so you don’t forget!
FAQs About Fabric Plant Pots
Here are a couple of common questions I see from readers about making these fabric plant pots. If you have a question but don’t see it down below, please leave it in the comments so I can answer it for you.
Can I Adjust The Size Of The Plant Pots?
Yes, you can! However, the only thing to keep in mind is that if you use a bigger plant pot, you will need a larger piece of fabric.
Can I Paint The Instead Of My Plant Pot?
You can, but I chose to skip it because I knew nobody would see the inside of the plant pot.
Would A Fat Quarter Work For This Project?
Yes, if you are using a small to medium-sized plant pot, a fat quarter would be perfect for this project!
Is There Another Kind Of Mod Podge That Can Be Used For The Fabric Covered Flower Pots?
Sure! Just use outdoor Mod Podge and brush it on instead.
4 More Decoupage Crafts & Resources
If you love these fabric plant pots, here are some other decoupage crafts and resources that you won’t want to miss!
- 25 Decoupage Ideas for Any Time of the Year
- Coloring Page Decoupage Easter Eggs
- Decoupaged Sheet Music Tray Makeover Tutorial
- Mod Podge Ultra Spray: How Does It Really Work?



Would there be another option for the MP ultra? For example,MP acrylic clear sealer spray (aerosol)?
I haven’t seen an aerosol version yet! If I do, I will definitely write about it!
Is there another ModgePodge kind that can be used for the fabric covered flower pots? I would much rather use that than this new spray Ultra.
Sure! Just use outdoor Mod Podge and brush on instead.