You can make a fairy garden terrarium in a mason jar in just minutes. These make great gift ideas or decor inside or outside your home this spring and summer.
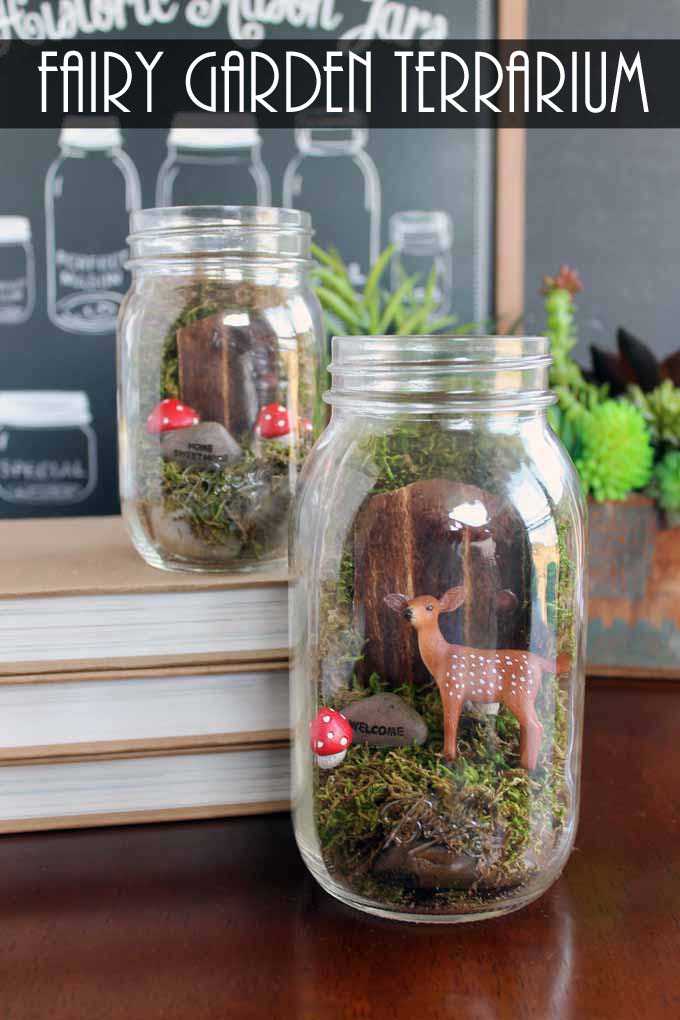
I don’t know about you, but the fairies at my house are living the life! I love making these adorable fairy gardens to have around my home. It really makes my back porch feel magical with the fairy nightlights, fairy house jars filled with herbs, and a fairy garden planter around. I’ve even got a Christmas version for the holidays!
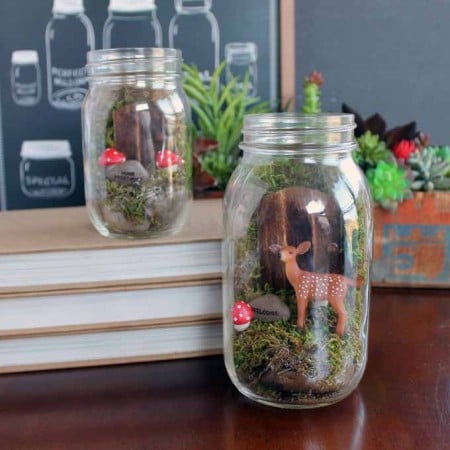
Now, I’ve decided the fairies need a terrarium with woodland creatures! This is such an easy craft and a little something different from the traditional fairy gardens. The fairy garden items are placed inside a mason jar to create the cutest scene of a deer in the woods.
Read on to see how to make your own fairy garden mason jar and even give them as gifts for Mother’s Day. If you have missed any of the quick and easy Mother’s Day crafts we have shared this week, be sure to check out the ideas from day 1 and day 2. You will also want to scroll to the bottom of this post to see the other 15 minute crafts from today.
How to make a fairy terrarium
Supplies needed to make your own fairy garden terrarium:
Some links below may be affiliate links which means you do not pay anymore.
- Mason jar (these smooth sided versions work best)
- Fairy garden miniatures
- Rocks (purchase or use from your yard)
- Moss
- Craft sticks
- Brown ink
- Clay or small wood bead
- Scissors
- Hot glue and glue gun
Start by making a fairy door.
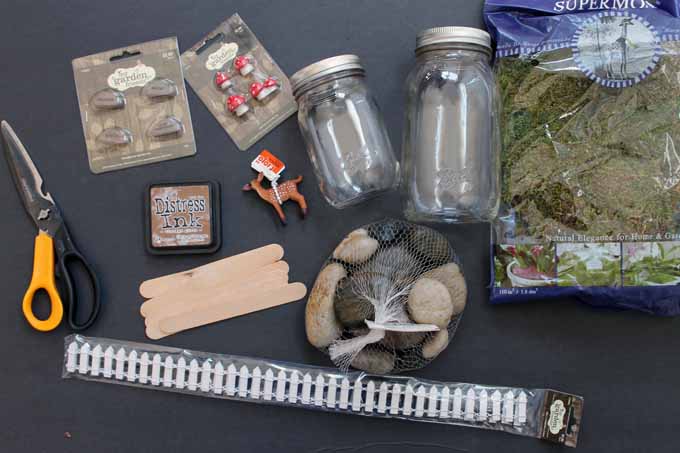
To determine the width of the fairy house door, place a few craft sticks side-by-side until the desired width is reached. Then, use hot glue to put them together with another craft stick across the back as shown below.
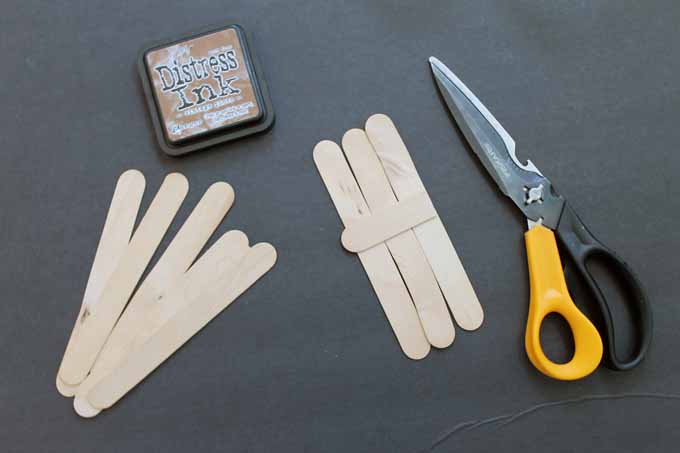
After drying, trim the craft sticks to the desired length and round the top with your scissors. Use the ink pad to stain the door brown.
After the ink is dry, add a small ball of air-dry clay or a wood bead as a doorknob with hot glue.
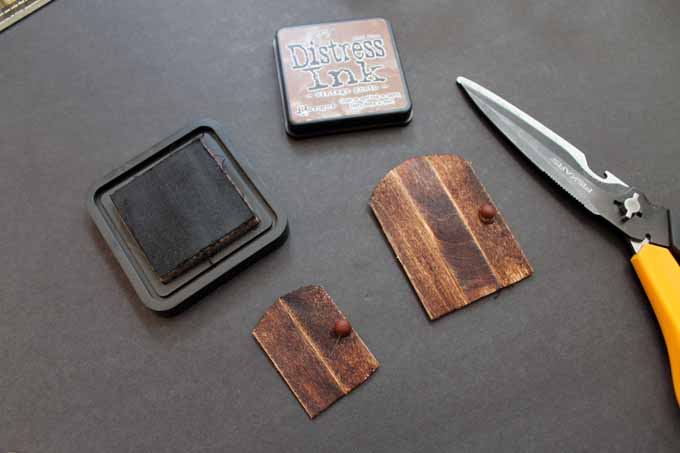
Now, you just need to assemble your fairy garden terrarium in your mason jar.
Start by adding some rocks to the bottom and covering those with moss.
Place some moss up the back of the jar and place the door against that moss.
Use hot glue to secure the objects. Tweezers or pliers may be helpful when reaching into the jar.
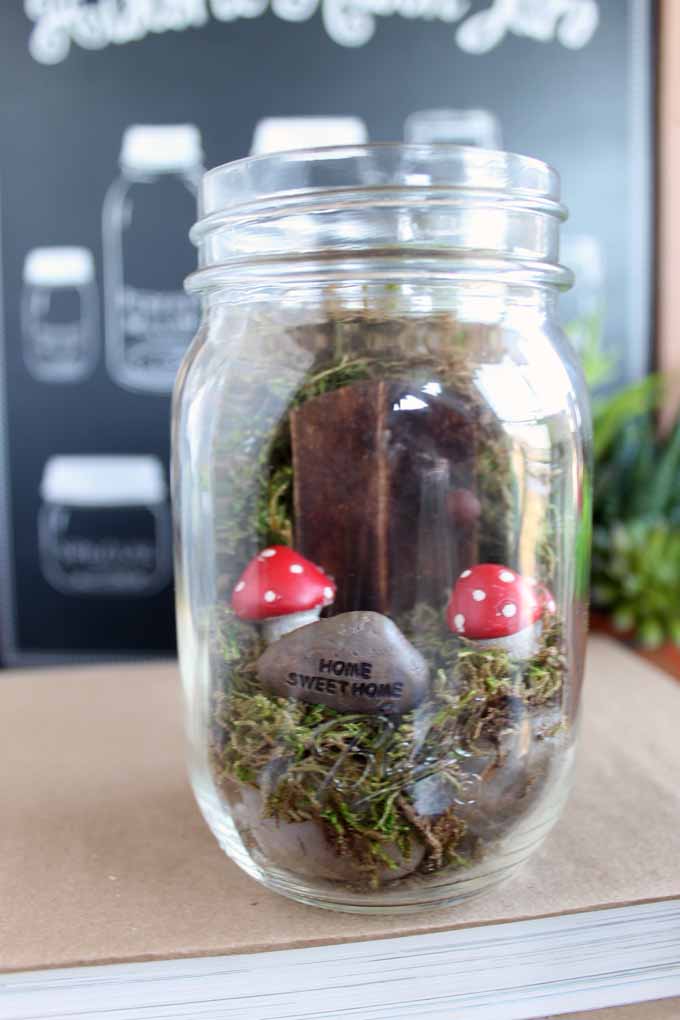
Add miniatures of your choice to finish off the jar.
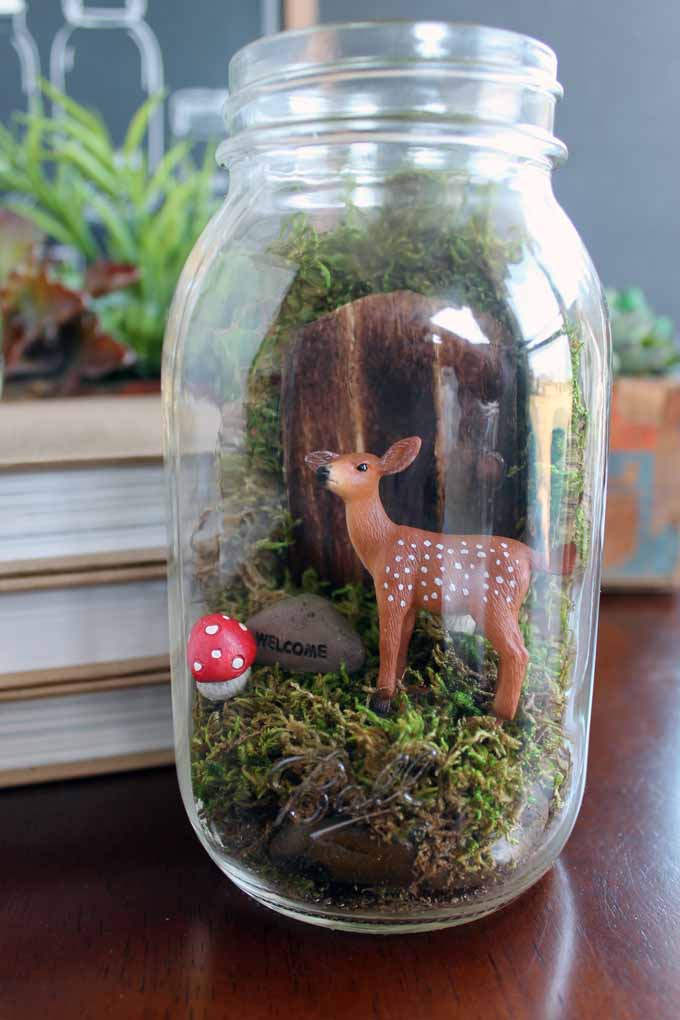
You can then give this one to mom or keep it for yourself. It will look great in your spring or summer decor.
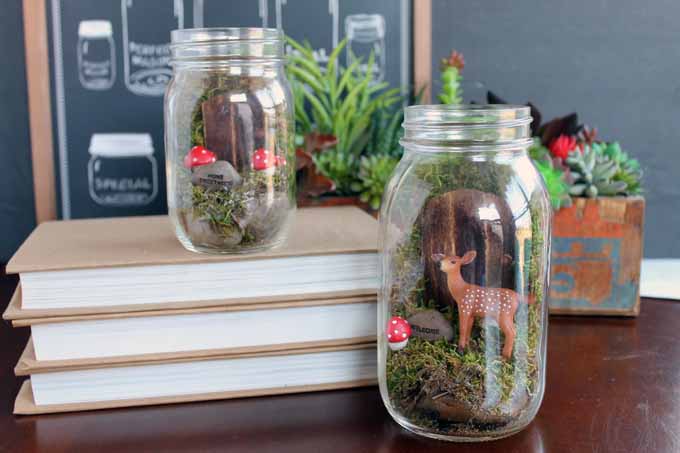
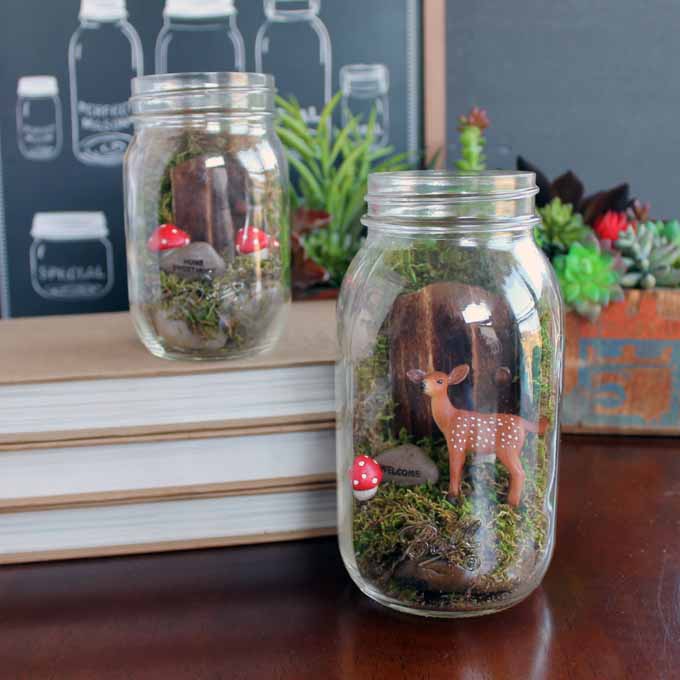
I love these little jars and am using them around my home. I do think that most moms would love a fairy garden terrarium as well!
Not sure what you want for Mother’s Day? We have a little quiz to help you determine what kind of mom you are! At the end, you can get gift ideas delivered right to your inbox. Let us know what your result is in the comment section below.
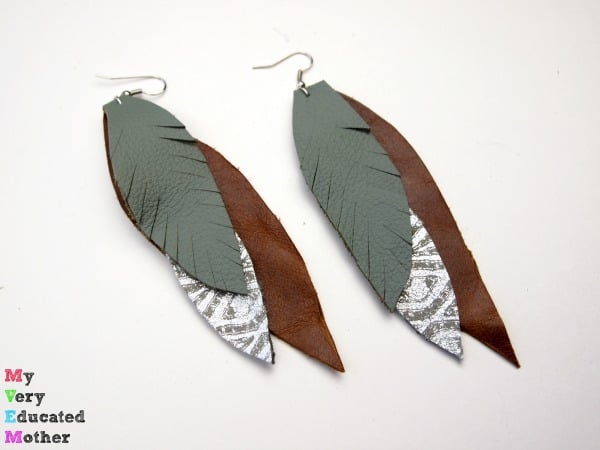
Ready for more Craft Lightning ideas? You can get more 15 minute craft ideas that are perfect for Mother’s Day below. You can make mom these leather feather earrings with the step by step instructions from My Very Educated Mother.
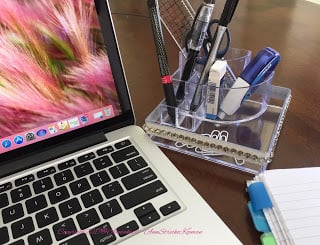
Decorate a dollar store organizer to make it special like this one from Ann Makes.
These Mother’s Day magnets from Tinsel and Wheat are just adorable!

Add birthstones to a necklace in just minutes like this one from Mad in Crafts.

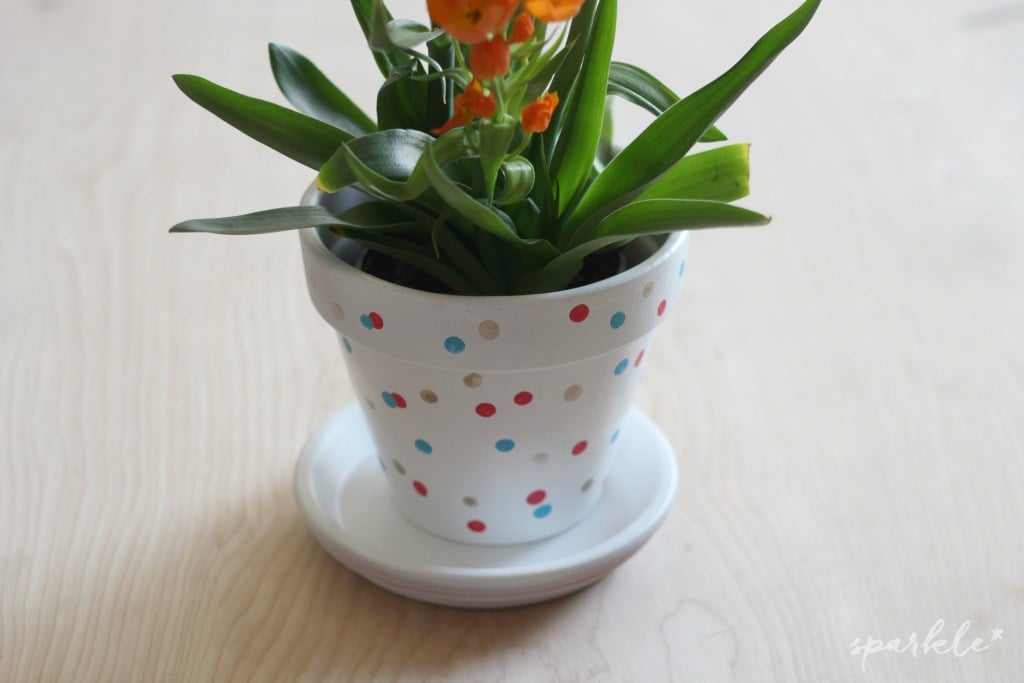
A confetti painted flower pot is easy to make! I love this one from Sparkle Living.
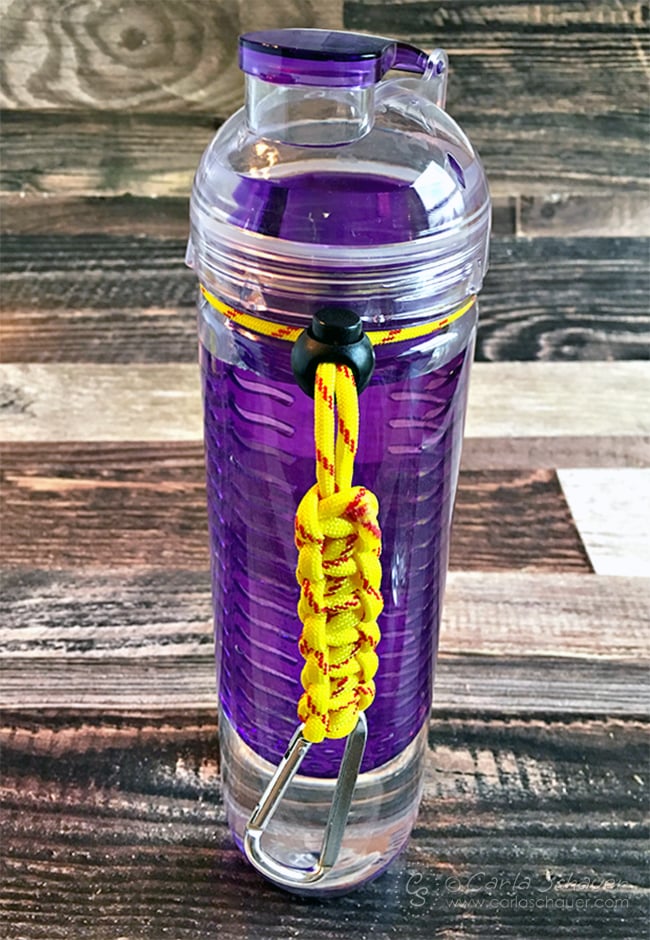
Make a paracord holder for a water bottle like this one from Carla Schauer.
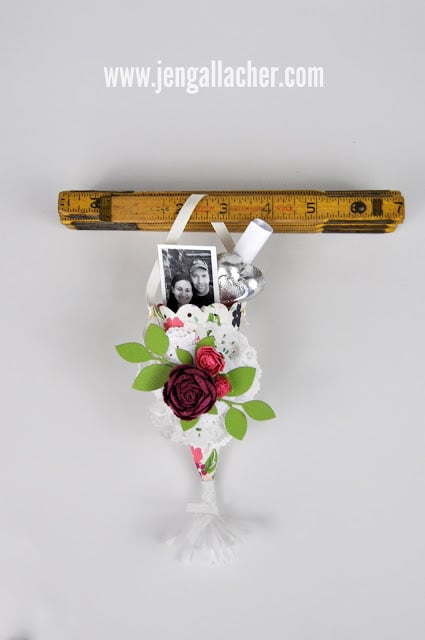
Put mom some great gifts in these Mother’s Day Tussie Mussies from Jen Gallacher.
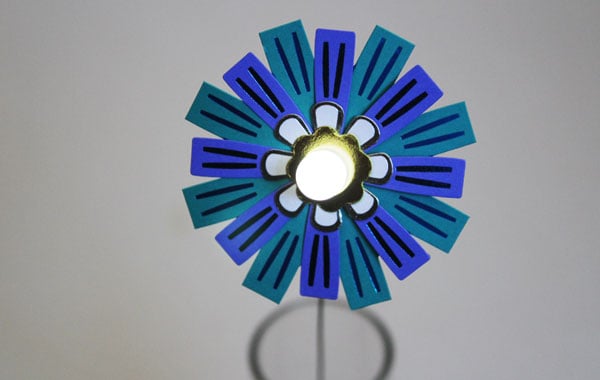
Mom will love this light up paper flower from my co-hostess 30 Minute Crafts.
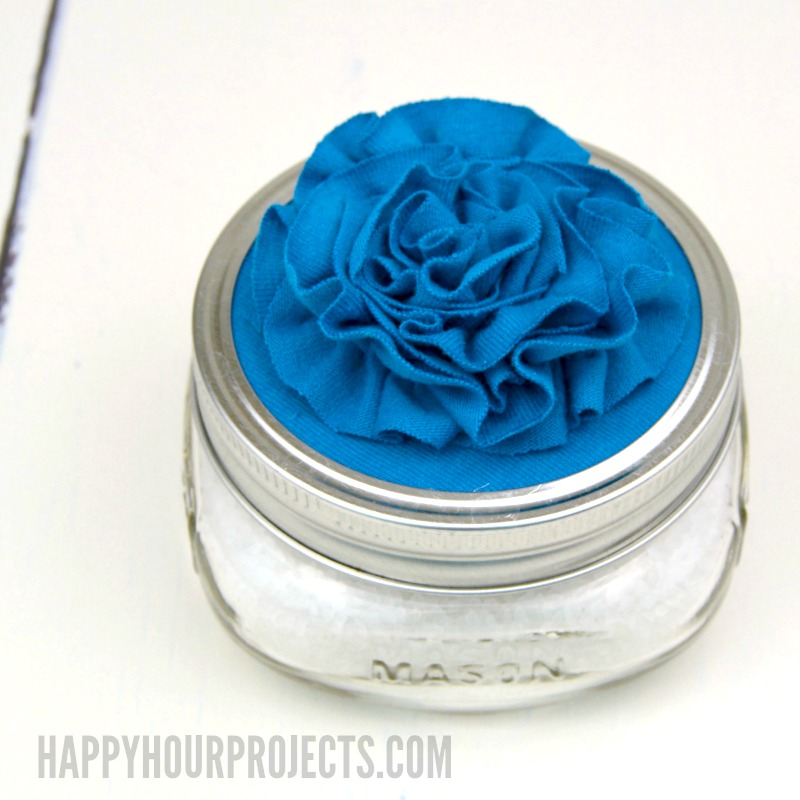
Make mom this DIY bath soak salt from Happy Hour Projects in a decorative mason jar! Mom will love this relaxing spa gift.
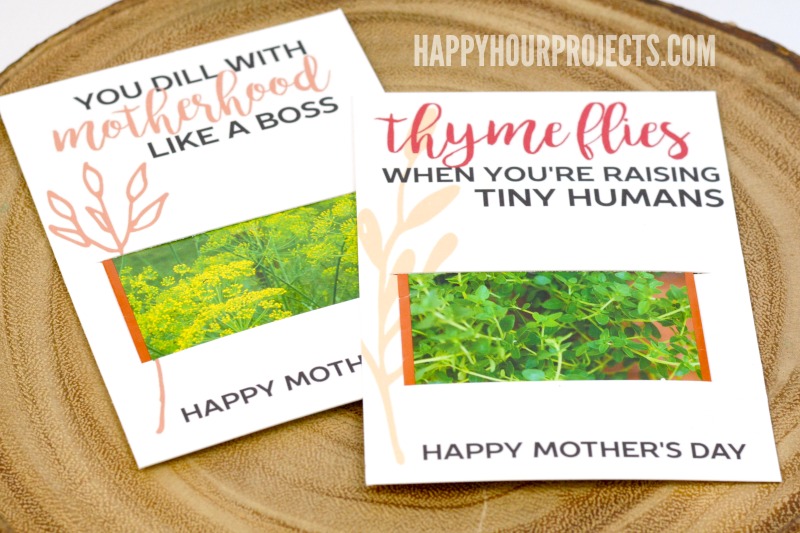
Does mom love to garden? Let our guest co-hostess Happy Hour Projects show you how to make these adorable seed packet holders.
Make this fairy garden terrarium or any of these other quick and easy Mother’s Day gifts!
Supplies
- Mason jar these smooth sided versions work best
- Fairy garden miniatures
- Rocks purchase or use from your yard
- Moss
- Craft sticks
- Brown ink
- Clay or small wood bead
- Scissors
- Hot glue and glue gun
Instructions
- Start by making a fairy door. To determine the width of the fairy house door, place a few craft sticks side-by-side until the desired width is reached. Then, use hot glue to put them together with another craft stick across the back as shown below.
- After drying, trim the craft sticks to the desired length and round the top with your scissors.
- Use the ink pad to stain the door brown. After the ink is dry, add a small ball of air-dry clay or a wood bead as a doorknob with hot glue.
- Now, you just need to assemble your fairy garden terrarium in your mason jar.
- Start by adding some rocks to the bottom and covering those with moss.
- Place some moss up the back of the jar and place the door against that moss.
- Use hot glue to secure the objects. Tweezers or pliers may be helpful when reaching into the jar.
- Add miniatures of your choice to finish off the jar.
A Year of Jar Crafts

Sign up for our email list to get a FREE book with an entire year of jar crafts! 12 months, 12 crafts, tons of fun!


I can imagine a tiny string of fairy lights in there too for a night light, maybe.