Jen Goode is back this month with an adorable fall fairy light luminary that is easy to make. Get ready for autumn with this cute Cricut craft idea!
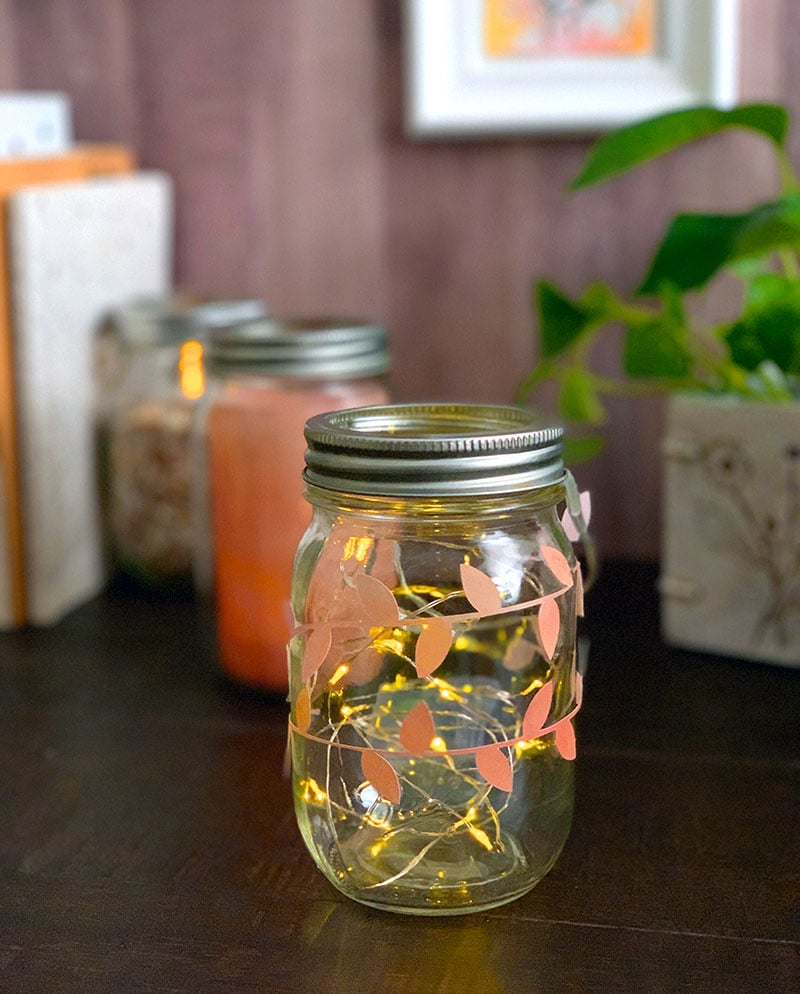
I just love fairy light vases and luminaries. They are really easy to make and you can customize them with little accents for the season. So today I’m sharing how to create simple fall fairy light luminaries. You can add your own extra accents and art designs or go minimal and just include lights and some delicate paper cut leaves.
Some links below may be affiliate links which means that you do not pay anymore, however, a small commission will go to this site.
I like the idea of being able to reuse design accents throughout the year. So this project can be made using paper and tape so you can easily remove the art and add something new for another season.
Simple Fall Fairy Light Luminary
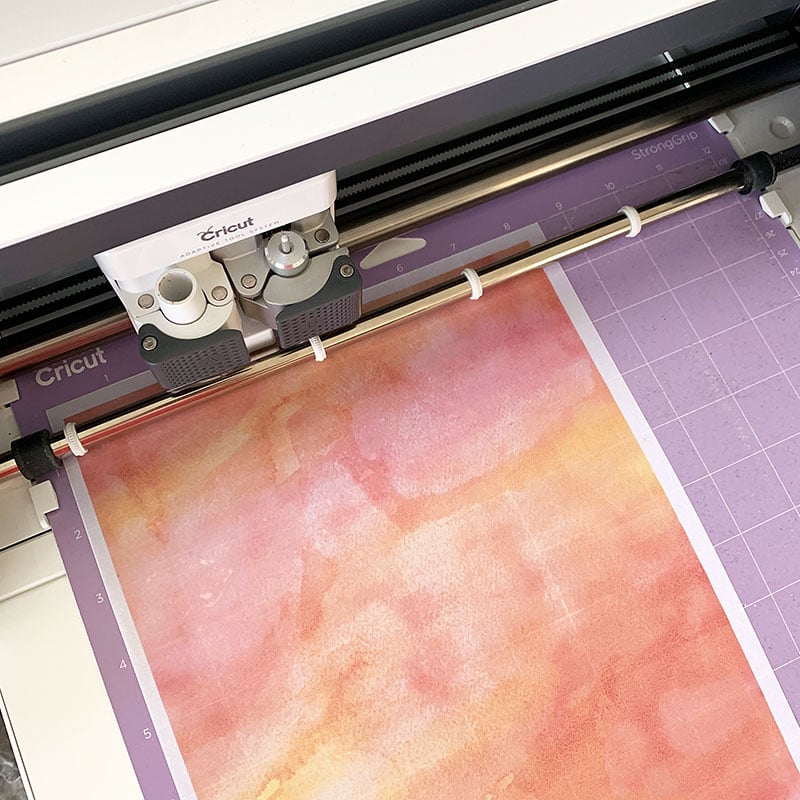
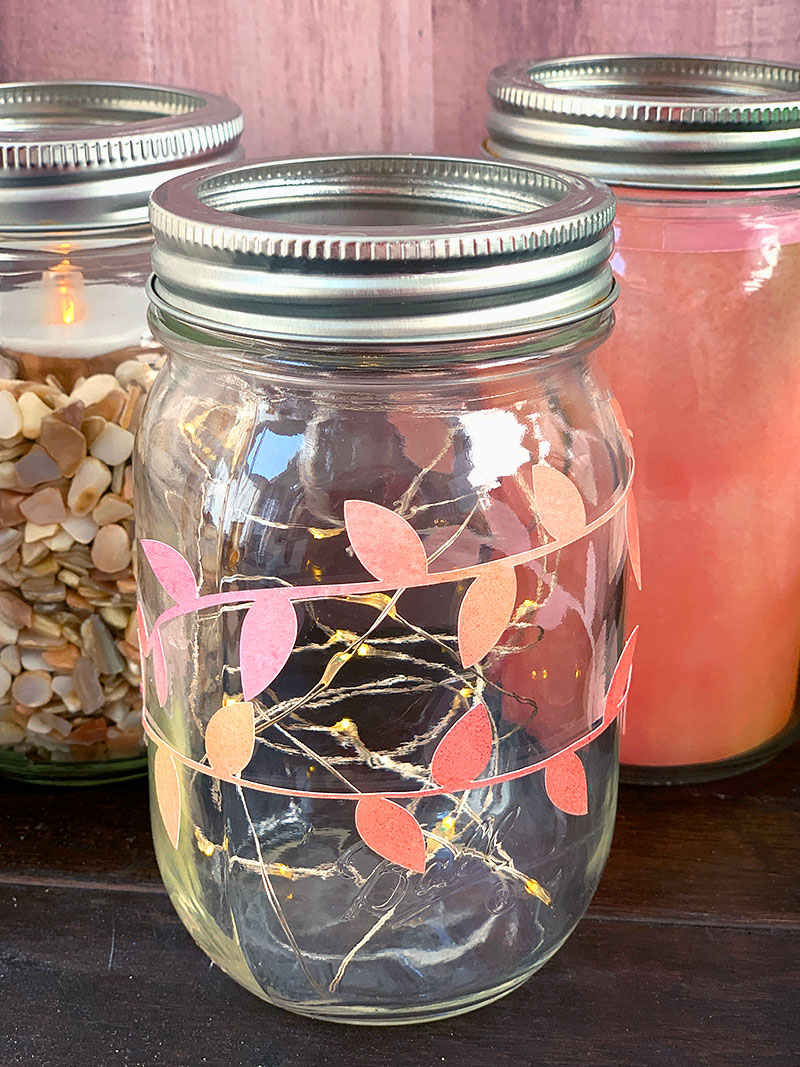
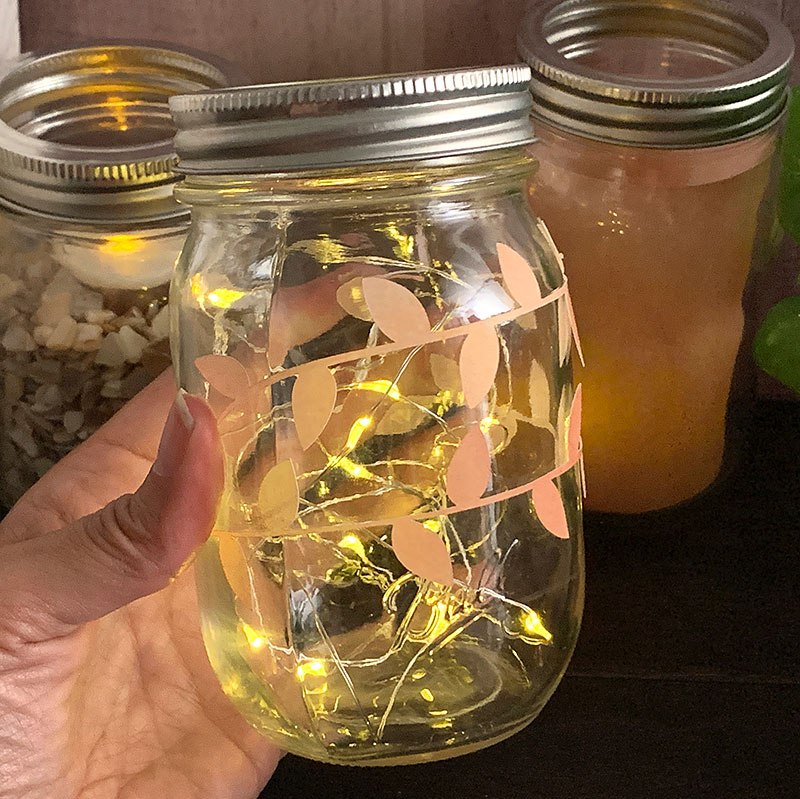
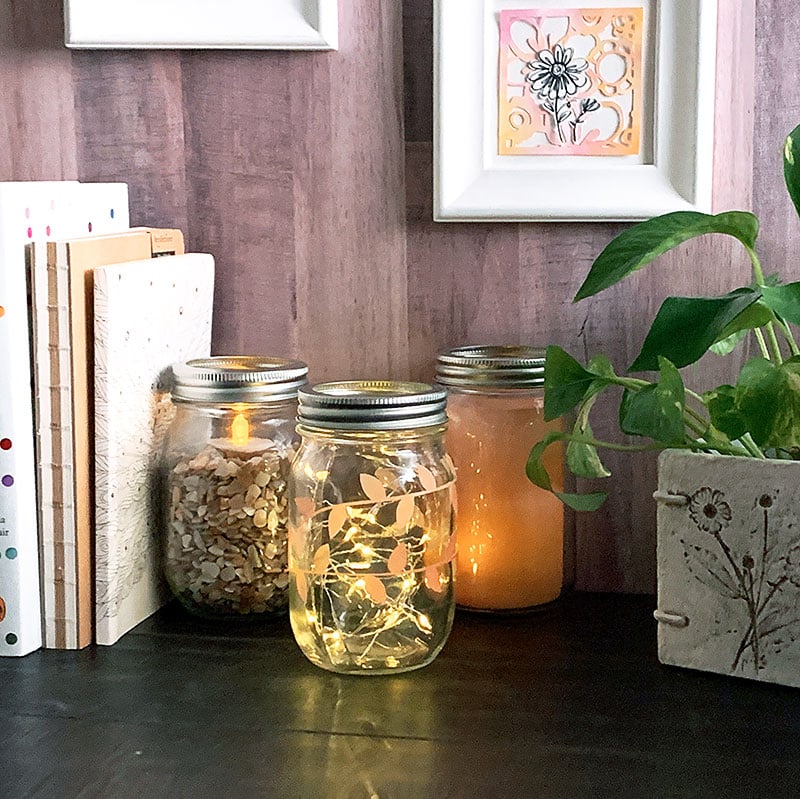
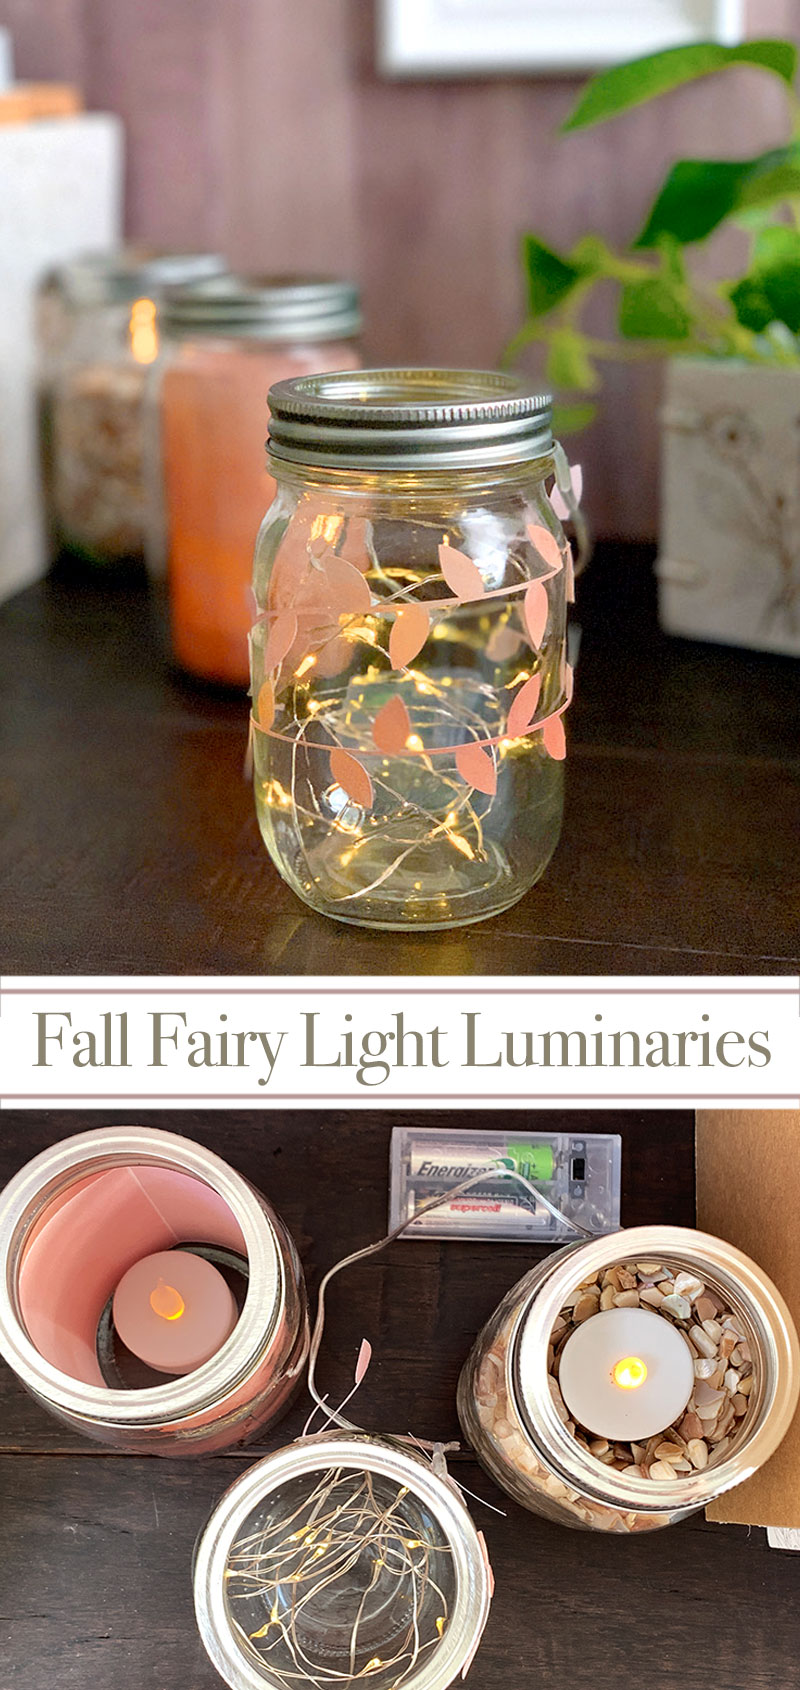
To add a little fall feel to my luminaries, I used my Cricut machine to cut out tiny watercolor accent leaf vines. During the day, when the luminaries aren’t lit, the paper vines add a little design touch to your jars. At night, with the lights on, the jars glow, adding a little magic to your space.
You can also wrap twine, add real leaves or go with your favorite dried or paper flowers.
Materials to make a fall luminary:
- Mason Jar and lid ring only
- Firefly Fairy lights – battery operated
- Watercolor printable paper by Jen Goode
- Vellum
- Cricut Machine, Cricut Design Space, and Fall fairy light design
- Double-sided tape
- Printer and ink
Tip: I like to use vellum because it is slightly translucent. It adds another dimension of design to your luminaries.
How to make a decorative fall jar:
- Download the printable watercolor background. Print on a piece of vellum. If you don’t have vellum, you can use regular printer paper.
- Head to Cricut Design Space and follow the onscreen instructions to cut out the vines.
- Add the vines to the outside of your jar. Using double-sided tape to attach the leaves in place. Be careful, these paper vines are really delicate and tend to break easily.
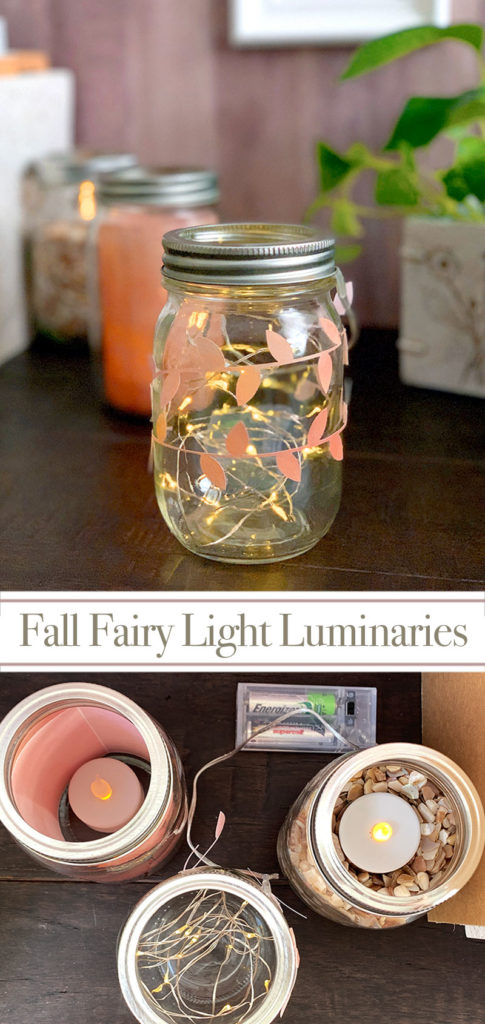
- Place your fairy lights inside the jar and secure them in place by carefully twisting a jar lid ring on top of the light cord. You can also put the battery pack inside the jar if you prefer. I like to hide my battery pack behind my jars, but if you are using the luminaries as a table centerpiece, inside the jar may work better.
Your fall fairy light luminary is complete and ready for display anywhere around your home.
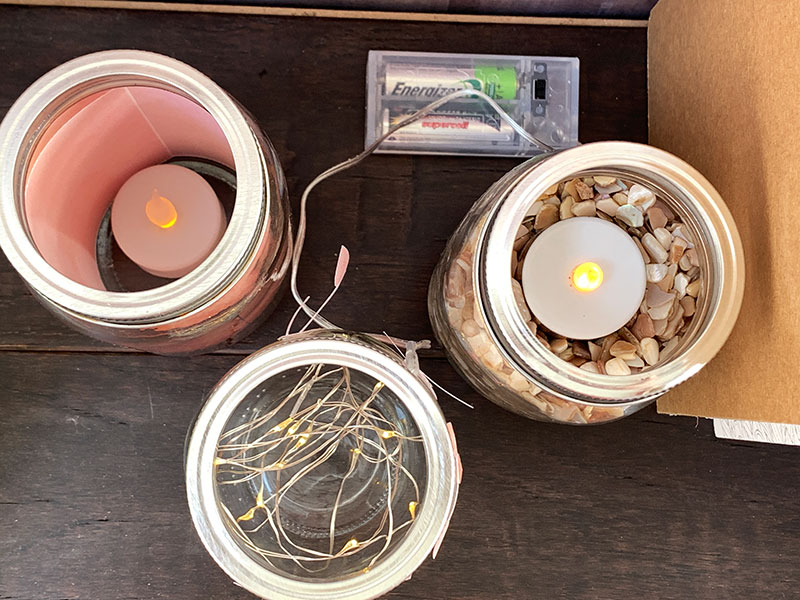
Idea: for a little extra decor accent, make more luminaries with votive candles. You can roll a piece of colored vellum and place inside the jar then place a fake votive in the middle (don’t use a real candle).
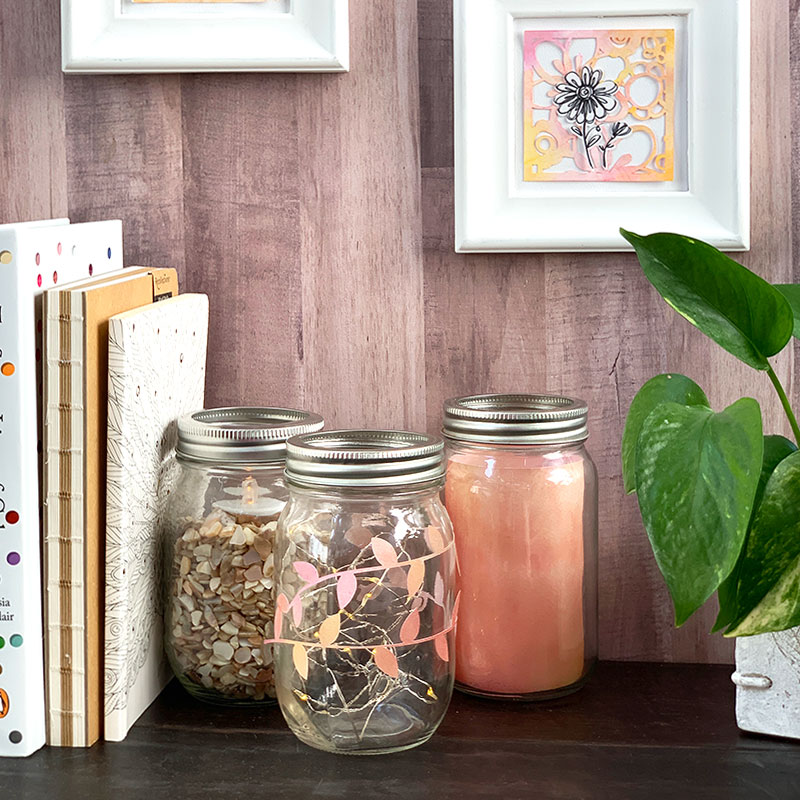
You can also add crush seashells or small rocks to a jar and then place a candle on top. Combine the luminaries to create a pretty space on a table or shelf with a little twinkle light sparkle.
Enjoy your fall fairy light luminary in any room for a simple touch of autumn!
Love this fall craft idea and want more? Try the links below!
- Pumpkin Planter for Fall with Your Cricut
- Burlap Fall Wreath in a Pumpkin Shape
- Simmer Pot Recipes for Fall
- Fall Burlap Craft Ideas
- Fall Tablescape Ideas
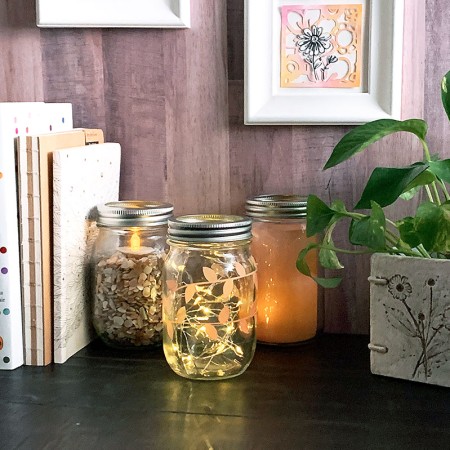
Want to print this craft idea for use later? Just use the card below!
Equipment
- Cricut Machine, Cricut Design Space, and JGoode Designs leaf vine design
- Printer and ink
Supplies
- Mason Jar and lid ring only
- Firefly Fairy lights - battery operated
- Watercolor printable paper by Jen Goode
- Vellum
- Double-sided tape
Instructions
- Download the printable watercolor background. Print on a piece of vellum. If you don't have vellum, you can use regular printer paper.
- Head to Cricut Design Space and follow the onscreen instructions to cut out the vines.
- Add the vines to the outside of your jar. Using double-sided tape to attach the leaves in place. Be careful, these paper vines are really delicate and tend to break easily.



I wish there were other options besides the Cricut. Its just nnt an option for me at this time.