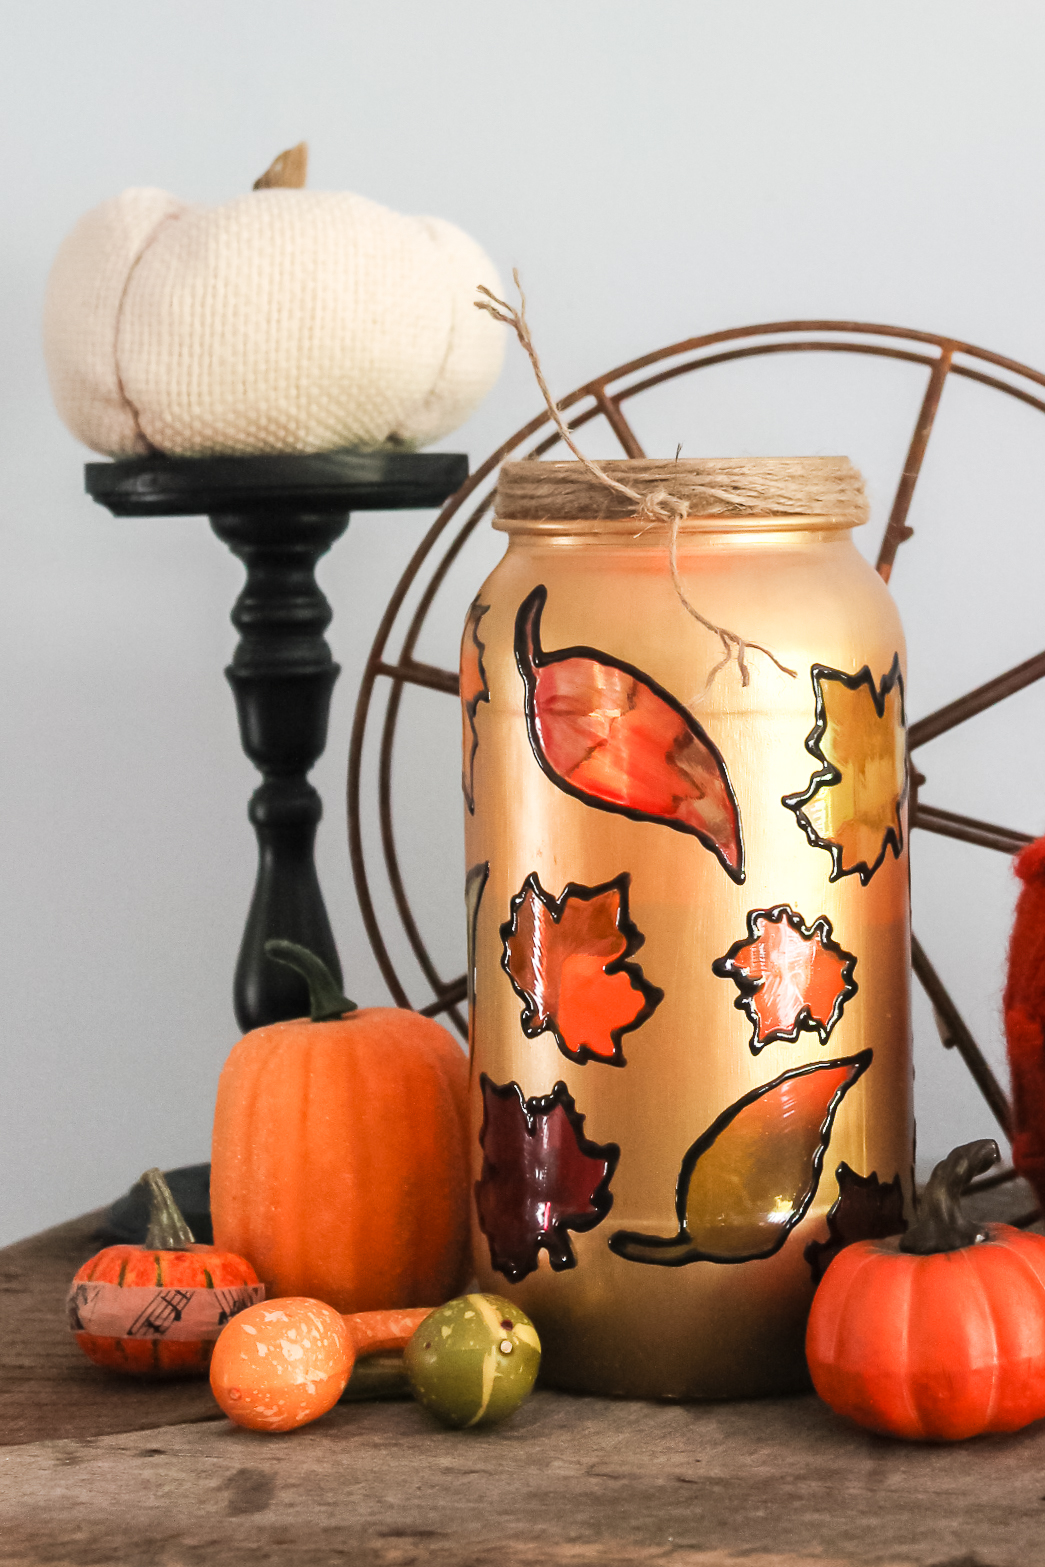
A fall mason jar luminary will be a great addition to your home this fall! Yes, I am already thinking of autumn and leaves. The weather seems so cool around here lately that visions of red, gold, and orange are all I can think about. Grab a mason jar, old pickle jar, or any other glass container you can find to upcycle into this luminary. A few glass paints were all I needed to make this craft. I am displaying it with my monk’s cloth pumpkins and sweater pumpkin, but you can add anything you want to this gorgeous autumn craft!
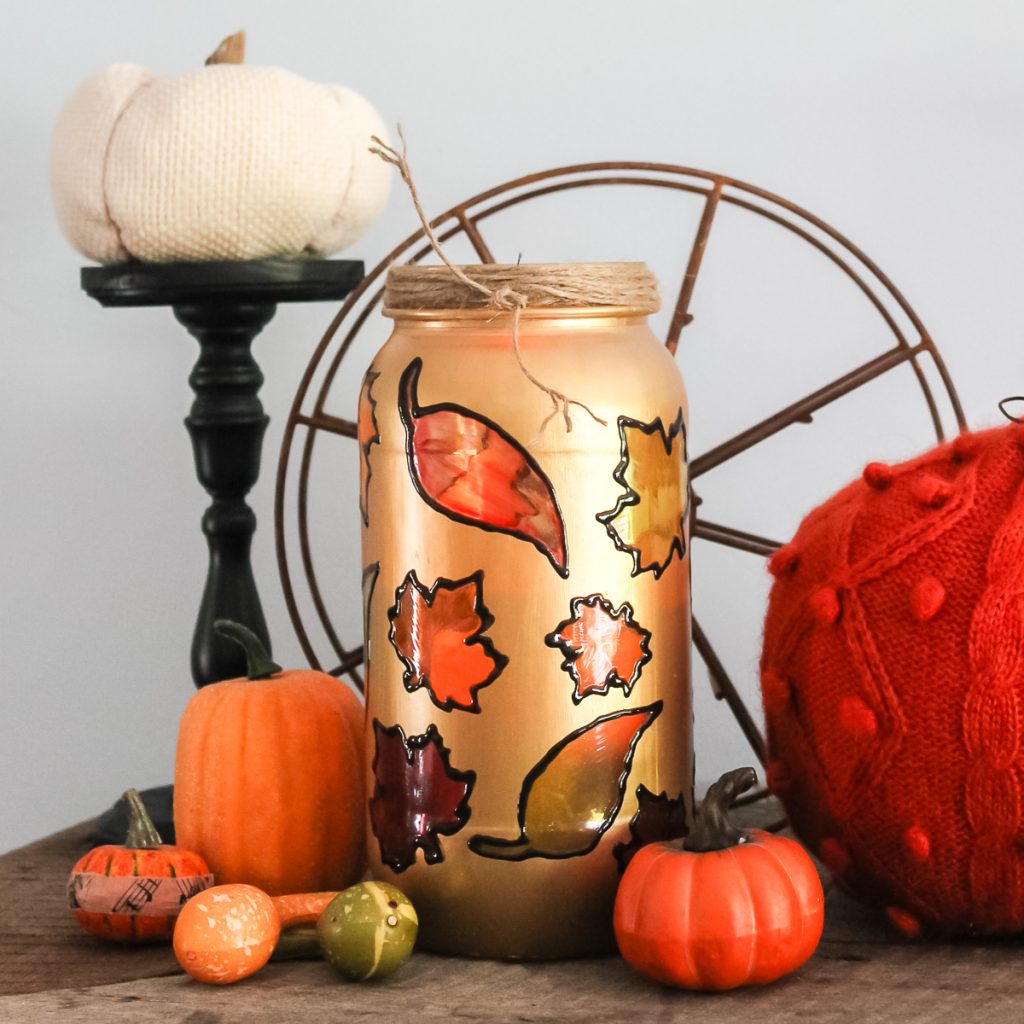
Fall Mason Jar Luminary
This project is a unique way to use your Cricut machine as you use the vinyl as a paint mask. That means it is perfect for vinyl scraps or even a sheet of vinyl where you don’t like the color. Use up those pieces from your craft room and make something amazing with the instructions below.
Supplies Needed To Make Fall Mason Jar Luminary
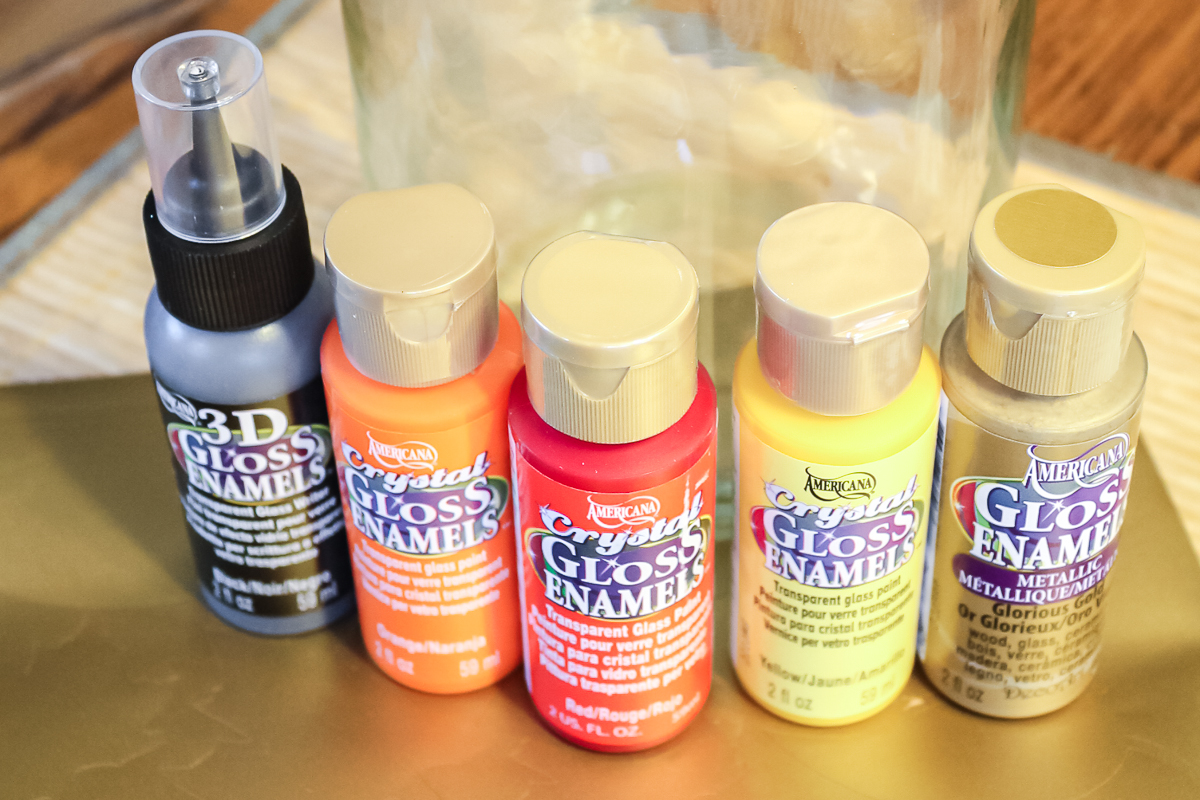
Unfortunately, some of the paints used in this tutorial are no longer available, so I have linked alternative paint options to the supply list below.
- Jar (I used a large pickle jar, but you could use any glass container that is available to you.)
- DecoArt Dazzling Metallic Paint in Glorious Gold
- 3D Gloss Enamels Transparent Glass Writer in Black
- Alternative Option: Gallery Glass, Black Onyx Stained Glass
- Crystal Gloss Enamels Transparent Glass Paint in Orange, Yellow, and Red.
- Alternative Option: FolkArt Enamel Glass & Ceramic Paint in Yellow.
- Alternative Options: Gallery Glass, Pumpkin Orange, and Ruby Red.
- Vinyl shapes for masking (I used my Cricut to cut some leaf shapes in various sizes.)
- Craft Knife
- Paintbrush
- Rubbing alcohol
- Twine
- Candle (battery-operated or traditional)
Step 1: Adhere Vinyl Leaves To Jar
Start any glass project by cleaning your surface really well. I use rubbing alcohol to wipe down my surfaces.
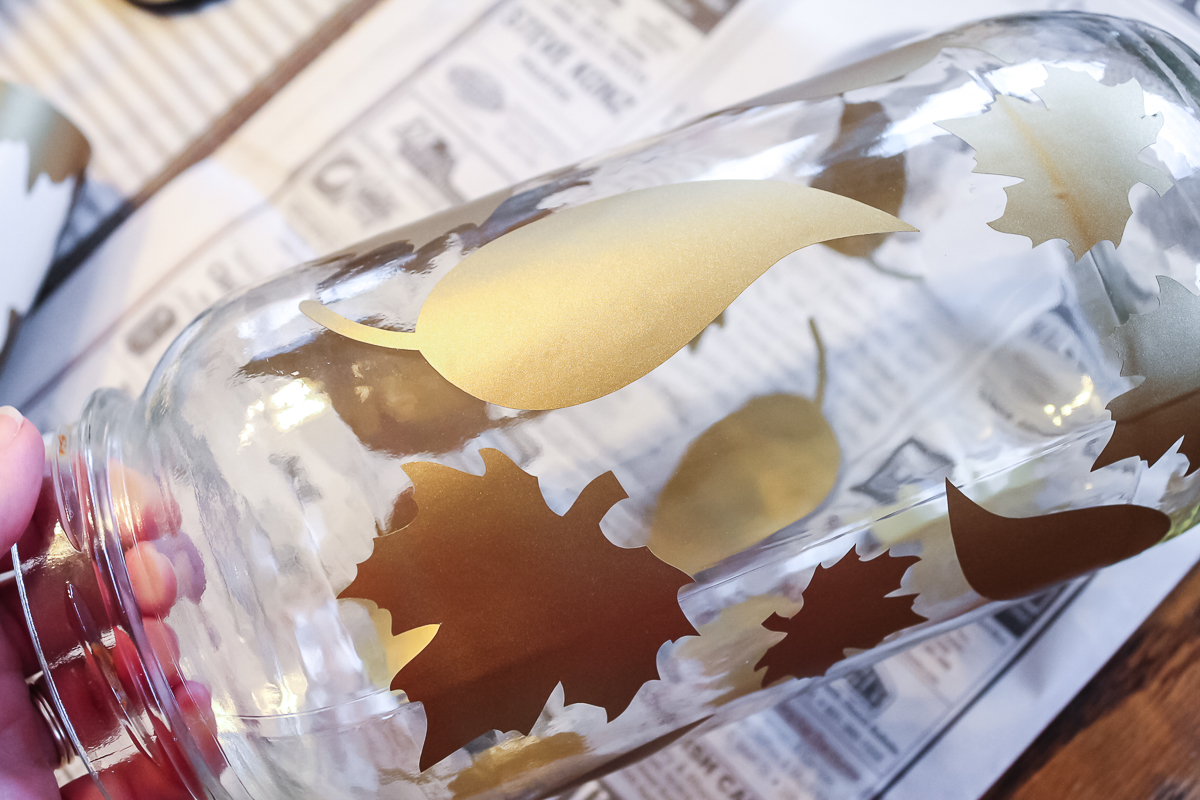
Then, adhere the vinyl leaves to your jar. I used a gold vinyl cut on my Cricut just because that is what I had on hand. The vinyl is for masking only and will be removed later. Randomly apply a variety of leaf shapes and sizes to the jar. You can find lots of free leaf shapes in Design Space to use. Press the edges of each one firmly to make sure they have adhered. Tip: Use a tennis ball to press your vinyl onto the glass to make sure all the edges are down tight to the glass to prevent paint from seeping under the edges.
Step 2: Paint Jar & Remove Leaves
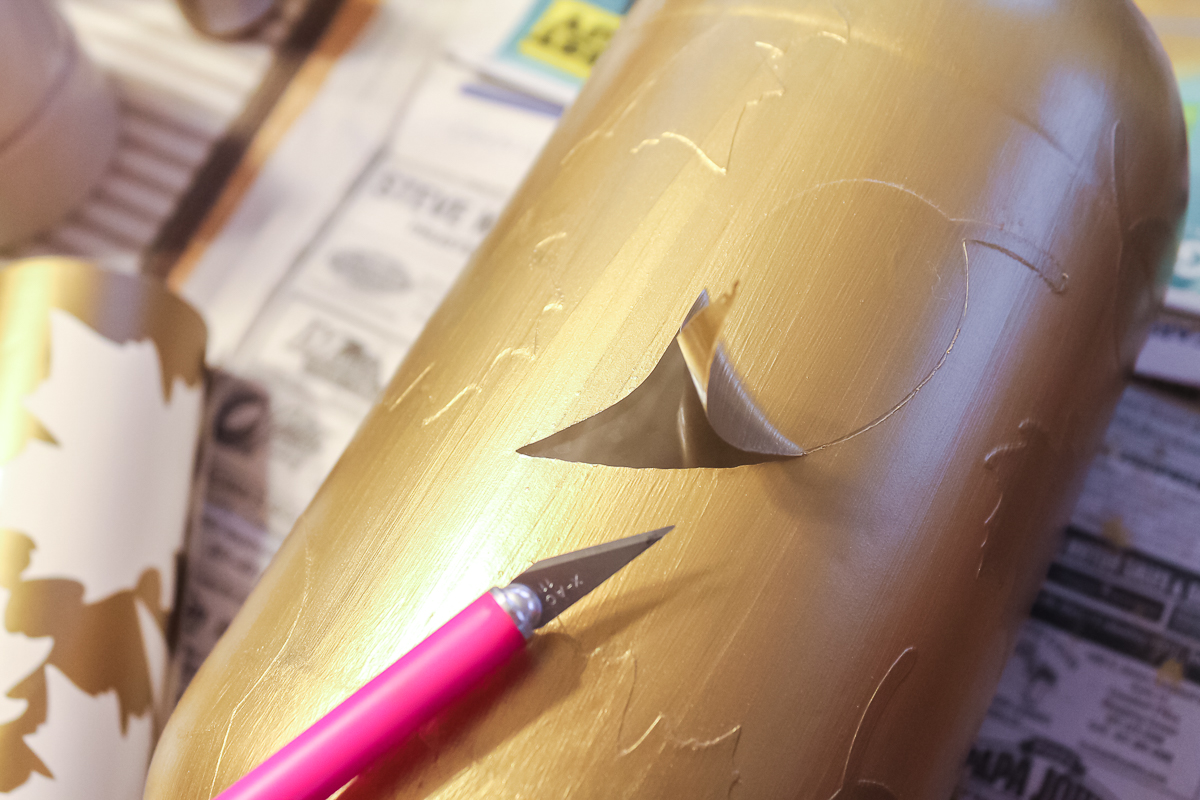
Paint the entire jar with metallic gold paint. I used three coats on my jar, allowing the paint to dry completely between coats.
After your final coat has dried, cut around each leaf with a craft knife and pull to remove the masking. It is very important to cut around the outside of each one to prevent damaging the paint at this point.
Step 3: Trace Around Leaves
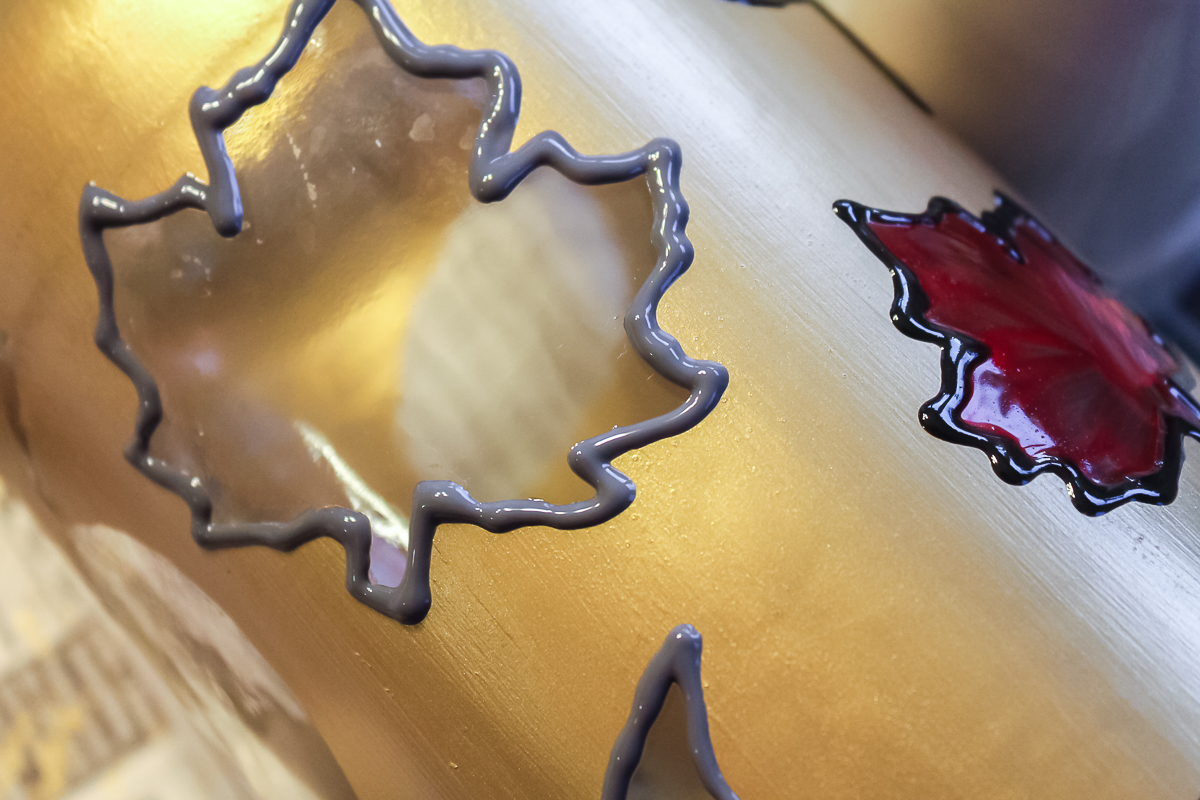
Trace each leaf with the 3D Gloss Enamels Writer or Gallery Glass. The leaf on the left below has just been traced, and the paint is still wet, while the one on the right has been traced, painted, and is completely dry. This picture shows the difference in color from wet to dry.
Step 4: Apply Transparent Glass Paint
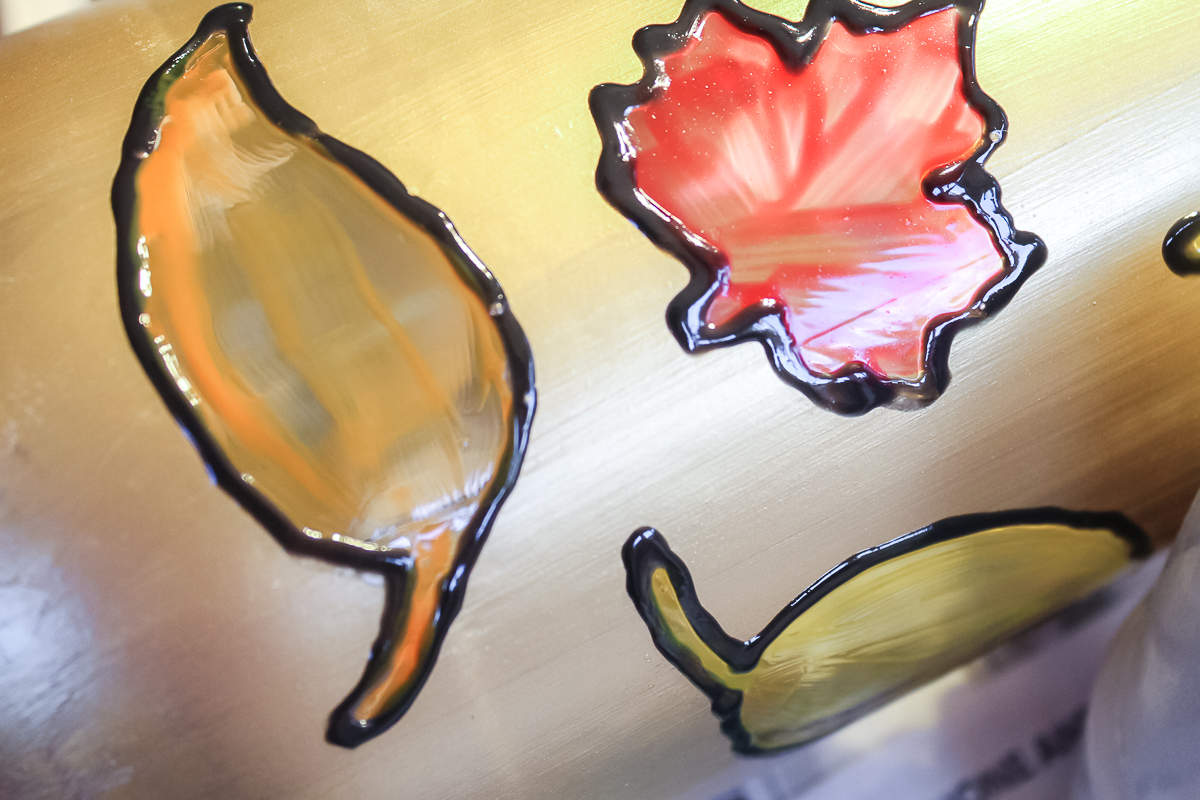
After the black has dried, apply the transparent glass paint to each leaf. I randomly chose red, orange, and yellow paint for my leaves.
Step 5: Baked Fall Mason Jar Luminary
Allow your entire project to dry completely. Bake according to the package directions, if required, by the brand of glass paint you are using.
Add any candle to the inside of your luminary, and you will be ready to light up your home. I used a battery-powered candle and tied some twine around the top for a rustic touch.
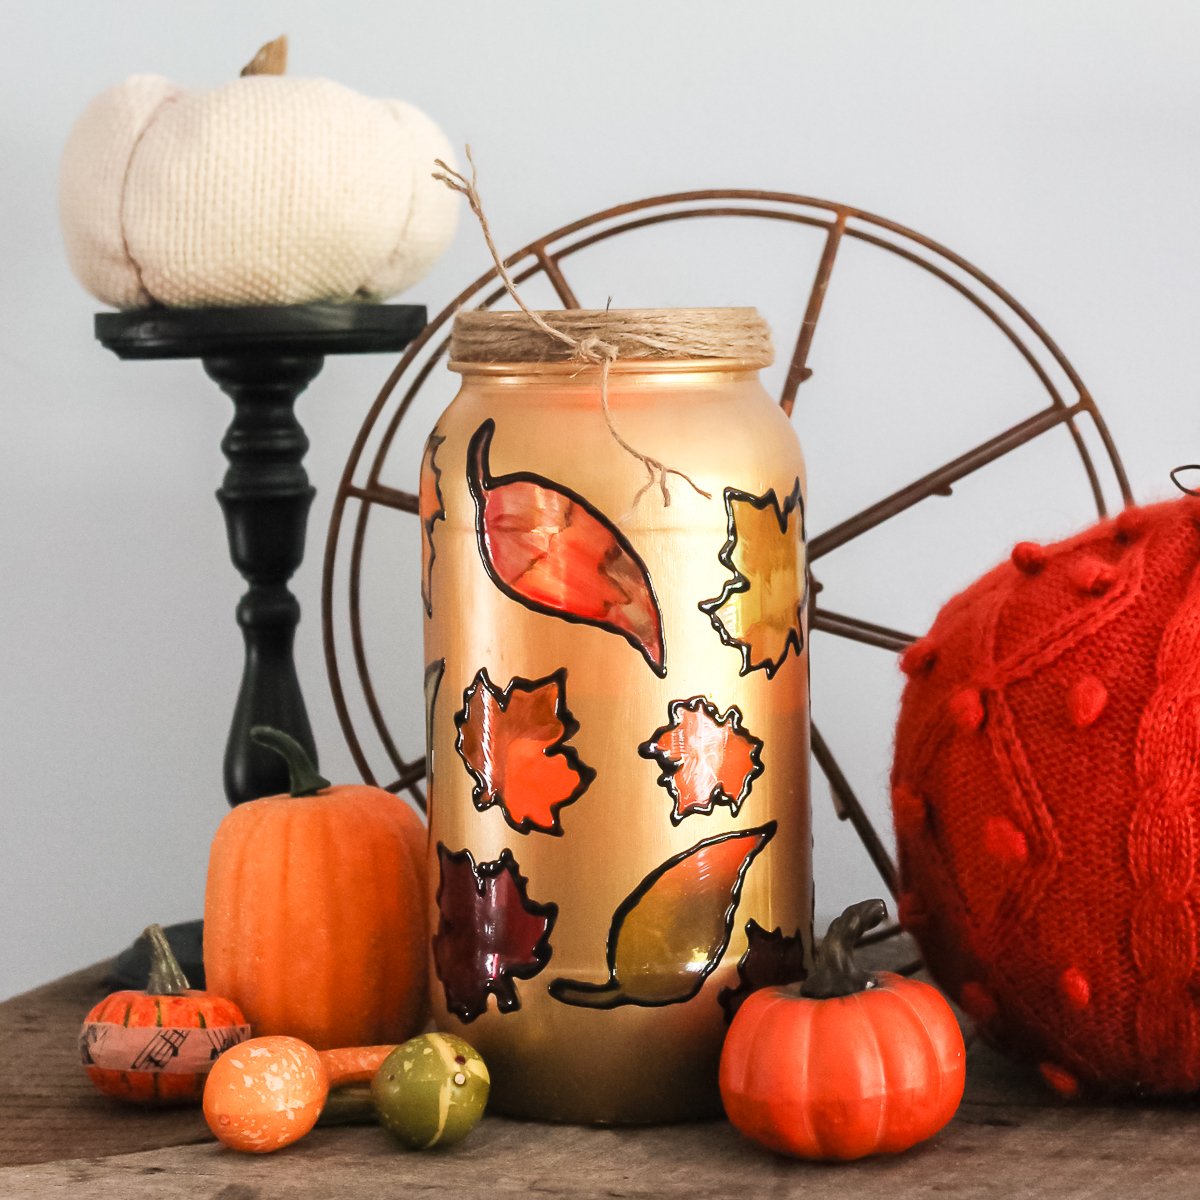
This is a lovely way to bring fall into your home! The light shines through each leaf, casting a fall glow on the surroundings. So pretty! I hope you enjoy this fall jar luminary craft as much as I do.
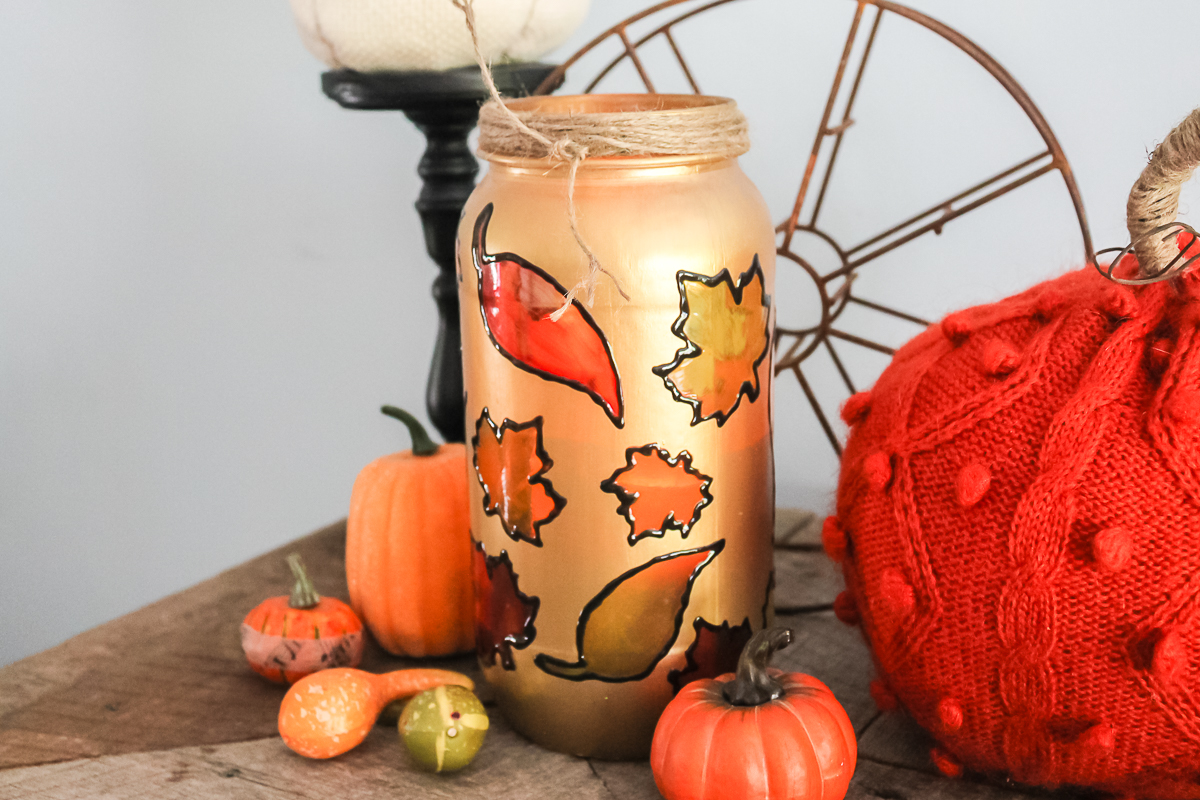
So, gather your supplies and make your own leaf mason jar today. You’ll love the results!
FAQs About Fall Mason Jar Luminary
If you have questions about this fall mason jar luminary, I have answers! If you don’t see your question answered below, please leave it in the comments.
Can I Use Any Jar For This Project?
Technically, yes. However, since we are adding vinyl around the jar, I recommend using a smooth-sided jar.
I’m Using A Jar With A Label. Do You Have Any Tips For Removing The Label?
If you are using jars from your kitchen (like pickle jars, jam jars, etc.), you can remove the original label using several methods.
For these types of jars, I would let them soak in warm, soapy water, then use a scraper to remove the label. This has worked for me, but if you are dealing with a stubborn label, here are a few more things you can do.
- Pour hot water into the jar and let it sit. This will loosen the label on the outside.
- Use a mixture of dish soap and vinegar with this technique.
- Apply heat to the label using a hair dryer and peel away.
I’m Using A Jar With A Label. Do You Have Any Tips For Removing Sticky Residue?
I would use Goo Gone to remove any sticky residue from the jars. However, if you don’t like the smell of Goo Gone or need other options, below are a few ideas.
- Adhesive Removers (like 3M Adhesive Remover, Un-Du, etc.)
- White Vinegar
- Nail Polish Remover
Can I Make This Project For Different Seasons?
Absolutely! You can easily swap out the shapes and colors to fit other seasons or holidays. Below are a few ideas that you can do!
- Halloween: Use bats as your shapes and paint the jar black/orange.
- Winter: Use snowflakes as your shapes and paint your jar blue/white.
- Valentine’s Day: Use hearts as your shapes and paint the jar pink/red.
- Spring: Use flowers as your shapes and paint the jar your favorite spring color to match your decor.
30 More Fall-Themed Mason Jar Crafts
Did you love this fall mason jar luminary and want more fall-themed mason jar crafts? Then check out the projects below!
- 25 Jar Ideas for Fall – Crafts and Recipes
- Paint Pour Mason Jars For Fall
- Scarecrow Jar Fall Craft Idea
- Fall Napkin Luminaries
- Decorative Glass Jars for Fall
- Fall Mason Jars You Need to Make This Year


This is so pretty! I can’t wait to try out some glass paints!
Amazing as always Angie! I can’t wait to test this out!
How cute! I’ve been longing to try glass paints. I need to get my hands on some!
Very pretty Angie, I’m so ready for fall!!
Those gloss enamels are the bomb… I would love to try them!
I have some of the older glass paints, really older but still liquid, might try this first with them to save some green stuff.
Anyway, love your jar, it is so pretty and looks fantastic and fairly easy. I’ll have to use clear contact paper to make the leaves as no silhouette. The leaves with the gold, red, etc. look gorgeous.
I have lots of big pickle jars I got (free) last year. Love to make luminaries out of them among other things. Hubs has been complaining about the room they take up. Uh huh, I’m not getting rid of my pickle jars. He complained about the room all my vintage blue mason jars took up also, tuff. Those jars traveled from MT to KY to CO. Only one, a clear one, got broken.
I always love your projects and enjoy making them. Keep up the wonderful posts you do.
Great idea Angie, I love how the leaves are transparent! Pretty!
I am going to try this project. What does it mean bake? are the instructions on the paint bottle?
I like the jar with the vinyl leaves on it. I may try it with different colored vinyl and see how it looks and skip the painting. By the way, your luminary is beautiful. Thank you