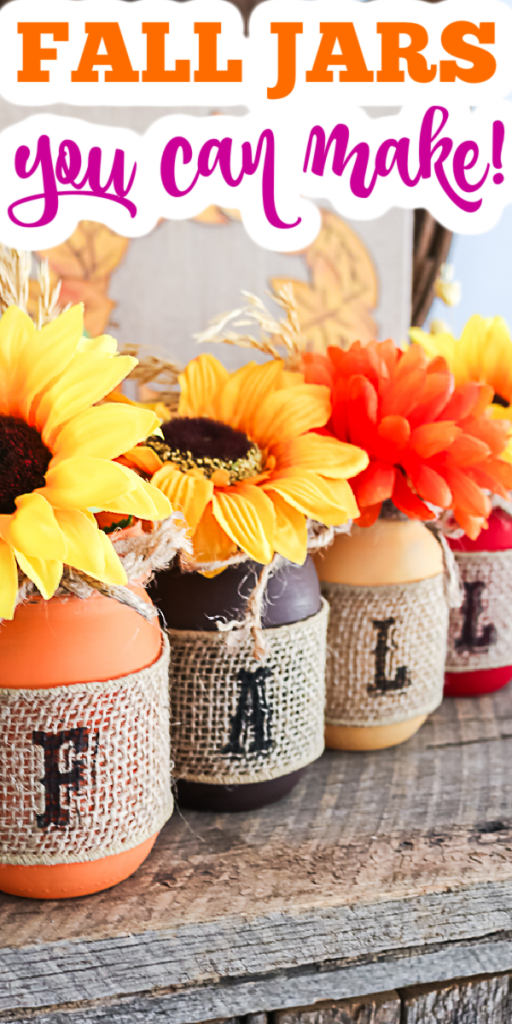
Today I am going to share some fall mason jars that literally ANYONE can make. This craft project is so easy and it will look great in your fall home decor. I must say that I love mason jar crafts but this project is great if you are just diving into crafting with mason jars as well. In fact, painting mason jars with this method might just have you making a version of this craft for every season.
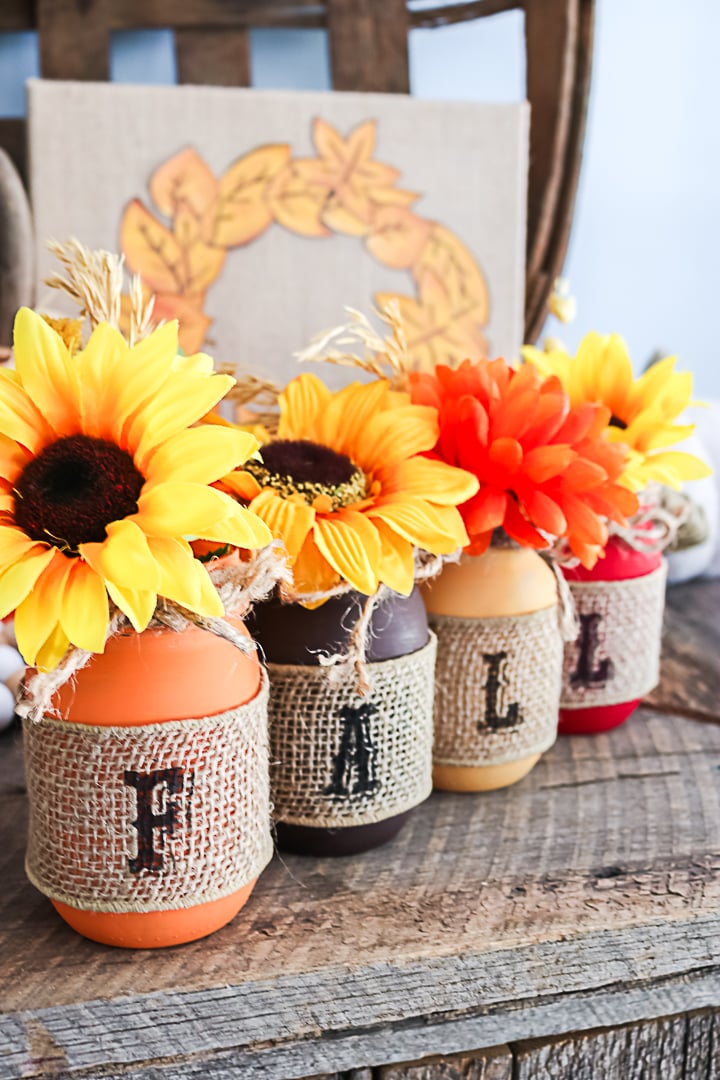
Fall Mason Jars
You can use exactly the supplies that I am using below or you can even make the letters with HTV and your Cricut machine. You can see more about adding HTV to burlap here. However you decide to make these jars, just be sure to whip up a version of these for your home this season.
Supplies needed:
- Pint mason jars
- Burlap ribbon
- Chalk paint
- Paintbrush
- Scissors
- Twine
- Hot glue and a glue gun
- Letter stencil
- Stencil brush
- Flowers
How to Video Tutorial
Want to see how to make these fall mason jars in a video? I have the complete instructions in a quick video just for you. Follow along with that video below or continue on in the post for the written instructions.
Can’t watch the video or missed some of the steps? You can also keep reading for detailed instructions on how to make these fall jars.
How to Make Fall Mason Jar Crafts
I really love a quick and easy craft. They are my absolute favorite! When I have an idea and realize that literally ANYONE can make it, I get really excited. These jars are one of those ideas! They are literally so easy and they make a big impact in your fall decor. What could be better? Print the instructions below to use for yourself or host a fall craft night with family and friends.
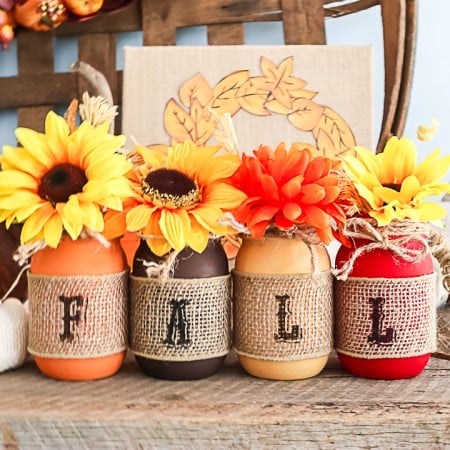
Supplies
- Pint mason jars
- Burlap ribbon
- Chalk paint
- Paintbrush
- Scissors
- Twine
- Hot glue and a glue gun
- Letter stencil
- Stencil brush
- Flowers
Instructions
- Paint each of the mason jars. Be sure to clean them well before painting. I like to use rubbing alcohol on the surface and allow it to dry before painting. Paint as many jars as you need for this project in whatever colors you like. I love chalk paint for this as one coat does the job!
- While your jars are drying, cut your burlap ribbon to 11 1/2 inch lengths. You will need as many ribbons as letters in your design.
- Stencil each ribbon with the letter of your choice. Be sure to protect your work surface and use a stencil brush for the best results. I am using a two layer stencil but you can choose a simpler letter if you would like. You can also use HTV and your Cricut machine for this step instead.
- Once your ribbon and jars are dry, wrap each jar with one ribbon and hot glue in the back to secure into place.
- Wrap twine around the top of each jar and tie in a knot. I also like to fray the ends of my twine but this is optional.
- Add flowers to complete your fall mason jars.
I told you they were easy to make! Plus they look great as well!
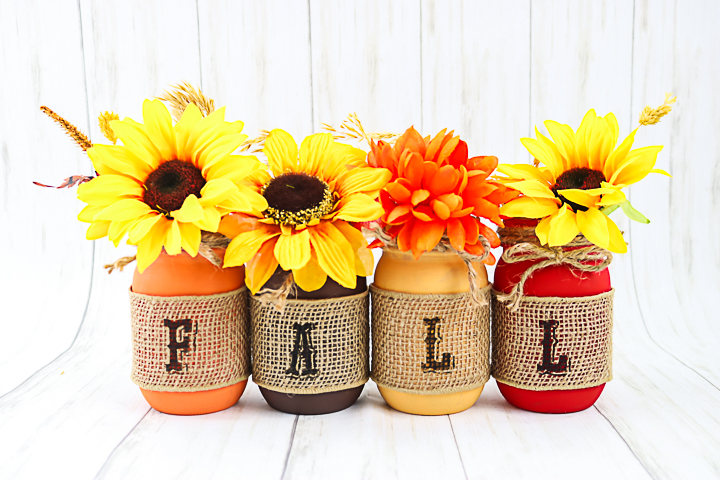
Tips and Tricks When Making Fall Jars
- If you are using chalk paint, one coat is generally good enough. For other types of paint, you may find that two to three coats is needed. Just allow to dry in between coats and stop when you are happy with the look.
- When stenciling, load up your stencil brush with paint and remove all excess paint on another surface. Then carefully apply the paint to the stencil for optimal results.
- Use silicone fingertips to keep you from burning your fingers when applying the burlap ribbon with hot glue. These allow you to touch the hot glue without burning yourself.
- I like to fray the ends of my twine by pulling out the individual strands. This is optional as it gives a more rustic appearance.
- You can add whatever fall florals you would like to the insides of your jars. Make your arrangement tall or short to accommodate where you are putting it in your home. You can also add in real flowers as the jars can hold water.
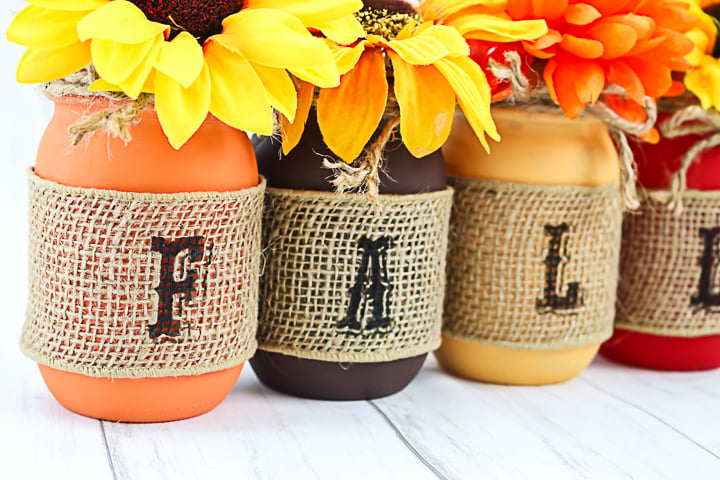
So, now that you know just how easy it is to make fall mason jars, what are you waiting for? Make a set of these cute jars for yourself as well as one for a friend or neighbor.
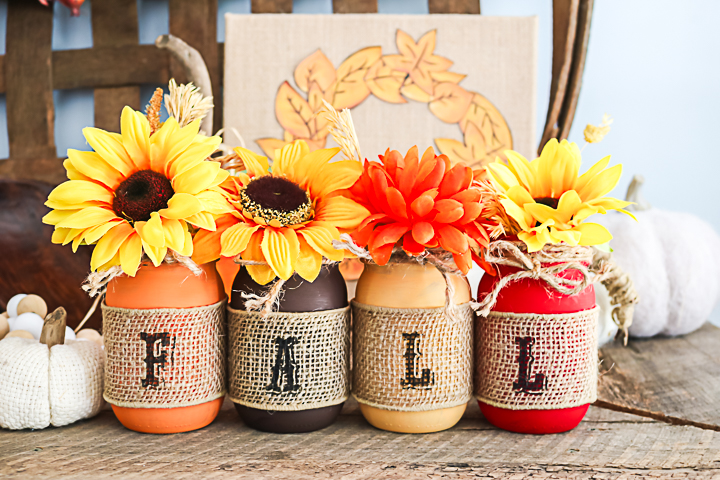
I added my set to my mantel but I could also see having these as the centerpiece at your Thanksgiving table. Maybe add a couple of more jars and spell the word THANKS instead of FALL? You seriously have so many options when it comes to this fall craft project.
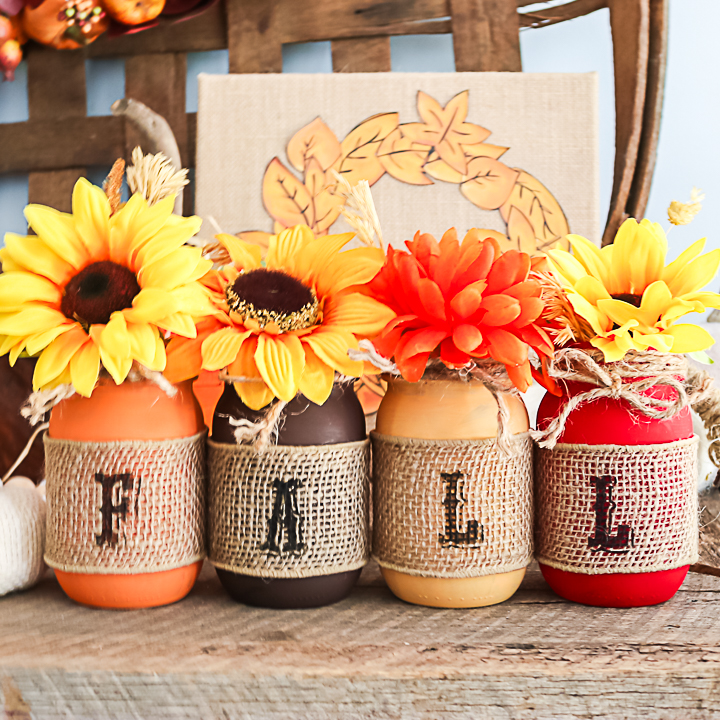
If you need me, I will be adding more fall touches to my mantel. I love adding gorgeous fall color to my home every year to celebrate the season. These fall mason jars are a perfect way to do just that.
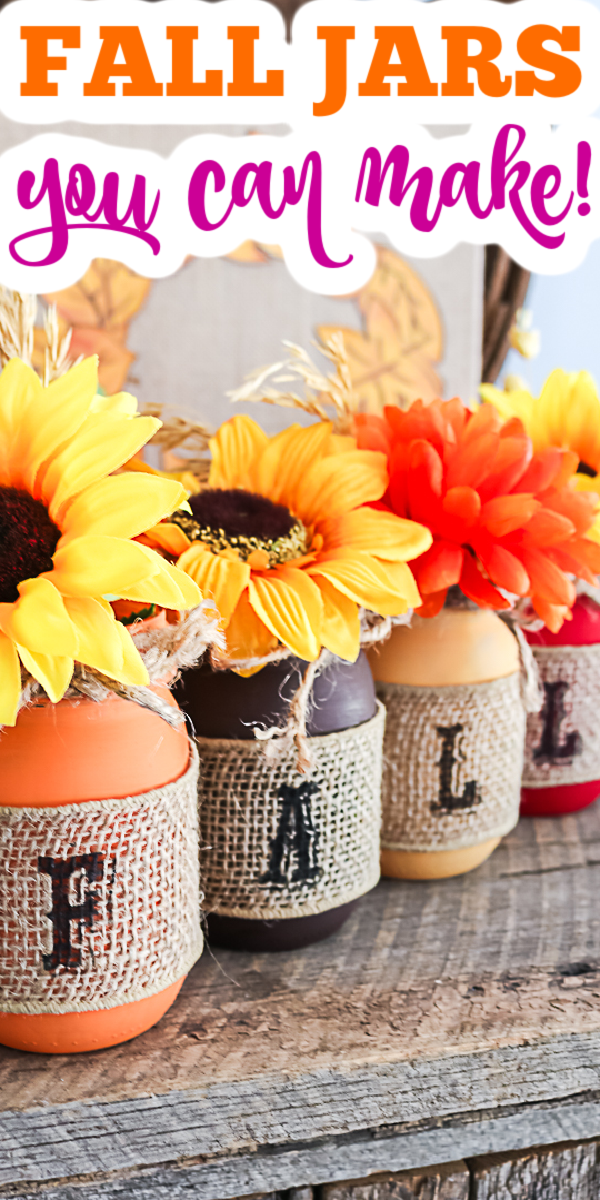
Love these jar crafts for fall and want more? Try the links below as well!
A Year of Jar Crafts

Sign up for our email list to get a FREE book with an entire year of jar crafts! 12 months, 12 crafts, tons of fun!



what a cute idea and thanks for the share about the finger protector enjoyed watching and your instructions are so easy to follow. thank you
What colors of chalk paint did you use?
I used imperial, java, monarch, and vintage mustard for the jars.
Thanks! Super cute btw. I’ve made quite a bit a fall projects thanks to quarantine.