When you want a new utensil holder for your kitchen, don’t buy one! Instead, make it yourself. This farmhouse utensil holder project is super simple to do and fun to complete. You may not be able to stop with just one!
If you’ve been hanging around here for any length of time, you know that I do lots of DIY projects. It’s my hobby, but even more than that, it’s my passion. I may do lots of DIY projects, but after a while, you’ll notice that the ones I choose do are simple and quick to complete. 🙂
Today I have a fun kitchen project for you. My kitchen needed a new utensil holder. It was time for a change, and I wanted something with a different look and feel. Well, thanks to the help of an easy DIY project, I got one!
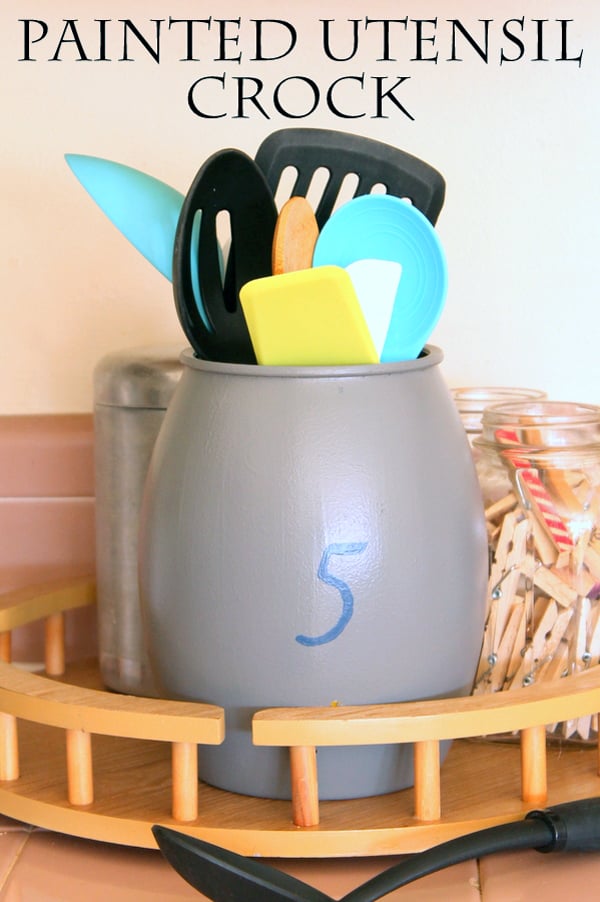
It’s stood the test of time, too! I actually made this farmhouse utensil holder for our family over a year ago. And all I needed was a thrift store cast off to paint for a fun addition to our kitchen.
This is a super simple project that anyone can do. The trick is to look for a shape you love at the thrift store and ignore the color (because you can easily change that part)!
If you love farmhouse kitchen decor too, check out my Cooking Conversion Chart, Farmhouse Canisters, and Fresh Eggs Sign.
Supplies Needed To Make A Painted Farmhouse Utensil Holder
Here’s a complete list of all the supplies you will need to do this project! Please note that this post may contain affiliate links.
- utensil holder from the thrift store (could also be a vase as long as you love the shape)
- Americana Multi-Surface Satin paints (I used Night Sky and Steel Grey colors, but you can choose differently if you’d like)
- stencils
- paintbrush and/or sponge brush
How To Make Your Farmhouse Utensil Holder
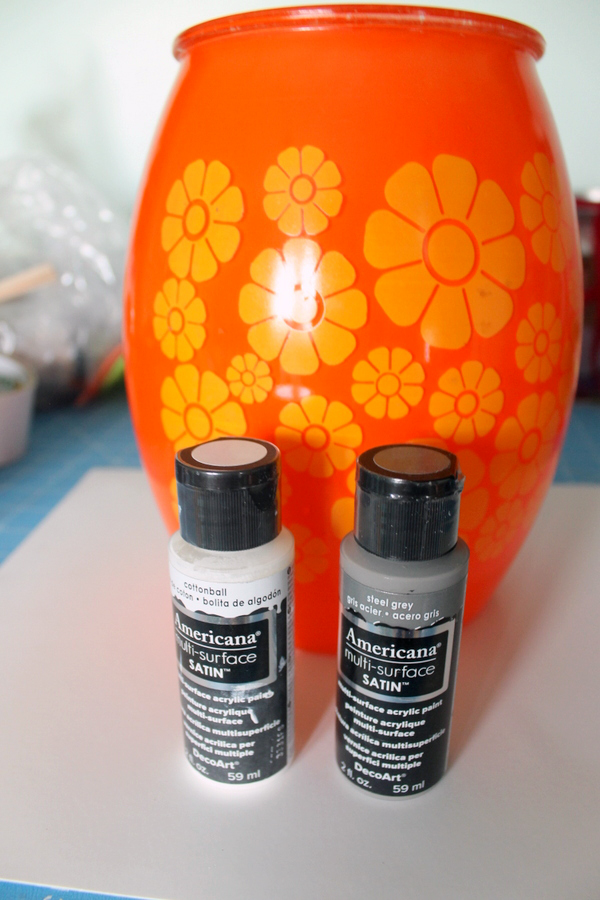
Want to see what I started with? This big old orange beauty! Yep! She was oh so very 1970s. But this was nothing a coat of paint wouldn’t fix. Like I mentioned above, I was really only looking at the shape of the piece.
I used Americana Multi-Surface Satin paints in Night Sky and Steel Grey. Yes, Cottonball is one of the colors pictured below but I ended up not using it!
Ok, let’s dive in and see how to make your own farmhouse utensil holder. Note: You can also print the instructions using the handy instruction card below if you want to.
Step 1
Clean the glass surface well with rubbing alcohol and allow it to dry before continuing to your painting.
Step 2
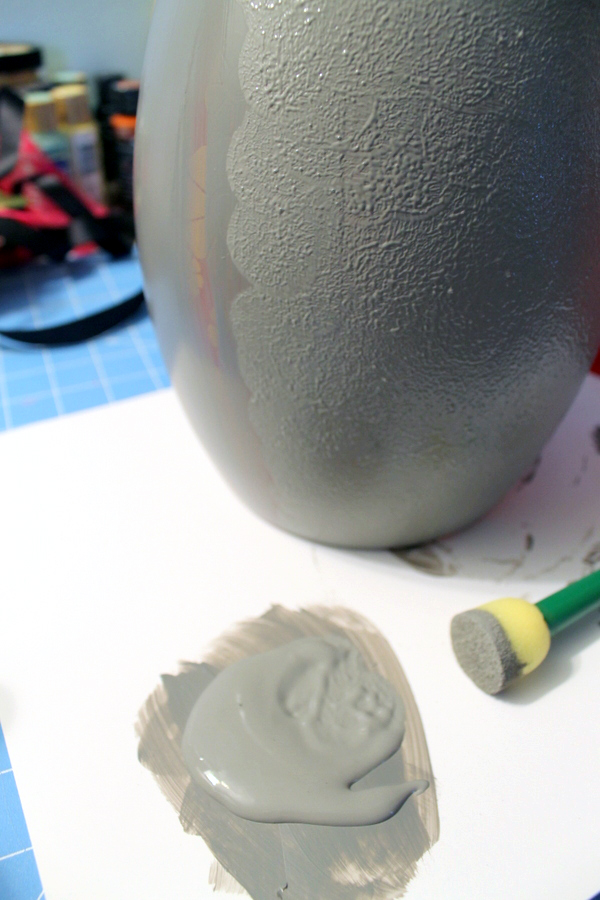
Next, I painted 3 coats of the Americana Multi-Surface in Steel Grey. Allow the paint to dry completely in between coats.
The last coat was applied with a sponge stencil brush. It helped to hide the slightly raised floral design on the original thrift store piece.
Step 3
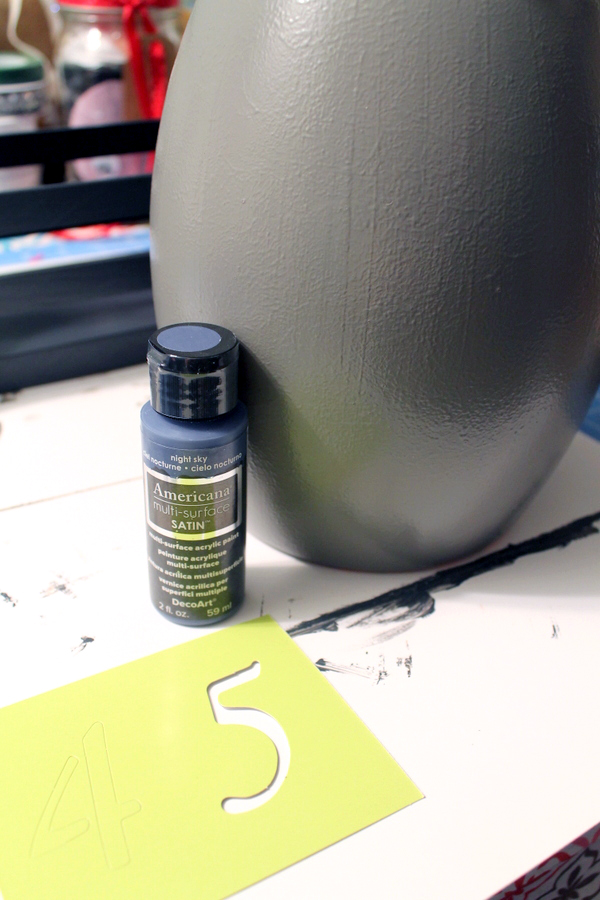
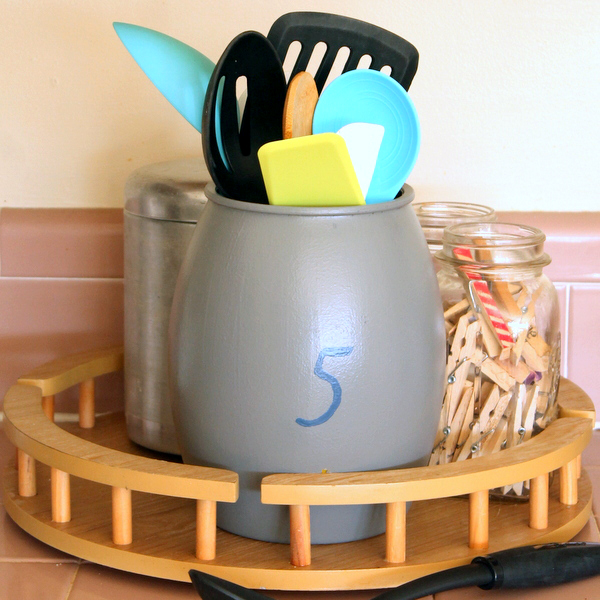
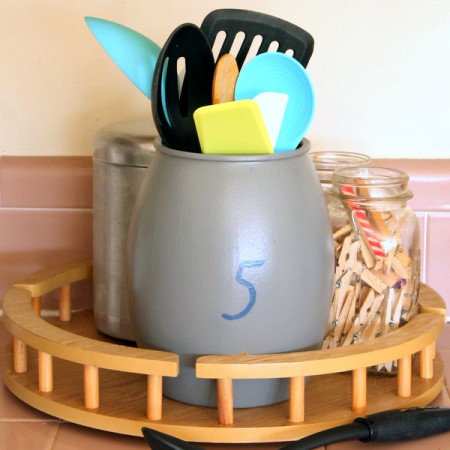
Allow the third coat to dry. Then use the Americana Multi-Surface in Night Sky paint to stencil on a number. I was inspired by those big farmhouse crocks that have numbers on them. I really, really love those but needed a super affordable alternative.
If you want your farmhouse utensil crock to be dishwasher safe, dry and bake it according to the package directions. I skipped that step and placed my holder on a lazy Susan in my kitchen.
Wasn’t that easy? I love simple projects like this one that make a noticeable impact on your decor (and functionality!)
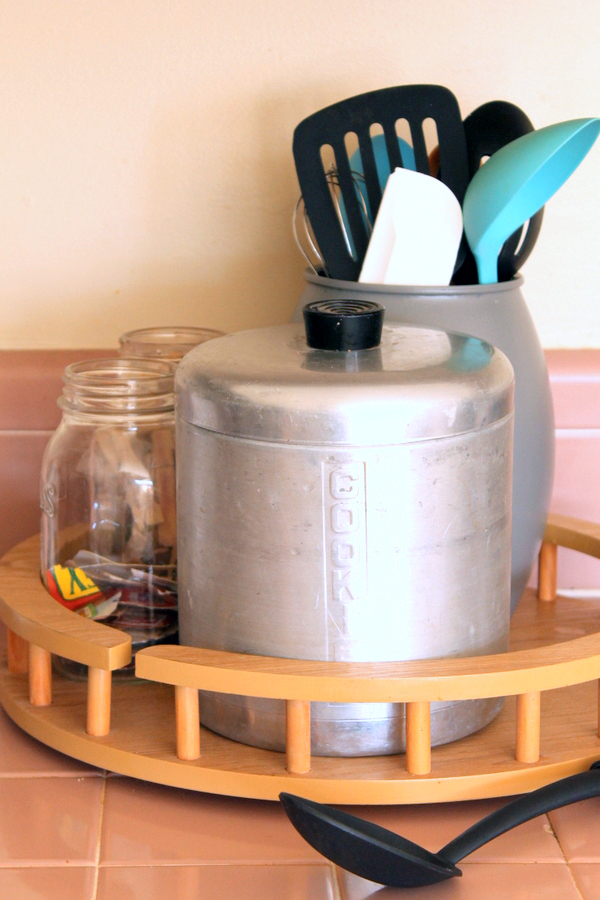
The same Lazy Susan also contains a vintage cookie jar for all of my cookie cutters and a few mason jars for storage.
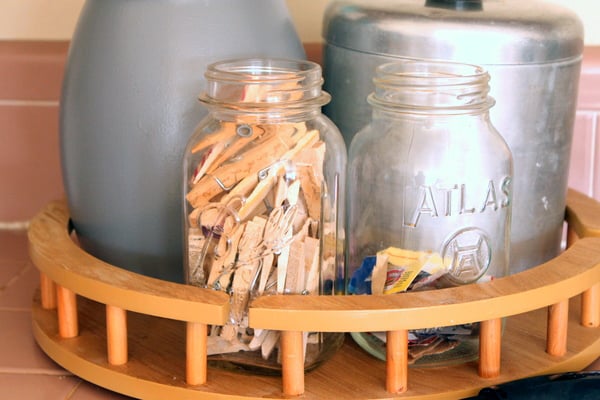
The farmhouse utensil holder fits in perfectly and helps keep me organized in the kitchen. If you would love this look for your home, be sure to look for a crock at your local thrift store in the shape you want.
Then all you have to do is break out your paints! This is a quick and easy project that is sure to look great in your kitchen!
Ideas For Your Entire Farmhouse Kitchen
Setting up your farmhouse kitchen? If you like this farmhouse utensil holder, you might also like these fun ideas too!
- The Best Kitchen Chalkboard Art Free Printable
- DIY Menu Board with Farmhouse Style
- Make a Magnetic Knife Block for Your Kitchen
- Mason Jar Kitchen Lights for Your Home
- Farmhouse Kitchen Ideas: Inspiration for Your Home
Supplies
- Crock/holder I got mine from the thrift store; pick the shape you like, not the color
- Americana Multi-Surface Satin Paints
- Stencils
- Paintbrush and/or sponge brush
Instructions
- Prep your surface for painting by cleaning it with alcohol. Allow it to dry completely.
- Using your paintbrush or sponge brush, paint your crock. I used 3 coats, so you will likely need at least a couple.Allow the paint to thoroughly dry in between coats.
- After your last coat is dry, use your brush and stencil to paint your design on the front of your kitchen utensil holder.


