If you love making pumpkin decorations to adorn your home during the fall, you’ll love this faux bois pumpkin craft. Applying the faux bois effect on paper mache pumpkins is easier than you may realize and produces stunning results! Follow this tutorial to learn how to paint faux bois.
If there’s one thing I love making this time of year, it’s pumpkin decorations! And I’m always trying new pumpkin decor-making methods because you never know what you’ll discover that you love.
Over the years, I’ve experimented with all sorts of fun rustic ways to create pumpkin decorations. For example, I’ve made marbled pumpkins, burlap fabric pumpkins, and even wood pallet pumpkins.
Today, I am back with ANOTHER pumpkin…surprise, surprise, huh? I have been in love with the faux bois effect for a long time. There’s something about that wood grain appearance that makes my heart pitter-patter. So, naturally, I had to put it on a pumpkin!
Walk through the process with me so you can do it too!
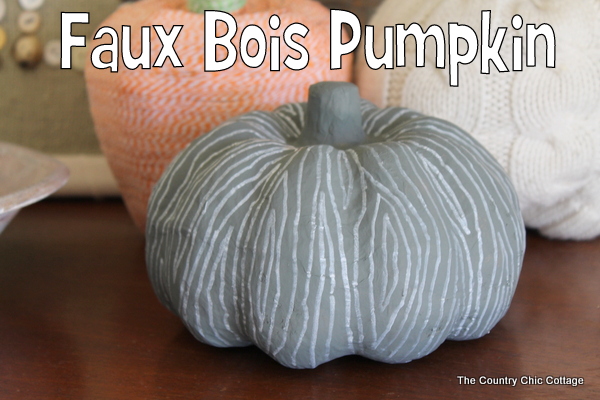
What is faux bois?
The term “faux bois” is a French term that means “false wood,” and it refers to the practice of creating artistic imitation wood grain on various materials.
So far, I’ve made a faux bois Christmas ornament and a faux bois painted plate. I am so excited to share my faux bois paper mache pumpkin with you!
How To Faux Bois A Paper Mache Pumpkin
Supplies Needed to Faux Bois A Paper Mache Pumpkin
You won’t need much to make this easy-peasy project! Gather:
- Paper mache pumpkin
- Craft paint (in gray)
- Paintbrush
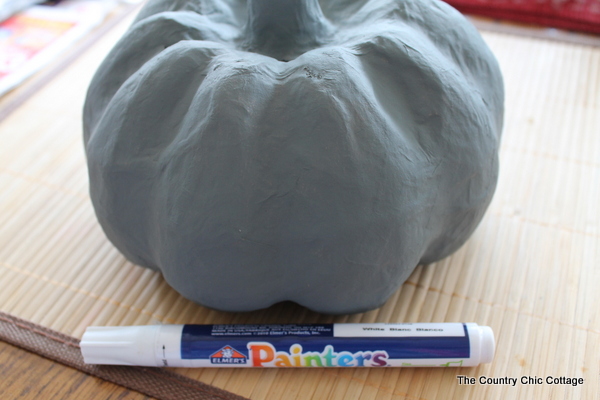
- Elmer’s Painters Paint (in white)
The process is super simple and won’t take long to complete. Just follow these step-by-step instructions.
Step 1: Paint Your Paper Mache Pumpkin
I started with a paper mache pumpkin from Consumer Crafts.
NOTE: I get products from them for my participation in their design team, and that’s how I can confidently highly recommend them for quality and price.
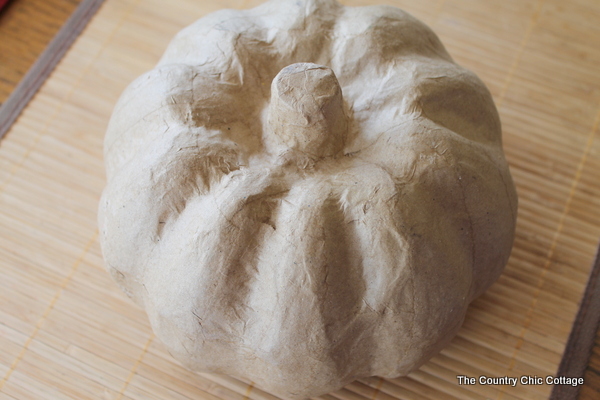
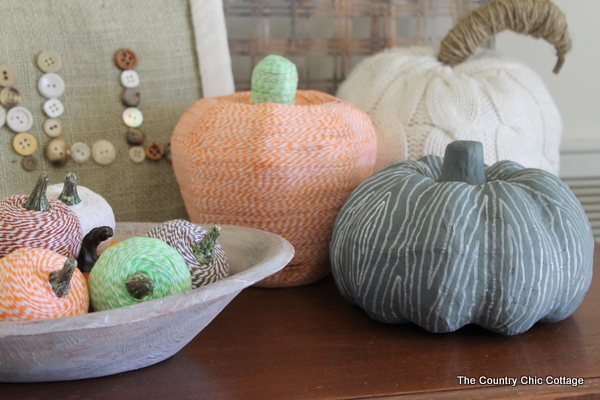
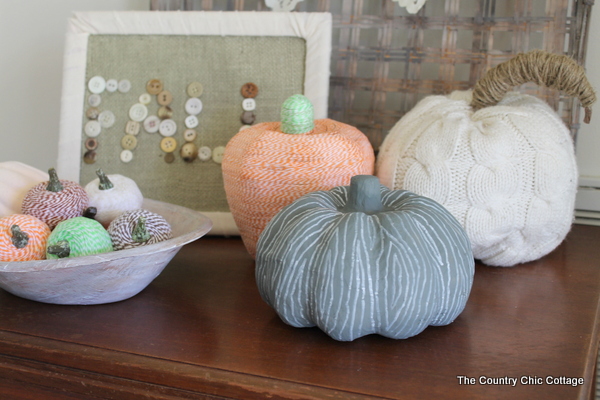
I painted a gray base on my pumpkin to give it a sophisticated look.
Step 2: Create A Faux Bois Pattern
Next, I took my white Elmer’s Painters paint marker and free-hand drew the faux bois effect all over the pumpkin.
TIP: Just draw roughly parallel lines of various widths with areas where they come together to look like elongated knots. Don’t worry about making the lines perfect because when you’re finished, it’ll look terrific!
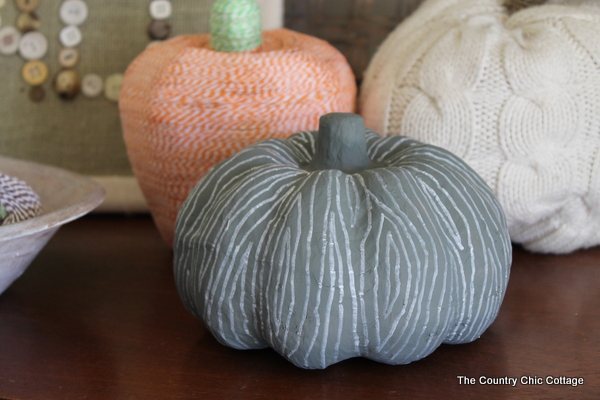
Doesn’t it look amazing? This faux bois pumpkin project is simple, quick, and CUTE! And it fits right in with these other pumpkins that I’ve made as part of my Halloween quick crafts.
If you love the great items pictured here, check out my tutorials for making Baker’s Twine Pumpkins, Sweater Pumpkins, and my rustic Fall Button Sign.
FAQs
Is your head spinning with questions about faux bois? Here, I answer some questions I frequently see asked. If you have a question that hasn’t already been answered, please leave it in the comments.
What kinds of craft pumpkins can I use the faux bois effect on?
I chose to use a paper mache pumpkin for this project because I love the slight lumps, bumps, and imperfections that mimic real pumpkins.
However, you can create faux bois pumpkins on any type of pumpkin – real or otherwise! Paint pumpkins and draw (or paint) the lines, or use paint pens on plastic craft pumpkins. It’s up to you, and you’re only limited by your imagination!
Do I need to sand the surface before I paint it?
When painting paper mache pumpkins, no. Their surface is already rough enough that the paint will stay on. If you paint a smooth plastic pumpkin, I recommend a very brief, light sanding or use chalk paint, which doesn’t require prep sanding.
Can I use a wood grain rocker to create the wood pattern?
No, unfortunately, that won’t work well here for several reasons. If you’re working on a flat surface, a wood grain rocker helps make it easier to create that signature faux bois pattern. However, for a lumpy, bumpy, small surface like this pumpkin, I have found free-hand drawing to be the best method.
More Fall Crafting Inspiration
I hope y’all enjoyed this one and you will add a wood grain touch to your decor! If you want more ideas, check out these links:
- DIY Metallic Painted Pumpkins
- Scrap Wood Projects: Reversible Pumpkins and Snowmen
- Fall Mason Jars
- Easy Farmhouse-Style Fall Centerpiece
- Fall Signs with Chalk Couture

Supplies
- Paper Mache Pumpkins
- Craft paint I used gray
- Elmers Paint Pen I used white
- Paintbrush
Instructions
- Use the craft paint to paint the paper mache pumpkin and give it a base color.
- Use the paint pen to hand draw wood grain lines.
- Let everything dry completely.


I love all of these! You rock! I am featuring this post at somedaycrafts.blogspot.com
These are so cute!! Just wanted to let you know that I linked to this post from my blog roundup of no-carve pumpkin decorating ideas. Thanks for sharing!! http://theroadtocrazy.blogspot.com/2014/10/31-days-of-halloween-2014-day-11-31.html