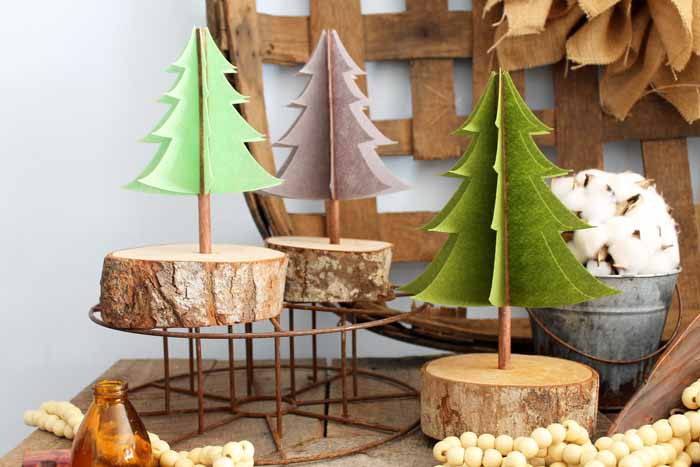
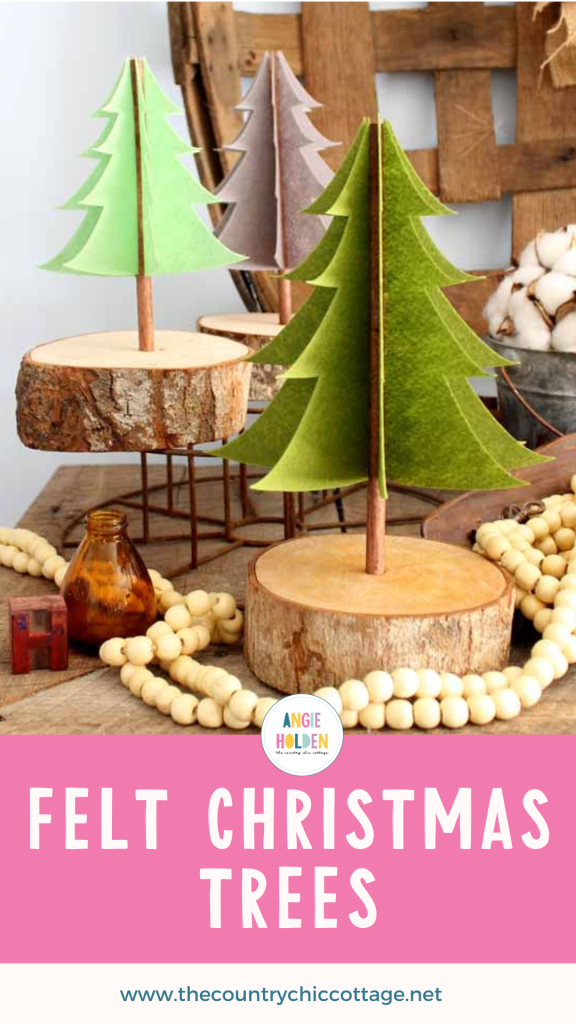
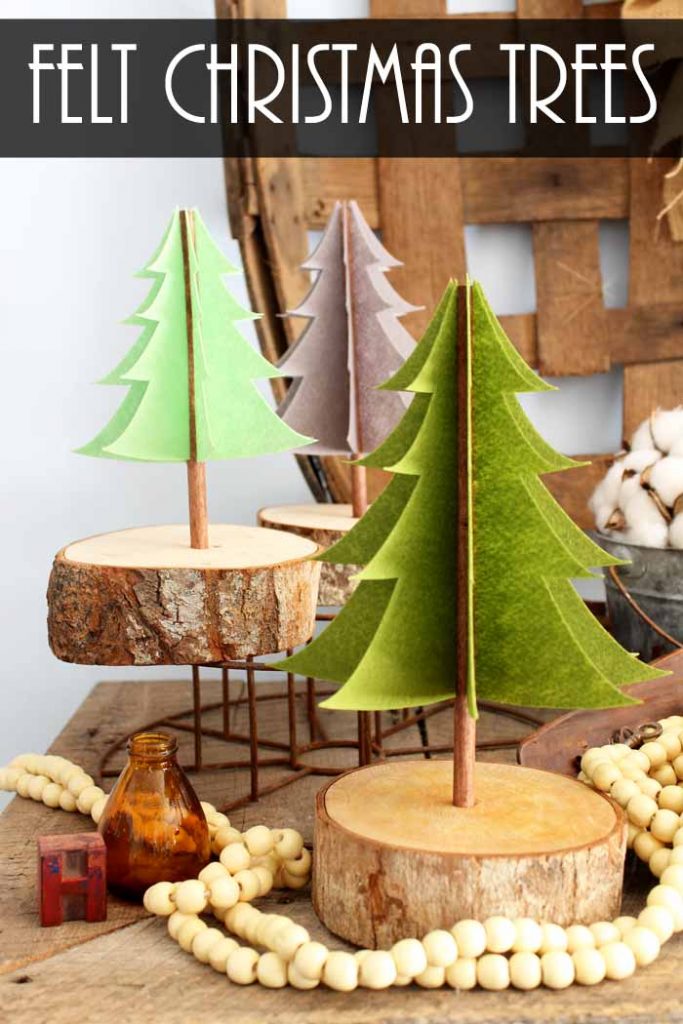
Felt is the perfect material to make and add color to rustic holiday decorations! Learn how to make these beautiful felt Christmas trees to add to your indoor holiday decor.
If you love rustic Christmas decor, be sure to check out my Red Truck With Christmas Tree Ornament, Santa Wood Slice Ornaments, and Farmhouse Front Porch Christmas Decoration ideas!
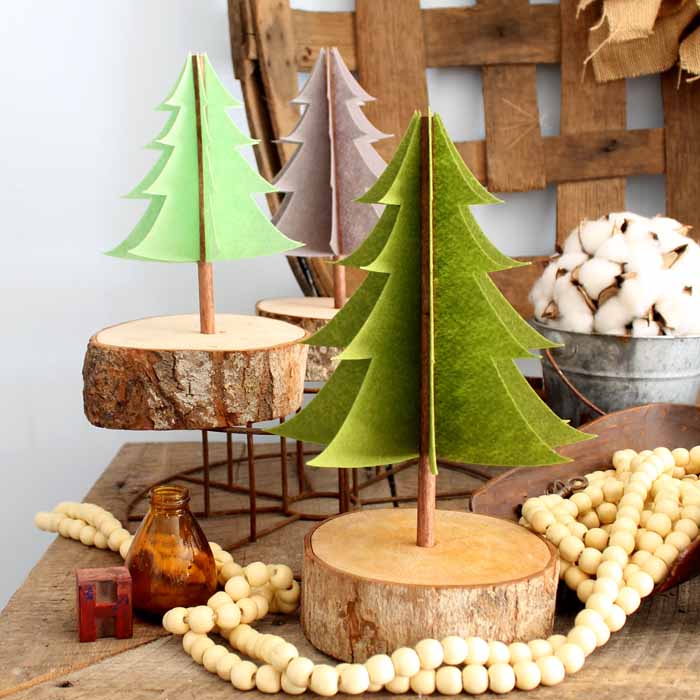
Felt Christmas Trees
Rustic holiday decorations are my favorite. Just as displaying an evergreen Christmas tree brings an element of nature inside the home, other rustic decorations do a similar thing.
And that natural beauty draws me in every time!
I often use wood and burlap to make rustic decor like these DIY Wooden Christmas Trees.
But felt is another perfect material for all your DIY rustic decorations. And, as it turns out, Christmas decorations made with felt are right up my alley.
These DIY felt Christmas trees are a simple project to make when you want to add a forest of evergreen trees to your home. This project is perfect for Christmas as well as your winter decor.
Life gets busy, and I don’t always have time to change my decor, so I love a project I can leave up for a few months…don’t you?
How To Make Felt Christmas Trees
The process for making this project is quick and easy, which means you can make several of these and create a “forest” in a short time!
Supplies Needed To Make Felt Christmas Trees
- Cricut Maker (Want to see the difference between the machines? I compared the Cricut Maker and Explore here.) NOTE: My recommendation is to use the Maker for all fabric projects including this one.
- Cricut felt
- Wood dowels
- Wood slices
- Dark stain
- Paintbrush
- Rags
- Drill and drill bit
- Saw
- Tacky glue
- Clothespins (optional)
- Hammer
- Cricut cut file
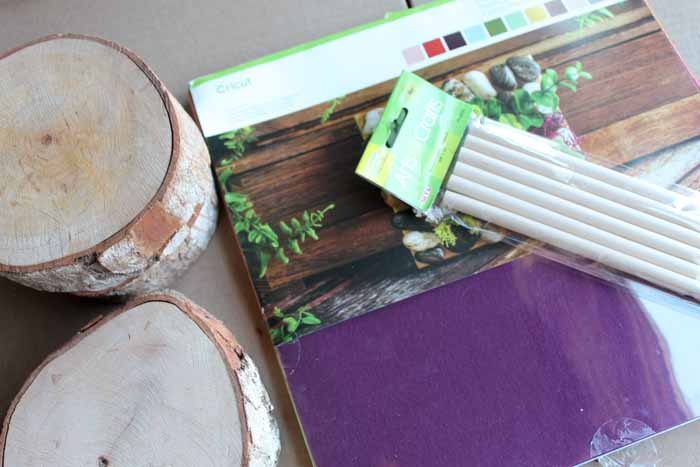
Step 1: Pull Up File In Cricut Design Space
Start by pulling up the cut file in Cricut Design Space.
Tip: If you are new to Cricut, click here for my free guide for Cricut Design Space.
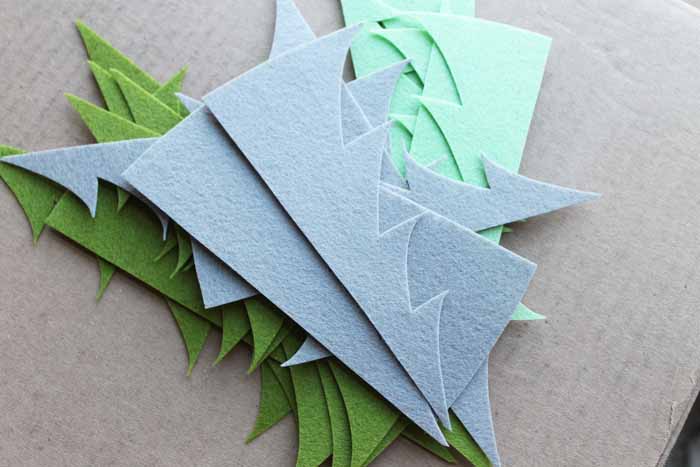
Step 2: Cut Felt
Cut the felt into the tree shapes. Each tree is designed to be cut from one 12×12 sheet of Cricut felt.
All three of these colors come in this sampler pack!
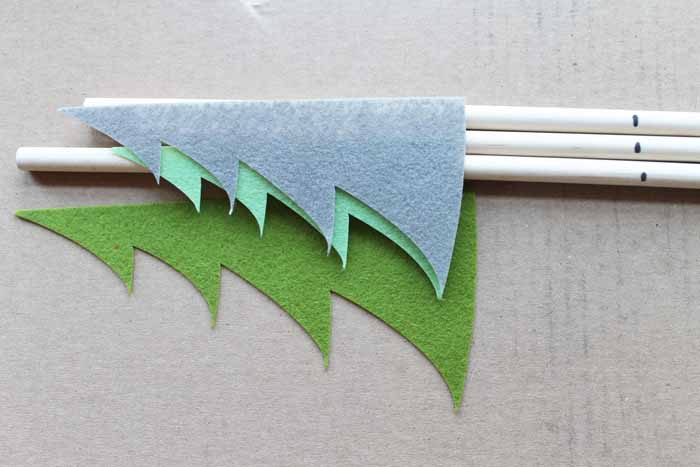
Step 3: Mark Dowel Rods
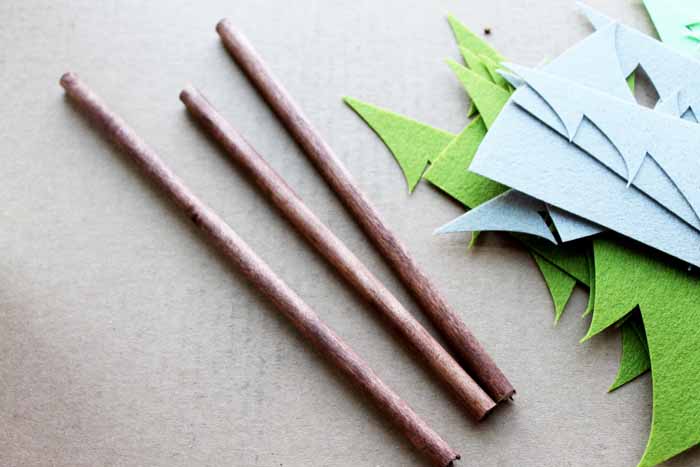
Then, cut your dowels to length. I used my trees themselves for a rough measurement and marked each dowel. I recommend just cutting them off using a saw.
Step 4: Stain Dowel Rods
After they are cut, you will want to stain them a dark color.
Paint on your stain with a brush, allow it to sit for a few minutes, and then wipe away any excess with a rag.
Step 5: Drill Holes In Wood Slices
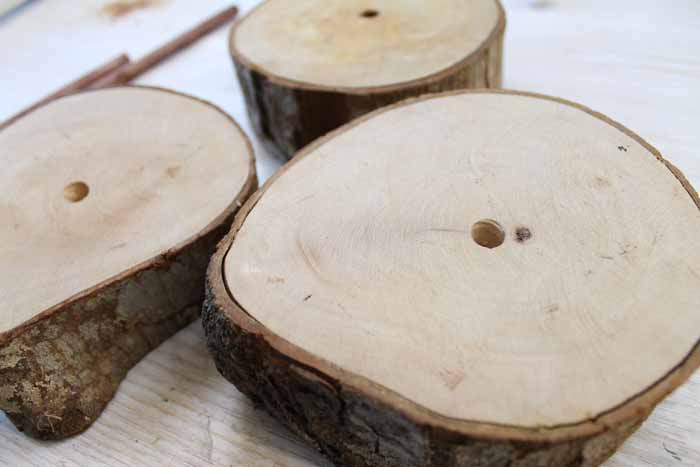
While your stain is drying, drill holes in the center of your wood slices. Your holes should be snug for the dowels.
Step 6: Add Dowel Rod To Wood Slice
Add the dried dowel rods to the holes in the wood slices.
Tip: You may also need a hammer to drive them in tight.
Step 7: Glue Felt To Dowel Rod
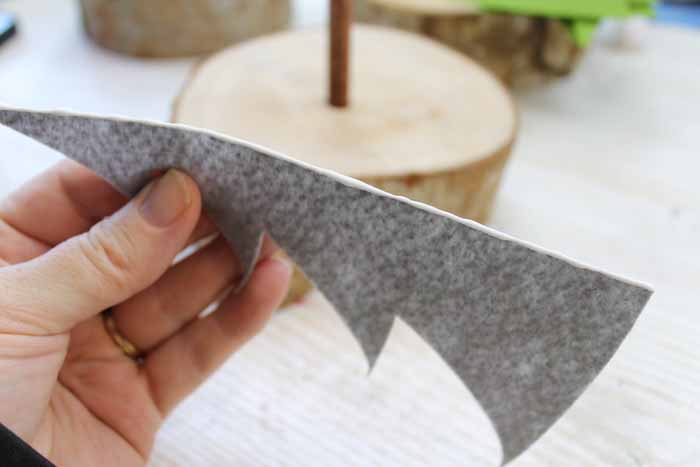
Add tacky glue down the edge of your felt tree pieces, as shown above.
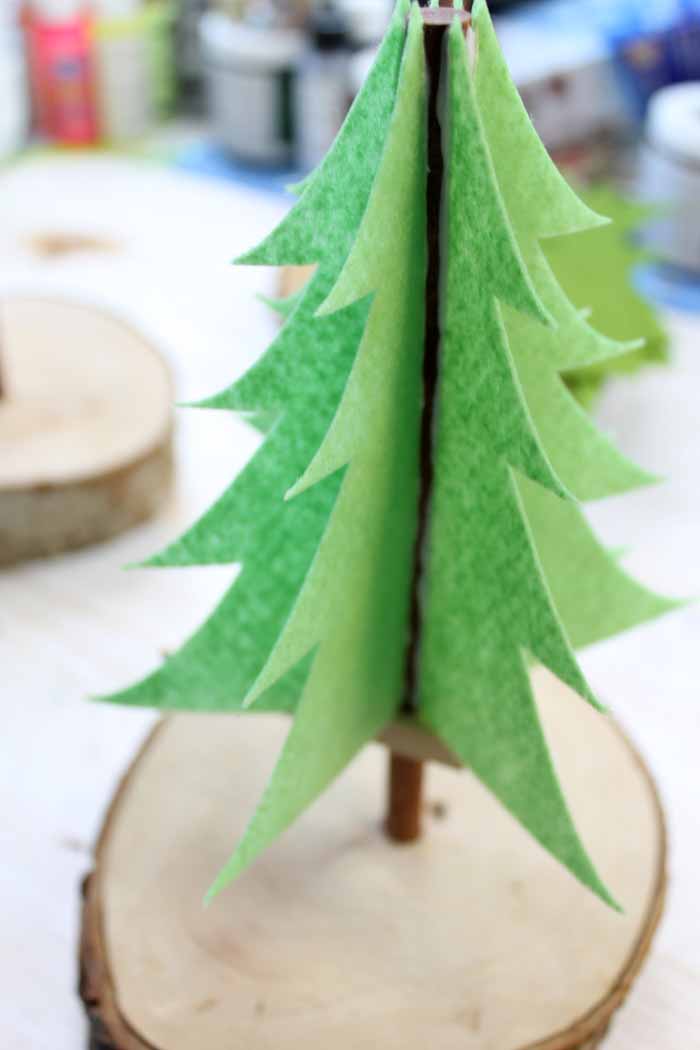
Then, stick the felt pieces to the tree. Each of these felt Christmas decorations gets 8 of the tree pieces. Evenly, space them around the dowel rod as shown.
I also wanted mine to stick up just a bit above the top of the dowel.
Step 8: Allow Trees To Dry
Allow your glue to dry overnight, and your felt Christmas trees will be ready to display around your home!
Quick Tips For Felt Christmas Trees
Follow my quick tips below!
- Change Blades – I changed the blade to rotary for a better cut. However, it does leave a tiny bit uncut on the very end of those pointed tips, and you may have to clip them with scissors when removing them from your mat.
- Add Tape To Drill Bit – Wrap a tape “flag” around the drill bit at the desired depth. You know you are deep enough when the tape hits the top of the wood slice.
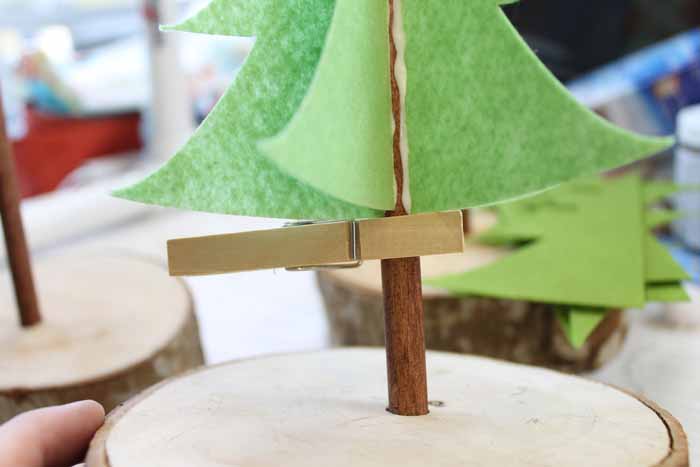
- Use A Clothespin – Your felt may want to slide down on you a bit while the glue is still wet. You can use a clothespin at the bottom to hold everything up until it dries (see below).
Final Thoughts On Felt Christmas Trees
I love these cute little rustic trees and how perfect they look on my mantel. They are definitely a decor piece that I will use year after year!
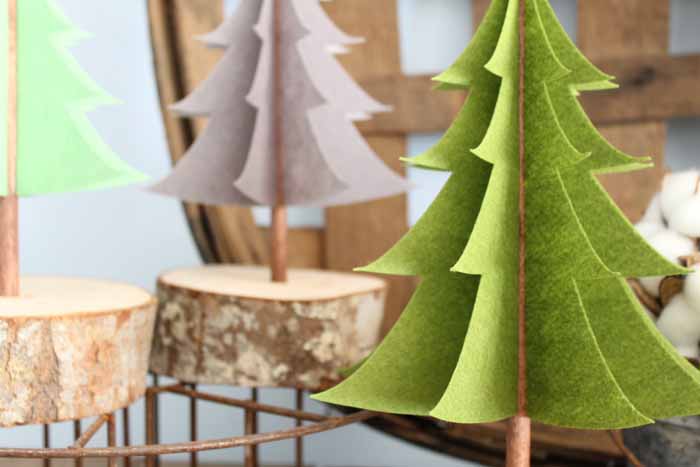
I just love working with felt for projects like these! The Cricut brand of felt is also fairly stiff, so it works particularly well in this project and stands up well.
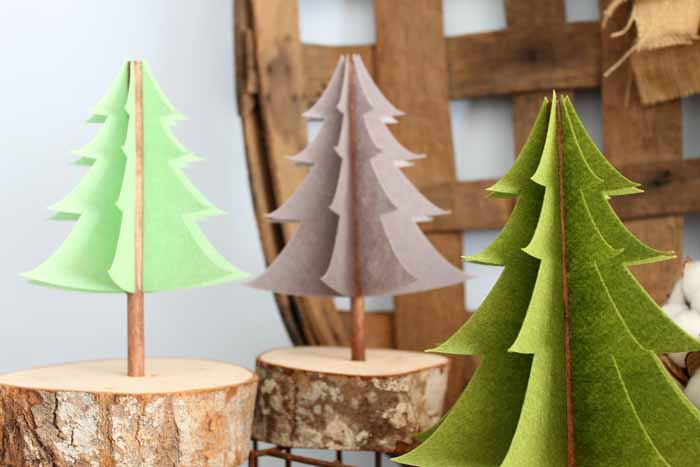
Imagine an entire forest of these at Christmas and through the winter months. They are such a cute way to add festive cheer to your home!

I hope y’all enjoy these felt Christmas decorations and make a bunch for your home!
FAQs About Felt Christmas Trees
Here are a few common questions that I often see readers asking about these felt Christmas trees. If you have a question, please check if I’ve already addressed it below. If you don’t see your question listed, please leave it in the comments!
What Cricut Machine Do You Recommend For This Project?
For this project, I recommend using the Cricut Maker. However, you can use a Cricut Explore as well!
What Cricut Mat Do You Recommend For This Project?
Regarding Cricut mats, I recommend using a Standard Mat, but you can use the Fabric Mat.
What Cricut Blade Do You Recommend For This Project?
Since we are cutting felt, the best blade for this project would be the Rotary Blade. To learn more about the Rotary Blade, check out our Cricut Rotary Blade: What Materials It Can Cut blog post.
Can I Use A Different Kind Of Glue?
If you don’t have tacky glue, use craft or hot glue to put your felt Christmas trees together. If you decide to use hot glue, be aware that the dry time will be shorter than the amount of drying time for the tacky glue.
Can I Use A Different Material For The Trees?
Felt is ideal for this project for multiple reasons! First, it’s stiff and thick, which makes it easier to glue. Also, it gives a rustic, more natural appearance compared to materials like paper.
Can I Reuse These Felt Christmas Trees?
Yes! Because they’re delicate, you just need to be careful about how you pack and store these felt Christmas trees until next year.
5 Holiday Decor Crafts
Did you love these felt Christmas trees and want more holiday decor and crafts? Then check out the projects below!
- Pallet Christmas Tree
- Christmas Terrarium
- Cute Snowman With The Cricut Maker
- DIY Modern Christmas Nutcracker
- Plaid Christmas Ornaments
New to Cricut?

Sign up for our email list to download the Beginner's Guide to Cricut Design Space for FREE today!
Sign up to get the guide emailed to you!



I adore how cute these are! Those wood slice bases are perfect
These trees are so precious. I would be making a forest.
How cute are these?!?!?!?!?!?!!? Love the little trees.
These trees are so adorable! I love the use of felt during the holidays and the wood slice bottoms really add that sweet rustic touch. So cute!
What cute little trees! I love these!
I love the clean look of these cute trees, they look almost Scandinavian to me.
Amalia
xo
This is SO neat!!
I would love for you to share this with my Facebook Group for recipes, crafts, tips, and tricks: https://www.facebook.com/groups/pluckyrecipescraftstips/
Thanks for joining Cooking and Crafting with J & J!
Hi Angie, These trees are adorable! Liz
So sweet Angie. The hubby and I were just chatting about how it seems like such a waste of time to put up all these Christmas decorations just to take them down again a few days later. You little trees could stay up all year long and still look amazing. Love it!!!
I do not have a machine; have you thought of and I know it adds time to your day/blog; but for readers w/o machine a pattern so we could cut out and make. Thank you…..
I try to offer some projects for both types of crafter. Those that have a machine and those that don’t. This one I wasn’t able to create anything else. Sometimes I do have a printable image you could use as a pattern. It just depends on the project and how much time I have.