Let’s chat about finding Cricut hat press blanks! Are you ready to use the Cricut Hat Press for something other than hats?! I’ve had fun finding Cricut Hat Press blanks that aren’t hats. I’ve tried a variety of different blanks to see which ones work best so you don’t have to. Read on to see what works and what doesn’t!
Looking for more information on the Cricut Hat Press? Find my full Hat Press post here.
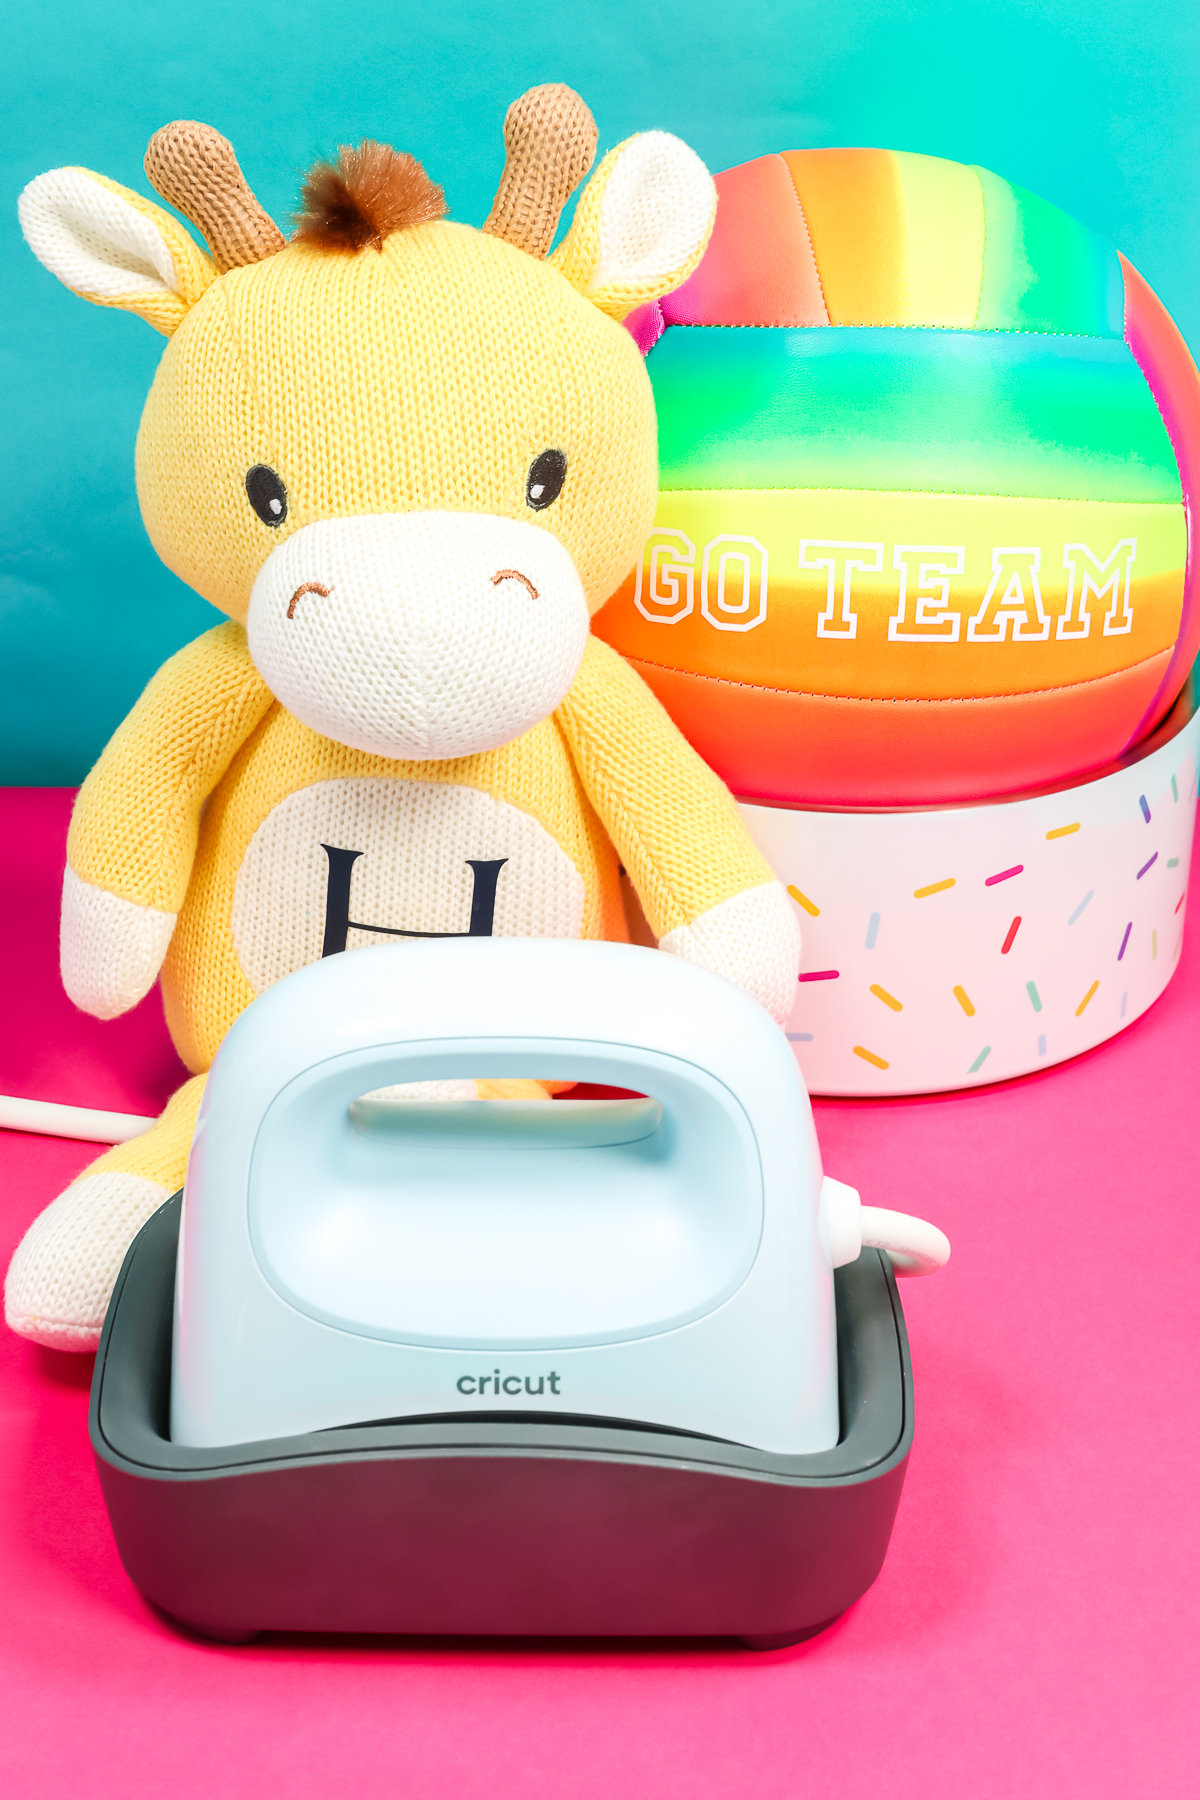
What Cricut Hat Press Blanks Work?
I really like the Cricut Hat Press, I’ve successfully made multiple hats with HTV and sublimation easily with it. While using it, I couldn’t help but imagine other projects that could be made with the Hat Press. That’s what started the hunt for finding Cricut Hat Press blanks that weren’t hats!
Of course, you can use a wide variety of hats with the Cricut Hat Press, I’ve used visors, bucket hats, sun hats, and ball caps with the Cricut Hat Press. But what else might work? Because the Hat Press has a specific curve to the plate it won’t work with just any blank. Finding Cricut Hat Press blanks took some time and trial and error.
You can watch me test out all these different blanks by clicking play on the video below:
Supplies Used:
Here are all the supplies I used to create the Hat Press projects.
- Cricut Hat Press
- BFlex Gimme 5 HTV
- Sublimation dog bowl
- Football
- Strong heat tape
- Sublimation printer
- Sublimation ink
- Sublimation paper
- Lint Roller
- Artesprix Protective Paper Use code CCC10 for 10% off!
- Heat resistant gloves
Testing Blanks with the Cricut Hat Press
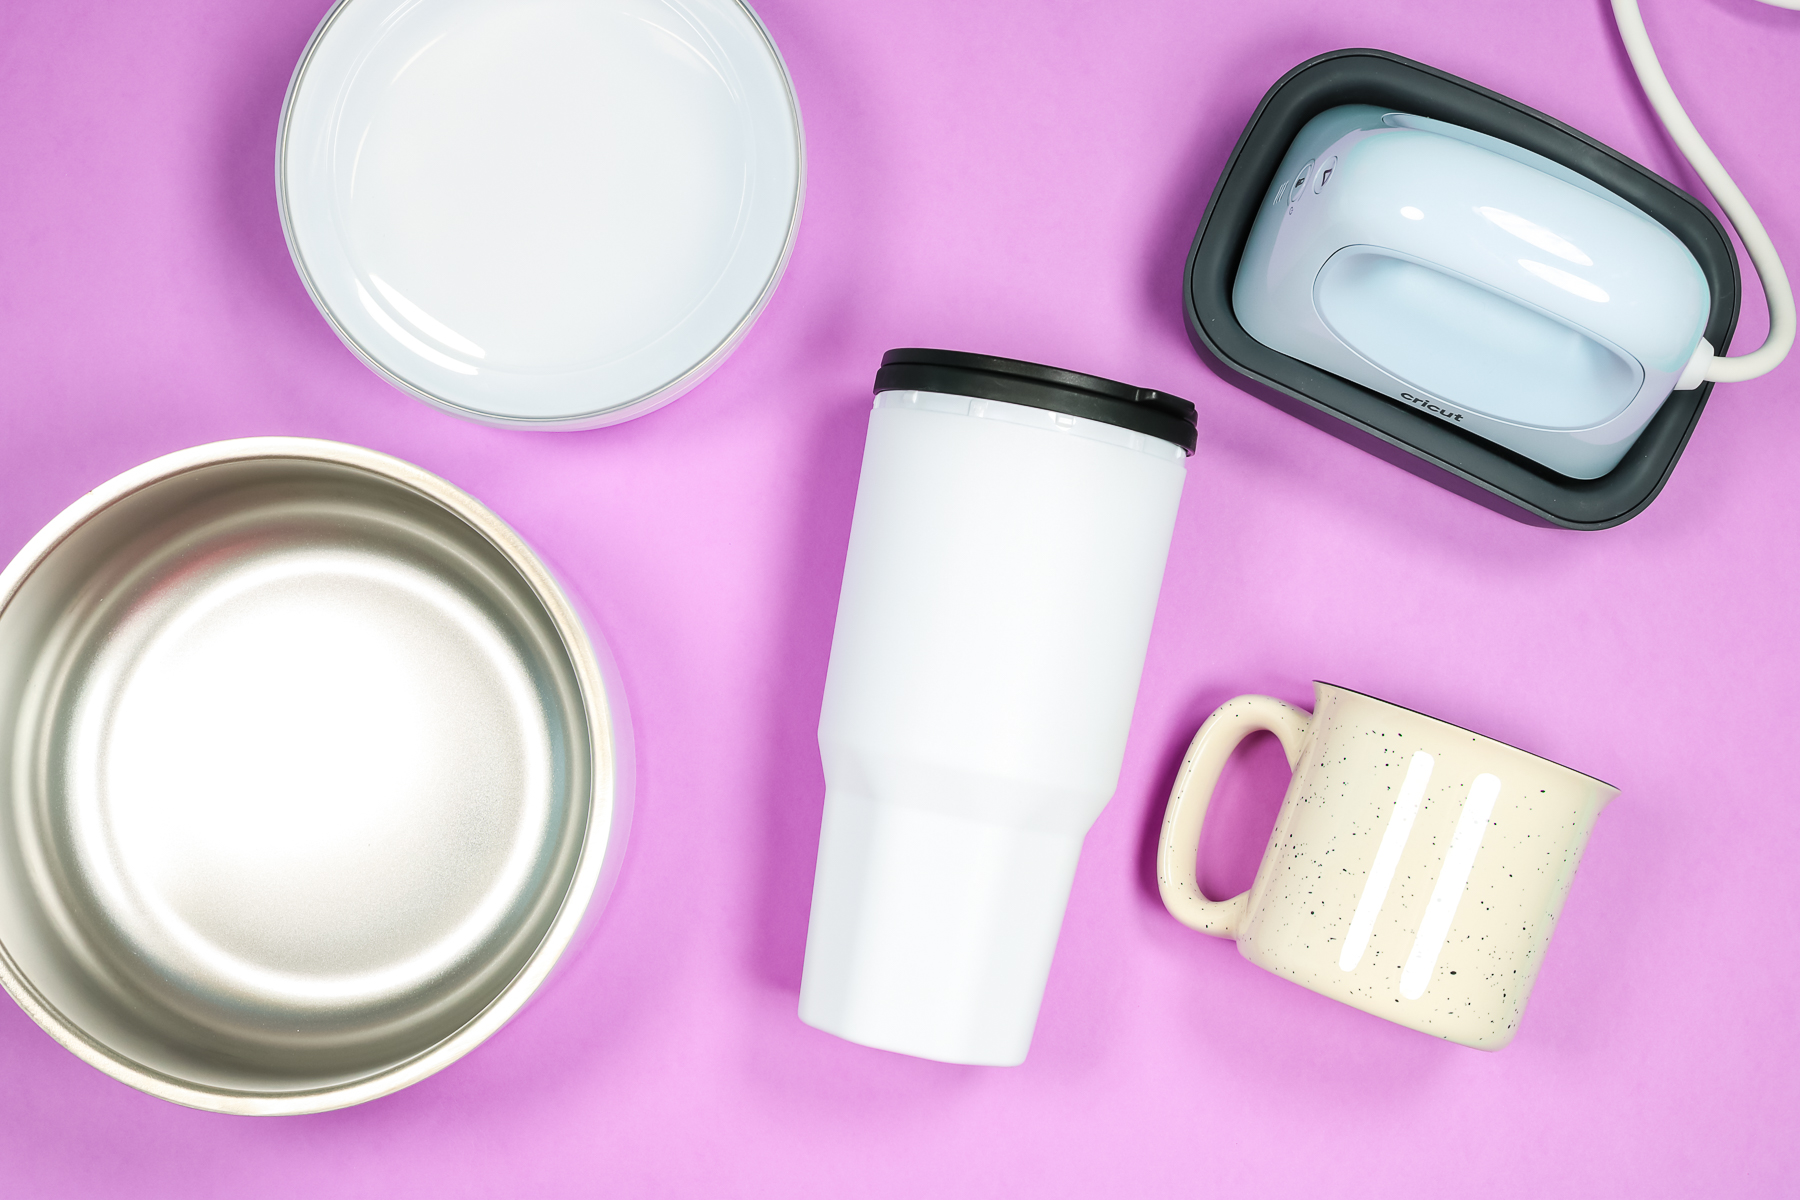
Before actually cutting or printing out any designs I wanted to test different blanks to see if I thought they would work with the Cricut Hat Press. All the blanks in the photo below are sublimation blanks. They are rigid and too large to fit in the Cricut Mug Press. Because they are curved I thought they would be a good option for the Hat Press. Let’s see which ones work.
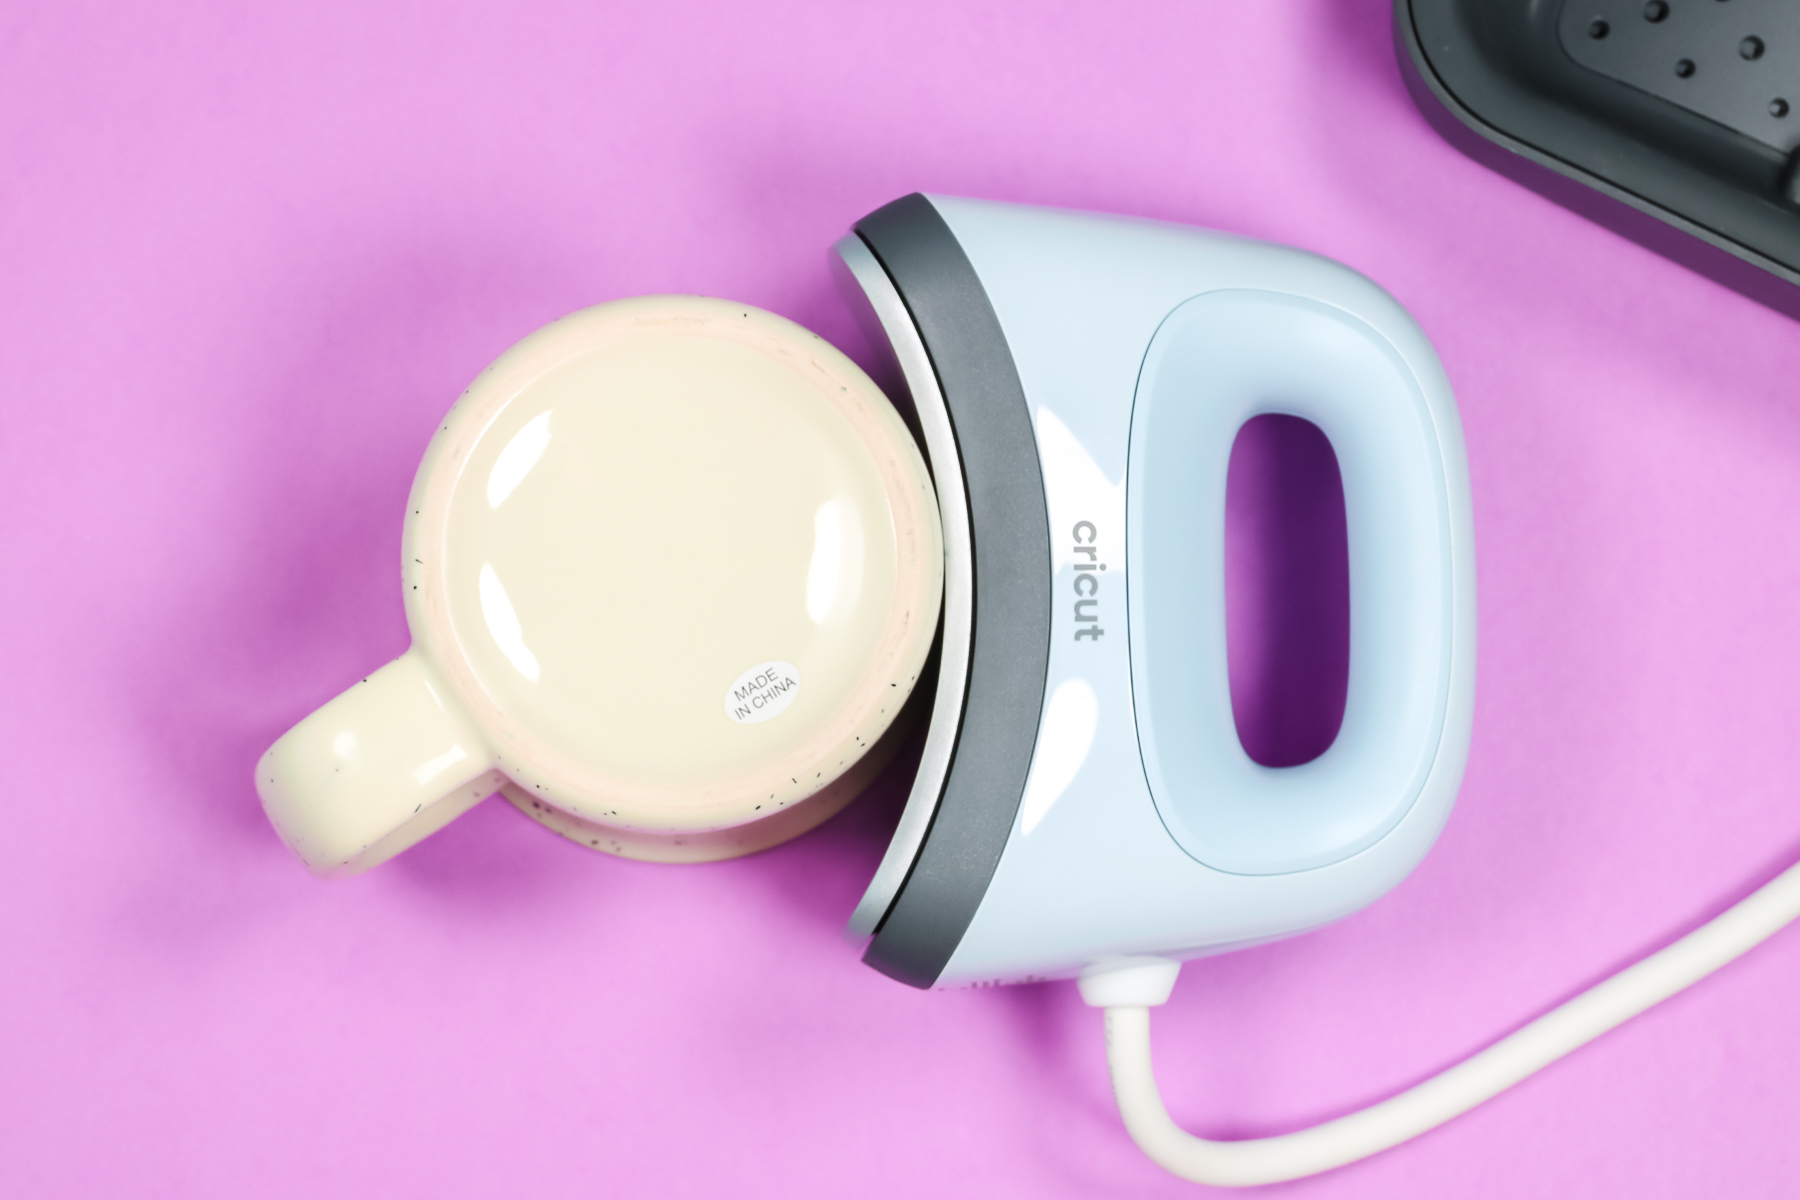
Hat Press and Large Ceramic Mug
This is the Hat Press with a large ceramic mug. By looking from the bottom you can see how the Hat Press lines up with the mug. As you can see, very little of the heat plate actually comes in contact with the mug itself. This isn’t a great candidate for the Hat Press. You might as well use the EasyPress Mini because the Hat Press isn’t contacting the surface any more than it would.
Hat Press and Large Sublimation Tumbler
The large sublimation tumbler is similar to the ceramic mug. Not a lot of the Hat Press plate comes in contact with the tumbler. Even though the tumbler is larger than the mug it still doesn’t fit the curve of the Hat Press.
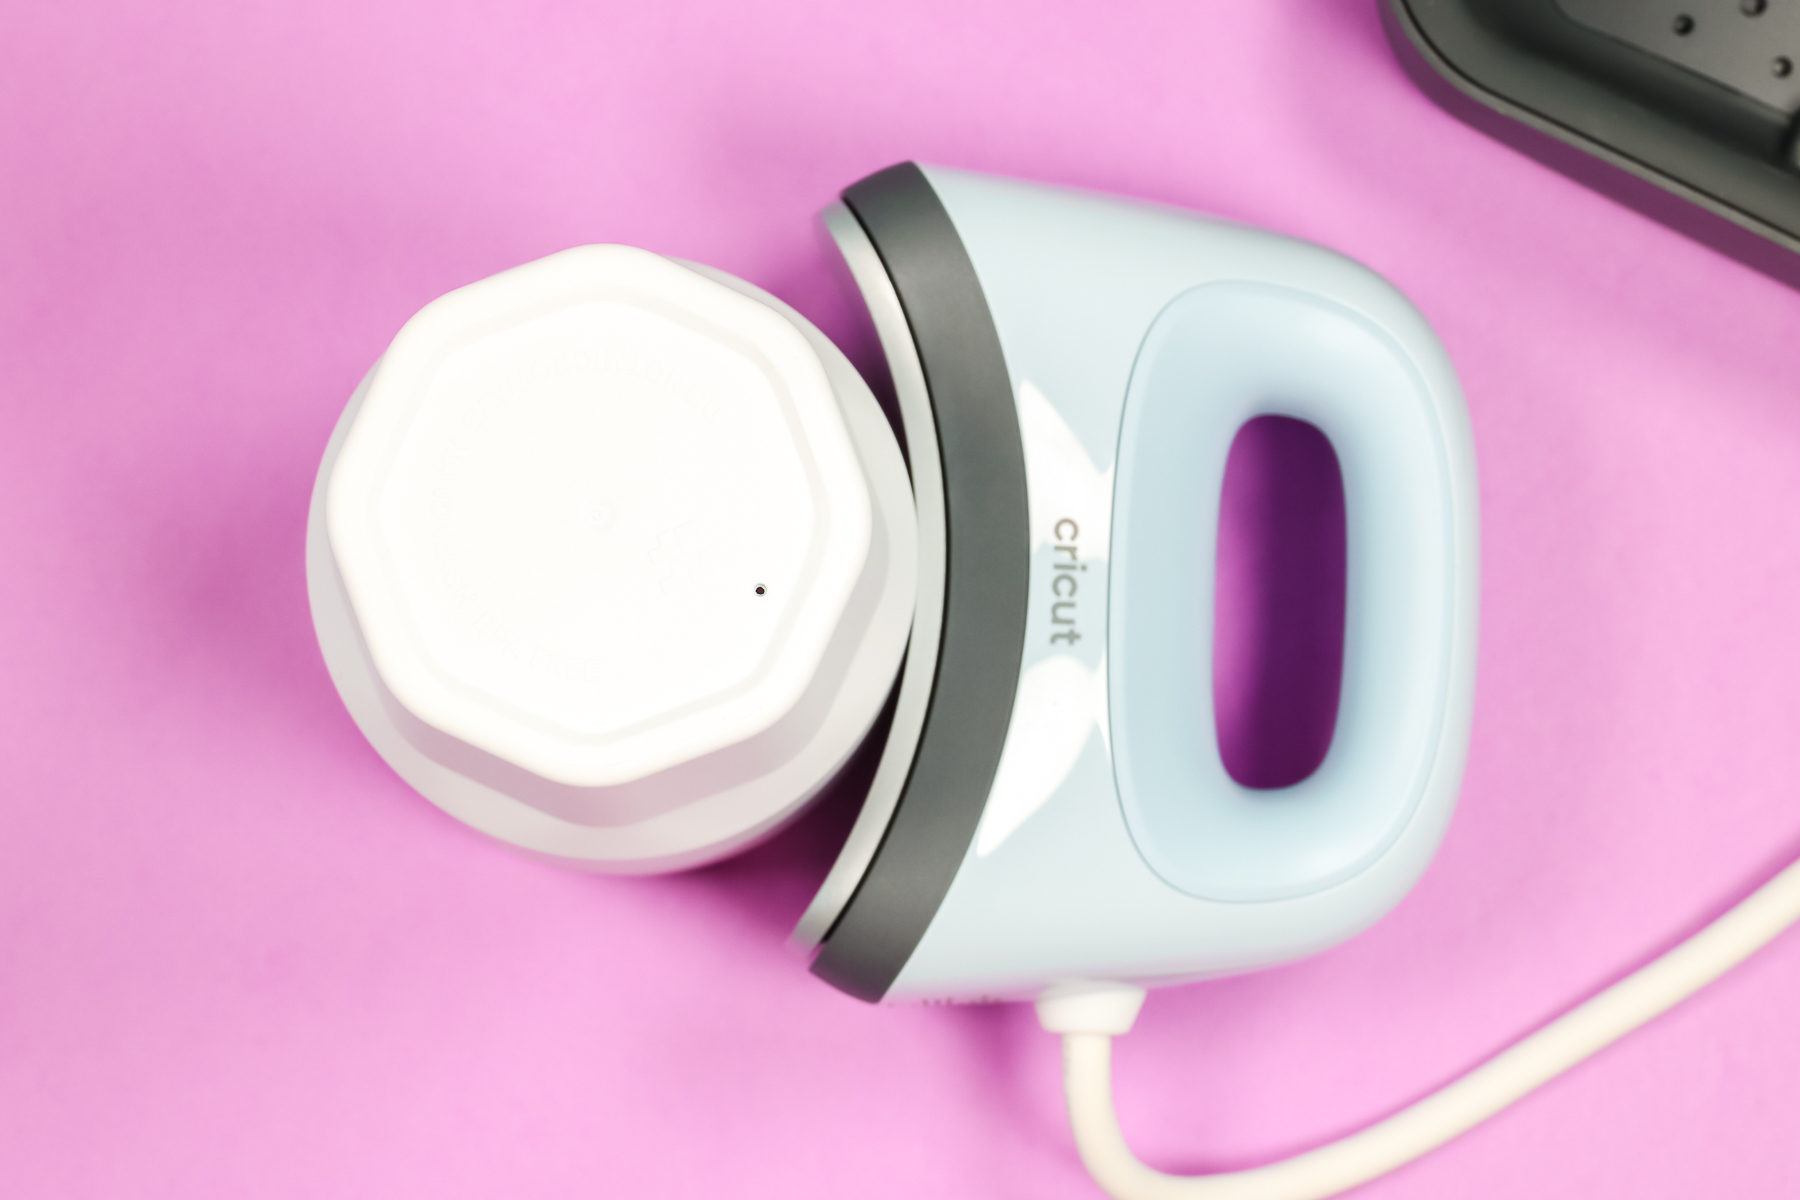
Cricut Hat Press and Sublimation Bowl
The sublimation bowl is really close. The curve is almost right for the Cricut Hat Press. You can see that more of the heat plate of the Hat Press contacts the side of the sublimation bowl. It’s still not totally right though. The gaps along the ends would likely result in an imperfect finished product.
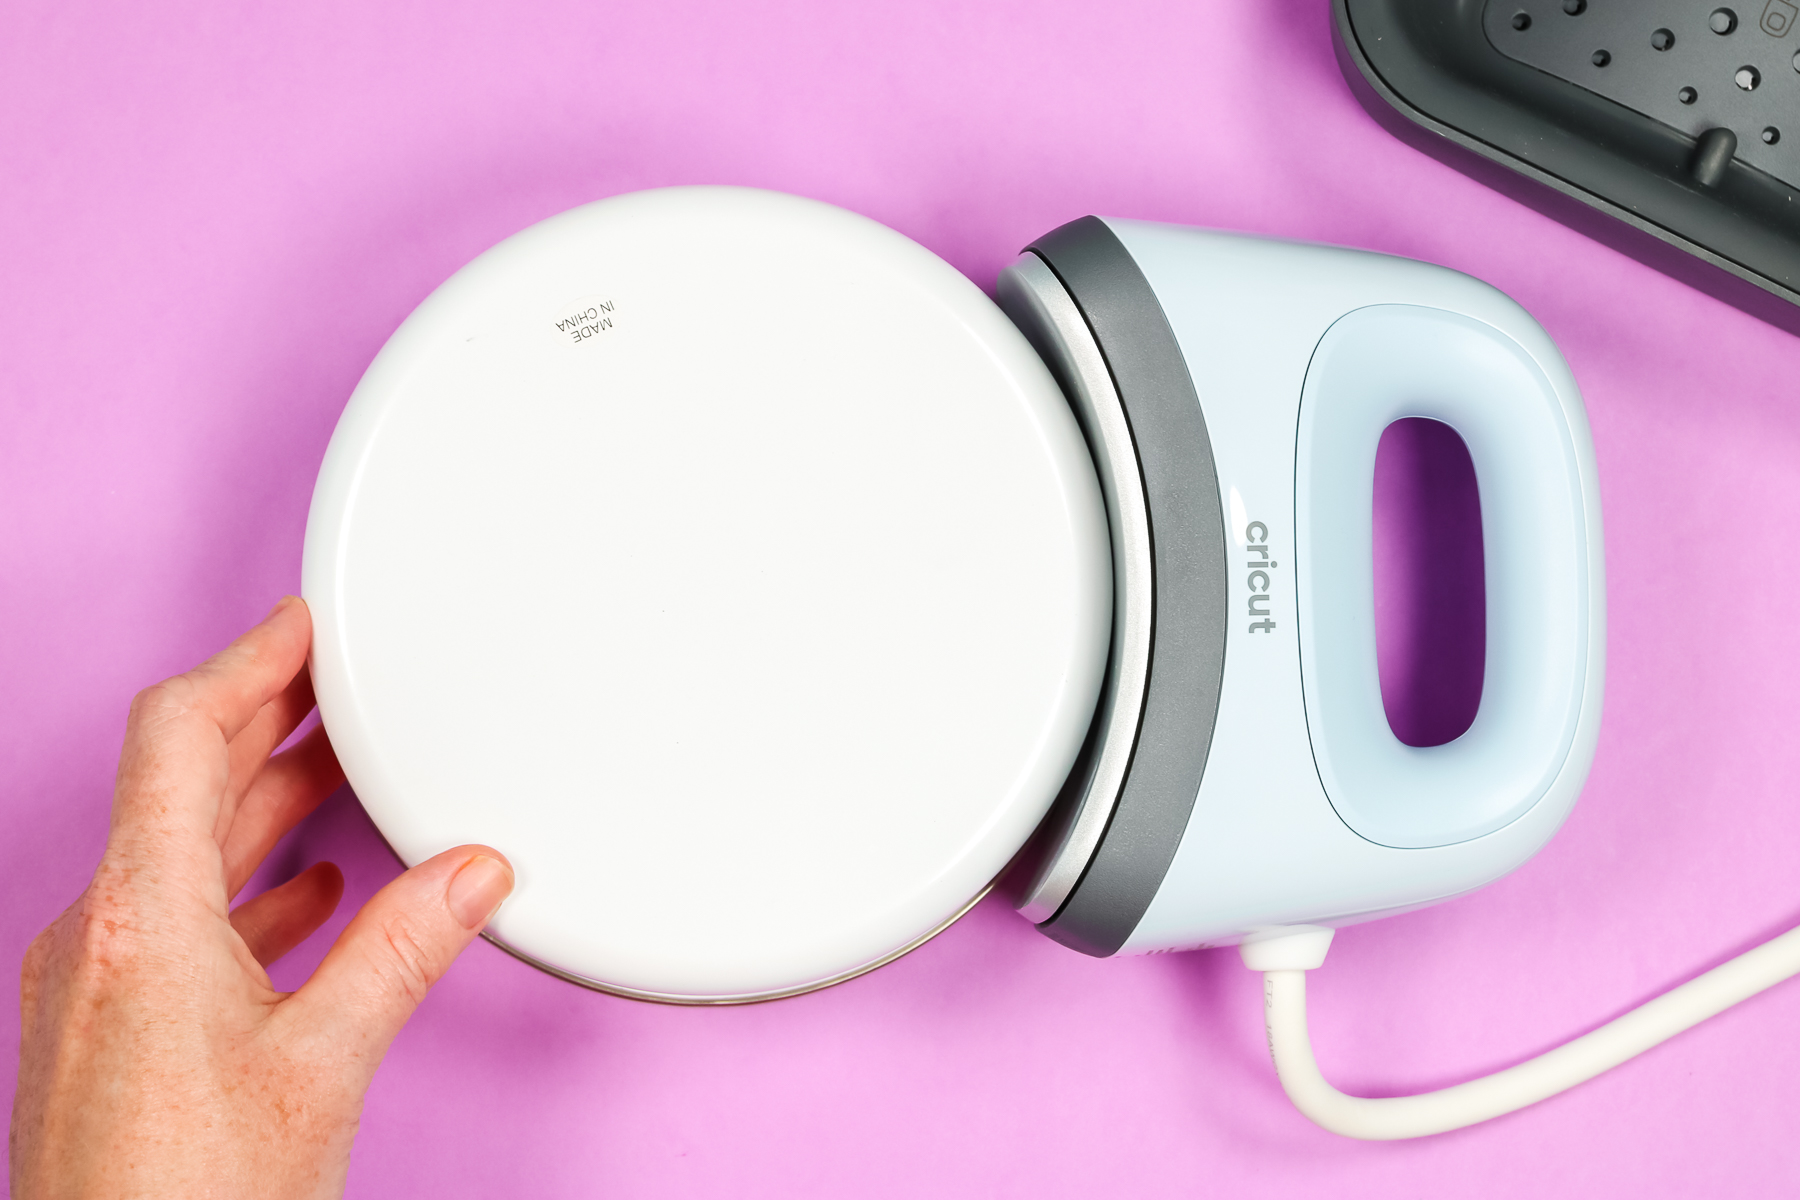
Blanks that Work with Cricut Hat Press
Now that we’ve reviewed blanks that don’t work with the Cricut Hat Press let’s look at some that do! I found a few items that worked with the curve of the Hat Press. Each one is a little different so let’s break down how to get the best result with each one.
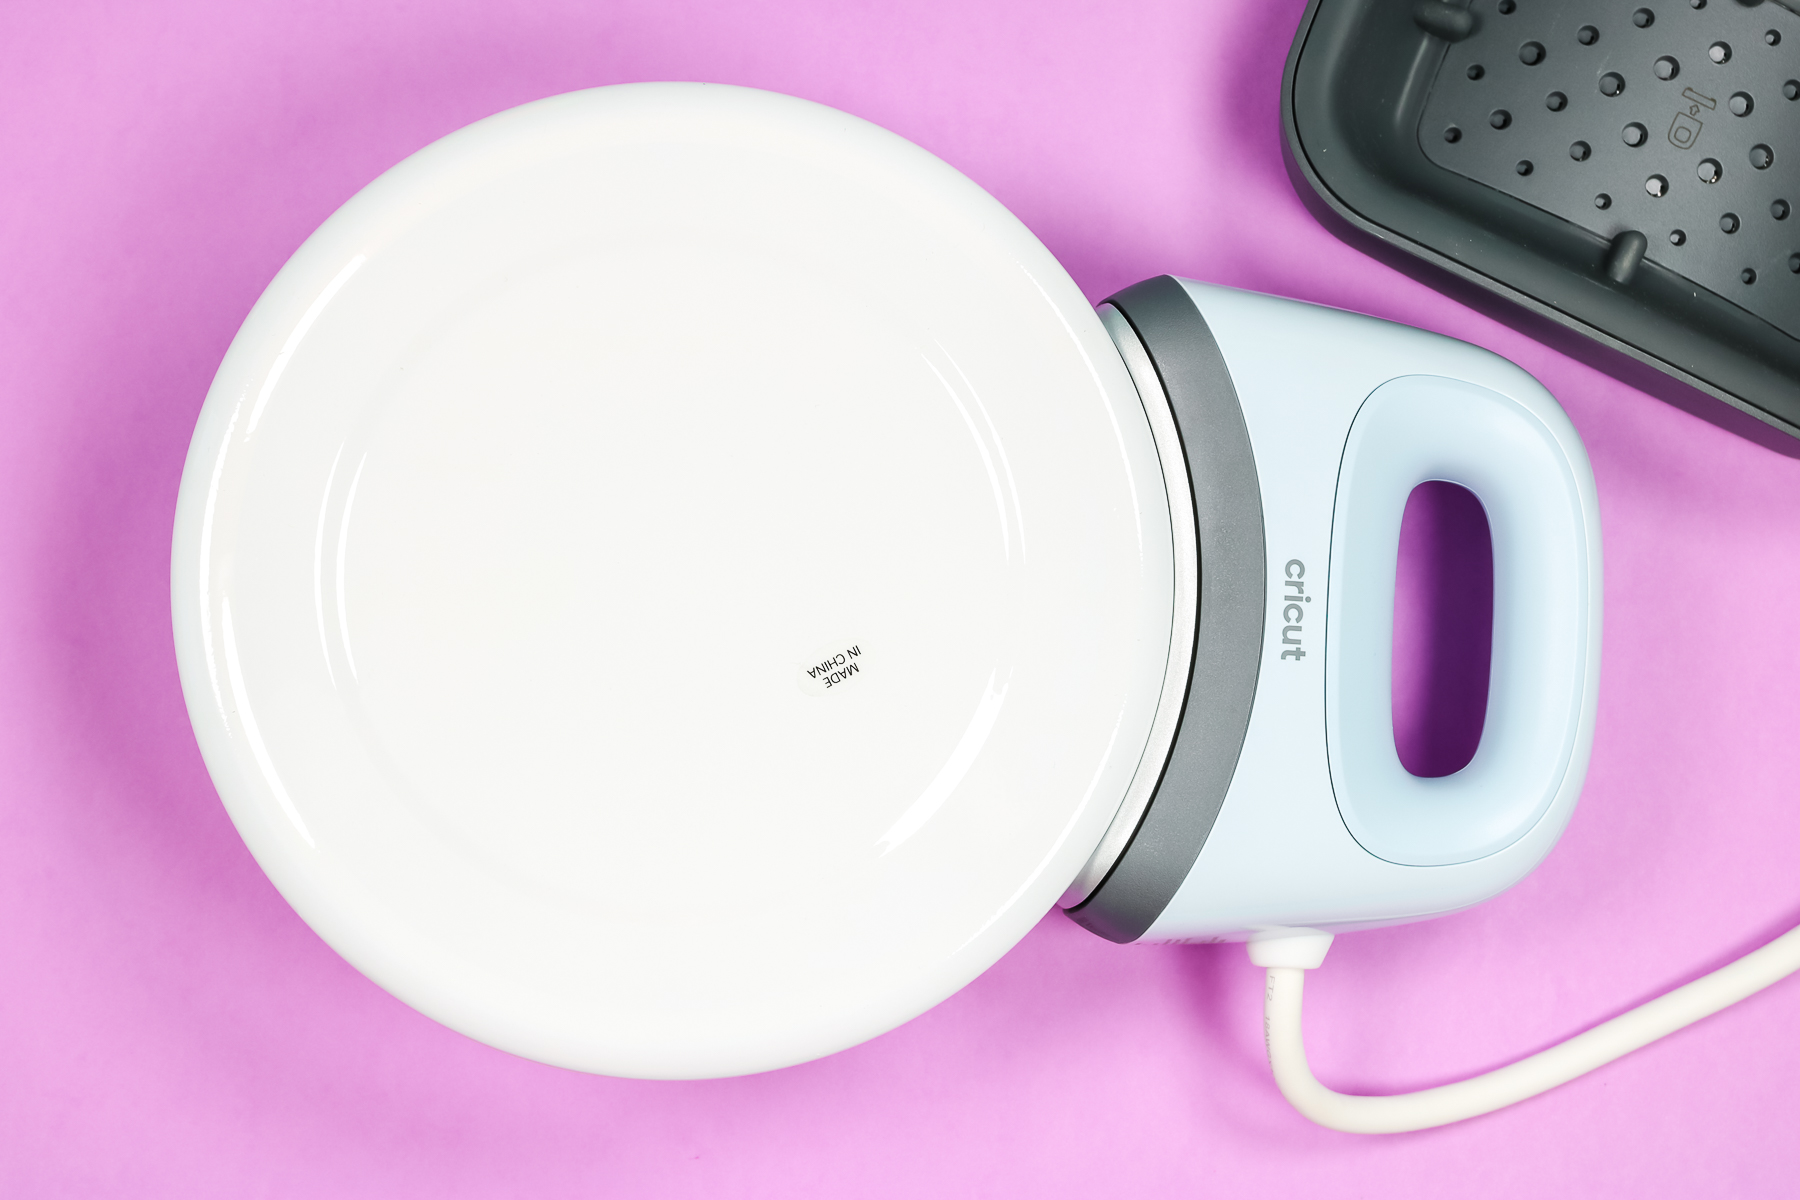
Cricut Hat Press and Sublimation Dog Bowl
This dog bowl is a sublimation blank. It’s larger than the bowl we tried above and look at how well the curve of the Hat Press fits the bowl. The Hat Press makes full contact with the side of the bowl from edge to edge which makes this a great option.
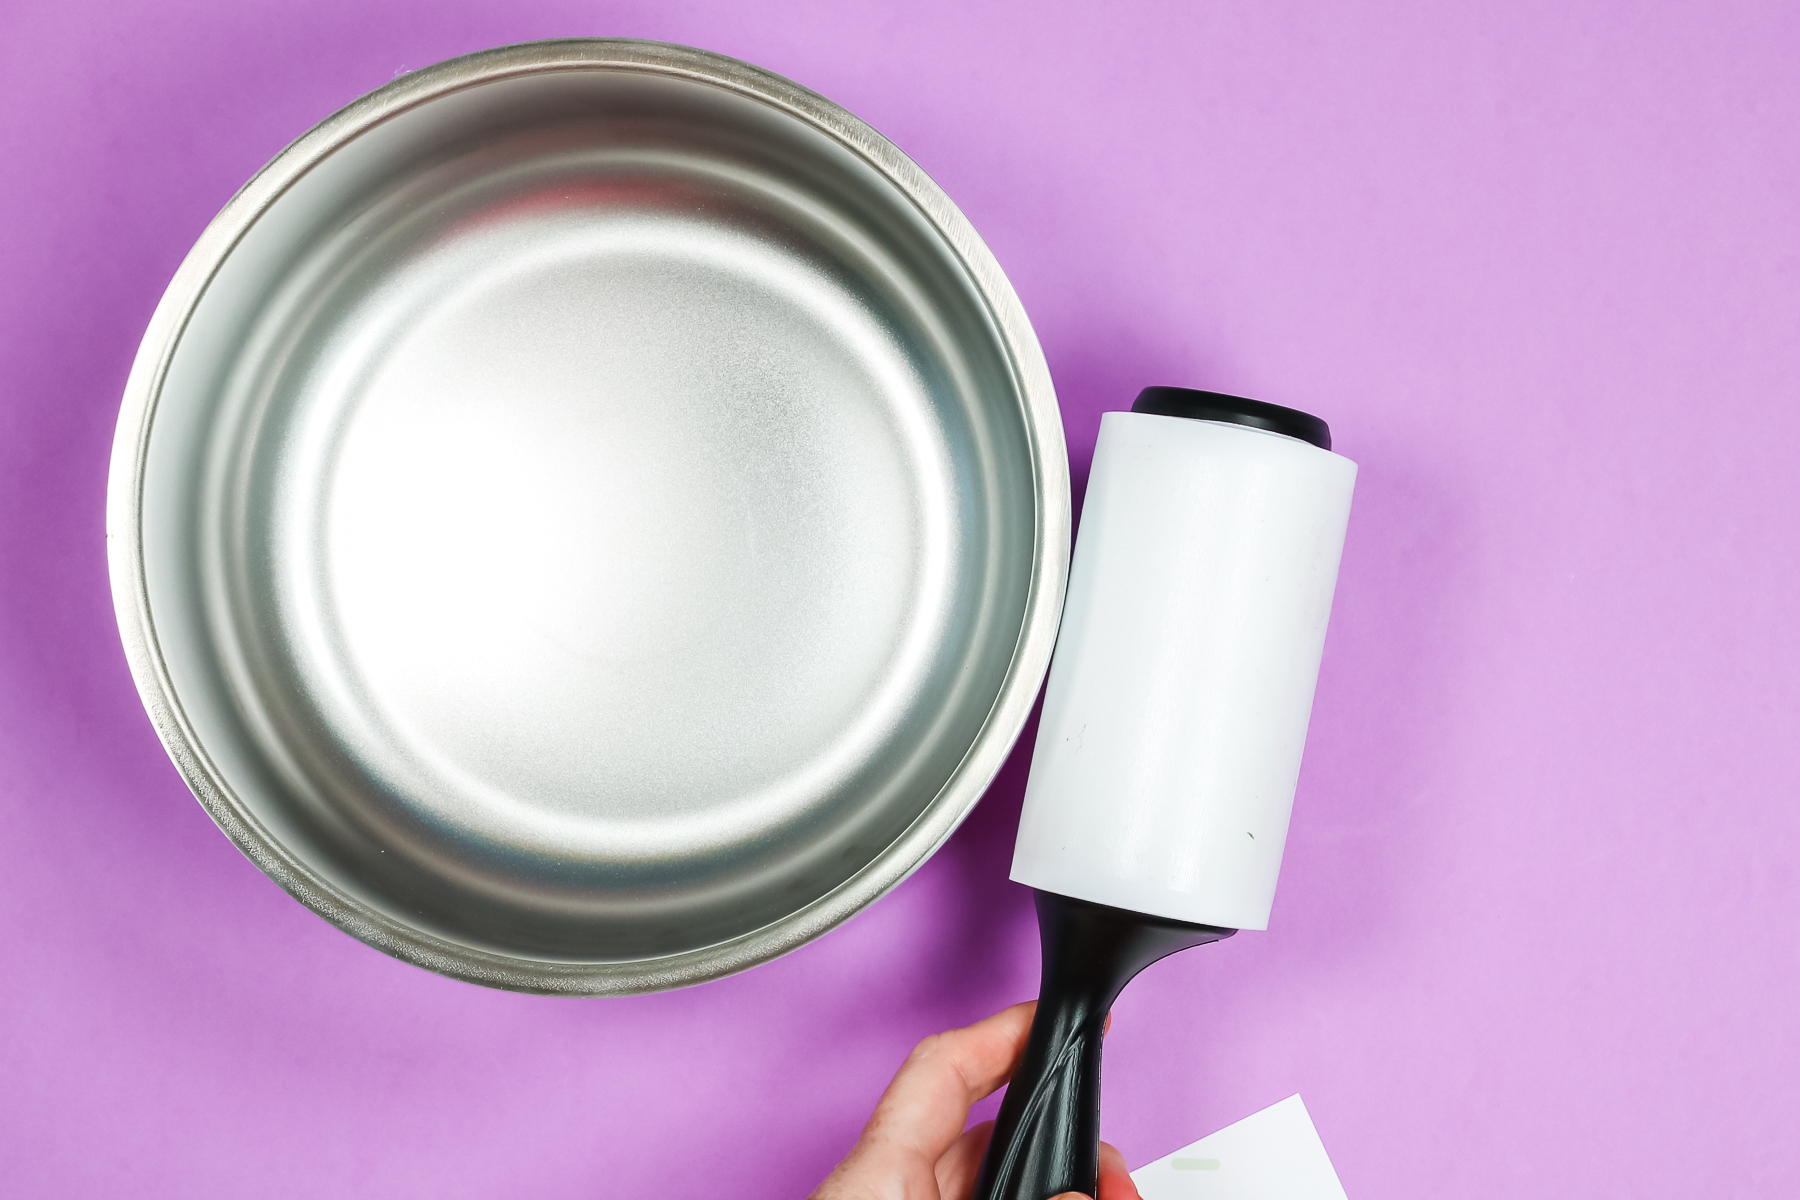
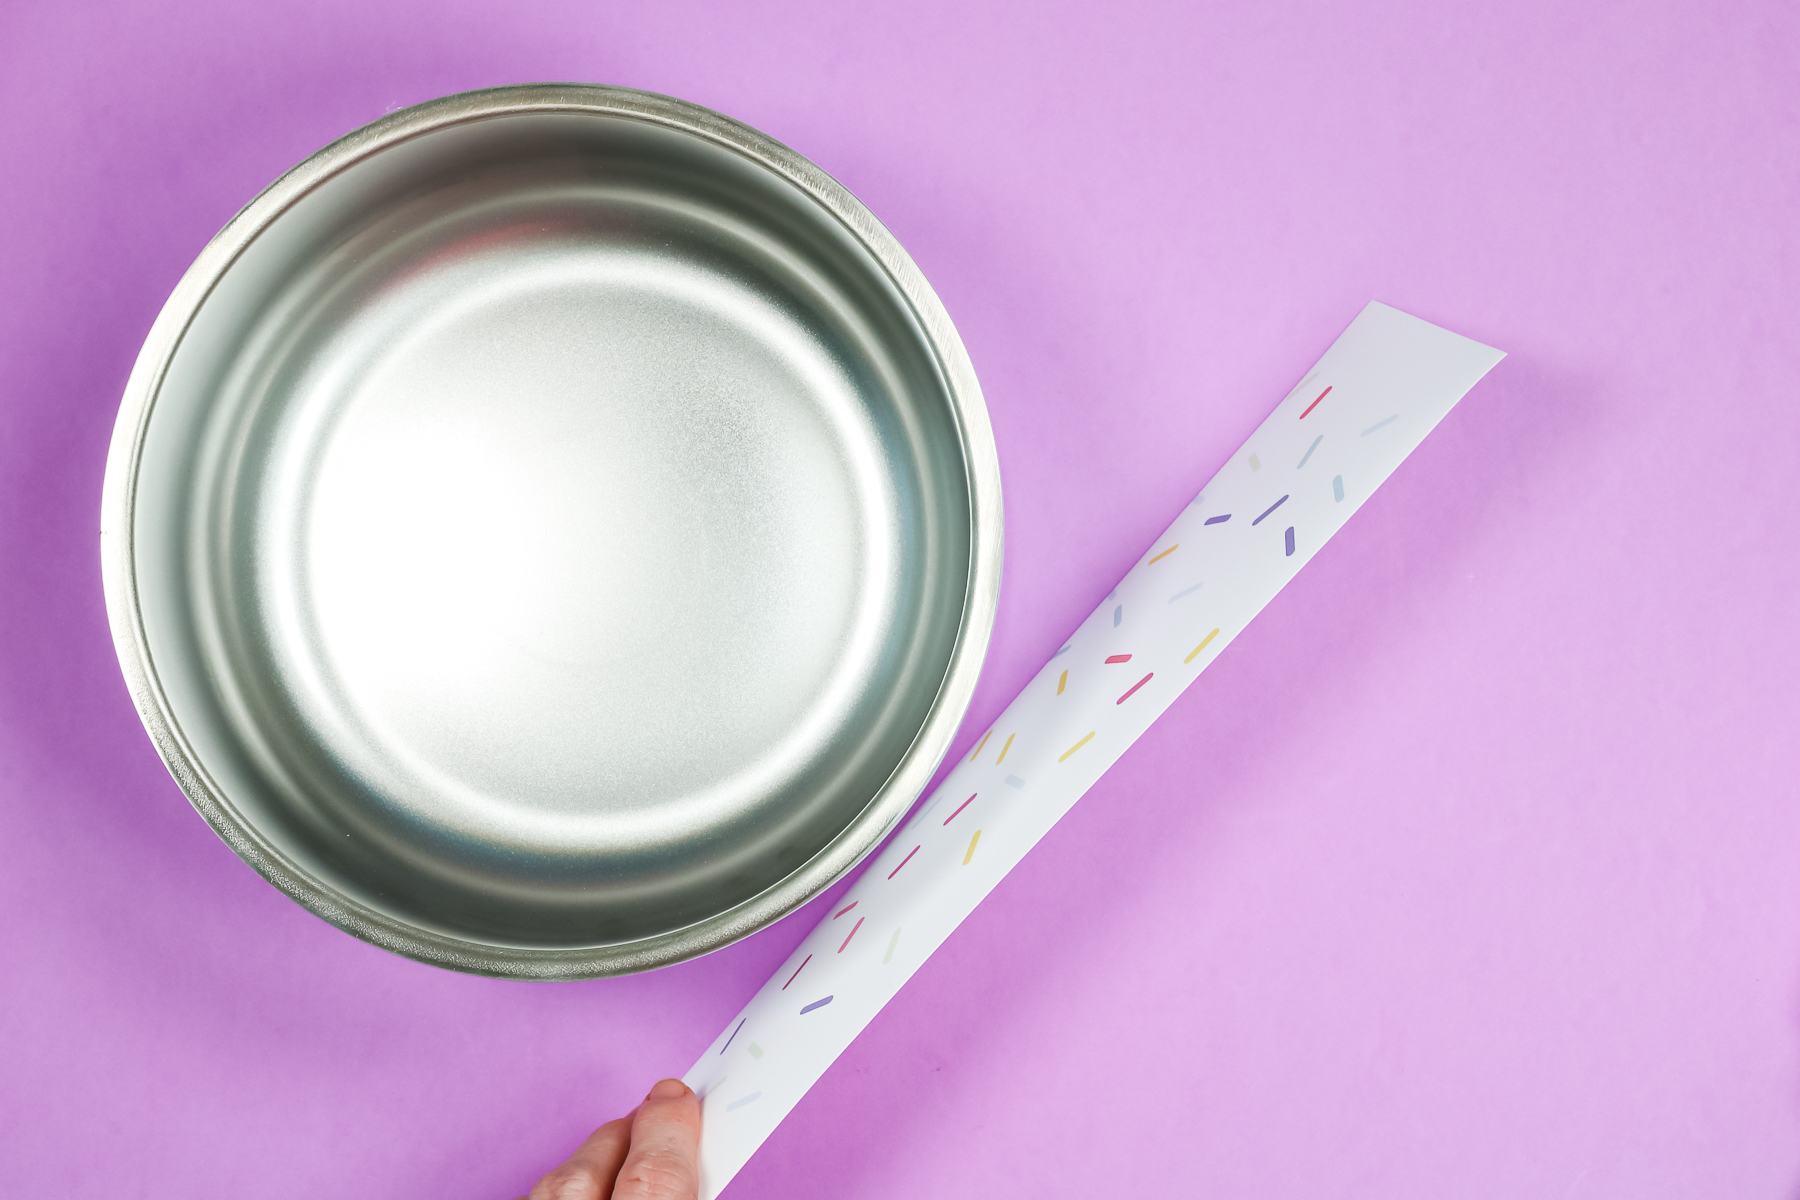
The Cricut Hat Press on the third setting is hot enough for sublimation. Before applying my image, I lint rolled the bowl to remove any dust or lint. Next, I added my sublimation print and taped it down well with heat-resistant tape.
In order for this to work, I need a sublimation print. That is an image printed on a sublimation printer with sublimation ink on sublimation paper. You can’t just use any image printed from any printer.
Once my whole image is taped down I’m going to add protective paper over the top to protect the Hat Press from any of the ink that may transfer while pressing. Use heat tape to tape it down well.
My print is really large, much larger than the Cricut Hat Press. In order to make sure my image is pressed correctly, I am going to hold the Hat Press in each location for the full press time. Because my print is larger than the hat press the process is long. I held the hat press in place, on the third setting, until the hat press beeped.
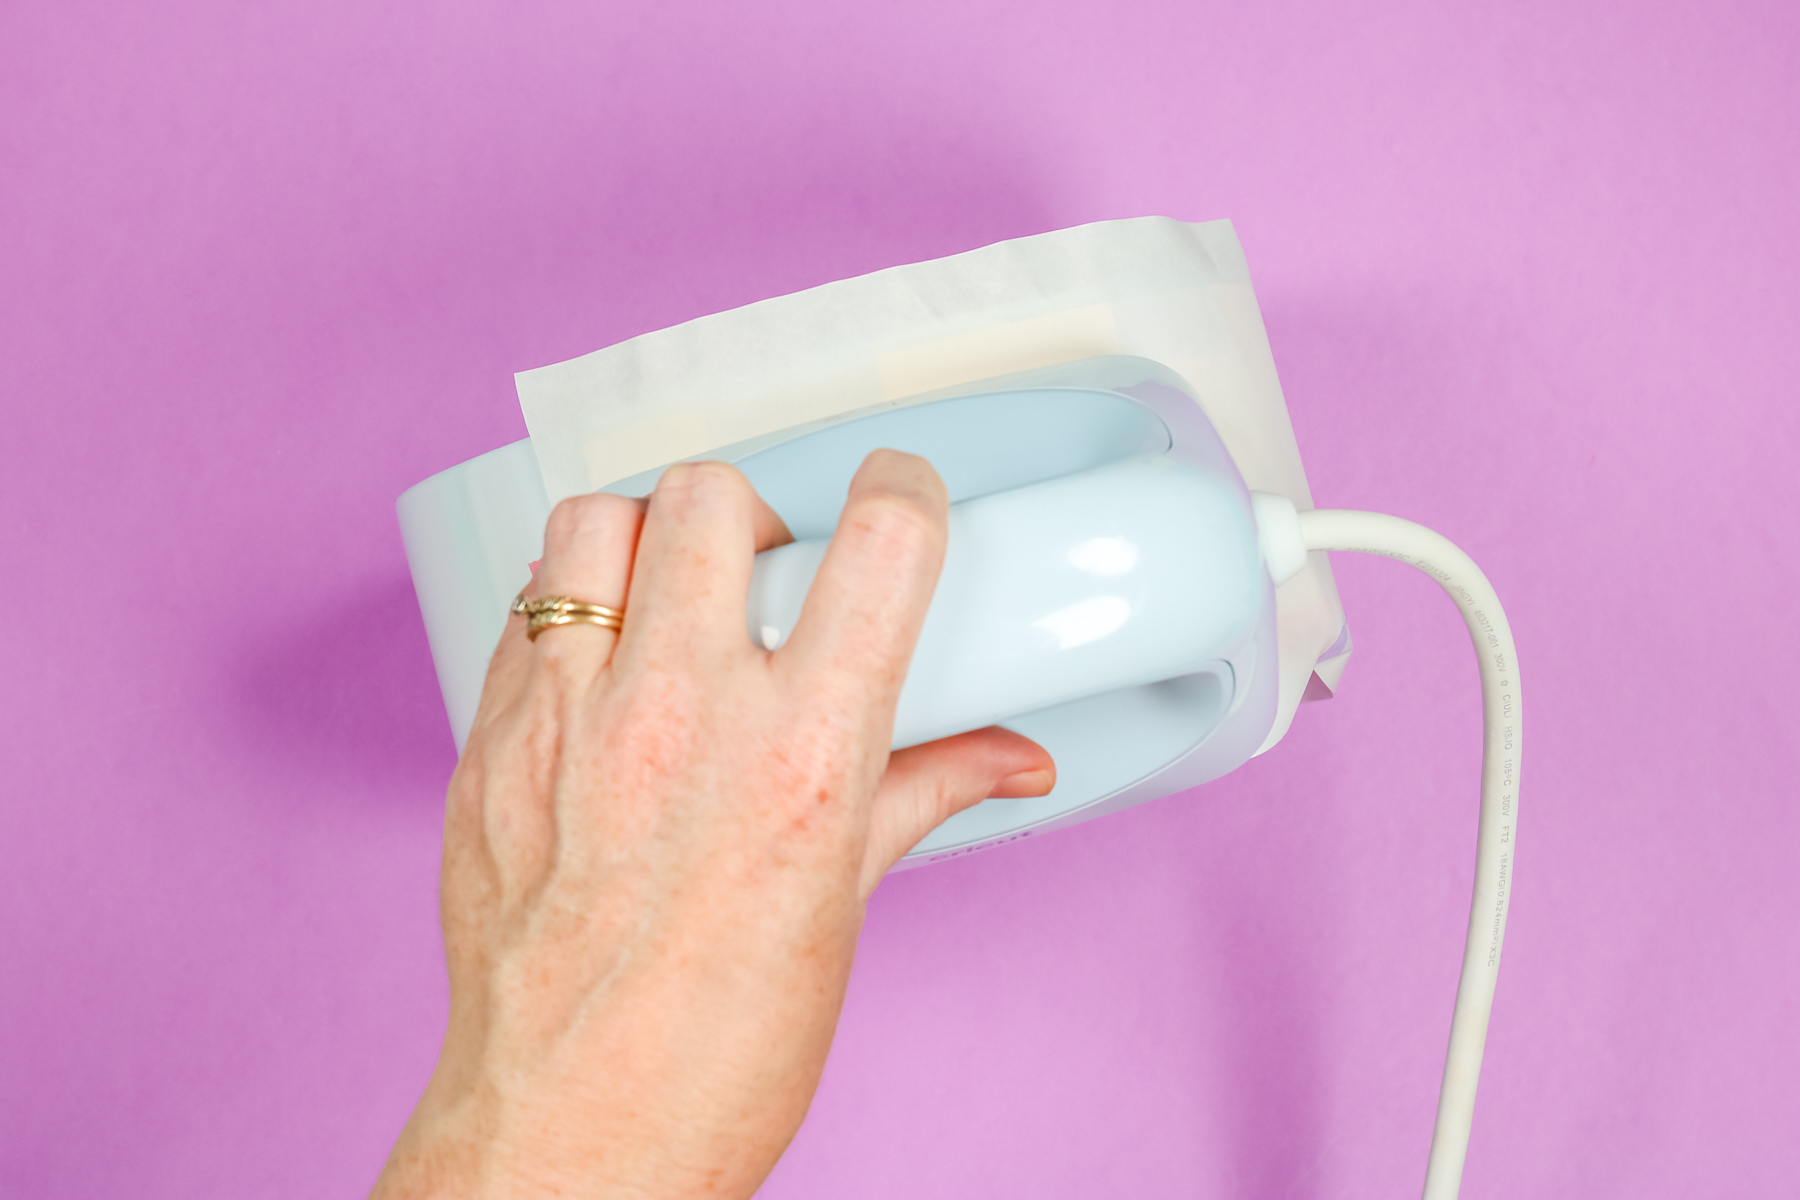
My print is much larger than the hat press. I had to press six times, overlapping slightly each time to make sure each area of the print got adequate heat. It’s a long process and only covered about a third of my bowl. If I wanted to cover the whole bowl, I would have to repeat the process over and over and it would take a really long time.
Then, slowly remove the paper and the sublimation print, peeking underneath to see if it sublimates well. If it didn’t, it’s much easier to lay it back down and get it in the right location if you’ve just lifted it up enough to peek.
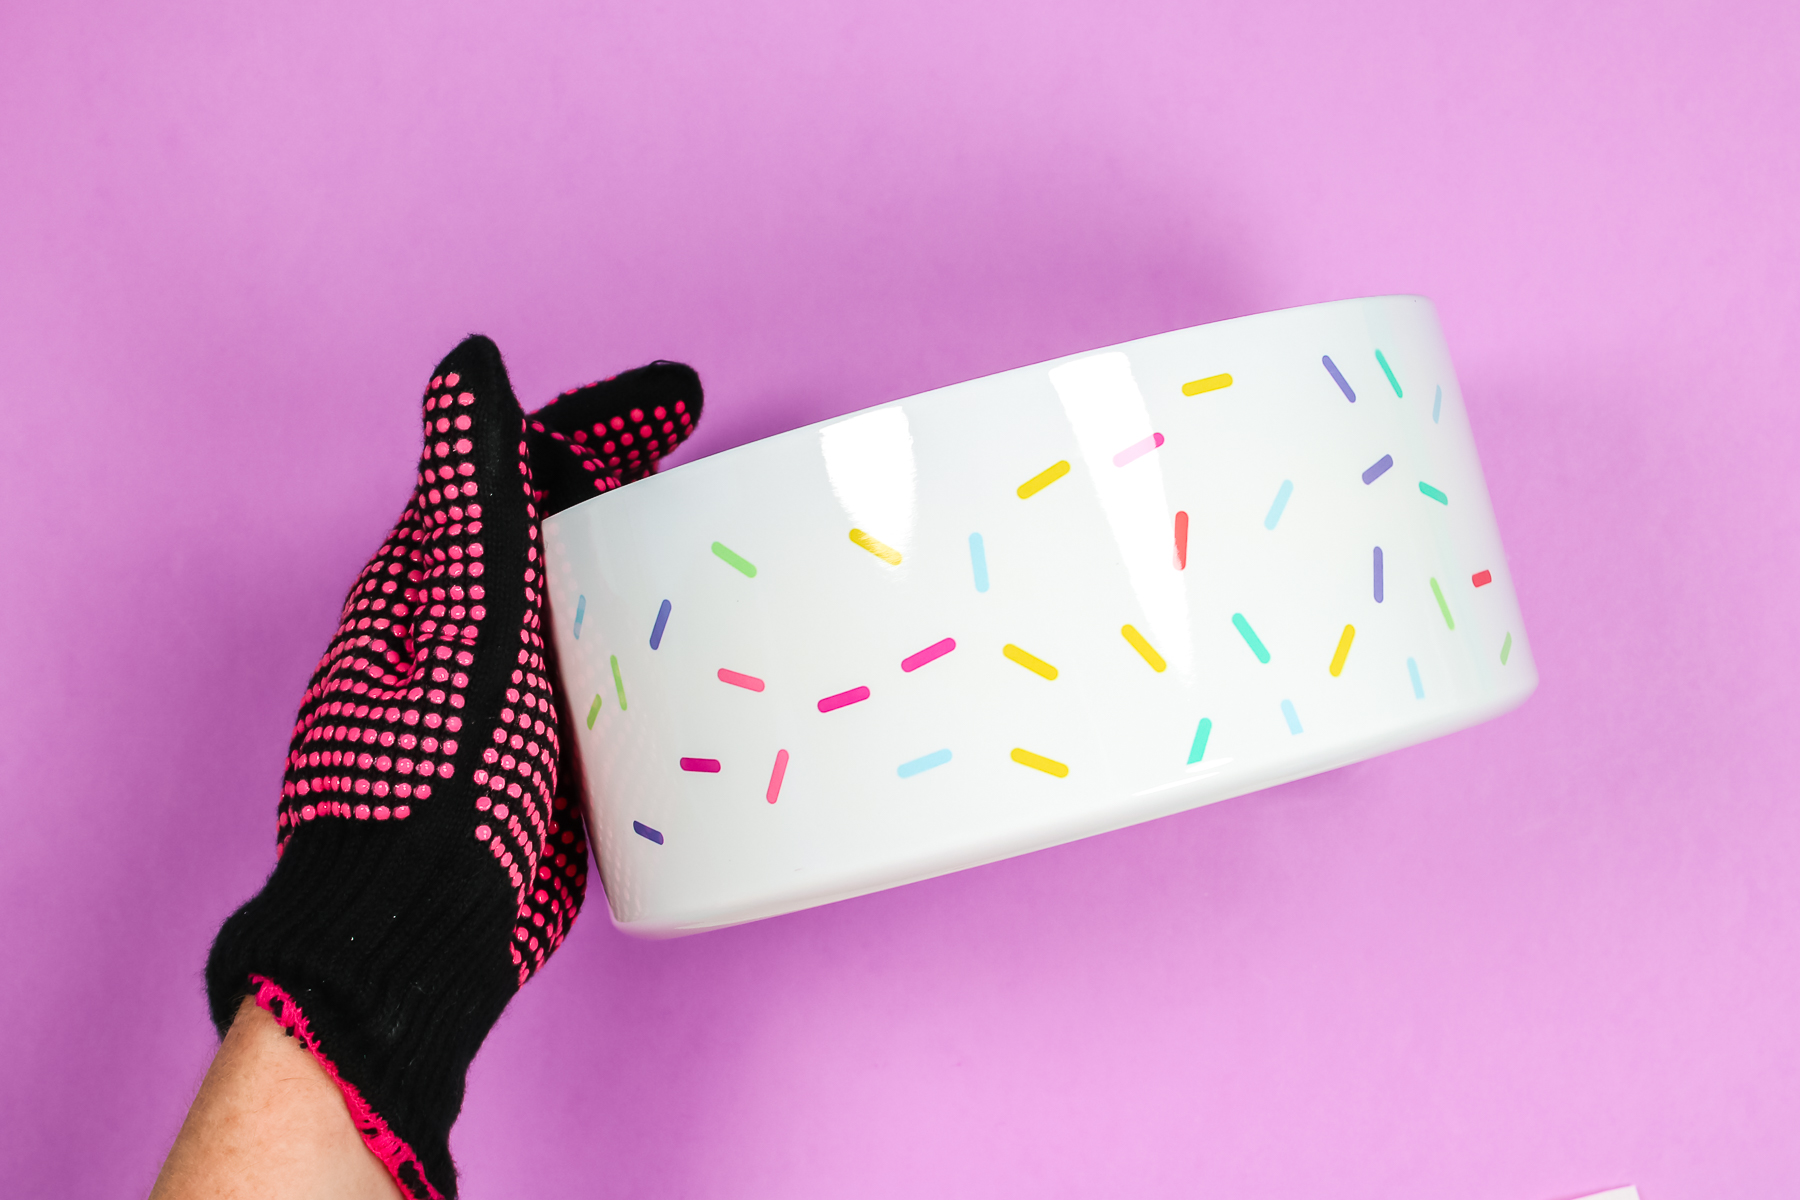
My sublimation looked good when I peeked so I removed the sublimation print and butcher paper and the doughnut sprinkle print looked amazing. So there you have a cute dog bowl with sublimation and the Cricut Hat Press. This was the only sublimation blank I could find that I thought would work with the Cricut Hat Press.
Cricut Hat Press and Stuffed Giraffe
I am using B-Flex HTV, it has a quick press time which is great for these odd surfaces. I’ll try pressing onto the belly of the stuffed giraffe. I highly recommend using heat-resistant tape to hold the HTV in place. Because of the rounded surface and the soft fabric, the sticky surface of the HTV doesn’t really adhere well.
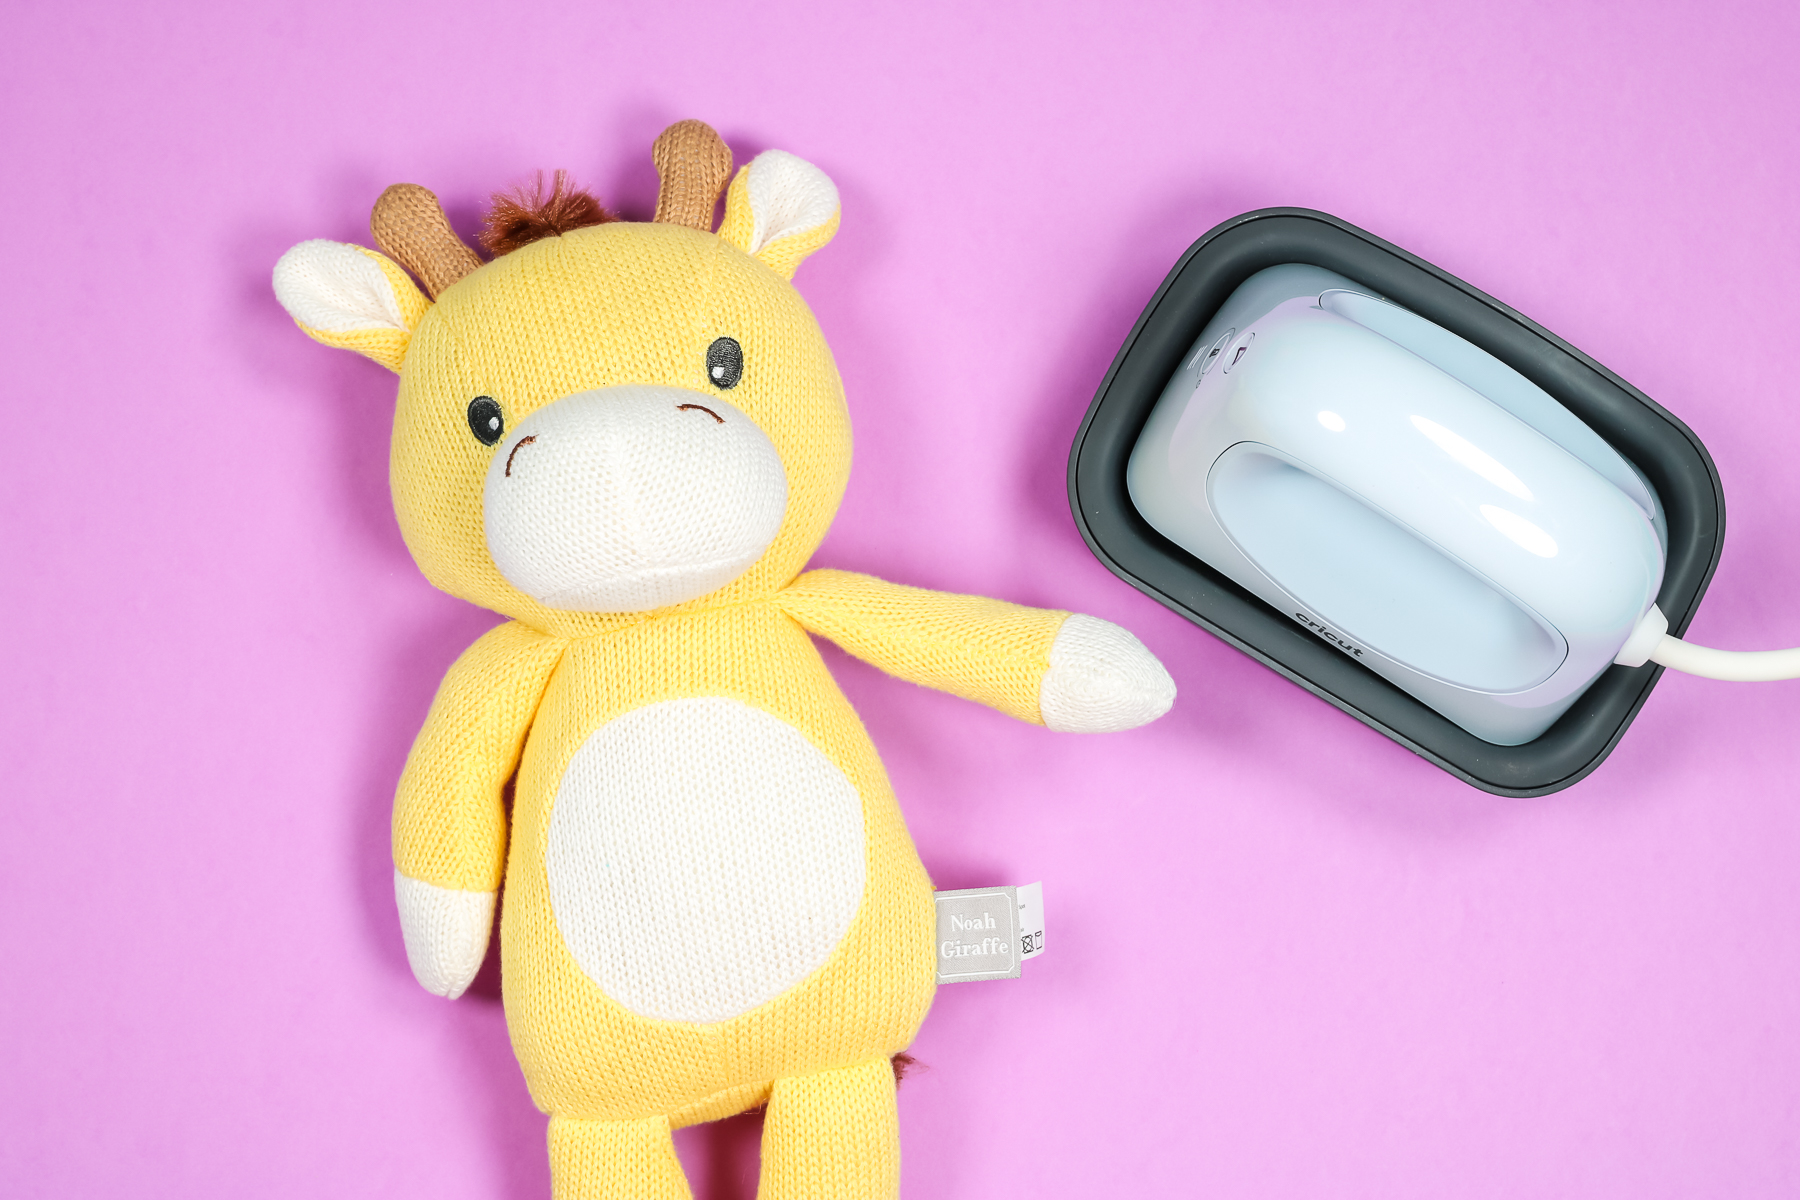
I always use protective paper when working with any kind of odd surface. We don’t always know the material the stuffed animal is made out of and I don’t want to risk melting it.
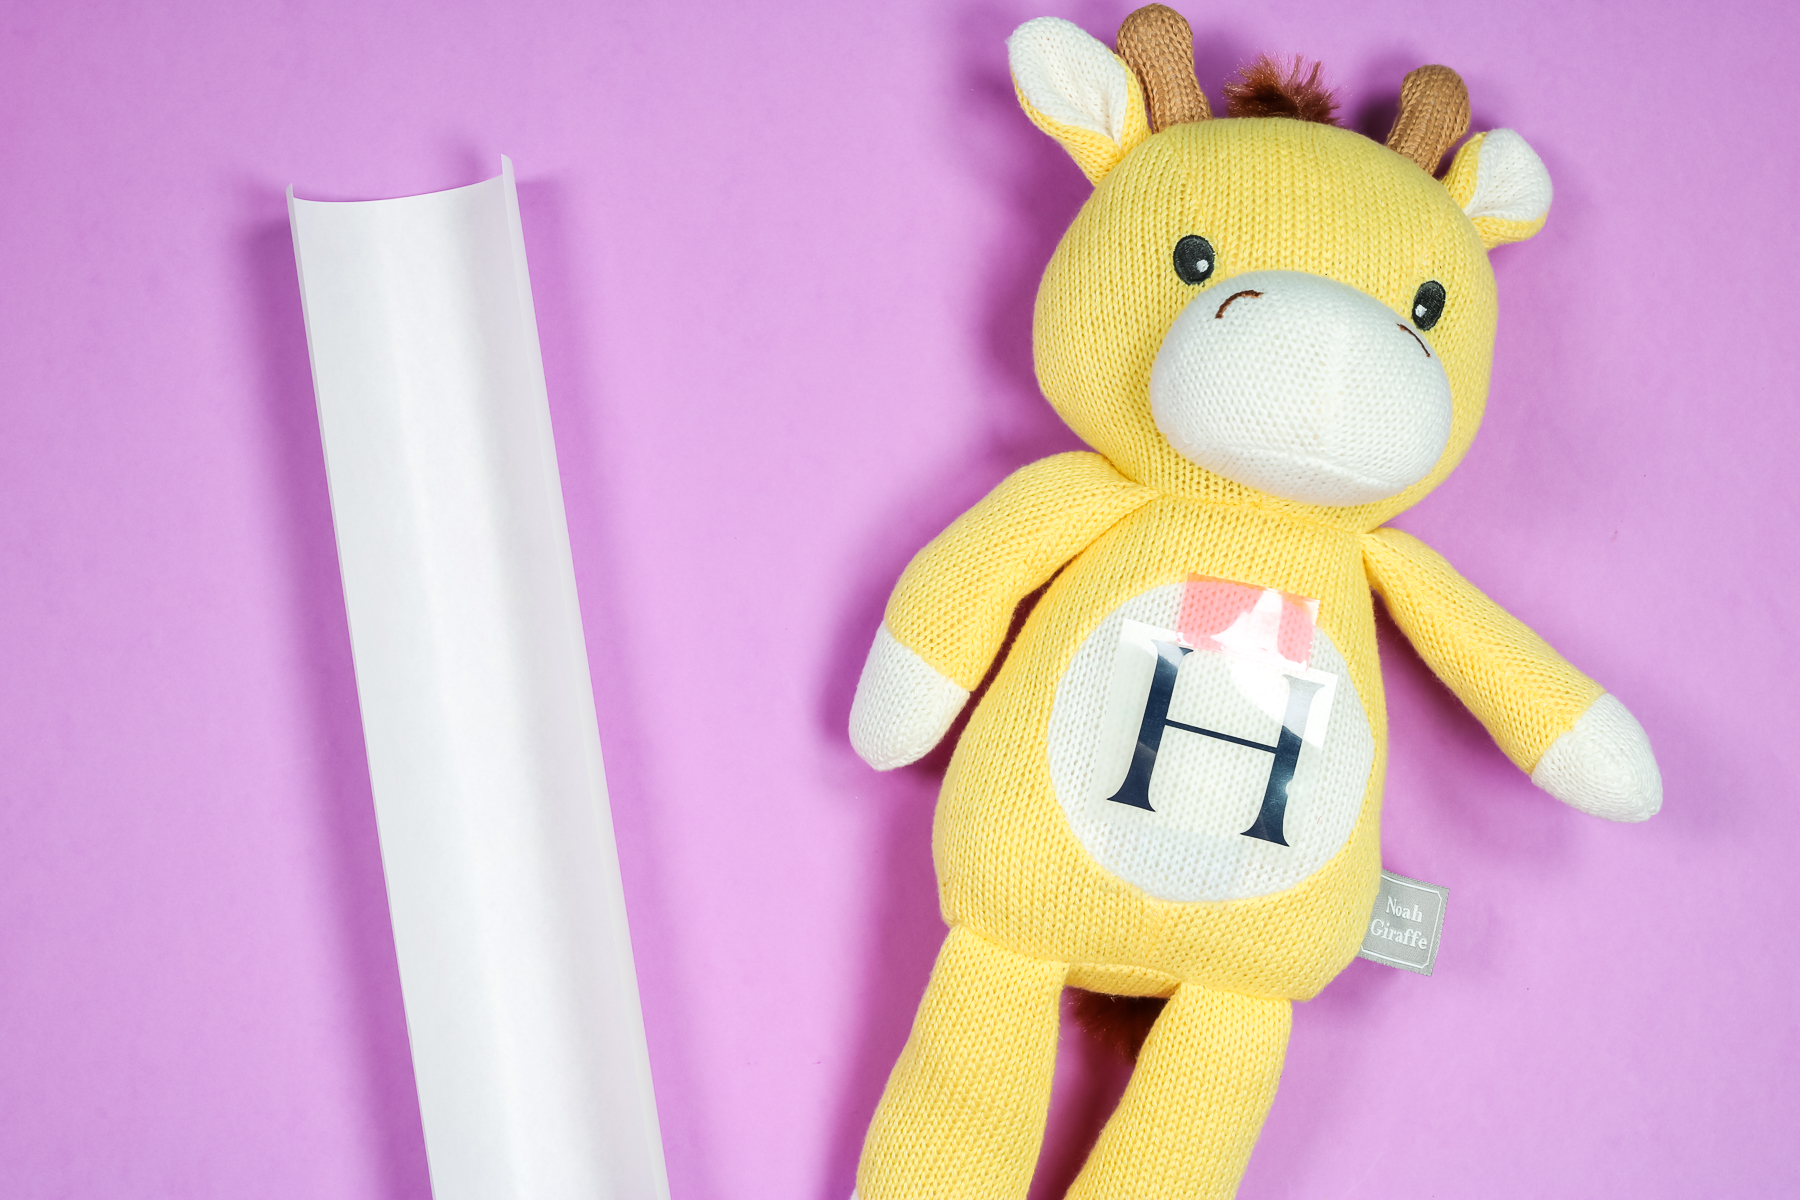
I am using the first setting on the hat press for the stuffed giraffe. Hold the hat press in place for about four seconds. My H is a little tall for the hat press to cover the whole image at once so I moved it around while pressing it.
You can see more about using the Cricut Monogram Maker to make letters like this one here!
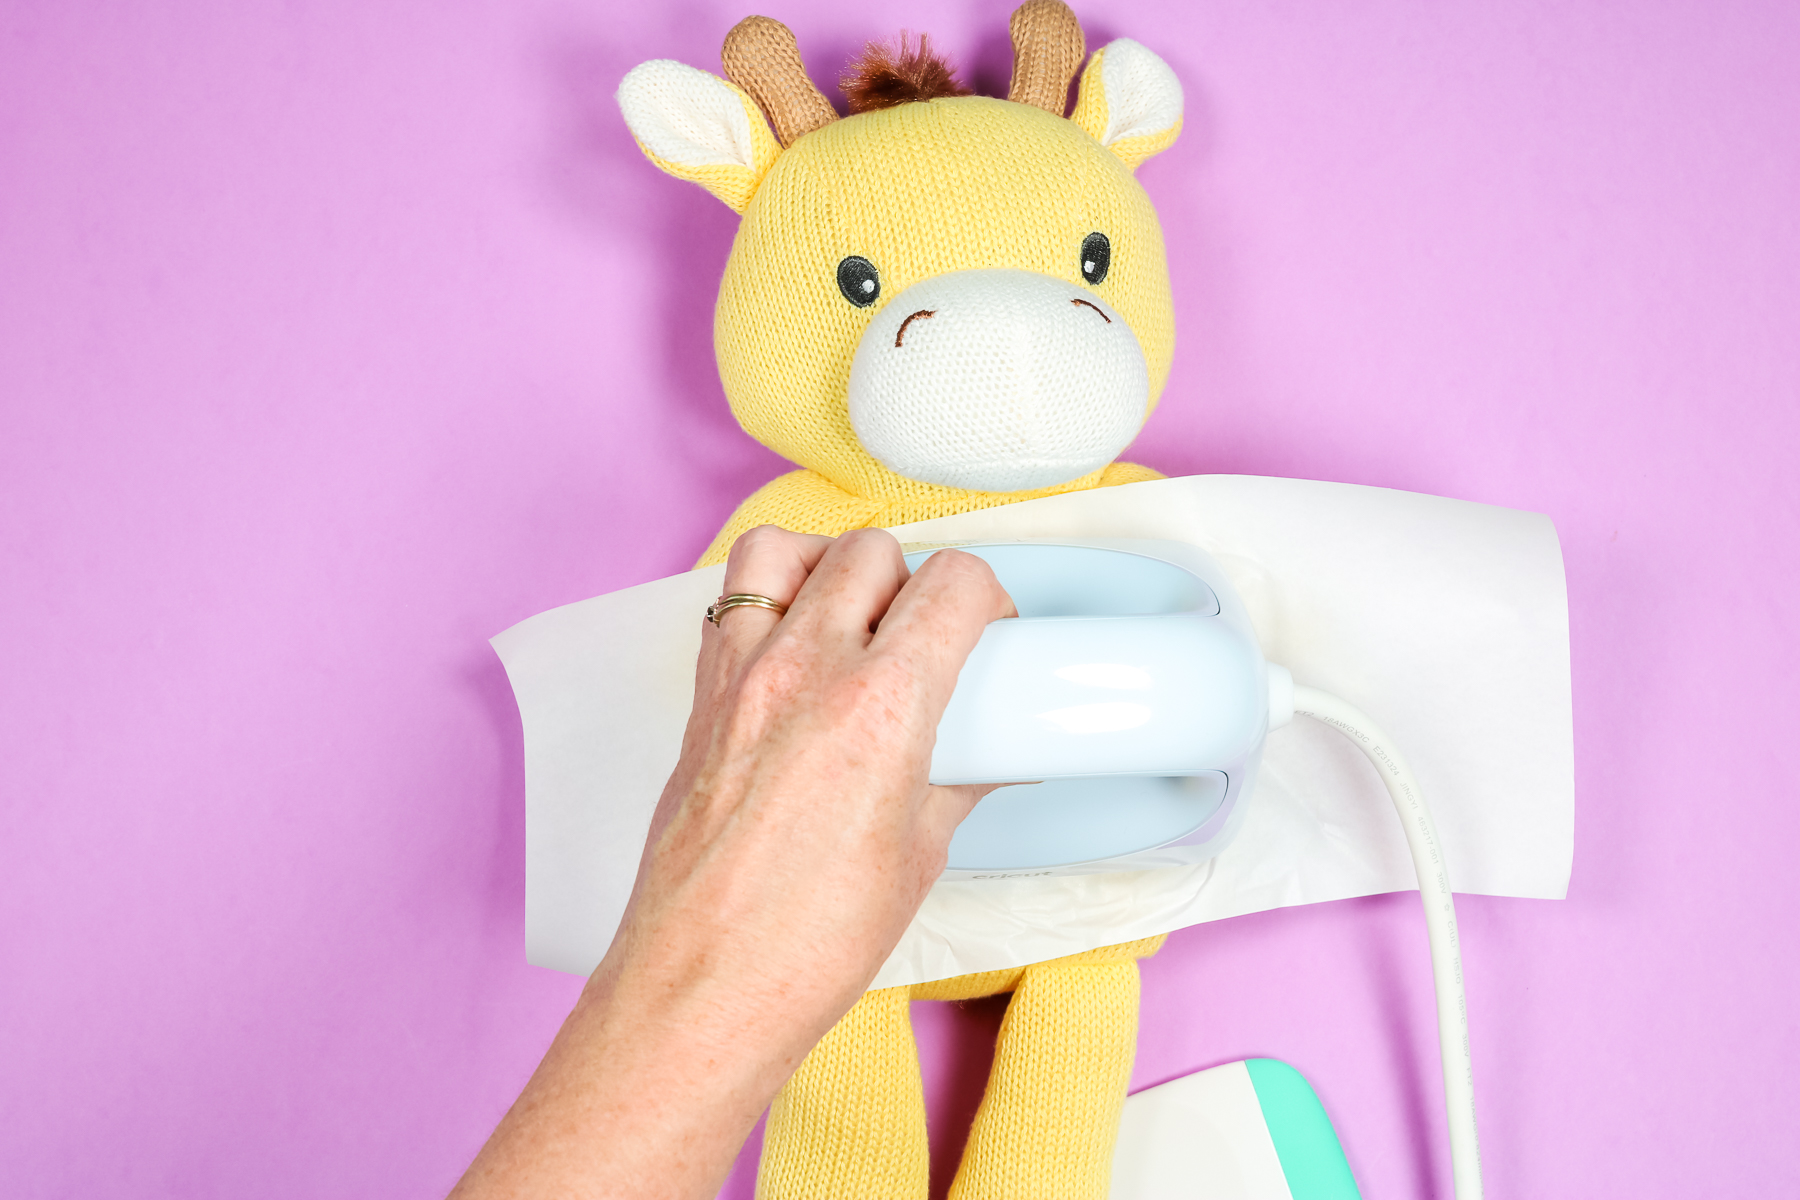
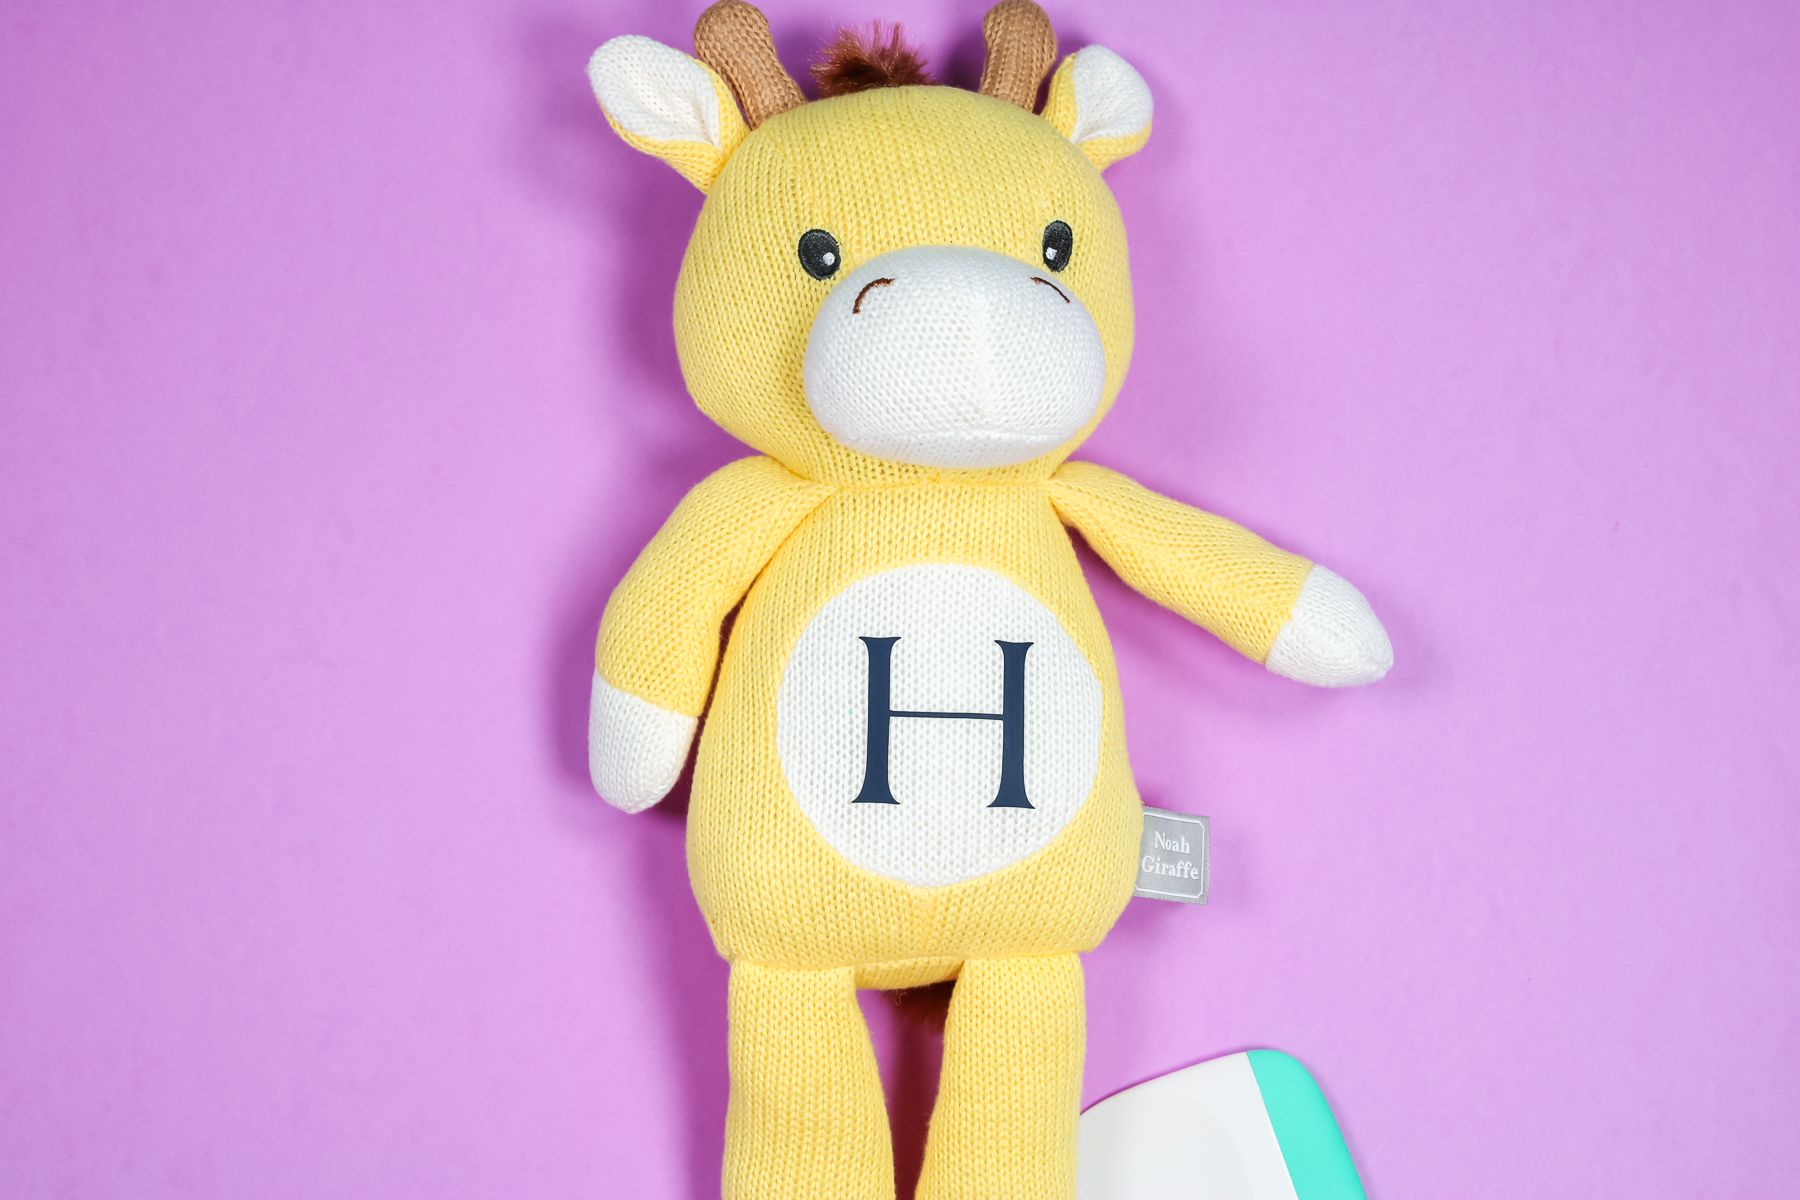
Press for a few seconds and then check to see if the HTV has adhered to the giraffe. If it hasn’t, press again for a few seconds. Another trick you can try for these odd surfaces is to remove the hat press and then use a scraper across the image while it’s still hot. That helps to get a good bond.
The B-Flex HTV is a hot peel, so I can peel up that carrier sheet right away and see if it’s stuck. Then just peel the carrier sheet off of the project.
Another trick for using HTV on odd surfaces is to cover the HTV back up with butcher paper or parchment paper once you have removed the carrier sheet and press it for just a couple more seconds. That will stick any small edges down that might not be completely stuck on the first try. Then, just lift that parchment paper back up, and you have a cute stuffed animal ready for some gift giving.
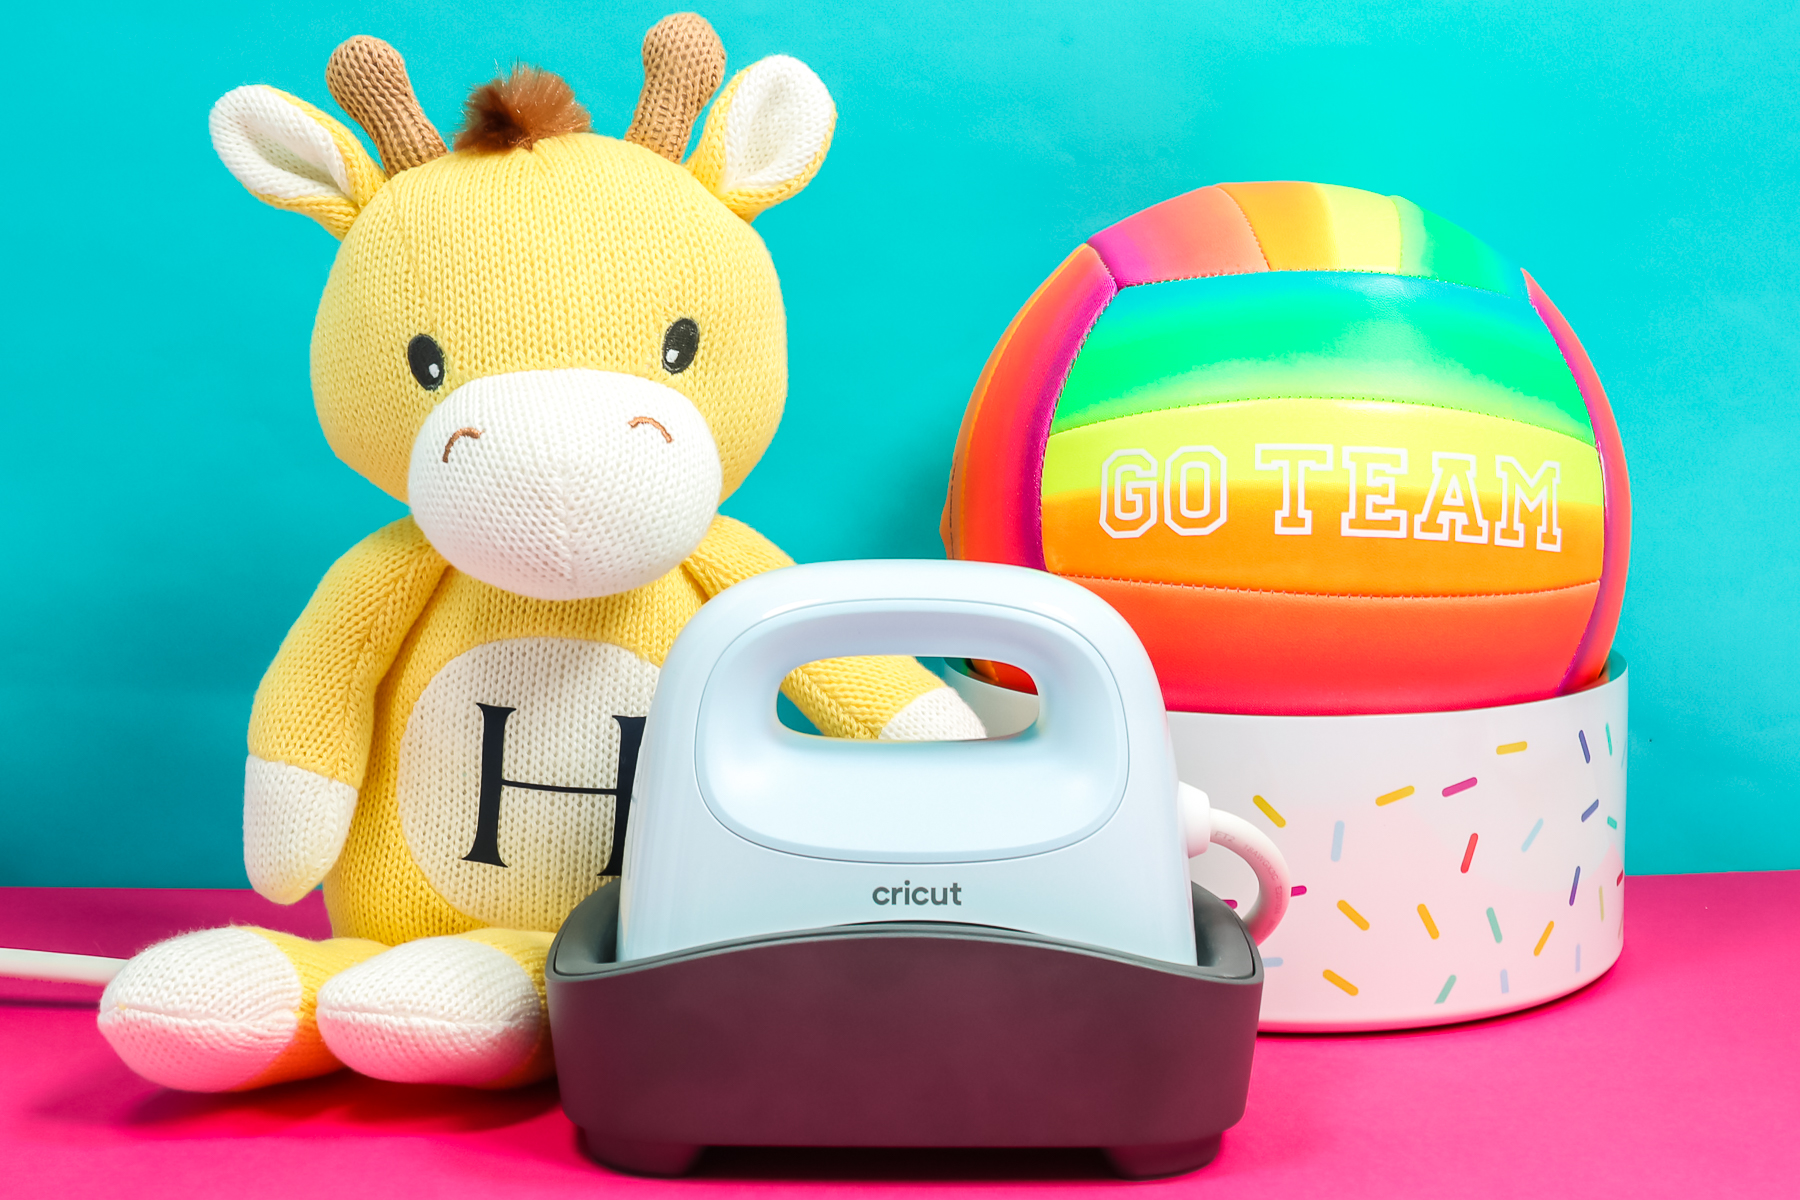
Cricut Hat Press with Volleyball
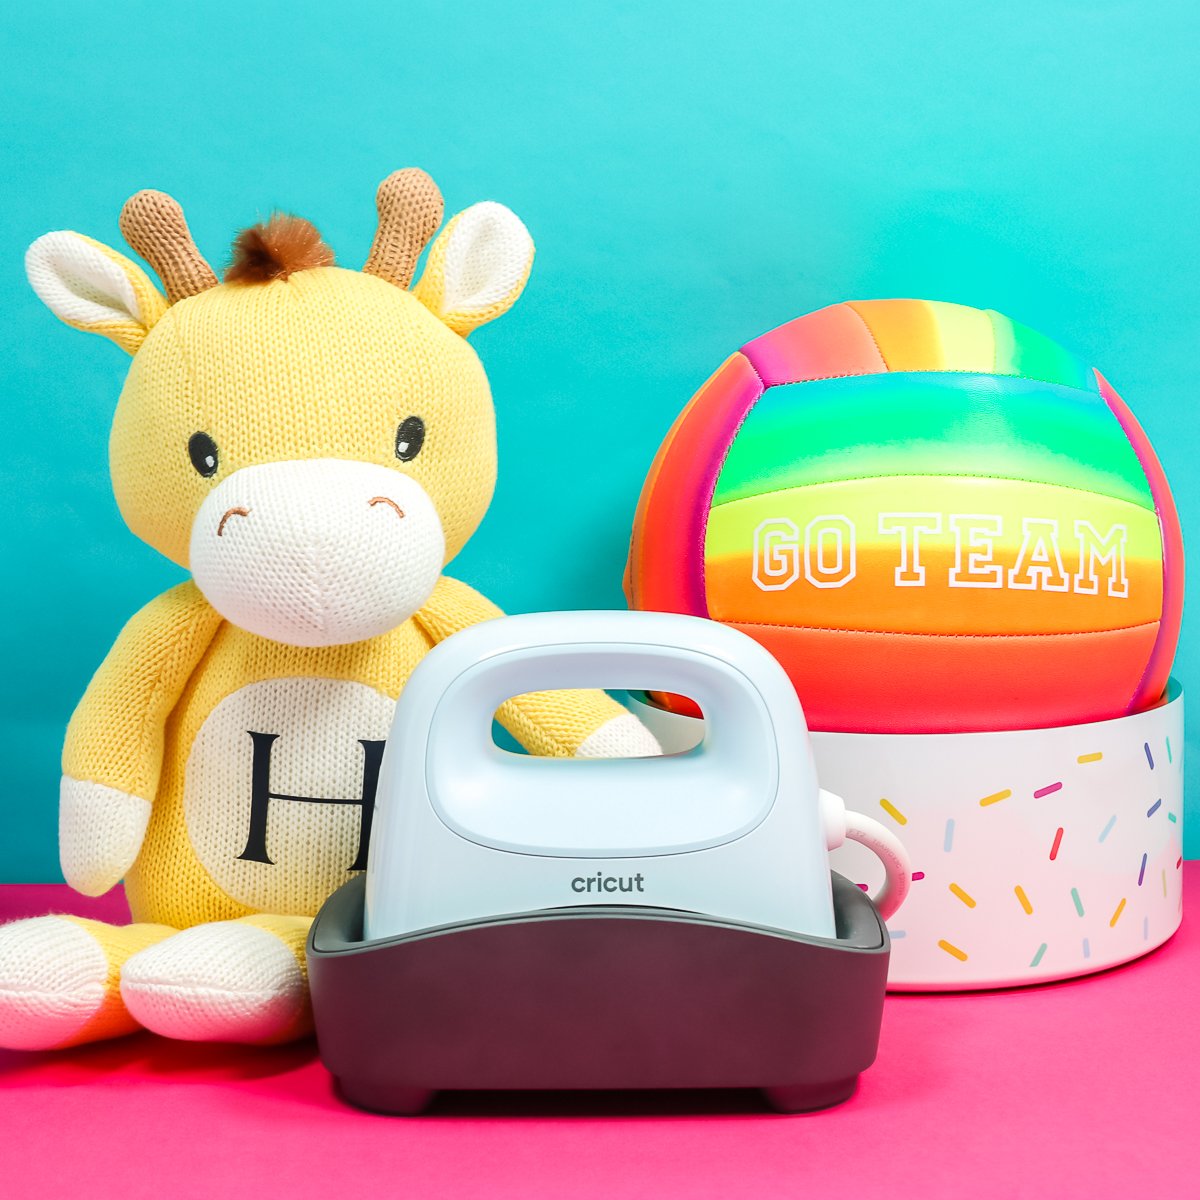
I was really excited to test out customizing different sports balls with the Cricut Hat Press. This rainbow volleyball fit perfectly in the curve of the hat press.
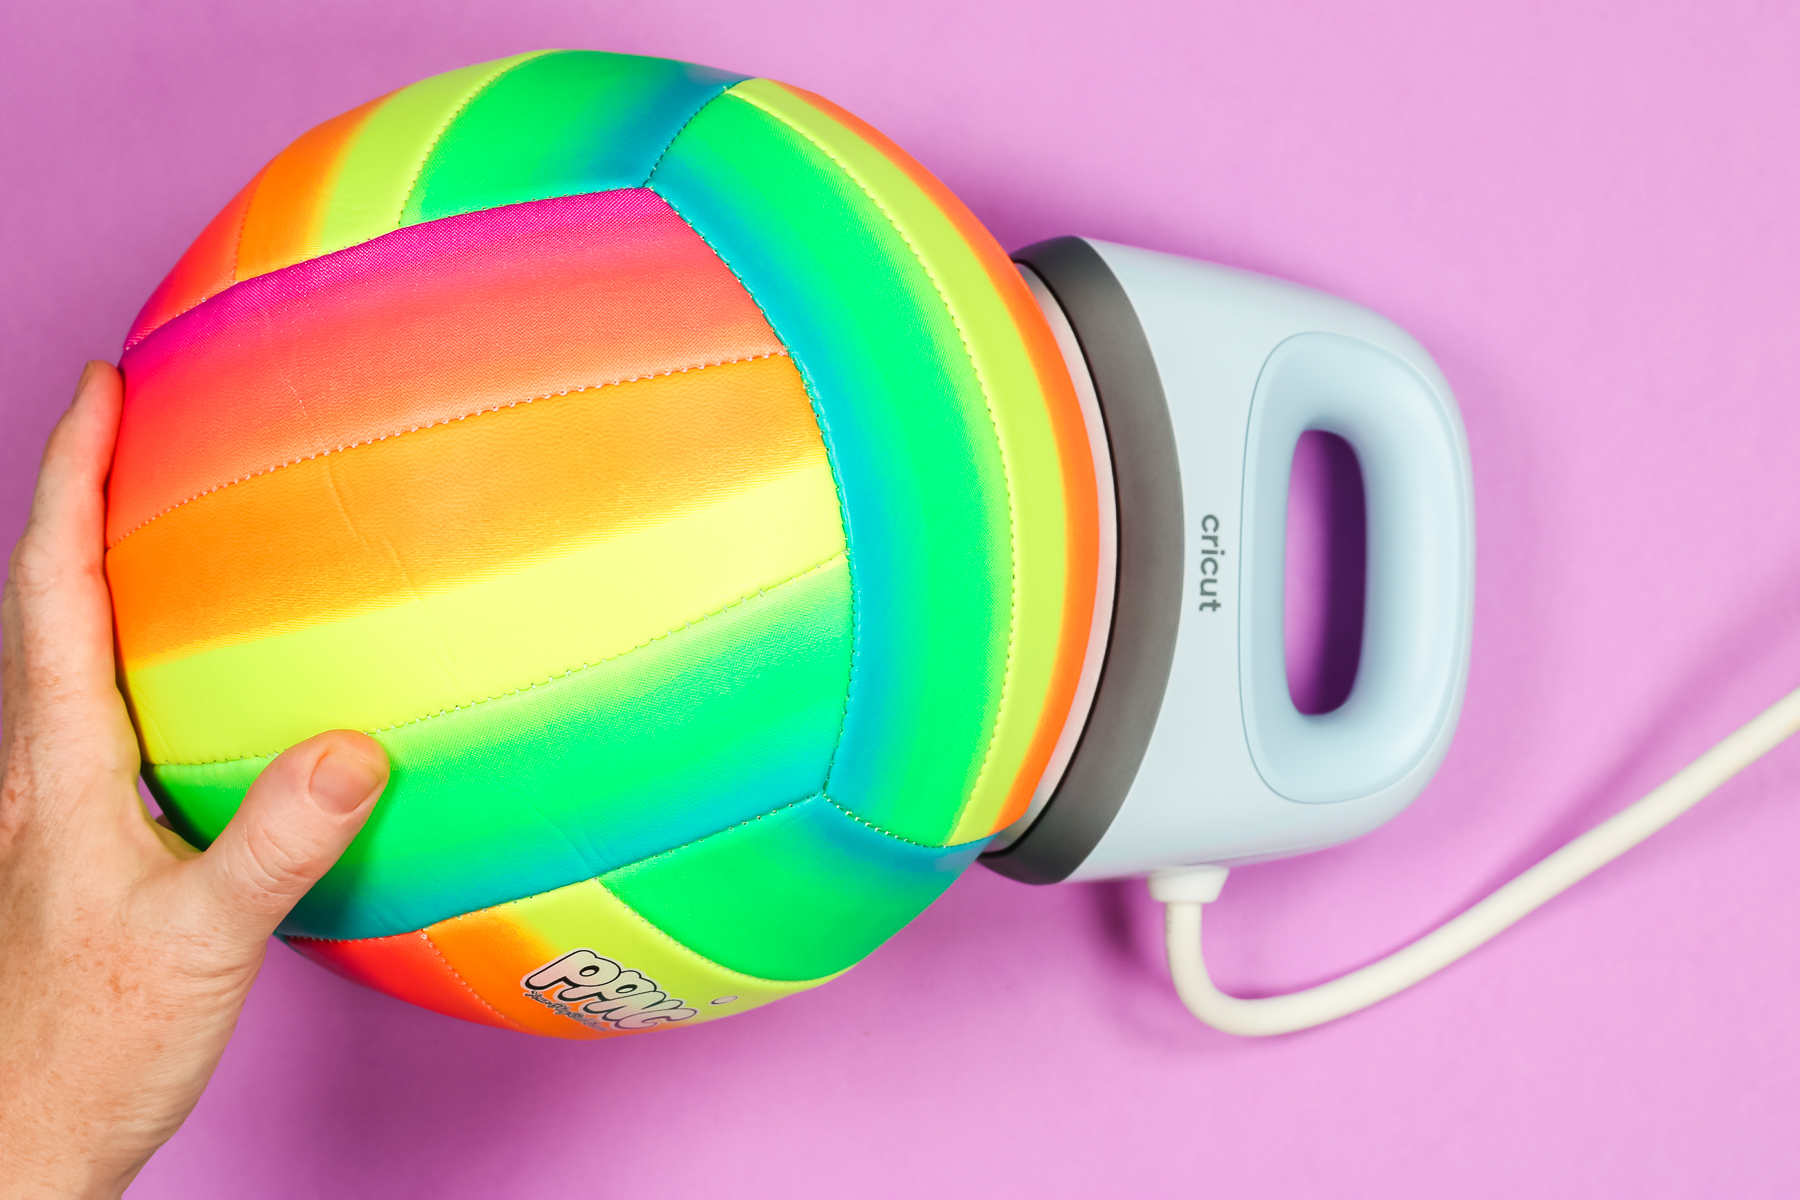
To apply the HTV, I trimmed the carrier sheet really close to the HTV and then cut slits in the carrier sheet to help form the HTV to the curve of volleyball. Use heat-resistant tape to hold the HTV into place.
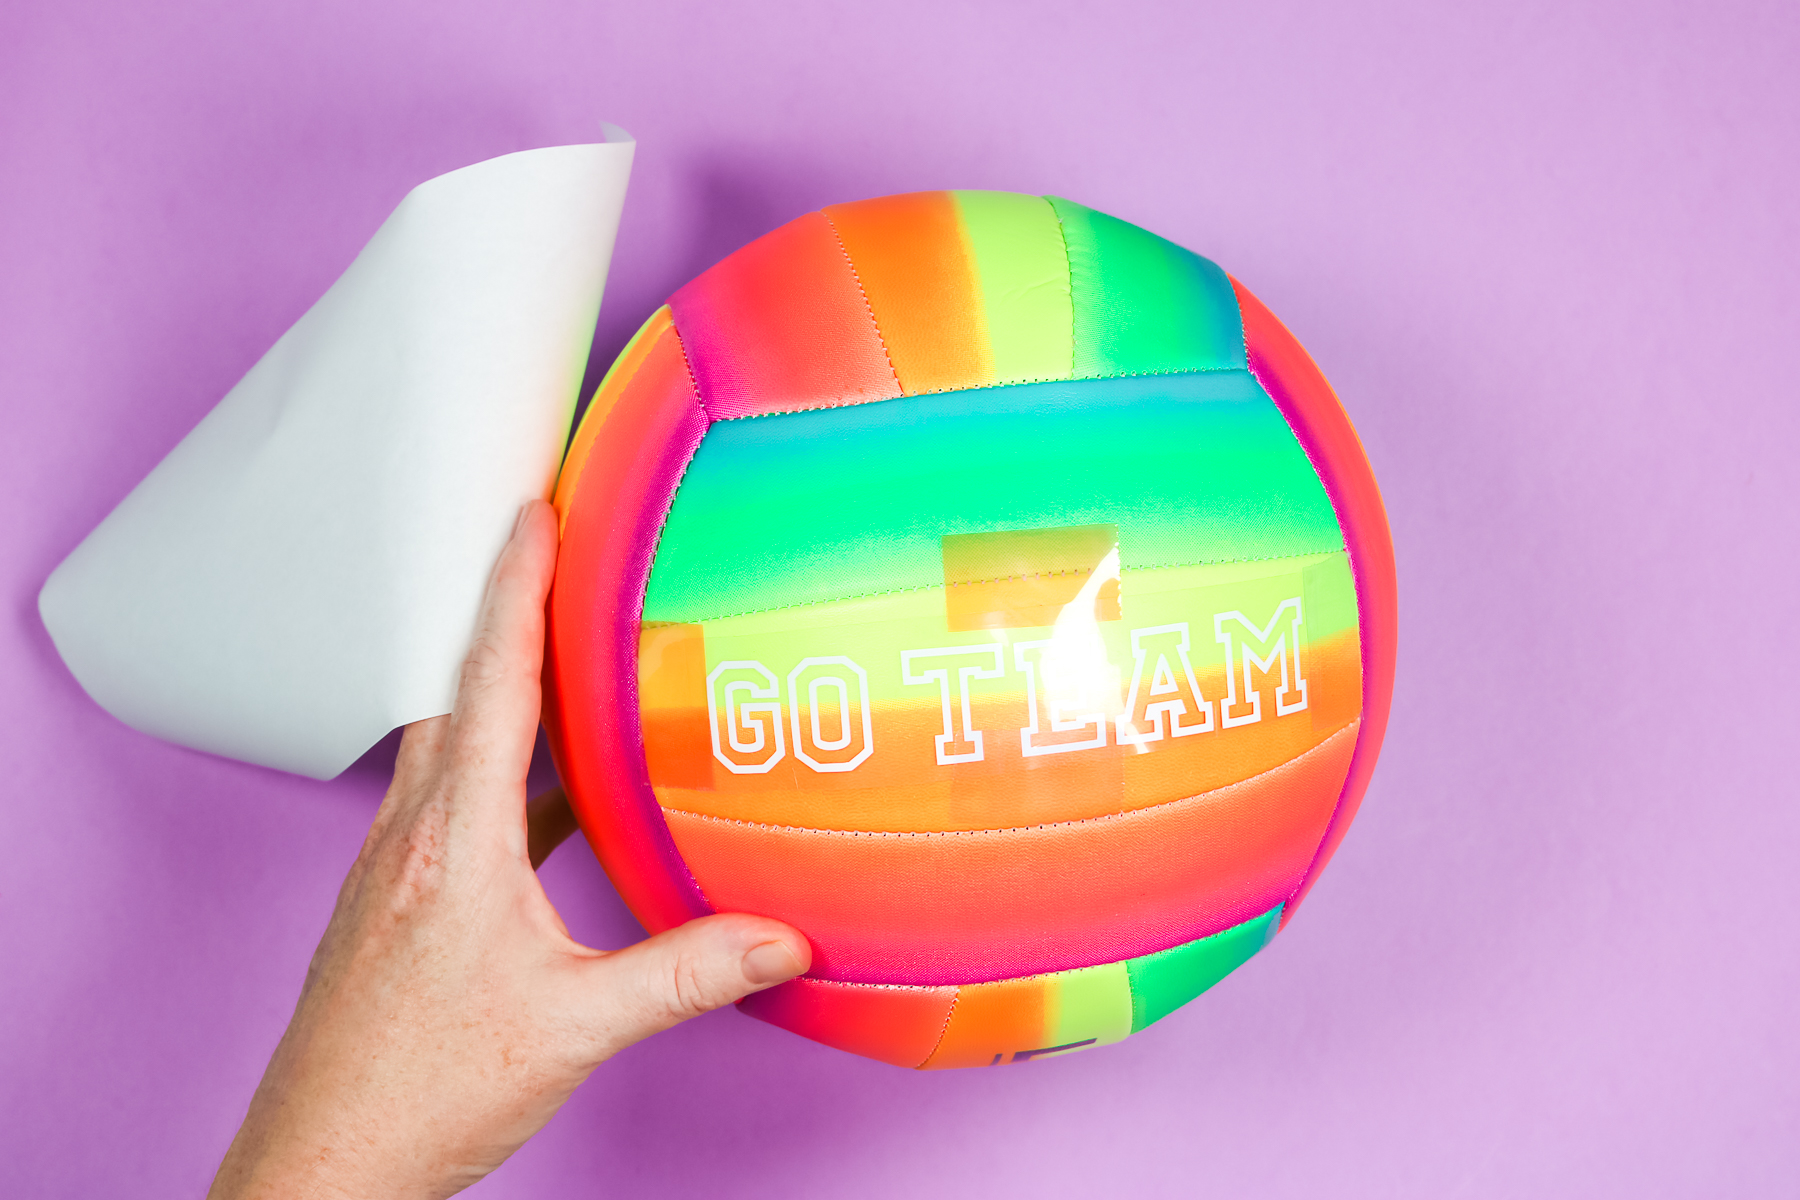
Cover the HTV with butcher paper to protect the surface and press with the Cricut Hat Press on the lowest setting.
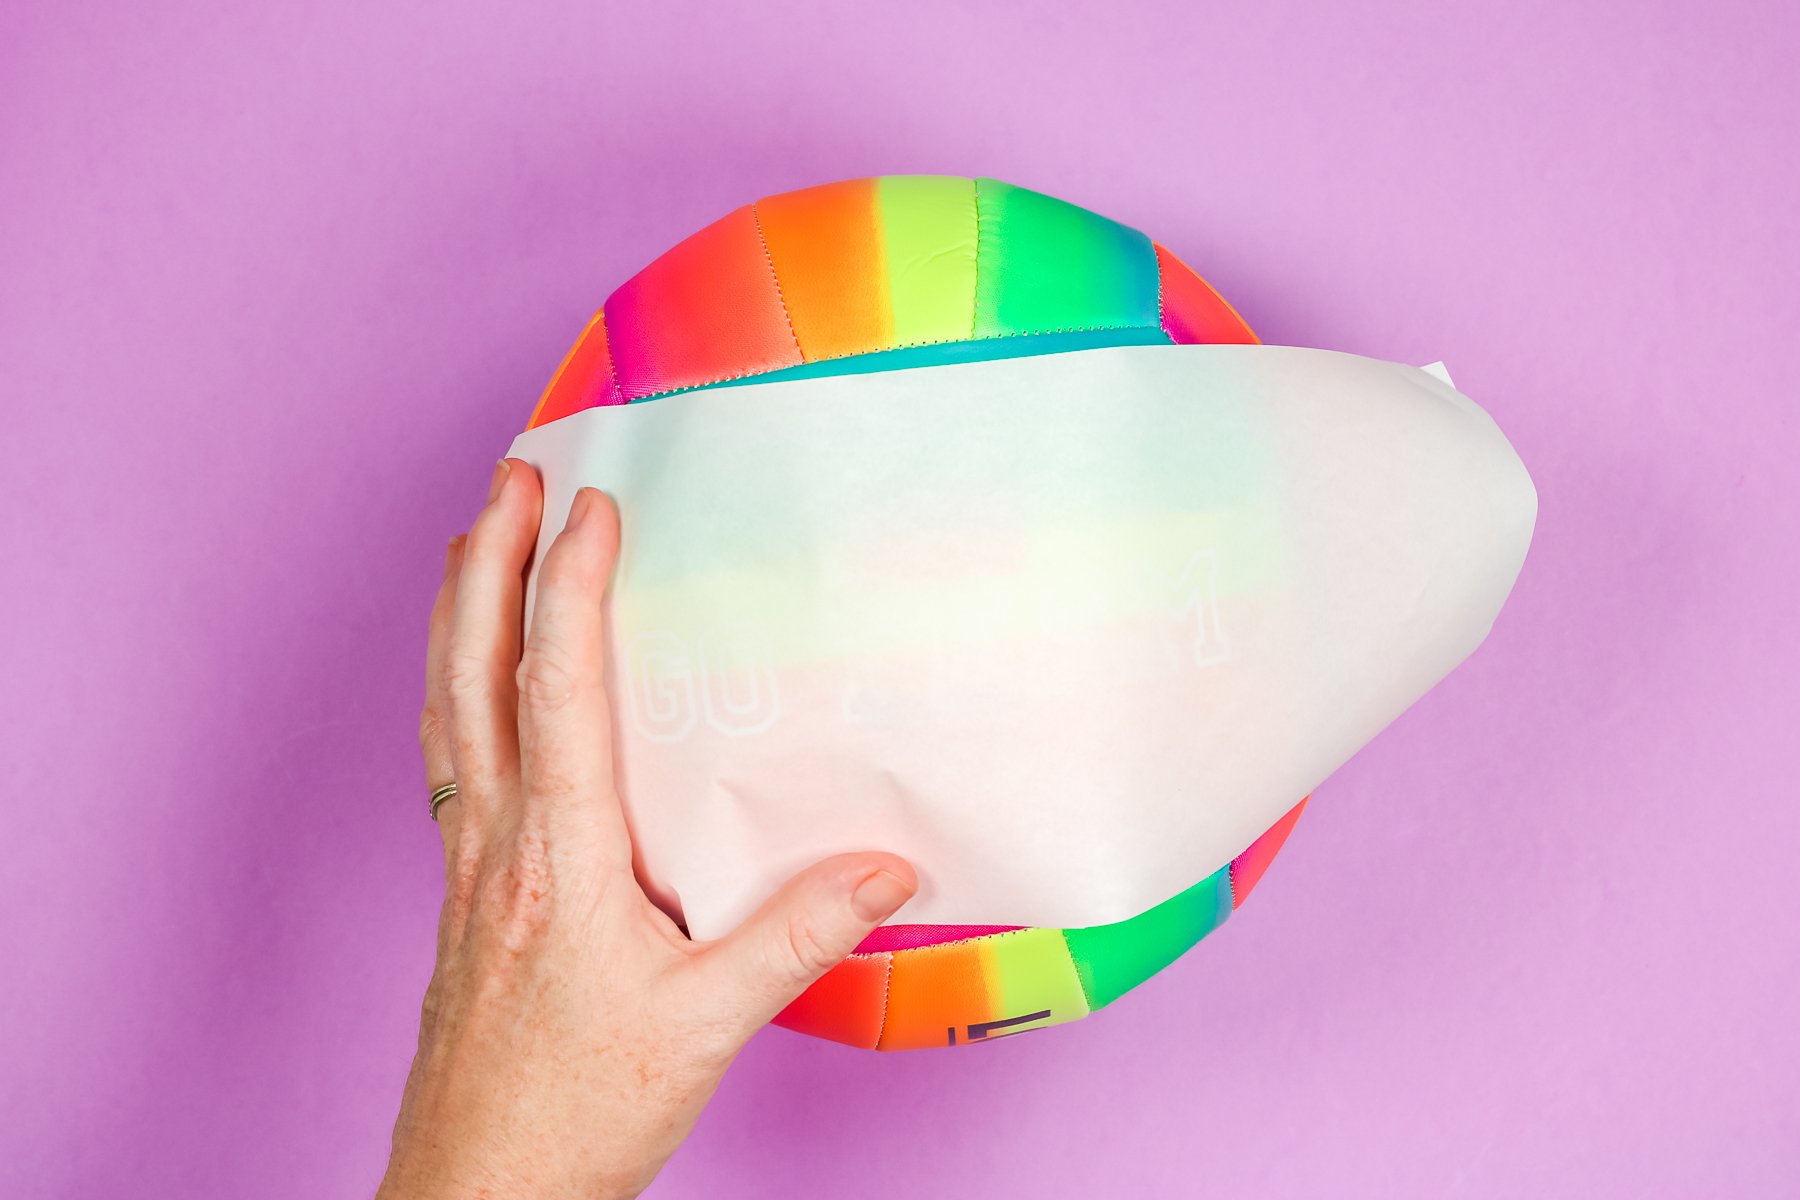
I pressed for just a few seconds and then checked the surface. I don’t know what the volleyball is made out of and don’t want to melt it. Press for a few seconds making sure to cover the entire HTV image and then checked.
It actually did start to melt the volleyball a little bit but it isn’t noticeable at all on the surface. This is a reminder to keep checking and not press for too long.
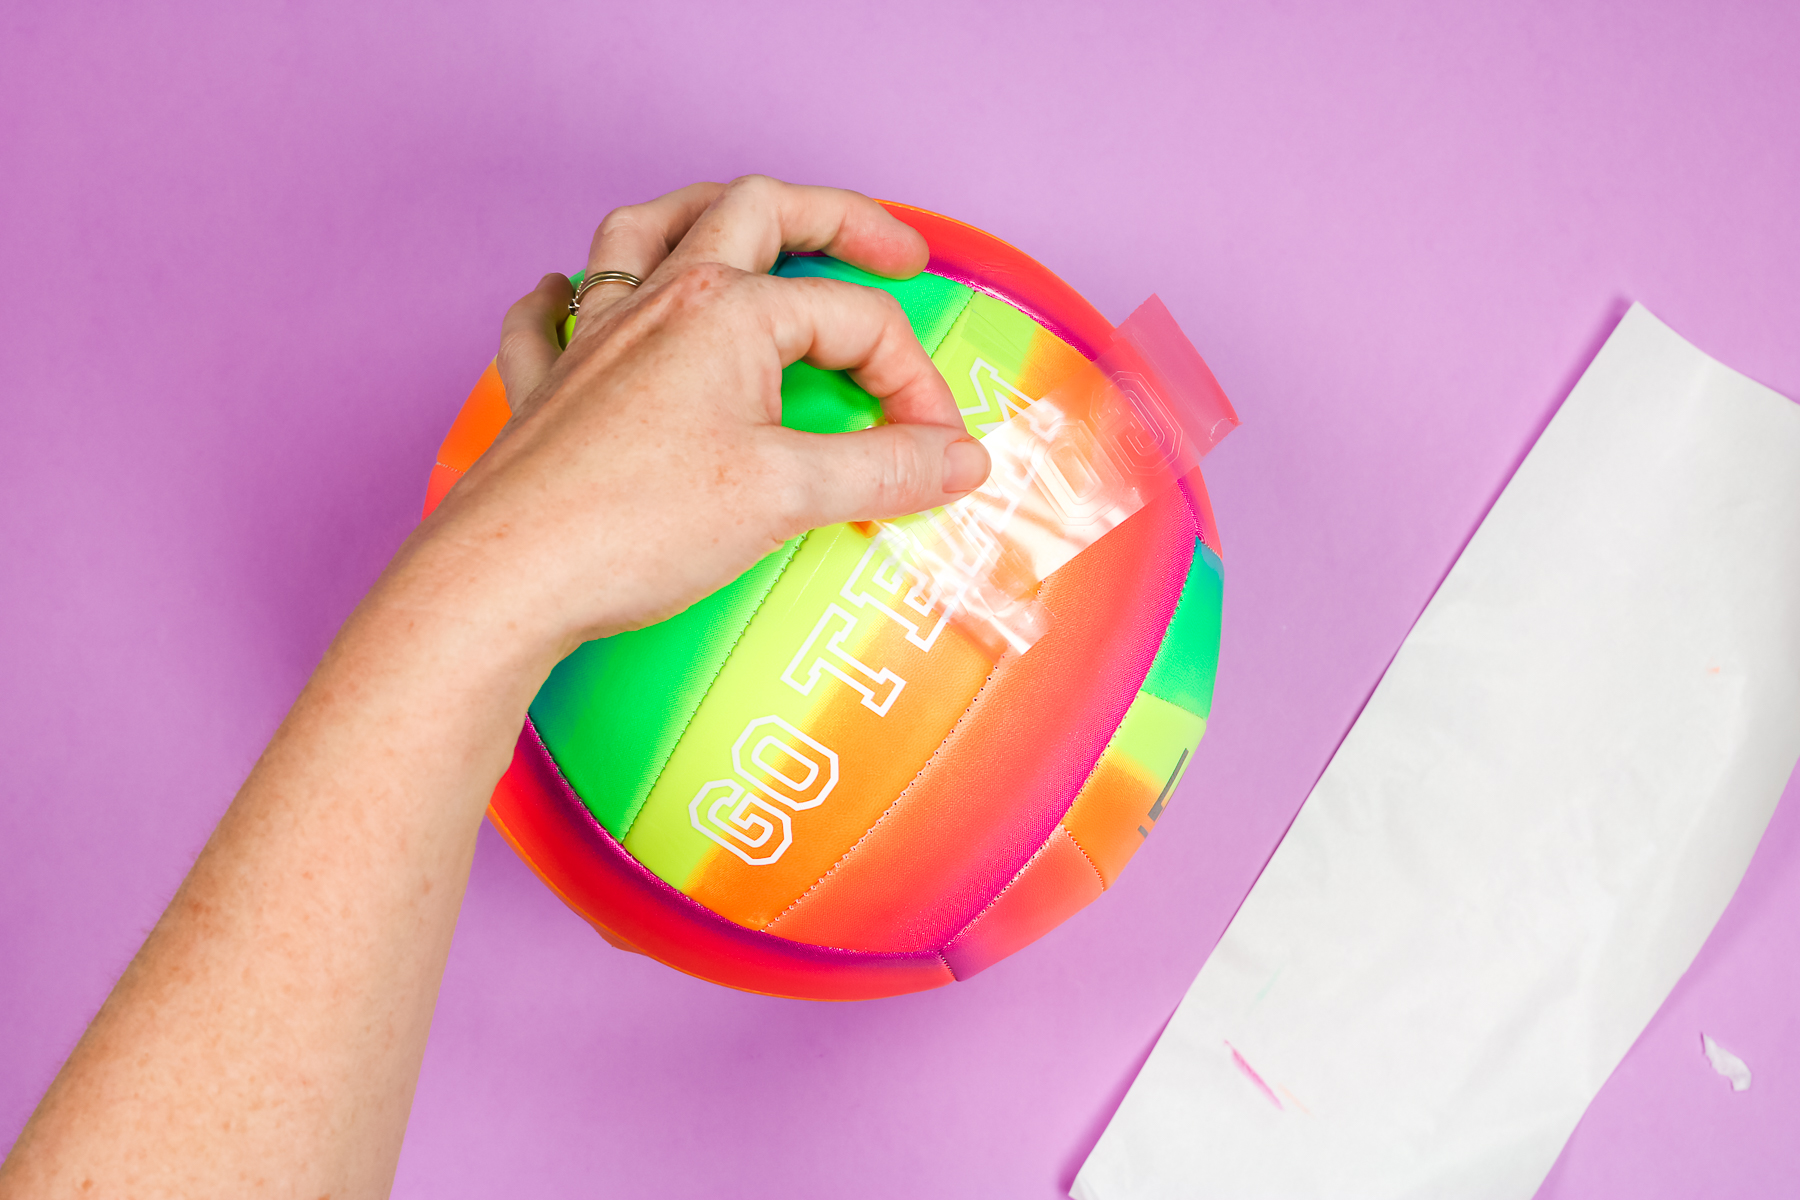
Peel back the carrier sheet slowly at the corner to make sure the HTV is stuck down well. In my case, the HTV stuck down really well. I removed the carrier sheet and again applied the butcher paper and gave it one more quick press to stick down any edges that may have lifted while removing the carrier sheet.
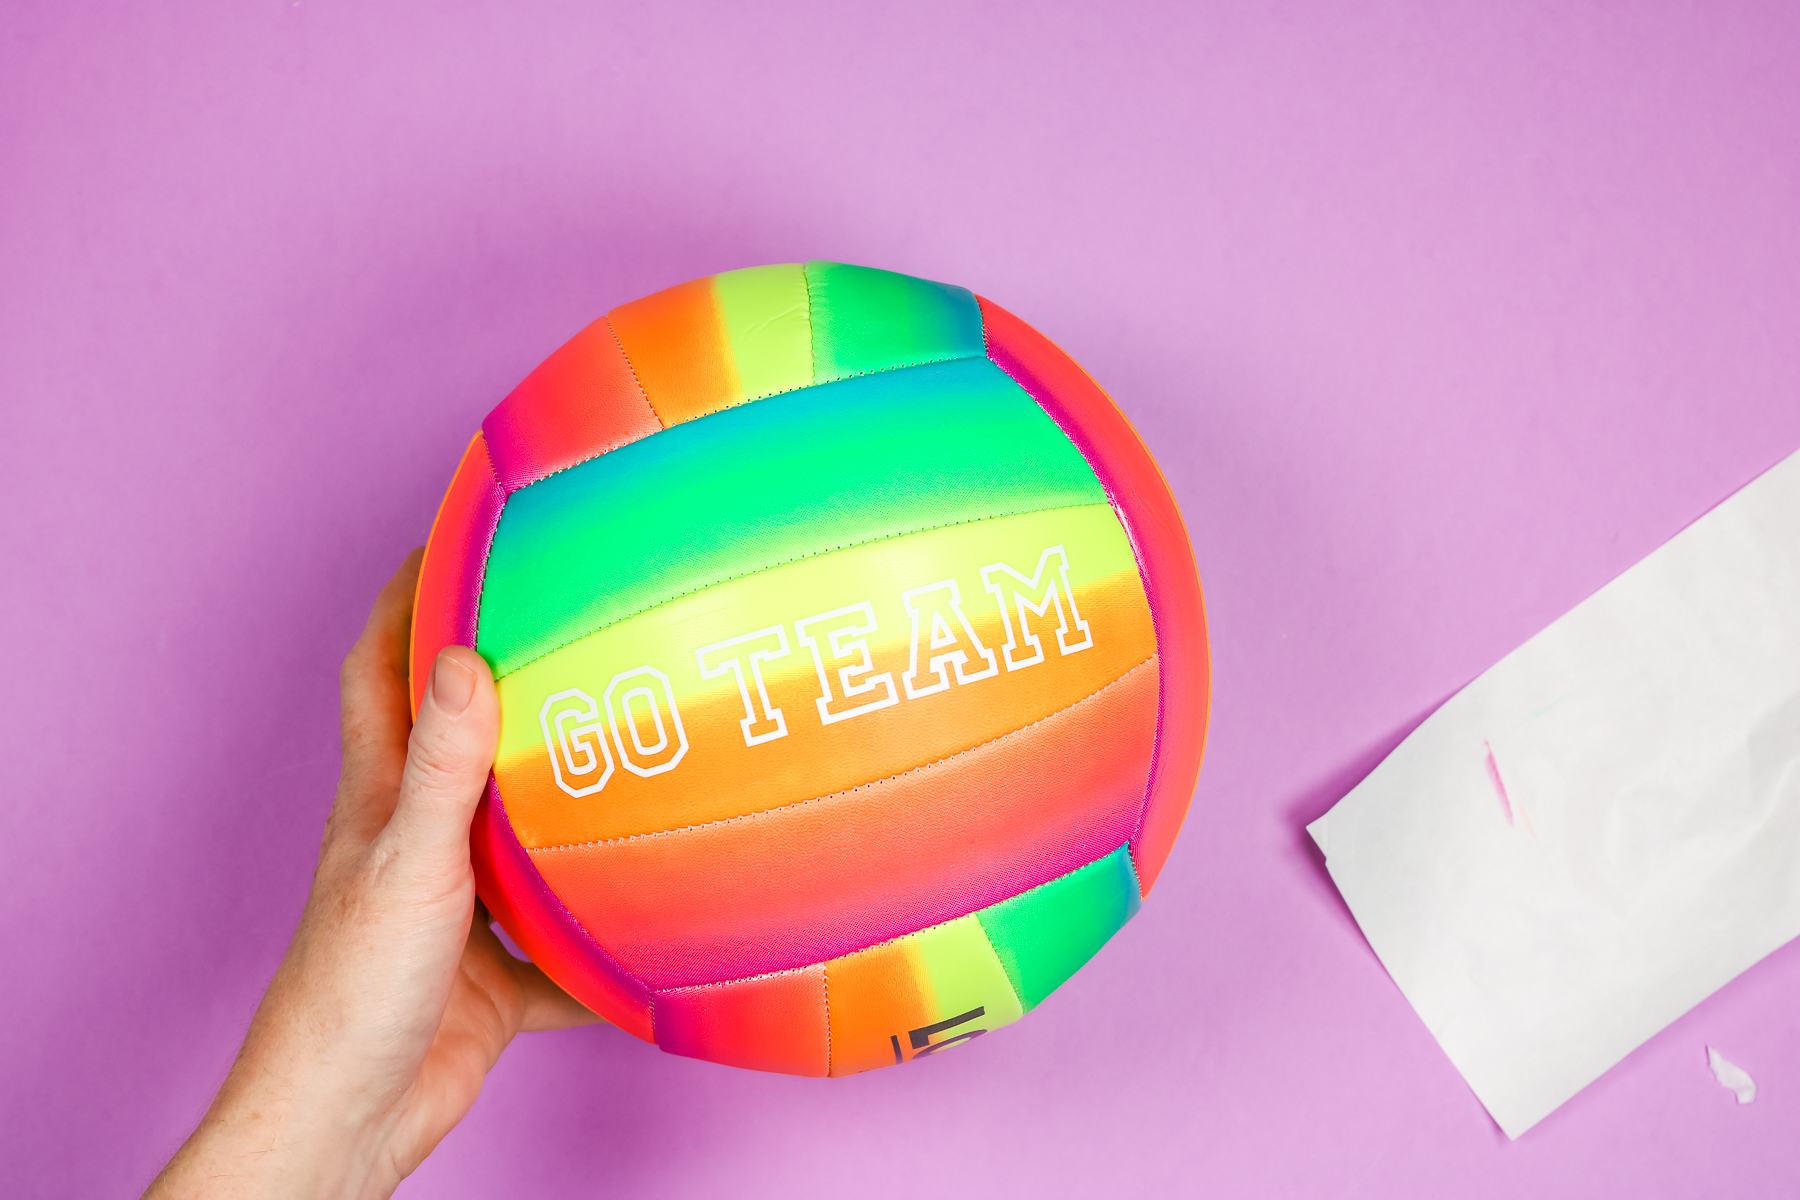
The volleyball looks amazing and the HTV sticks great on the surface. Actually, you can hardly feel it on the surface. I just added a couple of words to my volleyball. You could add a name or a team name. There are tons of ideas for adding HTV to balls, and the Cricut Hat Press is actually perfect for this application. I would definitely pick one up if you’re thinking about customizing some balls for team sports.
Cricut Hat Press with Football
I wanted to try using the Cricut Hat Press to apply HTV to a football. To get the Hat Press to form to this inflated football I had to push really hard to get it to conform.
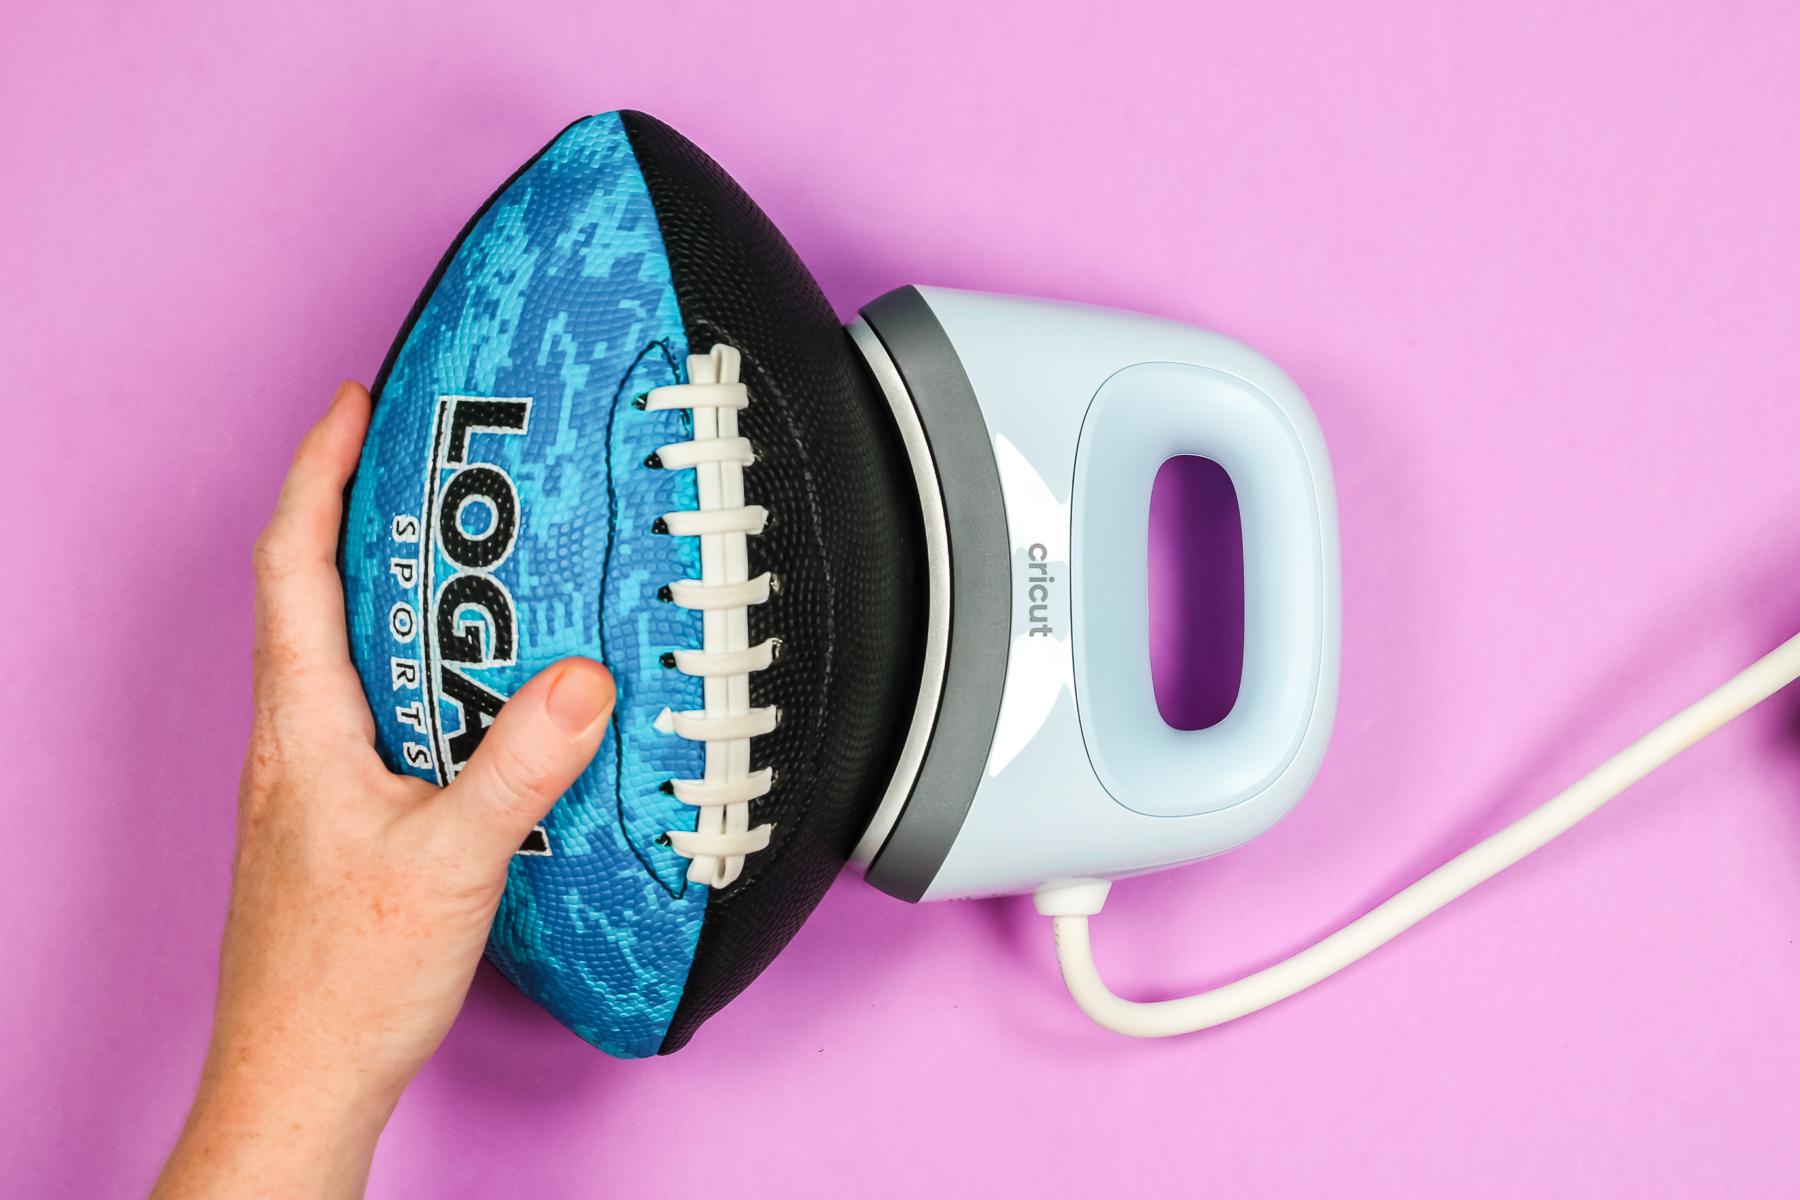
I did find a football that comes deflated and has a white side where you can have teammates autograph it. Because it’s deflated, I can use the Hat Press form to help make it shape to the Hat Press.
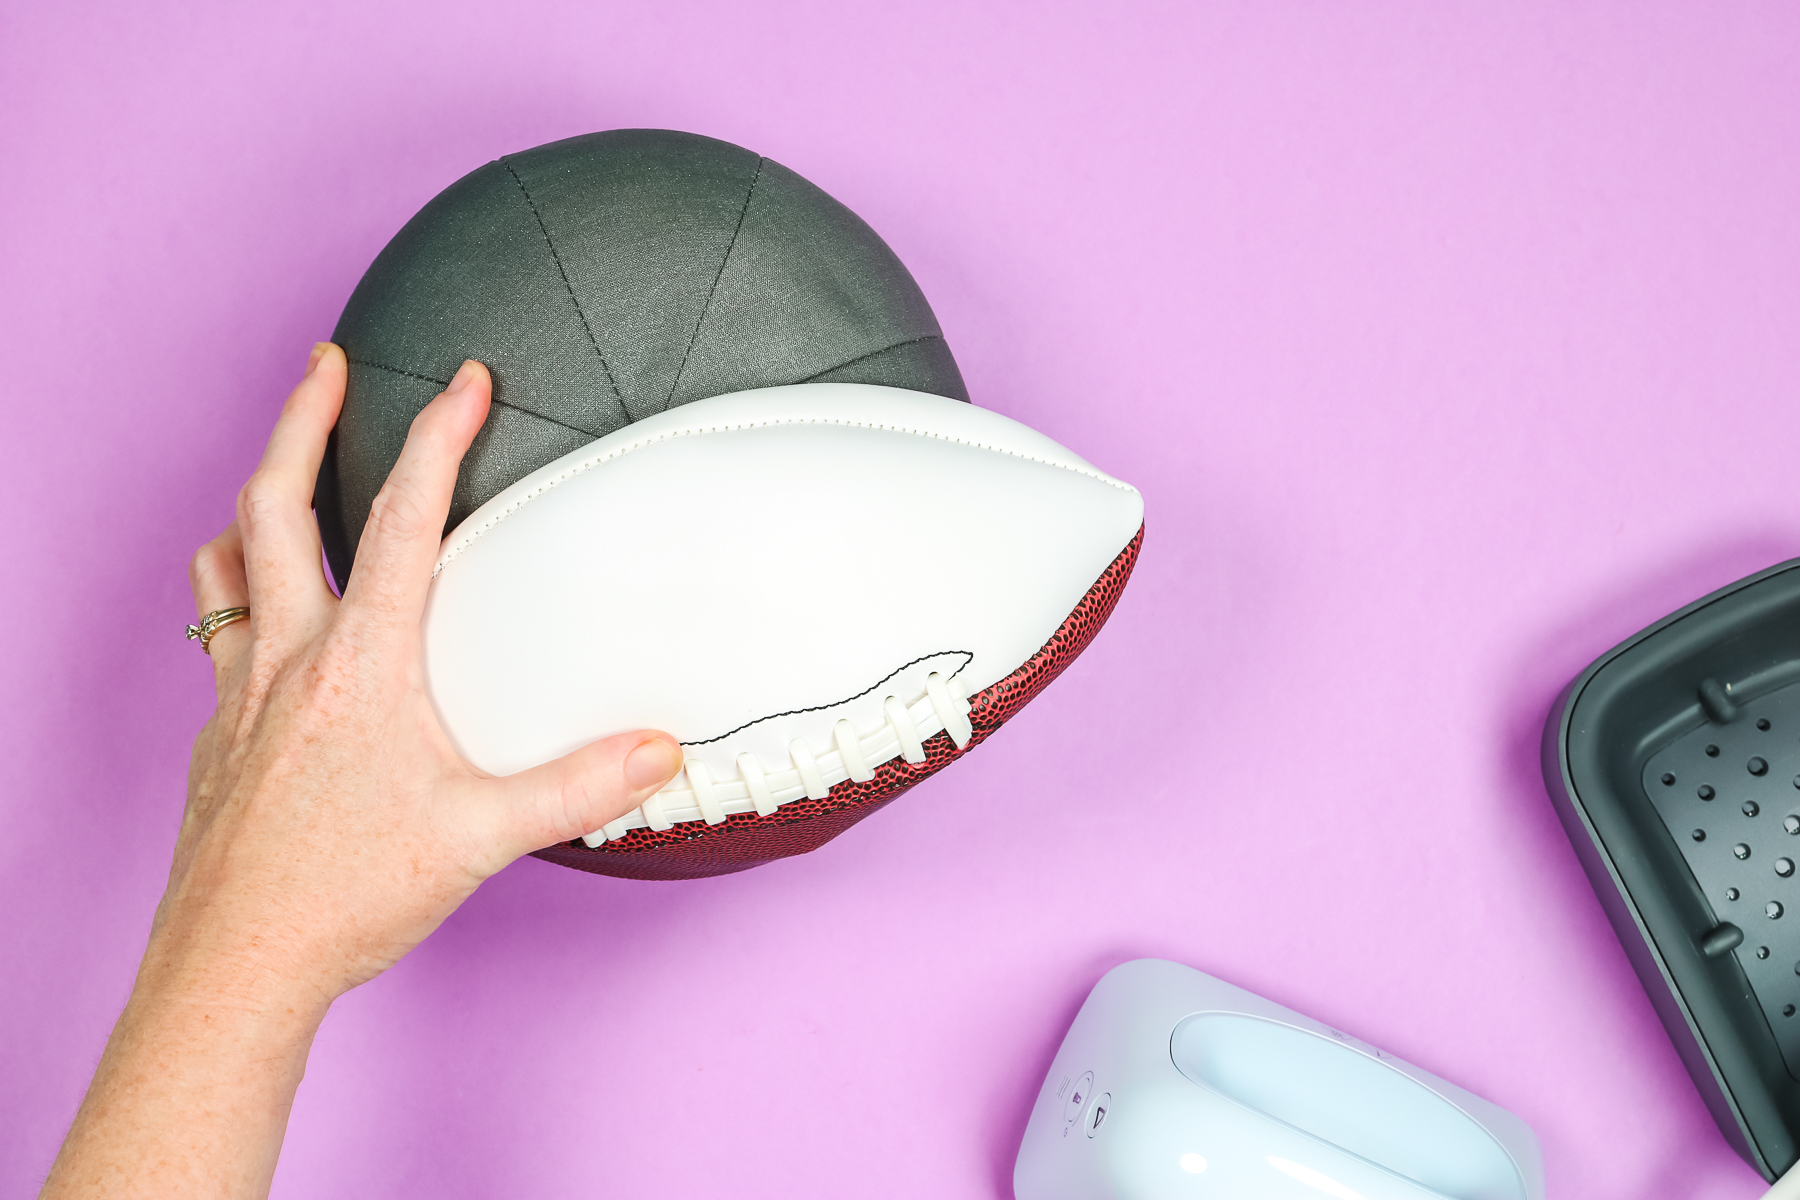
A trick to getting the HTV to stick well to odd surfaces is to trim the carrier sheet really close to the HTV. Cut little slits into the carrier sheet to help it form to the surface.
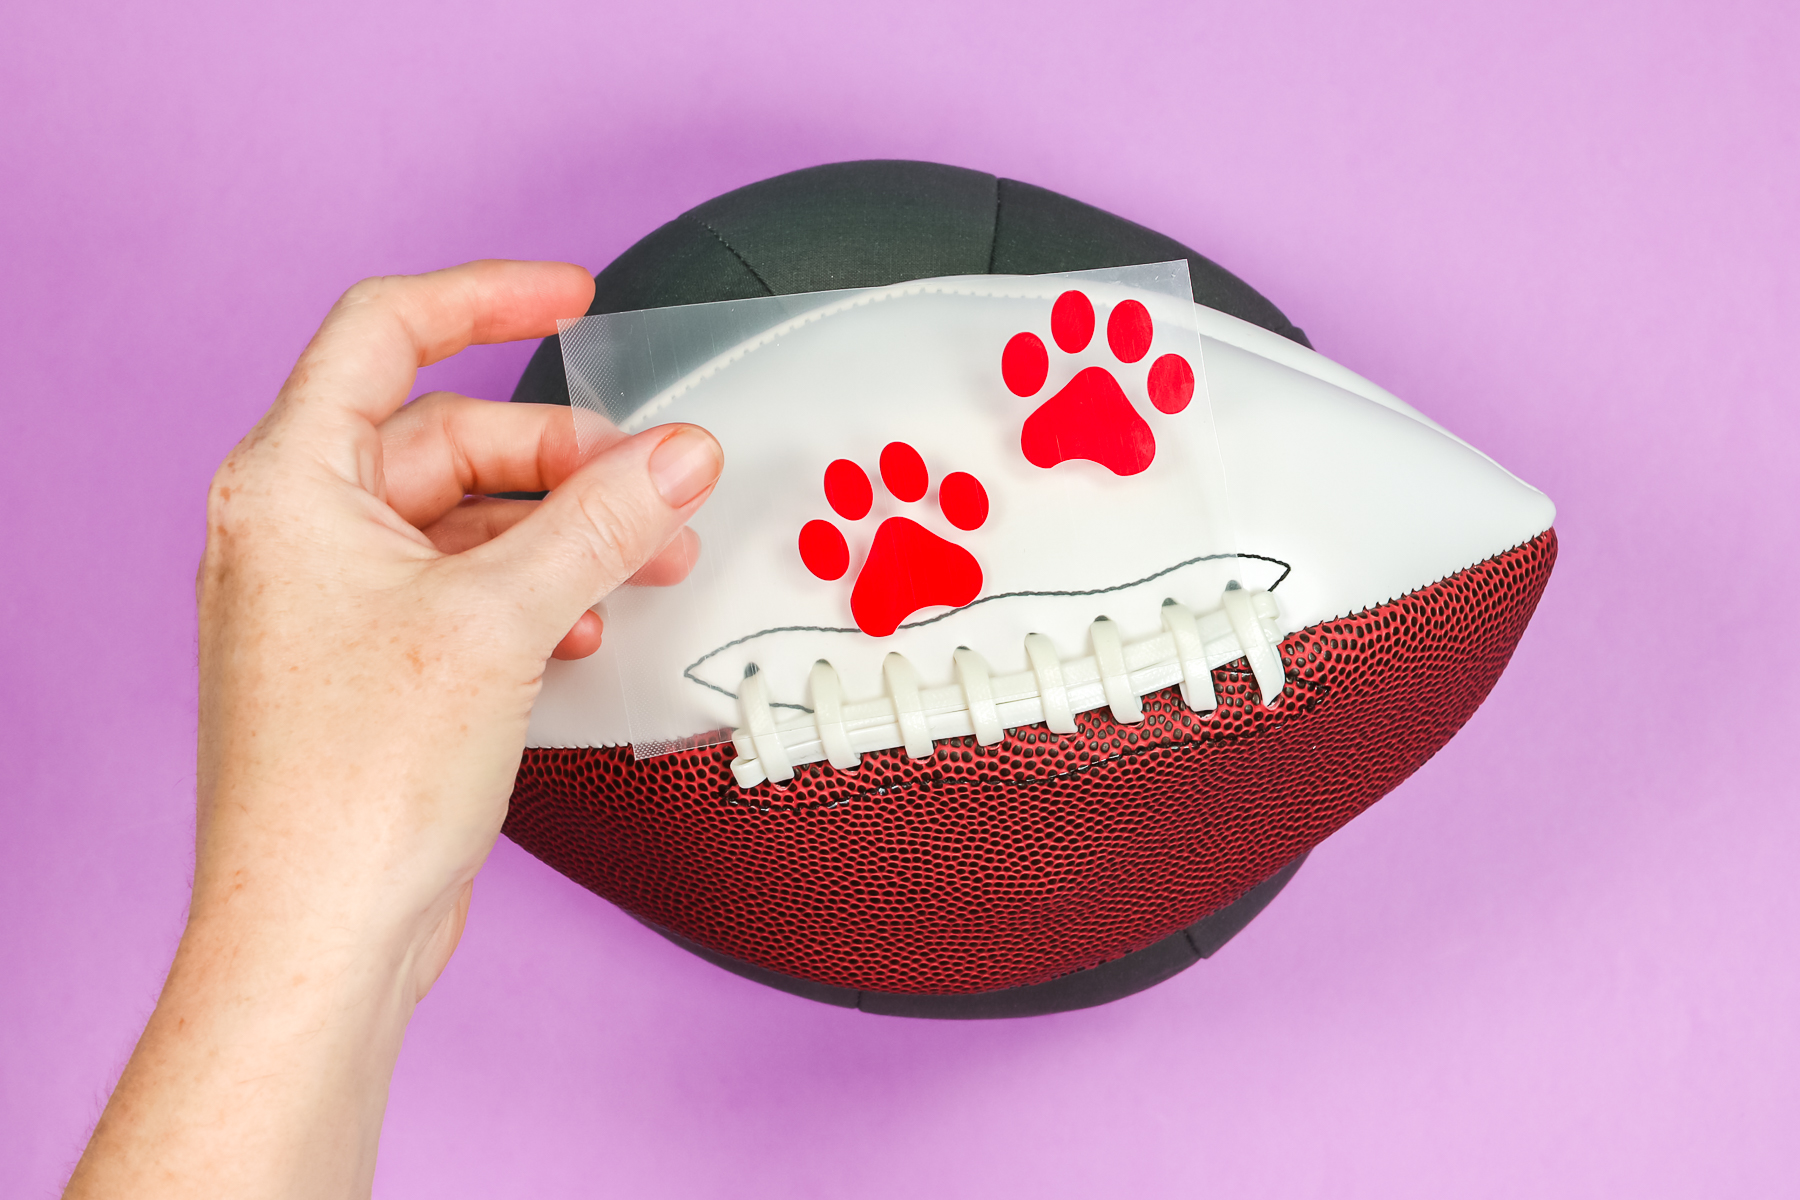
I like to use heat-resistant tape to hold everything into place and then add parchment paper over the top. I tried the second setting on the Hat Press with this HTV because it’s a different brand.
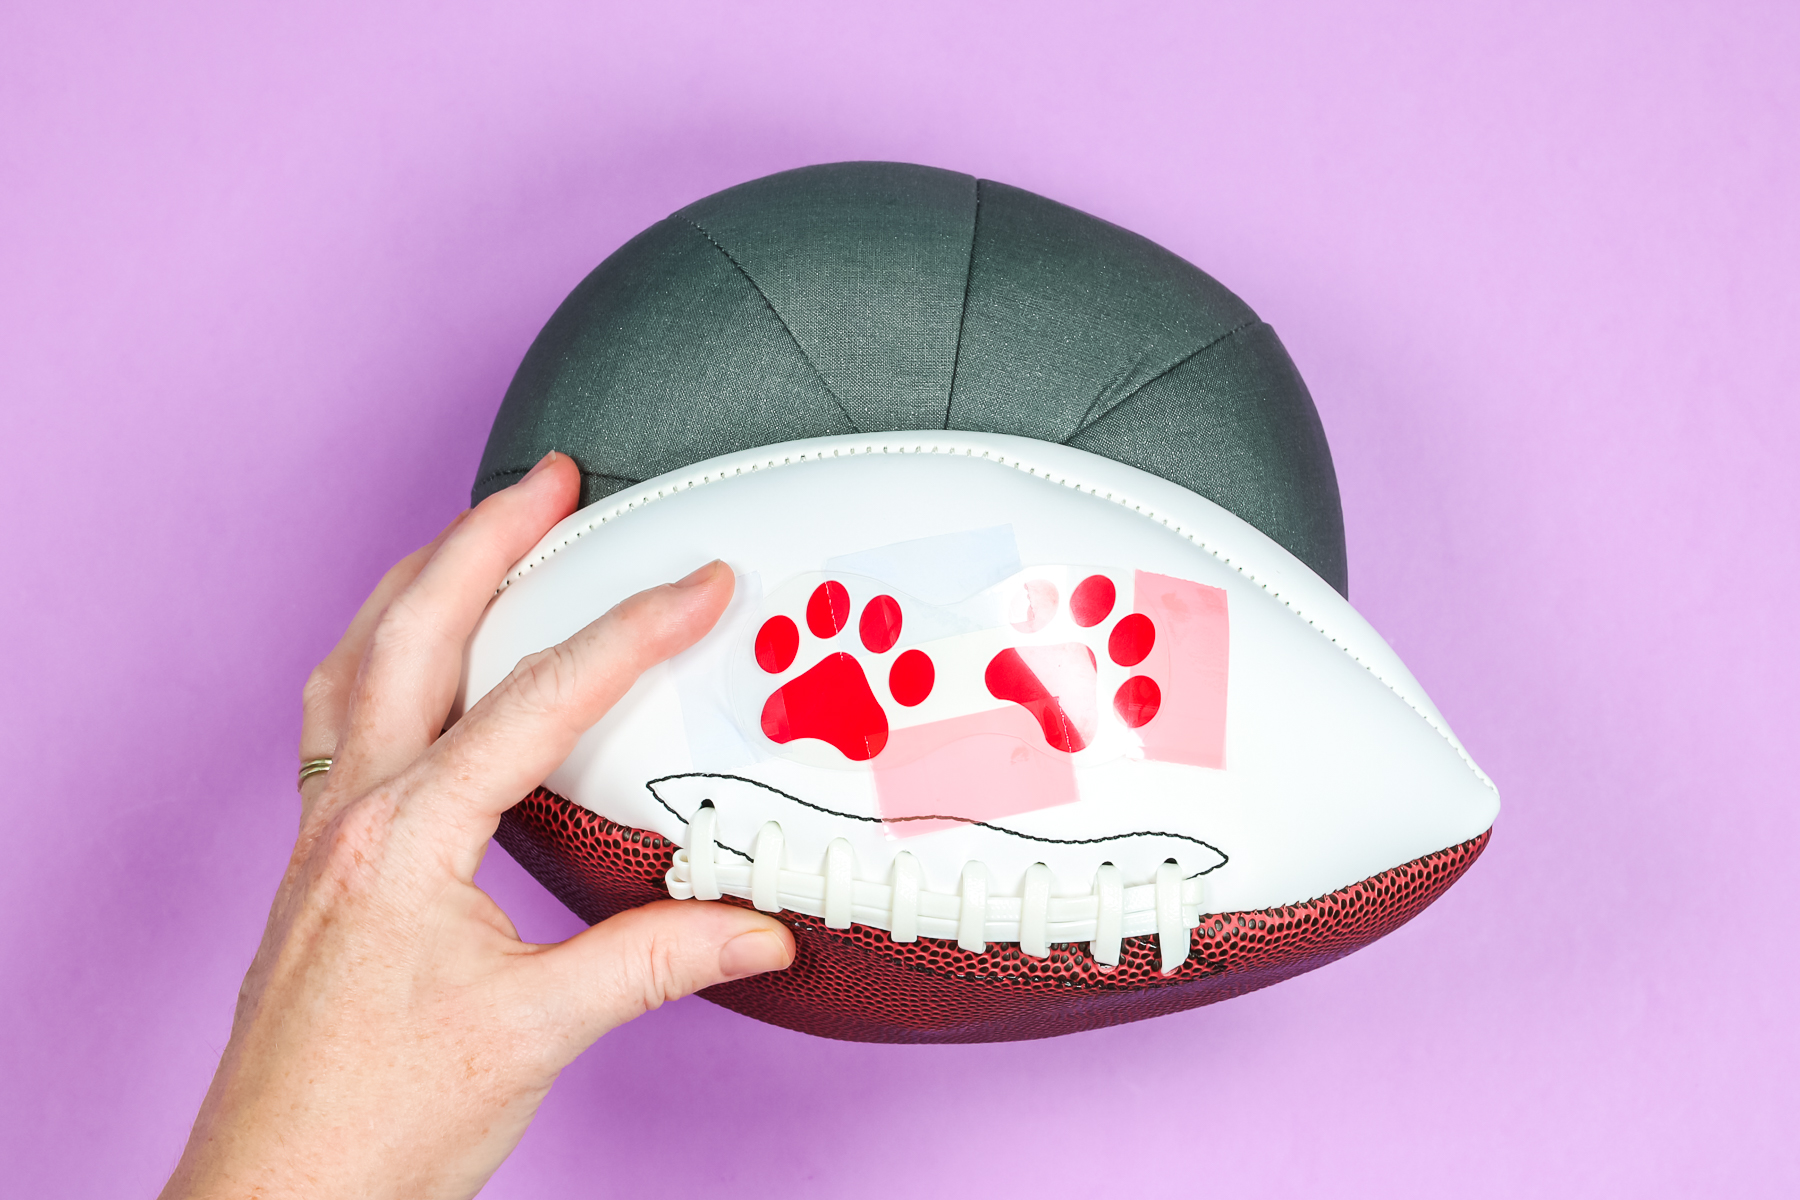
I’m just holding the Hat Press onto the football. I am pressing down to try to get it to conform to the shape of the Hat Press and the hat form at the same time. So I just held it there for a few seconds, and then I noticed it might be sinking a little bit, so I lifted it up and I did melt the football. However, the HTV did stick to the football.
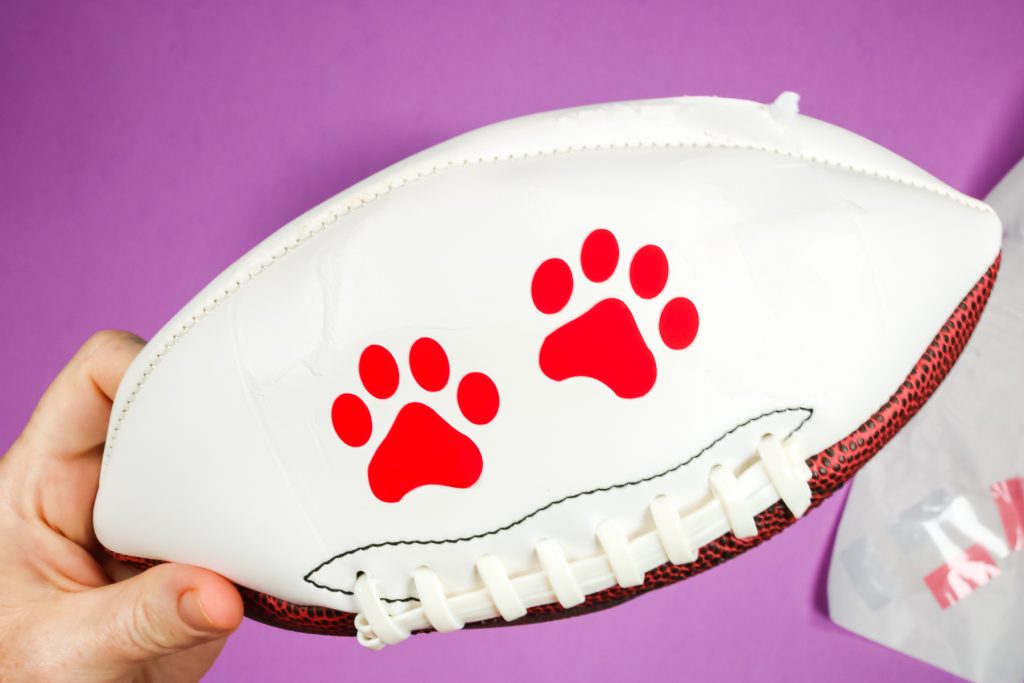
You do run the risk of ruining these blanks when you are experimenting. I didn’t know what this football is made out of. You don’t know if the parchment paper will protect the surface. Obviously, it did not in this case.
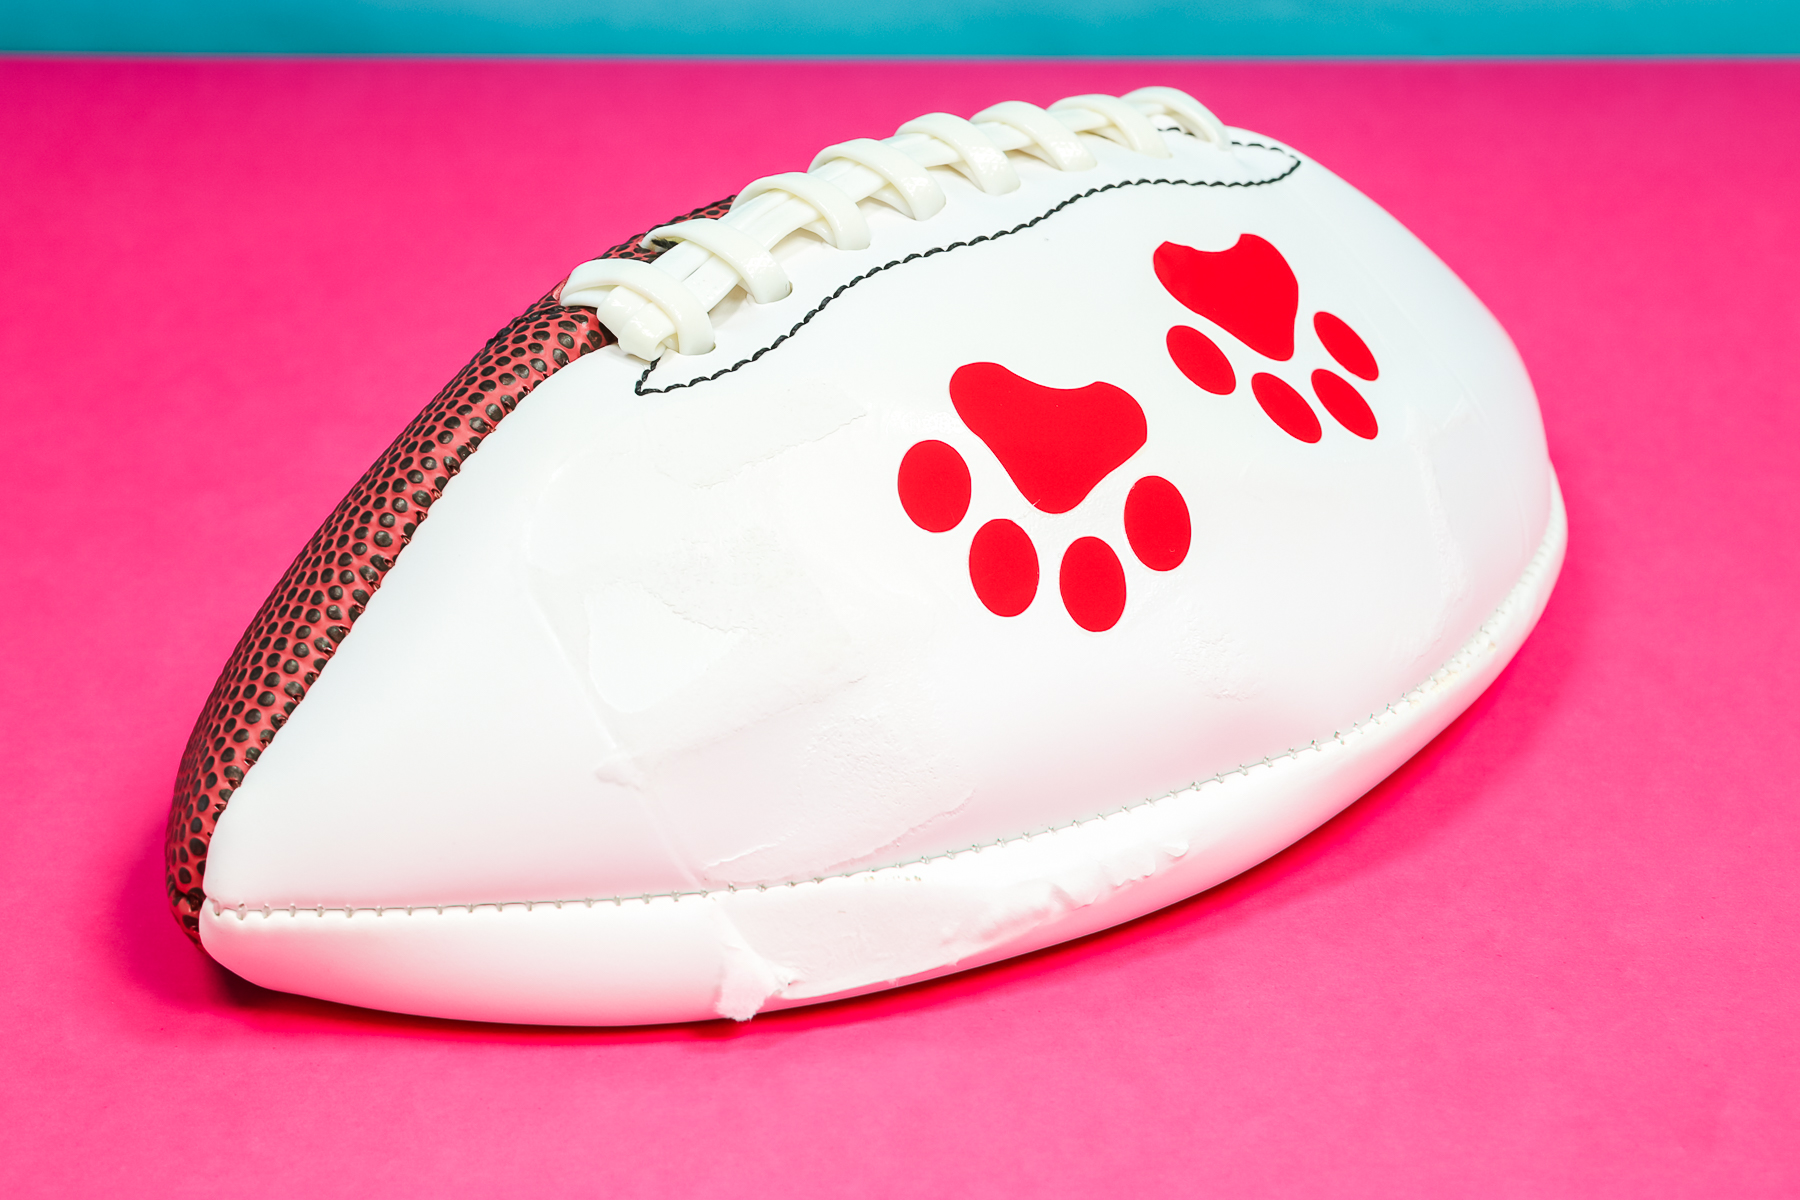
You could go down on the temperature and/or time. You could also try using an HTV that takes less time like the B-Flex HTV. I only had one football to experiment with. The HTV did stick really well, just make sure you check regularly so you don’t melt the football.
Final Thoughts on Finding Cricut Hat Press Blanks
I was really happy that I was able to find at least a few things that would work with the Cricut Hat Press that are not hats. I hope you learned from some of my mistakes, make sure you start with a low temperature and always use a protective sheet to protect your blank from melting.
Be sure to take your time with large sublimation blanks and prints. If you take your time and check things well before removing the carrier sheet, you’re likely to really enjoy your final project. If you have any questions about finding Cricut Hat Press blanks that aren’t hats and using them, don’t hesitate to leave them in the comments.
