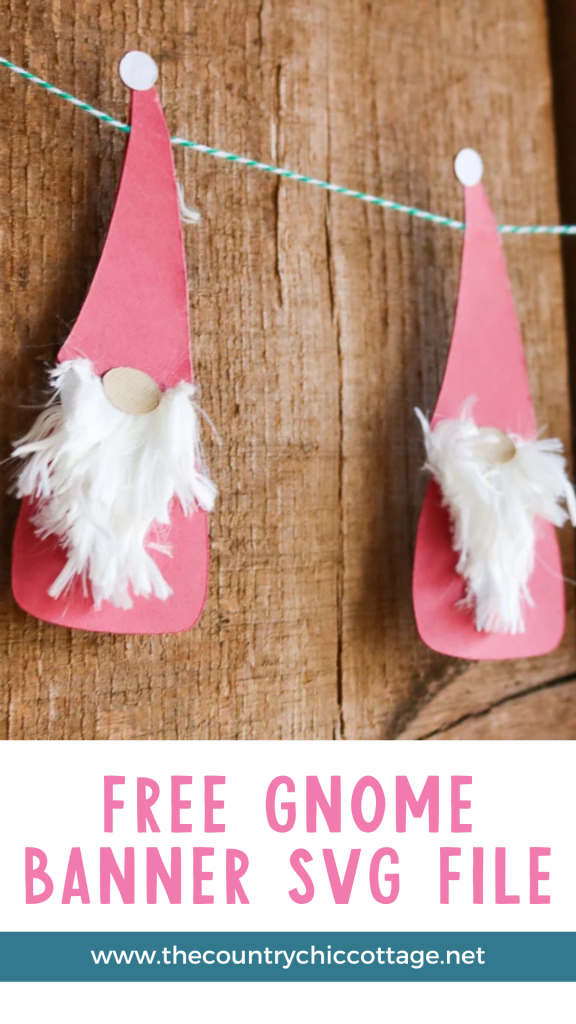
Y’all are going to love this free gnome SVG. You can use it to make this Christmas banner or any other holiday projects you have planned. I am absolutely in love with gnomes during the holidays. I made a Christmas gnome last year, and this year, I think I need gnomes on every surface! So, make this banner, then use the gnome SVG to make ornaments, signs, and so much more!
Xyron sponsors this post; however, all projects and opinions are my own.
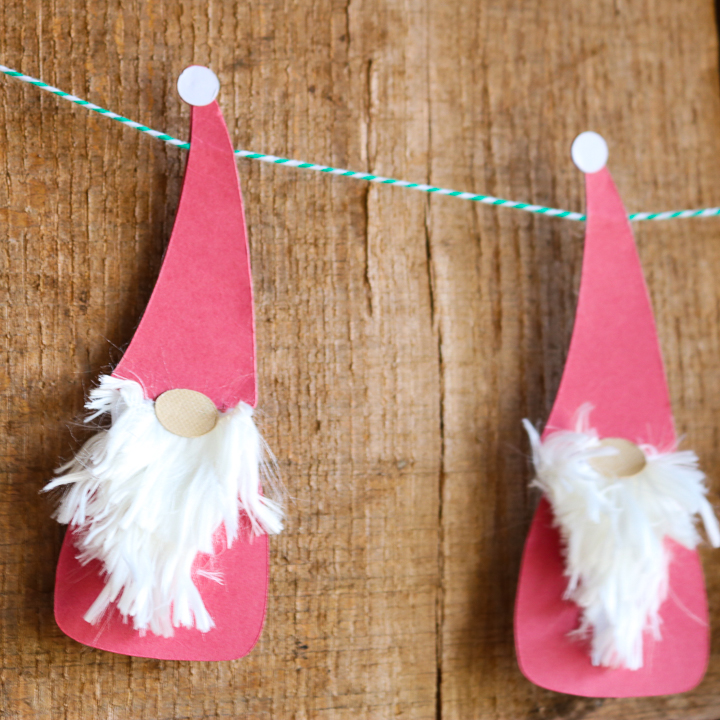
Free Gnome SVG Banner Video
Want to see how to turn this free gnome SVG into a cute paper banner? You can watch the video below.
Can’t watch the video or missed some of the steps? We have instructions below as well!
Download Free Gnome SVG
First, you will need to download the SVG file for use on your Cricut. Grab the SVG file by signing up for our newsletter in the box below. The file will then be sent to the email you provide. From there, you can download it and upload it to the software for your machine. Remember that files are for personal use only. If you want to inquire about commercial use or have issues with your download, please email thecountrychiccottage@yahoo.com, and I will try to help.
You can see our post here on how to upload this SVG to your Cricut machine.
How To Make A Free Gnome SVG Banner
Use our free gnome SVG file to make a paper gnome banner, perfect for Christmas! Use your Xyron to adhere all of the pieces cut on your Cricut machine, and then turn those pieces into a Christmas banner that will look great in your home!
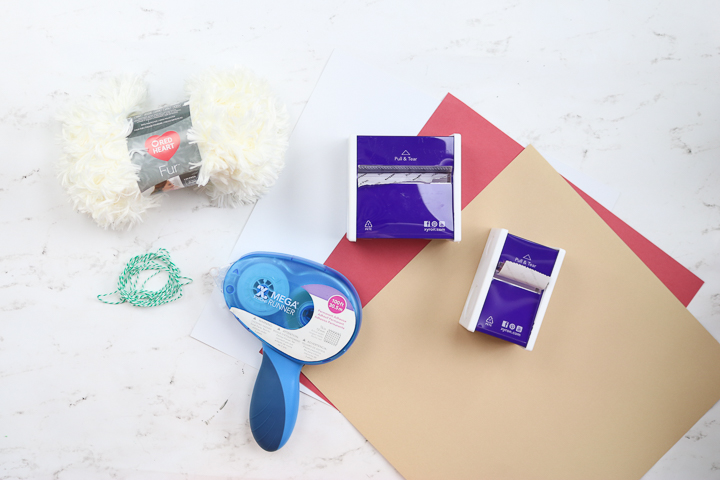
Supplies Needed To Make Free Gnome SVG Banner
- Xyron® Mega Runner
- Cardstock in red, white, and tan
- Xyron® 3″ Disposable Sticker Maker or Xyron® 1.5″ Sticker Maker (you can use either one pictured depending on the size you cut your gnomes)
- White fur yarn
- Cricut machine (the Maker, Explore, or Joy models will work here)
- Baker’s twine
- Scissors
Step 1: Download & Cut Free Gnome SVG
First, upload the gnome SVG to Cricut Design Space. Size the gnomes to work for the type of banner you want to create. Then, cut the pieces from the cardstock. The main body and hat should be red. The beard and hat topper should be white. And, finally, the nose should be tan.
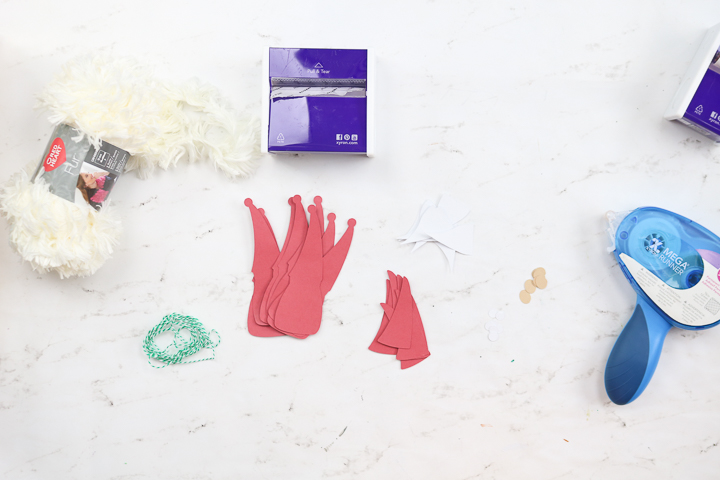
Step 2: Place Gnome Body Piece Under Baker’s Twine
Add the main body piece under your baker’s twine to assemble each gnome. The twine should run along the top portion of the hat.
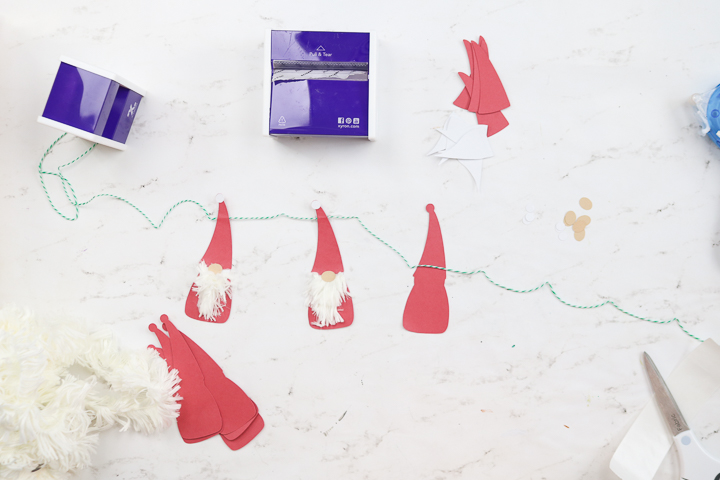
Step 3: Run Gnome Pieces Through Xyron Machine
Run the hat, beard, hat topper, and nose pieces through the Xyron Sticker Maker. Put the pieces through one side.
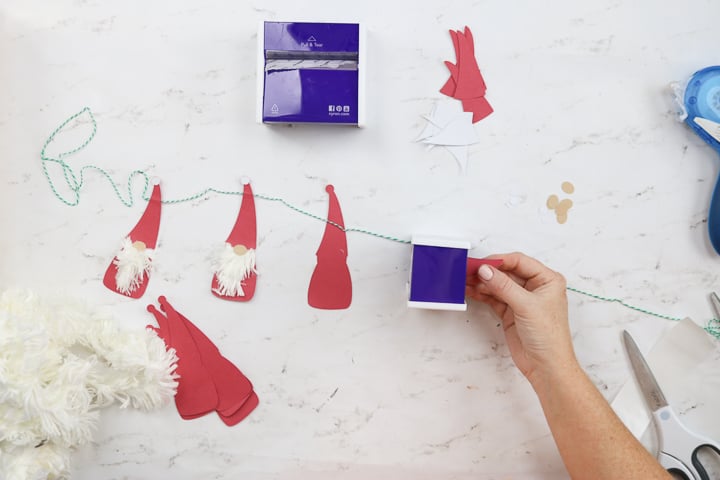
Then, pull the strip through from the opposite side.
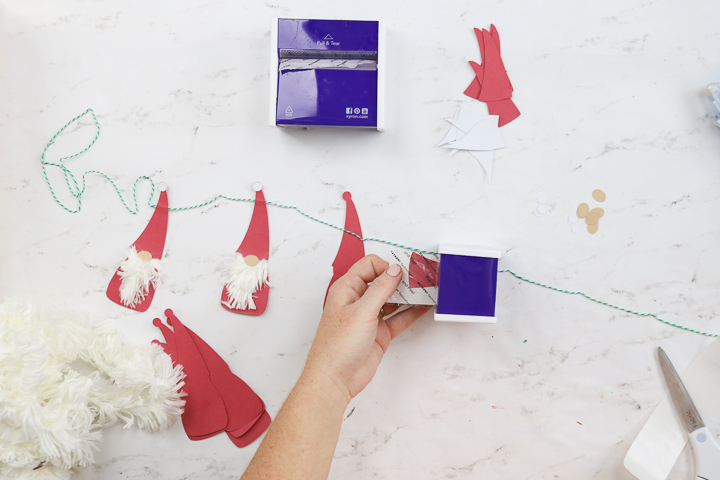
You can add all of the pieces in a line.
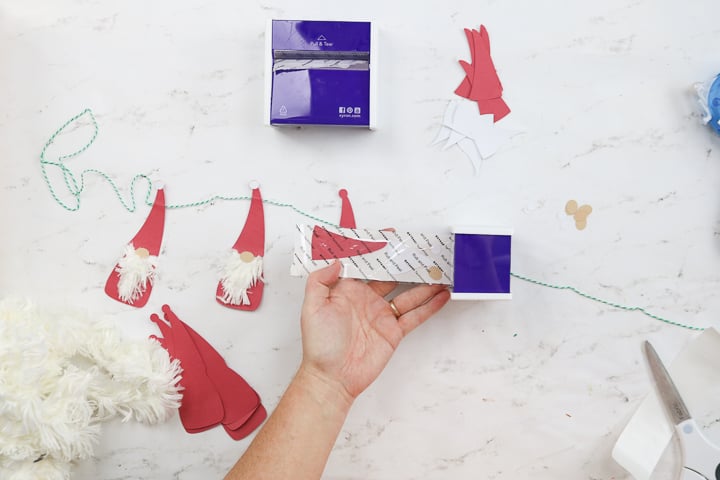
Use the serrated edge on the back of the unit to remove the strip.
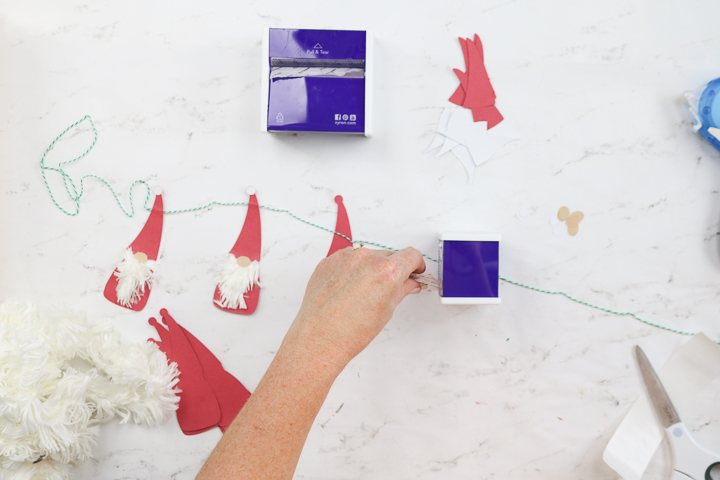
Then, rub the top of the strip really well.
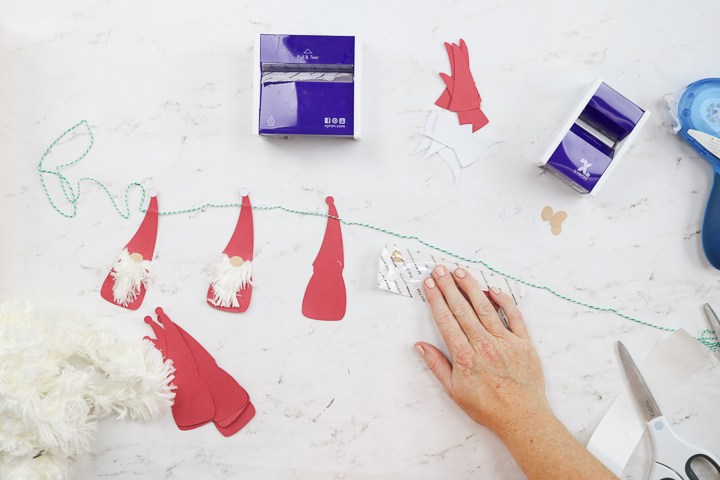
Step 4: Assemble Gnome Hat & Paper Beard
You can then peel back the liner. These pieces now have adhesive covering the entire back of each one. If you have never used the Xyron Sticker Maker, you will love it! It is so easy to add adhesive to small pieces like these.
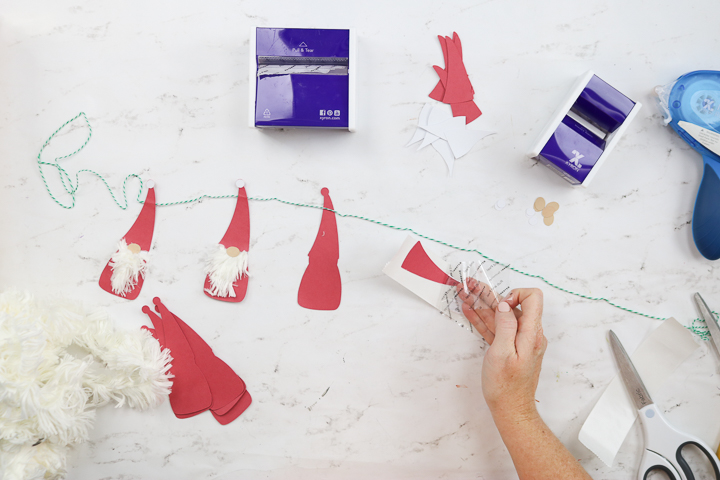
Remove the beard from the backing paper first and stick it on your gnome. The pieces are just like stickers now, so just peel and stick. The beard should be slightly above the hat line.
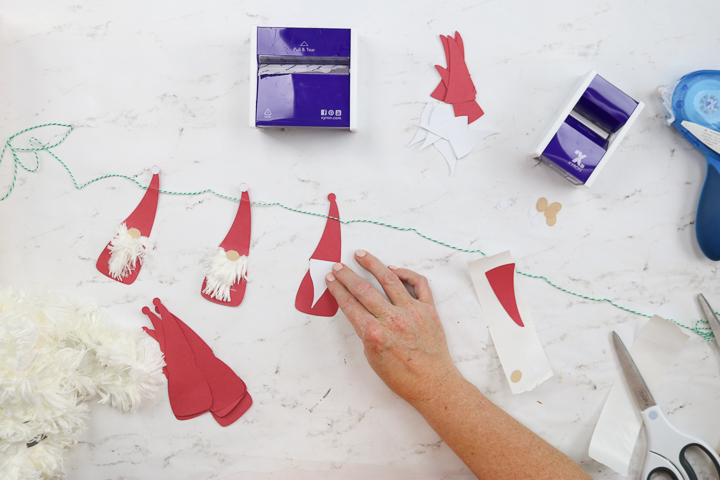
Then, put the hat into place, sandwiching the twine between the two pieces. The hat will cover the beard piece just a little bit.
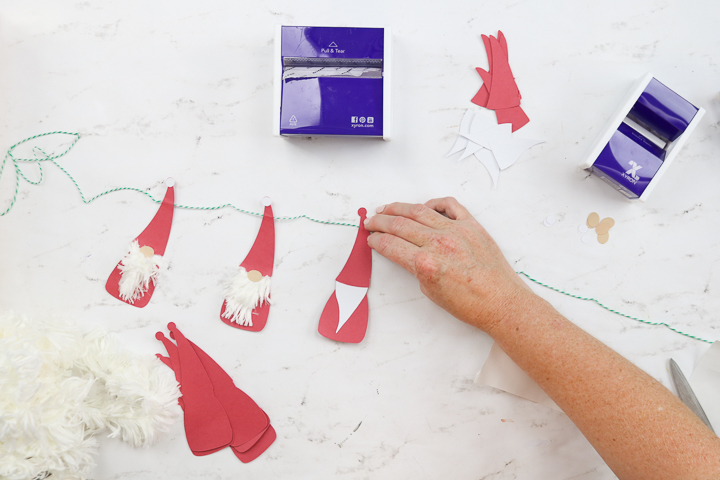
Step 5: Add Ball To Hat
Then, add the ball to the top of the hat.
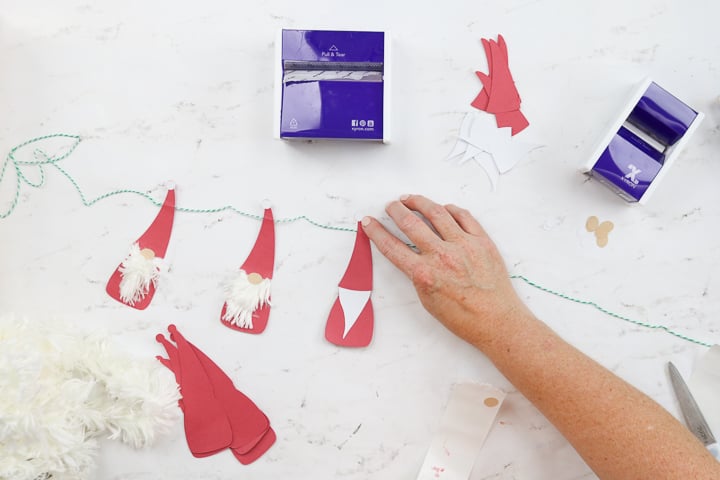
Step 6: Add Fur Yarn
We need to do a few things before we add the nose. Use the Xyron Mega Runner to add adhesive to the white paper beard.
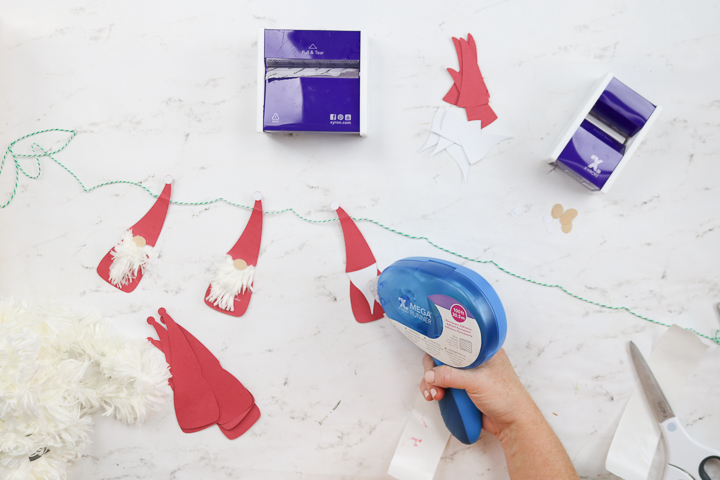
Then, add two rows of fur yarn, starting with the bottom row. Use scissors to cut it to length and press the pieces well into the adhesive.
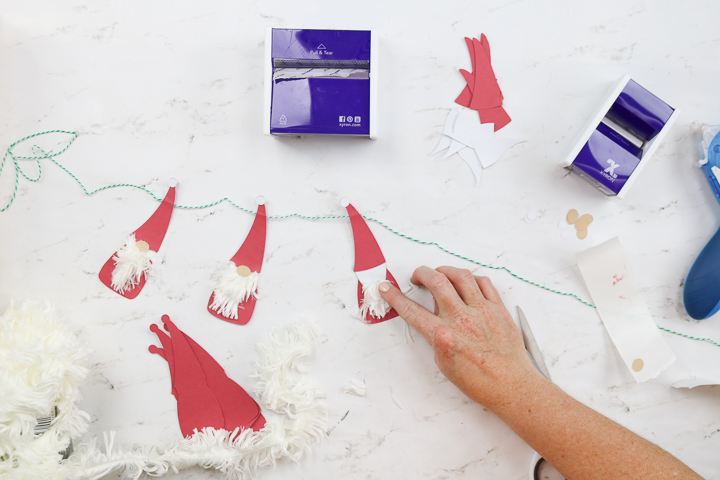
Trim away any excess yarn with scissors. Make the beard roughly the same shape as the paper cut out.
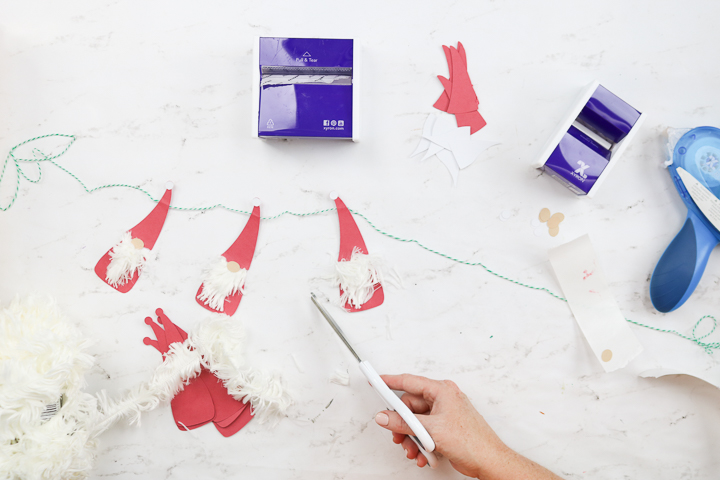
Step 7: Add Nose
Then, add the paper nose to finish the gnome. Be sure it is half on the hat and half on the fur yarn of the beard.
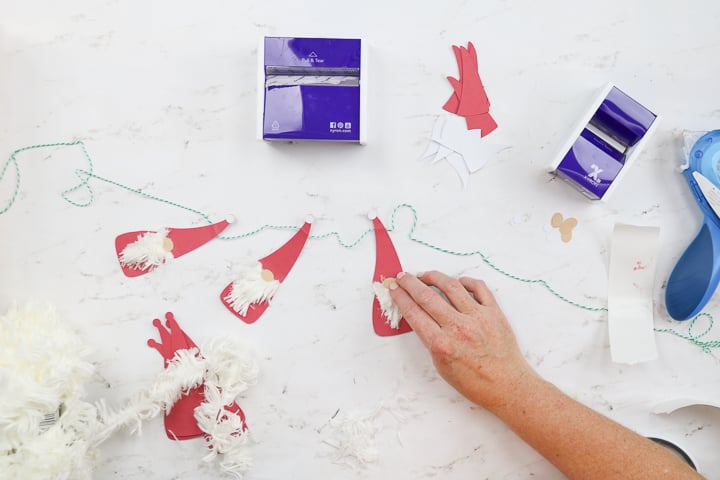
Step 8: Keep Repeating Steps 2-7 For The Rest Of The Banner
Continue adding as many or as few gnomes as you like to complete your banner. Then, just hang it up around your home this holiday season.
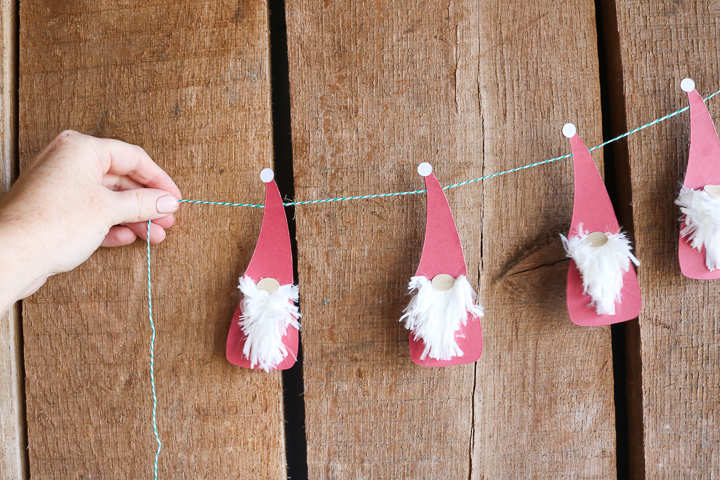
You are going to love these happy gnomes and how great they look in your home!
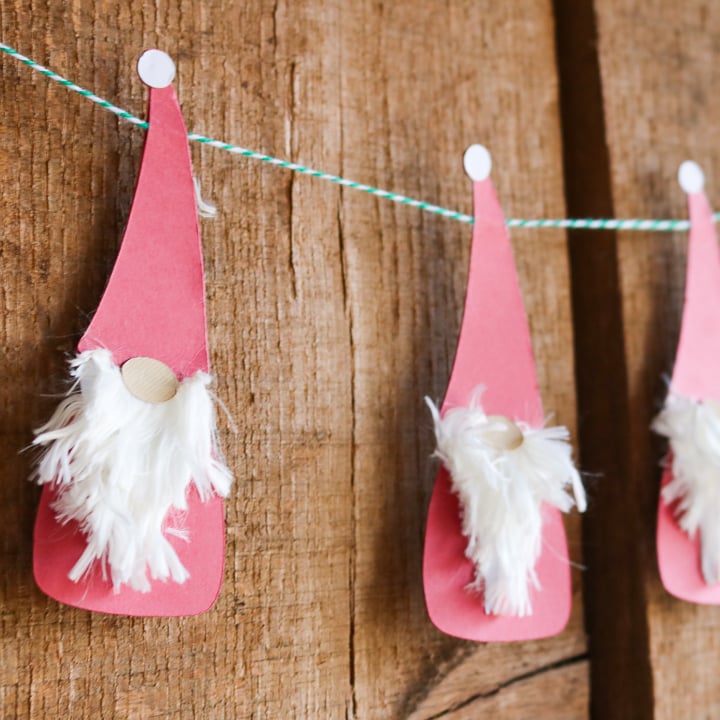
You really can’t go wrong with the free gnome SVG. Whether you make a banner or another project, it is bound to be oh-so cute!
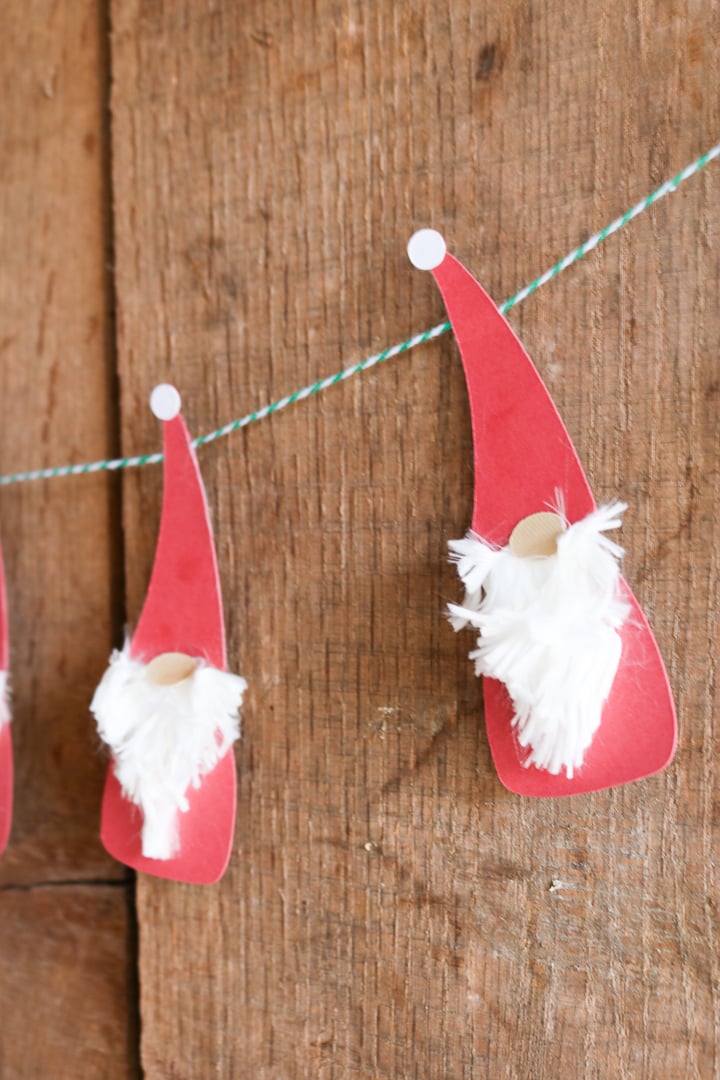
So, grab your Xyron and whip up one of these projects in no time at all! You will love these little guys on your mantel.

FAQs About Free Gnome SVG
Here are a few common questions that I often see readers asking about making this gnome banner. If you have a question, please check if I’ve already addressed it below. If you don’t see your question listed, please leave it in the comments!
What Cricut Machine Can I Use For This Project?
All of them! The Cricut Maker, Cricut Explore series, Cricut Joy, Cricut Joy Xtra, and Cricut Venture can all cut SVG files!
The only thing to remember is that each Cricut machine is different in terms of project size capabilities and the materials it can cut. So, depending on what project you have in mind, you might need to resize the SVG file or cut it out using different materials.
Do You Have More Resources On How To Use An SVG?
Yes, I do! If you are brand new to SVG files and want to learn about them and how to use them in your projects, check out my SVG resources below!
- What is an SVG File?
- How to Use an SVG File on Your Cricut
- How to View SVG Files on a PC
- How to Use Zip Files on Your Cricut
- The Basics of Image and SVG Licensing and Your Cricut
Where Can I Find Xyron Products?
You can find Xyron products online, at the craft store, and sometimes in big box stores (like Walmart).
Can I Make This Gnome Banner Using Other Xyron Products?
Absolutely! If you don’t have the Xyron 1.5” Sticker Maker, 3” Sticker Maker, or Tape Runner, that is ok! You can still make this project with Xyron’s Creative Station series of machines.
Need Help Organizing Your SVG Files?
Are you overwhelmed with the number of files on your computer? SVG (or digital cut) files can take up a ton of space, and it can be so hard to find exactly what you are looking for. That is where Cut File Clean Up comes in! The Cut File Clean-Up system ends the frustration of organizing your cut files so that you can find what you need and get to the best part of crafting—actually making your project.
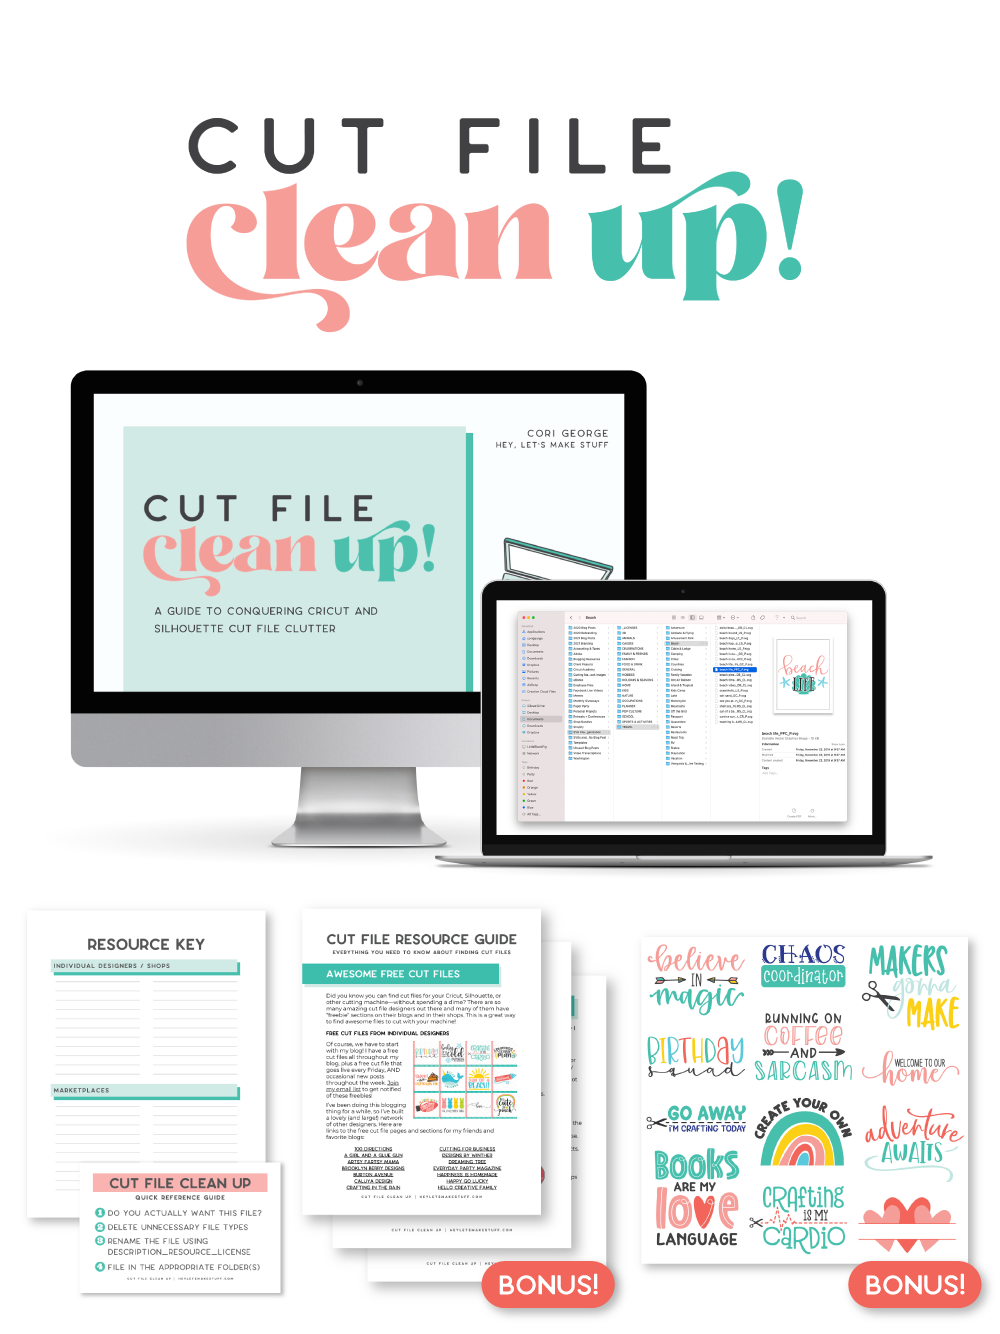
The best part is that you can get it for a deal right now with great bonuses. And yes, those bonuses include even more digital cut files for your crafting. You can’t get enough of those, right? Grab it now.
4 More Gnome Crafts
Love learning how to make this banner with our free gnome SVG, and want more gnome crafts? Then check out the projects below!
- Christmas Gnome: Make Your Own Scandinavian Gnome
- Easy DIY Gnome Ornaments
- Wooden Gnome Earrings
- Santa and Christmas Gnomes Coloring Page
