Are you ready to create professional-looking full wrap sublimation mugs? Today I’m going to teach you how to sublimate all the way around your mug including under the mug handle. As an added bonus, I will show you how you can make these full-wrap sublimation mugs using your Cricut machine. With the new larger size Print Then Cut options in Design Space, we can make the whole project in Design Space.
If you’re brand new to sublimation, my Sublimation Beginner’s Guide is a post you should definitely read first.
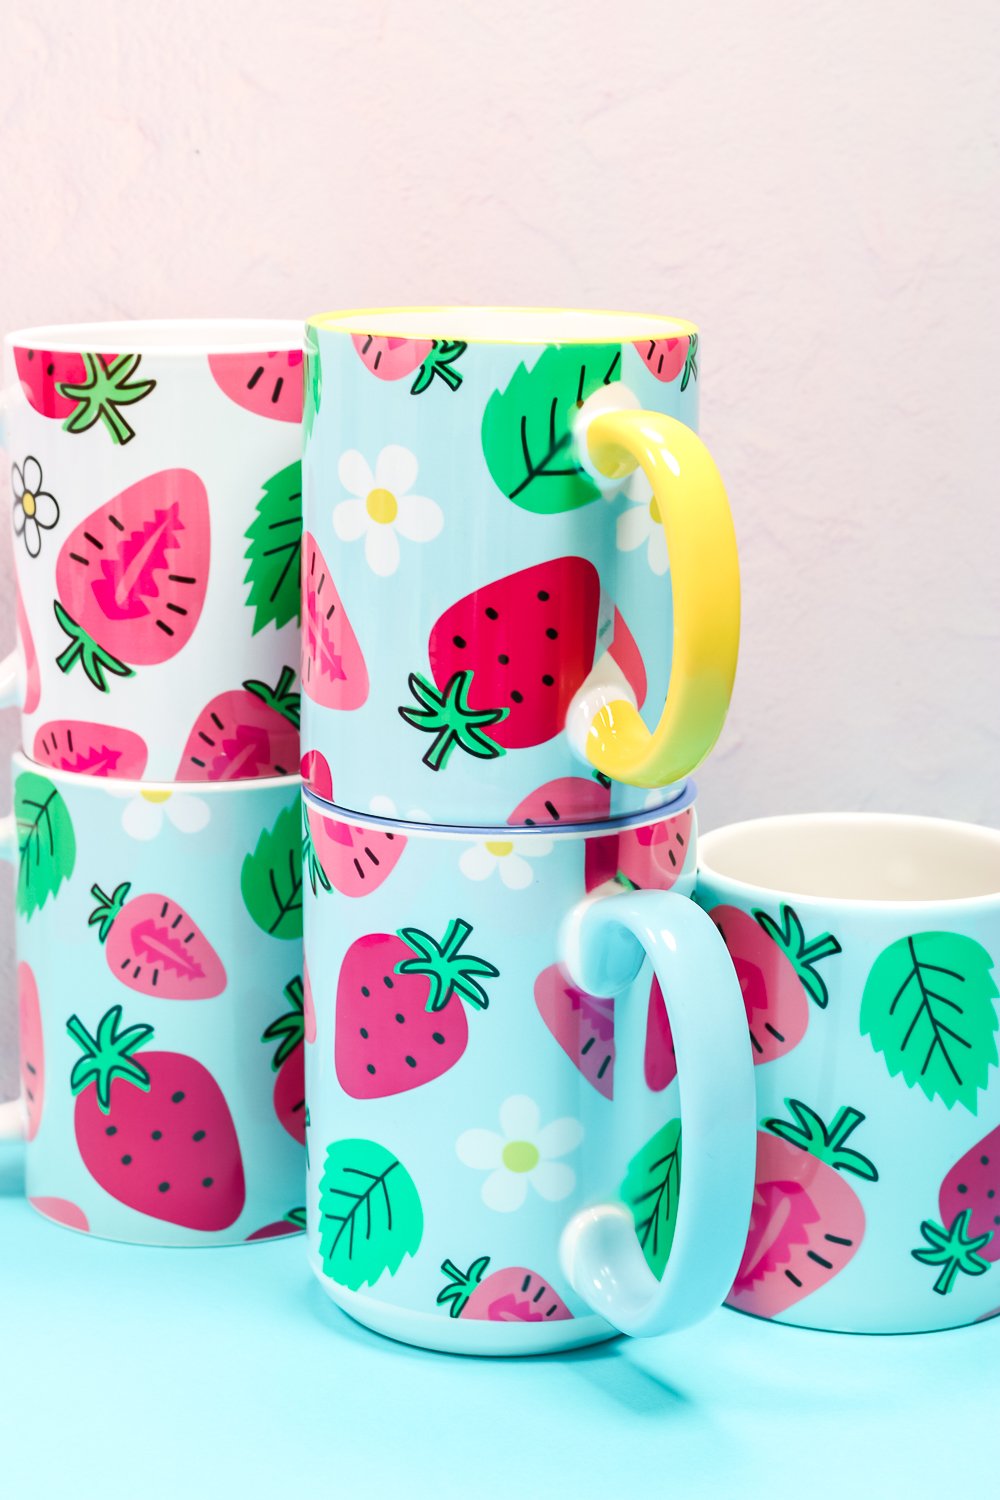
Full Wrap Sublimation Mugs
Typically when making sublimation mugs people use a mug press or tumbler press. These are great at adding pressure to the sublimation to ensure gorgeous finished projects.
The one drawback is that you have to leave about half an inch on both sides of the mug handle because that area doesn’t get any heat. Since the handle sticks out of the press when it closes, that area can’t be sublimated.
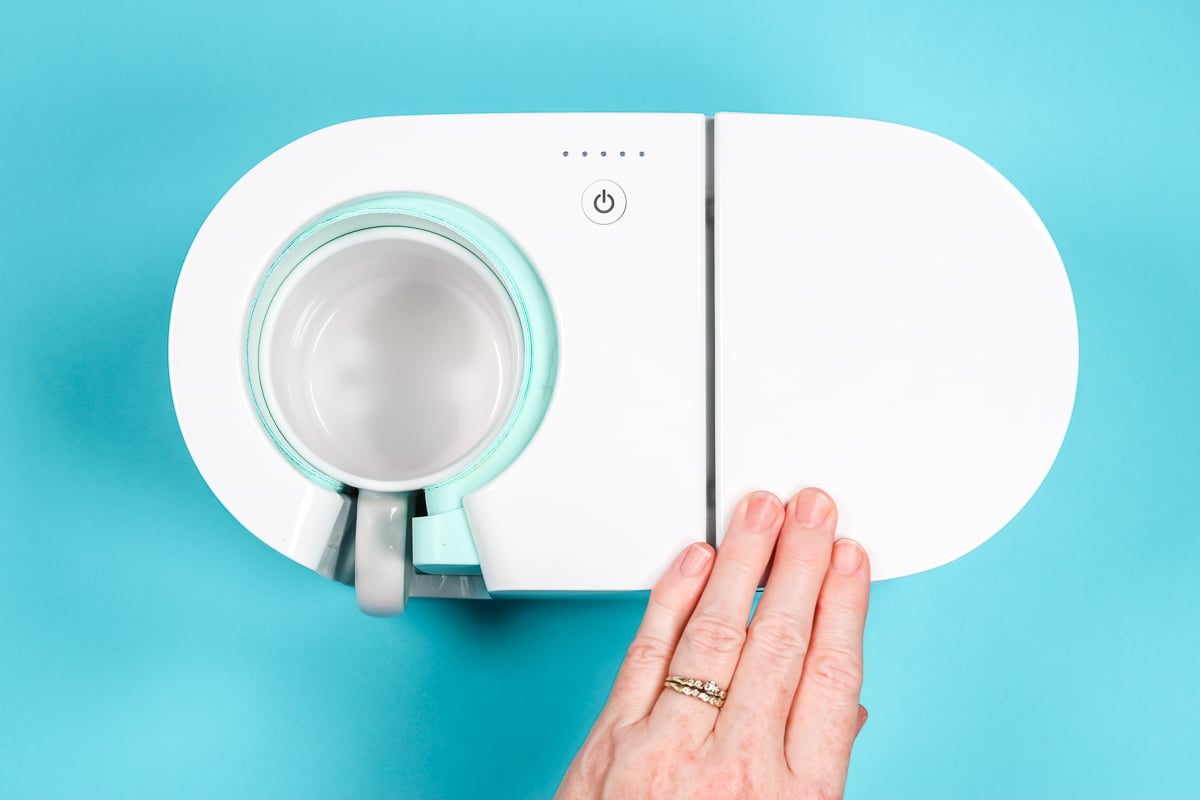
If you’re not a fan of that blank space, you’re going to love my tips for a full wrap sublimation mug! Placing your mug inside shrink wrap and sublimating it inside an oven eliminates the need for that blank space around the handle.
You can watch me create these full wrap sublimation mugs and learn all my tips by clicking play on the video below.
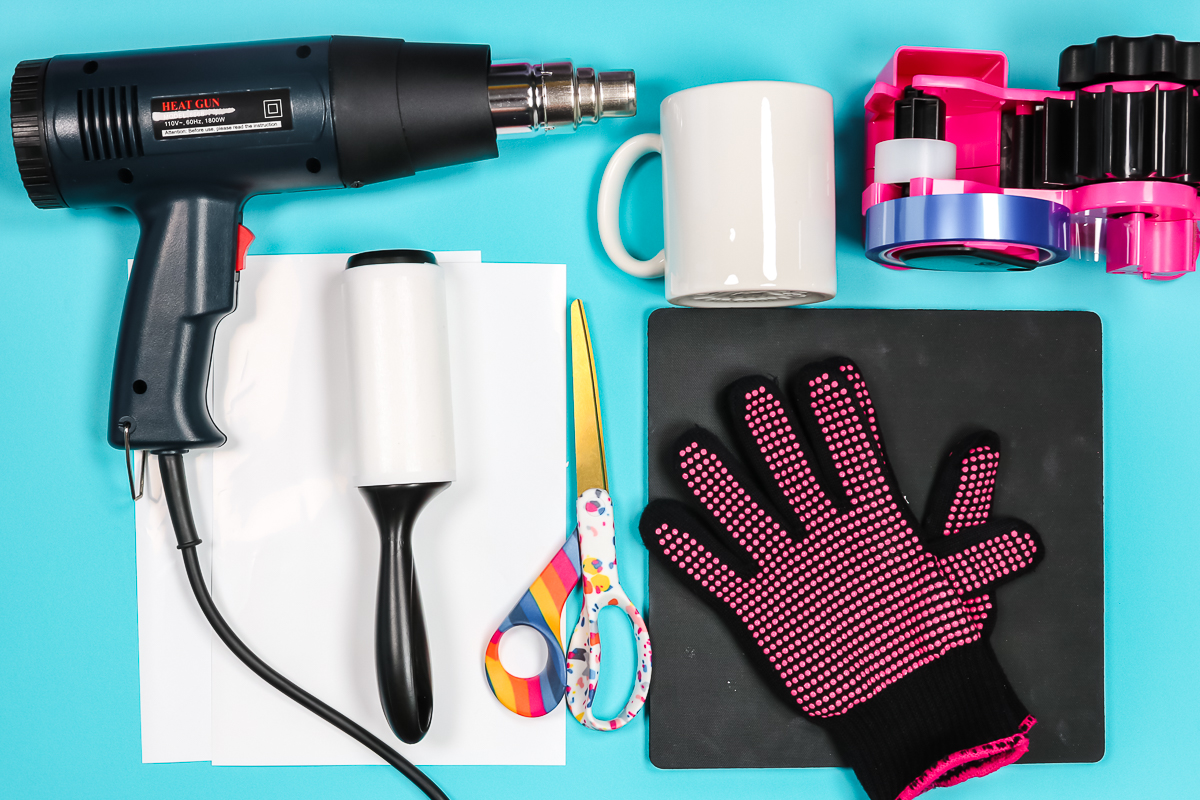
Sublimation Mug Supplies
As you can see, I’ve made quite a few of these full wrap mugs. I’ve tried a few different versions, some worked better than others so I’m sharing the best method with you today.
Supplies Needed:
- Sublimation Printer
- Sublimation Ink
- Sublimation Paper
- Sublimation Oven
- Cricut Machine (I am going to show you how to use your Cricut machine to cut your sublimation wrap. If you don’t have a Cricut machine you can make this project with a Sublimation printer and a pair of scissors.)
- Sublimation Mugs
- LightGrip Mat
- Lint Roller
- Heat Resistant Tape
- Heat Resistant Gloves
- Heat Resistant Mat
- Tape Dispenser
- Heat Gun
- Shrink Wrap
Designs used:
- Free Full Wrap Templates NOTE: The free templates include sizes for the Cricut brand 12oz and 15oz mugs. I will also show you how you can alter those if they don’t print your mug blank.
- Strawberry Pattern
How to Create Full Wrap Designs
To create a full wrap mug design we’re going to head to Cricut Design Space and upload our template and the pattern we want to print. I am using a cute strawberry pattern for my mugs.
Upload the templates provided then add them to the canvas. We want to add them as a cut file. Initially, they will be grouped together. In the layers panel, click ungroup and separate them.
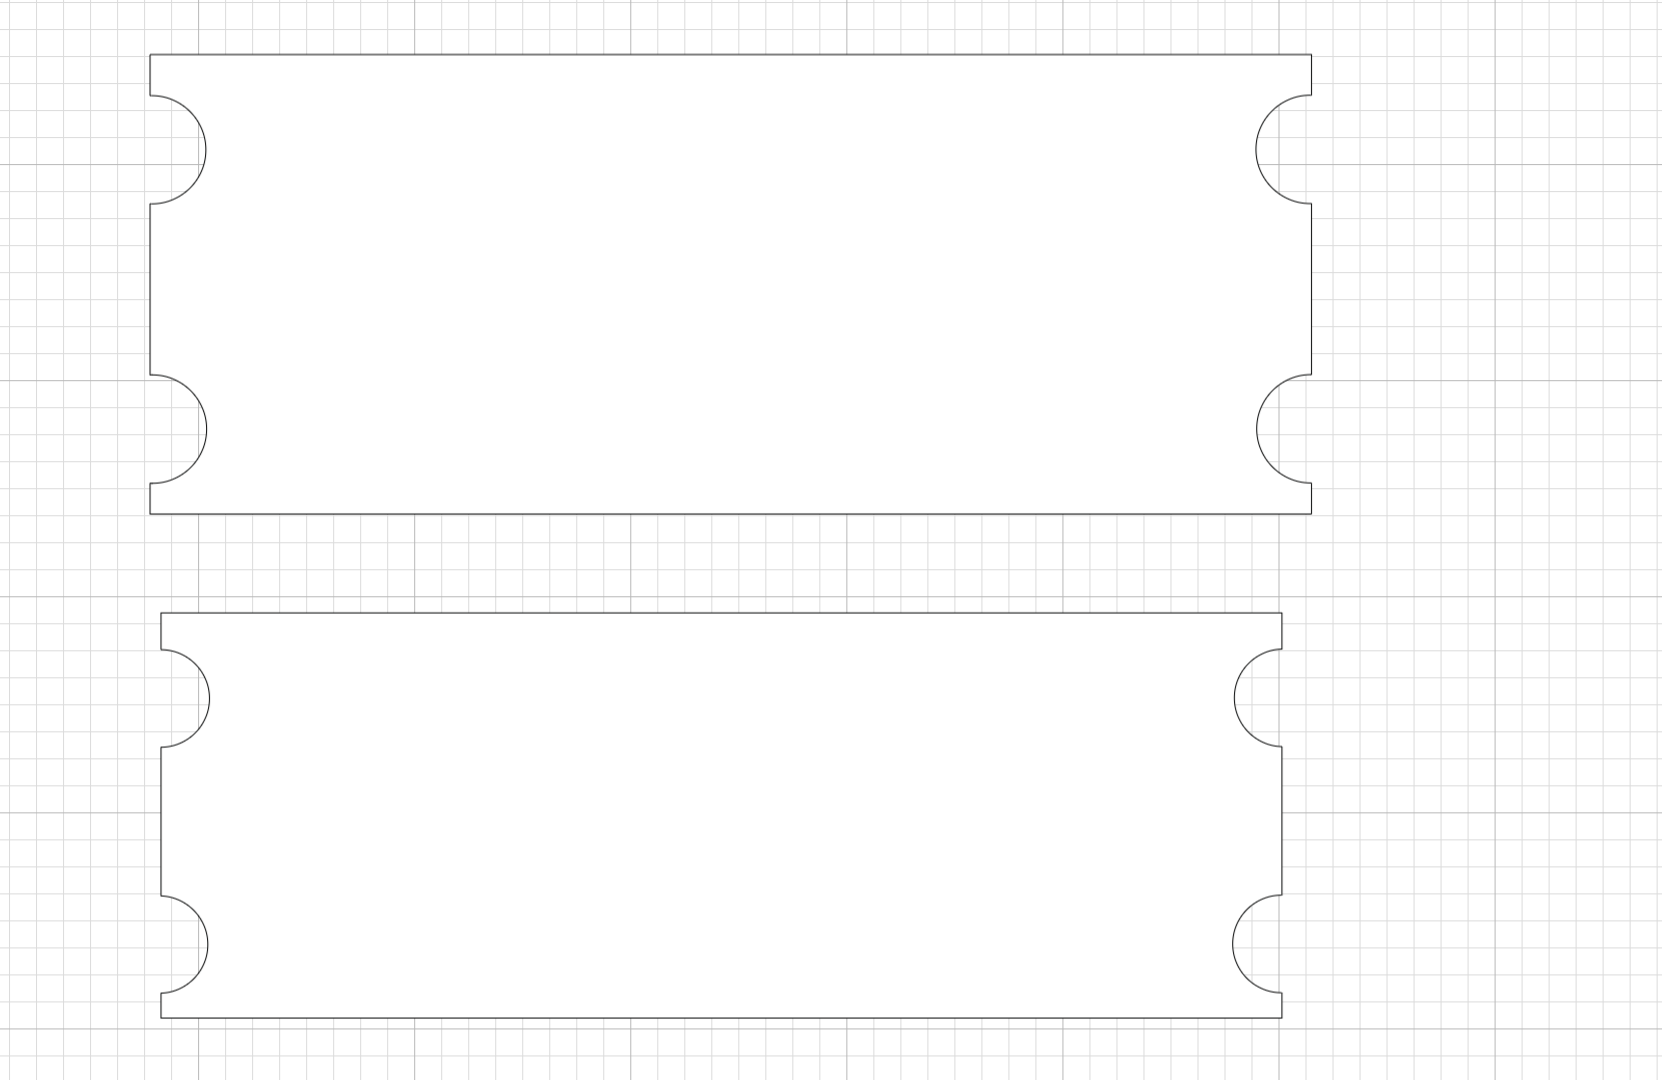
The file includes both the 12oz and 15oz sizes. If you’re not using both sizes of mugs, you can delete whichever one you’re not using. If you’re using a different brand sublimation mug, I will show you how to measure your mug so you can adjust the template at the bottom of this post.
Next, we’ll follow the same steps and upload our Print Then Cut pattern. Add the pattern to the canvas and resize it because it will come in very large.
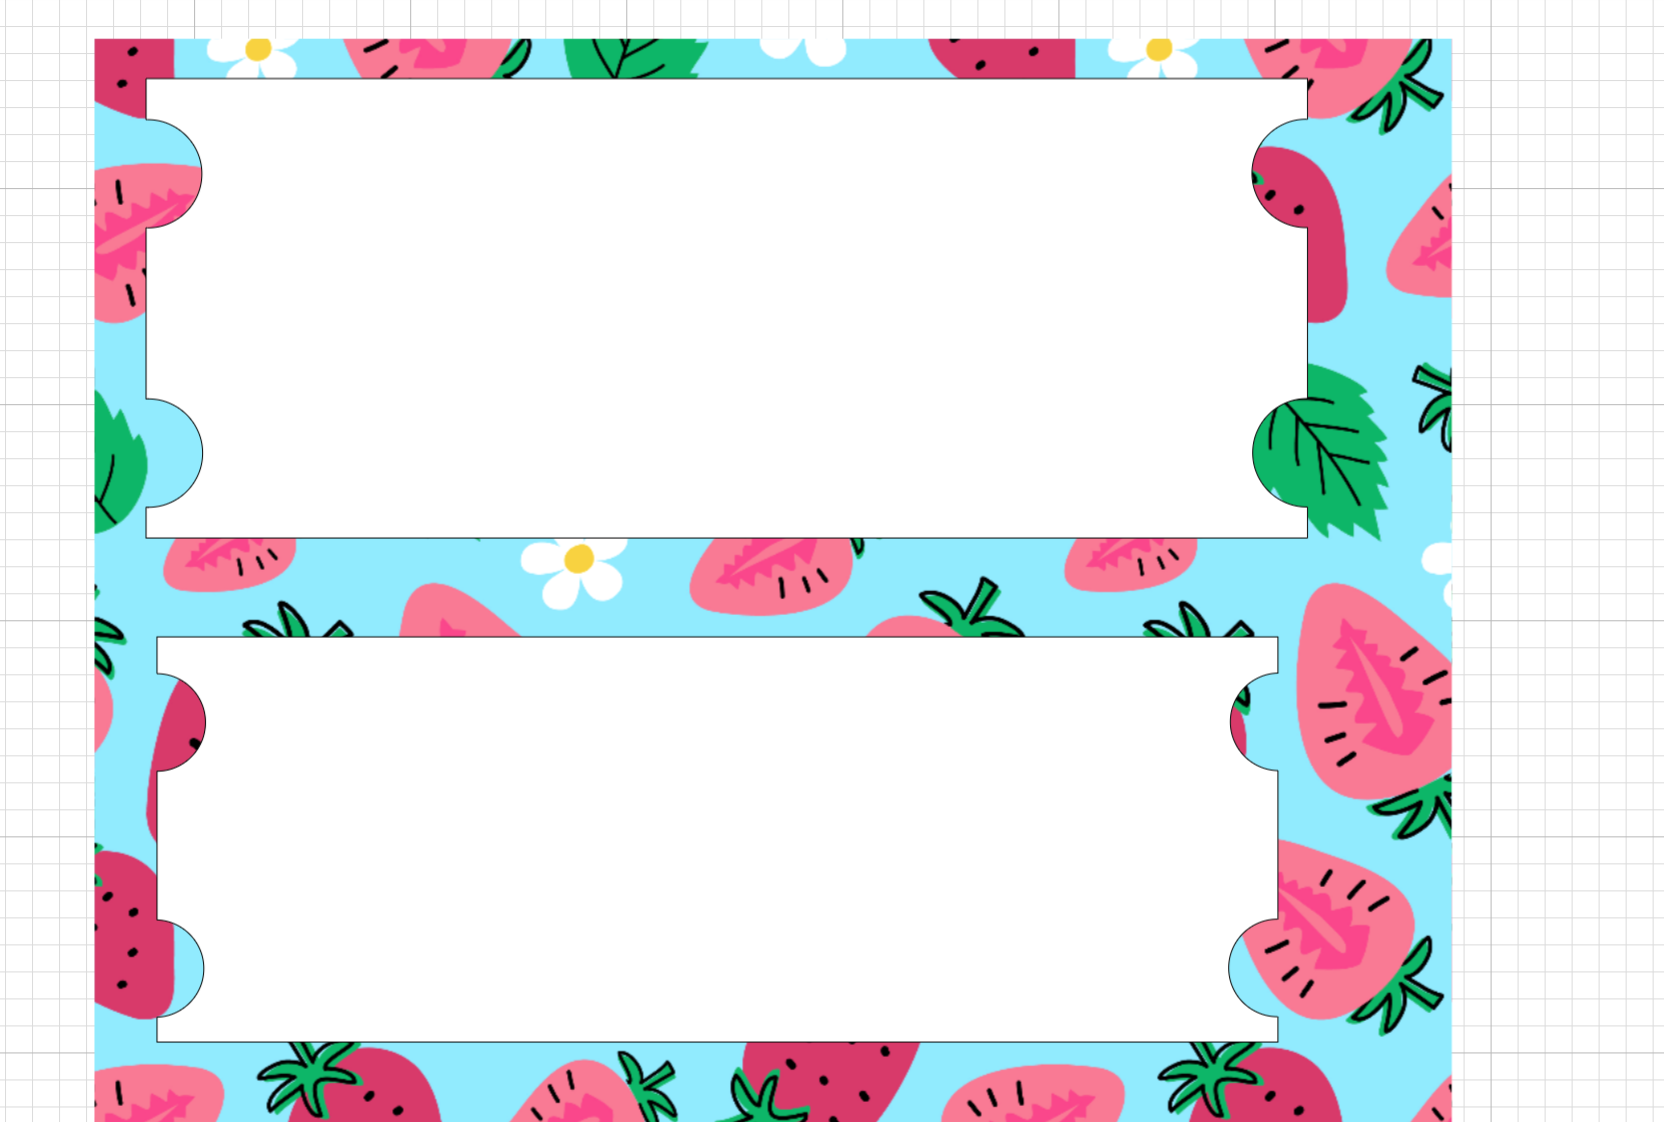
To make it easy to select the portion of the pattern you want to print, select the template layer and change the operation type to draw.
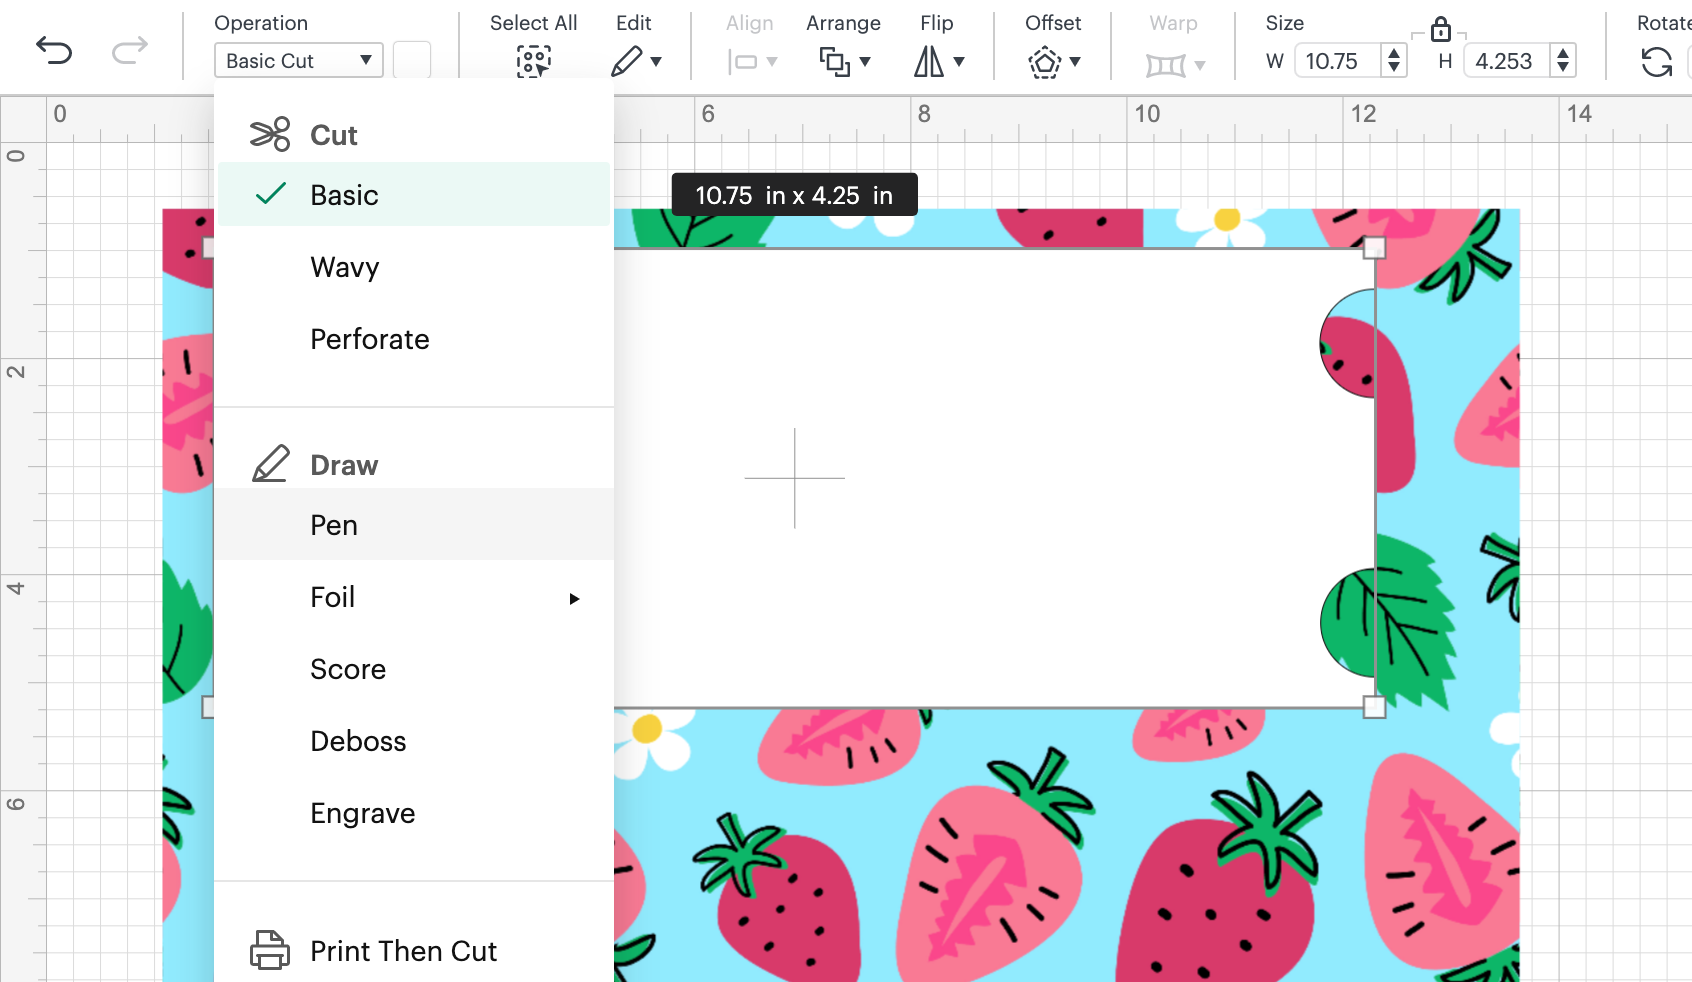
Now we can move that layer to the front and move it over the pattern and choose the exact area we want to print. Select both layers and then click slice.
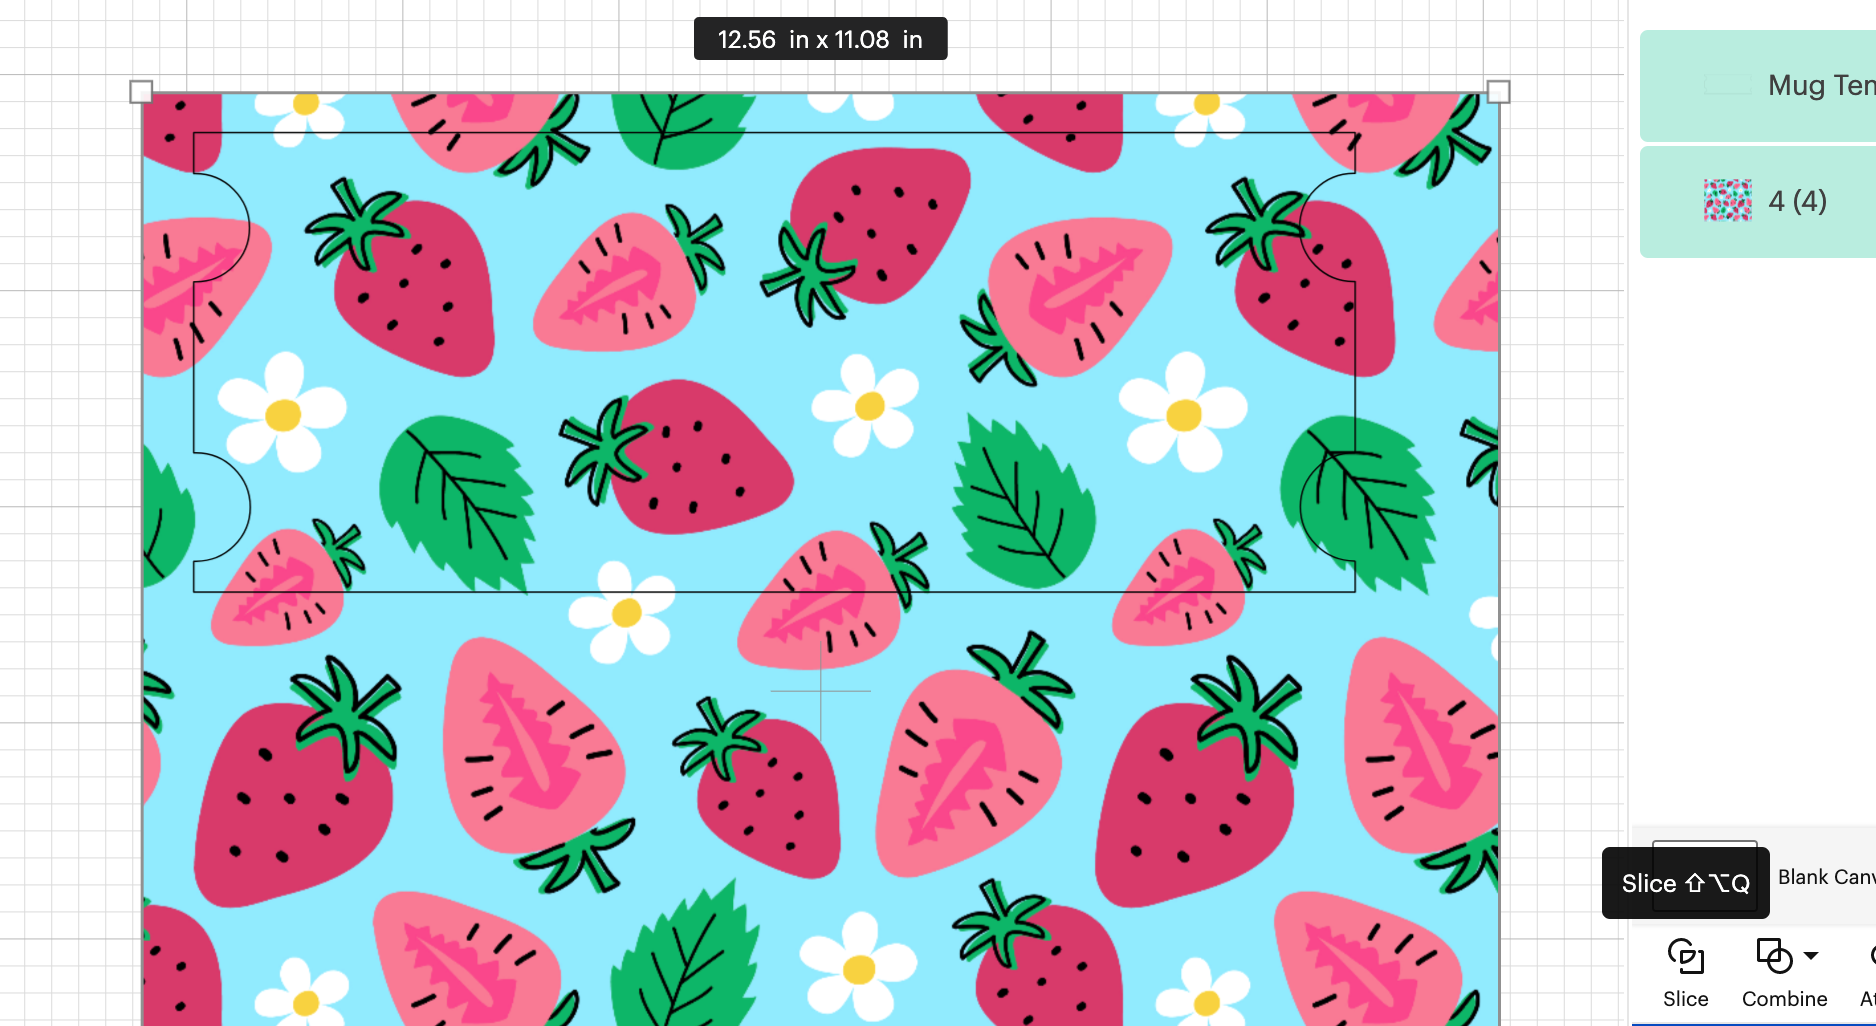
In the layers panel, we should now see the different layers. Delete the outside area we don’t want and the template piece. You should be left with your template shape in the pattern and that layer should be a Print Then Cut layer. Repeat these steps for each different mug you’re making.
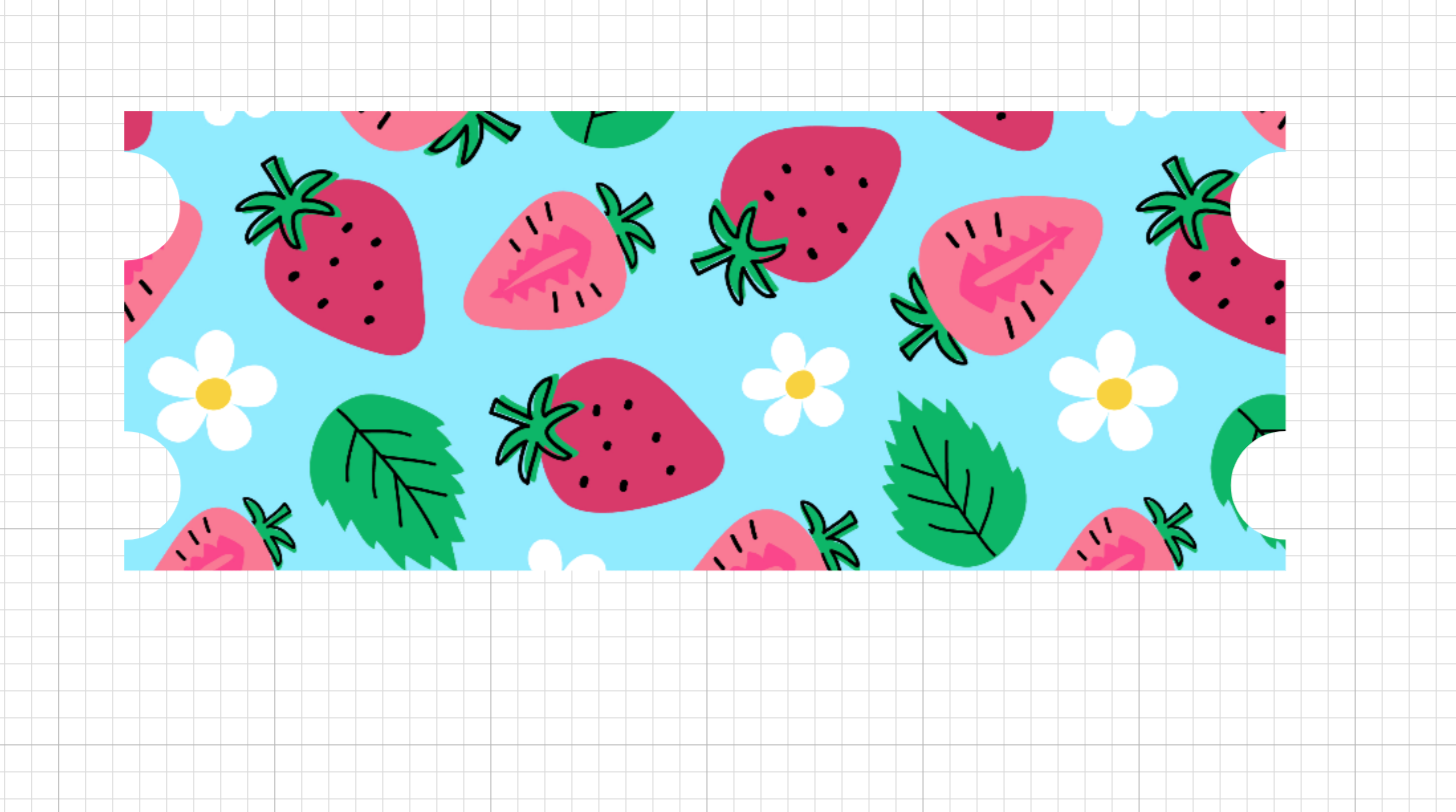
Using a Cricut to Print Then Cut Sublimation Mugs
With Cricut’s new larger Print Then Cut sizes, we can print these right from Design Space.
Click Settings and then choose Load Type. From here we can choose our paper size. These are too long to print on 8.5″ x 11″ paper. Luckily, most sublimation printers will print on 8.5″ x 14″ paper so we can choose that paper size and click done.
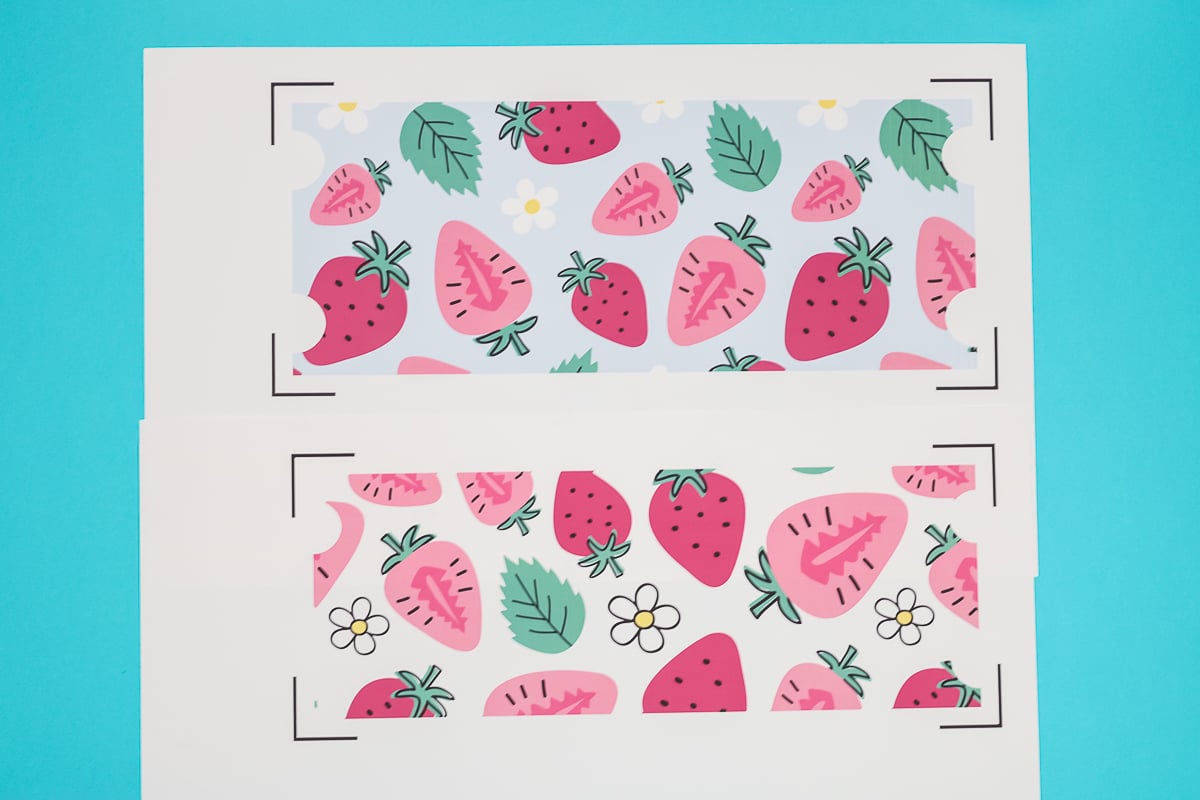
Check your layers panel and make sure there are no size errors. Click Make It and you should see your template on the next screen ready to print with the registration marks in the corners.
Using Cricut to Print Then Cut does limit you to one wrap per sheet of paper. It’s possible that using another program you could get more than one wrap on a sheet of paper. I found using the Cricut to cut out the wraps makes it so easy it’s worth the wasted paper to me.
Preparing Sublimation Wraps to Print
If your pattern is directional or has any text or numbers, don’t forget to mirror your image. This strawberry print doesn’t have a direction so I don’t need to worry about that step.
Click Continue, choose Send to Printer and then select the correct printer. I am using my Sawgrass printer so I am going to choose to use the Print Manager.
I am going to add bleed and click Print. Cricut will open my System Dialogue Box automatically.
From here I can choose that I am going to put this print on a ceramic mug. If your design needs to be mirrored, make sure you only mirror it in one place.
Be sure to click preserve Layout from Designer and make sure it’s using the right size paper that you chose in Design Space. In this case, it’s 8.5″ x 14″. Then go ahead and print.
Cutting Full Wrap Sublimation Prints with a Cricut Machine
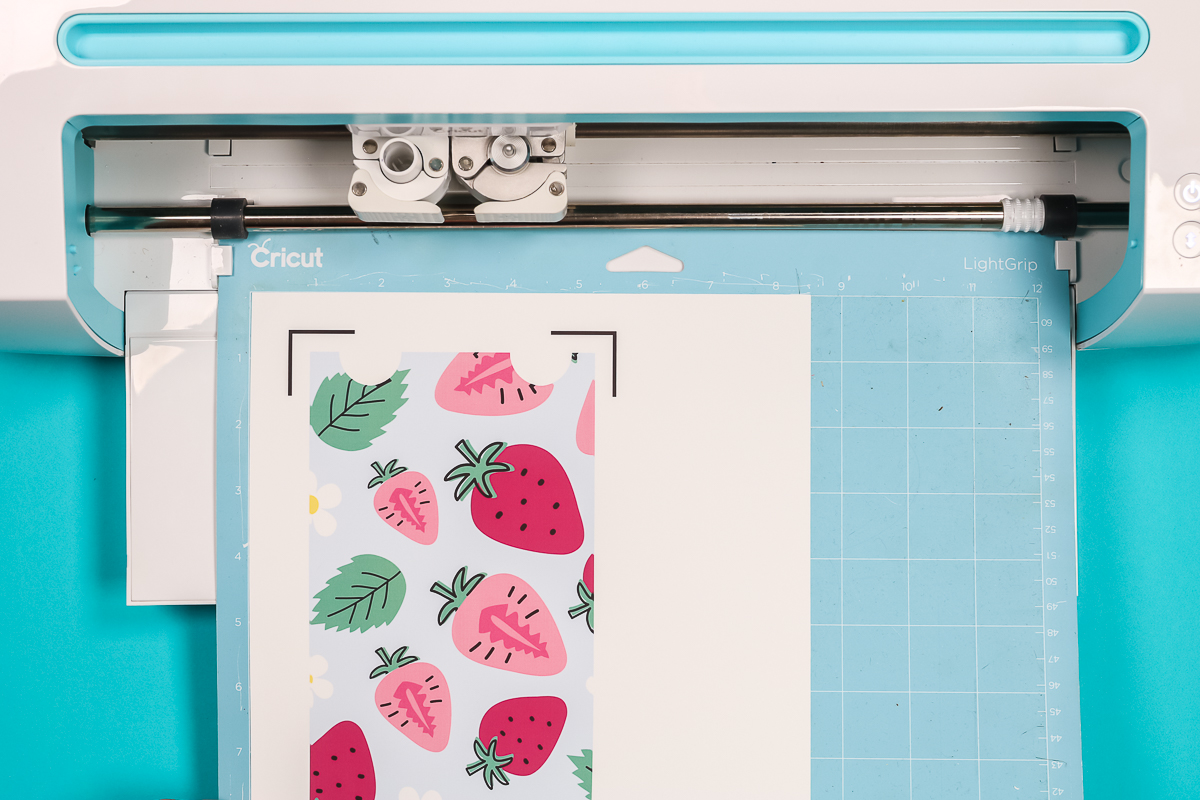
Because I find it easier to do this with a Cricut machine I am going to cut these out with mine. Place the sublimation print on a LightGrip mat making sure the orientation is the same as it is on the Design Space screen. You will need the 12″ x 24″ cutting mat.
I am using the light card stock setting to cut my sublimation paper. Load the mat and press cut.
First, your Cricut machine will read the registration marks then it will cut. Once it’s done cutting, unload the mat and remove the sublimation wrap.
How to Prepare Mugs for Sublimation
The preparation for mugs will be the same regardless of the size of the mug you’re using. To begin, make sure the mugs are really clean. I like to use a lint roller and go over the whole mug really well.
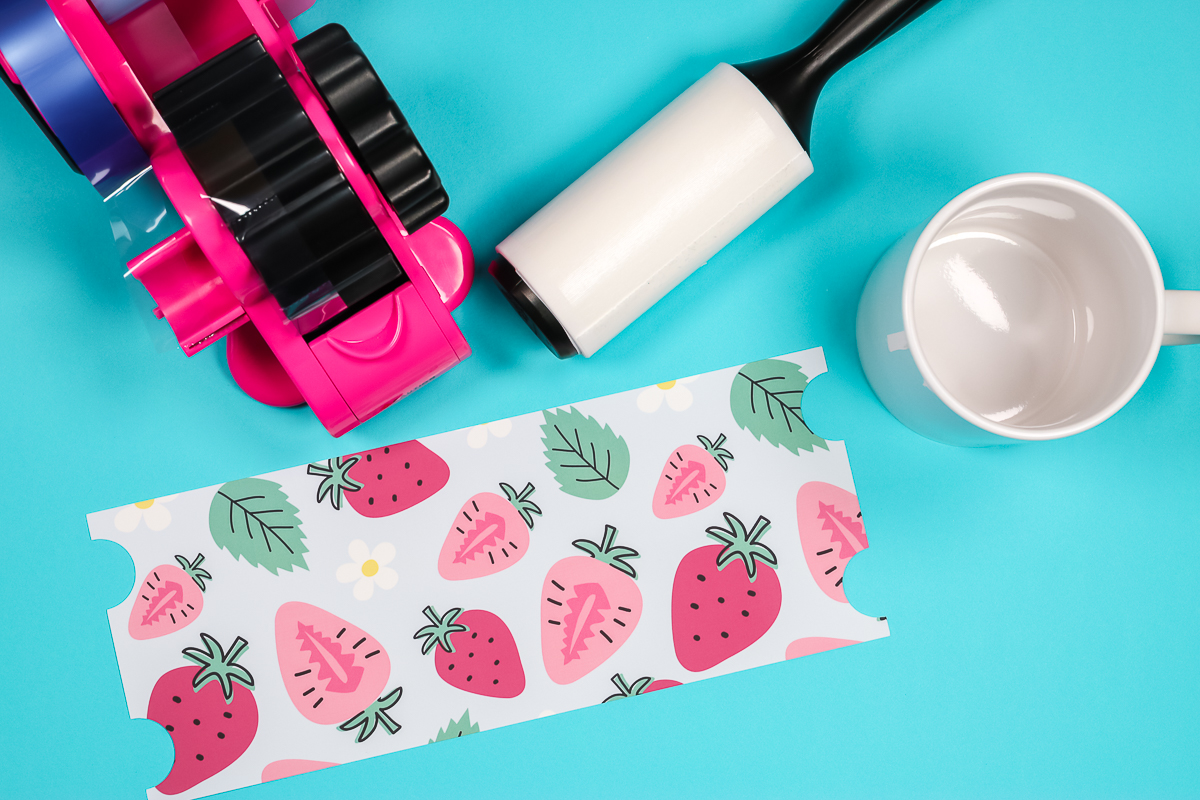
We want to make sure we’re getting under the handle. To do this, you’ll need to remove a sheet from the lint roller and clean it really well.
You can also use a lint-free cloth with something like rubbing alcohol. You do want to make sure the mug is completely dry before adding the sublimation print.
I cannot stress enough the importance of having a clean surface before sublimating.
How to Apply a Full Wrap Sublimation Print to Mugs
Now that we have a clean mug it’s time to add our sublimation print. If your design has a right side up, you’ll need to make sure you add your print the correct way.
You want to make sure your print is straight on the mug. A great way to do this is to set your mug on the table and use the table as a guide while you wrap it around.
Your print should at least touch under the handle. It may overlap slightly which is okay.
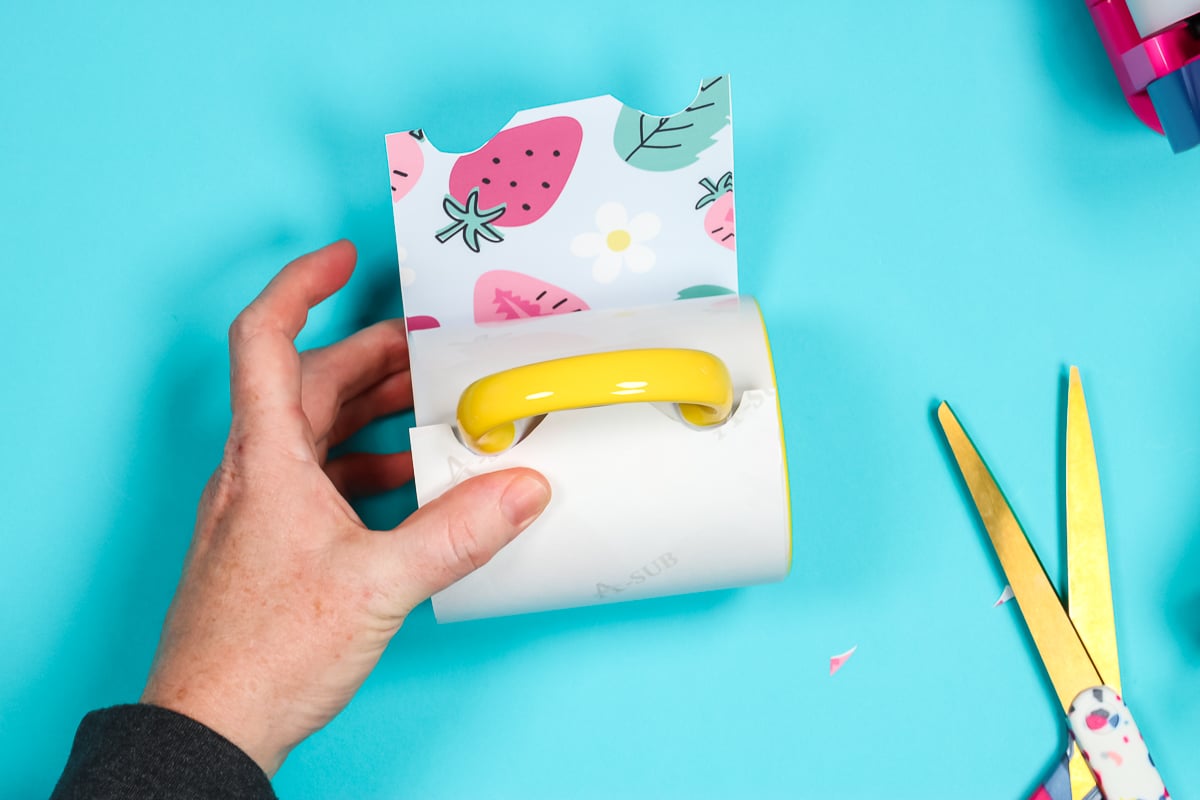
Use Heat-Resistant tape to hold the sublimation print in place. Take time to make sure everything is lined up, you’ll want the curves around the handle to be the same distance away on each side so it looks uniform after applying.
You want your print to be as tight as you can possibly get it. Even though we’re using shrink wrap having the print tight at this point will only help you.
Taping Sublimation Wrap Into Place
It is important to make sure you don’t get tape under your sublimation print. I like to add the tape to one side of the flap, pull it tight, and then tape it to the other side.
With the middle section of the sublimation wrap taped I like to add a piece of tape to each end to hold it all together nice and tight.
That should be all the tape required to hold the wrap in place because we’ll be using shrink wrap to hold everything into place.
Applying Shrink Wrap to Sublimation Mugs
Next, we need to add shrink wrap. Because we’re sublimating these in an oven to get under the handle we need to add pressure. These shrink wrap sleeves fit just about any mug, at least up to a 15oz mug.
You’ll want to slide the mug into the wrap. It’ll seem wide and long but that’s okay because we’re going to use heat to shrink it.
With the mug inside the sleeve, feel for the handle. I am going to cut a small slit in the sleeve to get the handle through. I like to start small and then make it bigger as needed until the handle just barely fits through.
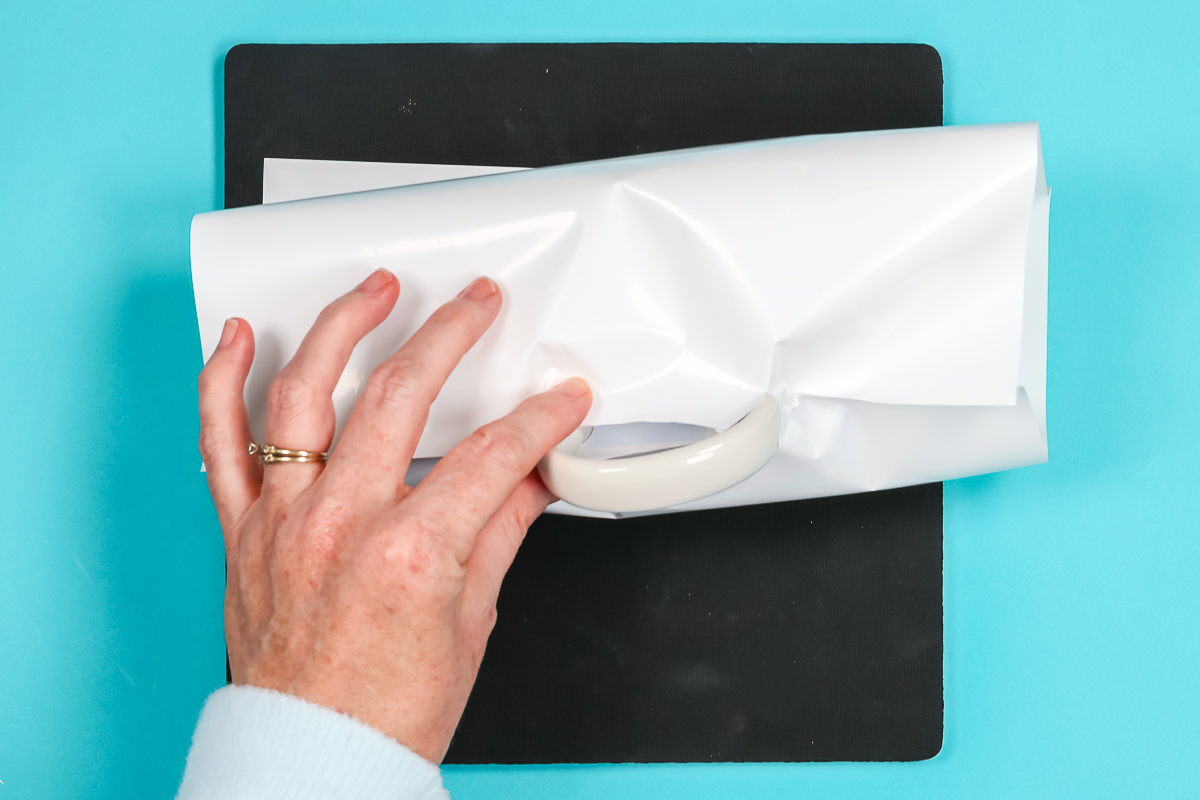
With the handle outside the sleeve, we need to fit the sleeve around the mug including under the handle so the sublimation print has pressure applied evenly everywhere.
The area under the handle will try to pull away when heat is applied and we want to prevent that as much as possible
I like to use heat-resistant tape to pull the sleeve closed under the handle and overlap it as much as possible. I apply a healthy amount of tape under the handle and then as close to the handle on both sides as I can get it to prevent the slit from growing when heat is applied.
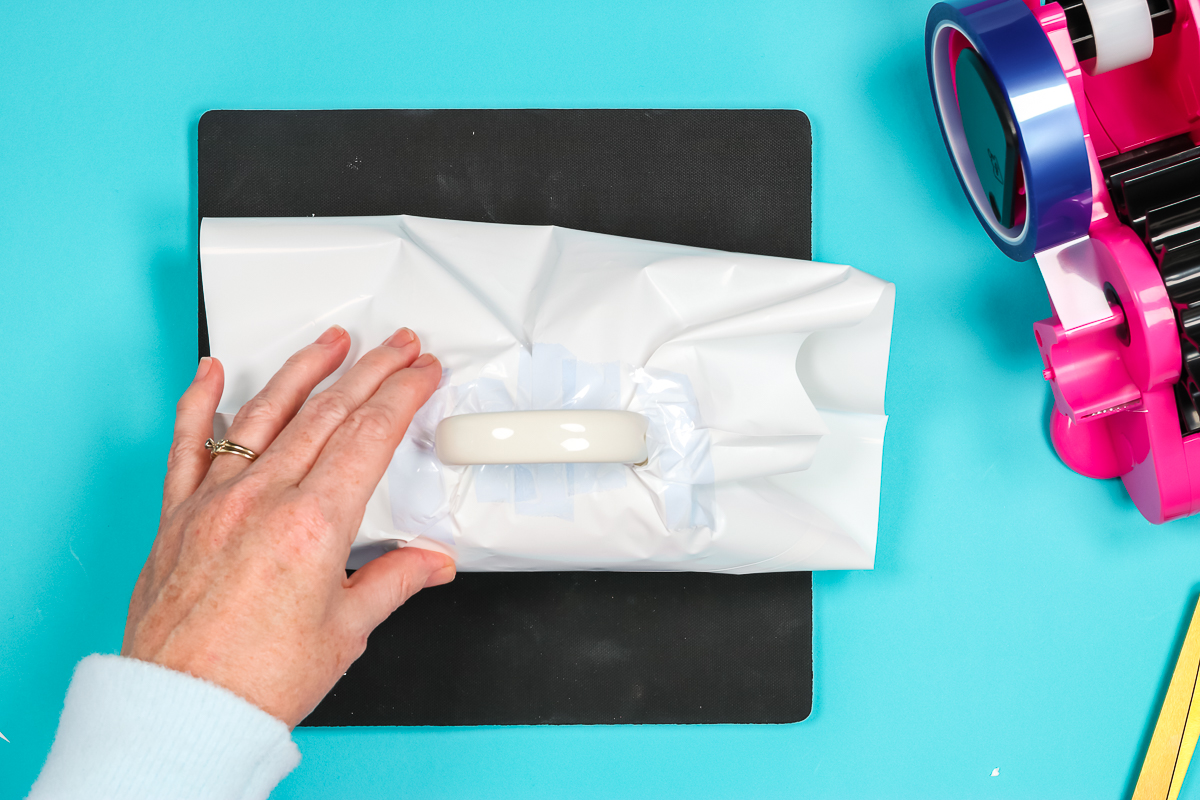
How to Apply Heat to Shrink Wrap
Before we place the mug into the oven for sublimation, we need to apply heat to the shrink-wrap sleeve to shrink it tight around the print.
With a heat-resistant glove on your hand, hold the handle of the mug and using a heat gun start on the side of the mug furthest away from the handle.
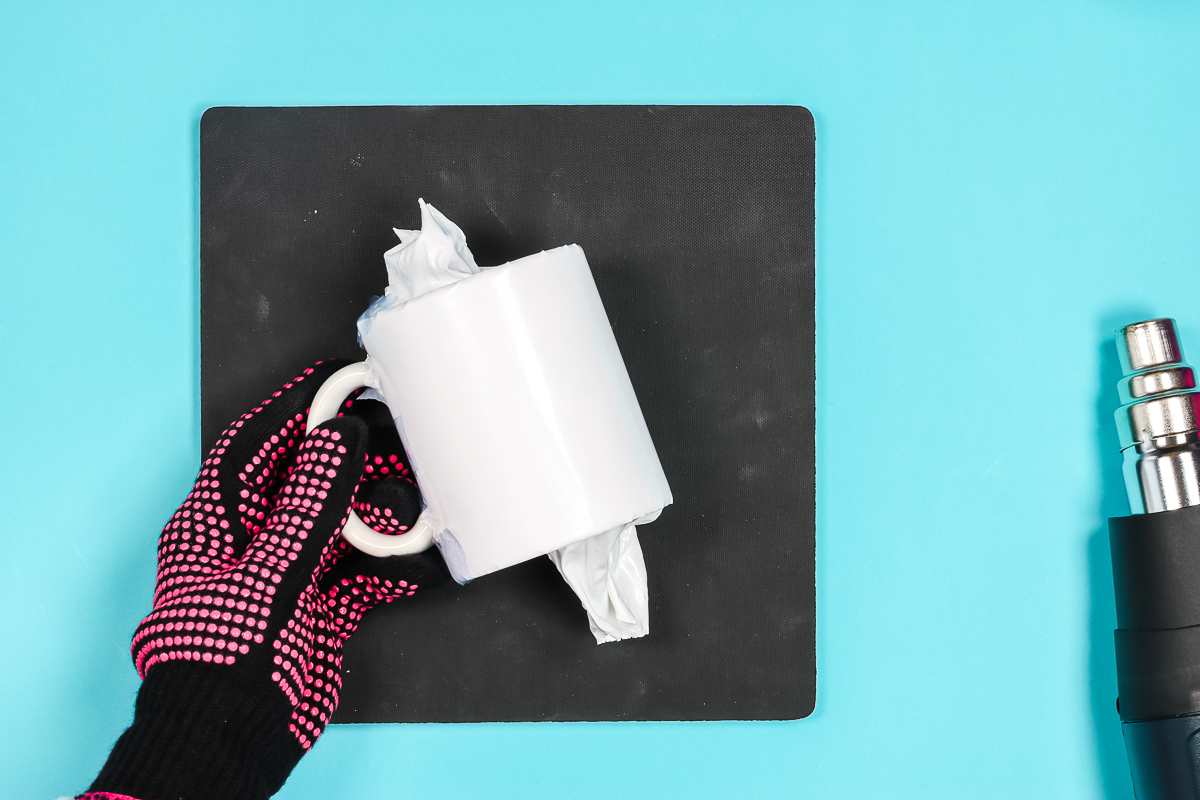
You don’t want to hold the heat gun in one place for any length of time, it can burn through the shrink wrap and make holes and we don’t want to do that.
Keep moving the heat gun back and forth over the shrink wrap until it is tight on the mug. We want to have as few wrinkles as possible.
Be careful with the area under the handle. We want it tight but we don’t want to hold the heat gun over that cut area for too long because it can pull apart. There may be a few wrinkles in that area, don’t worry about that we just want to get it as tight as possible.
How to Use a Sublimation Oven on Full Wrap Mugs
Now that we have the shrink wrap sleeve on the mug it’s time to put them in the oven. I am using a PYD Life Sublimation oven set at 393 degrees for seven minutes.
Place the sublimation mugs in the oven and hit the button to start. With the PYD Life oven, it will not start the timer until it has reached the full temperature.
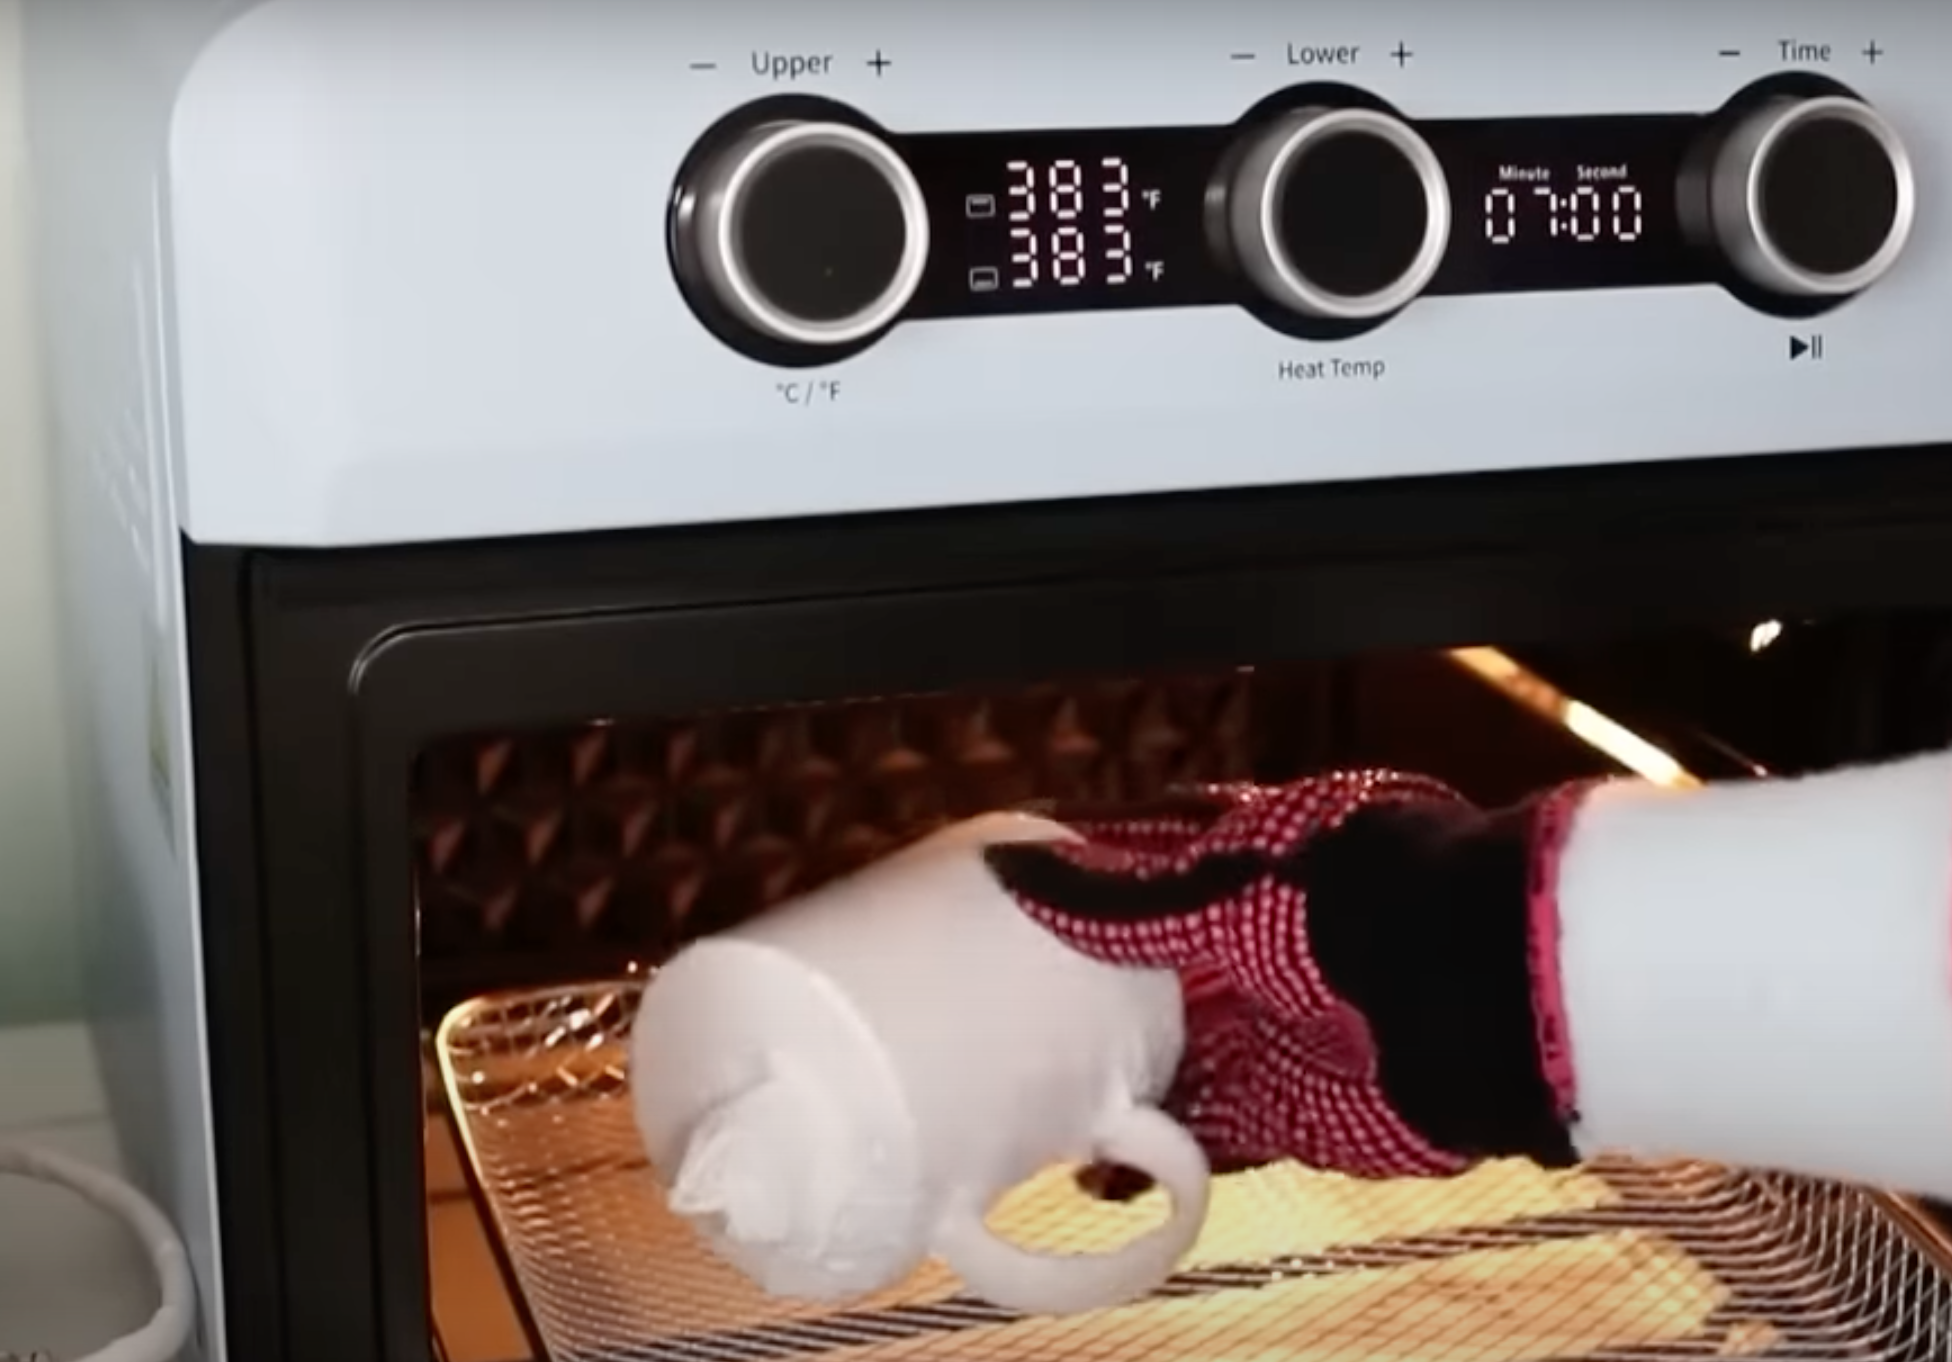
If you’re using a dedicated air fryer or convection oven you’ll want to make sure you’re oven is up to temperature before you start the timer. Once the timer goes off, remove the mugs from the oven and place them on a heat-resistant mat. They will be very hot.
Tips for Removing Shrink Wrap
I highly recommend removing the shrink wrap while it’s hot because it will remove much, much easier. If for some reason your shrink wrap cools before you can get it off, it will likely be frustrating. It will come off but it will be more difficult so be patient and give yourself time to get it all off your project.
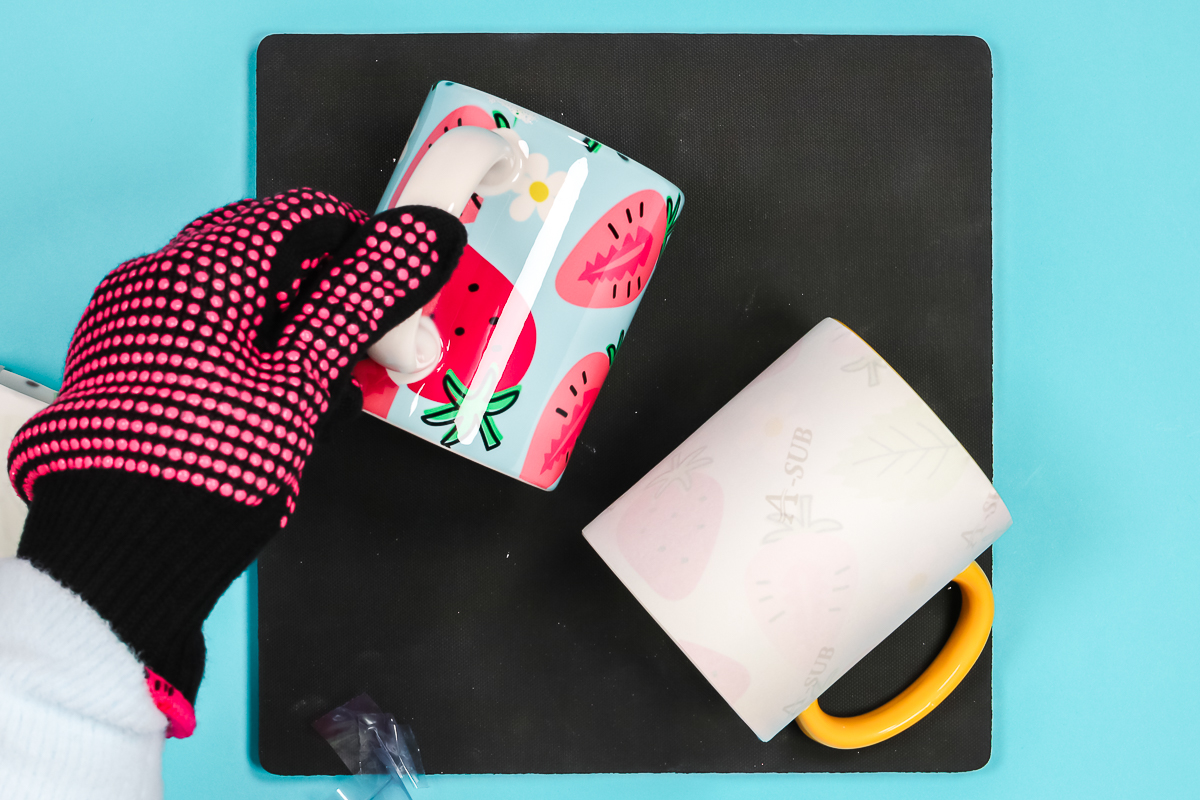
You may notice that the shrink wrap has started to pull away under the handle. I found with these mugs that was okay.
You can remove the sublimation print hot or you can wait for it to cool down some. I am not very patient so I usually use my heat-resistant gloves and just peel it off.
You may need to use something metal to get under the tape. As long as you don’t scratch through your sublimation print you should be fine. The tape is actually also easier to remove when it’s hot.
Completed Full Wrap Sublimation Mugs
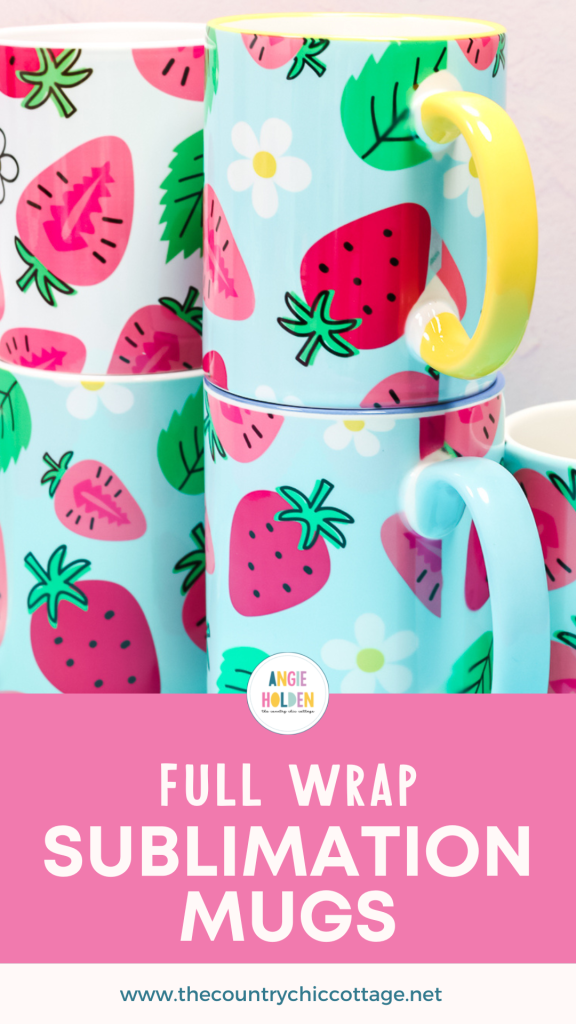
Here are a few of the full-wrap sublimation mugs I’ve done using my method for sublimating under the handle. And you can see it looks really good.
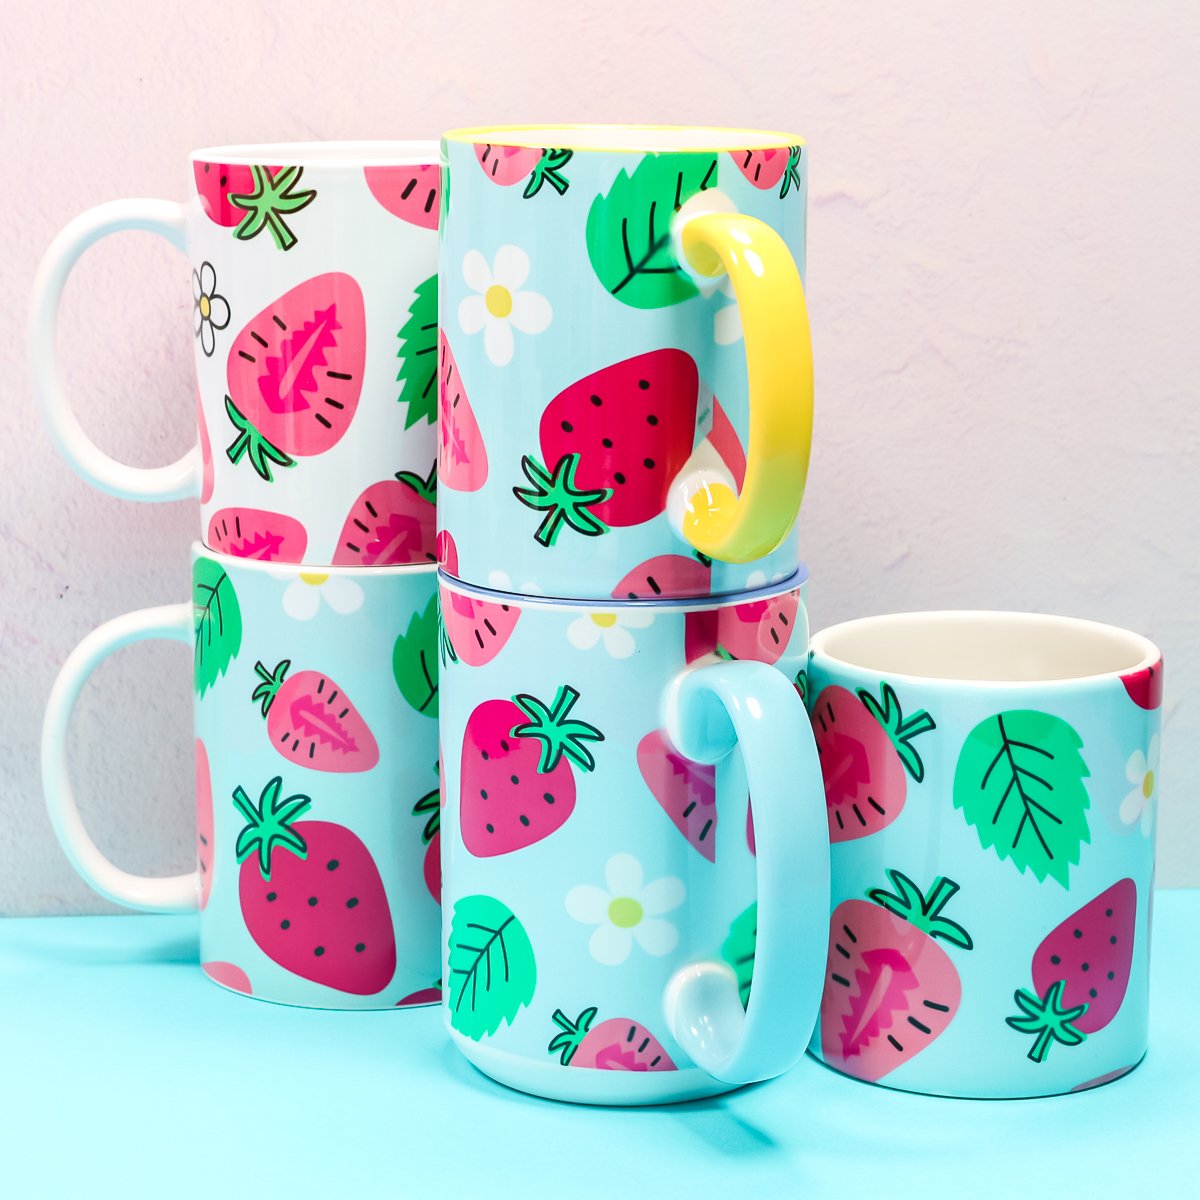
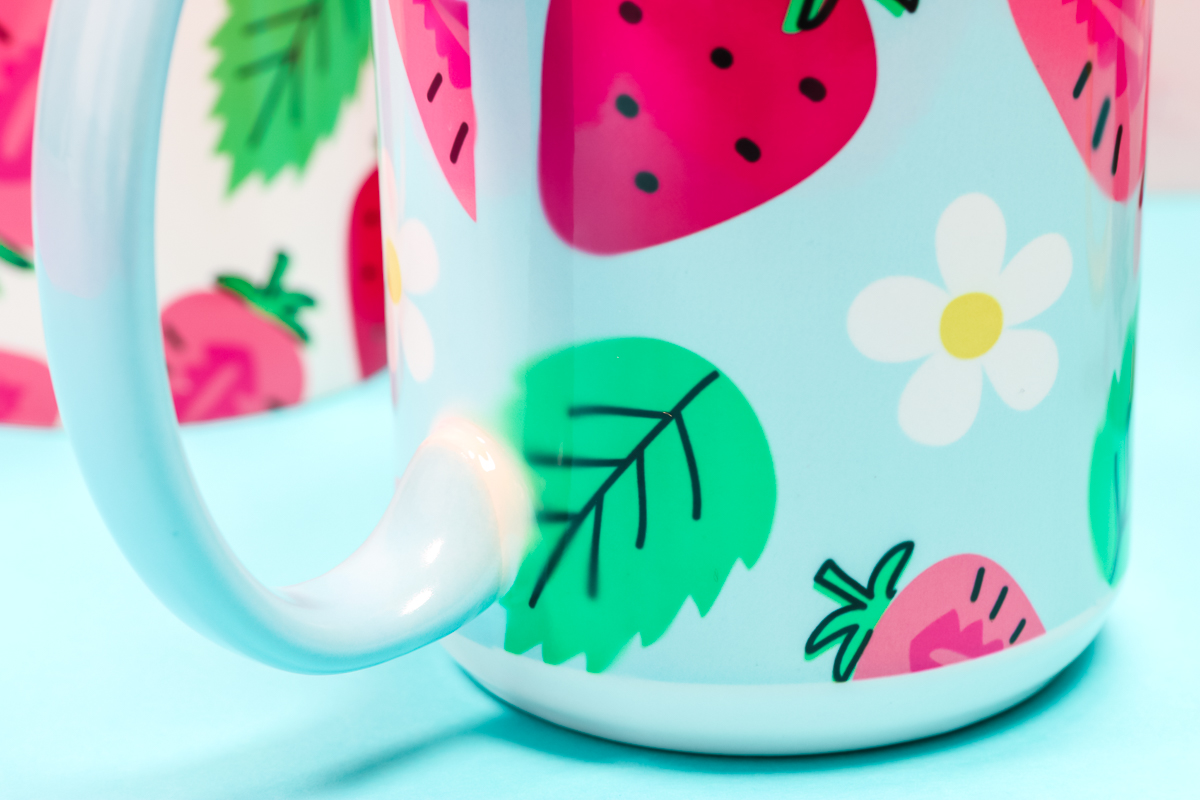
Most look great all the way under the handle. This mug below had some slight fading right in the area around the handle. I mentioned that sometimes the shrink wrap will pull away in the oven and I believe that’s what happened in this area.
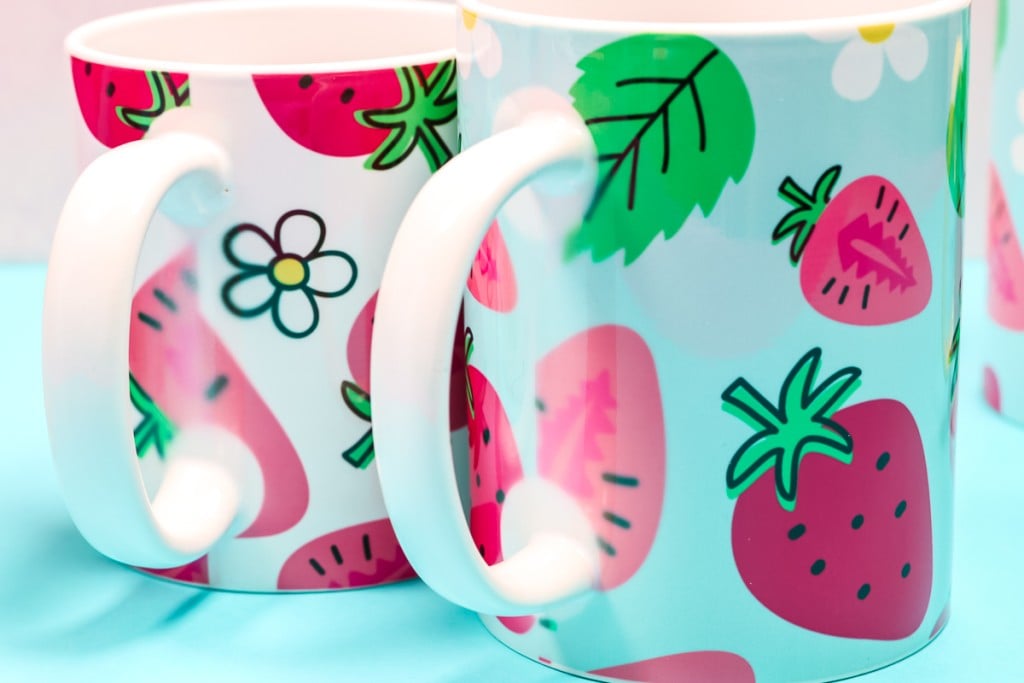
I did want to show you that on some of these mugs, the template is slightly off. This will result in more white on one side or the other which can give you a less desirable result. You do want to make sure you take the time to get the template centered.
Full Wrap Sublimation Failure
Now let’s talk about a different method and how it did not work. I saw PYD life using these large binder clips to create full wrap sublimation mugs and I thought that would be a much easier method.
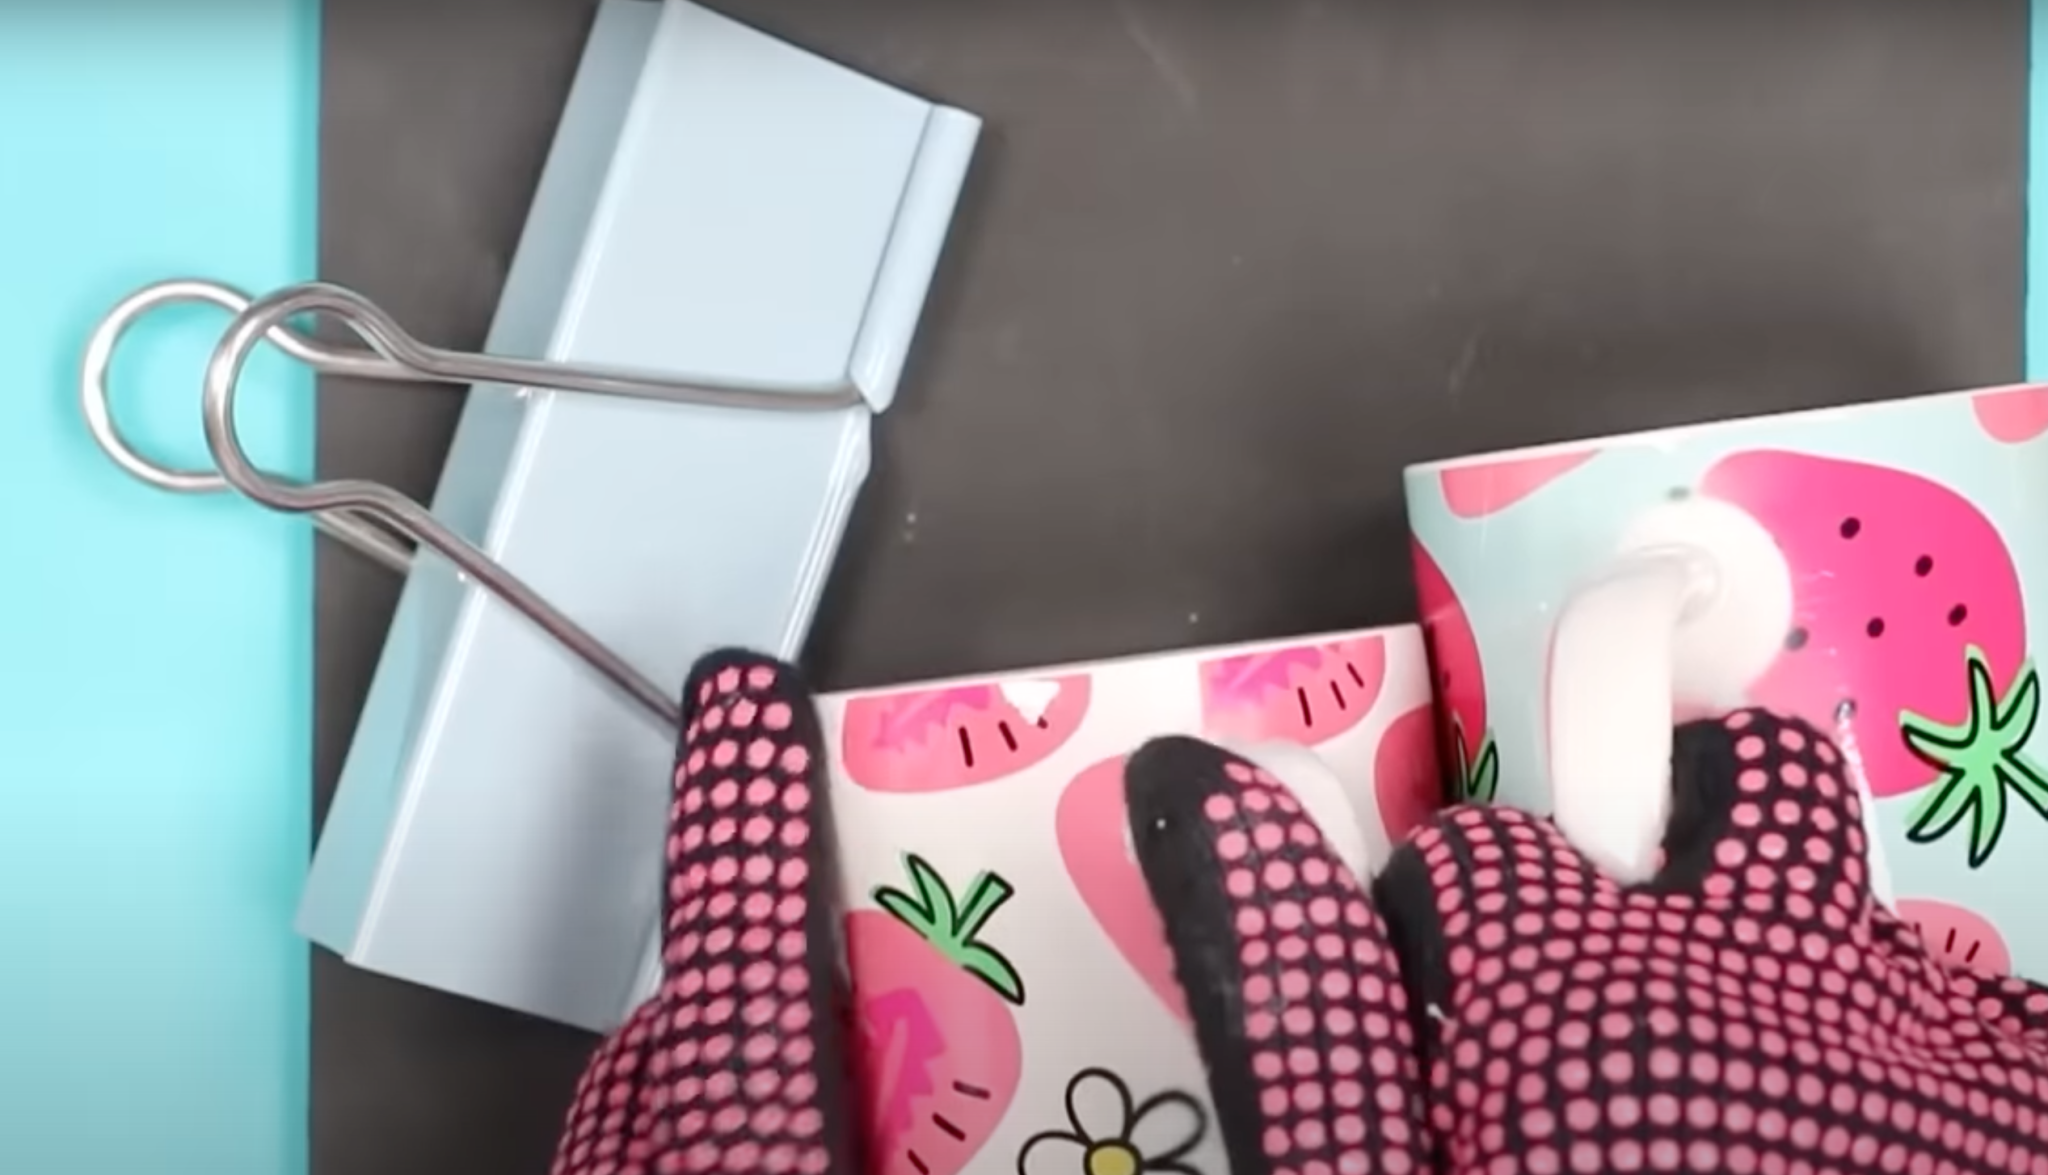
They put these clips on the handle instead of the entire process I showed you where I taped under the handle and everything, they used these instead. I tried this process several times and I always got significant fading.
So you can probably see under the handle on these mugs, the print just looks really faded and does not look good at all under the handle. I had this result on literally every mug I did.
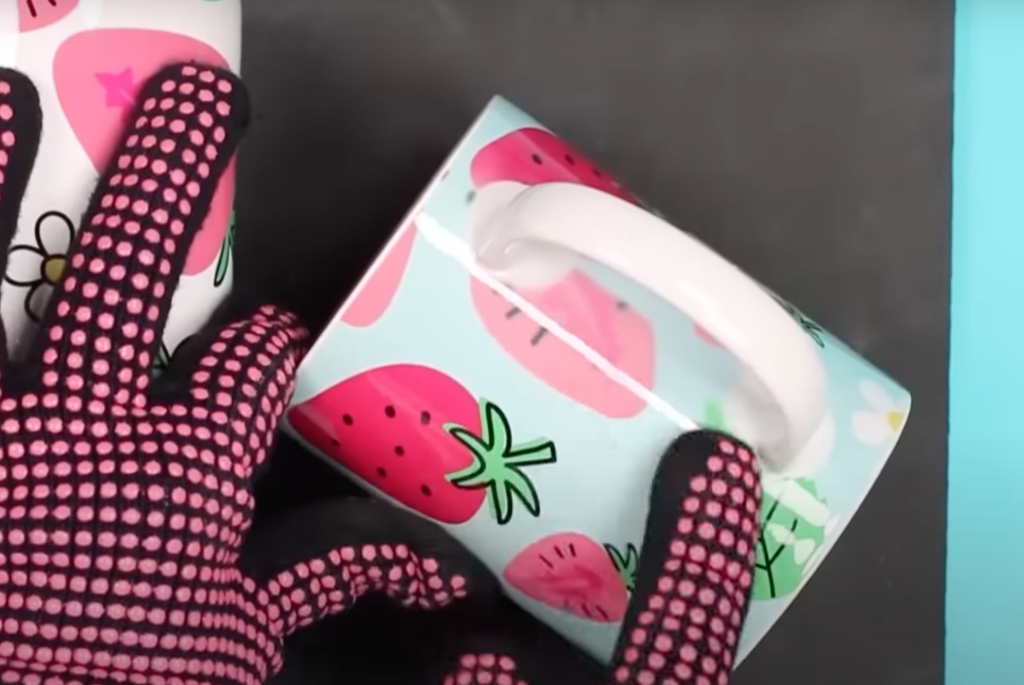
If you see someone using the binder clip method, I do not recommend it, at all. I do recommend the technique that I showed you here. I’ve had good results, time after time, with perfect seams under my handle.
How to Customize Templates for Different-Sized Mugs
If you’re using a different size or brand of mug than I used, you’ll need to check the template size before you begin.
An easy way to do this is to print out the template on a regular printer and then cut it out with a pair of scissors and test it around your mug.
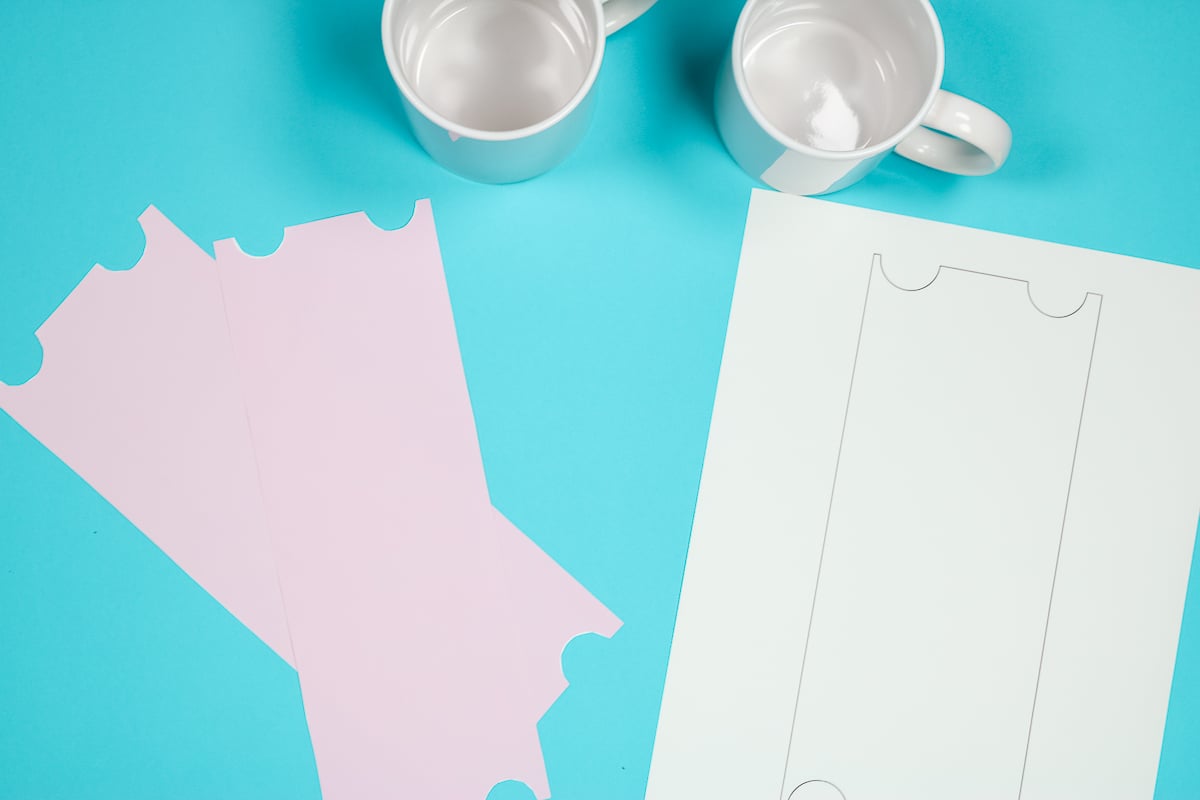
Does it fit your mug? Does it wrap all the way around? Is it tight? Does it go all the way from the top to the bottom? You can check the fit without actually sublimating anything and just make sure that the template is going to work for the particular mugs that you purchased.
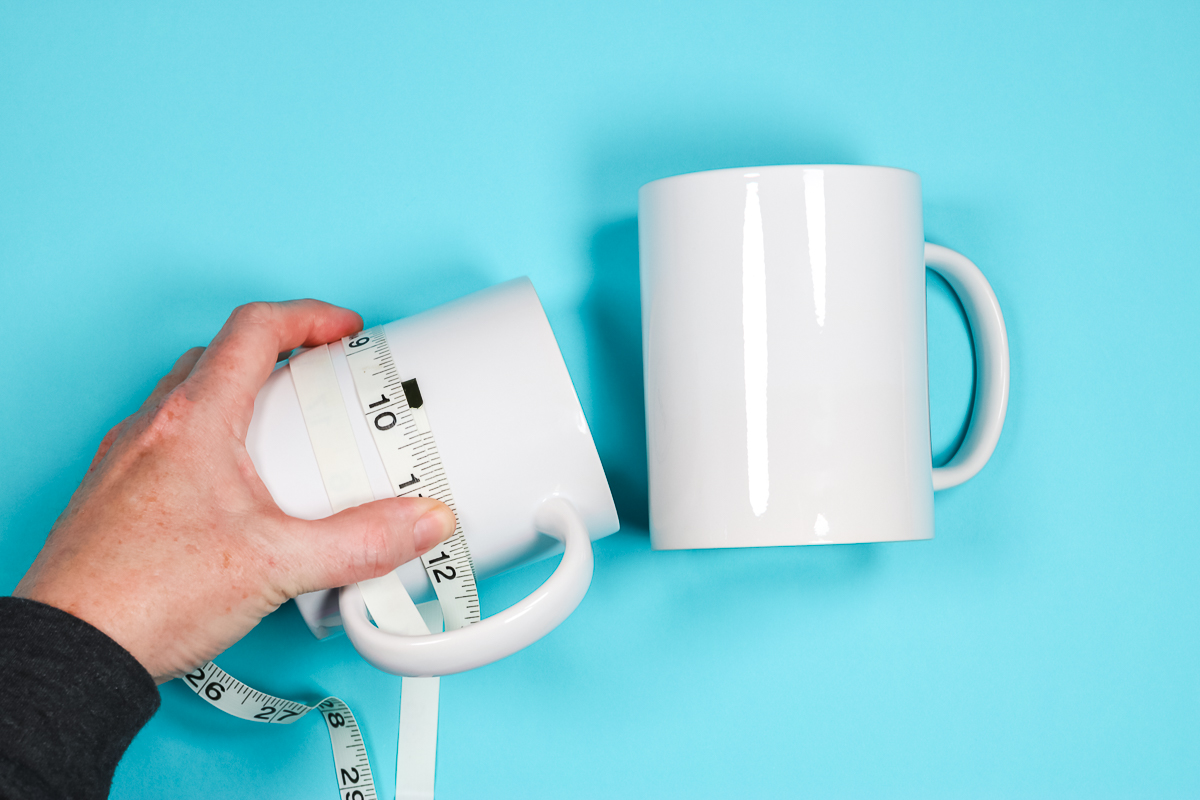
If it isn’t the right size, you can measure your mug to help you get the right size. You will need to measure your mug from top to bottom and then all the way around. You’ll want a flexible tape measure to do that. Make sure you measure it tight to ensure you have your design the right size.
My templates do have cutouts for the mug handles. If your mug handles don’t line up exactly right, you can use scissors to trim around the cutouts. You will want to make sure you trim them evenly so they match up.
Now you can work on getting your templates the perfect size. That is something you would need to work on to get as little overlap as possible and that would get you the best seam possible.
Creating a Template Outside of Design Space
If you’re not printing your design the way I showed in Cricut Design Space, perhaps you want to use a different design program, and that’s fine. But you might want to print it and test it before you go and print a bunch of these or sublimate them. I do think printing them and testing them is a great way to get started with this project before you actually do the sublimation portion.
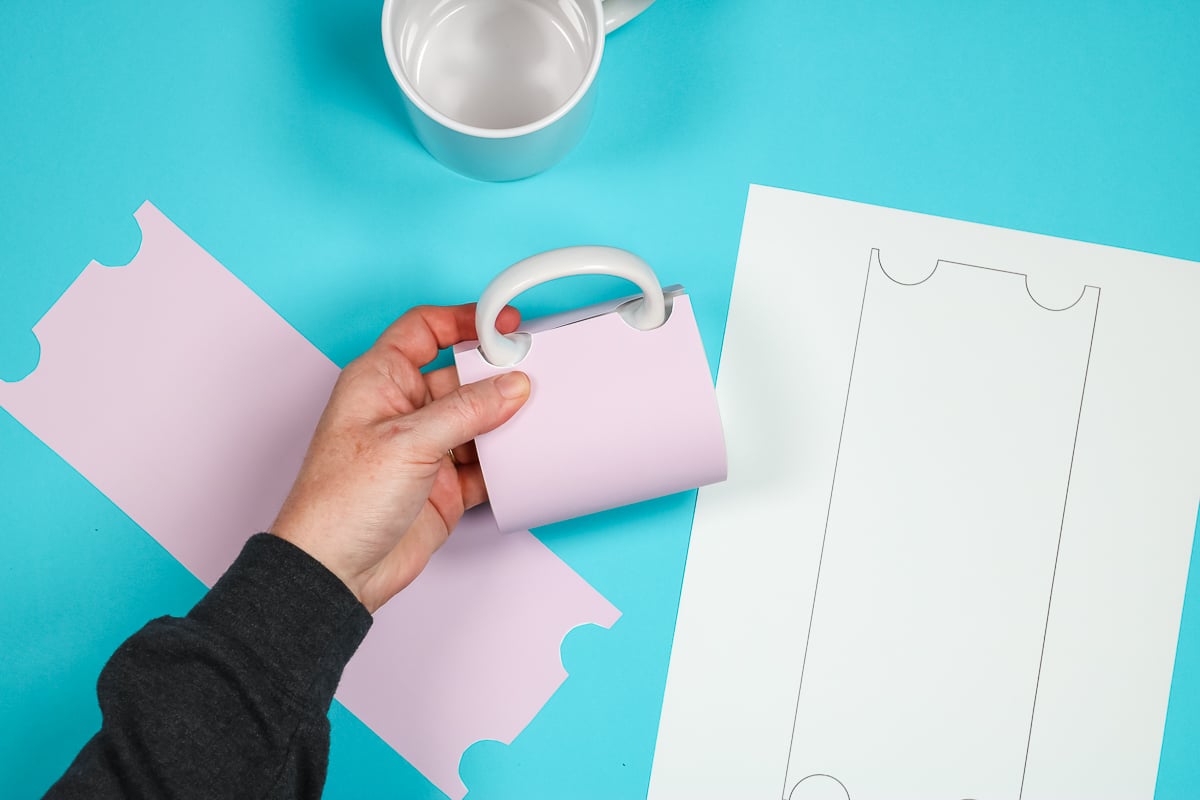
I would also recommend checking your pattern before proceeding. The strawberry pattern with the blue background would be easy to follow the cut lines. Using a pattern with a background that is white would be hard to cut out because you wouldn’t be able to see all the lines.
If you wanted a truly seamless look, you would need to look for patterns or you could kind of design them and make them meet right in the center. Because the seam meets under the handle it doesn’t bother me very much.
Final Thoughts on Full Wrap Sublimation Mugs
I really love how these full wrap sublimation mugs turned out. With the technique I shared here, I had consistent results sublimating under the handles which is exactly what I wanted. All that’s left for you to do is pick your mug.
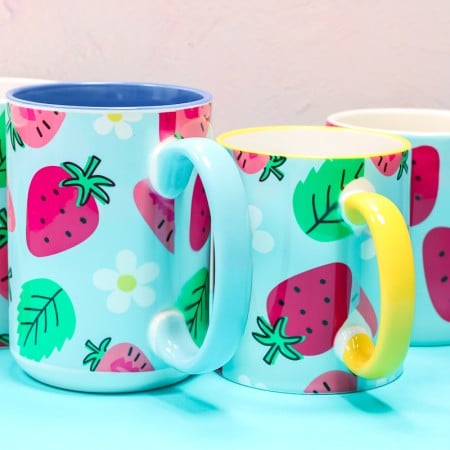
As you can see, I experimented with several different sizes, varieties, and colors on the handles. I have a variety of mugs from Amazon and mugs from Cricut.
You can modify the templates I’ve shared here after you’ve printed them with a pair of scissors and get them to work with just about any mug that 12oz to 15oz in size. If you have any questions about sublimating under the handle of your sublimation mugs, ask us in the comment section below.
You can also use the card below to print the instructions for this project.
3 More Sublimation Crafts
Do you love these full wrap sublimation mugs, and are looking for more sublimation crafts? Then check out the projects below!
- Sublimation Mug Designs: 13 Free Downloads
- How to Print on Mugs using Sublimation and the Cricut Mug Press
- Tumbler And Mug Sublimation Using An Oven
Equipment
- Sublimation Printer
- Sublimation Ink
- Free Full Wrap Templates
- Sublimation Oven
- LightGrip Mat
- Lint Roller
- Heat Resistant Mat
- Tape Dispenser
- Heat Gun
Supplies
- Sublimation Mugs
- Sublimation Paper
- Strawberry Pattern
- Heat Resistant Tape
- Shrink Wrap
Instructions
How to Prepare Mugs for Sublimation
- The preparation for mugs will be the same regardless of the size of the mug you’re using.
- To begin we need to make sure the mugs are really clean. I like to use a lint roller and go over the whole mug really well.
- We want to make sure we’re getting under the handle. To do this you’ll need to remove a sheet from the lint roller and clean it really well.
- You can also use a lint-free cloth with something like rubbing alcohol. You do want to make sure the mug is completely dry before adding the sublimation print.
- I cannot stress enough the importance of having a clean surface before sublimating.
How to Apply a Full Wrap Sublimation Print to Mugs
- Now that we have a clean mug it’s time to add our sublimation print. If your design has a right side up you’ll need to make sure you add your print the correct way.
- You want to make sure your print is straight on the mug. A great way to do this is to set your mug on the table and use the table as a guide while you wrap it around.
- Your print should at least touch under the handle. It may overlap slightly which is okay.
- Use Heat-Resistant tape to hold the sublimation print in place. Take time to make sure everything is lined up, you’ll want the curves around the handle to be the same distance away on each side so it looks uniform after applying.
- You want your print to be as tight as you can possibly get it. Even though we’re using shrink wrap having the print tight at this point will only help you.
Taping Sublimation Wrap Into Place
- It is important to make sure you don’t get tape under your sublimation print. I like to add the tape to one side of the flap, pull it tight, and then tape it to the other side.
- With the middle section of the sublimation wrap taped I like to add a piece of tape to each end to hold it all together nice and tight.
- That should be all the tape required to hold the wrap in place because we’ll be using shrink wrap to hold everything into place.
Applying Shrink Wrap to Sublimation Mugs
- Next we need to add shrink wrap. Because we’re sublimating these in an oven to get under the handle we need to add pressure. These shrink wrap sleeves fit just about any mug, at least up to a 15oz mug.
- You’ll want to slide the mug into the wrap. It’ll seem wide and long but that’s okay because we’re going to use heat to shrink it.
- With the mug inside the the sleeve feel for the handle. I am going to cut a small slit in the sleeve to get the handle through. I like to start small and then make it bigger as needed until the handle just barely fits through.
- With the handle outside the sleeve we need to fit the sleeve around the mug including under the handle so the sublimation print has pressure applied evenly everywhere.
- The area under the handle will try to pull away when heat is applied and we want to prevent that as much as possible
- I like to use heat-resistant tape to pull the sleeve closed under the handle and overlap it as much as possible. I apply a healthy amount of tape under the handle and then as close to the handle on both sides as I can get it to prevent the slit from growing when heat is applied.
How to Apply Heat to Shrink Wrap
- Before we place the mug into the oven for sublimation we need to apply heat to the shrink wrap sleeve to shrink it tight around the print.
- With a heat-resistant glove on you hand hold the handle of the mug and using a heat gun start on the side of the mug furthest away from the handle.
- You don’t want to hold the heat gun in one place for any length of time, it can burn through the shrink wrap and make holes and we don’t want to do that.
- Keep moving the heat gun back and forth over the shrink wrap until it is tight on the mug. We want to have as few wrinkles as possible.
- The area under the handle we want to be careful with. We want it tight but we don’t want to hold the heat gun over that cut area for too long because it can pull apart. There may be a few wrinkles in that area, don’t worry about that we just want to get it as tight as possible.
How to Use a Sublimation Oven on Full Wrap Mugs
- Now that we have the shrink wrap sleeve on the mug it’s time to put them in the oven. I am using a PYD Life Sublimation oven set at 393 degrees for seven minutes.
- Place the sublimation mugs in the oven and hit the button to start. With the PYD Life oven it will not start the timer until it has reached the full temperature.
- If you’re using a dedicated air fryer or convection oven you’ll want to make sure you’re oven is up to temperature before you start the timer.
- Once the timer goes off, remove the mugs from the oven and place them on a heat resistant mat. They will be very hot.
Tips for Removing Shrink Wrap
- I highly recommend removing the shrink wrap while it’s hot because it will remove much, much easier. If for some reason your shrink wrap cools before you can get it off it will likely be frustrating.
- It will come off but it will be more difficult so be patient and give yourself time to get it all off your project.
- You may notice that the shrink wrap has started to pull away under the handle. I found with these mugs that was okay.
- You can remove the sublimation print hot or you can wait for it to cool down some. I am not very patient so I usually use my heat resistant gloves and just peel it off.
- You may need to use something metal to get under the tape. As long as you don’t scratch through your sublimation print you should be fine. The tape is actually also easier to remove when it’s hot.


Great tutorial! I would love to try these. I need to buy the shrink film but you don’t specify the size of the wrap. The link takes me to a page with all different sizes. Would you let me know which size was used? Thank you!
It will depend on the size of your mug/blank. You can use one that is slightly larger and it will work but don’t try to use one smaller.