Learn how to use Cricut Iron-On to make DIY funny maternity shirts. I’m also including a free SVG file for you to download and use to make this project even faster and easier.
Are you expecting a baby? Or maybe you have a friend who’s expecting? When you’re sporting a beautiful pregnancy bump (and yes, they’re all beautiful!), eyes are naturally drawn towards it.
So take the opportunity to make the most of it – and have some fun with it too by wearing funny maternity shirts. You’ve likely seen some in stores or online, but purchasing them can add up quick. Instead of buying them, enjoy a good ol’ belly laugh with today’s adorable DIY funny pregnancy shirt project.
Using Cricut Iron-On
To make this project, you’ll need a Cricut. If you don’t have one already, this is the perfect opportunity to splurge and treat yourself. Trust me, you’ll be totally hooked on this machine. There is so much you can do with it.
For example, did you know that you can easily make DIY funny shirts with Cricut iron-on? It’s easier than you may think! In fact, working with Cricut iron-on opens up a whole new world when it comes to DIY projects.
You can create so many different things…the possibilities are truly endless!
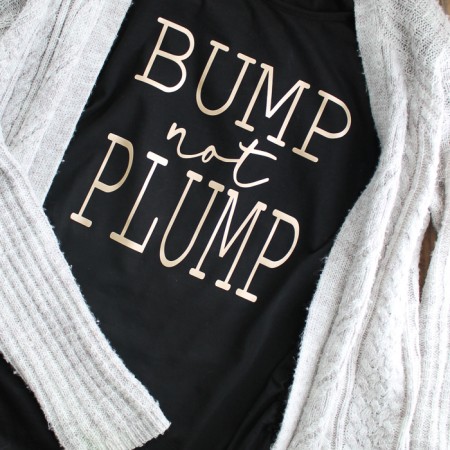
I’m making this project even easier because I’m offering you a free SVG file that’s already designed for you! This fun shirt reads ‘bump not plump’ and is practically guaranteed to get you grins.
Want to Learn More About Cricut? Here’s Help:
- Cricut EasyPress versus EasyPress 2
- Heat Press Versus EasyPress
- Beginner’s Guide to Cricut Design Space
This is actually the first in a series of free SVG files that I’m offering every month. When you sign up for this one down below, you will automatically get the others via email so you can grow your SVG file collection and make more awesome shirts with a variety of designs.
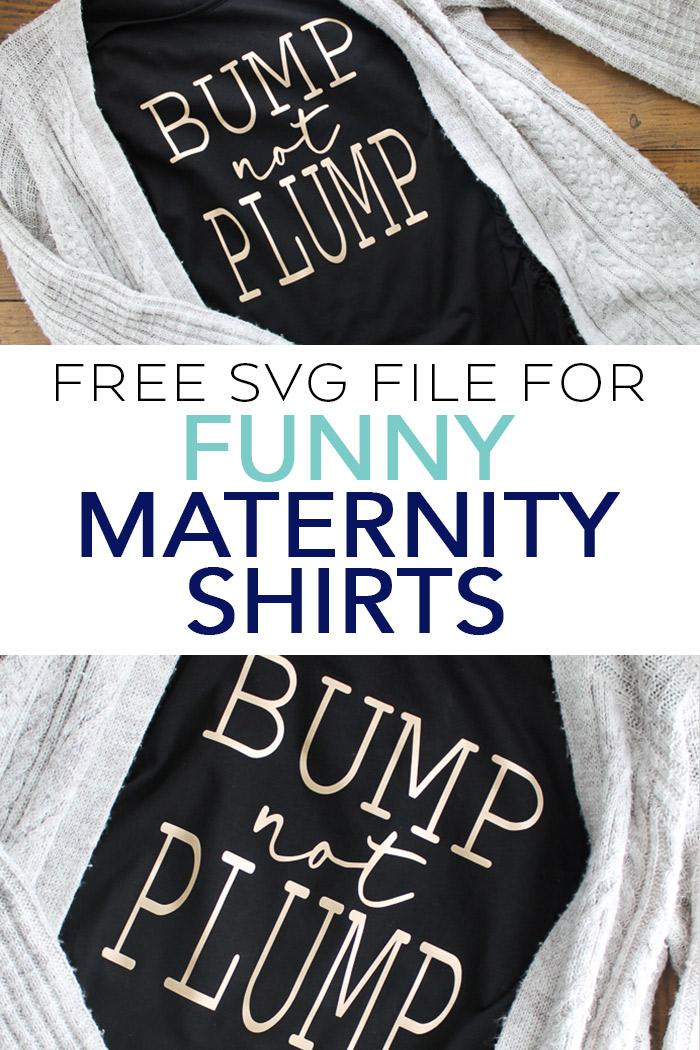
How to Make Funny Maternity Shirts
Wearing this adorable bump shirt is definitely one of those pregnancy perks. Whether this is a gift for a friend or if you plan on rocking this for yourself, you can easily create this project in minutes.
Supplies Needed
Here’s what you’ll need in order to make this fun pregnancy shirt. Some links below are affiliate links which means that you do pay any more, however, a small commission from your purchase will go to this site.
- Maternity shirt
- Iron-on (in the color of your choice)
- Cricut machine (click here to read which one is my favorite)
- EasyPress or iron (click here to see why I love the EasyPress)
- Cut file (you can download that for free below)
Free SVG File
First, you will need the ‘bump not plump’ SVG file. You can grab it by adding your name and email address below. It will arrive in your inbox within a few minutes. If you don’t receive it, email thecountrychiccottage@yahoo.com, and I’ll make sure you get it.
Step by Step Instructions for Making this Shirt
Use these step-by-step instructions to guide you through the process from start to finish. This entire project only takes a few minutes.
- Download your free SVG file from the form above.
- Upload the file to Cricut Design Space. You can find a tutorial for how to do that here.
- Mirror your design and cut from iron-on. Be sure to cut with the shiny side down on the mat.
- Weed away all excess including the centers of letters.
- Then apply your iron-on design to your shirt using the EasyPress settings or directions for the iron.
- Peel away your carrier sheet and enjoy your quick and easy new funny maternity shirts!
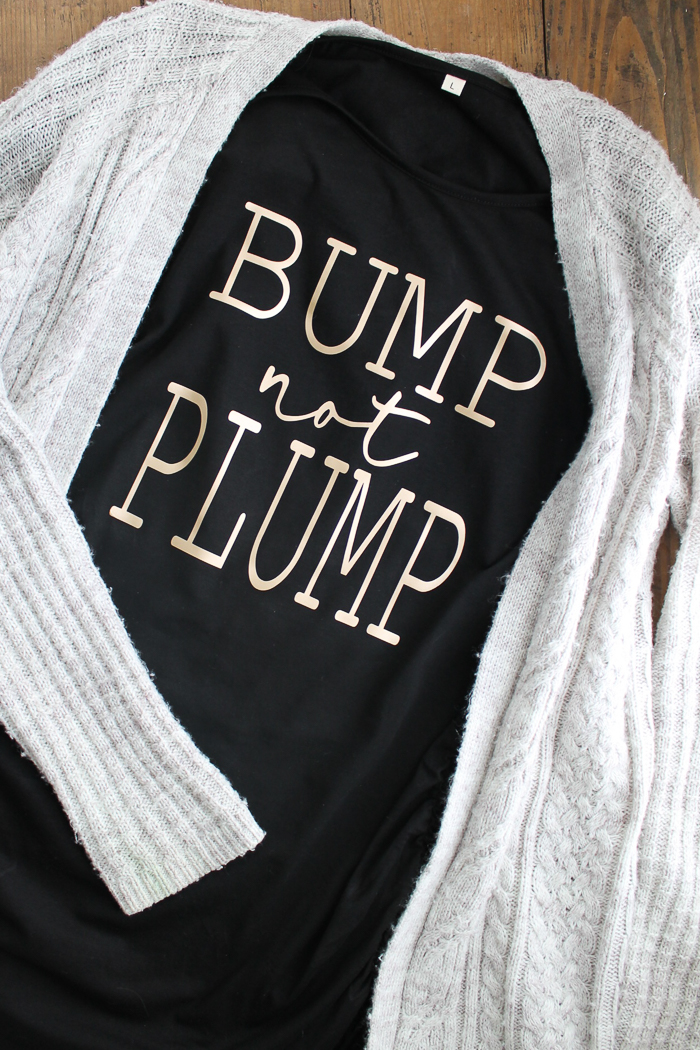
Simple project, right?
This would make a great shirt for yourself…or make a few to give them as gifts!
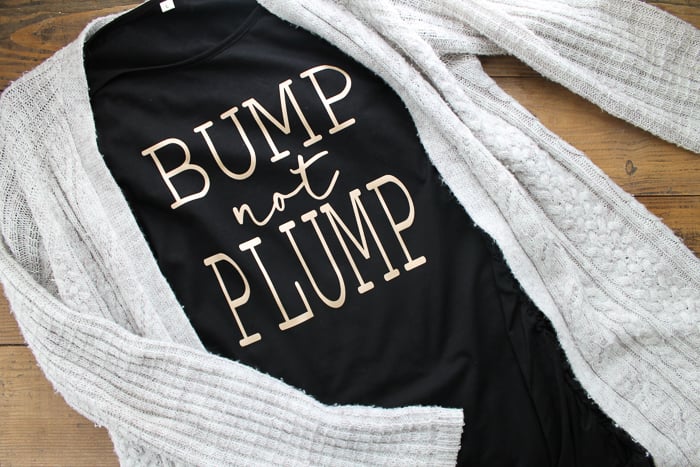
I hope you enjoy your free SVG file and make some funny pregnancy shirts of your own. I feel confident that once you start, you’ll get addicted and won’t be able to stop!
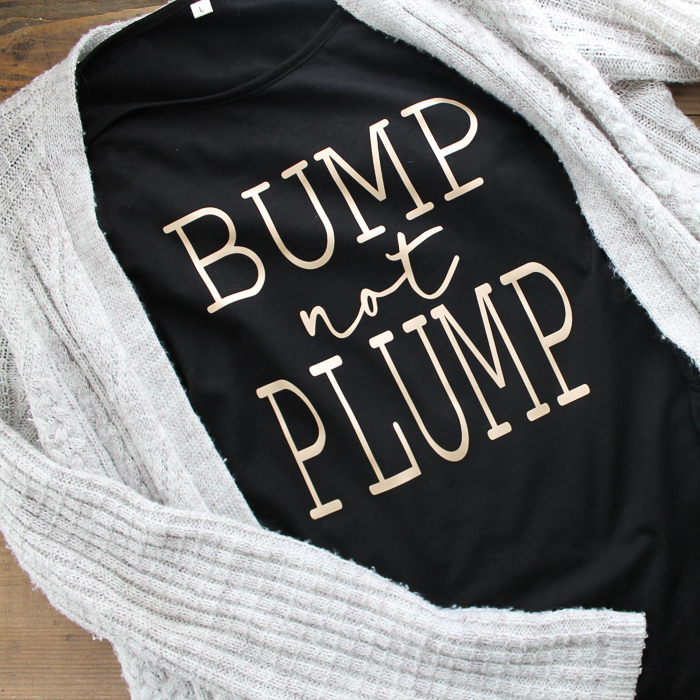
Equipment
- Cricut machine (click here to read which one is my favorite)
- EasyPress or iron (click here to see why I love the EasyPress)
Supplies
- Maternity shirt
- Iron-on (in the color of your choice)
- Cut file (download the free SVG file in the post)
Instructions
- Download your free SVG file.
- Upload the file to Cricut Design Space. You can find a tutorial for how to do that here.
- Mirror your design and cut from iron-on. Take care to cut with the shiny side down on the mat.
- Remove any and all excess including the centers of letters.
- Apply your iron-on design to your shirt using the EasyPress settings or directions for the iron.
- Peel away your carrier sheet to enjoy your new funny maternity shirts!
Want More Ideas for Funny Maternity Shirts? Check These Out
- Thanksgiving Maternity Shirt – a cute design with a funny phrase that’s perfect for Thanksgiving.
- Halloween Maternity Shirt – a Dr. Seuss-inspired design that will take care of your Halloween costume for you!
- Gender Reveal Shirt Designs – grab these designs for the whole family to wear at the gender reveal party.


This is adorable! I am looking forward to seeing what you make every month! Thank you for sharing at Celebrate It!