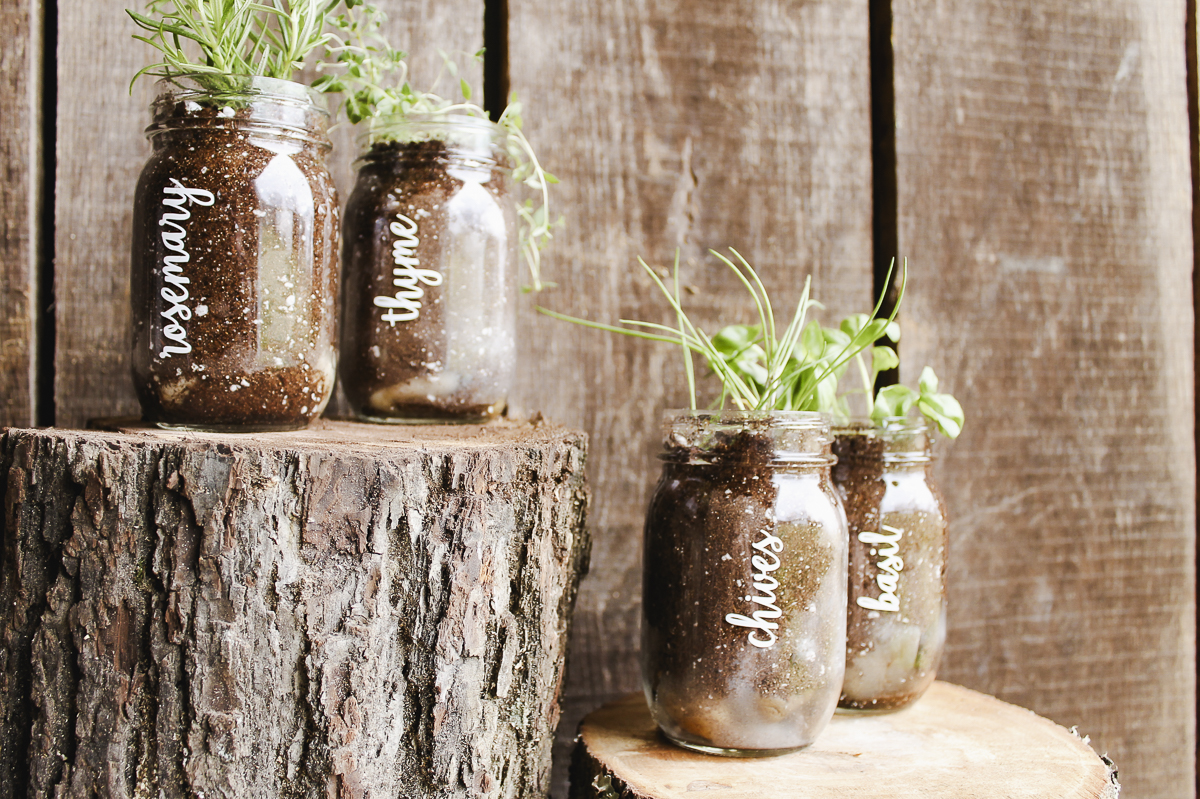
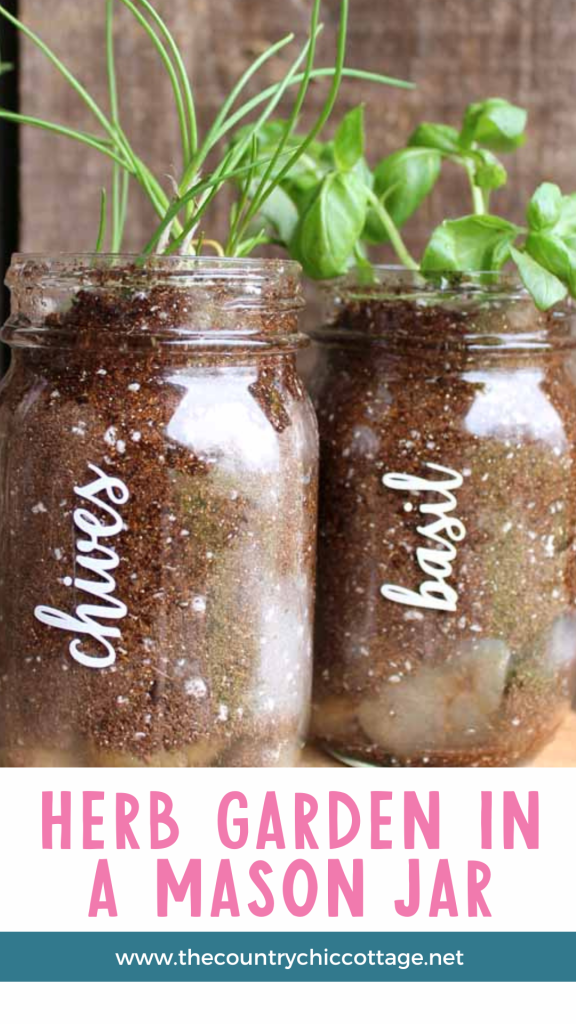
Planting in a jar is not as complicated as it seems! Start a garden in a jar this summer and grow your own herbs! This quick and easy project is the perfect kick-off to summer. Start seeds in the jar and use this as a way to show the kids how plants grow. Before you know it, you will have a mason jar herb garden of your very own!
This was first published on April 13, 2018, however, I am republishing with more information.
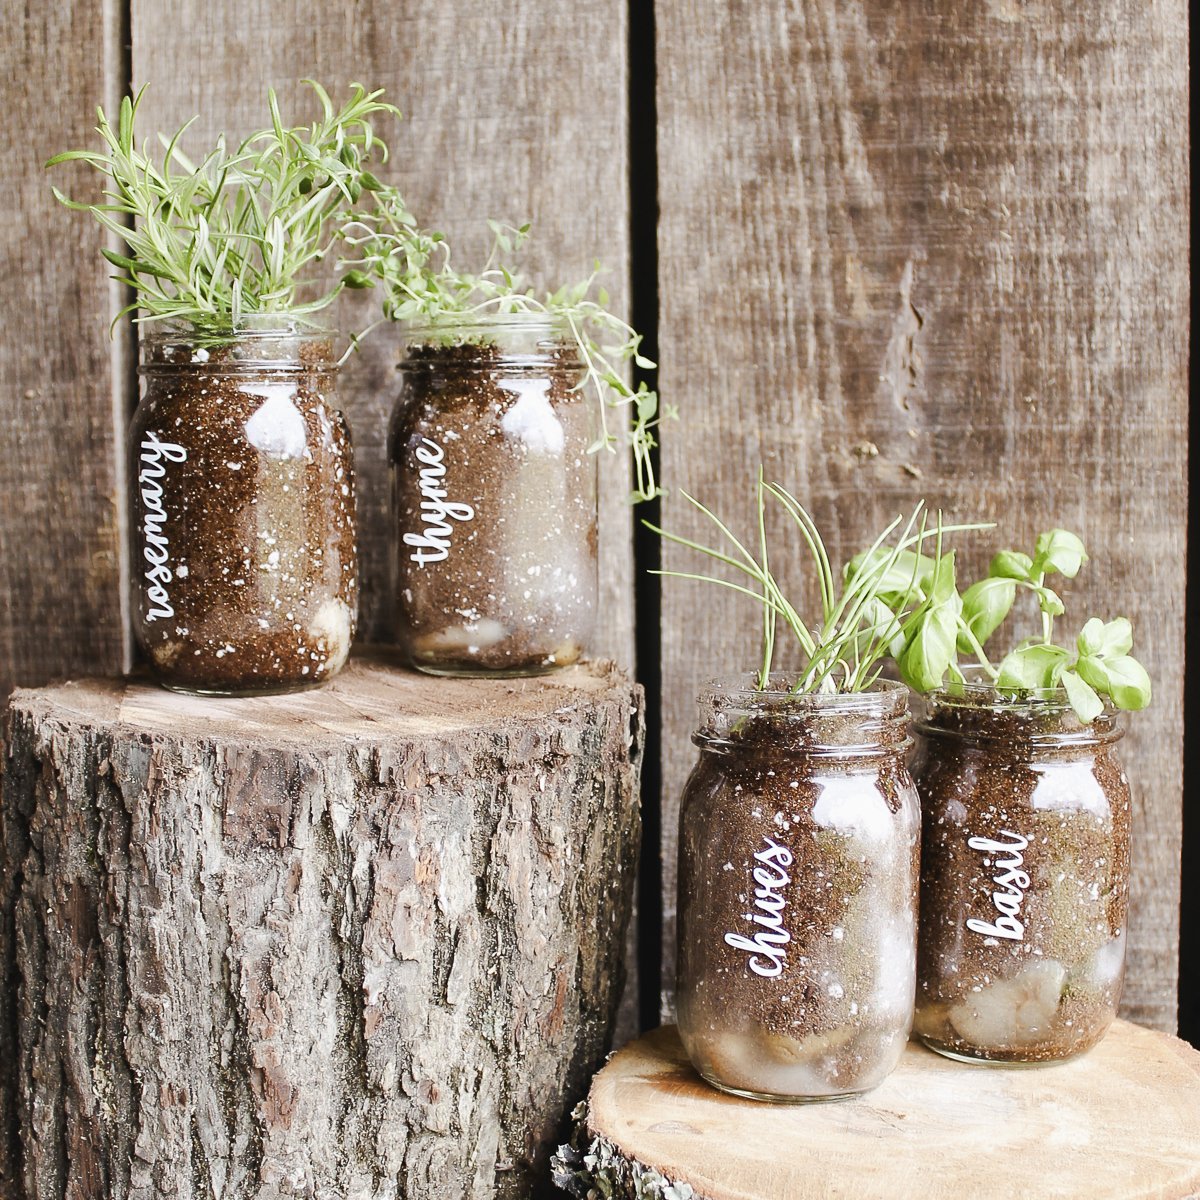
Video Tutorial For Planting In A Jar
Want to see just how to start a garden in a jar? Watch the video below!
Can’t watch the video or missed some of the steps? Follow along below!
How to Make a Garden in a Jar
Today, I will show you how to make a mason jar herb garden, but I also have other herb gardens on this site (since I love them so much)! If you are looking for even more ideas, try this hanging container garden or a vertical herb garden. This wooden box herb garden planter would be cute, too!
Supplies Needed To Make Garden In A Jar
- Pint mason jars
- Rocks
- Cricut Outdoor (or Permanent) Vinyl (in the color of your choice)
- Downloadable herb marker file here
- Cricut Machine (I used my Cricut Maker, but you can use any of the Cricut models for this project.) (Click here to learn about the differences between the machines.)
- Transfer tape
- Weeding tools (optional)
- Potting soil
- Herb seeds or plants
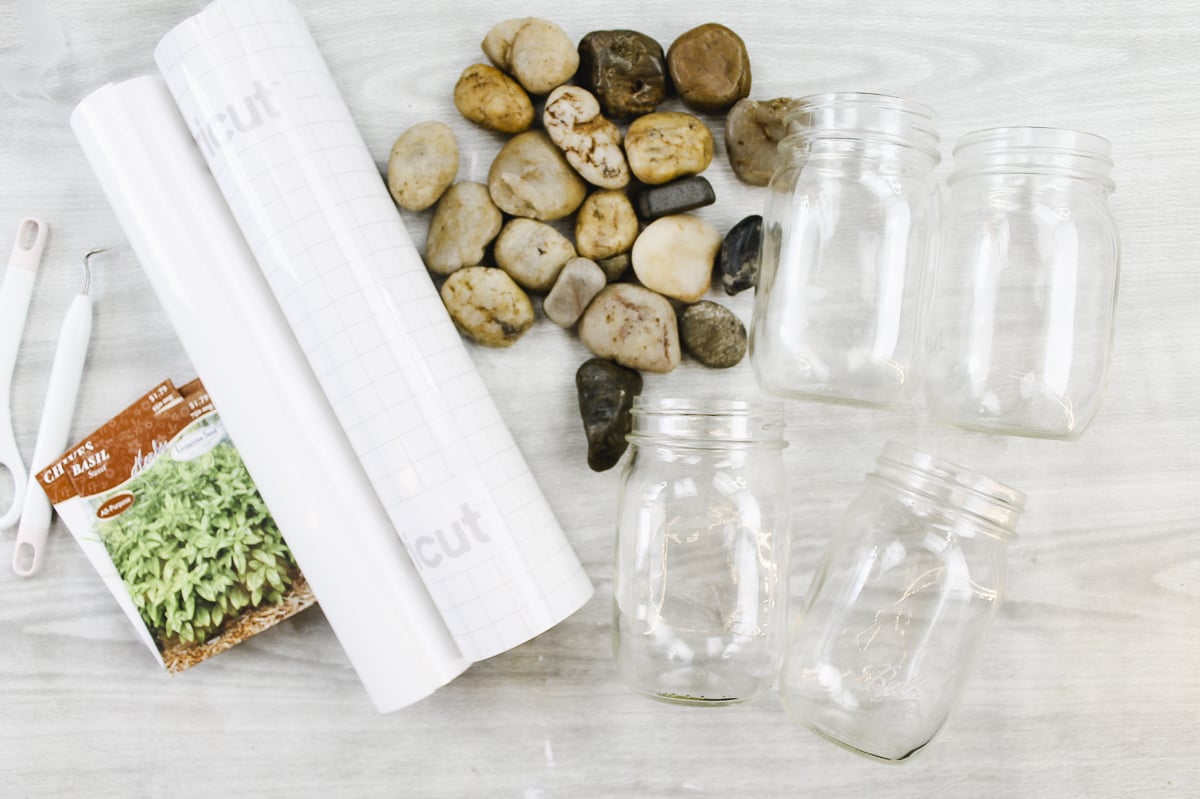
NOTE: Cricut outdoor (or permanent) vinyl comes in a wide variety of colors. So, if white is not your style, you can use the color that best matches your decor.
Step 1: Download File and Upload to Design Space
Download this free file and upload it to Cricut Design Space. Have trouble uploading? Then check out my video called Uploading Images to Cricut Design Space to see how to do this.
Be sure to resize the words to fit the mason jar or container that you are using before continuing to the next step.
Confused by Cricut Design Space? Download our beginner’s guide here.
Step 2: Cut Words From Vinyl
Cut the words you need from outdoor vinyl. My recommendation is to use outdoor vinyl if you are using these indoors or out. This is because it will help these jars to last a long time even when exposed to moisture.
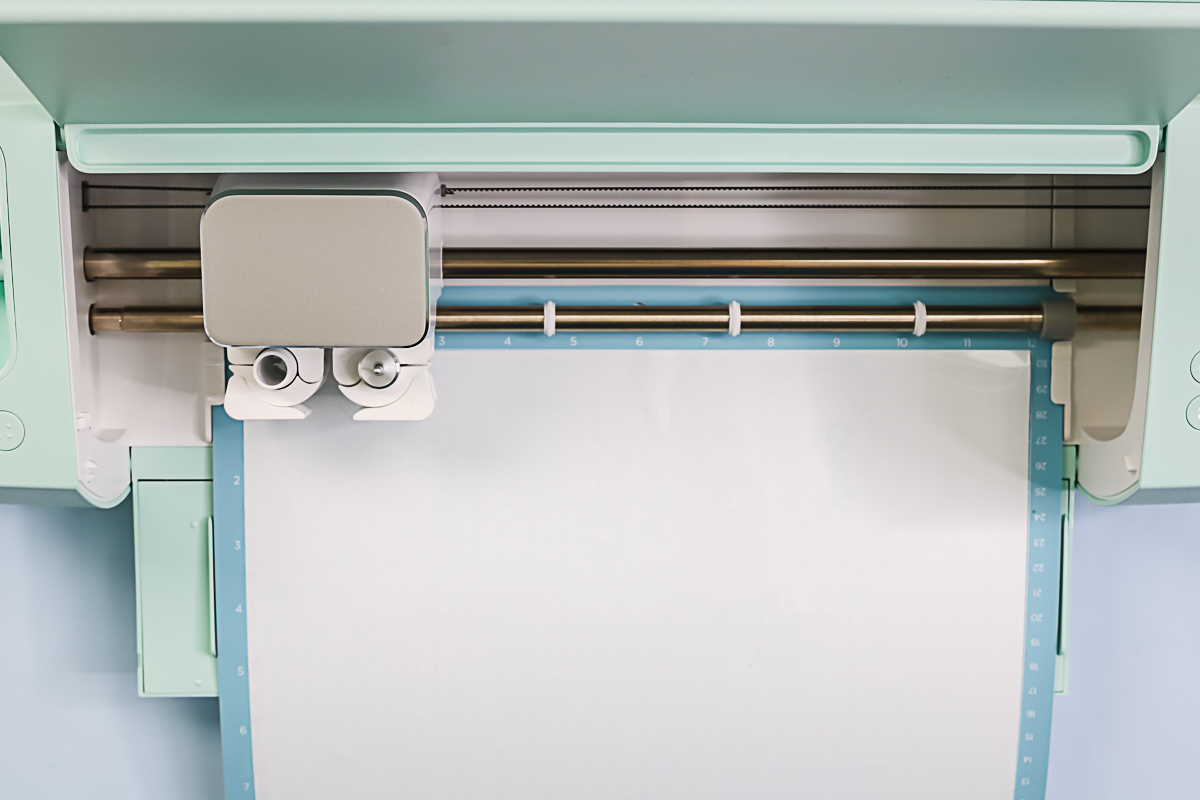
If you have never used Cricut vinyl before, check out my blog post called How To Use Cricut Vinyl, where I explain how to use Cricut vinyl in more detail. Plus, there is a helpful video as well!
Also, if you have never added Cricut vinyl to glass and want to learn more, check out my blog post called What Cricut Vinyl to Use on Glass!
Step 3: Clean Mason Jar
Clean your jars well (using rubbing alcohol is an easy way to do this). Be sure to allow it to dry completely before continuing.
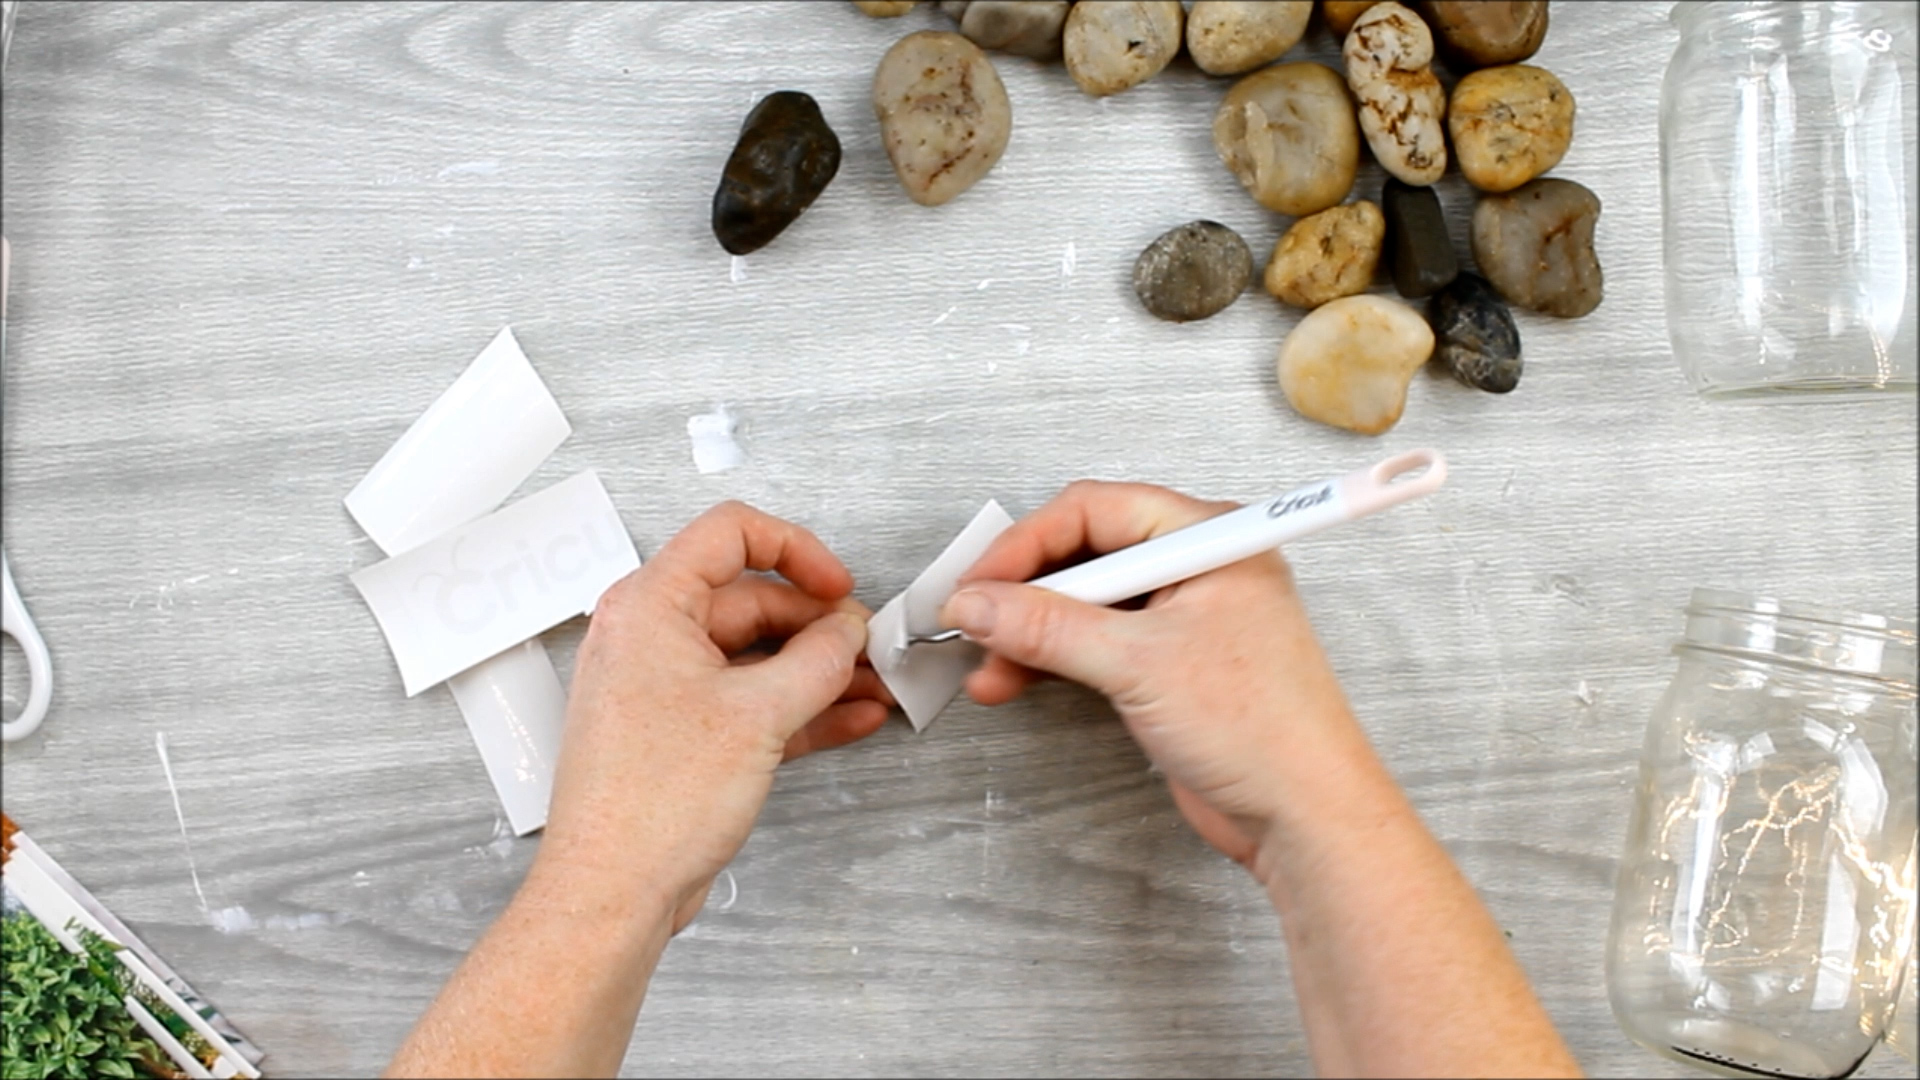
Step 4: Weed Vinyl
Weed any excess vinyl from your labels. This includes everything around the outside edge as well as things like the centers of any letters.
Step 5: Apply Label To Mason Jar
Add transfer tape over weeding vinyl and press down well with a scraper. Use the transfer tape to lift the vinyl from the backing paper.
Apply your design to the jars with the transfer tape. I like adding the words vertically, but you can add them however you would like.
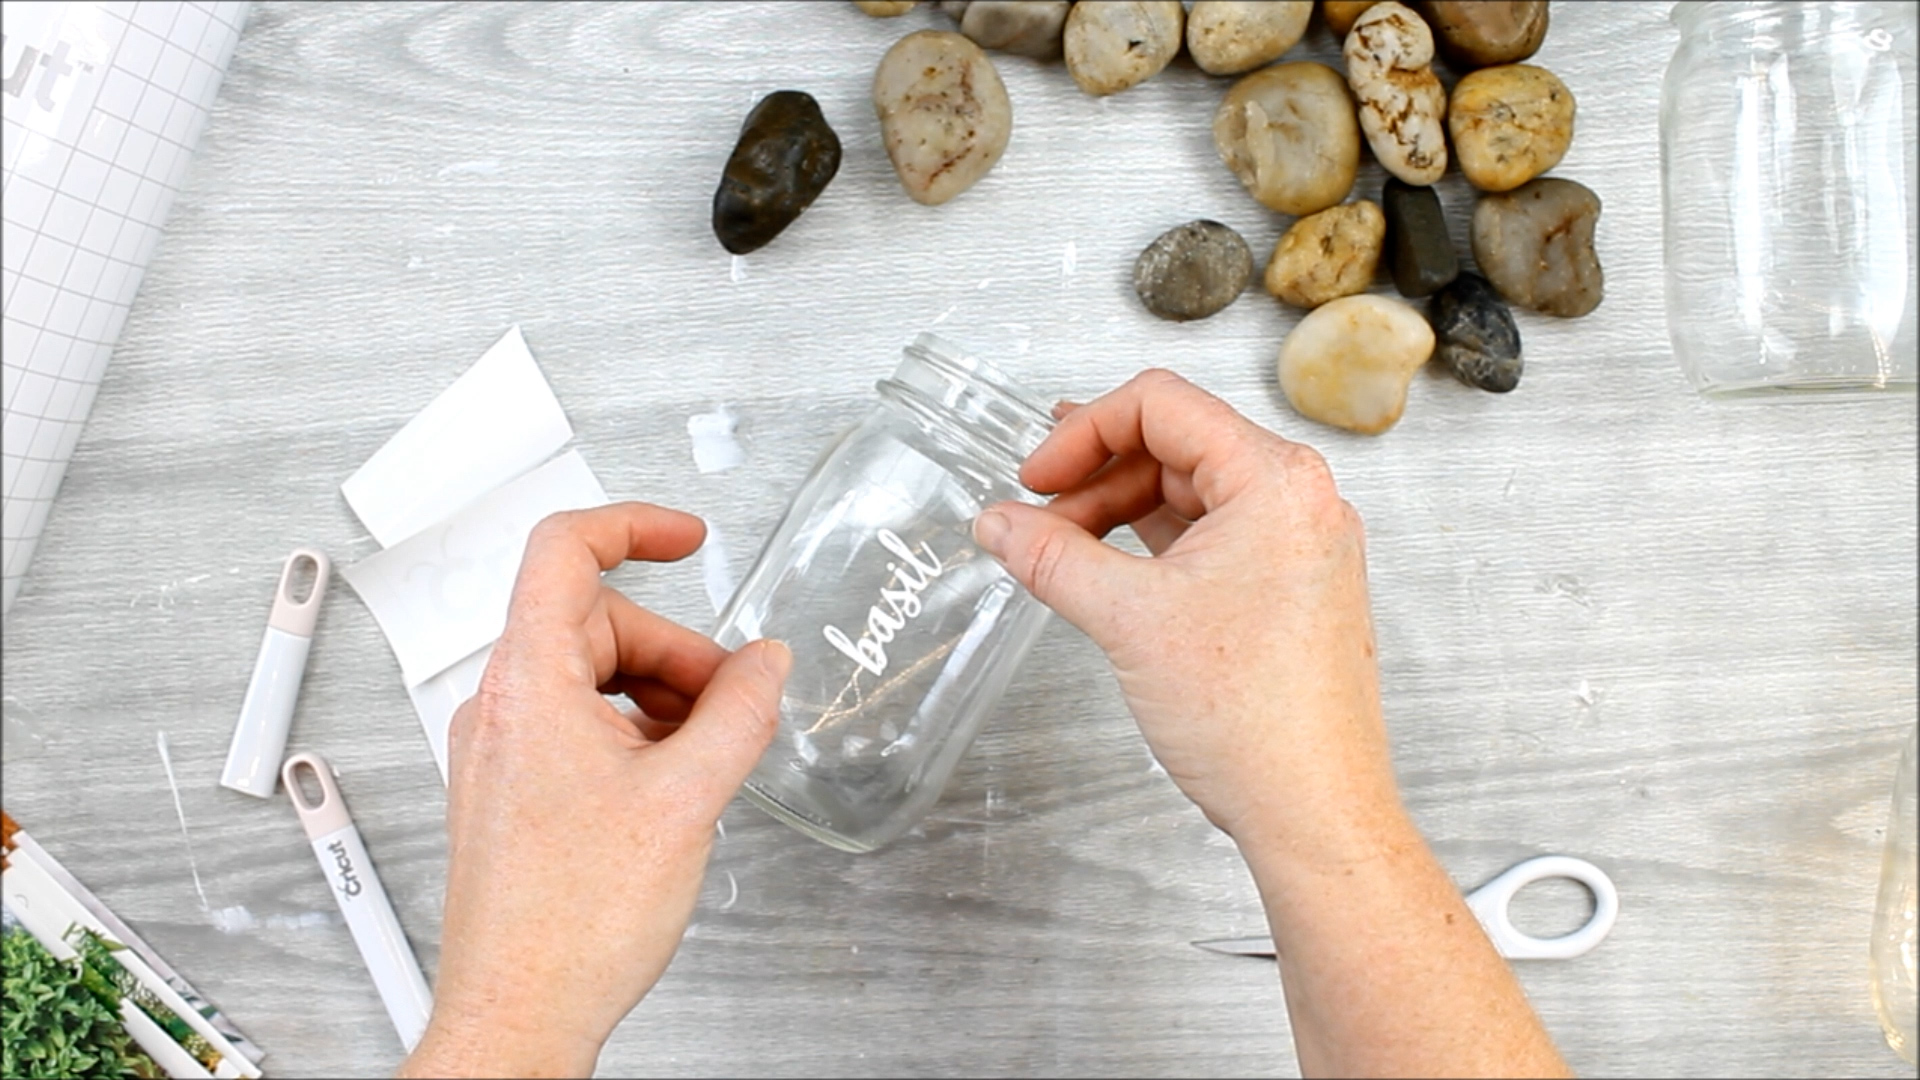
Burnish well with a scraper then remove transfer tape leaving the vinyl on the mason jar.
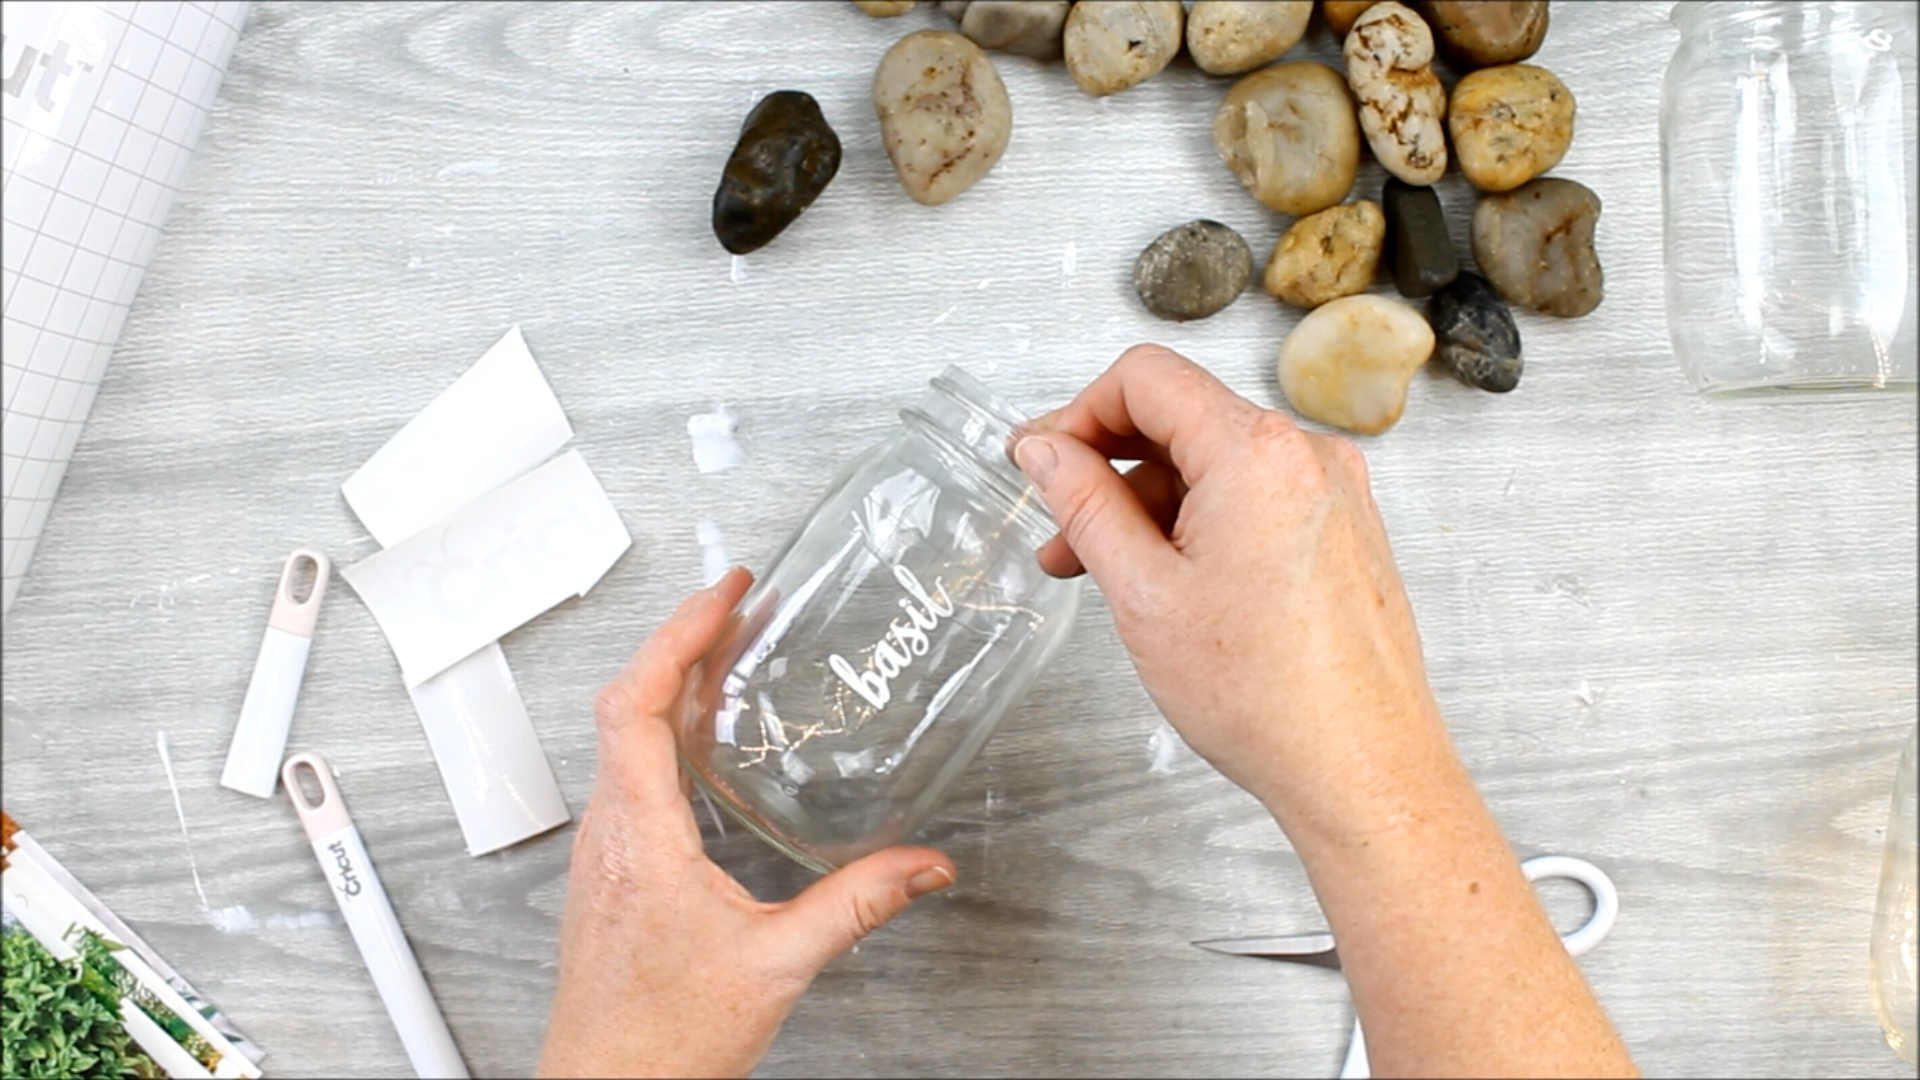
You can press down the vinyl now to ensure it is stuck well. To make this as long lasting as possible, be sure to wait 72 hours before use for maximum adhesion. You can also coat with Mod Podge over the vinyl for outdoor applications.
Step 5: Add Rocks, Soil, And Seeds/Plants To Mason Jar
Add rocks to the bottom of your jars for drainage, then add in soil. You can then use these to start seeds or add in plants if you wish.
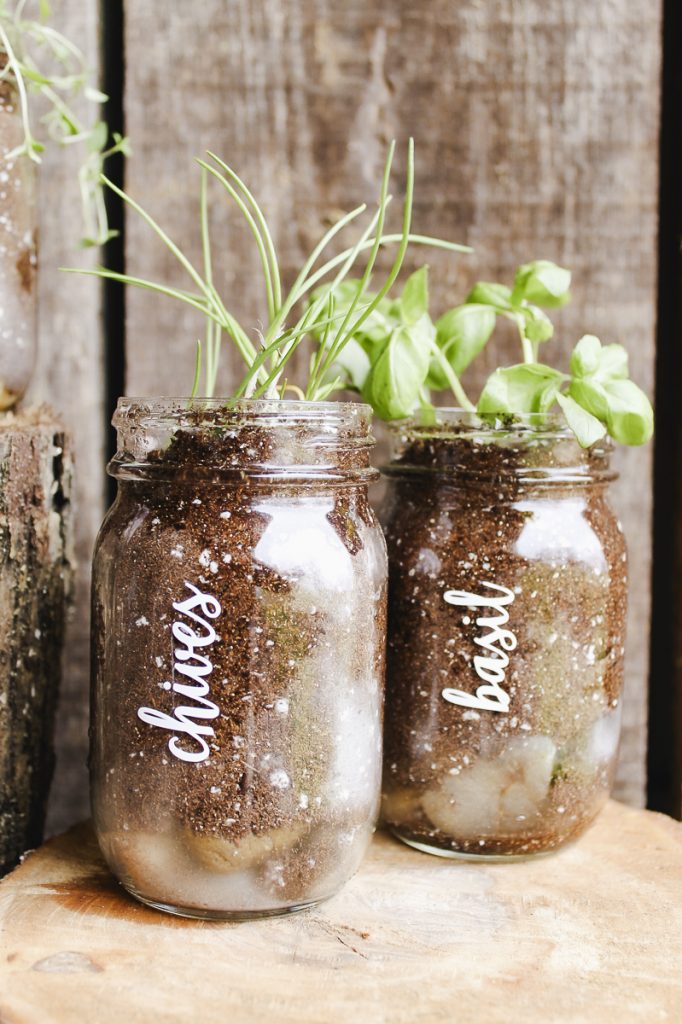
You will love growing a garden in a jar this spring!
These would also make a great gift for the end of the school year to the teachers who have made a difference in your child’s life. Be sure to pick up a few extra jars and give a garden in a jar as a gift this year!
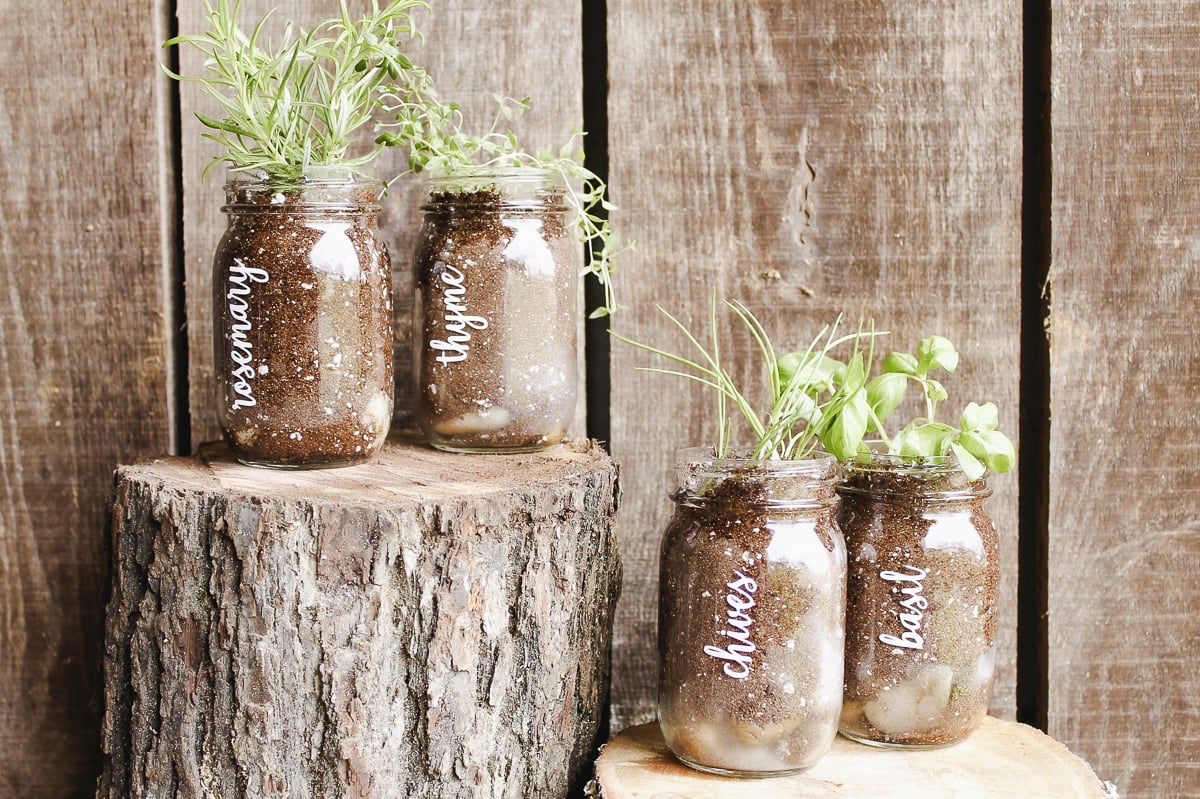
How many herbs will you be growing this year?
I don’t know about you, but I love fresh herbs in the spring and summertime! They can be used in so many different dishes and look really pretty growing. However, if you are short on space, you might think that you can’t grow your own herbs, but you totally can!
Making your own herb garden in a mason jar is the perfect solution because it’s easy to create, low cost, and doesn’t take up too much space!
FAQs About Planting In A Jar
Here are a few common questions that I often see readers asking about using mason jars for an herb garden. If you have a question, please check if I’ve already addressed it below. If you don’t see your question listed, please leave it in the comments!
Can You Grow Herbs In A Mason Jar?
Yes! Herbs are the most common plant that people choose to plant in mason jars. This is because they are easy to manage and can easily be transported from the outdoors to your kitchen! – Or better yet, you can keep them on your window sill in your kitchen as indoor plants!
What Types Of Plants Can I Grow In Mason Jars?
You can grow all types of plants in mason jars! Below are some ideas to get you started!
- Cacti
- English Ivy
- Fruit/Vegetables: Tomatoes, Chives, Leaf Lettuce
- Herbs: Basil, Cilantro, Parsley, Rosemary, Sage, Thyme
- Lavender
- Lucky Bamboo
- Pothos
- Succulents: Aloe Vera
How Often Should I Water Plants In A Mason Jar?
Depending on the plant you have in your mason jar and if you are starting with a seed can dictate how much or how often you should water it. However, as a general rule, I would start with a small amount of water and water your plants every other day. Then, as your plants grow, you can increase the amount of water you are giving them but still stick to the every-other-day schedule.
With that being said, the main thing to remember is don’t ”overwater” your plants because you don’t want your soil to be soggy.
Do I Need Drainage Holes In A Mason Jar?
No, you don’t! The nice thing about this project is that the rocks act as the ”drainage holes” at the bottom of the jar. This means you don’t need to drill holes in the mason jar or do any extra work.
Keep in mind is that a mason jar is essentially a ”regular pot” without drainage holes. Due to that, you would still want to manage your plants as you normally would in a ”regular pot”.
Can I Use Any Mason Jar For This Project?
Technically, yes. However, since we are adding vinyl to the side of the jar, I recommend using a smooth-sided mason jar.
5 More Plant Crafts
Love this planting in a jar project, and want more plant crafts to make with your Cricut? Then check out the projects below!


Love the concept of a garden in a jar Angie,
Its the best option these days in urban places. Pinning it on Pinterest and sharing on Twitter 🙂