Did you know that you can make your own DIY photo coasters? I have a fabulous method below that will give you professional results every single time. It uses two products you might not be familiar with – 2 part epoxy resin and printable tattoo paper. What?? Read on to find out more! This post is sponsored by Environmental Technology, Inc however all projects and opinions are my own.
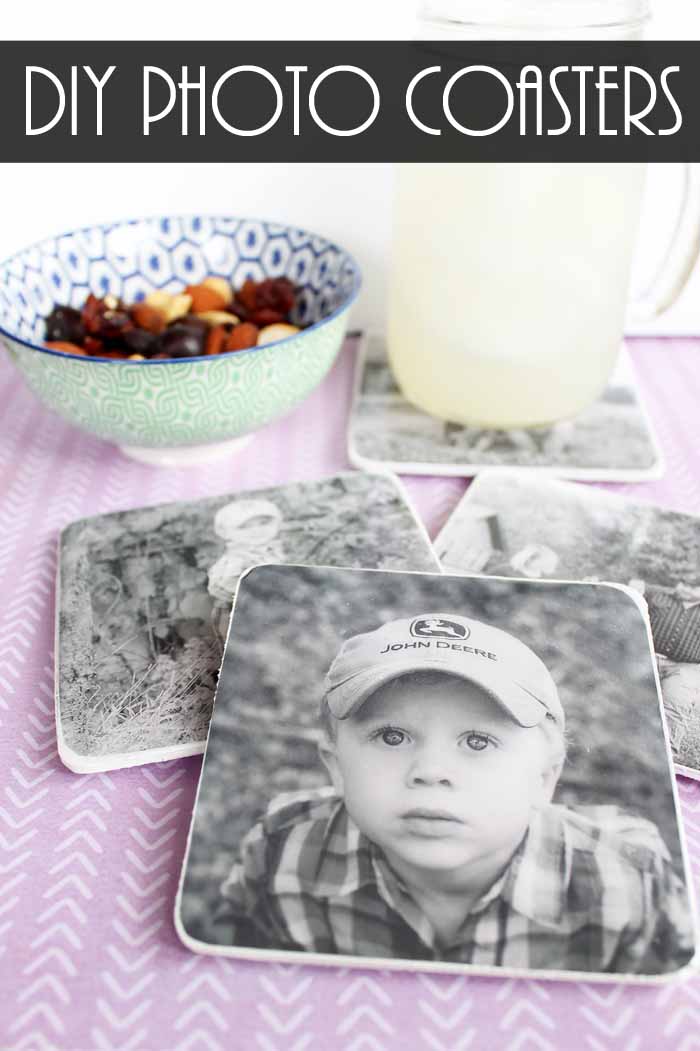
Handmade gifts are simply the best, but I think this one is extra special! Cherish all of those memories by putting them to good use. Who doesn’t love a practical gift?!
These would be perfect for Mother’s Day or Father’s Day. Don’t forget about gifts for the grandparents, too.
This project uses resin to create a seal on the coasters. This means the photos will maintain their integrity and won’t be ruined by moisture and condensation.
Make this easy DIY for a gift or add them to your coffee table today!
How to Make Photo Coasters
Supplies needed to make DIY photo coasters:
- Wood coasters
- Printable tattoo paper
- EnviroTex Lite® Pour On High Gloss Finish
- White craft paint
- Decoupage
- Measuring cups
- Mixing cups
- Stir sticks
- Paint brush
- Water
- Rag
- Printer and ink
- Scissors
- Protective gloves
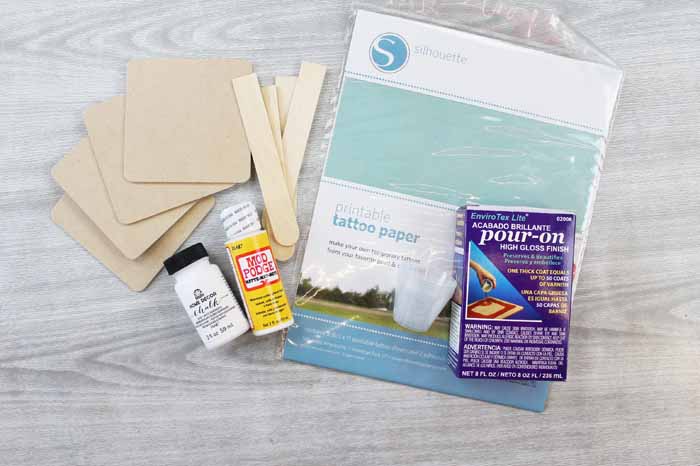
Want to learn more about 2 part epoxy resin? You can watch me make the coasters in the video below and get tons of tips and tricks.
Can’t watch the video or missed some of the steps? Just follow along below!
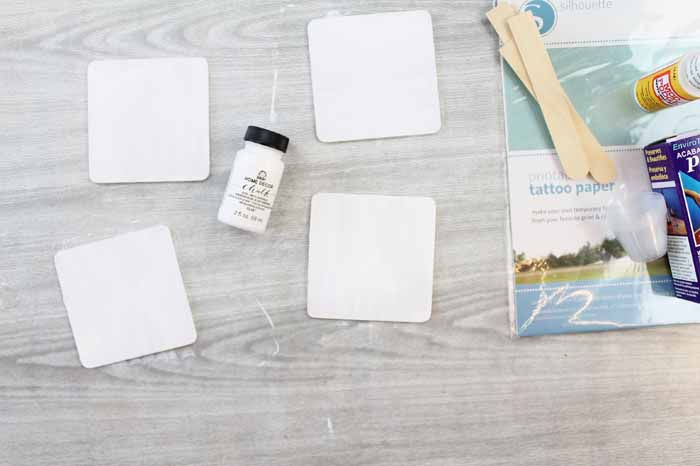
Start by painting your coasters. I used two coats of white chalk paint on all surfaces (top, bottom, and sides). Be sure to allow to dry in between coats and also before continuing with the tutorial. It is important to paint or seal your coasters when using the tattoo paper method of image transfer.
In the meantime, you can print your images onto your printable tattoo paper. I did mine in black and white. Be sure to mirror your images before printing so they will be the correct orientation when transferred to the coasters.
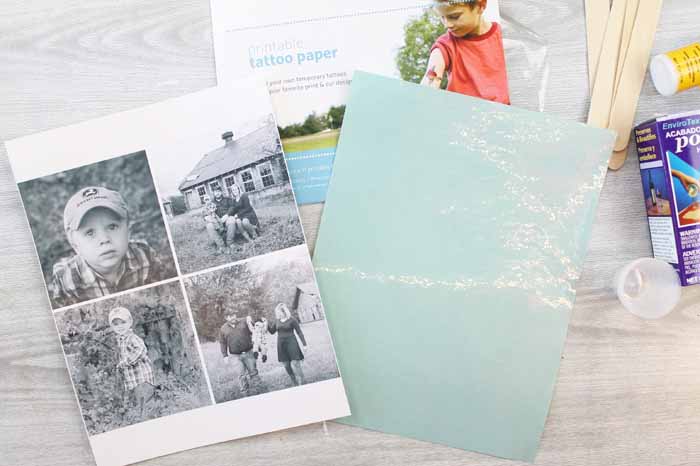
Follow any instructions that comes with your tattoo paper. For this packet, you peel back the liner on the adhesive and put it on top of your printed images. I pressed it down really well using a stir stick like a squeegee.
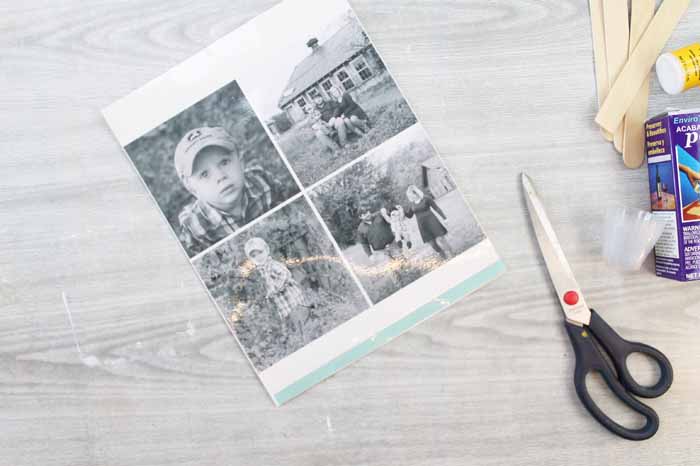
Trace the coasters with a pencil on top of the images. Cut out with scissors.
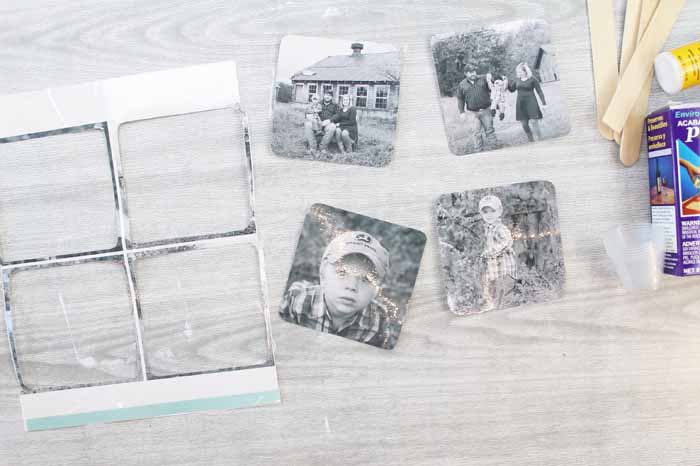
Now just peel away the clear liner to expose the adhesive. Turn the image over with the adhesive down and place it on your painted coaster. Press down really well. Again I used a stir stick like a squeegee to ensure complete adhesion.
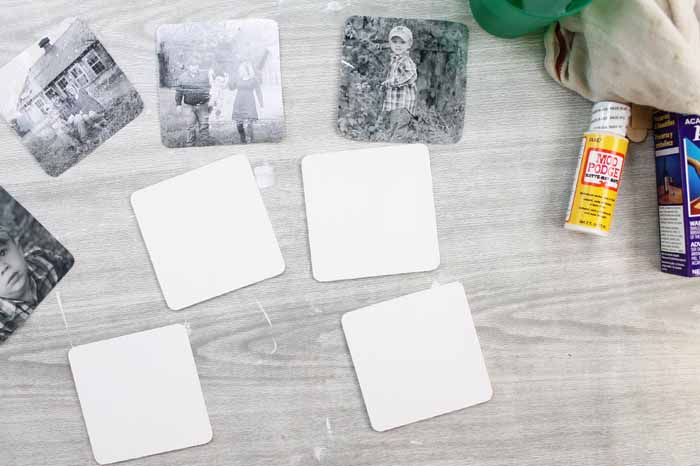
Then use a damp rag on top of the paper that is covering your image. Do not rub. Just press with the wet rag. Eventually the paper will start to lift from the image. Remove the paper and you are left with a gorgeous image on your coaster. This is by far my favorite method for adding a printed image to wood.
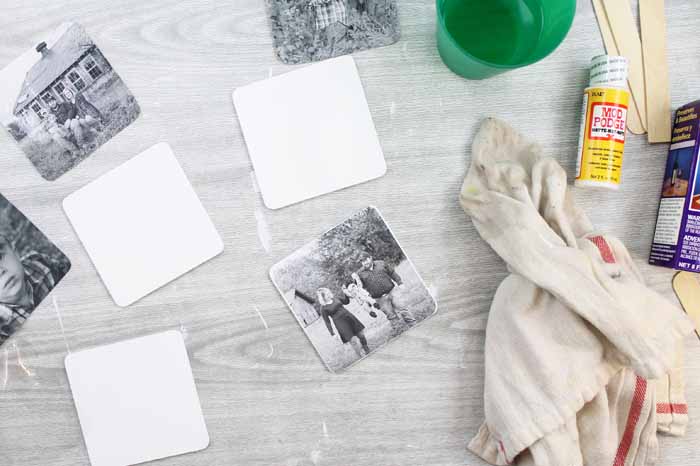
You will need to seal the images before continuing to make your DIY photo coasters. I used two coats of decoupage medium. Apply one horizontally and one vertically allowing to dry in between coats. Also you will want to make sure to get all the way to the edges. Then allow your coasters to dry really well before continuing.
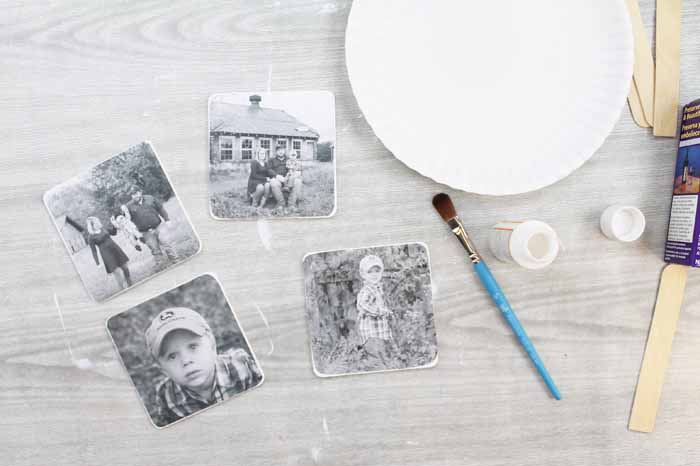
Now it is time to make a glossy, thick coating on your DIY coasters. You will need to protect your work surface. For this, I use paper plates. You will also want to raise your coasters up off the work surface. I just used a clay pot turned upside down for this purpose.
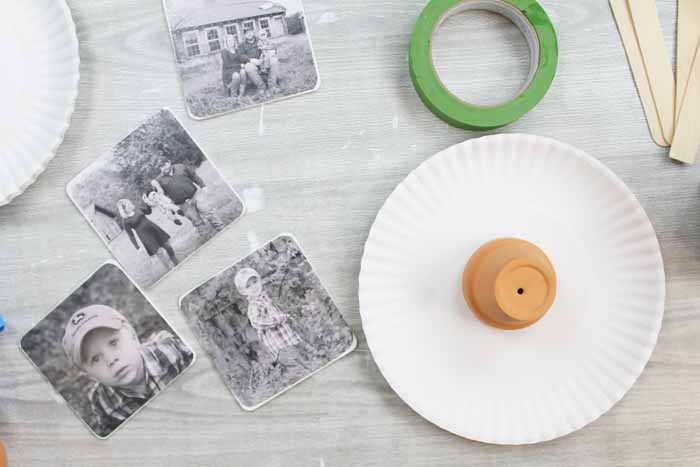
I also like to put painter’s tape around the edges of the coasters to protect the edges. Just apply tape all the way around pressing down well to ensure adhesion. Repeat for all four coasters.
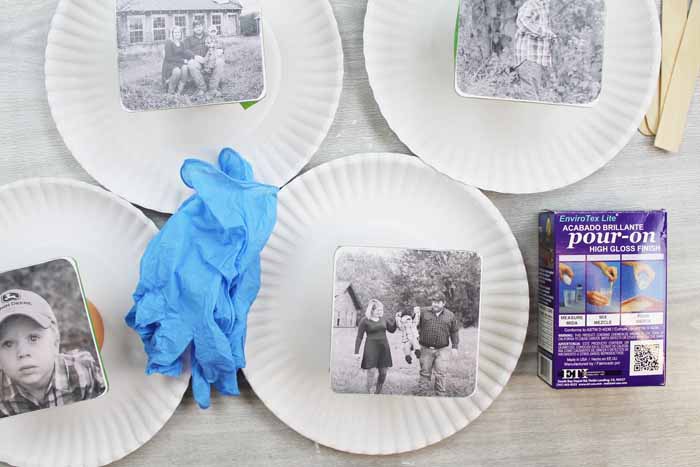
Then put on your protective gloves and start mixing your resin. You will want to follow all instructions that come with the box for this step. Measure equal amounts and use the two container mixing procedure outlined in the instructions.
Once you have completed that, you are ready to pour. I like to pour some resin in the center of my coasters then tilt them to get complete coverage.
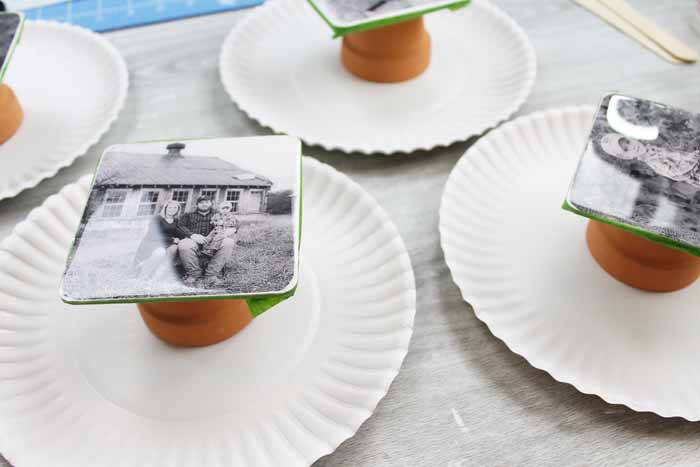
Once covered, I set my coasters on the terra cotta pots over the paper plates. You can then follow the instructions for popping any bubbles that may rise to the surface. I would recommend waiting an hour or so then carefully taking off your tape and wiping away any resin that may have leaked through. Then let your DIY photo coasters rest flat and level until they are fully cured (I do about 24 hours).
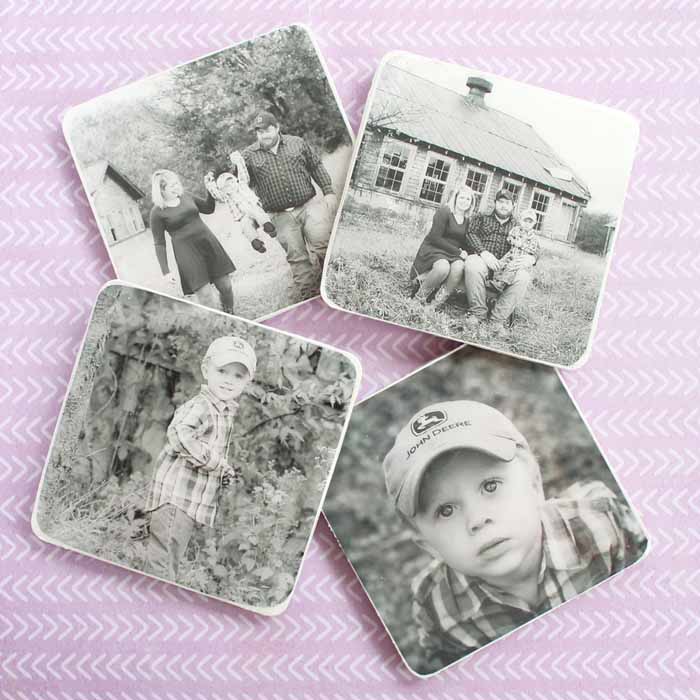
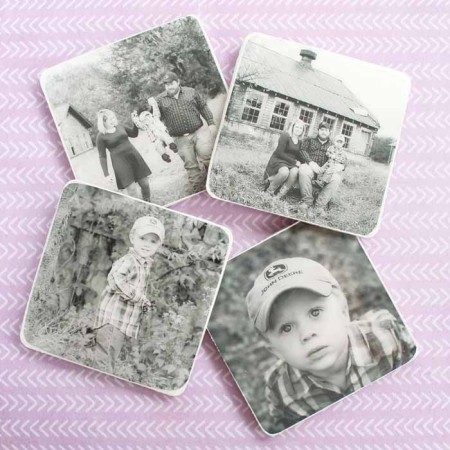
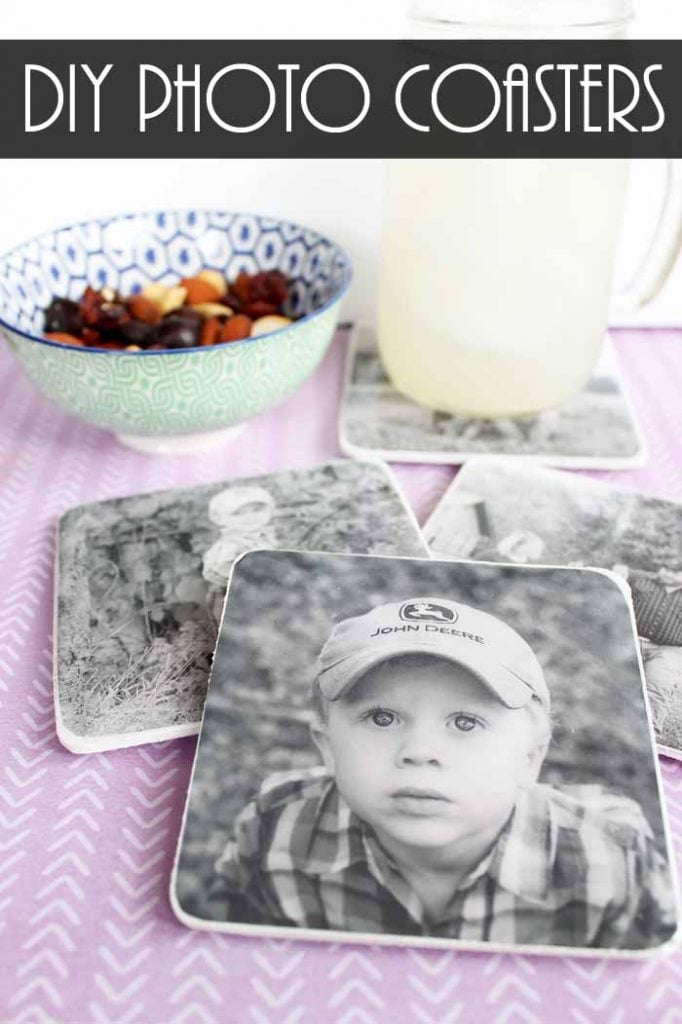
You can tell how glossy they are in the image below! I love the thick professional finish to these and how great they look! Between the awesome tattoo paper transfer method and the epoxy resin coating, these coasters look like you had them professionally made. They are the perfect gift idea for Mother’s Day or any occasion really.
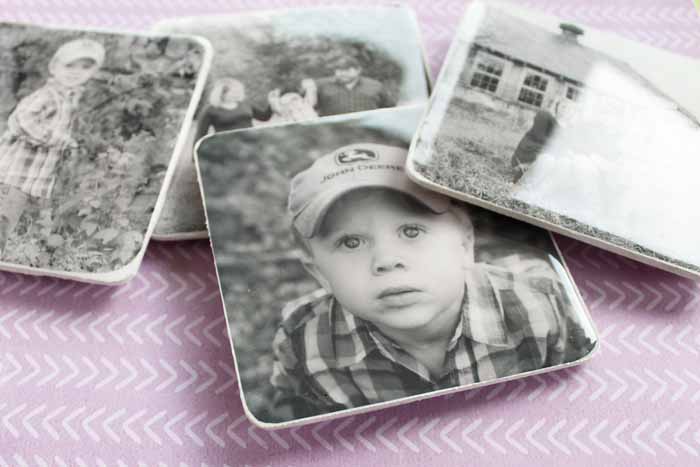
Grab your supplies and do not be afraid of resin! There is a learning curve, however, the results are definitely worth it.
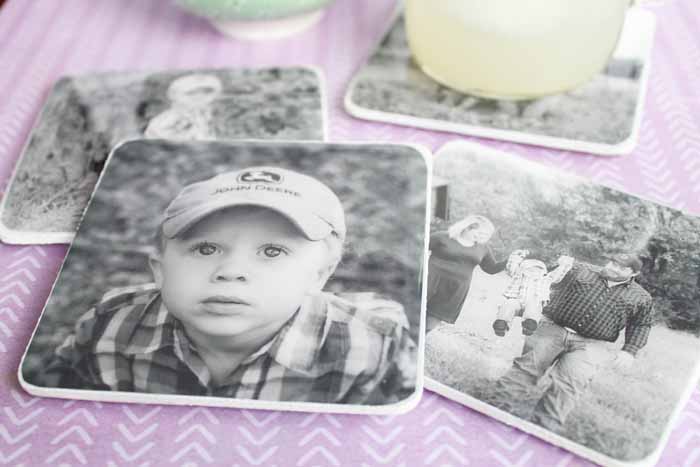
Now, get started picking pictures to make your own DIY photo coasters. You might even make a list of everyone in your life that may need a set!
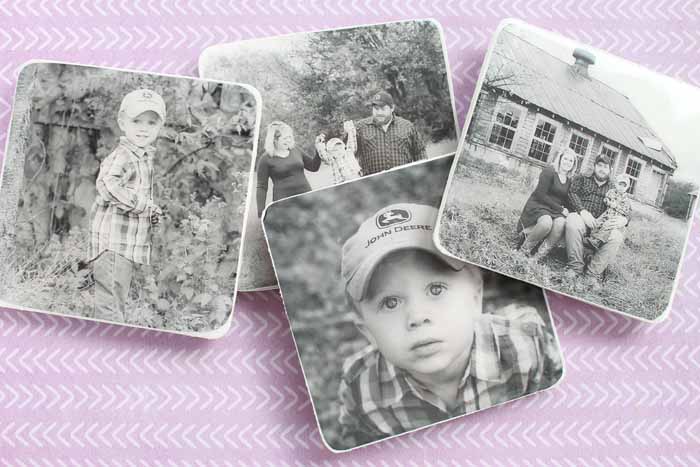
Love this and want more ideas with resin? You can also head to the Resin Crafts blog by clicking here for more ideas from myself and the other paid designers!
Struggling with resin and need help?
I know that a ton of you are intimidated by resin. Don’t be! You just need to know the basics and gain some experience with the medium. I have a course that will help you master epoxy resin and give you the confidence you need to tackle this project and so much more.
With unique insights drawn from more than a decade of creating and selling resin jewelry worldwide, this course is from an Amazon best-selling author on the topic. This class goes beyond making a few projects. You get thirty video lessons to give you clear directions on how to make resin jewelry you can confidently share and sell. Want to see more?
Supplies
Instructions
Prep the Coasters
- Start by painting your coasters. I used two coats of white chalk paint on all surfaces (top, bottom, and sides). Be sure to allow to dry in between coats and also before continuing with the tutorial.
- In the meantime, you can print your images onto your printable tattoo paper. I did mine in black and white. Be sure to mirror your images before printing so they will be the correct orientation when transferred to the coasters.
- Follow any instructions that comes with your tattoo paper. For this packet, you peel back the liner on the adhesive and put it on top of your printed images. I pressed it down really well using a stir stick like a squeegee.
- Trace the coasters with a pencil on top of the images. Cut out with scissors.
- Now just peel away the clear liner to expose the adhesive. Turn the image over with the adhesive down and place it on your painted coaster. Press down really well. Again I used a stir stick like a squeegee to ensure complete adhesion.
- Then use a damp rag on top of the paper that is covering your image. Do not rub. Just press with the wet rag. Eventually the paper will start to lift from the image. Remove the paper and you are left with a gorgeous image on your coaster.
- Seal the coasters with two coats of decoupage medium. Apply one horizontally and one vertically allowing to dry in between coats. Allow to dry.
Add Resin
- Prepare to mix the resin by protecting your work surface: Place paper plates under each coaster. You will also want to raise your coasters up off the work surface. I just used a clay pot turned upside down for this purpose.
- Apply painter’s tape around the edges of the coasters to protect the edges.
- Then put on your protective gloves and start mixing your resin, following the directions on the box. Measure equal amounts and use the two container mixing procedure outlined in the instructions.
- Once covered, I set my coasters on the terra cotta pots over the paper plates. You can then follow the instructions for popping any bubbles that may rise to the surface.
- Remove painter's tape after an hour or so.
- Let your DIY photo coasters rest flat and level until they are fully cured – about 24 hours.



These are such a fun idea and a perfect way to capture memories
Dear Angie, what a great gift idea! Thanks for sharing the photo coaster post at my latest link party. I hope to welcome you back soon,
warm regards,
Dagmar Bleasdale
I love this idea!! I had never heard of this product, so this was really interesting for me! Pinning! 🙂 Lisa
That face! This is a feature on my page for the Merry Monday party! Thank you Angie for joining the party! Hope to see you this week! laura
Hi Angie,
can I use preprinted photos for this?
You can. You will need to Mod Podge it down to the surface.
I love this idea, and your instructions were very clear. Would I be able to use ceramic or glass coasters if I prime them first?
I am not sure but it may be worth a try!
What did you print your photos on, and how did you mirror them?
I used a printable tattoo paper. You can find the link in the post. Most printer’s have a mirror image option on the printer settings. That is where I mirrored mine.