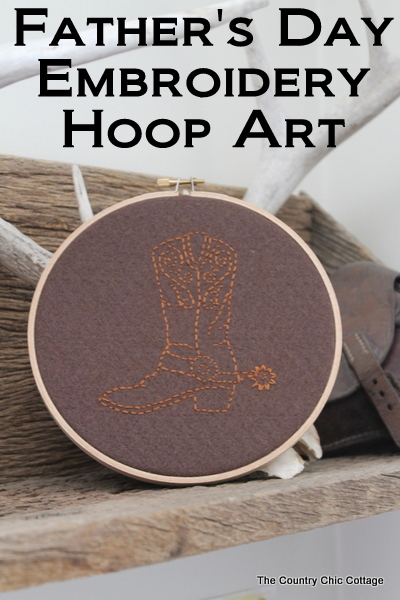
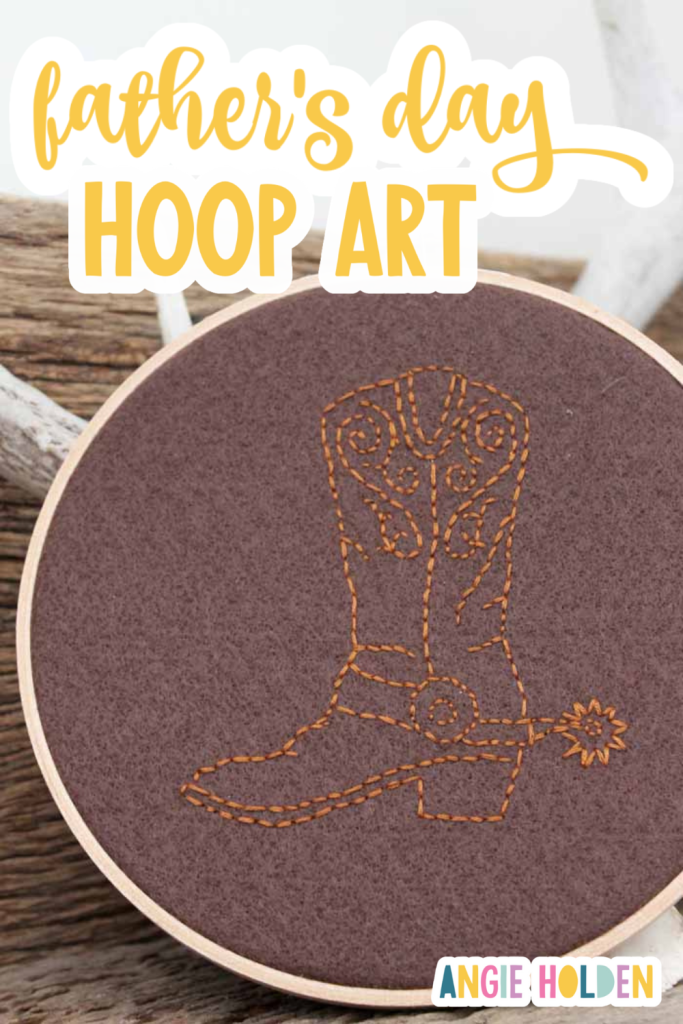
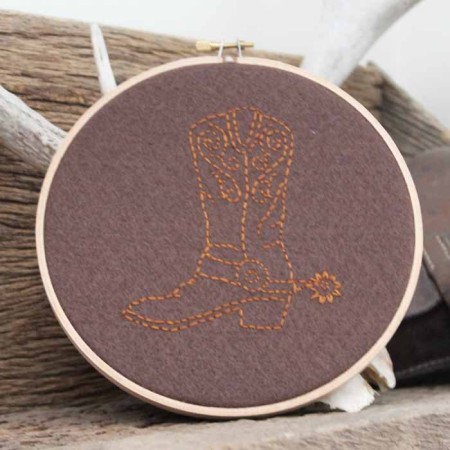
If you’re looking for a great Father’s Day gift idea, look no further than this Father’s Day embroidery hoop art. Embroidery gifts are great for men who enjoy art as well as the man who “has everything!”
Do you have a hard time getting gifts for the men in your life? You and me both! I’ve been wracking my brain to come up with a new idea that even the man who has everything will appreciate.
Well, I think I’ve done it! I have a really great method to make Father’s Day embroidery hoop art for you today. This is a simple project that older kids can make for dad.
Plus, it’s a great way to pass on the art of embroidery and sewing to the next generation by starting them off early. This super simple project is a great place to begin.
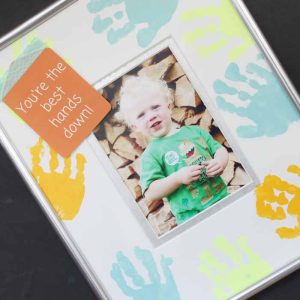
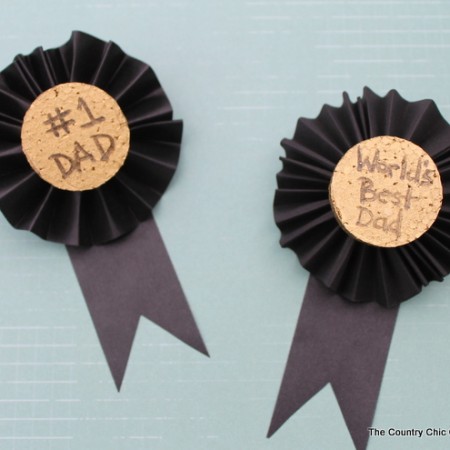
If you want inspiration from Father’s Day, check out my Free Father’s Day Printable Card for Dad, Father’s Day Gift | Trophy for Dad, and DIY BBQ Rub Gift ideas!
How To Make Embroidery Gifts For Father’s Day
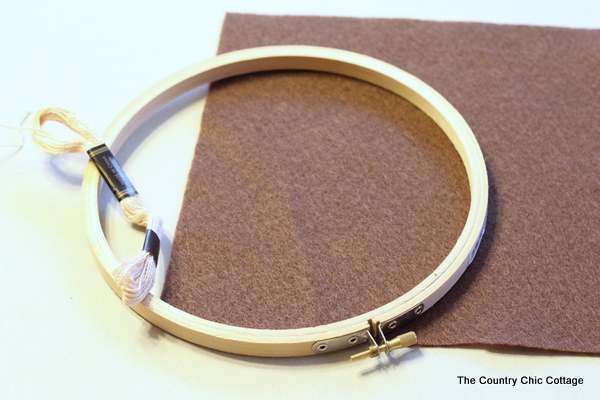
Here is everything you will need to have on hand for making these Father’s Day embroidery gifts. I even included a few links to help you find what you need faster.
Supplies Needed
Instructions
Just follow these step-by-step instructions. If you’ve been hesitant to start embroidering (or teaching your kids how to do it), you’ll LOVE how easy and simple this project is to complete!
Step 1
Pick an image from the internet that you would like to embroider onto your felt.
Pro Tip: Consider the skill level of the person that will be making the art when choosing your image. Simple images work best, especially for children.
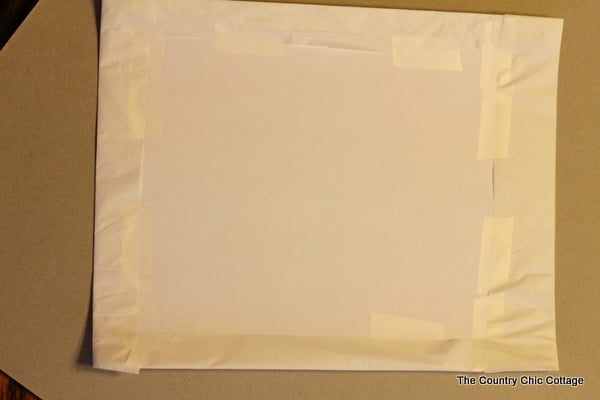
Add your tissue paper to your card stock, as shown in the image below, by taping it to the back.
Step 2
Size your image to the desired finished size of your project. Run the tissue paper through your printer just as if you were printing on paper. You now have your image transferred onto the tissue paper.
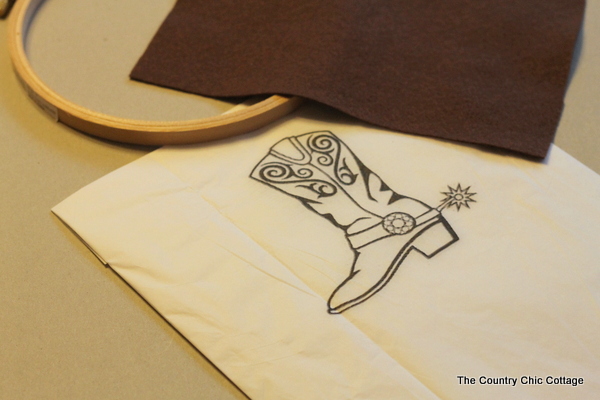
Step 3
Carefully remove the tissue paper from the card stock and add your tissue paper and felt to the embroidery hoop.
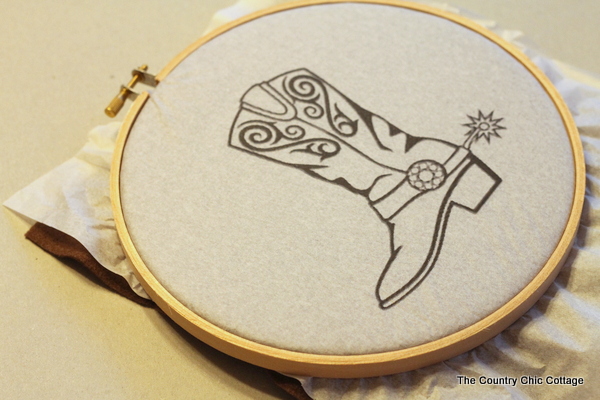
Step 4
Trace all of the lines of your image with embroidery thread.
The image becomes your pattern with this method, making the entire project super easy and perfect for beginners!
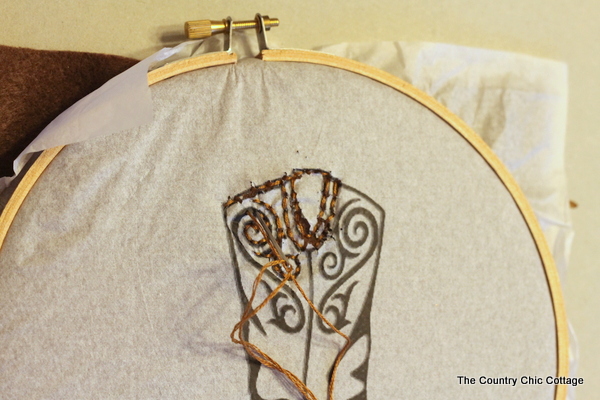
Step 5
Complete all of the lines with your embroidery thread.
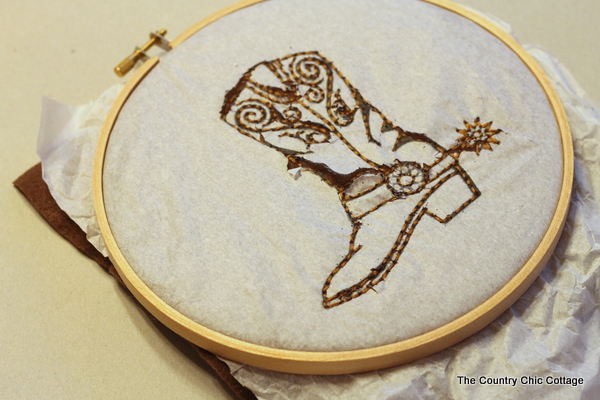
Step 6
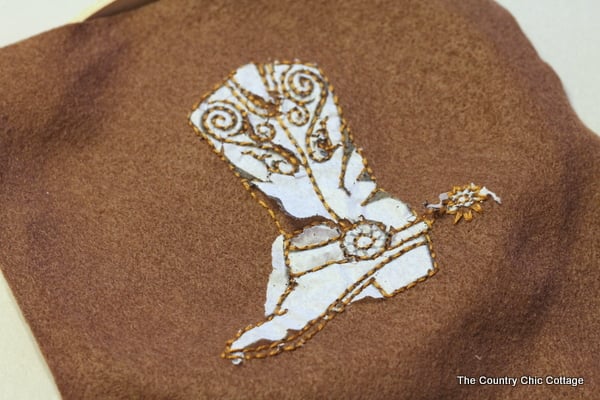
Remove from the embroidery hoop and rip away all of the tissue paper. It will tear away from your image, leaving only the stitches behind.
Note: You may need to grab a few small pieces with tweezers.
Step 7
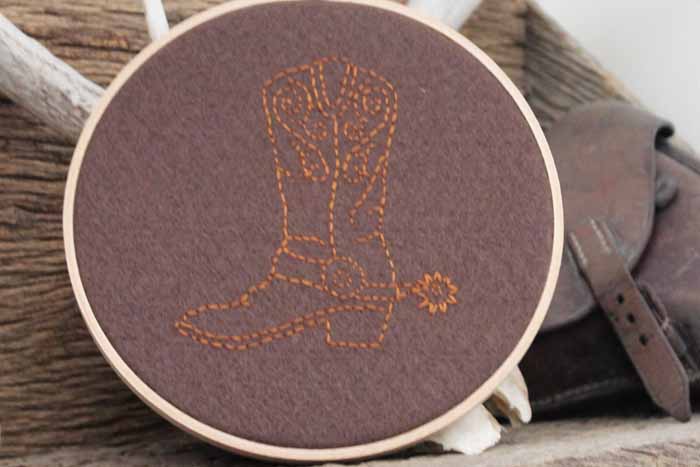
Add the felt piece back to your embroidery hoop (so that the hoop acts as a frame), then trim away any excess felt. You could also frame your embroidered piece at this point instead of adding back to the hoop.
Add this great piece to your home decor, or wrap it up as a gift for dad!
FAQs
Here are a couple of questions that I see readers ask about making these embroidery gift ideas like this project. Please check to see if I’ve already answered it below if you have a question. Don’t see it? Leave it for me in the comments!
What can you make out of embroidery?
You can choose any image you would like to embroider as a gift. The tissue paper image technique makes this project very easy to do successfully, so it opens the door for beginners and older kids to try something new.
Try these ideas of images to embroider onto your personalized embroidery gifts:
- A grill for dads that love to cook
- Deer head for the father who loves to hunt
- Mountain scene for dads who love nature
- Fish for dads who enjoy fishing
- A tent for fathers that go camping
The possibilities are endless! With this method, you can take nearly any image and turn it into Father’s Day embroidery hoop art.
How do you display embroidery gifts?
This is where the “frame” comes into play.
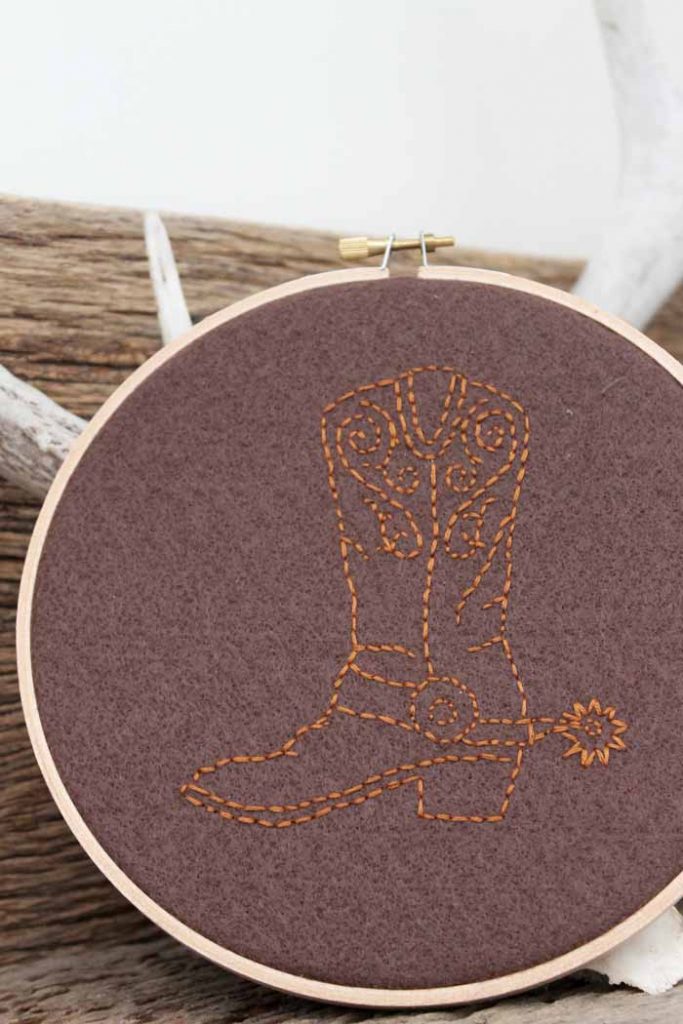
One option is to keep your embroidery gift in an embroidery hoop (and enjoy its rustic vibe). This is the cheaper and faster option since all you have to do is trim off the excess felt to have a clean back and display the hoop for all to see. You can place it on a mantle, desk, or table or hang it up on a nail on the wall.
Another option is to remove the felt from the embroidery hoop and add it to a more traditional frame!
Find one that fits your design in size and style. Add the felt to the frame. Depending on how it looks, you may want to add matting (to hide the edges).
I hope you love this easy embroidery gift project as much as we do. I’d love to see what you (and your kids) create for Father’s Day this year!
More Father’s Day Inspiration
Check out even Father’s Day gift ideas that you can easily make!




Instructions
- Choose an image that you would like to embroider onto your felt.Attach your tissue paper to the piece of cardstock with tape.
- Determine the size you want your image to be. Print the image onto your tissue paper by sending the tissue-covered cardstock through the paper.
- Carefully remove the tissue paper from the piece of cardstock and add it to the embroidery hoop on top of the piece of felt.
- Embroider over the lines of your image, using the image as your pattern.
- Finish embroidering the image.
- Remove the felt and tissue paper from the embroidery hoop. Then remove the tissue paper from the felt. Feel free to use tweezers to remove any small pieces of tissue paper that remain on the felt.
- Prepare your art for gifting or to display by returning it to the embroidery hoop and trimming off any excess felt. Or you could add your piece to a frame for display.

