Today, I'm going to use glass mugs in the Cricut Mug Press. Why is that? There have been quite a few videos of people using their glass sublimation mugs inside the Cricut mug press, and the Cricut mug press actually breaking when they use those. To the point that those people haven't been able to use their mug press anymore. I have used my mug press for different glass sublimation blanks, like glass beer steins in this post, however, I've never done them back to back. Today I have tons of glass sublimation mugs and we are going to see what happens when we sublimate on those with the Cricut Mug Press. Will we break it? Will we not? You need to stick around to find out.
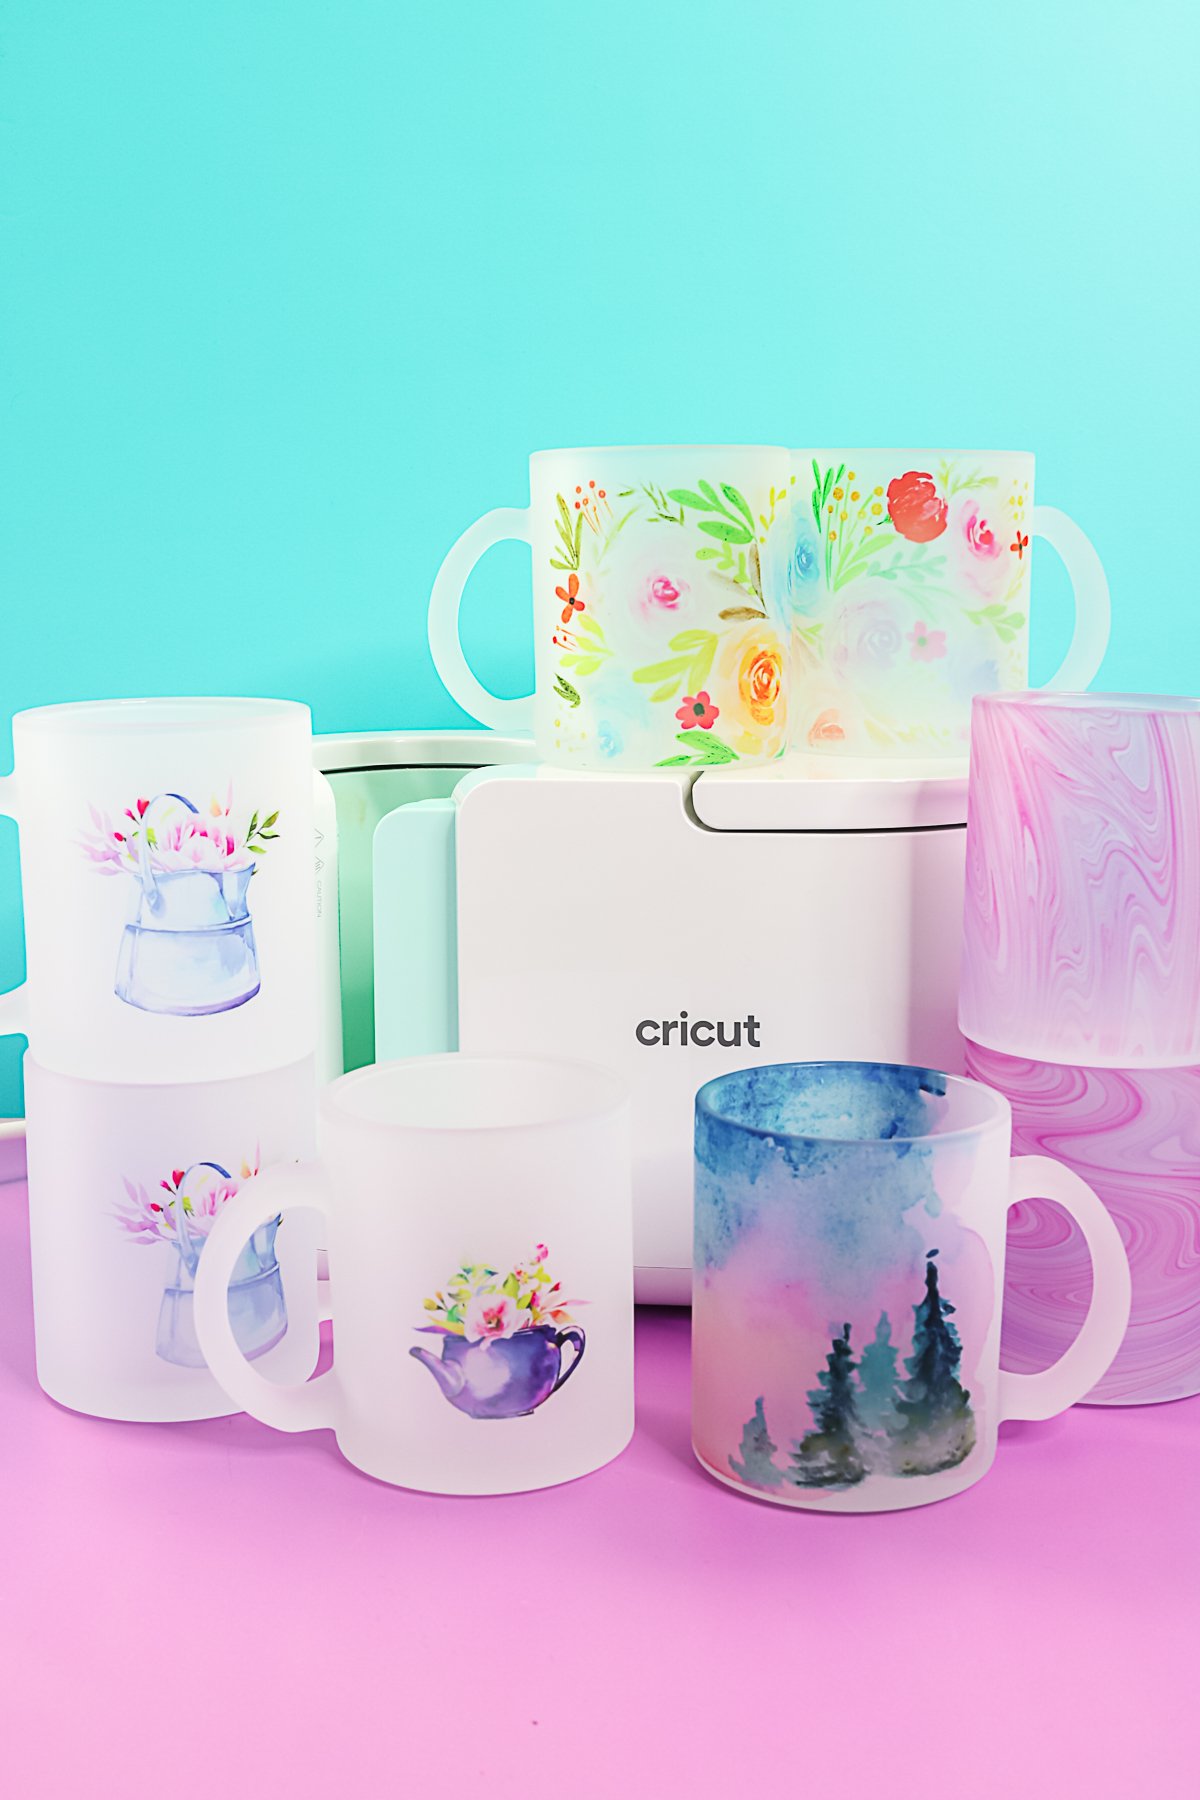
Glass Mugs in the Cricut Mug Press
If you want to watch my tests, just click play on the video above. I walk through each test and my findings with the Cricut Mug Press. You can then see if the glass will break the Cricut Mug Press or not!
Can't watch the video or missed some of the information? You can keep reading below to see my results!
Supplies Needed
- Cricut Mug Press
- Glass sublimation mugs (I am not linking these for reasons stated at the end of this post.)
- Watercolor floral
- Watercolor trees
- Flowers in pots
- Pink Marble
- Sublimation printer with sublimation ink (I am using my converted Epson EcoTank printer.)
- Sublimation paper
- Heat resistant tape
- Heat resistant mat
- Protective paper
- Heat Resistant Gloves
- Lint Roller
Preparing the Glass Mugs
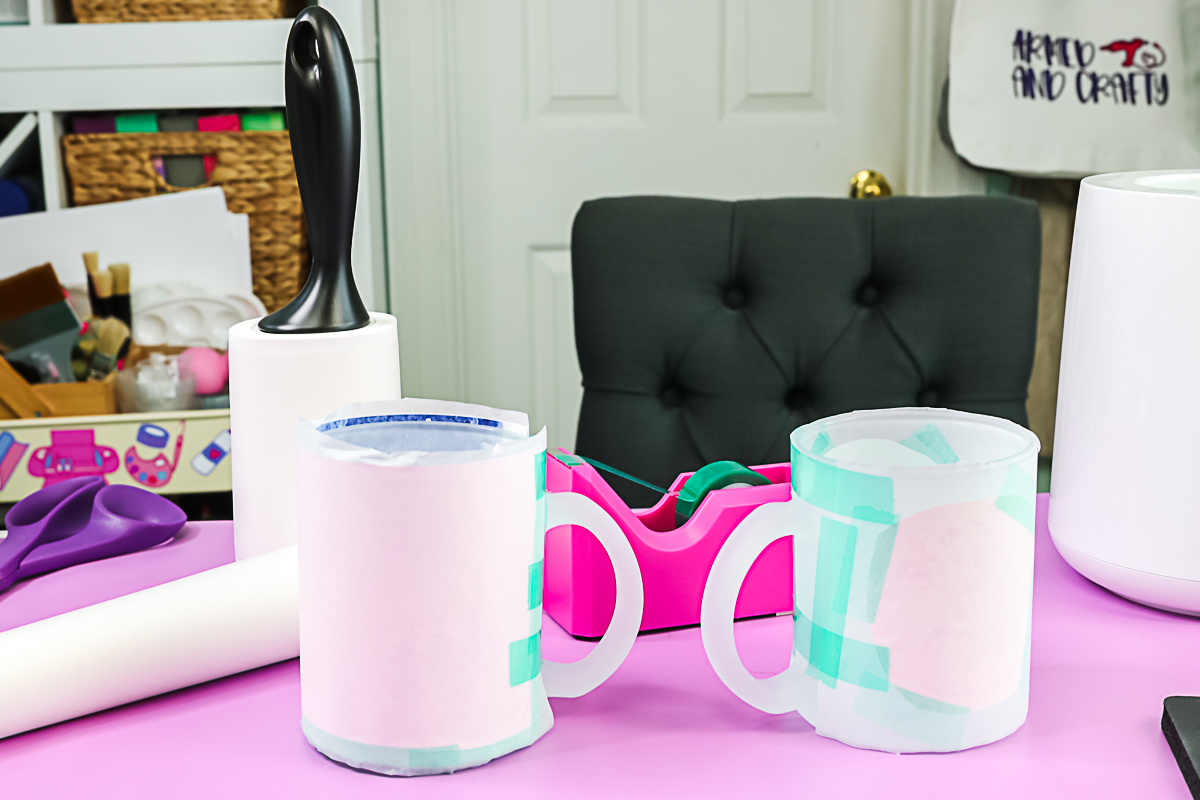
I am using a sublimation print with each of my mugs. Lint roll the mug and tape your design into place. I like to tape down the sides, as well as all the way around the bottom. Then I like to cover my sublimation print with some protective paper all the way around the outside. I'm using sublimation protective paper, but butcher paper would work here as well. I just cover the entire thing with the protective paper, and tape the paper into place. Once it is covered in paper, it is ready to put into the Cricut mug press.
Cricut Mug Press Settings and Lights
The Cricut Mug Press does not really have time and temperature settings. The mug press comes set at a certain time and temperature, and every time you put a mug in, it looks for the blank temperature to reach a certain point. It chimes, and you remove it from the mug press. However, Cricut did release instructions to turn the temperature down and up slightly, but I thought that wouldn't be fair for this test. If the glass mugs will indeed break the mug press, I don't want to recommend using them at all. I'm leaving the standard time and temperature that came programmed on my mug press. I'm not going to change it at all.
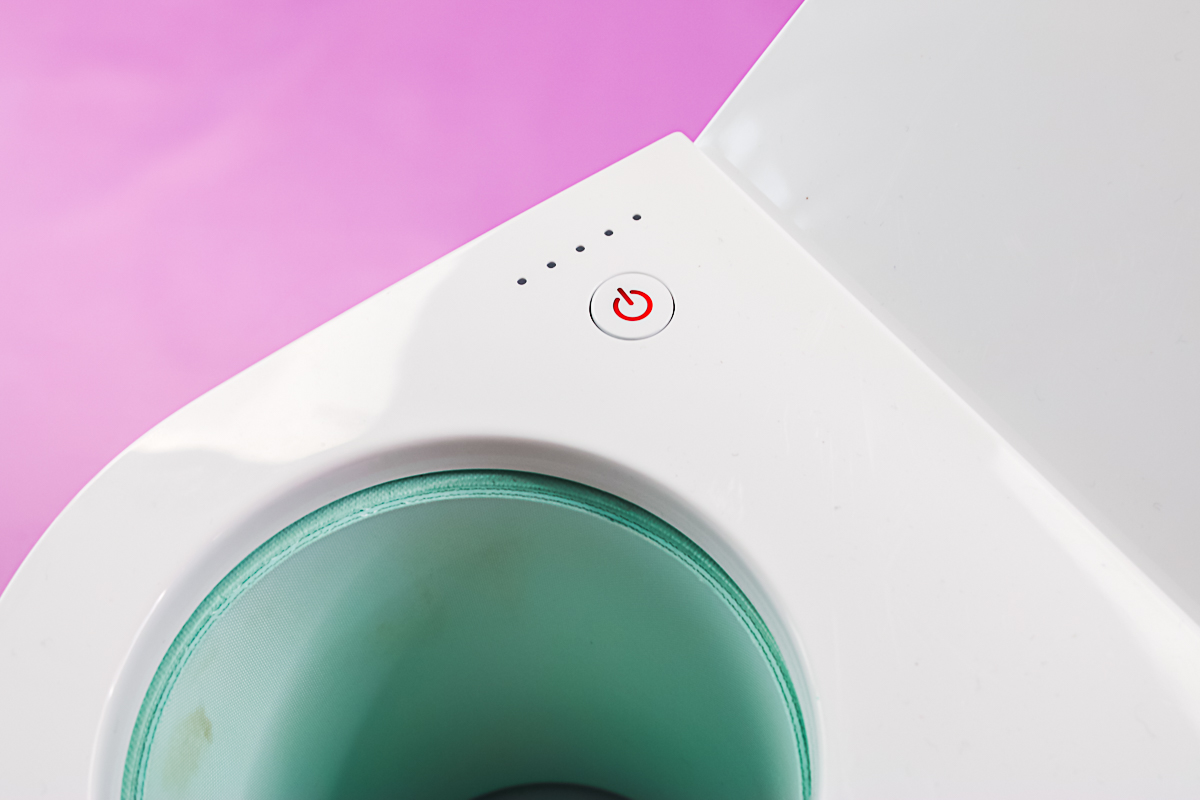
The press has one button and that is the power button. Here are the colors and meaning of that light:
- No light – standby mode
- Orange flashing – connect mode
- Solid orange – heat mode
- Solid red – error detection
There is also an LED progress bar that can be used to track transfer progress. It will light up as the mug is pressed and the closer to the end it gets, the closer your mug is to being complete. So, we will be looking for a solid red light or orange flashing light to indicate that something is wrong with the press during these tests.
Pressing Glass Mugs in the Cricut Mug Press
Put the mug inside of the press and close the handle. The mug press will start timing with the LED strip lights. Be sure the mug handle is centered in the opening especially if you are doing a full wrap design.
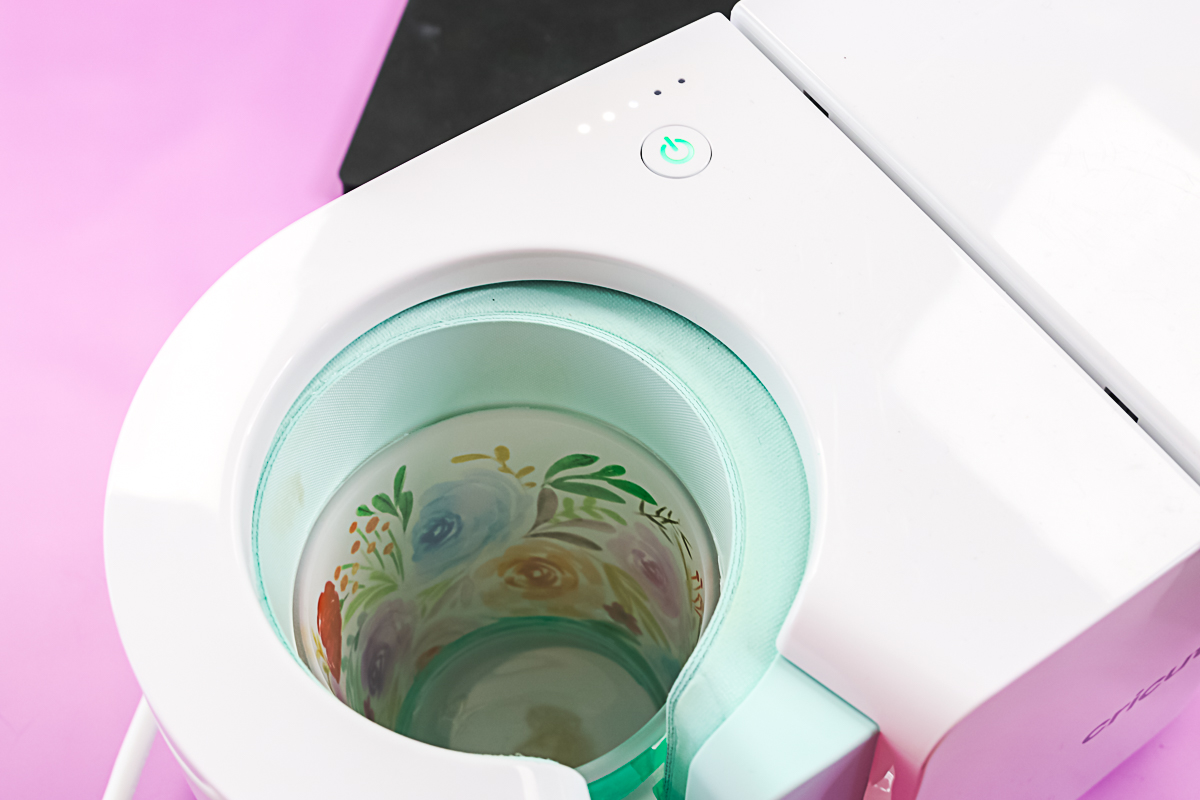
Wait for the mug press to start beeping then lift the handle. I like to wear heat resistant gloves to remove my mug and set them on a heat resistant mat to cool slightly before removing the paper from the outside.
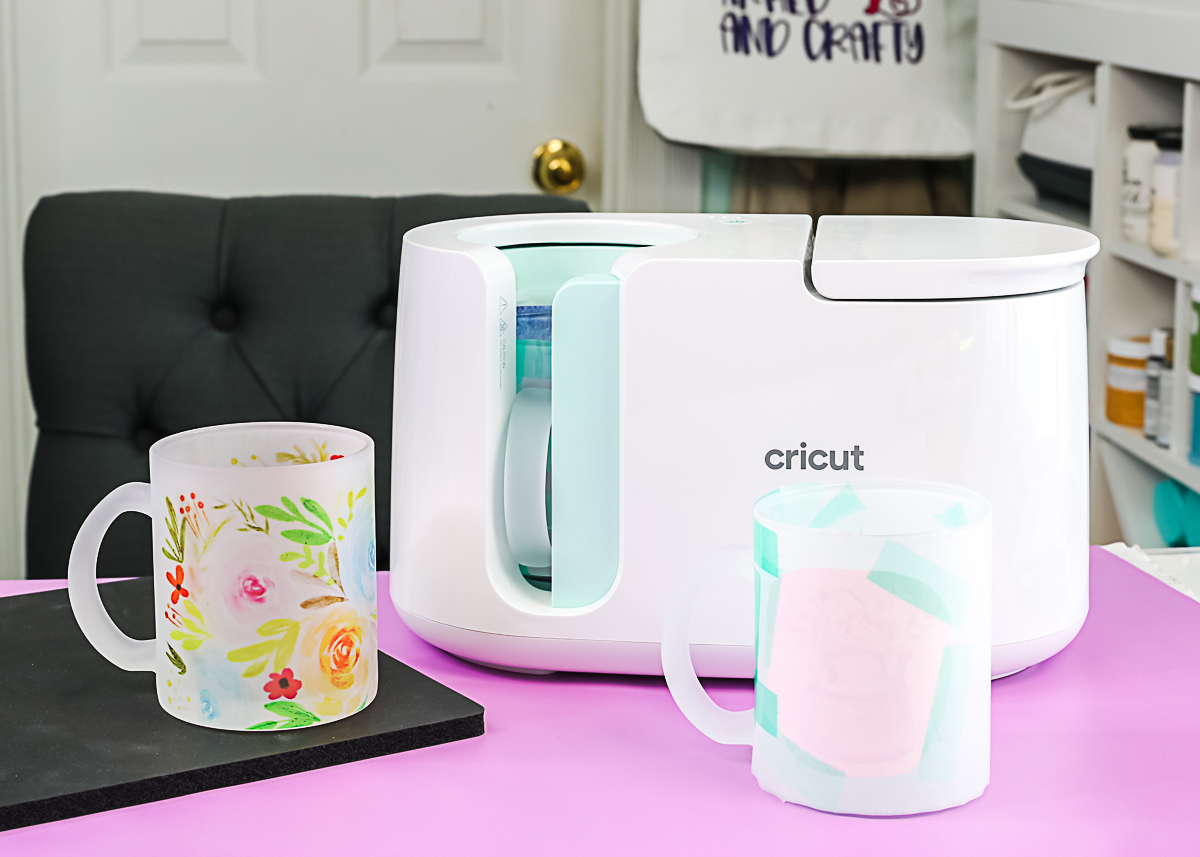
Results from Pressing Glass Mugs in the Cricut Mug Press
I did a ton of experimenting with glass mugs in the Cricut Mug Press and you can see them all in the video above. Here is a summary of my results:
- First mug – pressed fine with zero issues and the sublimation looked great.
- Second mug – this was pressed directly after the first with zero issues. Again everything looked great after removing the paper from the mug.
- Third mug – I immediately pressed a third mug after the second one was complete. While the press worked and heated correctly, the timer did mess up. This is not an uncommon issue with the mug press. I believe on some blanks it gets hot and the timer does not work. In these cases, I generally use my phone to time for about 5 minutes. In this case, I removed this third mug and allowed the press to cool a bit to see if that would help. It didn't and I ended up timing this one with my phone. The results were still really great, however.
- Fourth mug – I put this one in right after the third one finished and the timer again went out almost immediately. The mug press worked correctly as far as heating so I once again used my phone as a timer. The mug itself came out great.
- Fifth mug – once again I added this one right after the fourth mug was complete. The timer once again did not work so I used my phone to time the blank since the press was still hot. The mug looked great after pressing once again.
- Sixth mug – this time I turned the press off for a few minutes and prepped a Cricut mug blank instead of a glass mug. I wanted to see if the timer would work for their mugs versus the glass mugs. I unplugged the mug press and plugged it back in then heated it up. The mug press worked as well as the timer on this one. Plus I got a gorgeous sublimation mug.
- Seventh Mug – right after the Cricut mug blank above, I added another glass mug to the Cricut Mug Press. The timer went out again and didn't work on this mug. I used my phone timer and once again the results were fine.
- Eighth Mug – I actually turned the press off at this point and let it completely cool down. I wanted to see if it would heat back up after being off for a while. I then heated up the press and added the eighth mug. This one worked fine including the timer plus the results were once again amazing.
- Ninth Blank – this time I used a glass beer stein instead of a mug. I did this because the beer steins are clear glass and my mugs are frosted. These beer steins have to be pressed in the mug press upside down and I have made them before. The mug press worked fine on this blank, however, the beer stein did crack from the heat. I did wipe it down with rubbing alcohol before pressing to remove some debris so that may have been a factor.
- Tenth Mug – I once again had to use the timer on my phone for this one but it worked great.
- Final test – this time I turned off the mug press, unplugged it, and allowed it to sit over night. I turned it back on and once again it heated up fine and there were zero issues with the press itself.
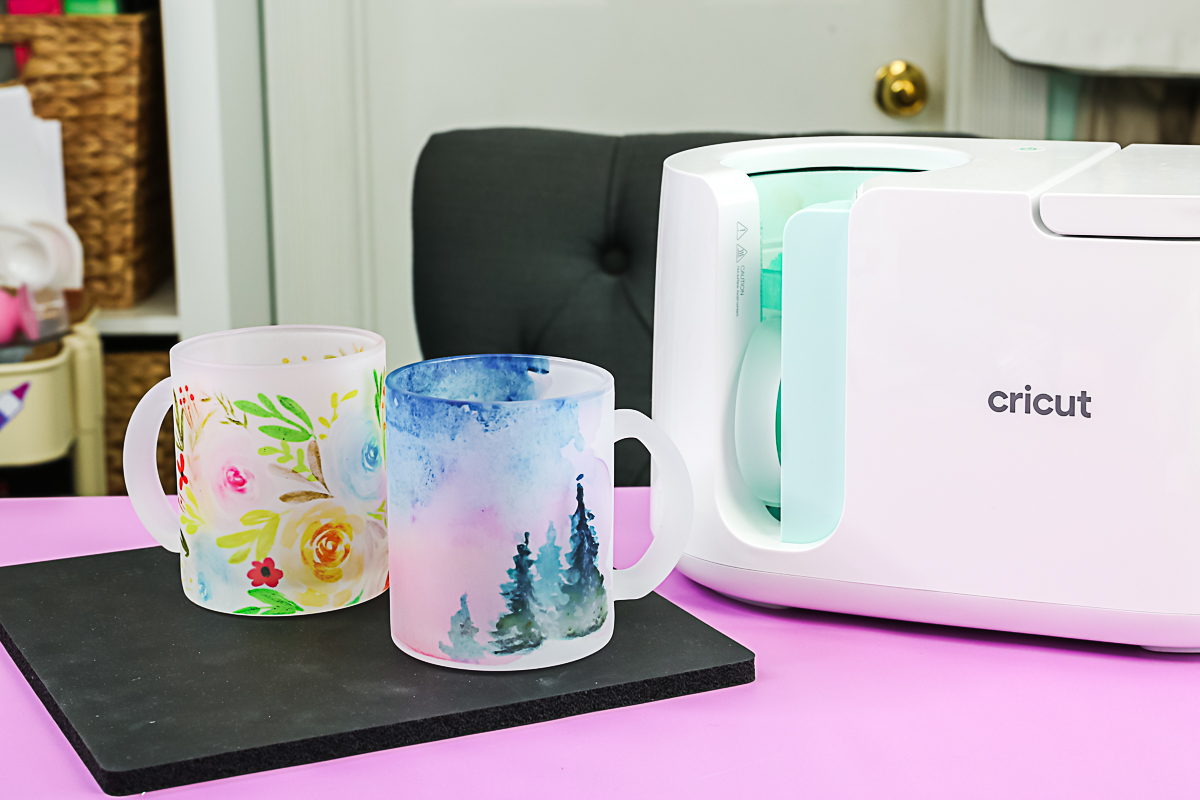
Timer Issues
When the indicator lights do not go all the way across and just stop lighting up altogether, that means the timer isn't working. That isn't too uncommon with the Cricut mug press. I have that problem all the time when I'm doing tumblers. I generally time it with my phone when it does this. It seems to happen very often with glass mugs in the Cricut Mug Press. I found 4 1/2 to 5 minutes worked fine for these sublimation prints.
Did the glass mugs break the Cricut Mug Press?
I actually didn't have any issues with my glass mugs in the Cricut Mug Press except for the timer issues mentioned and the glass beer stein cracking. The mug press itself is still working fine. So, why do glass mugs seem to be breaking other peoples' mug presses? I do have a theory.
These glass mugs were the most inconsistent sublimation blank that I've personally ever used. I had eight of them in total. The sides were super inconsistent. They are supposed to be a straight wall sublimation blank. With the Cricut mug press, you should always use a straight wall blank. These are extremely wavy, and you can even see it in some of the sublimation. Some of it is lighter in some areas than in others. That's because there's a dip in the mug where the light area is.
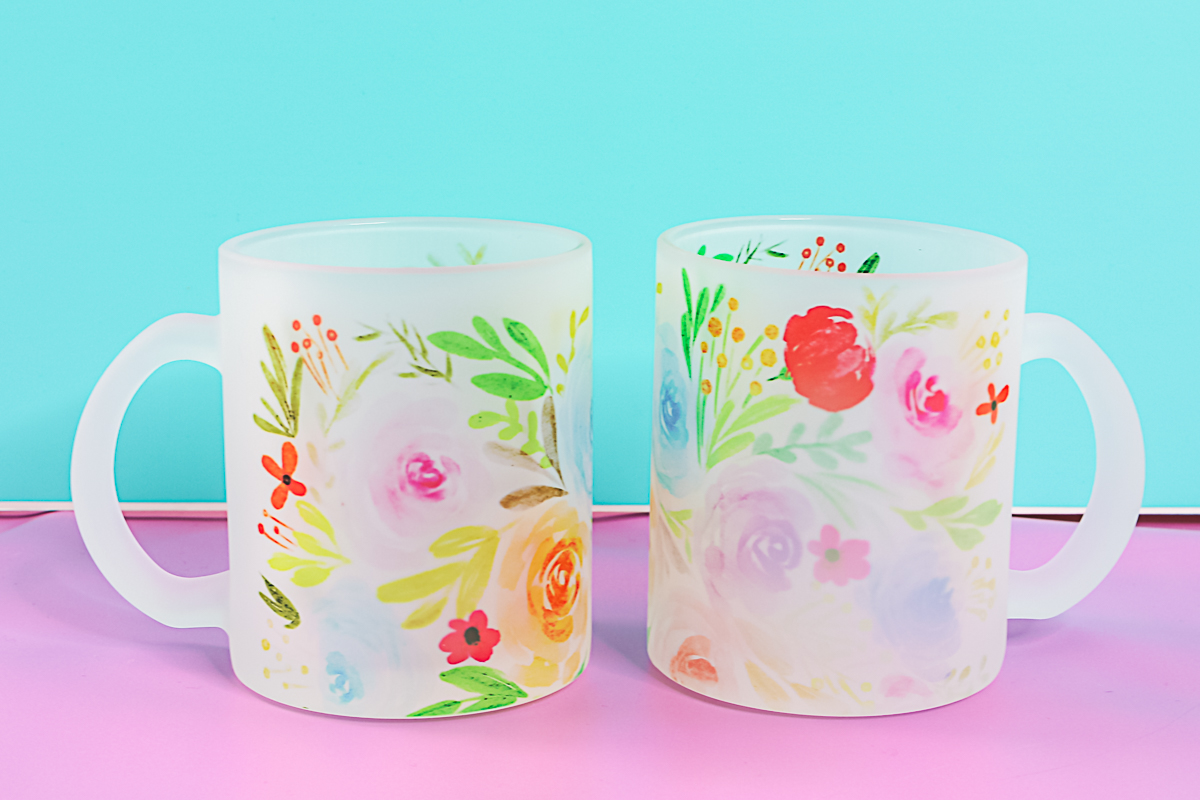
The glass mugs also varied in diameter. With the Cricut mug press, you should use mugs that are a diameter of 3.2 inches to 3.4 inches. That means if you measure all the way from side to side, it should be 3.2 inches to 3.4 inches. It is a pretty narrow margin. These mugs were supposed to be towards the smaller side. I noticed as I was doing the tests that some of them fit way looser than other mugs.
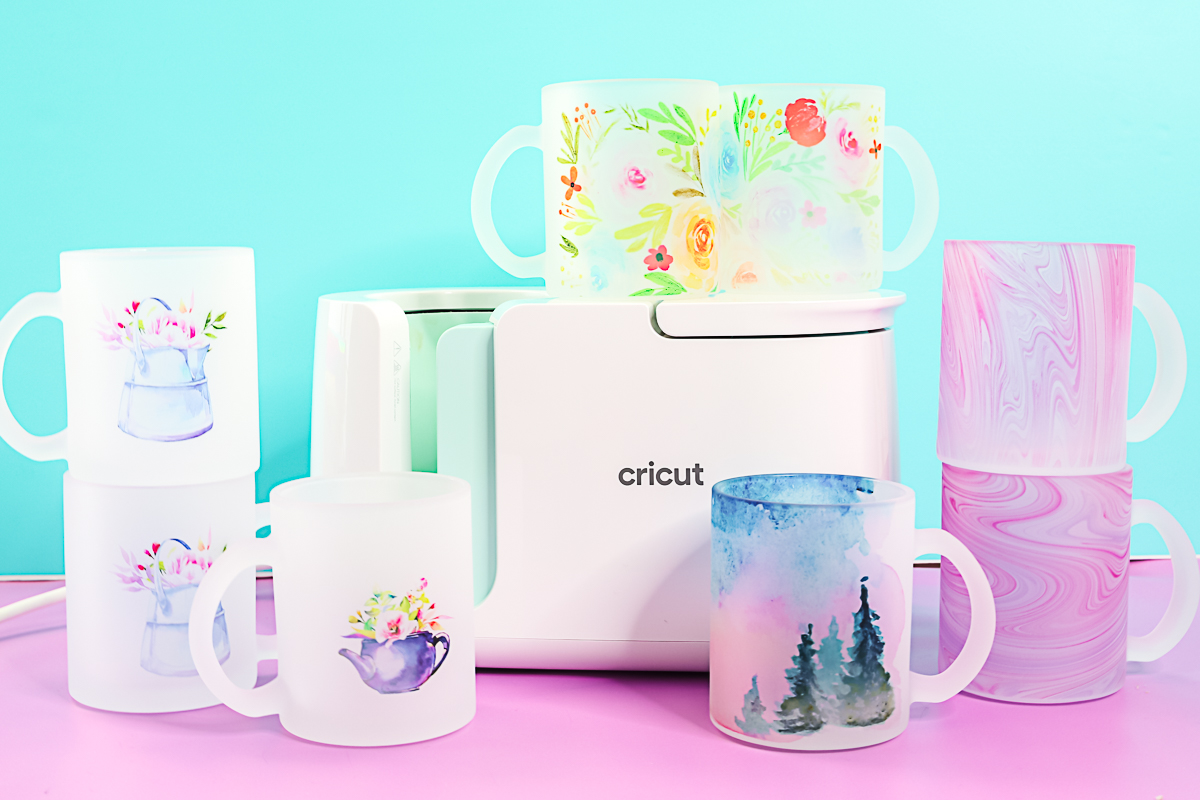
My thoughts are that some people are getting a batch that is super inconsistent, and on the low side in either diameter or even some that are not at all straight. I think that may be causing their mug press to break. That's just my opinion, but my feeling on why some people are breaking their mug press with glass mugs.
My final thoughts are that glass mugs in the Cricut Mug Press would really be at your own risk. I really think you could do glass mugs fine in something like the tumbler press. It has way more adjustment to account for the variation in the glass mugs. Whereas the Cricut mug press, you really need to be in between 3.2 to 3.4 inches.
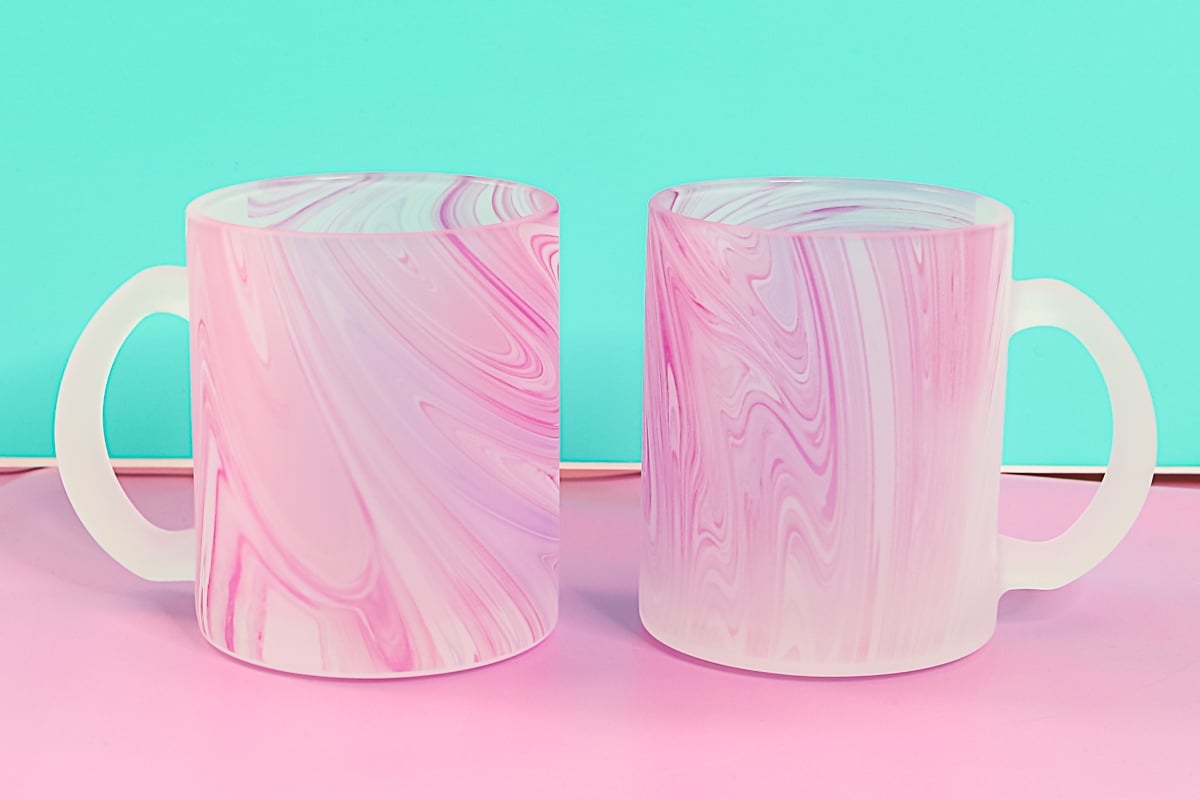
When you get any blank that's on the small side, you're definitely going to see it with the mug press which could result in it breaking. At that point, Cricut would not be able to replace it as you used a sublimation blank that was not the correct size. Just from the variation I saw, I'm fairly convinced that there are some bad mugs out there that are even smaller and vary even more on the sides as far as being a straight wall
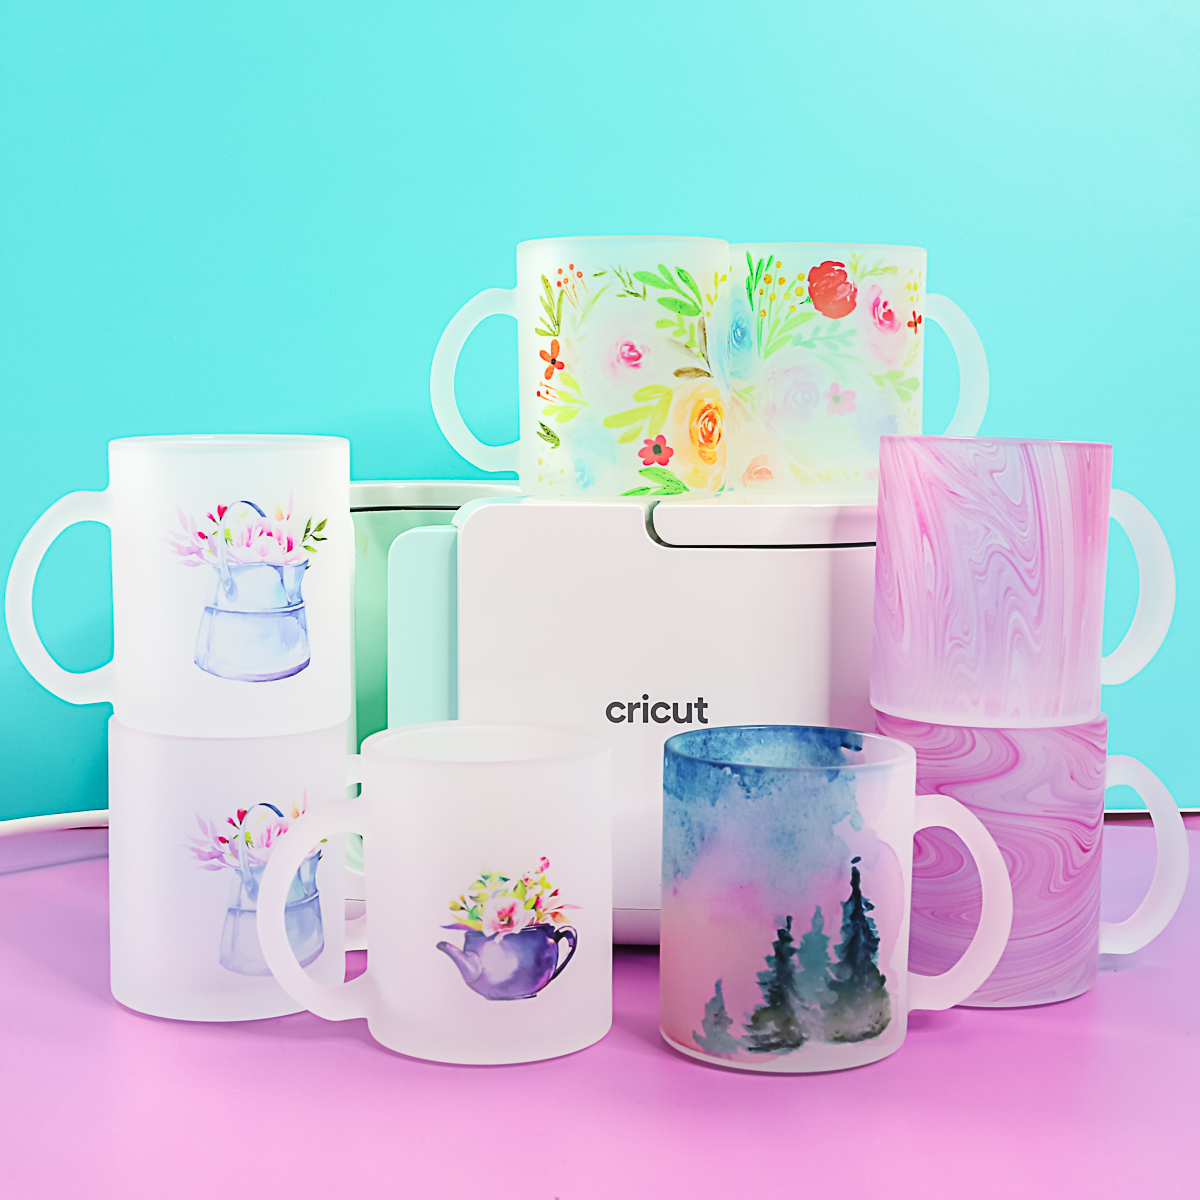
I'm not saying that glass mugs aren’t amazing. I'm just saying that maybe they're not right for the Cricut mug press because I feel like there is a chance that you might break your mug press. Stick with the ceramic mugs, and just make sure you stay within that range at 3.2 inches to 3.4 inches in diameter. I've seen other people do the glass mugs and not have any problems with their mug press, and then I've seen people do glass mugs and have issues with their mug press. I definitely think maybe the variation is the key there, and you never know what you're going to get when you order the glass mug sublimation blanks. That’s my best advice on glass mugs in the Cricut mug press.



Hi tried a glass tumbler and now showing up error E04 just middle light do you know how i can fix this ?
You can try calling Cricut.