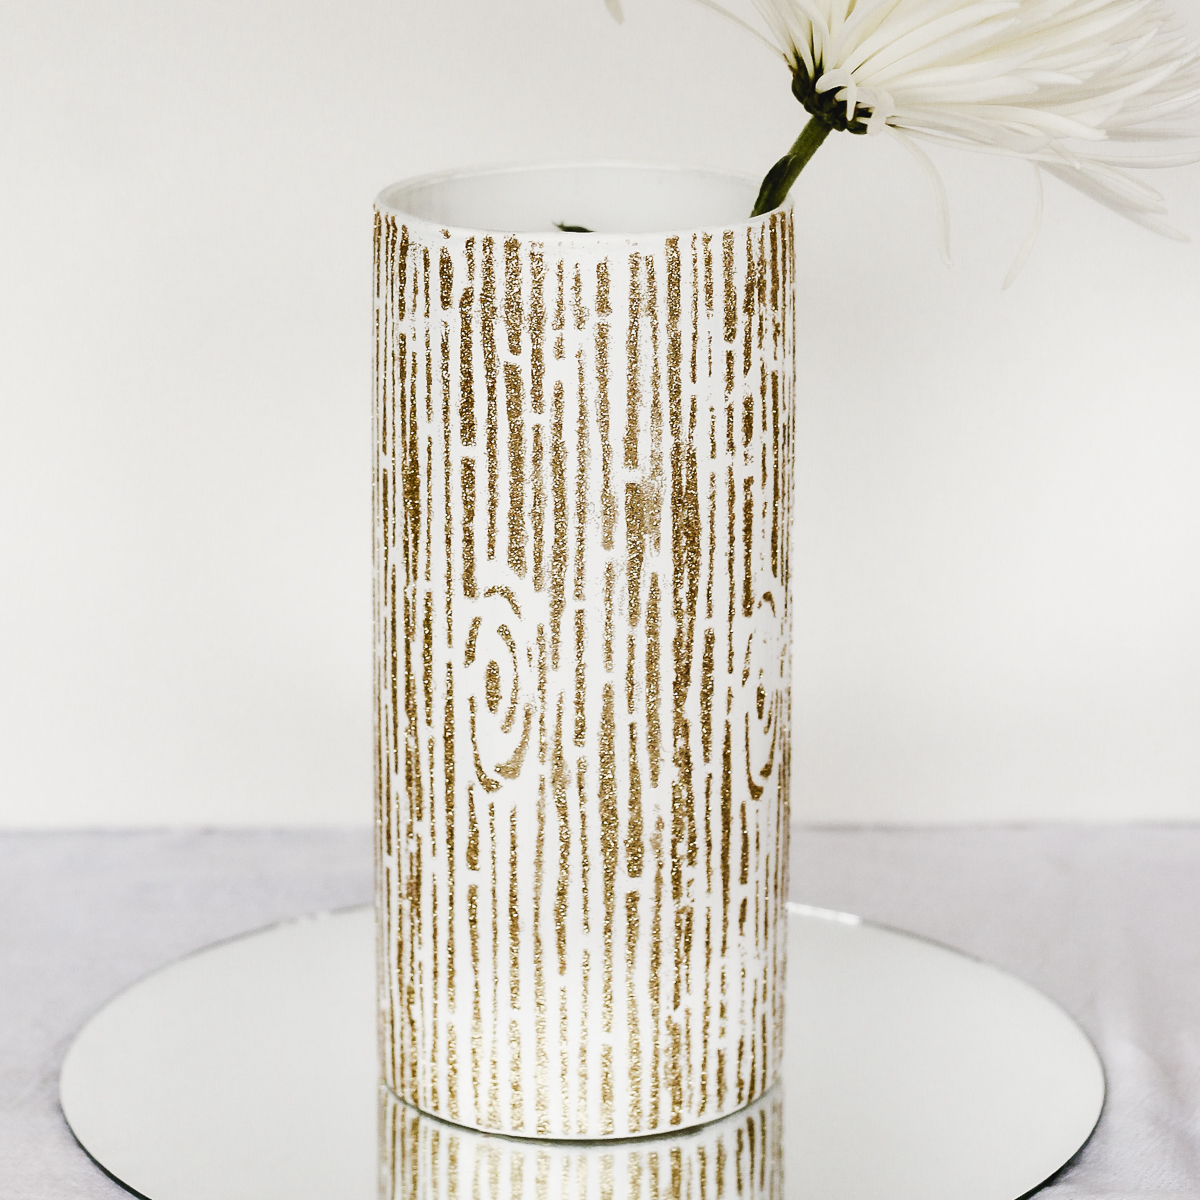
I have a fun glitter faux grain vase craft tutorial for you today that includes instructions for how to stencil on glass. This one is great for your home decor or even as a wedding centerpiece. Grab a few supplies and make this quick and easy vase for yourself or for a friend.
Note: I made this project originally in 2014 with a stencil that is no longer available. It has since been updated with instructions on how you can make your own stencil using a Cricut.
How to Make A Faux Grain Vase
Today I’m making a glitter faux grain vase. You can make this vase as a centerpiece in your home to store fresh cut flowers, or make this as a DIY wedding centerpiece. It also makes a great gift idea when you want to give fresh flowers with an added touch!
Supplies Used
- Cricut machine (any will work for this project)
- Vinyl (stencil vinyl or any vinyl color that you have on hand) (can also use contact paper)
- Transfer Tape
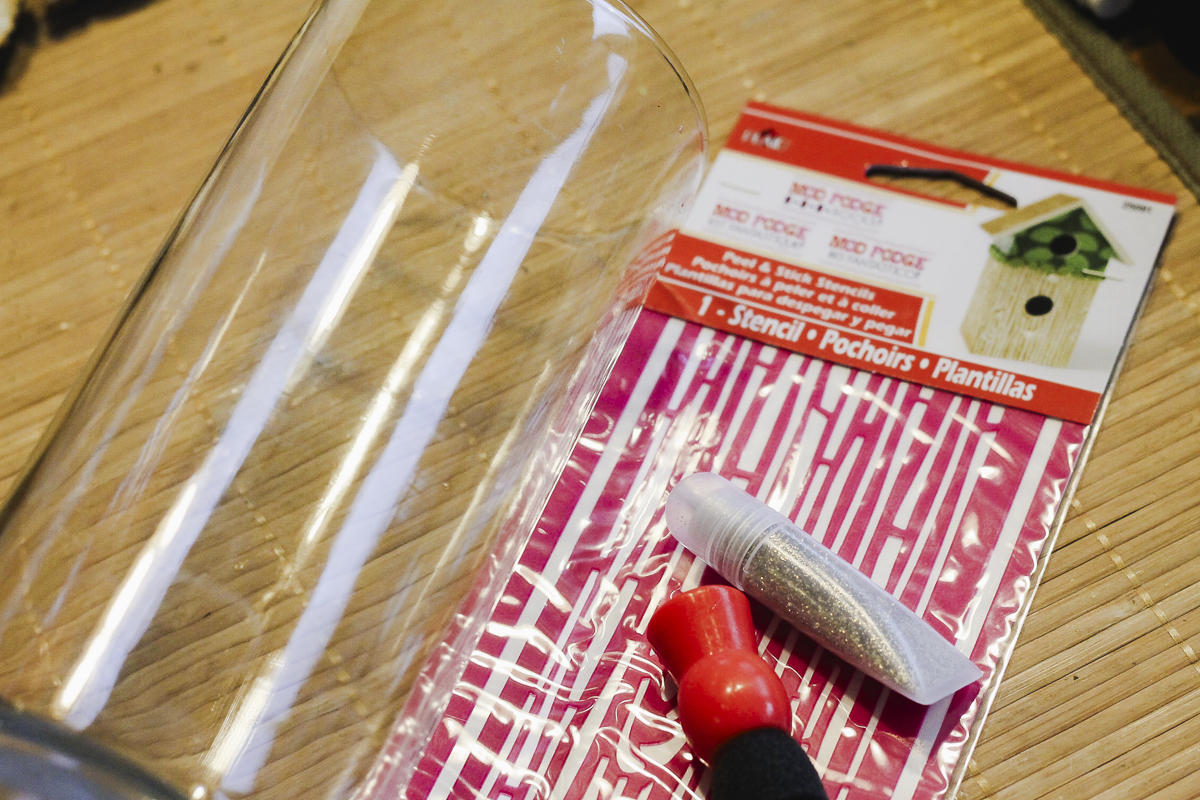
- ALTERNATE TO ABOVE SUPPLIES: You can purchase a self-adhesive stencil of your choice.
- Pouncer brush
- Glitter
- Mod Podge
- Vase (straight sided woks best for this project)
- Paint that is okay for application on glass
- Matte spray sealer
How to Make Your Own Stencil
If you can’t find a stencil you like available, you can make a stencil with your Cricut machine.
Step 1: Find a Design
Find a design that you like that will work on your vase. Here I am using an animal print.
Step 2: Upload Design to Cricut Design Space
Upload your design to Cricut Design Space or use an image already in the program. You can see more on how to do that here.
Step 3: Cut Stencil
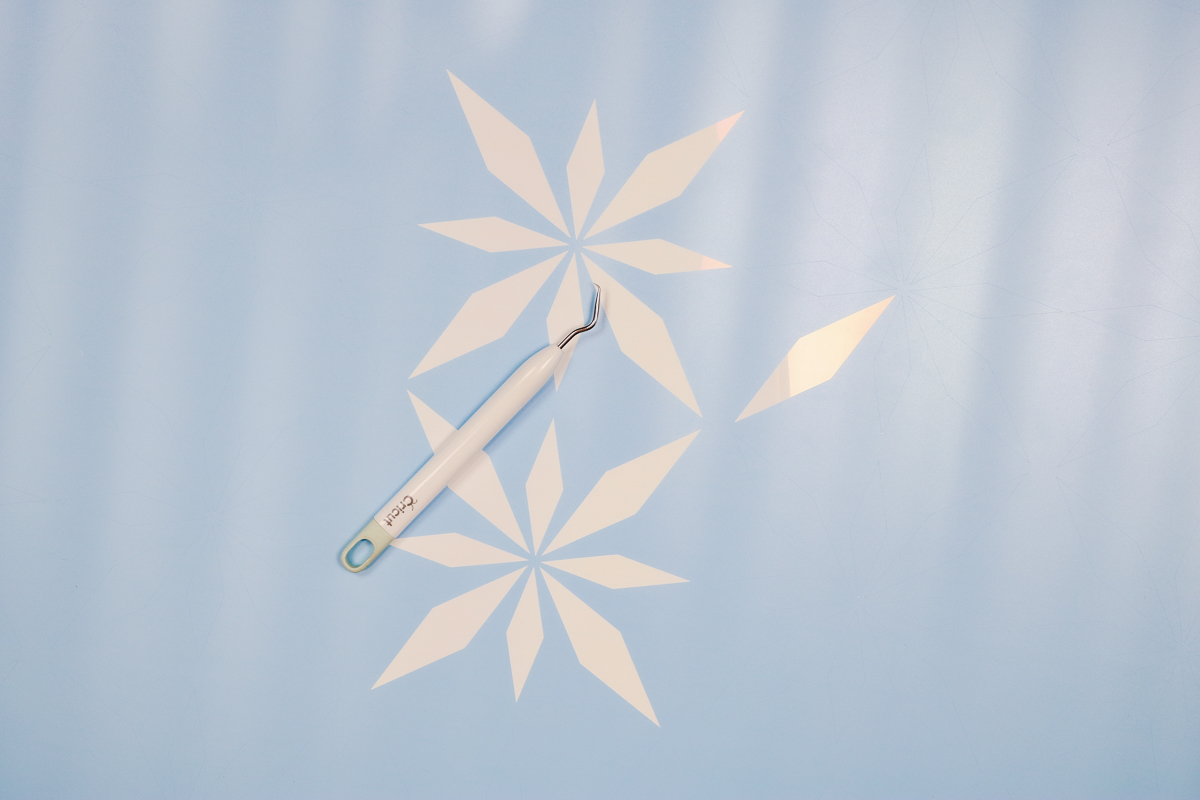
Use your Cricut to design and cut your stencil for your vase. You can use stencil vinyl, regular vinyl in any color, or even contact paper. You can see how to make your own stencil with a Cricut here.
The great thing about using vinyl for a stencil is that you can use any color that you happen to have on hand. It’s a great way to use up vinyl colors you don’t really need anymore.
Step 4: Weed Stencil
Remove vinyl anywhere that you want your design to appear. If you use vinyl for other projects, this will be the opposite of how you weed if you are applying vinyl to a surface.
How to Stencil a Glass Vase
This project is fairly simple but I do have some tips and tricks that will help you get a beautiful finished product.
Step 1: Apply Base Coat
First, paint your vase white with as many coats of the glass paint as it takes for full coverage. Follow all directions on the package for the glass paint. Your vase may need to be baked to make the paint permanent.
Step 2: Apply Stencil
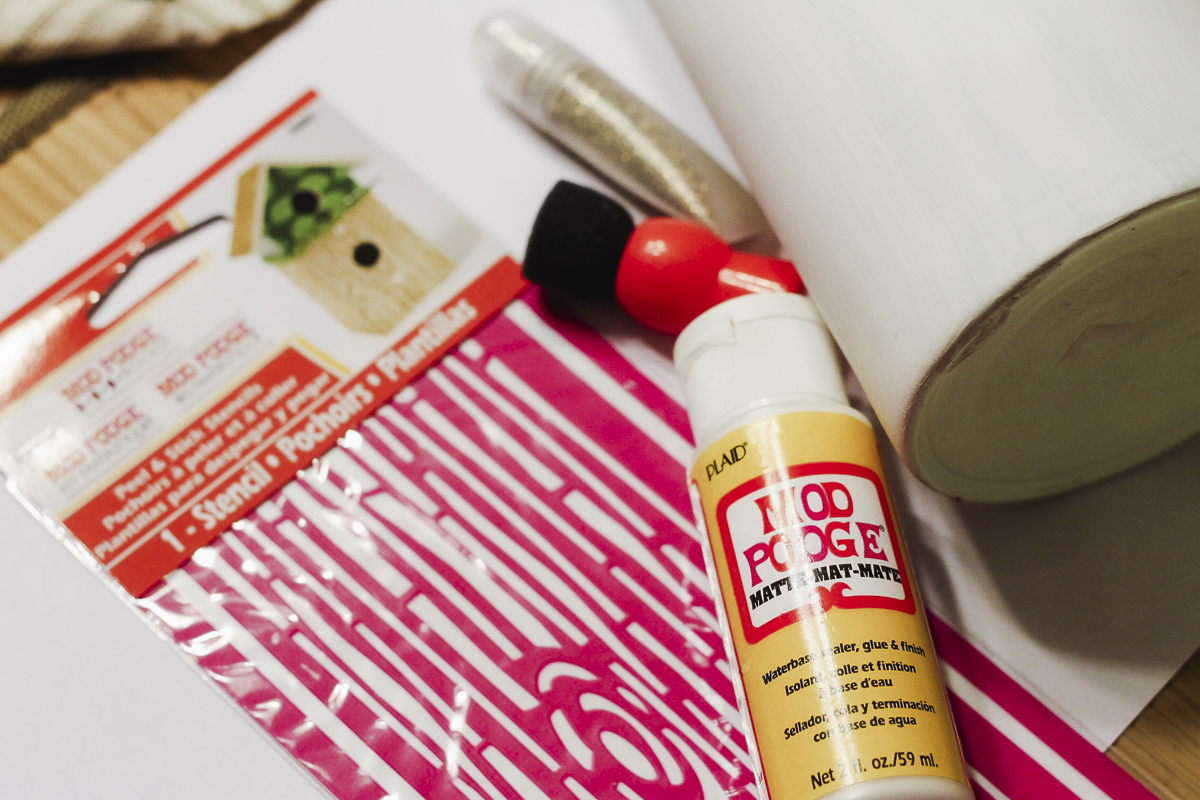
Once your paint is dried, cured, and baked if applicable, you can start applying the stencil. IMPORTANT: Be sure to wait at least 72 hours before applying a stencil to painted glass.
I used this faux grain stencil that was self-adhesive. The same process applies to a vinyl stencil cut with a Cricut machine.
Just peel from the backing and apply to your vase. NOTE: You can apply a piece of transfer tape over the design and transfer the stencil to the vase. This is helpful if your stencil has small pieces of vinyl.
Press the stencil down well all over the surface.
Step 3: Prevent Bleed
This step is optional but will help to prevent bleed under your stencil. Apply a light coat of your base color all over the stencil and allow to dry. In this case, the white of the base coat will seal any areas of your stencil.
NOTE: If you are using an unpainted vase for this project, you can use something like clear Mod Podge during this step to seal the stencil.
Step 4: Add Paint (or Glitter)
Use the pouncer brush to add your contrasting color. You can use just paint here or add something extra with some glitter.
To apply glitter, add Mod Podge over the stencil then sprinkle on glitter in your choice of colors. Remove excess glitter and then remove your stencil.
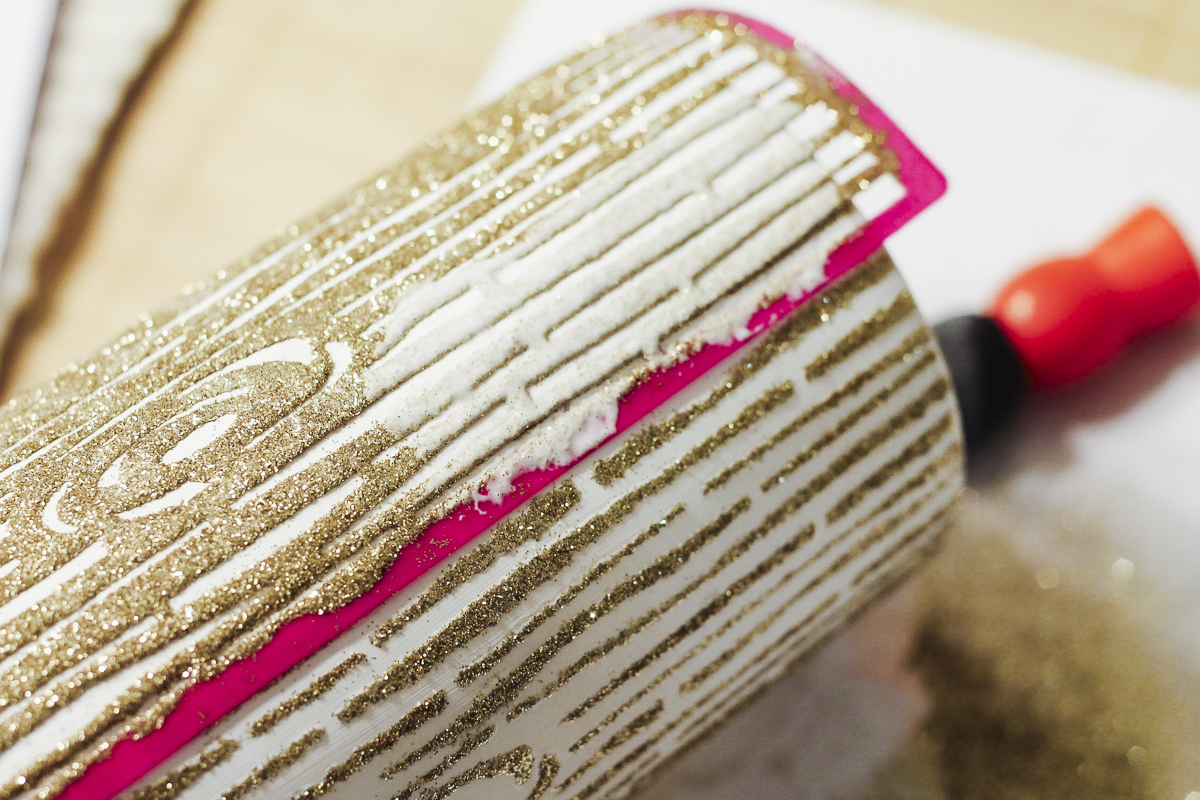
Step 5: Complete Vase
Re-position the stencil to the next area and repeat if needed. Continue around your vase until you have a glitter faux grain vase that you love. Allow the Mod Podge with glitter to dry completely.
I used a spray sealer on top of my project just to make sure my glitter all stayed on the vase and not on my hand. A sealer is a good idea on projects like this one to protect the paint.
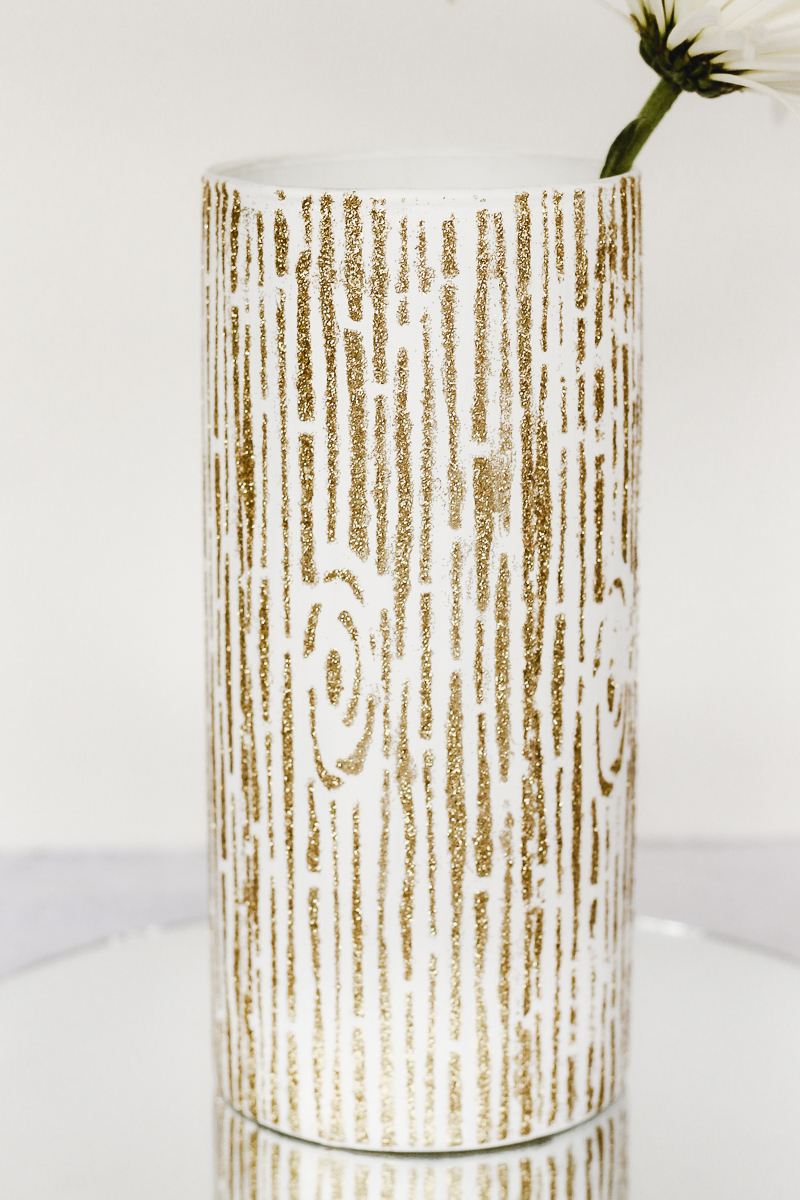
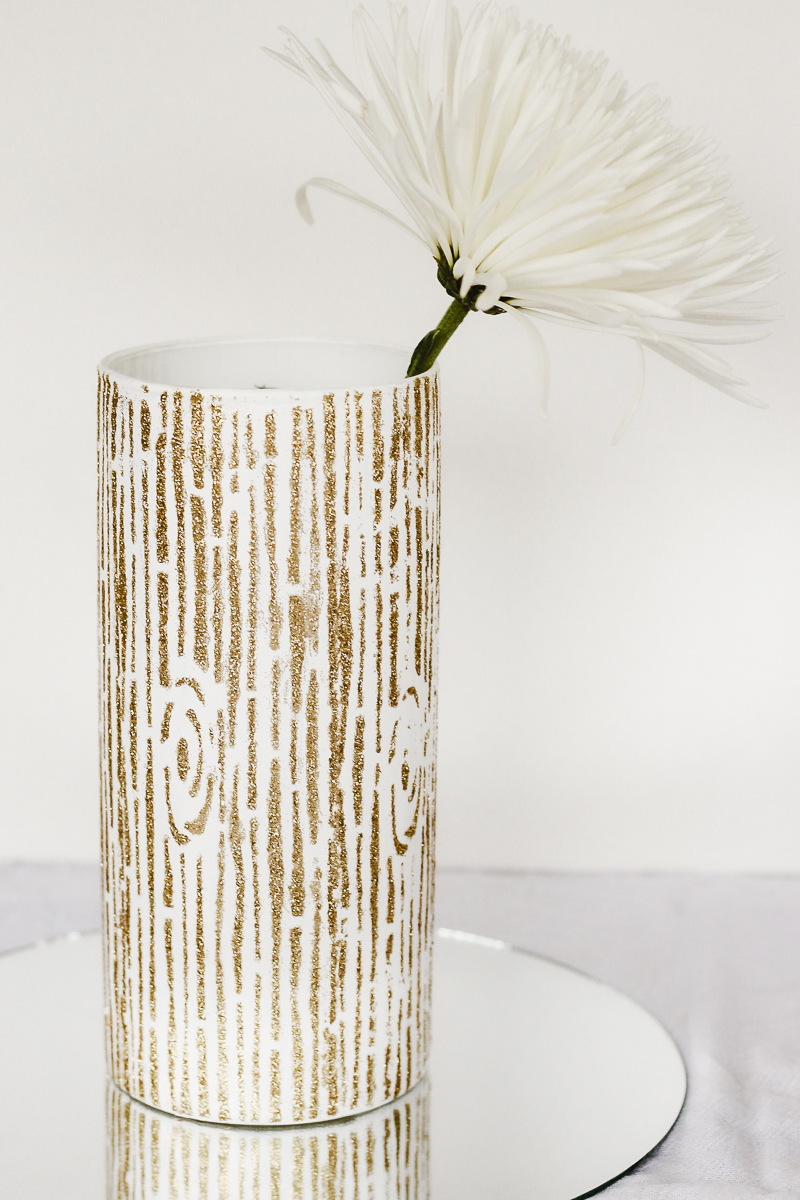
See how pretty it is when it’s finished! Then you can add water and fresh flowers or DIY fabric flowers.
Add these fun vases to your home or DIY wedding! I can see these on wedding reception tables in colors coordinating with the wedding.
Will you make your own glitter faux grain vase? You can make your own stencil and customize this for your decor!
Other Stencil Vinyl Projects
Give this stencil on glass project a try or you may like these other projects that you can make with a vinyl stencil.


so lovely! awesome
I love the gold glitter on white. So chic!!
Oh my goodness!! I love this stencil and the gold is fabulous :o)
Love this! Can’t wait to try these stencils!
-Erin @ DIY on the Cheap
oh, I really like the faux bois on the vase. So clever! looks great!
It’s beautiful Angie! I love the woodgrain in gold so much – thank you!
Truly love it!