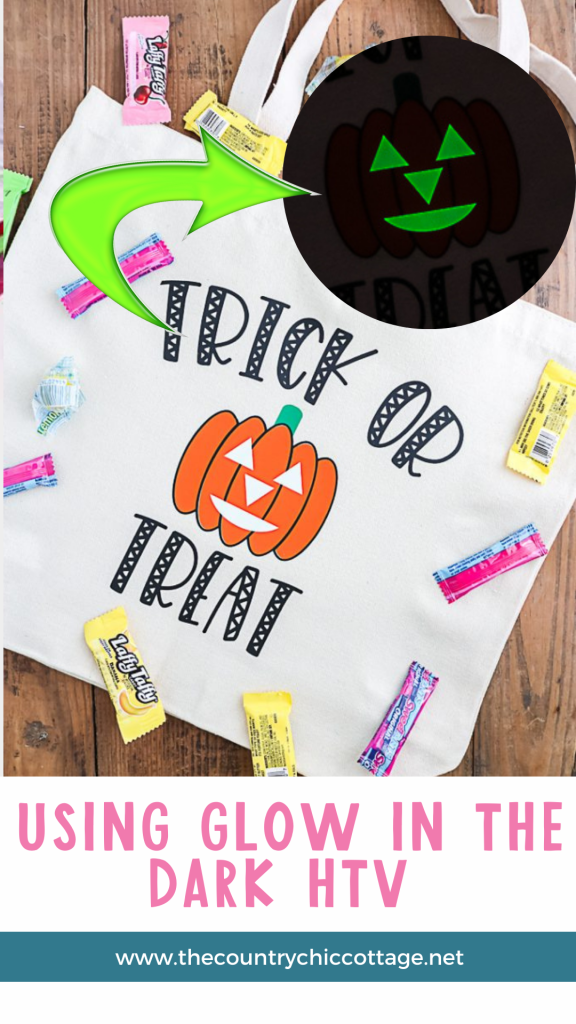
Did you know that they make glow-in-the-dark HTV? I wanted to create a tutorial to show you how to use this product on all your Halloween crafts. I even have a free SVG so that you can start creating today. This product would also be perfect with my free ghost SVG, so be sure to download it.
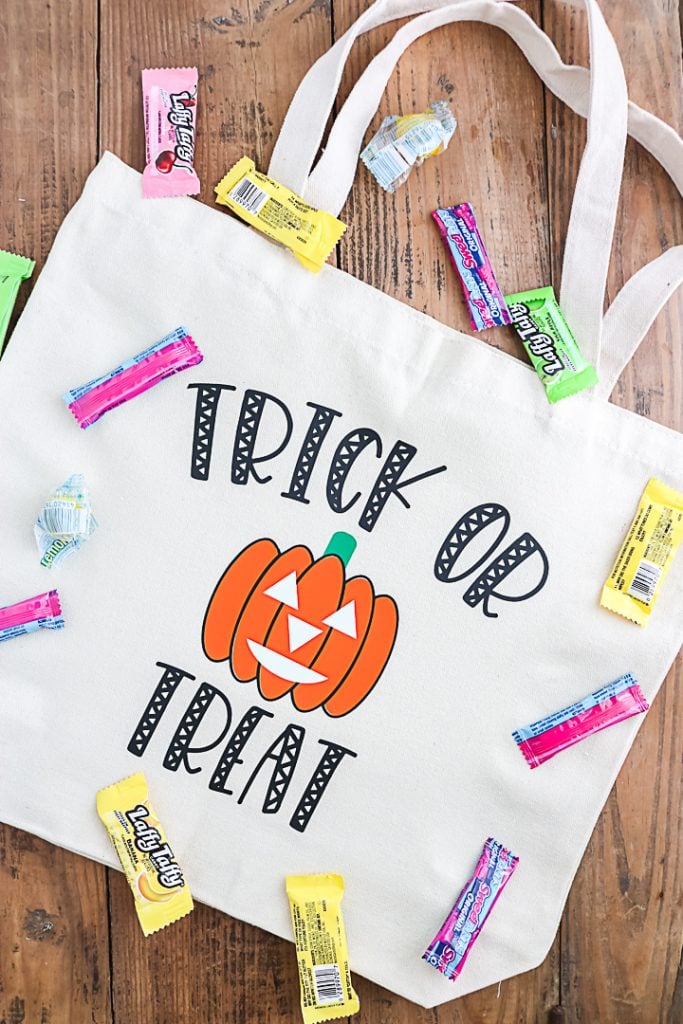
Supplies needed:
- Glow in the Dark Heat Transfer Vinyl
- Other HTVs in various colors
- Cricut machine
- EasyPress, Iron, or Heat Press
- Weeding tools
- SVG cut file (you can download the trick-or-treat file below)
Free Trick or Treat Cut File
To get the free SVG file for making the same trick-or-treat bag, please sign up for the newsletter using the form below. The file will be sent directly to your email as a ZIP file, so you’ll need to unzip it before uploading it to your machine’s software. If you’re already an email subscriber, sign up again to receive the file. You won’t receive anything extra. Look for the form below with the picture of the file you want to download.
Please note that this file is for personal use only. If you would like to use it commercially, you will need to contact me. You can also contact me if you have any issues with your download.
Make a Glow in the Dark HTV Treat Bag
Now that you have your supplies and cut file, it is time to make something amazing with heat transfer vinyl that glows in the dark. Watch me use this product in a video by clicking play below.
Can’t watch the video or missed some of the steps? Follow along with the written instructions below to learn all about using glow-in-the-dark HTV.
Step 1
Upload the SVG file to your cutting machine and cut the design layers. The glow-in-the-dark HTV cuts the same as any vinyl product. Place it shiny side down on your mat, mirror your cut, and select the iron-on material setting. Note: This product appears blue before pressing, but that is the carrier sheet. The actual product is a creamy white color.
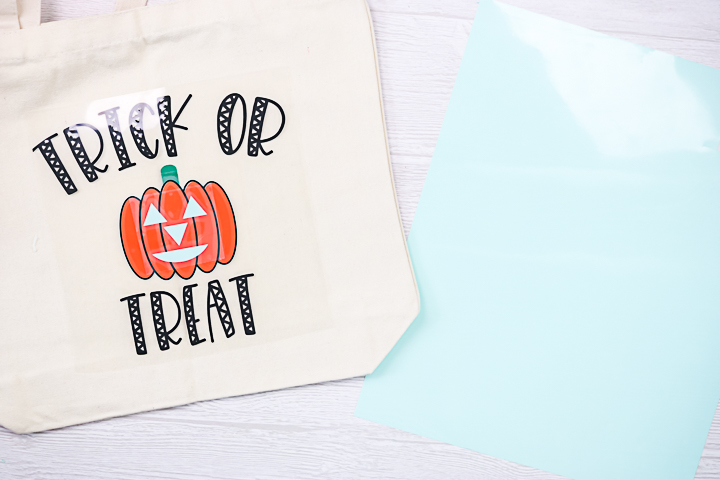
Step 2
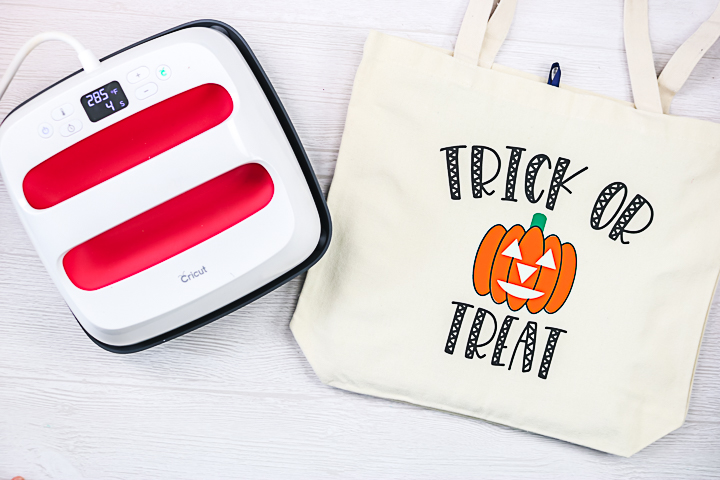
Weed away all of the excess vinyl from each color of HTV. Add each color to your bag with your EasyPress, Iron, or heat press using the directions on the HTV product you use for time and temperature. The glow-in-the-dark heat transfer vinyl can be layered over other colors.
Step 3
When each of your colors is pressed, peel away the liner and add the next color. Depending on the type of HTV you are using, some brands require protection when ironing over the top so you can layer them. Be sure to follow any directions that come with your vinyl. I added the glow-in-the-dark face last, as it was on top of my design. After pressing, this one is ready to use and can be washed just like any other HTV.

Your glow-in-the-dark HTV will glow once you are in a dark space. Just “recharge” it with light. I love this product for a spooky vibe for Halloween crafting.
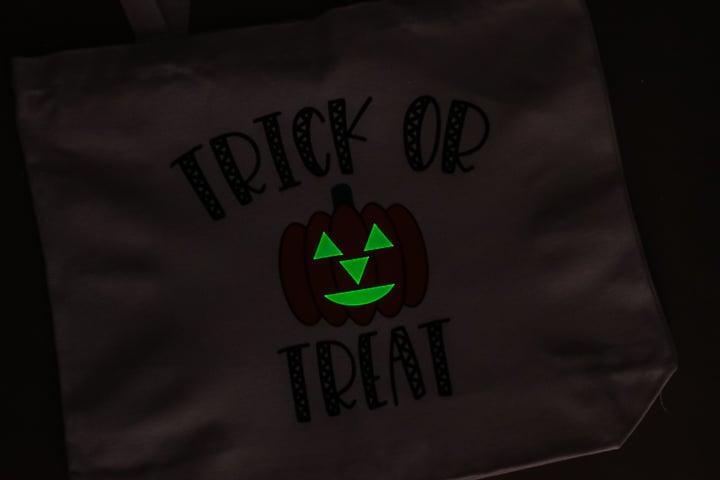
You can add it to a trick-or-treat bag, costumes, shirts, Halloween decorations, and so much more. Anything you want to glow on Halloween night is a perfect blank for this material.
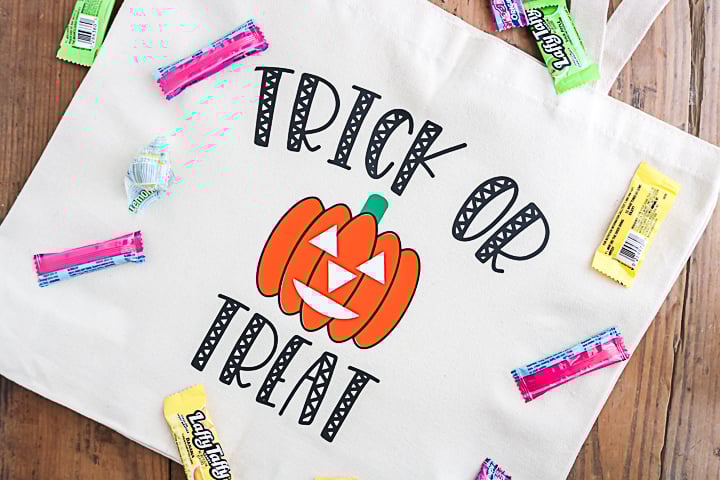
Your kids will love anything that glows with that fun spooky glow on Halloween. Whether trick-or-treating this year or staying home, glow-in-the-dark HTV can be a great addition to your celebrations.
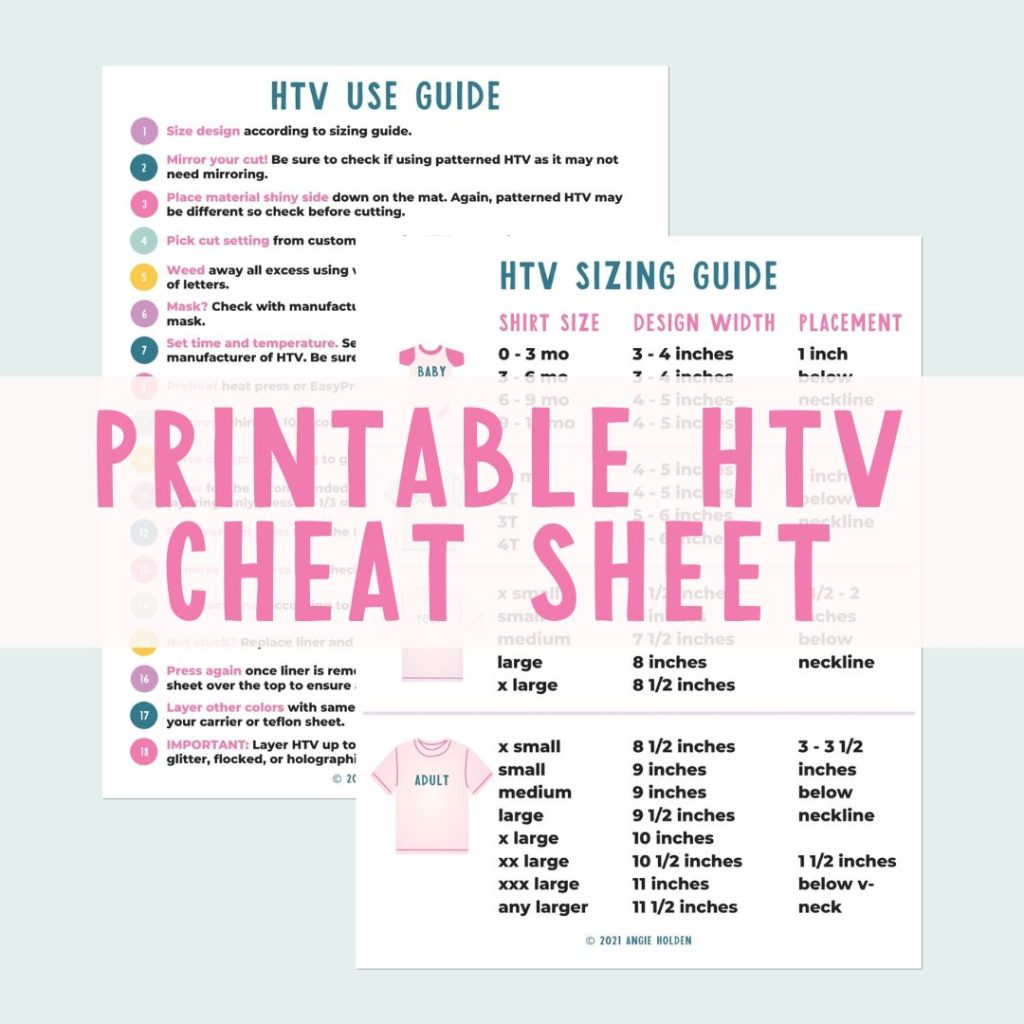
Free HTV Cheat Sheet
Get your FREE Printable HTV Cheat Sheet now! This guide has sizing and position recommendations for infant through adult shirts as well as a handy HTV use guide. Print this double sided guide and put it by any heat press you own!
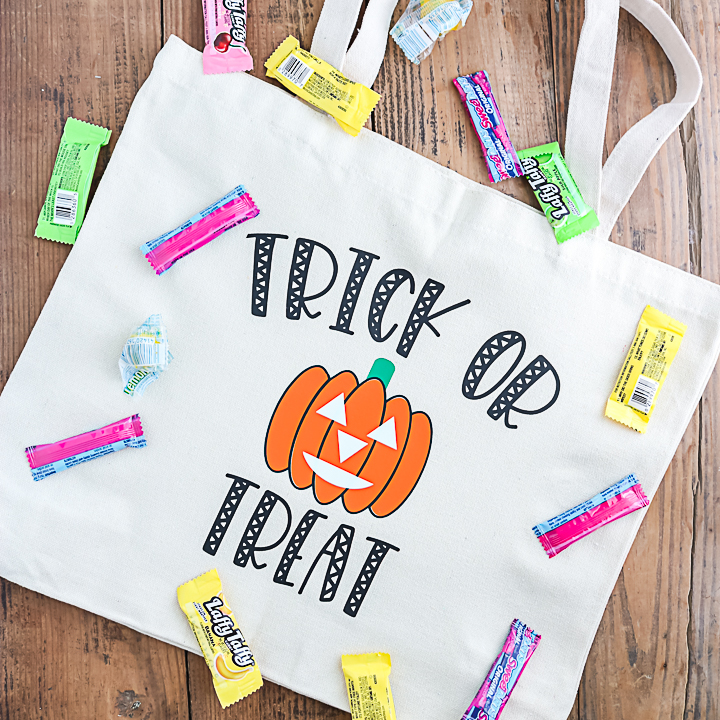
I can’t wait to use this product on some home decor. There is nothing I love better than scaring my family with an eerie glow once the lights go out at bedtime. What about you? How will you use glow-in-the-dark HTV?
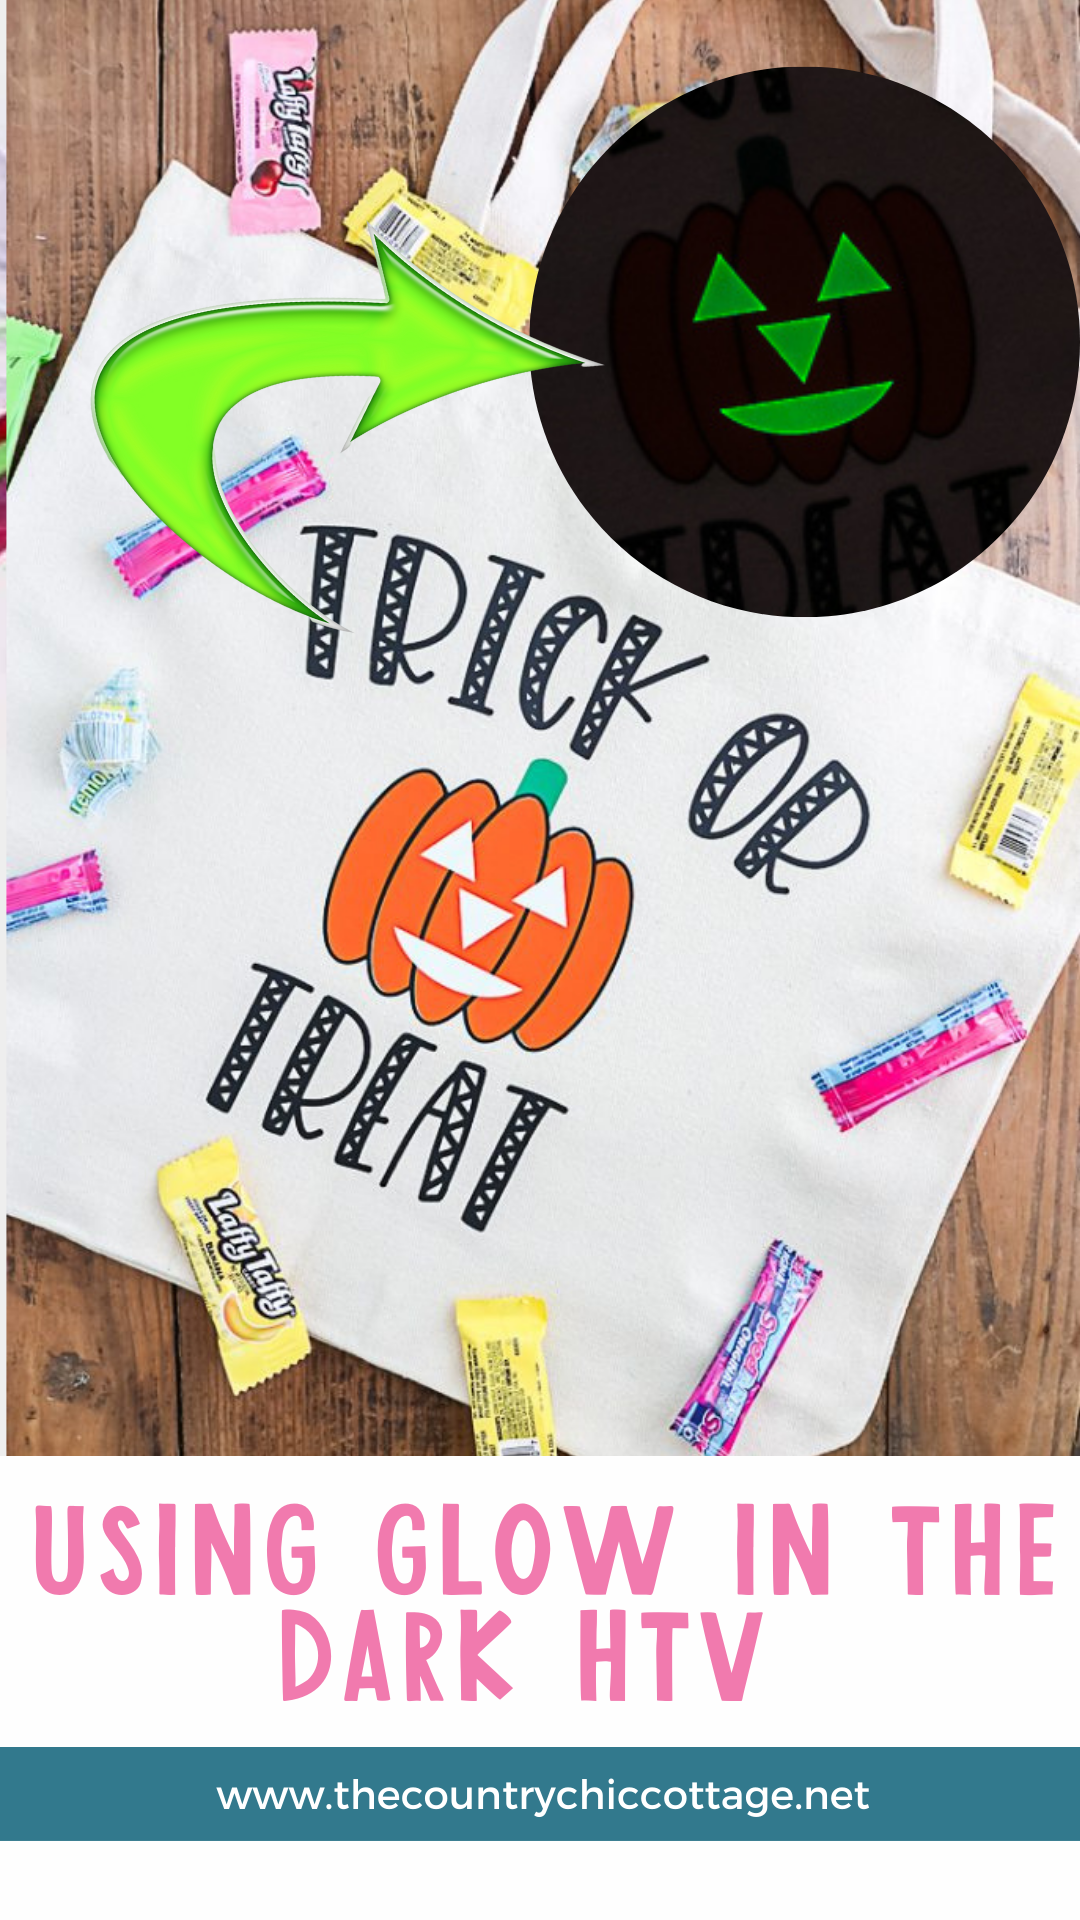
Want even more ideas for your Cricut? Try the links below.





Loved your video on how to use the glow in the dark. where do you get your vinyl from. these help me so much
You should be able to click on the glow in the dark HTV link in the supply list to head to my source.
Love this an you tell me where you can get the bags?
You can find bags similar to this on Amazon or in craft stores. I would search for lightweight canvas tote bags on Amazon.