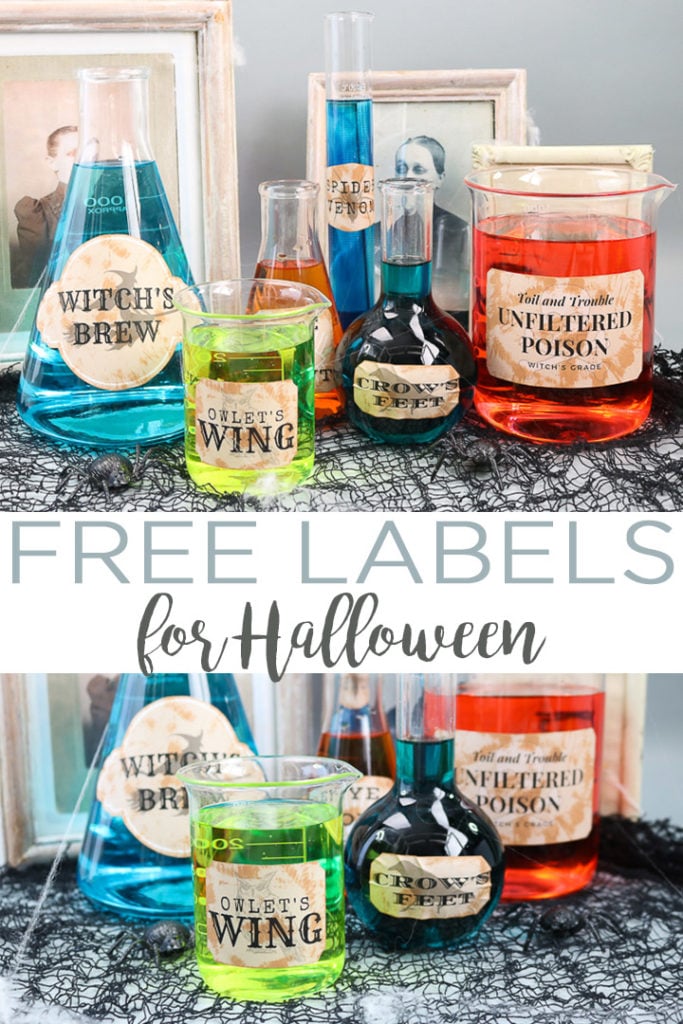
Expand the holiday festivities to your bottles with these free printable Halloween labels. They are quick and oh-so-spooky.
If you are looking for a fun, affordable way to decorate for the Halloween season, you are going to love these free printable Halloween labels! They are perfect to print off and add to jars or beakers. Use them for a party or just to round out your home’s decor this Halloween season.
I love quick and easy projects that have a big impact, and this project fits the bill. It only takes a few minutes, and you can actually use any jars or glass containers that you have on hand. A big shout out of thanks to Xyron® , who sponsored this post; however, all projects and opinions are my own.
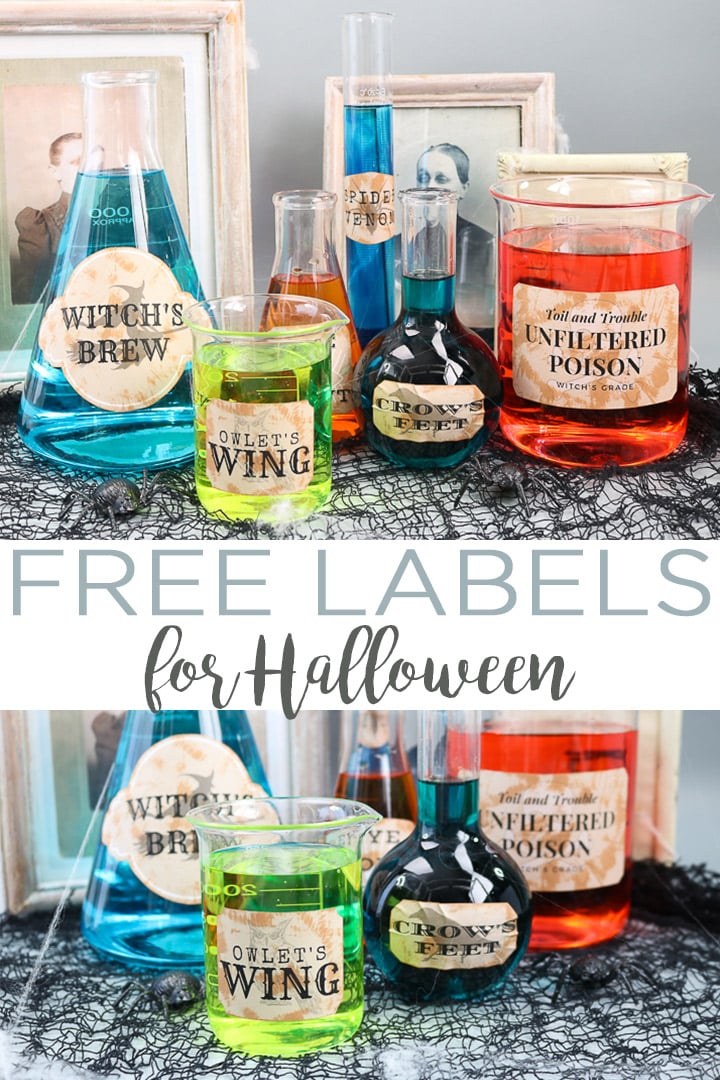
Grab Your Free Printable Halloween Labels
First, you’ll need to download the free printable Halloween labels. You can easily do that by entering your email address down below to sign up for our newsletter. Once you do that, the file will be sent to your email address as a PDF file.
After you download the labels file, you will be able to print as many copies as you would like to use. Please remember that these labels are for personal use only. I invite you to email me if you have any issues with your download!
How to Use the Printable Halloween Bottle Labels
There are so many fun ways you can use these free printable labels! I’m going to show you how to make a spooky potion collection using just a few supplies.
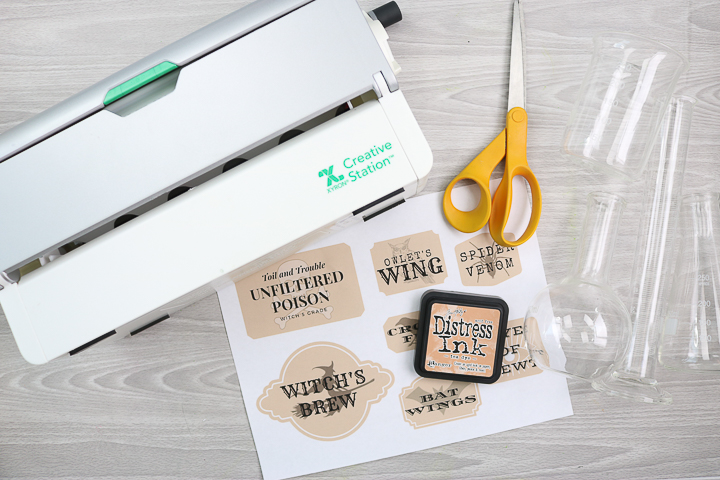
Supplies Needed
- Halloween Labels (download above)
- Copy paper (if using a Xyron Creative Station)
- Sticker paper (optional)
- Xyron® Creative Station
- Cricut Machine
- Scissors
- Distressing ink
- Glass containers or jars (I am using scientific containers for added effect – you can find these in craft stores or online)
Video Tutorial for Making Spooky Labels
In case you’re a visual learner, I made a quick video to help show you how to use these Halloween labels. Plus you get the bonus of seeing the Xyron Creative Station in action!
How to Make Halloween Labels
Can’t watch the video or missed some of the steps? You can follow along with our step-by-step instructions as well.
I’m also including instructions to make these using the Print then Cut feature on your Cricut Explore Air series, Cricut Maker, Cricut Venture, or Joy Xtra machine.
Step 1: Print and Cut the Labels
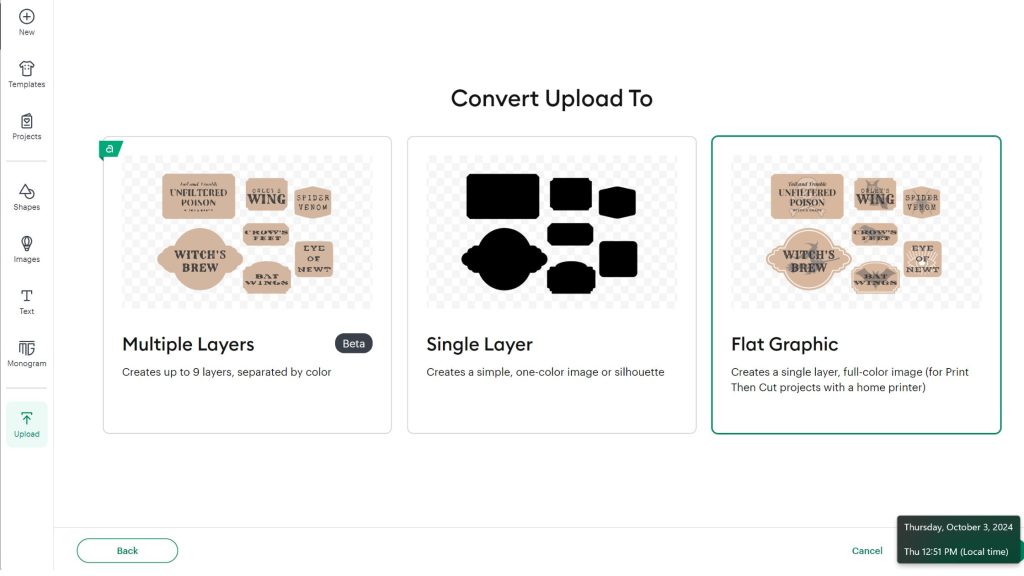
Start by uploading the png file into Cricut Design Space and using the tools to remove the background from the upload.
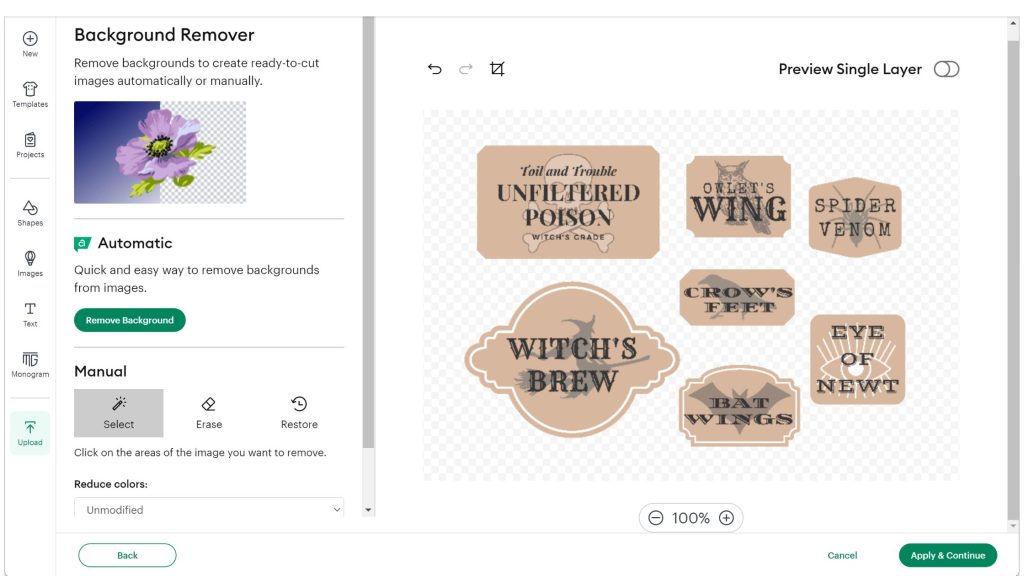
Select the option to upload a Flat Graphic. This will insure that you are set up for Print then Cut.
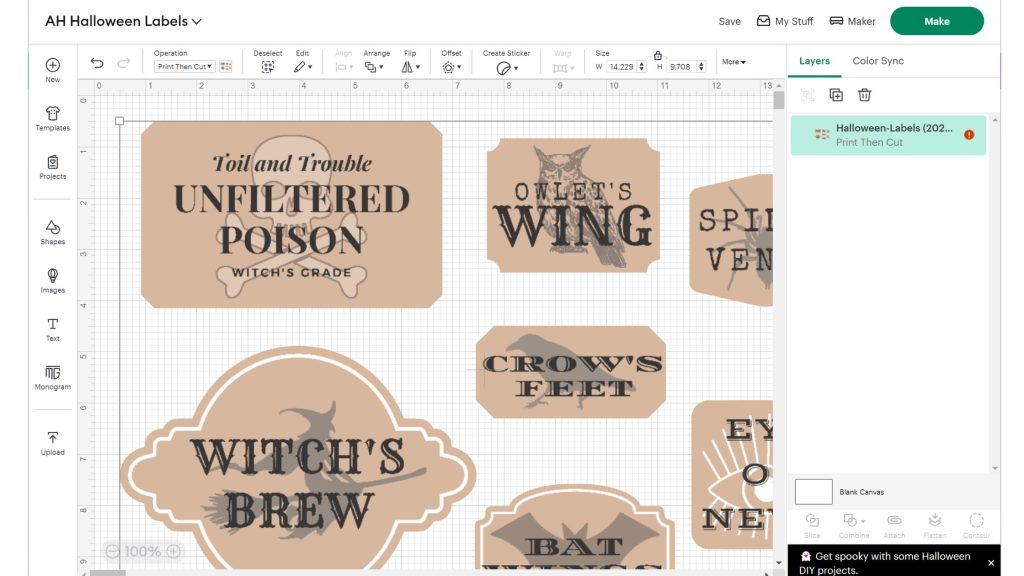
The labels will upload too large, you’ll see the red warning dot on the layers panel.
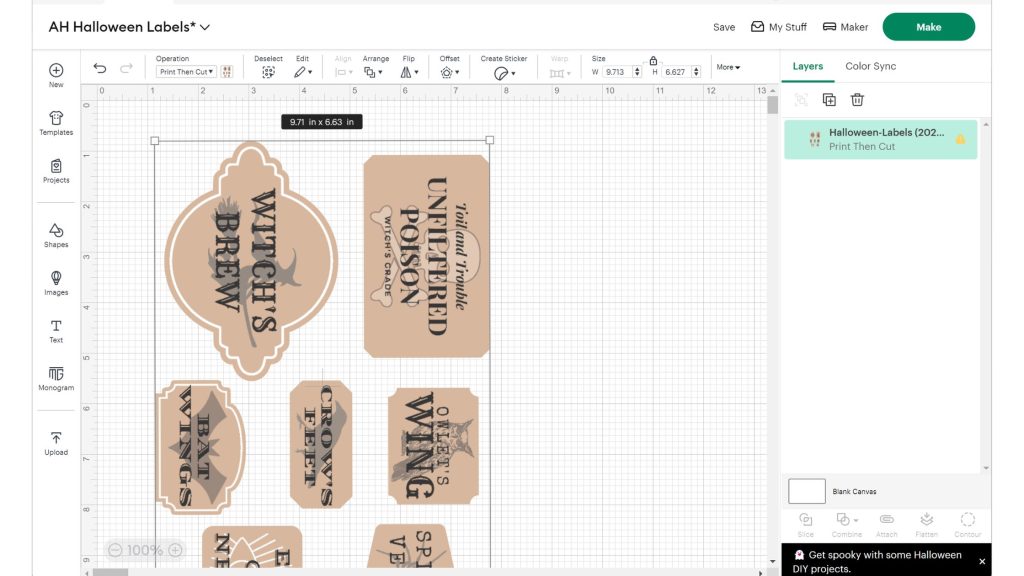
Adjust the size of the upload by dragging one of the corners in. I found that rotating the image and shrinking it down to 9.71 x 6.63 made it fit perfectly.
Once resized, click Make and get ready to send it to your printer. If you have an Xyron® Creative Station, you can print these on copy paper. If not, you can print these on sticker paper or printable vinyl.
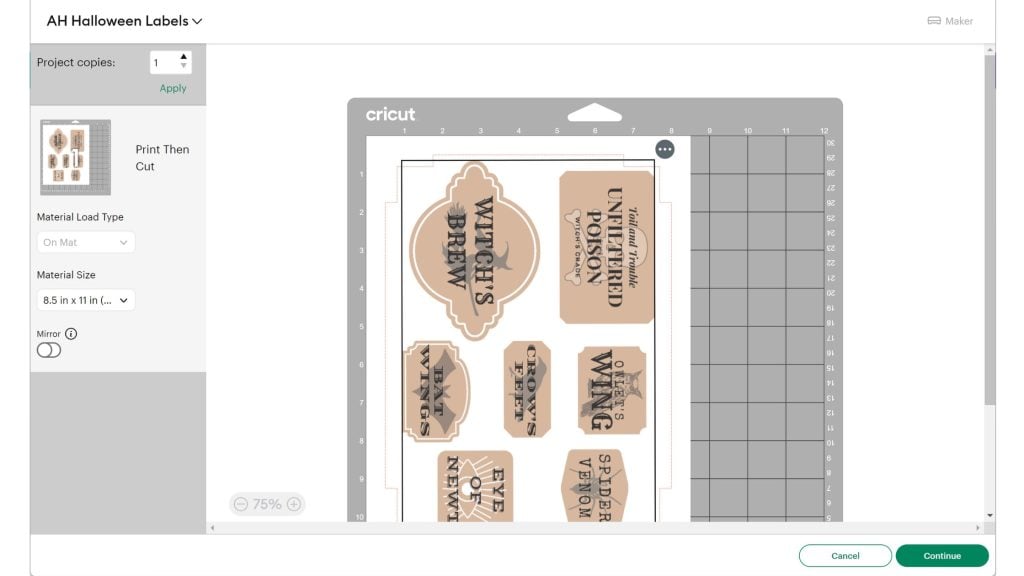
Cut as many of the labels as you need for the number of glass containers that you have.
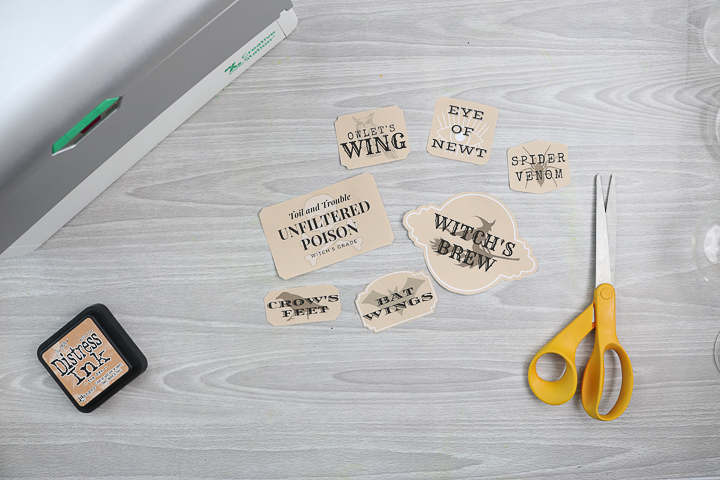
Step 2: Distress with Ink
Next, you can distress the labels with a bit of distressing ink, if you wish. This is an optional step, but it does add a bit of authenticity to the project.
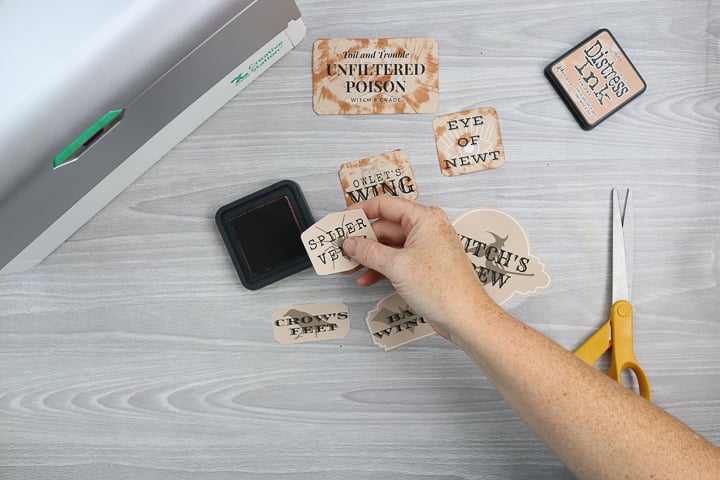
To do this, just rub the edges or even the middle of the Halloween labels on the ink pad.
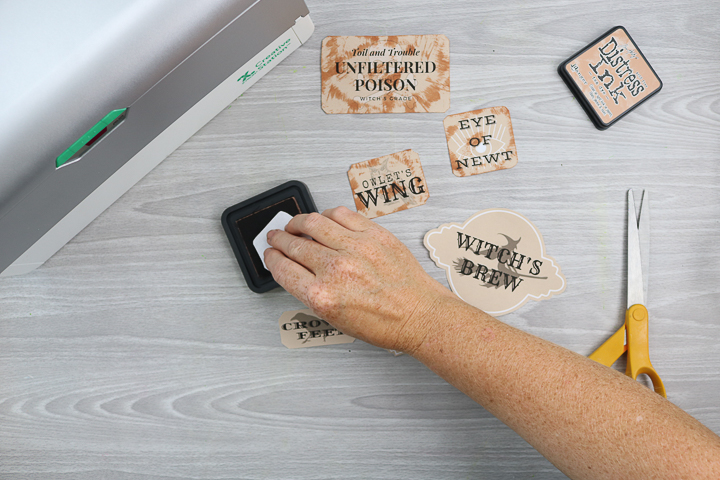
You can use as much or as little of this ink as you would like on each label.
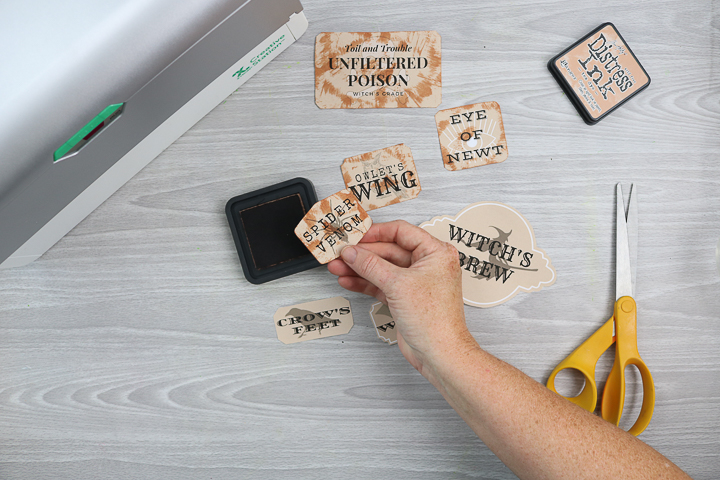
Step 3: Run Through the Xyron Creative Station (Optional)
Then run the labels face up through the Xyron Creative Station. Remember that you can put several over the entire width of your machine.
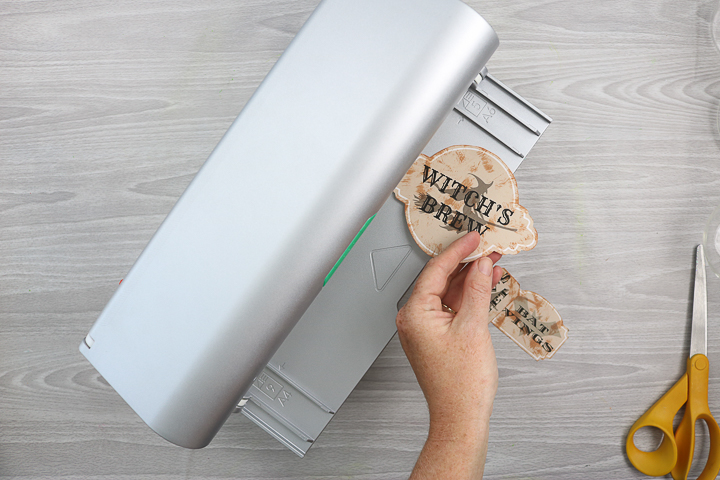
Turn the handle and the labels will go through the machine. You’ll need to make sure the machine has grabbed them all. Simply push them in a bit further if it hasn’t.
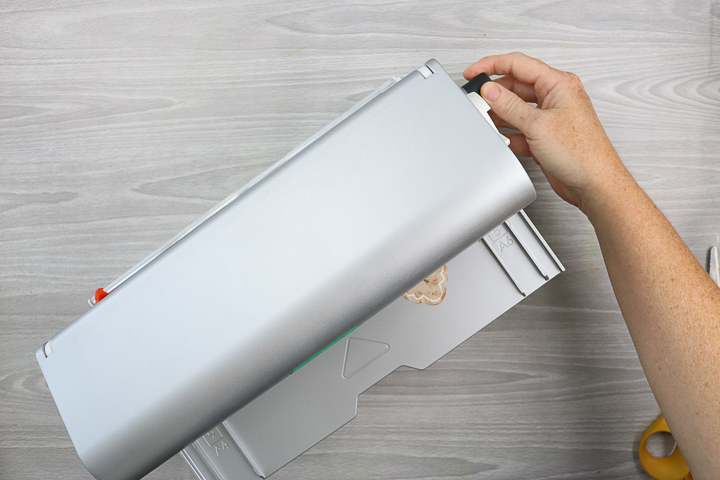
Step 4: Remove Halloween Labels from the Xyron
They will begin to come out the back of the machine.
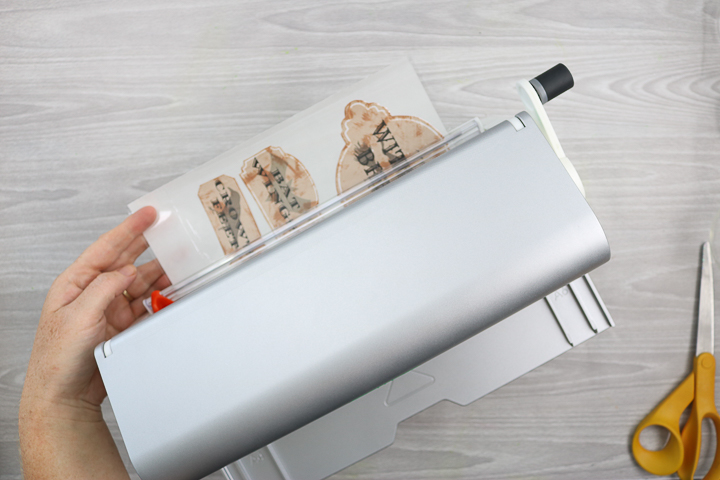
Use the cutter on the machine to remove the sheet once the Halloween labels have come through all the way.
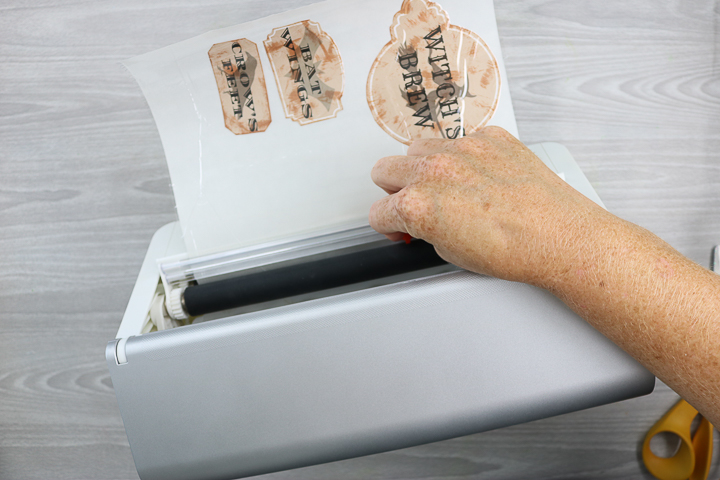
Then take your hand and rub over the surface.
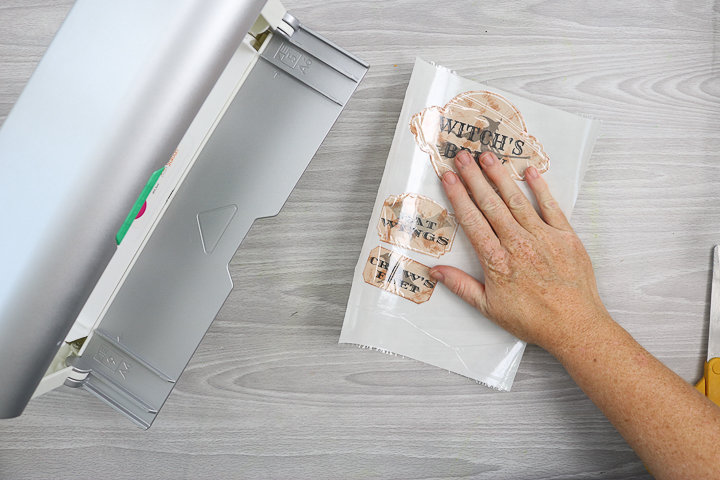
And peel back the clear sheet over the top.
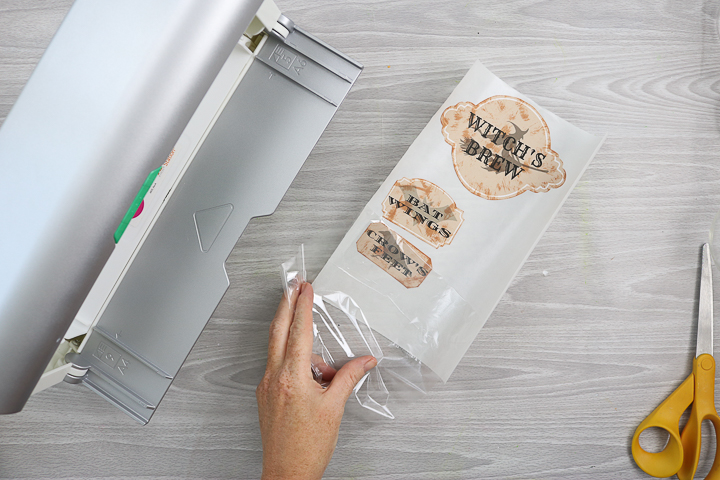
Step 5: Add Your Stickers to the Glass Bottles
And just like that, you’ve made Halloween stickers! All that’s left is to peel them.
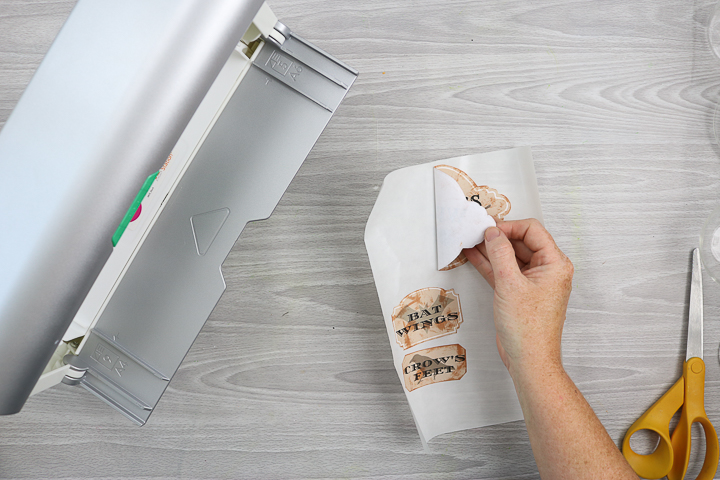
Then stick them to the front of your glass containers!
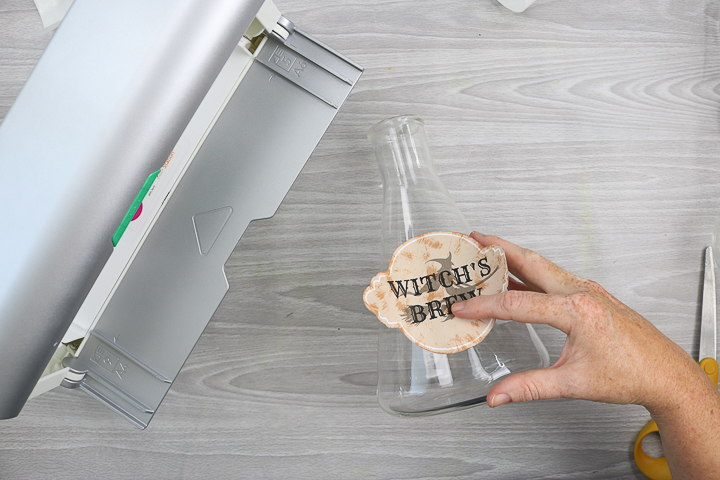
Make Your Own DIY Stickers
You can, of course, use this same method to make stickers out of just about anything. The Xyron Creative Station applies adhesive evenly to your entire surface so it is literally just like making your own stickers right at home.
Pretty neat, right? 😁
This little machine is great for crafting projects! If you need a few more reasons to get a Xyron Creative Station, it also makes other fun things. You can laminate, apply magnetic paper, and even apply different types of adhesive (from repositionable to permanent.)
I am biased, but it’s totally worth the small investment.
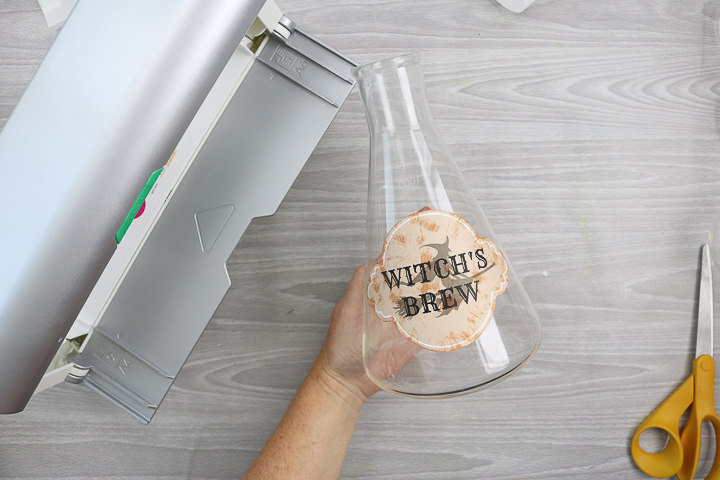
And this product makes projects like these Halloween labels super quick and easy to make and will impress your friends and family!
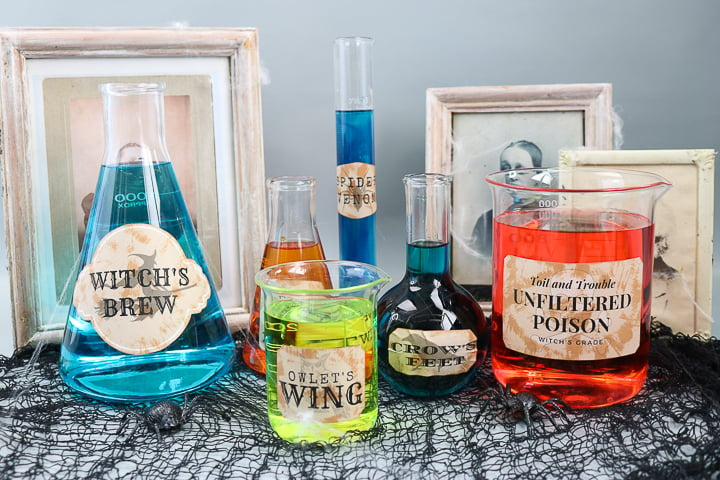
If you want the crafting brilliance but don’t want the full-size Xyron Creative Station, take advantage of one of their smaller sizes.
More Fun Projects Using the Xyron Creative Station
You can see how I used the sticker maker as well as the tape runner on this summer SVG popsicle banner. I also made these cute Halloween treat bags using the smaller sticker maker.
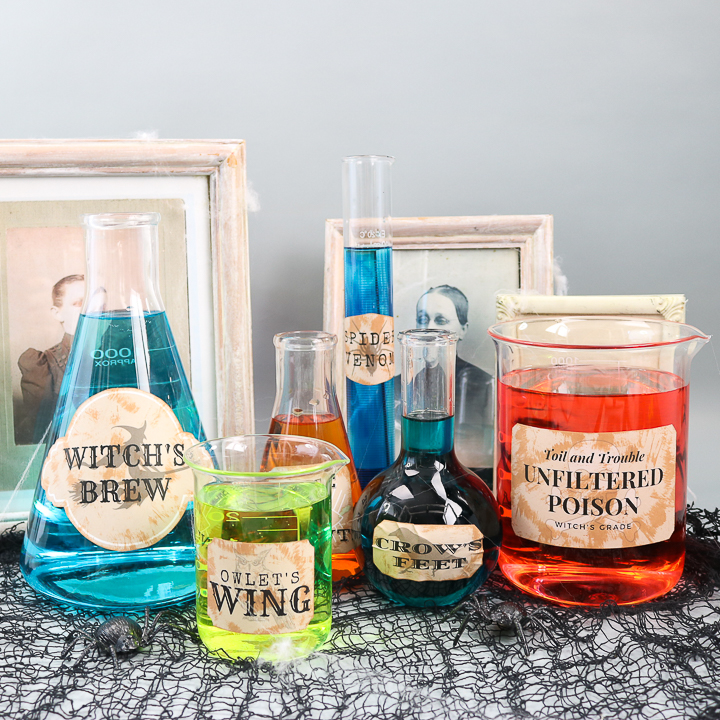
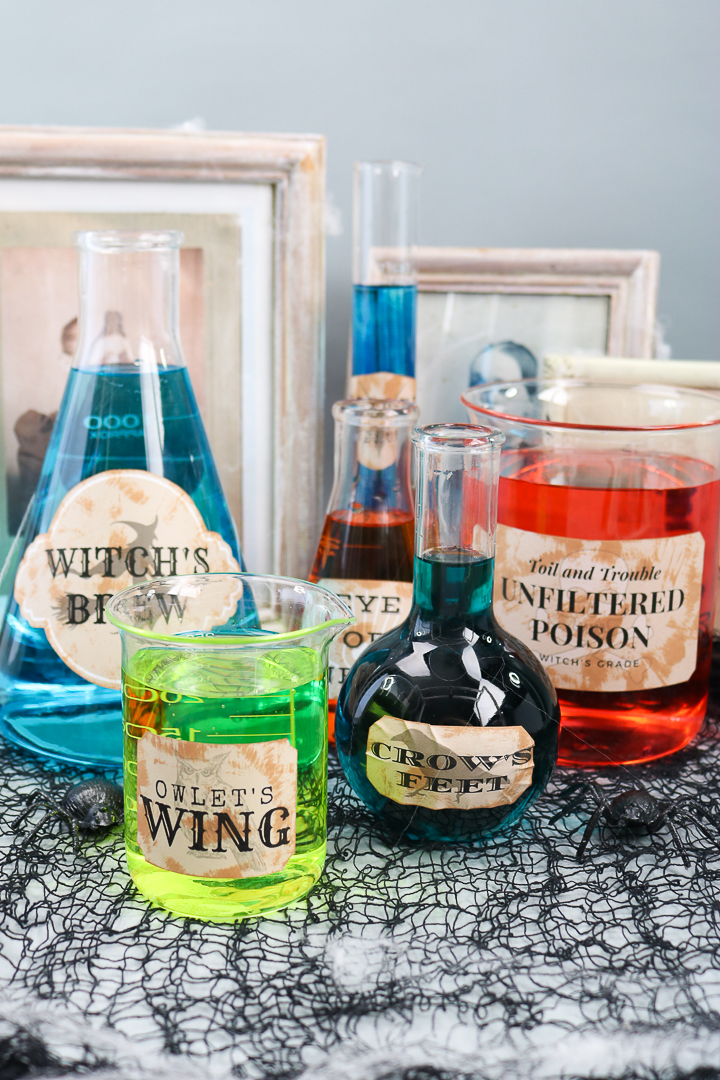
Look how fun and festive they look with the colored water! Make your own DIY stickers for Halloween and oh so much more.
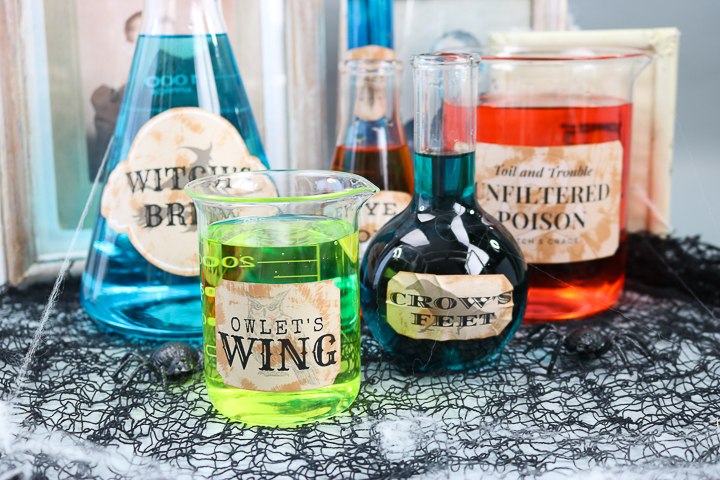
Now I can’t wait to host a Halloween party. Can you imagine a drink bar with these containers and labels? Frightfully spooky and oh-so-perfect!
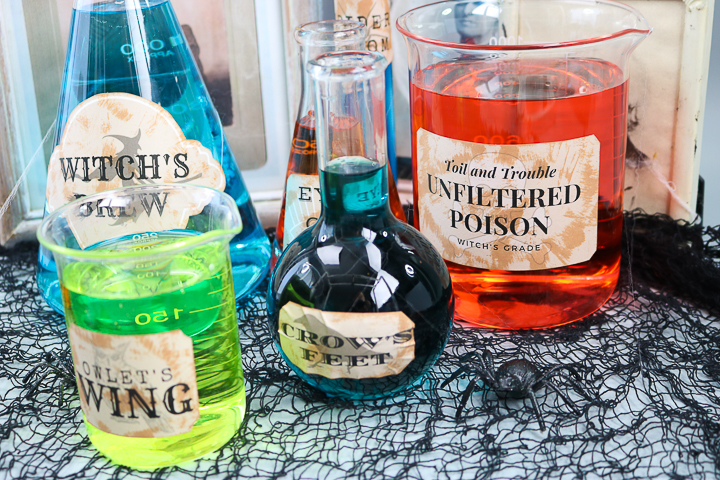
I could also see these labels on painted jars all lined up on a mantel. However you use these free printable Halloween labels, you are sure to love how they add to your Halloween decor around your home.
More Halloween Fun
If you love Halloween as much as I do, you’re sure to love these other projects too!

