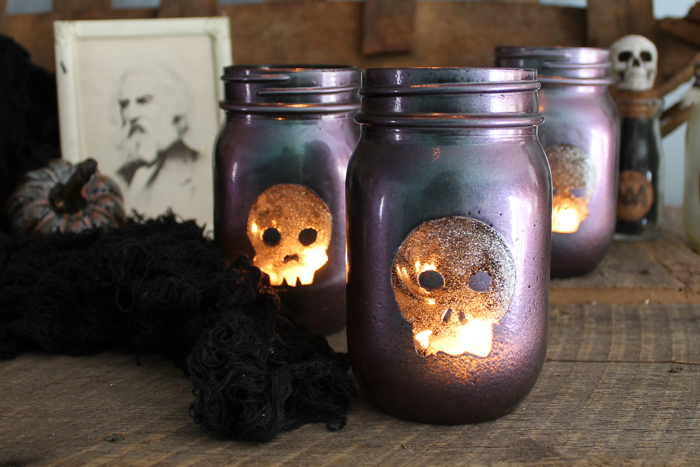
Make these DIY Halloween lanterns for your home in a fun, crafty afternoon with family and friends. These easy lanterns are perfect for adding a little fright to any room. Add a candle for a gorgeous and slightly spooky glow.
This post was originally published in 2018. It’s been updated to include instructions for making the stencil mask using a Cricut machine.
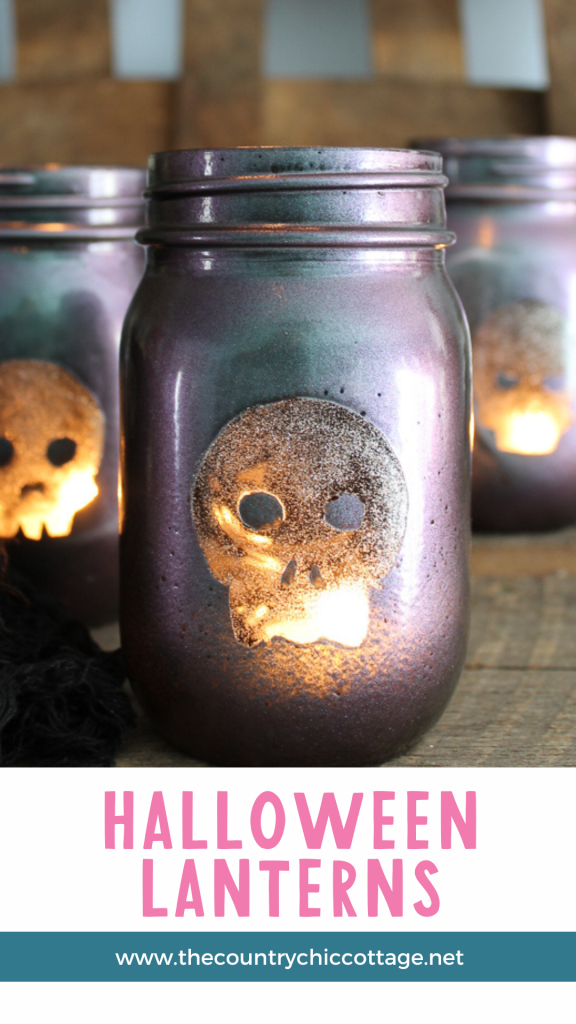
How to Make Halloween Lanterns
Below is a video and written instructions for making these cute lanterns for your Halloween decor.
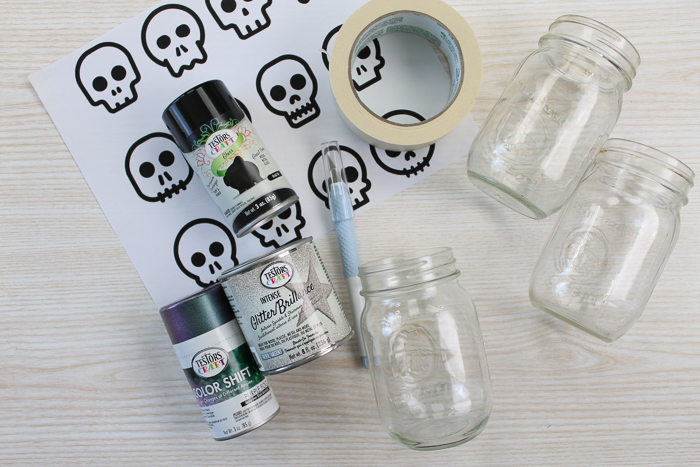
Supplies needed
- Mason jars (with at least one smooth side)
- Wide masking tape or Adhesive vinyl (if using a Cricut)
- Transfer tape (if using vinyl)
- Cricut machine (optional)
- Craft knife
- Purple color shift paint (or whatever color you’d like)
- Black spray paint
- Skull templates (print for free here)
- Silver glitter paint
- Paintbrush
- Scissors
- Tape
- Rubbing alcohol
Video Tutorial
If you want to see how these are made, check out the video below. Video is the best way to experience the color-shifting paint in action, so trust me—you’re going to love the effect! You can also follow the step-by-step instructions provided underneath the video if you prefer.
Step By Step Instructions
Looking for instructions or missed some of the steps in the video? Read on for more!
Step 1 – Prep jars
Start with a mason jar with at least one smooth side without embossing. You want to clean it well before you start. I find that rubbing alcohol works great. Just wipe it on and dry it off before continuing.
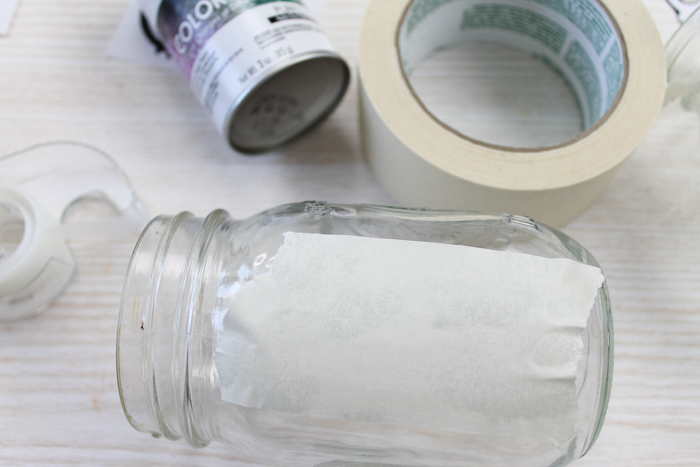
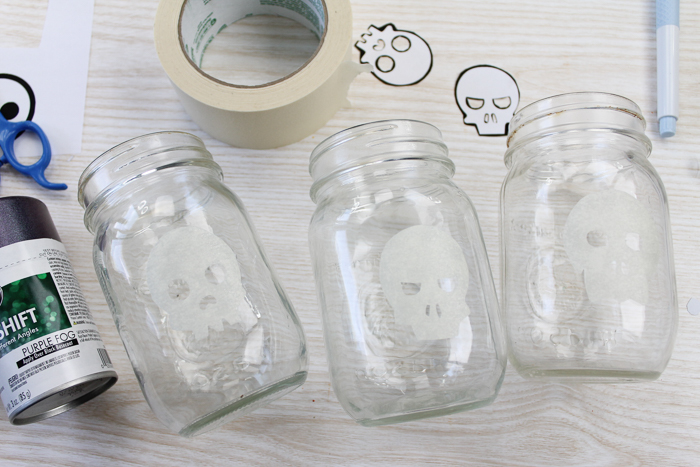
If making these by hand, add a strip of masking tape to the smooth side, as shown below. If using a Cricut, continue to the next step.
Step 2 – Make a stencil mask
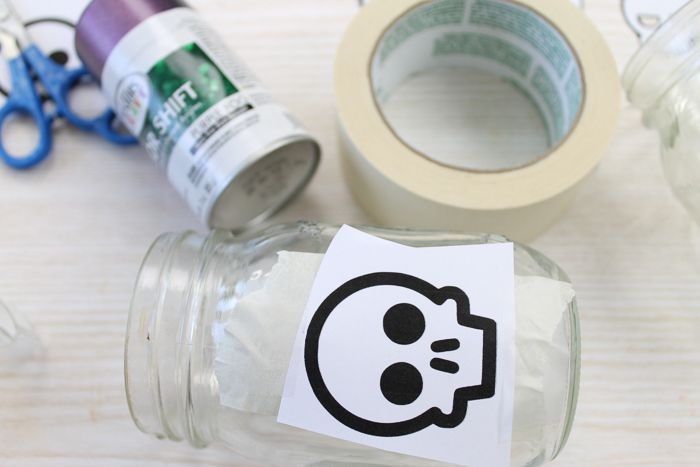
If cutting these by hand, print the skulls onto regular copy paper. Then, determine which skull shape you want to use. Cut it from the paper with scissors and secure it over the masking tape with regular tape.
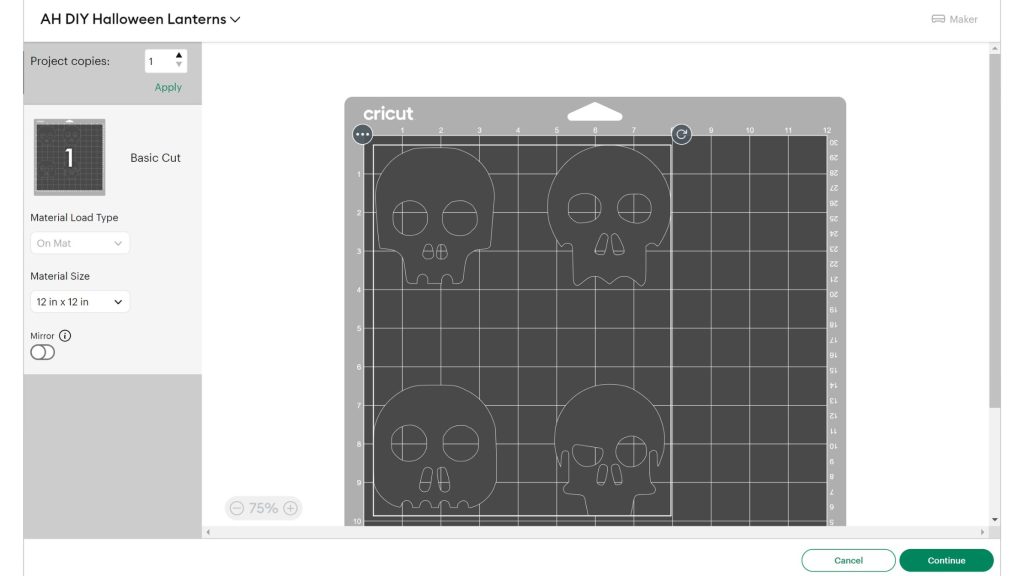
If using a Cricut, upload the skull file as a single layer into Cricut Design Space. I have a video that will help you upload files.
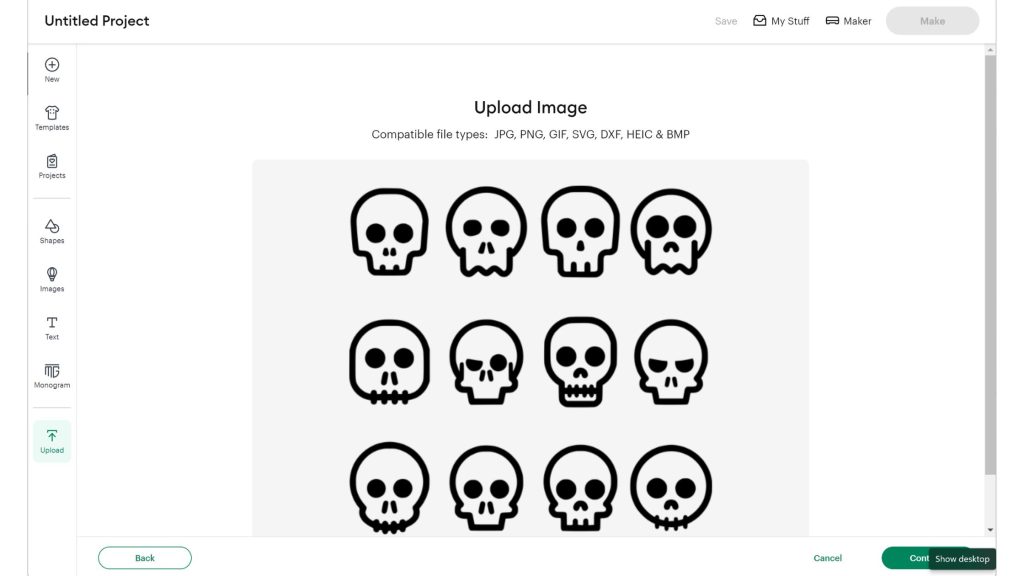
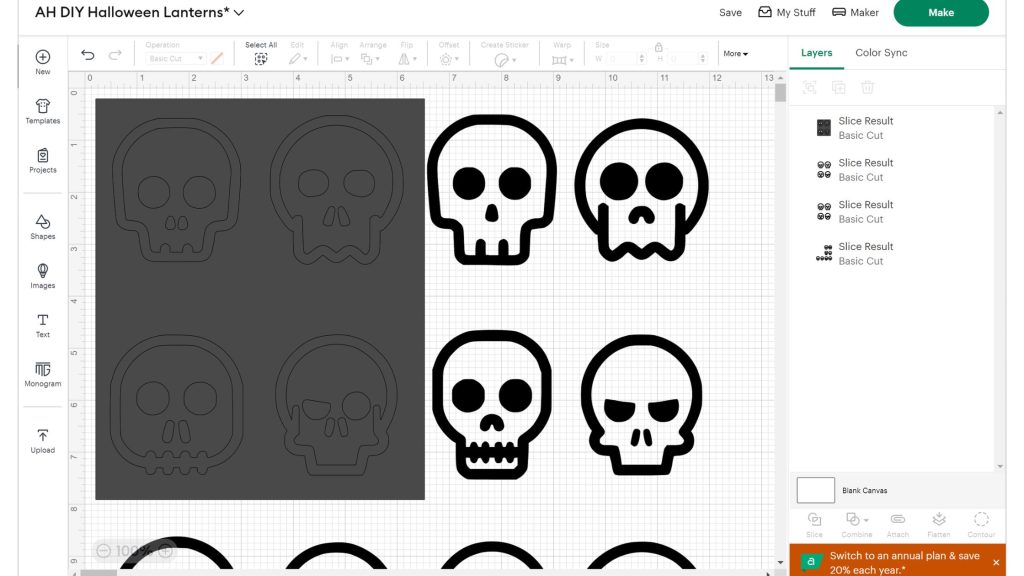
Add a square or rectangle onto your canvas around the skulls you want to use. Then, use the slice function to separate the skulls from the others. You can do this for as many skulls as you’d like.
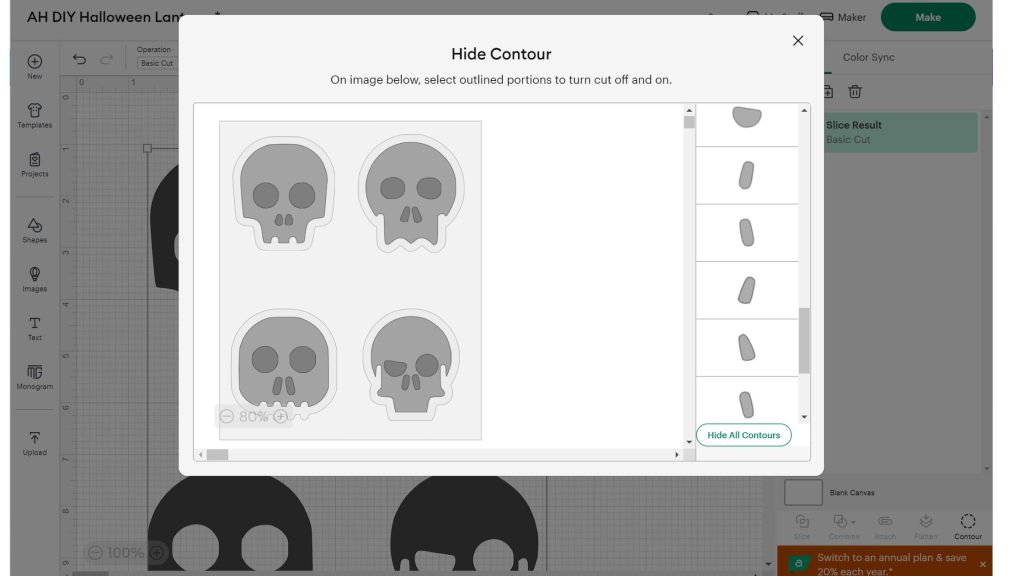
After slicing, use the contour feature to remove the excess background.
Step 3 – Cut skull shapes
If cutting by hand, use a craft knife to go all around the outer edge of the skull and the eyes and nose in the center. Be sure to cut through the paper template and the masking tape. Do any inner parts, like the eyes, first, then the outer parts.
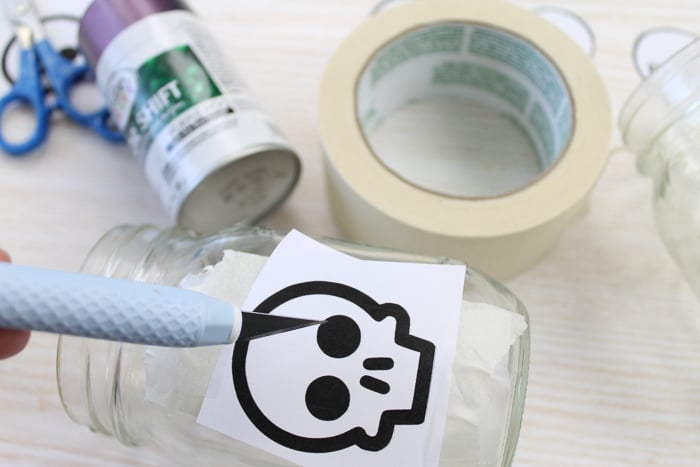
Remove the pieces you cut, leaving you with a skull shape on your mason jar. Repeat with as many jars as you would like. I did a different skull on each jar, but you can definitely do the same on each one.
If you use your Cricut, size your skulls to fit on the jar and cut them out of adhesive vinyl. You may need some transfer tape to place them on the jars. Be sure to smooth down the edges well onto the glass.
Step 4 – Paint the jars
Then, take your jars outside for some spray painting. Spray paint them black first. Allow them to dry, and then go over the top with the purple fog color shift paint. Allow it to dry before continuing.
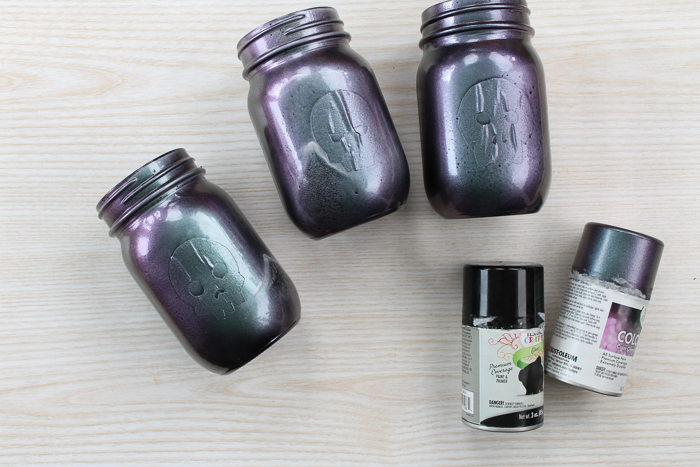
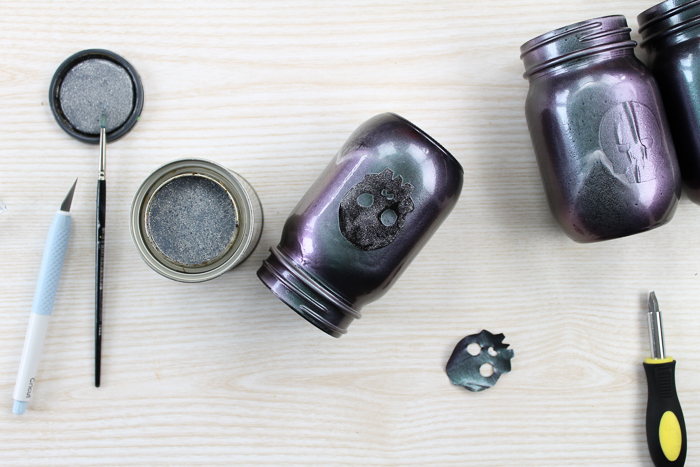
Use your craft knife to help you get under your masking tape or vinyl and lift the skull shape. You can also cut any paint that may try to peel away with your masking.
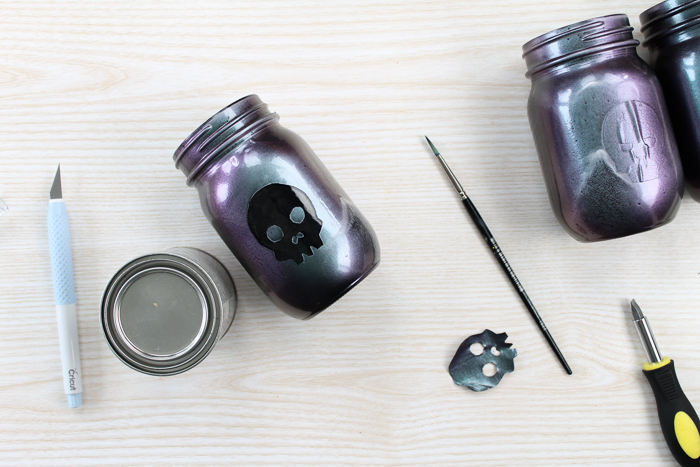
I feel that just about every project is better with a touch of glitter. This step is optional, but I love the look it gives these DIY Halloween lanterns. I used just one coat of glitter paint in the area where the paint was masked for the skull. Then, just allow it to dry.
Step 5 – Enjoy your DIY Halloween lanterns
Pop in a candle or battery-operated tea light, and your Halloween lanterns are complete! I love the look of the glitter on the skull and how the light shines through!
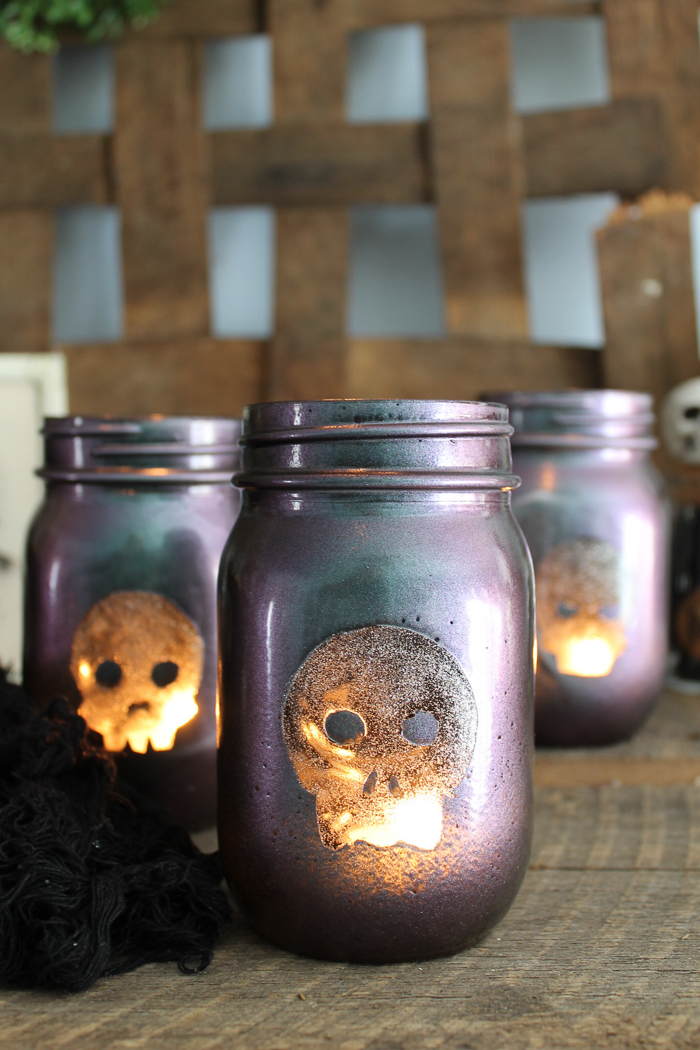
Now that you have a great project, what are you waiting for? Make these DIY Halloween lanterns with your family and friends. This fun party idea is perfect for those who love to make things!
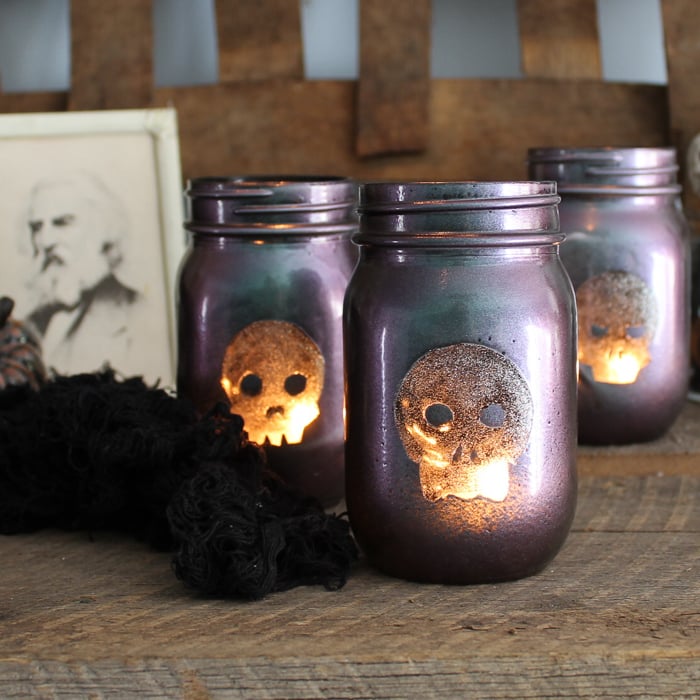
You may or may not be able to tell in these pictures, but that color-shift paint really changes color from different angles. I am in love with the effect and that you can get it right out of a spray paint can. It really makes these jars something special, so be sure to add that even if you skip the glitter step.
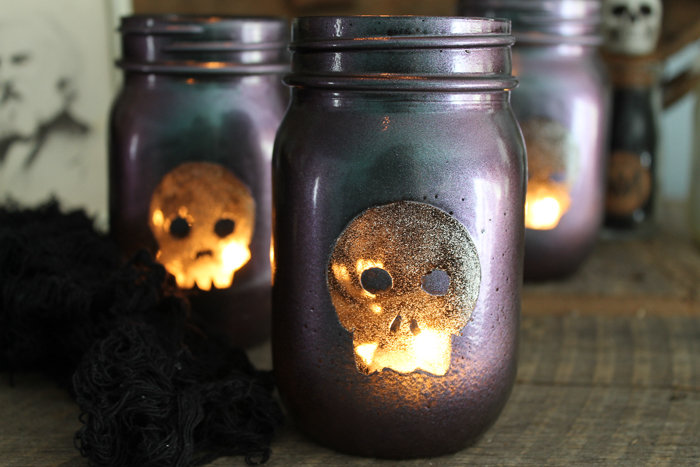
Now, grab your supplies and plan your crafty afternoon today! Everyone will love making some Halloween crafts, and you’ll have quality time with the ones you love! Plus, you’ll make these awesome DIY Halloween lanterns, so it’s a win-win!
More Halloween Crafts
If you liked this crafty Halloween project, you may enjoy these spooky ideas as well:




They really turned out neat:@)
Too darn cute. I love the way the glitter shines through too.
I bet my teen would love to do this project with me. Thanks for sharing at the Inspiration Spotlight party @dearcreatives Pinned and sharing.
Hi! Visiting from the Snickerdoodle Create and Make party. I love this idea – pinned (and making!)
These look spooky with the glow of the candle, the touch of glitter was a perfect idea! Thanks for sharing at Merry Monday!
I love the name Crafternoons! Such fun. I agree that the glitter is the perfect touch to the lantern. Thanks for sharing at #HomeMattersParty