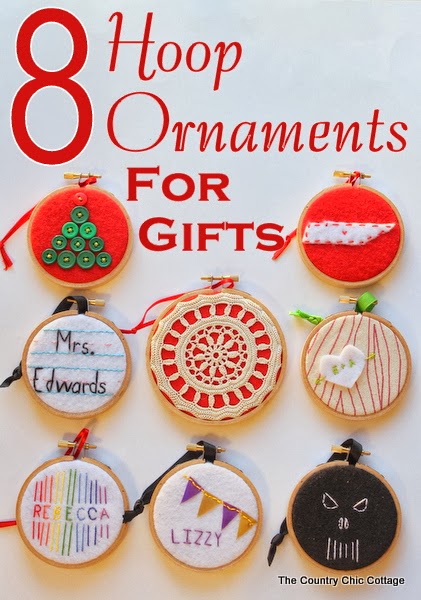
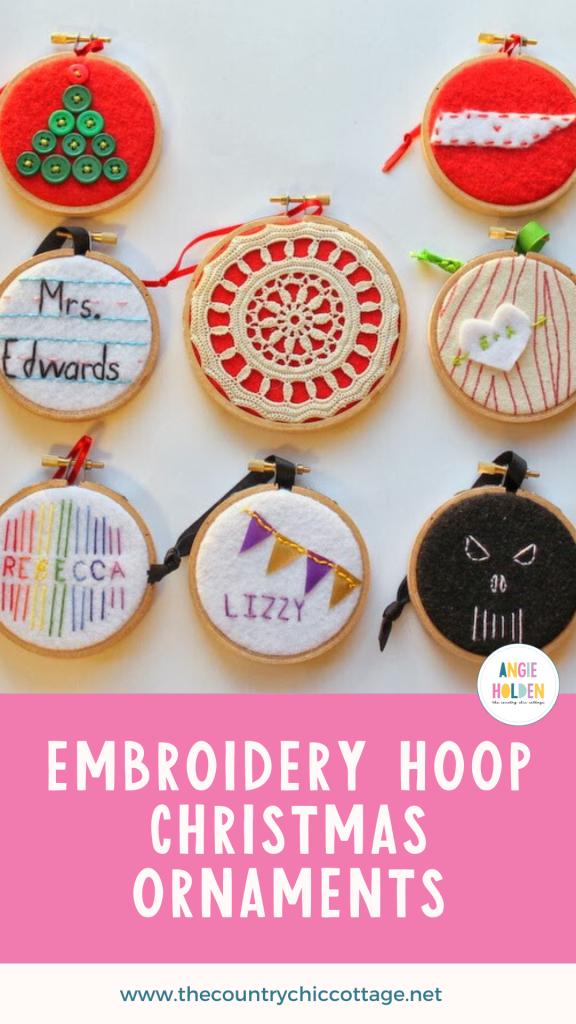
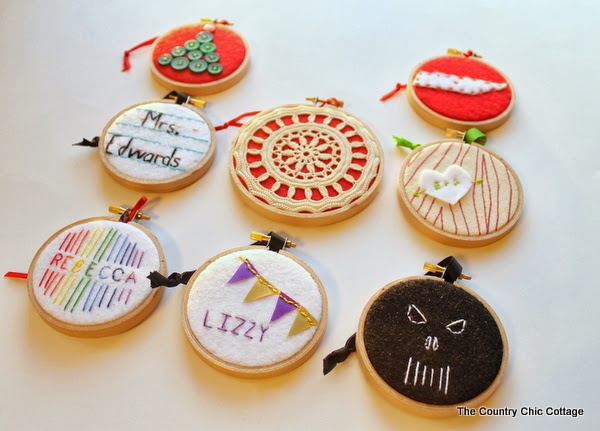
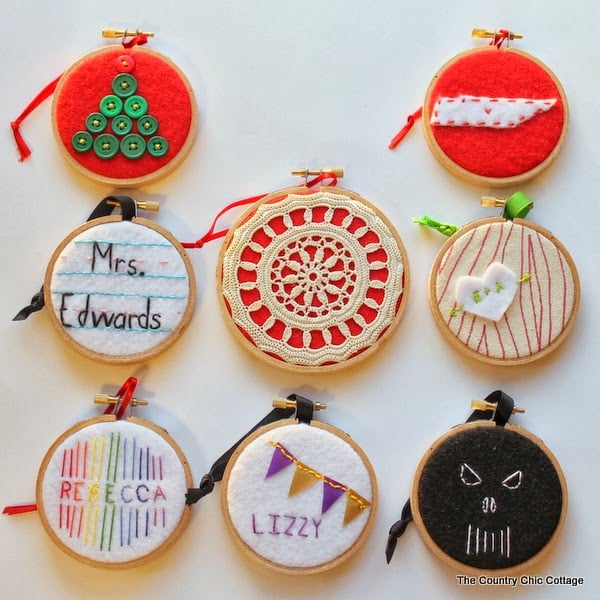
These eight embroidery hoop Christmas ornaments are perfect for making during the holiday season! They make ideal gifts for anyone on your gift list, whether it’s for grandma, teens, little boys, or teachers. Seriously, choose one of the craft tutorials below and create a fabulous handmade gift this year!
8 Embroidery Hoop Christmas Ornaments
Whether you are looking for a birthday gift or a teacher appreciation gift, these hoop ornaments are a perfect choice every time!
Check out the tutorials below to see how to make each of our embroidery hoop ornaments. However, if you are just making one of the ornaments, scroll to the tutorial first because you may not need all the supplies listed below.
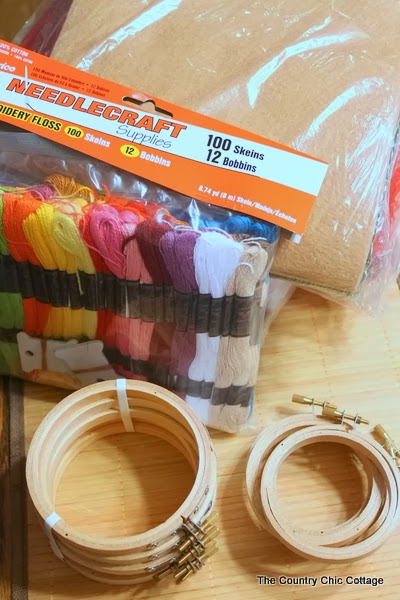
Supplies Needed For Embroidery Hoop Christmas Ornaments
- Embroidery Hoops (3 inch for the small and 4 inch for the large)
- Felt in Red and White
- Embroidery Thread
- Buttons
- Doily
- Marker
- Disappearing Ink Marker
- Ribbon
- Craft Knife
- Embroidery Needle
- Scrap Fabric
1. State Love Hoop Ornament Tutorial
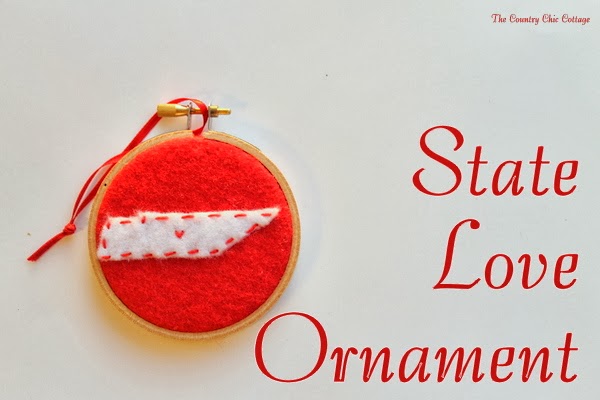
First up is my state love ornament!
This one would be perfect for anyone who loves where they live or is in the military! I made many of these last year and gave them as gifts.
This ornament is very simple to make and can be completed in a short amount of time! I used red and white felt, but the colors could, of course, be customized to your gift recipient.
Step 1: Add Felt To Embroidery Hoop
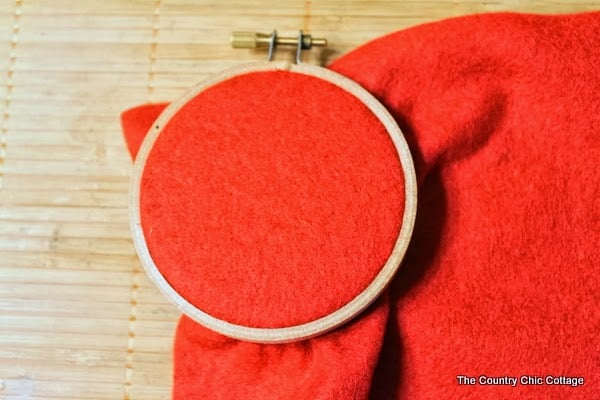
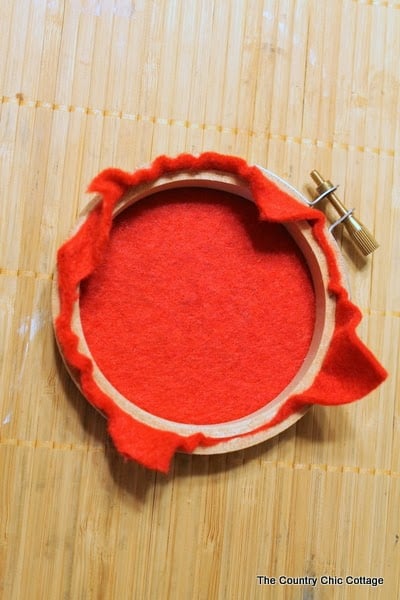
First, place your hoop on the sheet of felt and tighten it.
Step 2: Cut Away Excess Felt
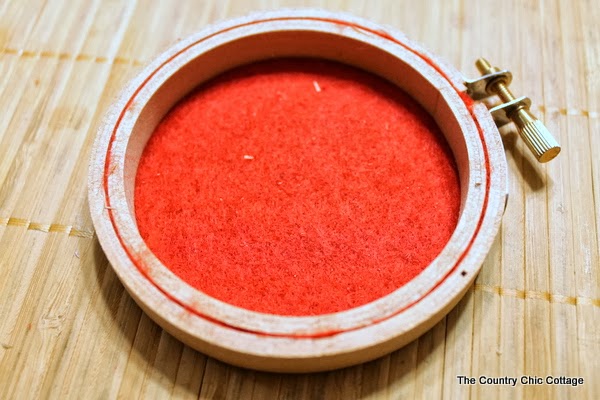
Next, cut away most of the excess with a pair of scissors.
Then, use a craft knife to trim the felt neatly.
Step 3: Print State
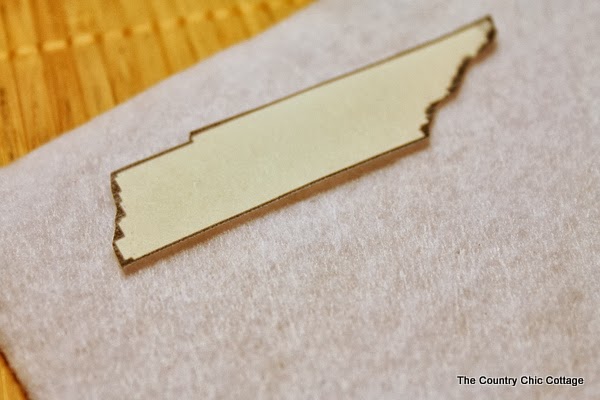
Then, print out your state (mine is Tennessee) on the computer in approximately the size you would need to fill the hoop. Cut the state out from the paper.
Lay that on white felt and trim around it with your craft knife. You may find it helpful to use a pen to draw around the paper cutout and then cut it out with small detail scissors.
NOTE: While cutting out your state with a craft knife, please place an old magazine or something under the felt to protect your work area.
Step 4: Add State To Felt
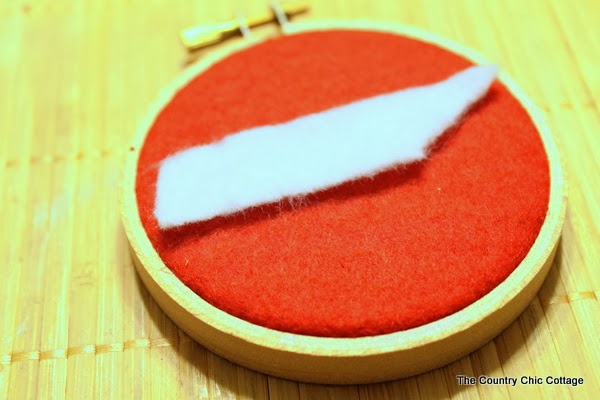
Then, place your cutout state on the hoop in the approximate location. Stitch around with red embroidery thread and stitch a heart in the middle of the approximate location of the town where they live.
The first ornament gifts is done!
2. Tree of Love Hoop Ornament Tutorial
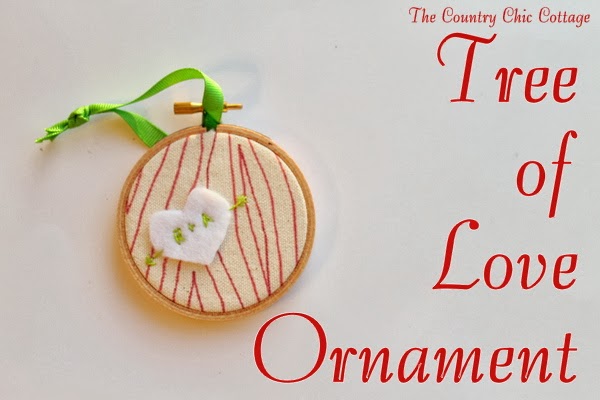
Next up is the Tree of Love Ornament for newlyweds or those who still think they are! Perfect for any couple.
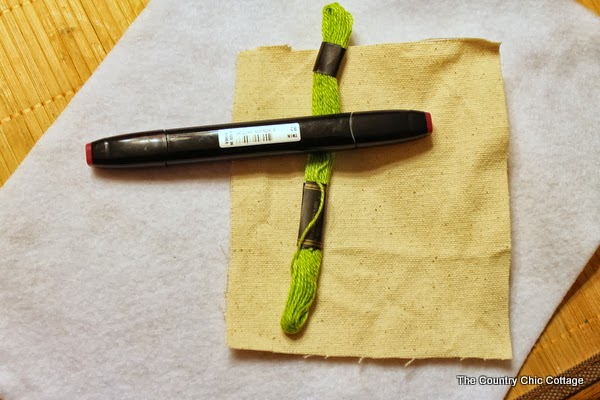
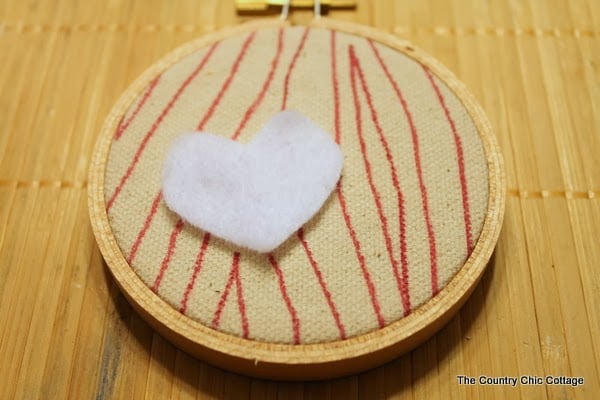
You will need a scrap piece of fabric for this one and a marker. I used a scrap piece of off-white canvas material. The marker is from my scrapbook supplies, but any thin-line marker would work.
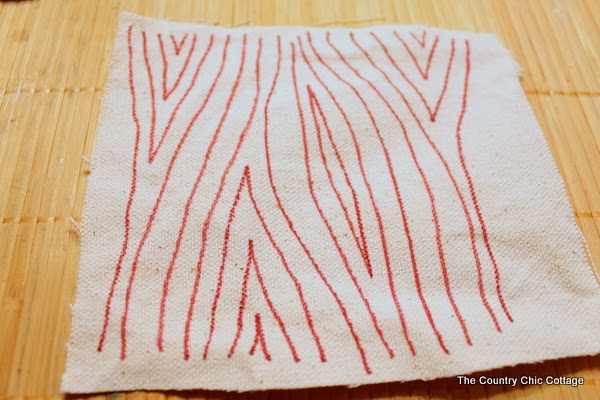
Step 1: Draw a Faux Wood Grain Pattern Onto Fabric
Draw faux bois or a wood grain pattern on your scrap piece of fabric with your thin line marker.
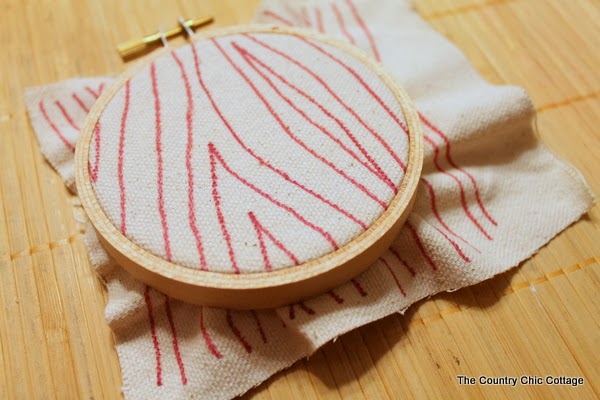
Step 2: Add Fabric To Embroidery Hoop
Place the fabric in your embroidery hoop. Again repeat the steps that are above in the State Love Ornament and trim any excess with your craft knife.
Step 3: Add Heart
Then, cut out a heart from felt (I used white), and embroider an arrow and initial on the heart (I chose “R + A”). This is supposed to be reminiscent of a carving on a tree.
Fall in love all over again with this handmade gift! Our second handmade gift complete!
3. Button Tree Hoop Ornament Tutorial
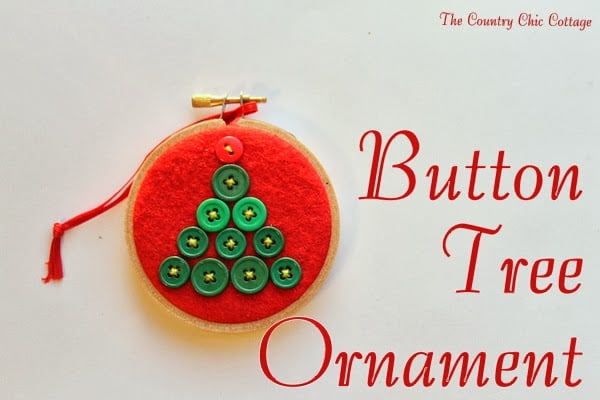
I just had to make one using buttons. I love working with buttons in my craft projects! This button tree ornament would be perfect to give as a gift or keep for your own tree.
Step 1: Lay Out Button Design
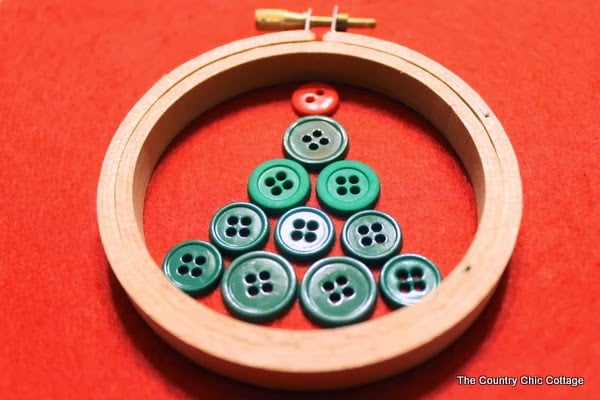
I laid out the buttons I wanted to use before I even started, making sure I had the correct placement and number of buttons that I wanted.
Step 2: Add Felt To Embroidery Hoop
Then, I followed the State Love Ornament tutorial above as far as putting the felt in the hoop.
Step 3: Stitch Buttons To Felt
Finally, I stitched the buttons to the felt with embroidery thread.
Simple and easy, don’t ya think?
4. Teacher Gift Hoop Ornament Tutorial
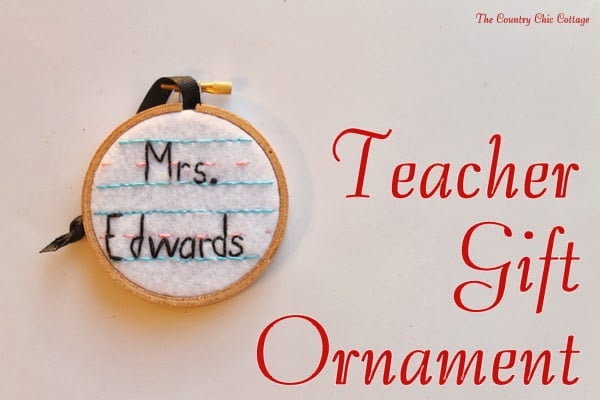
One of my absolute faves is the Teacher Gift Ornament! I love this idea, and it’s so fun to make.
Step 1: Add Felt To Embroidery Hoop
Again, follow the instructions in the State Love section above for inserting your felt into the hoop.
Step 2: Draw Lines & Name Onto Felt
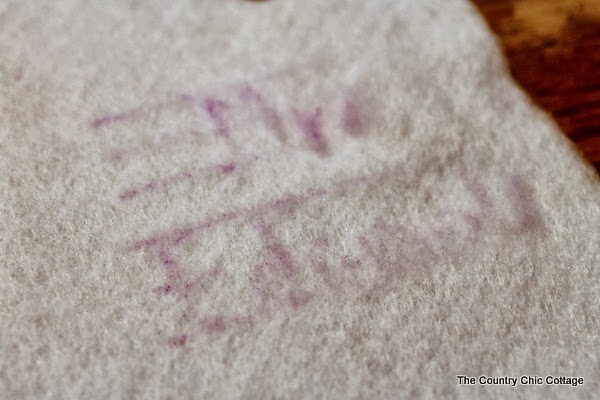
Draw lines and the teacher’s name onto the felt with a disappearing ink marker to lay out my stitches.
It is very hard to see the writing in pictures, but it was enough for me to use as a guide.
Step 3: Stitch Design
Stitch the “paper lines” first, then finish with the stitching for the teacher’s name.
I am loving how these ornament gifts are turning out!
5. Rainbow Name Hoop Ornament Tutorial
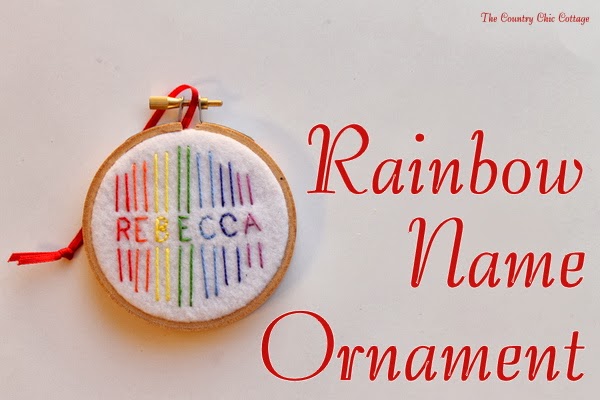
Use the exact same methods to make my Rainbow Name Ornament. This one is perfect for anyone from newborn to teen.
Step 1: Add Felt To Embroidery Hoop
Follow the instructions in the State Love project section above for inserting your felt into the hoop.
Step 2: Draw Lines & Name Onto Felt
Then draw lines and the child’s name onto the felt with a disappearing ink marker to lay out your stitches.
Step 3: Stitch Design
I did the stitching for the “rainbow lines” first then the stitching for the name.
6. Goth Skull Hoop Ornament Tutorial
Now, I did say there would be an ornament for everyone on your list, right? What about those pesky boys? You know, the ones that are so hard to buy for.
I asked my seven-year-old what type of ornament he would like. Dinosaurs? Trucks? What did he say….a skull.
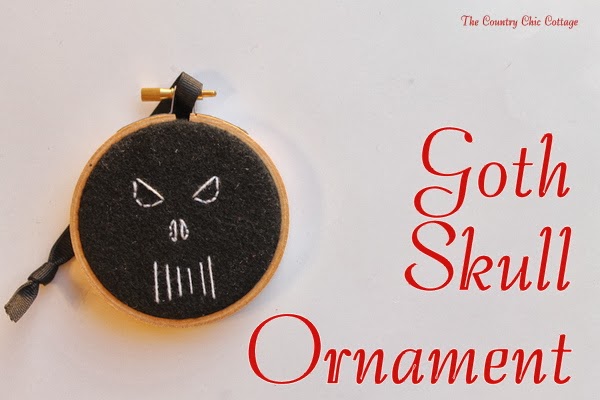
The Goth Skull Ornament was born! You gotta give ’em what they want, right?
Step 1: Add Felt To Embroidery Hoop
Follow the instructions in the State Love project section above for inserting your felt into the hoop.
Step 2: Stitch Design
I just freehand stitched this ornament. You could lay out the design with chalk on the black felt and it should wipe off after you are done.
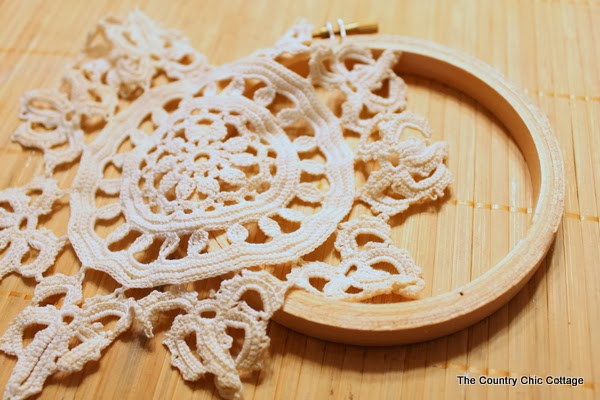
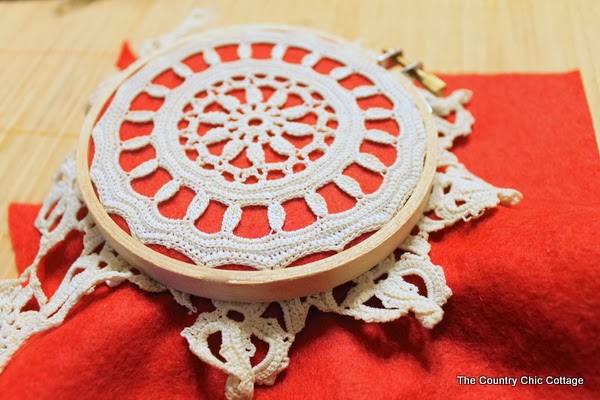
7. Doily Hoop Ornament Tutorial
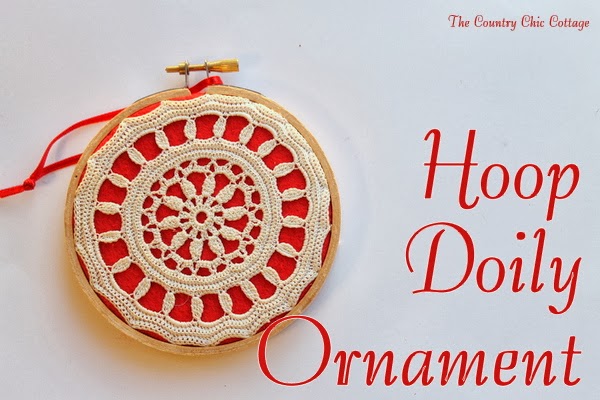
What about grandma? Or, even those of us who are grandmas at heart? A Doily Ornament is a perfect gift!
Step 1: Choose Doily Design
I used a vintage doily that I had at home, but there are a wide variety of doilies that you can buy online. Size it to your embroidery hoop.
Step 2: Add Doliy To Embroidery Hoop
Then, just insert the felt and the doily at the same time and pull tight. Tighten the screw on the hoop. Turn it over, trim the excess with a craft knife, and you have an ornament ready for display or gift-giving!
8. Team Spirit Hoop Ornament Tutorial
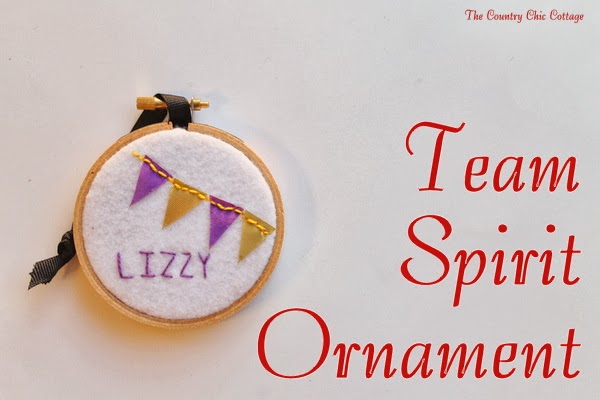
Last but not least, are you ready for some team spirit? The Team Spirit Ornament is perfect for sports fans, college students, or even high school students.
Step 1: Cut Ribbon Into Triangles
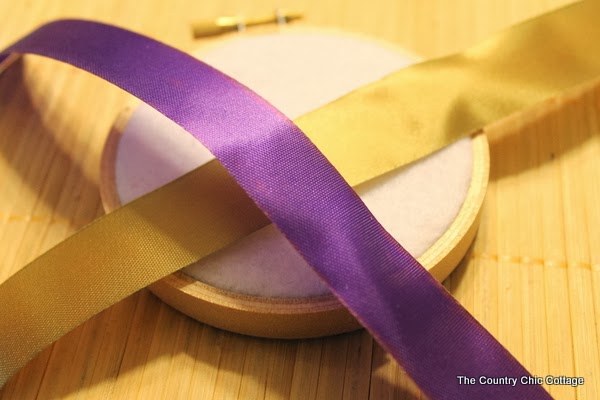
I used scraps of ribbon in my daughter’s college colors. I cut the scrap ribbon or fabric into triangles to form the little pendant flag in the banner.
Step 2: Add Felt To Embroidery Hoop
Follow the instructions in the State Love project section above for inserting your felt into the hoop.
Step 3: Stitch On Triangles
Place triangles onto felt and stitch them into place using embroidery thread.
Step 4: Stitch Design
Then, draw the individual’s name onto the felt with a disappearing ink marker to lay out the stitches.
Step 4: Stitch Name
Stitch the name with embroidery thread.
How To Hang These Handmade Ornaments
Each of the ornament gifts has a ribbon to hang by. I actually just threaded the ribbon through the screw portion of the hoop and tied it.
The Best Handmade Ornament Gifts: Show Everyone Your Appreciation!
Show everyone on your gift list a little extra love by adding a hoop ornament to their present this year. These are also the perfect small and personalized gifts for those in your office or friends who deserve a meaningful but small gift.
My ideas for hoop ornaments are suitable for everyone on your list. I hope you have enjoyed this part of our handmade gift series!
Tips & Tricks For Embroidery Hoop Christmas Ornaments
Now that you’ve seen these embroidery hoop Christmas ornaments, are you ready to make your own? Here are a few tips and tricks to ensure your project goes as smoothly as possible!
- Change Up The Size – When making these ornaments I used a 3-inch embroidery hoop for the small and a 4-inch embroidery hoop for the large. However, you can make them all small or large, depending on the look you are going for.
- Change Up The Colors – As I mentioned before, you can change up the color of the felt and thread for each of these ornaments. Doing this is a great way to make each of the ornaments more personal, especially if you are giving the same type of ornament to multiple people.
- Paint Embroidery Hoop – If you don’t like the look of the raw wood, you can paint the embroidery hoop before you begin stitching your design!
- Finish the Back – If you don’t like the back of the hoop exposed, cut a piece of felt that will fit inside of the hoop and glue it into place using fabric glue!
Handmade Gift Series
Have you missed any of our handmade gift series? Visit all of the links so far.



Don’t miss our Handmade Gift Gallery Page for more ideas!
5 More Handmade Ornament Crafts
Did you love these embroidery hoop Christmas ornaments and want more handmade ornament crafts? Then check out the projects below!



I love this craft, I am going to use it with my daughter’s 4-H group for the holidays.
Thanks Andrea
All 8 are to die for.. they are the perfect thing to bring a smile on the face of our loved ones. My favorite one is the TREE OF LOVE ORNAMENT. The title is so catchy. How did it strike you? :p
Love these ideas – thank you! I have linked to this post on my latest blog post: http://abusylittlebird.com/10-holiday-crafts-you-can-make/
I love your crafts for I have a lot of those little hoops and even even more Dmc thread!!
I’m so glad you like them! I can’t wait to see what you make 🙂